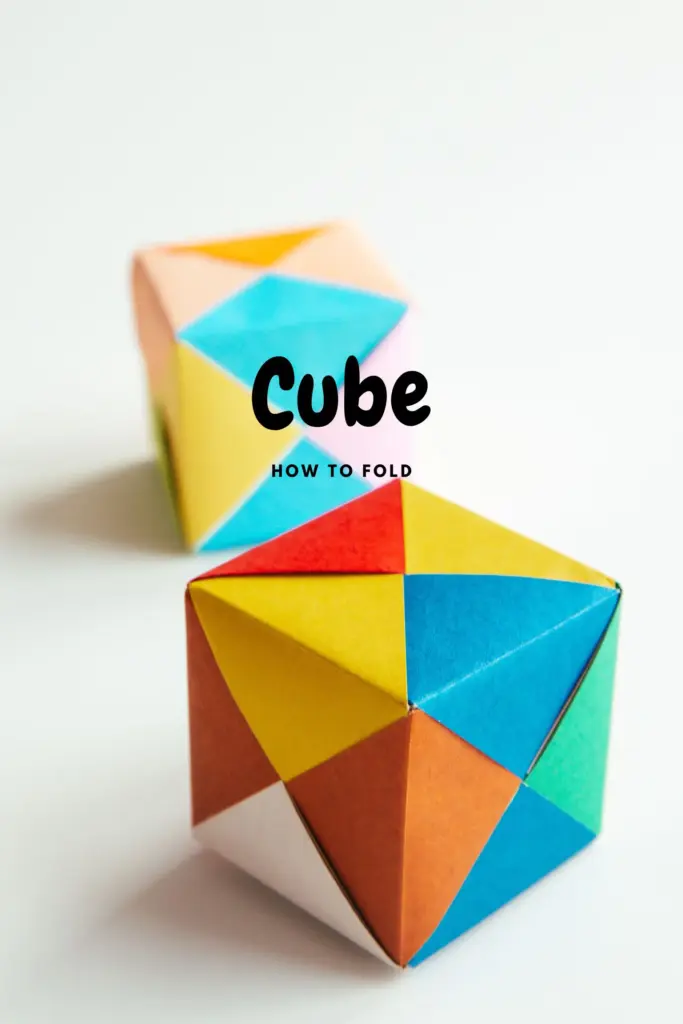
Let’s discover the fascinating world of origami by making an interesting cube, this cube is made with six pieces of paper, each folded separately and then assembled to form a cohesive and sturdy structure.
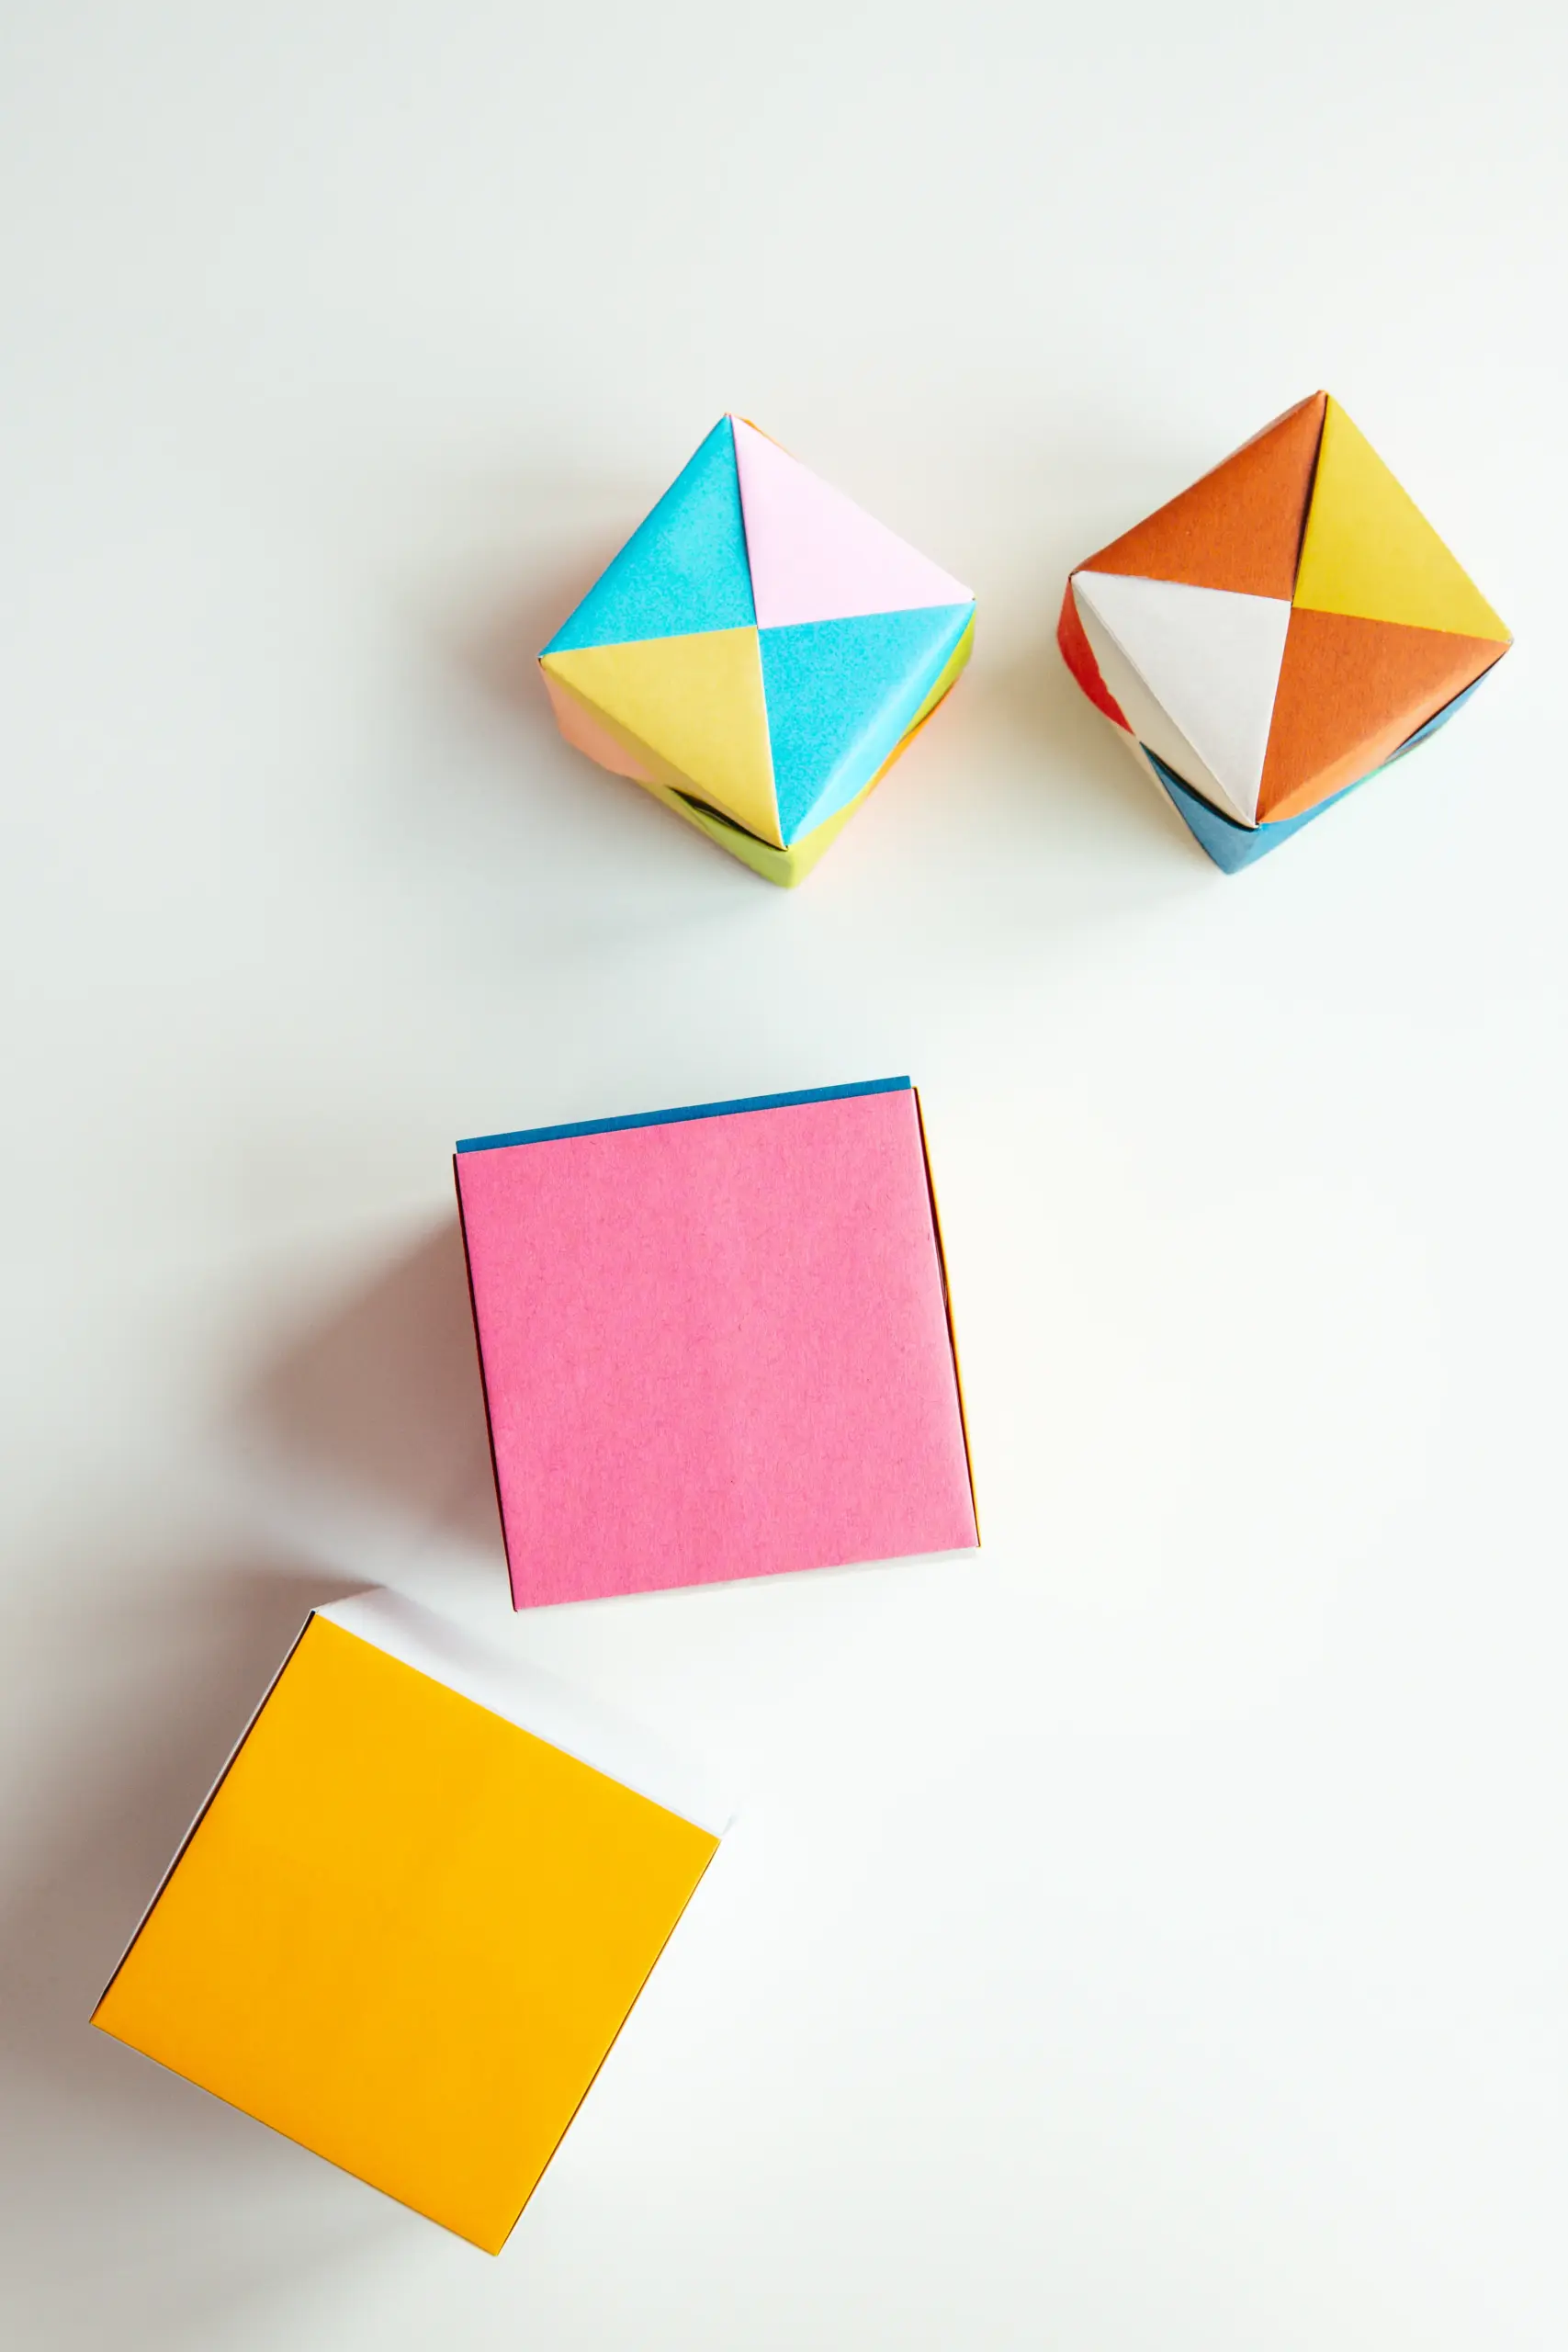
You can use six different colors of paper to create a colorful cube, or other color combinations as you like. This would be an ideal project for education if you make one with your child. Place your finished cube in your room where it can be see, such as on a desk or shelf, to decorate your house.

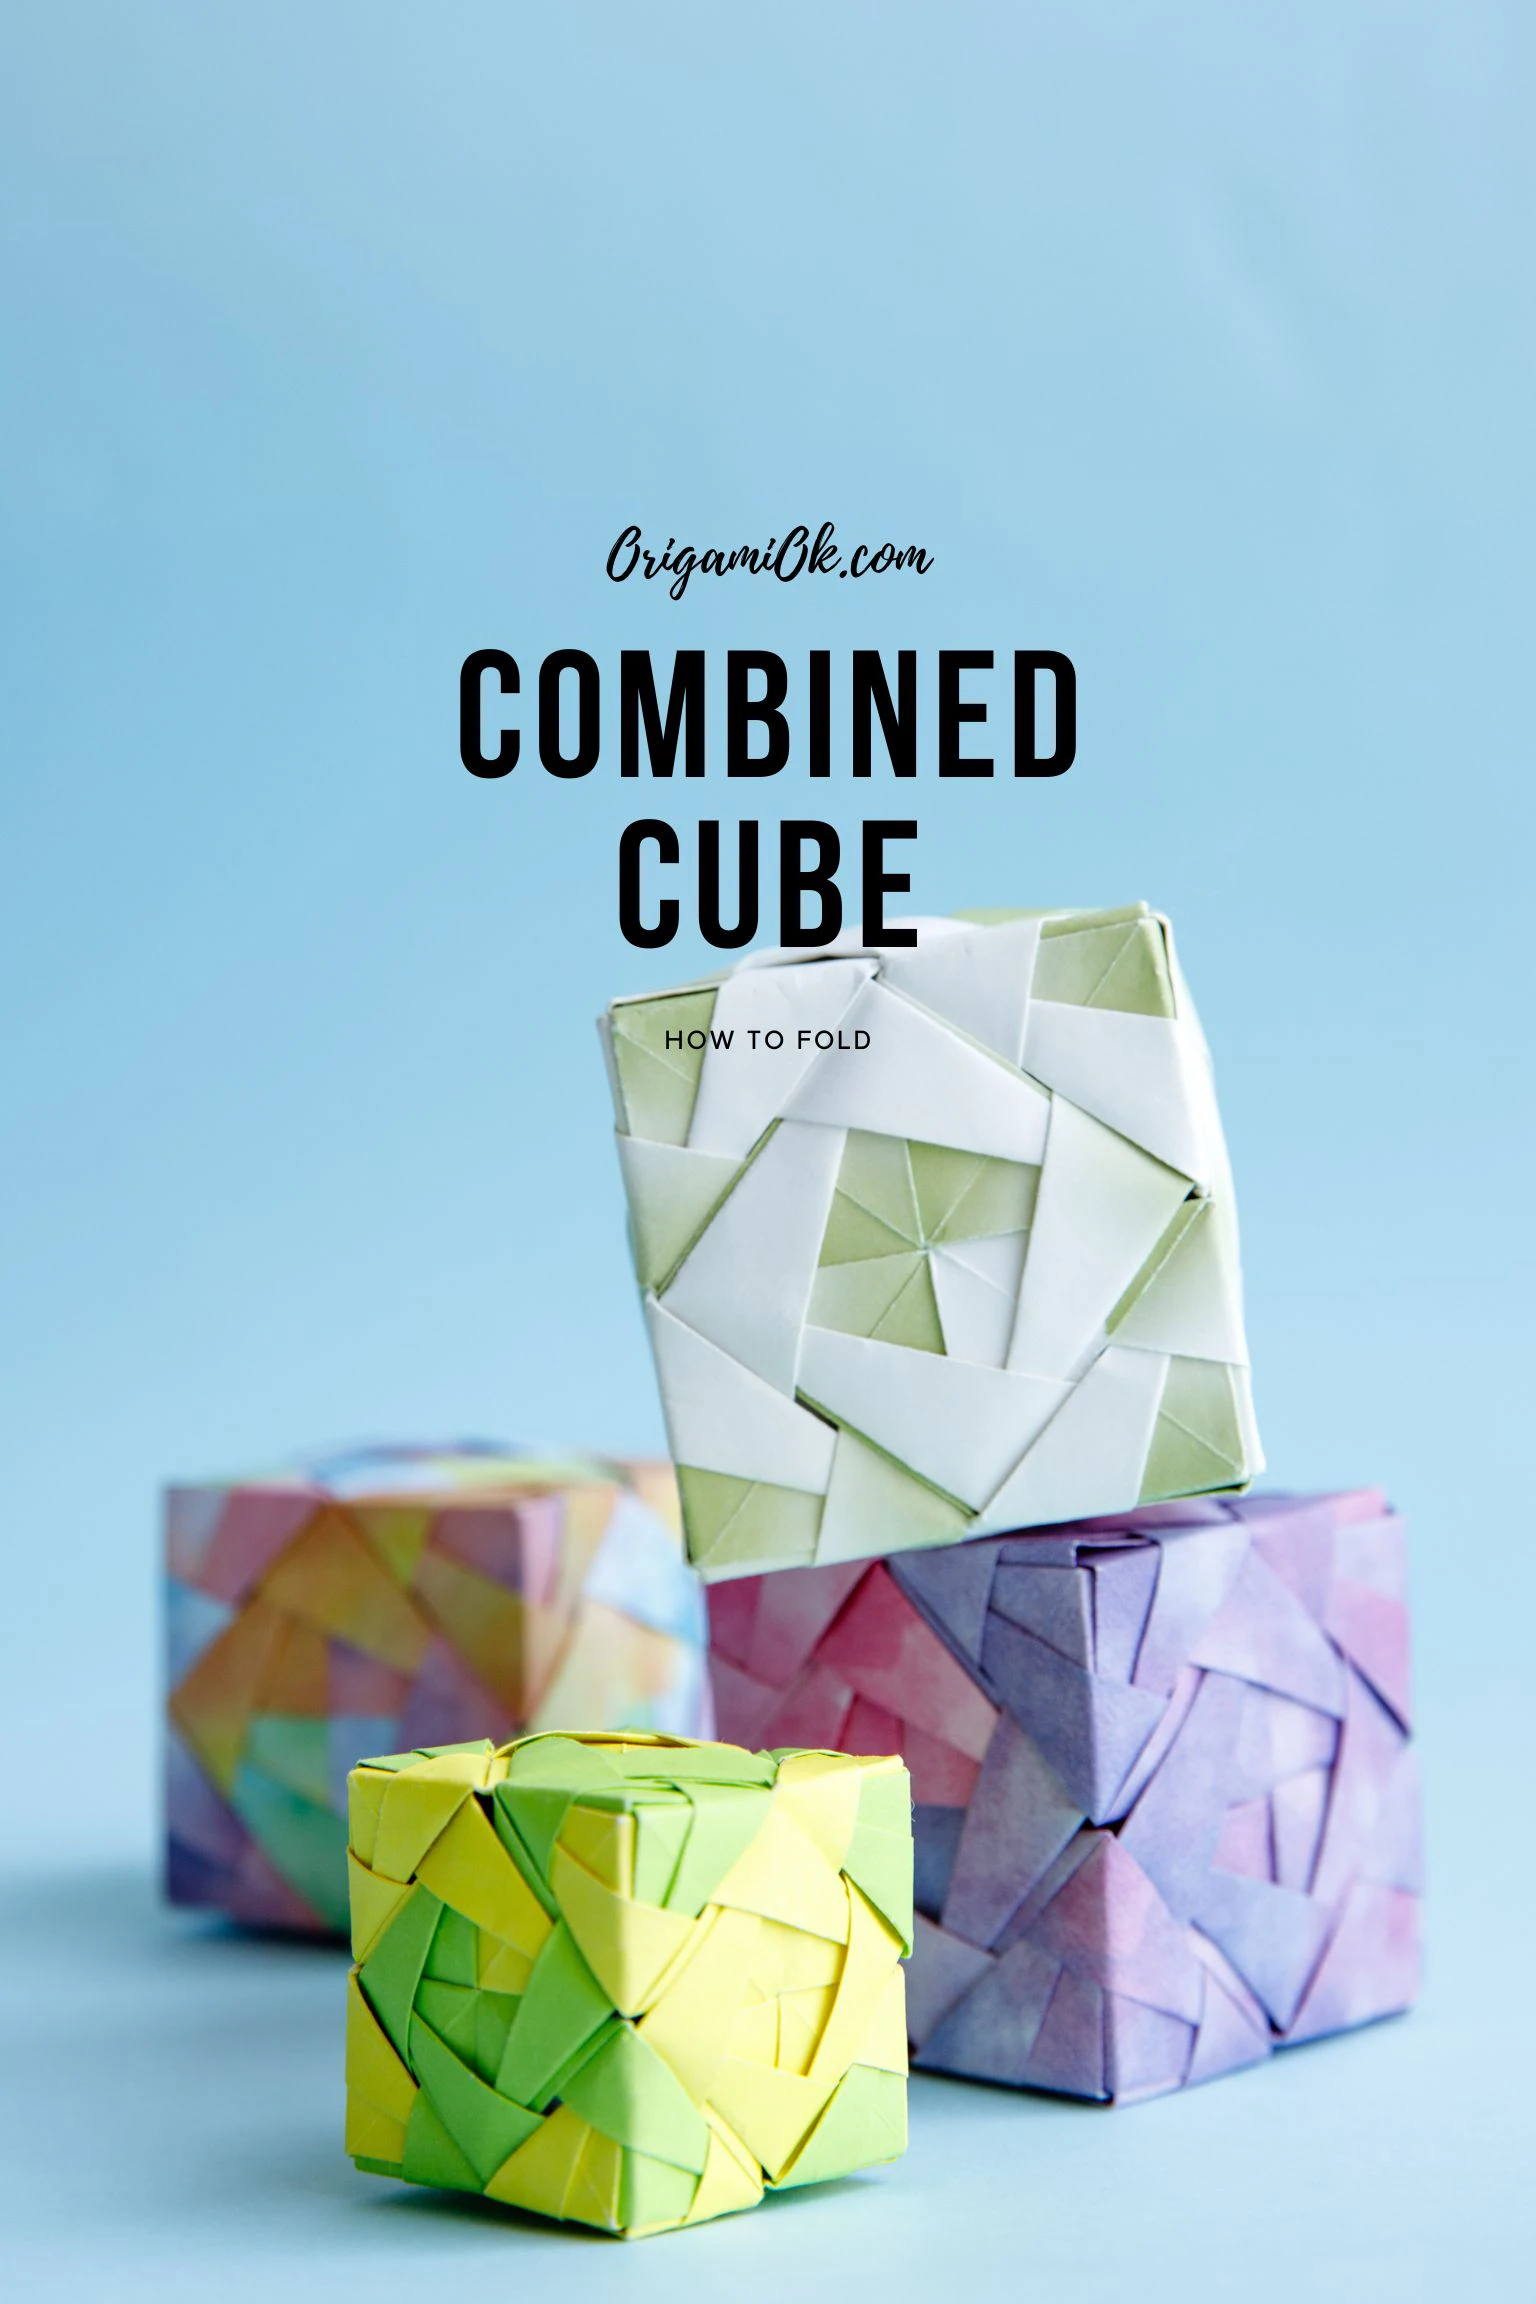
We also offer another more challenging Origami Combined Cube that requires more paper and a slightly more complicated folding method, but the finished product will be more beautiful and interesting.
If you are new to origami, start here from our beginner guide to know the basics and how to read the step-by-step instructions.
- Folding time: 15 minutes
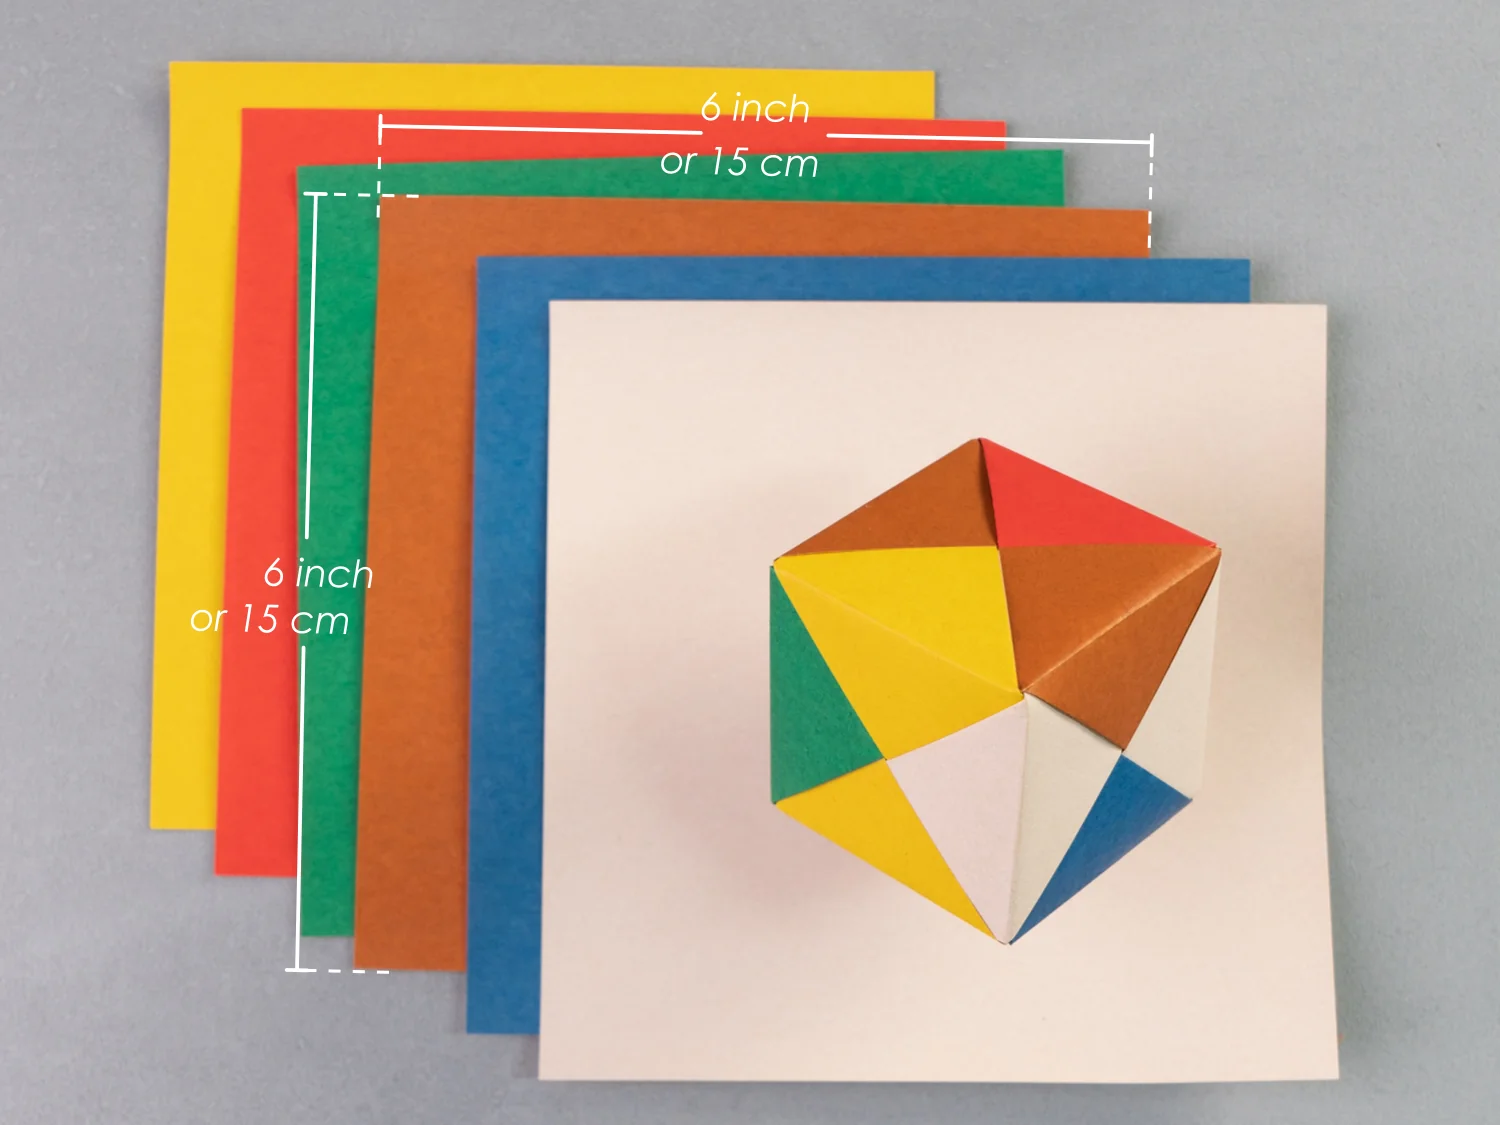
- Paper: 15×15 cm
- Difficulty: Middle
Material
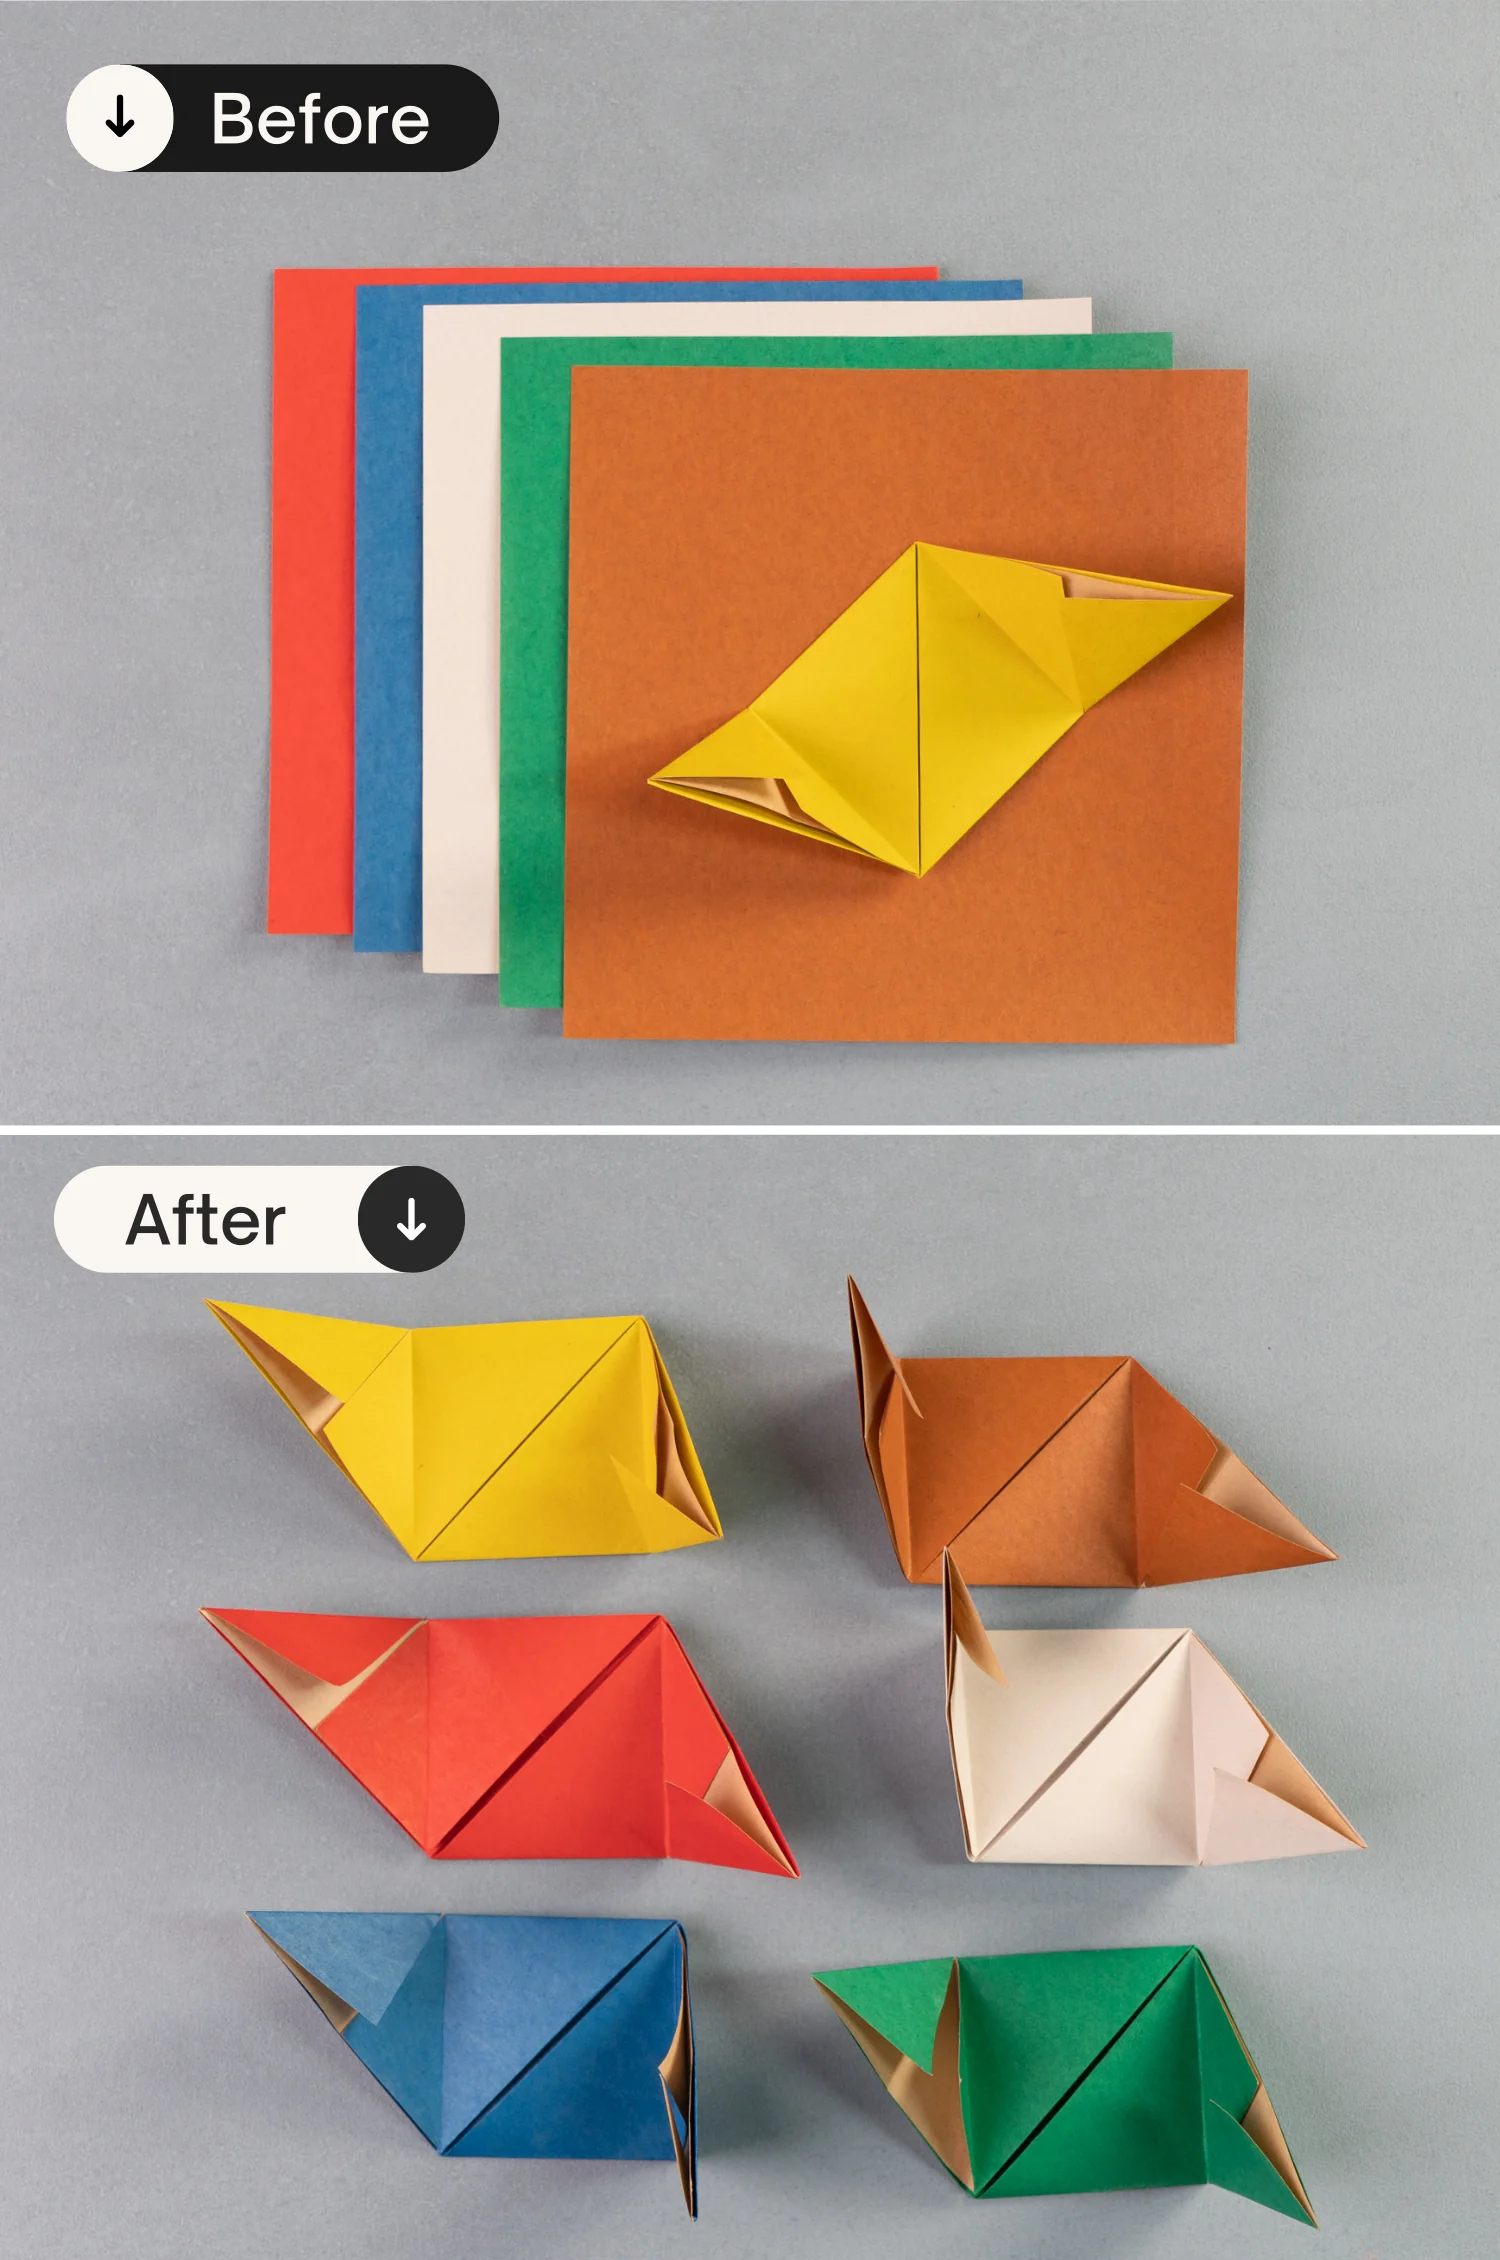
Get six pieces of 15×15 cm origami square paper with different colors, the color of the paper can be combined freely to match your preference.
Step by Step Instructions
Step 1
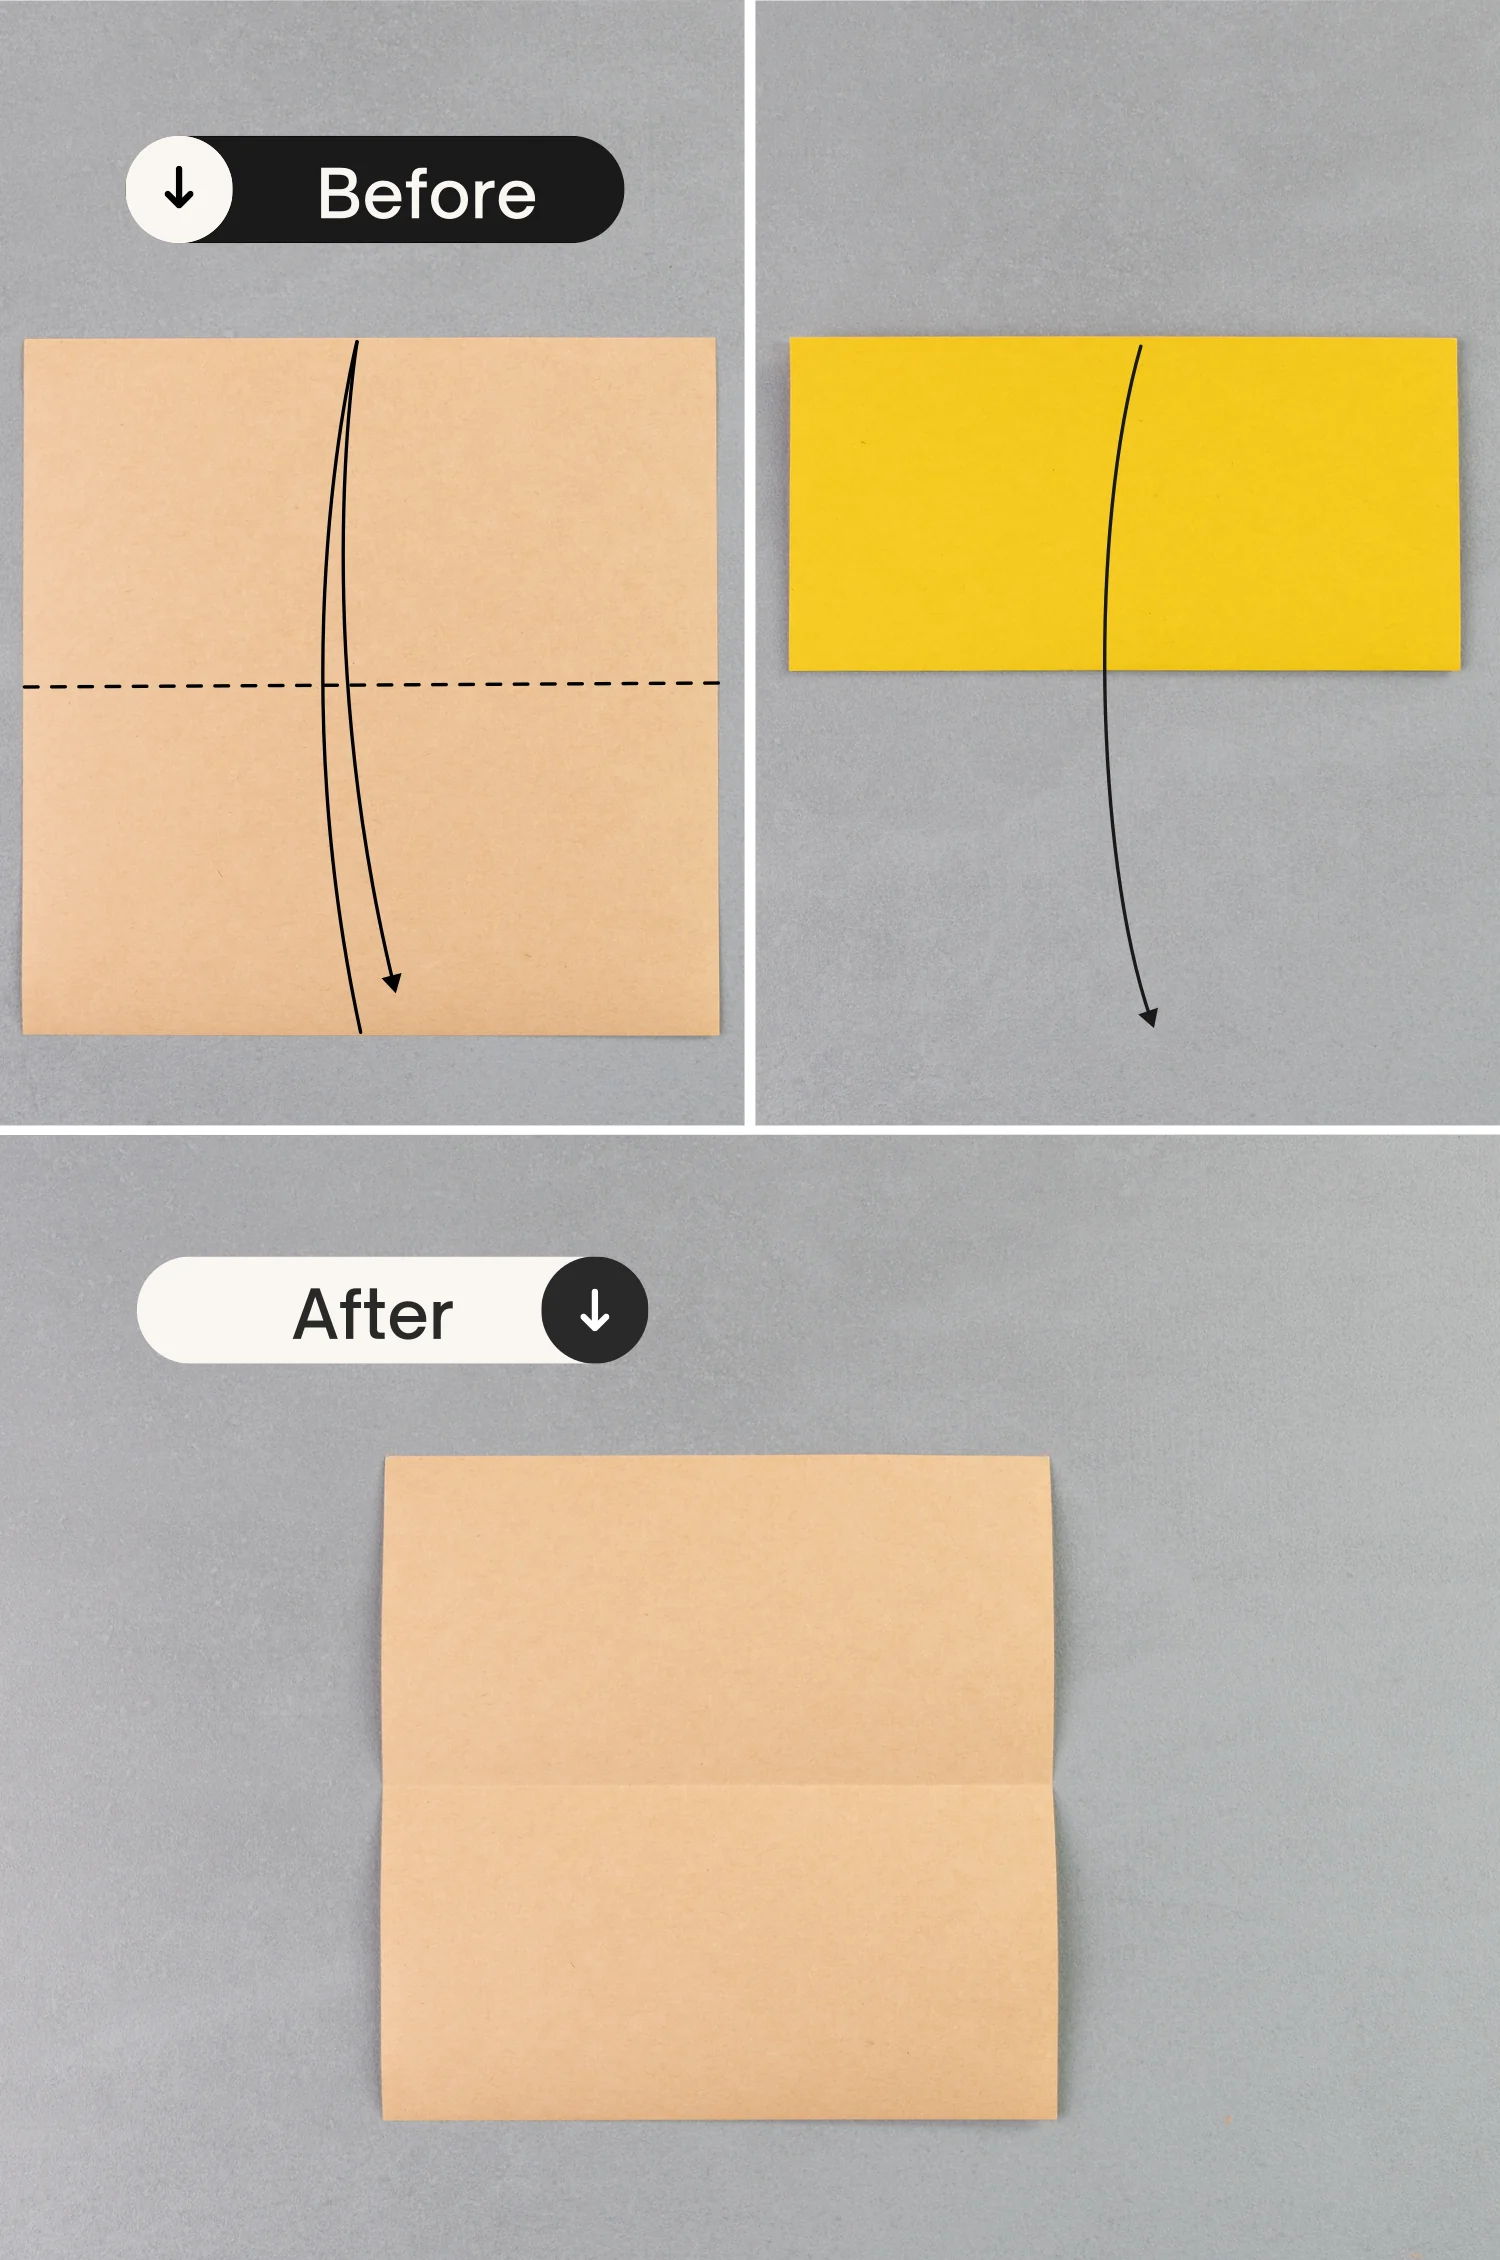
Place a piece of paper with the colored side down to begin folding, fold it in half horizontally, leaving a crease then unfold it.
Step 2
Fold the top and bottom edges to align with the horizontal crease.
Step 3
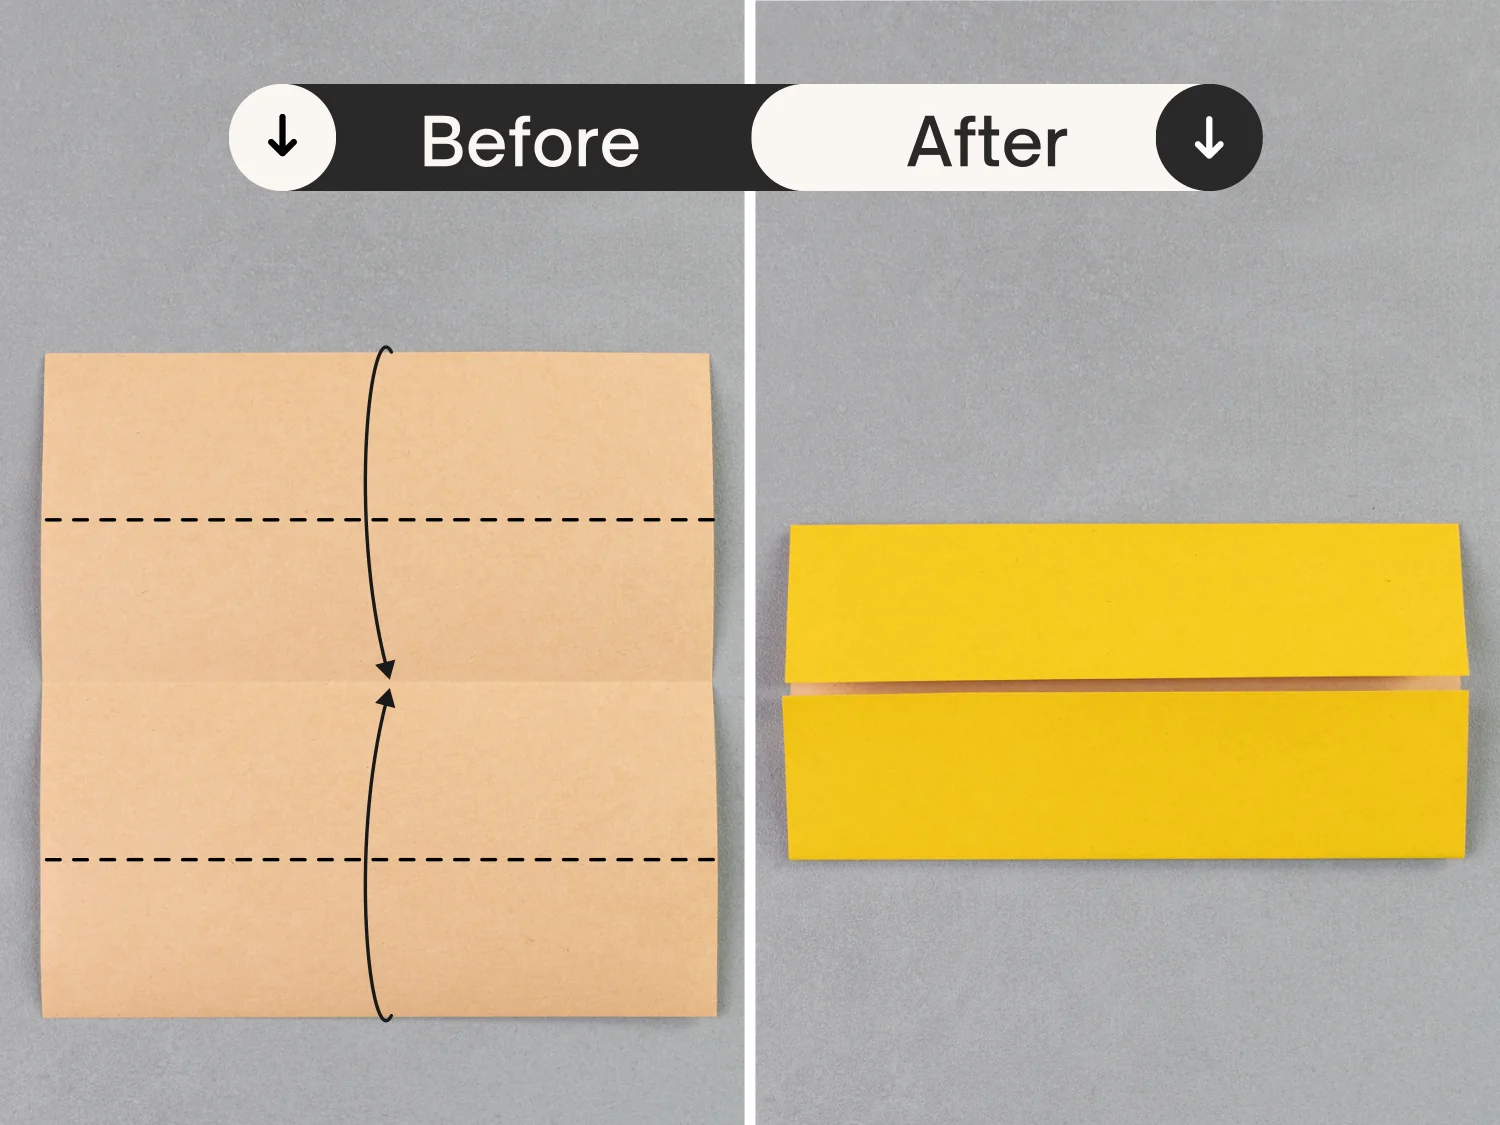
Flip the paper over from left to right.
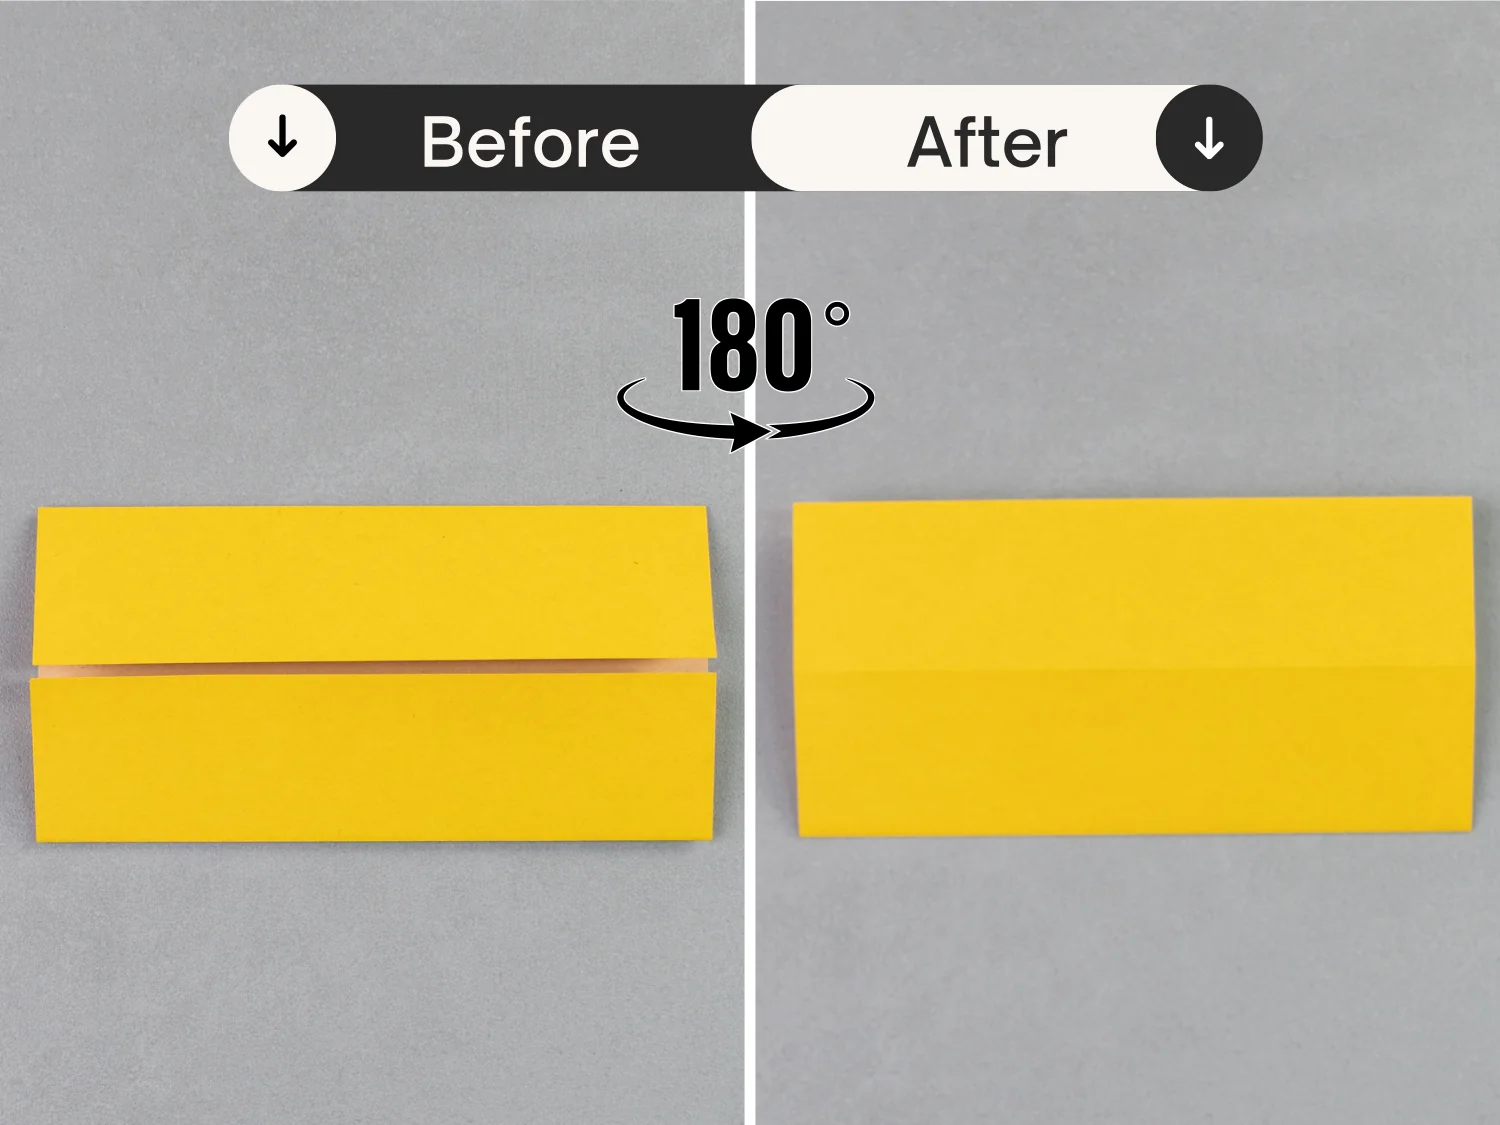
Step 4
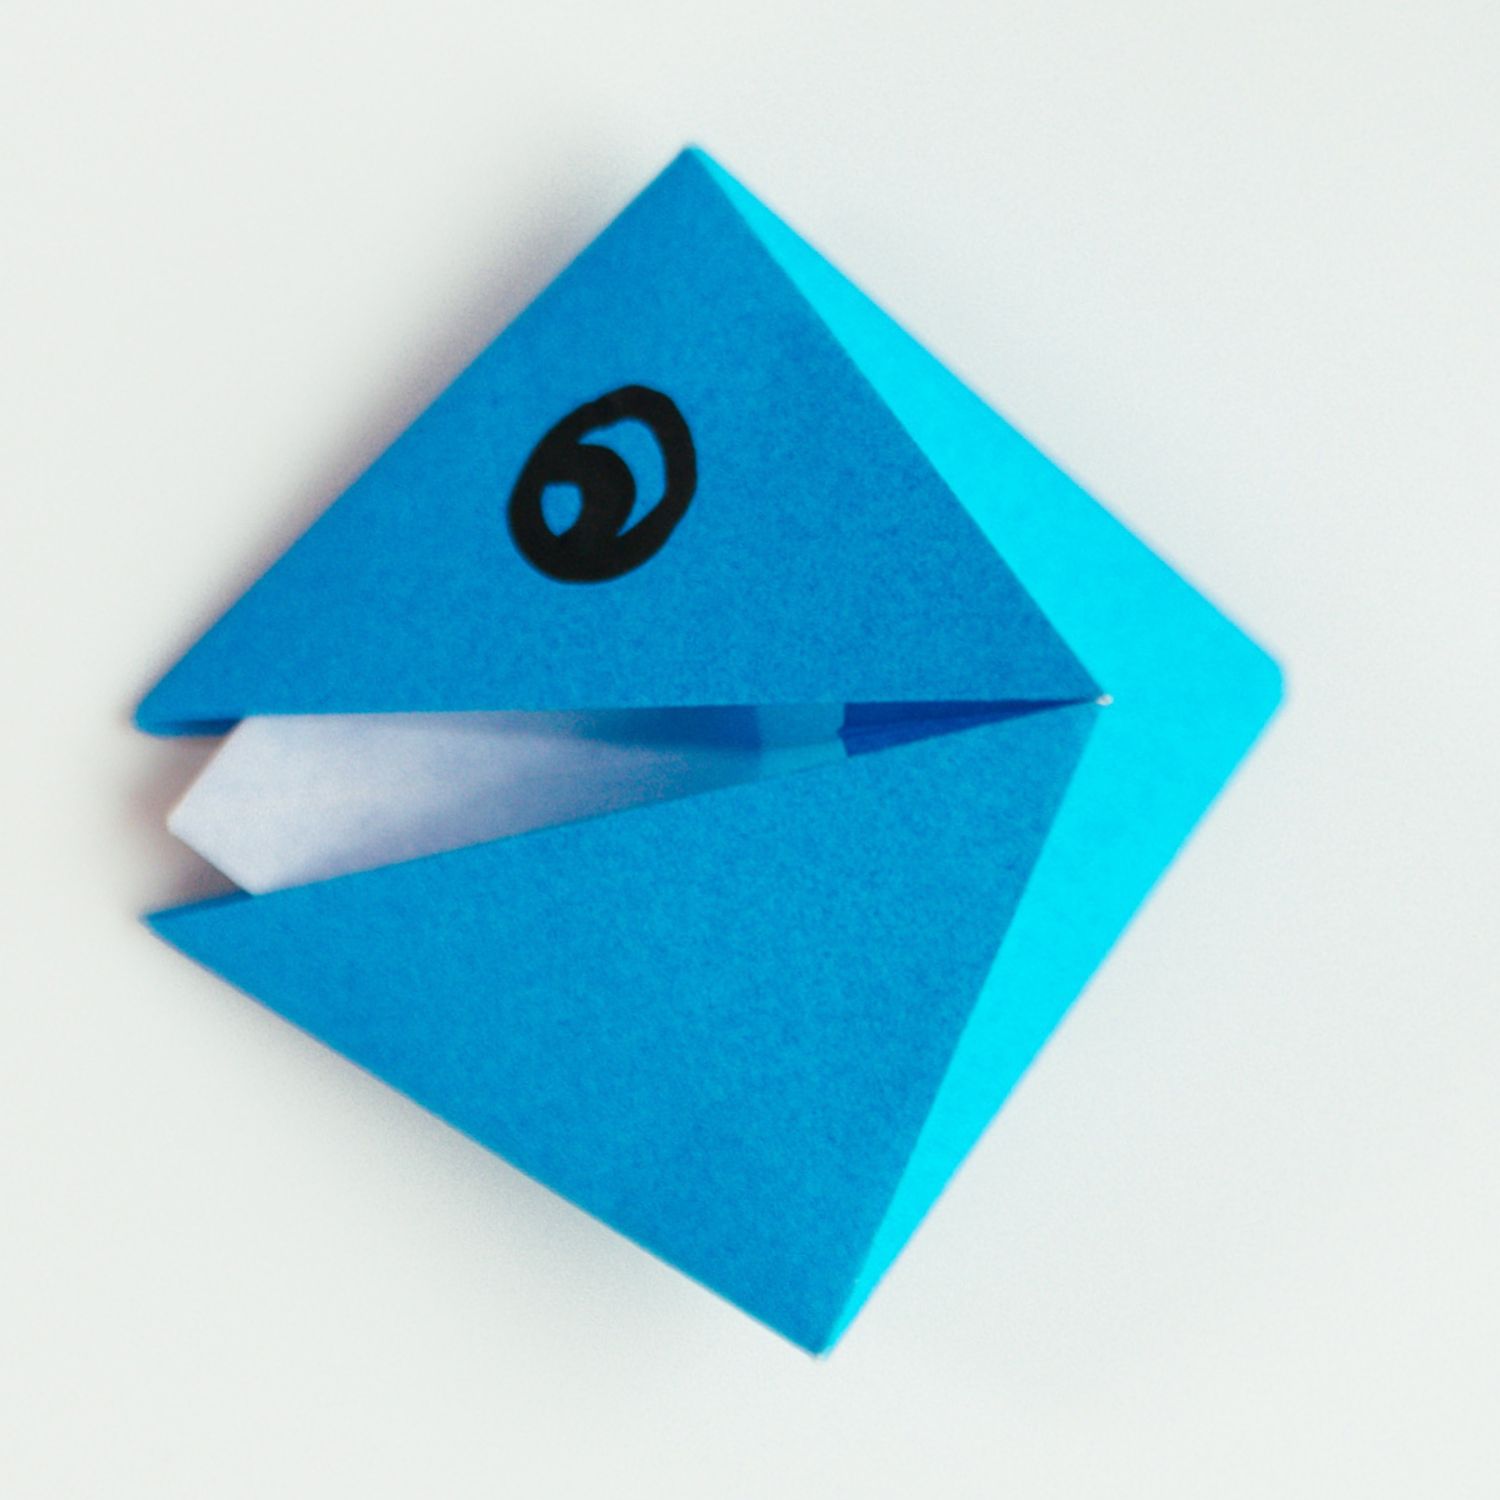
Fold the right edge to align with the top edge and the left edge to align with the bottom edge.

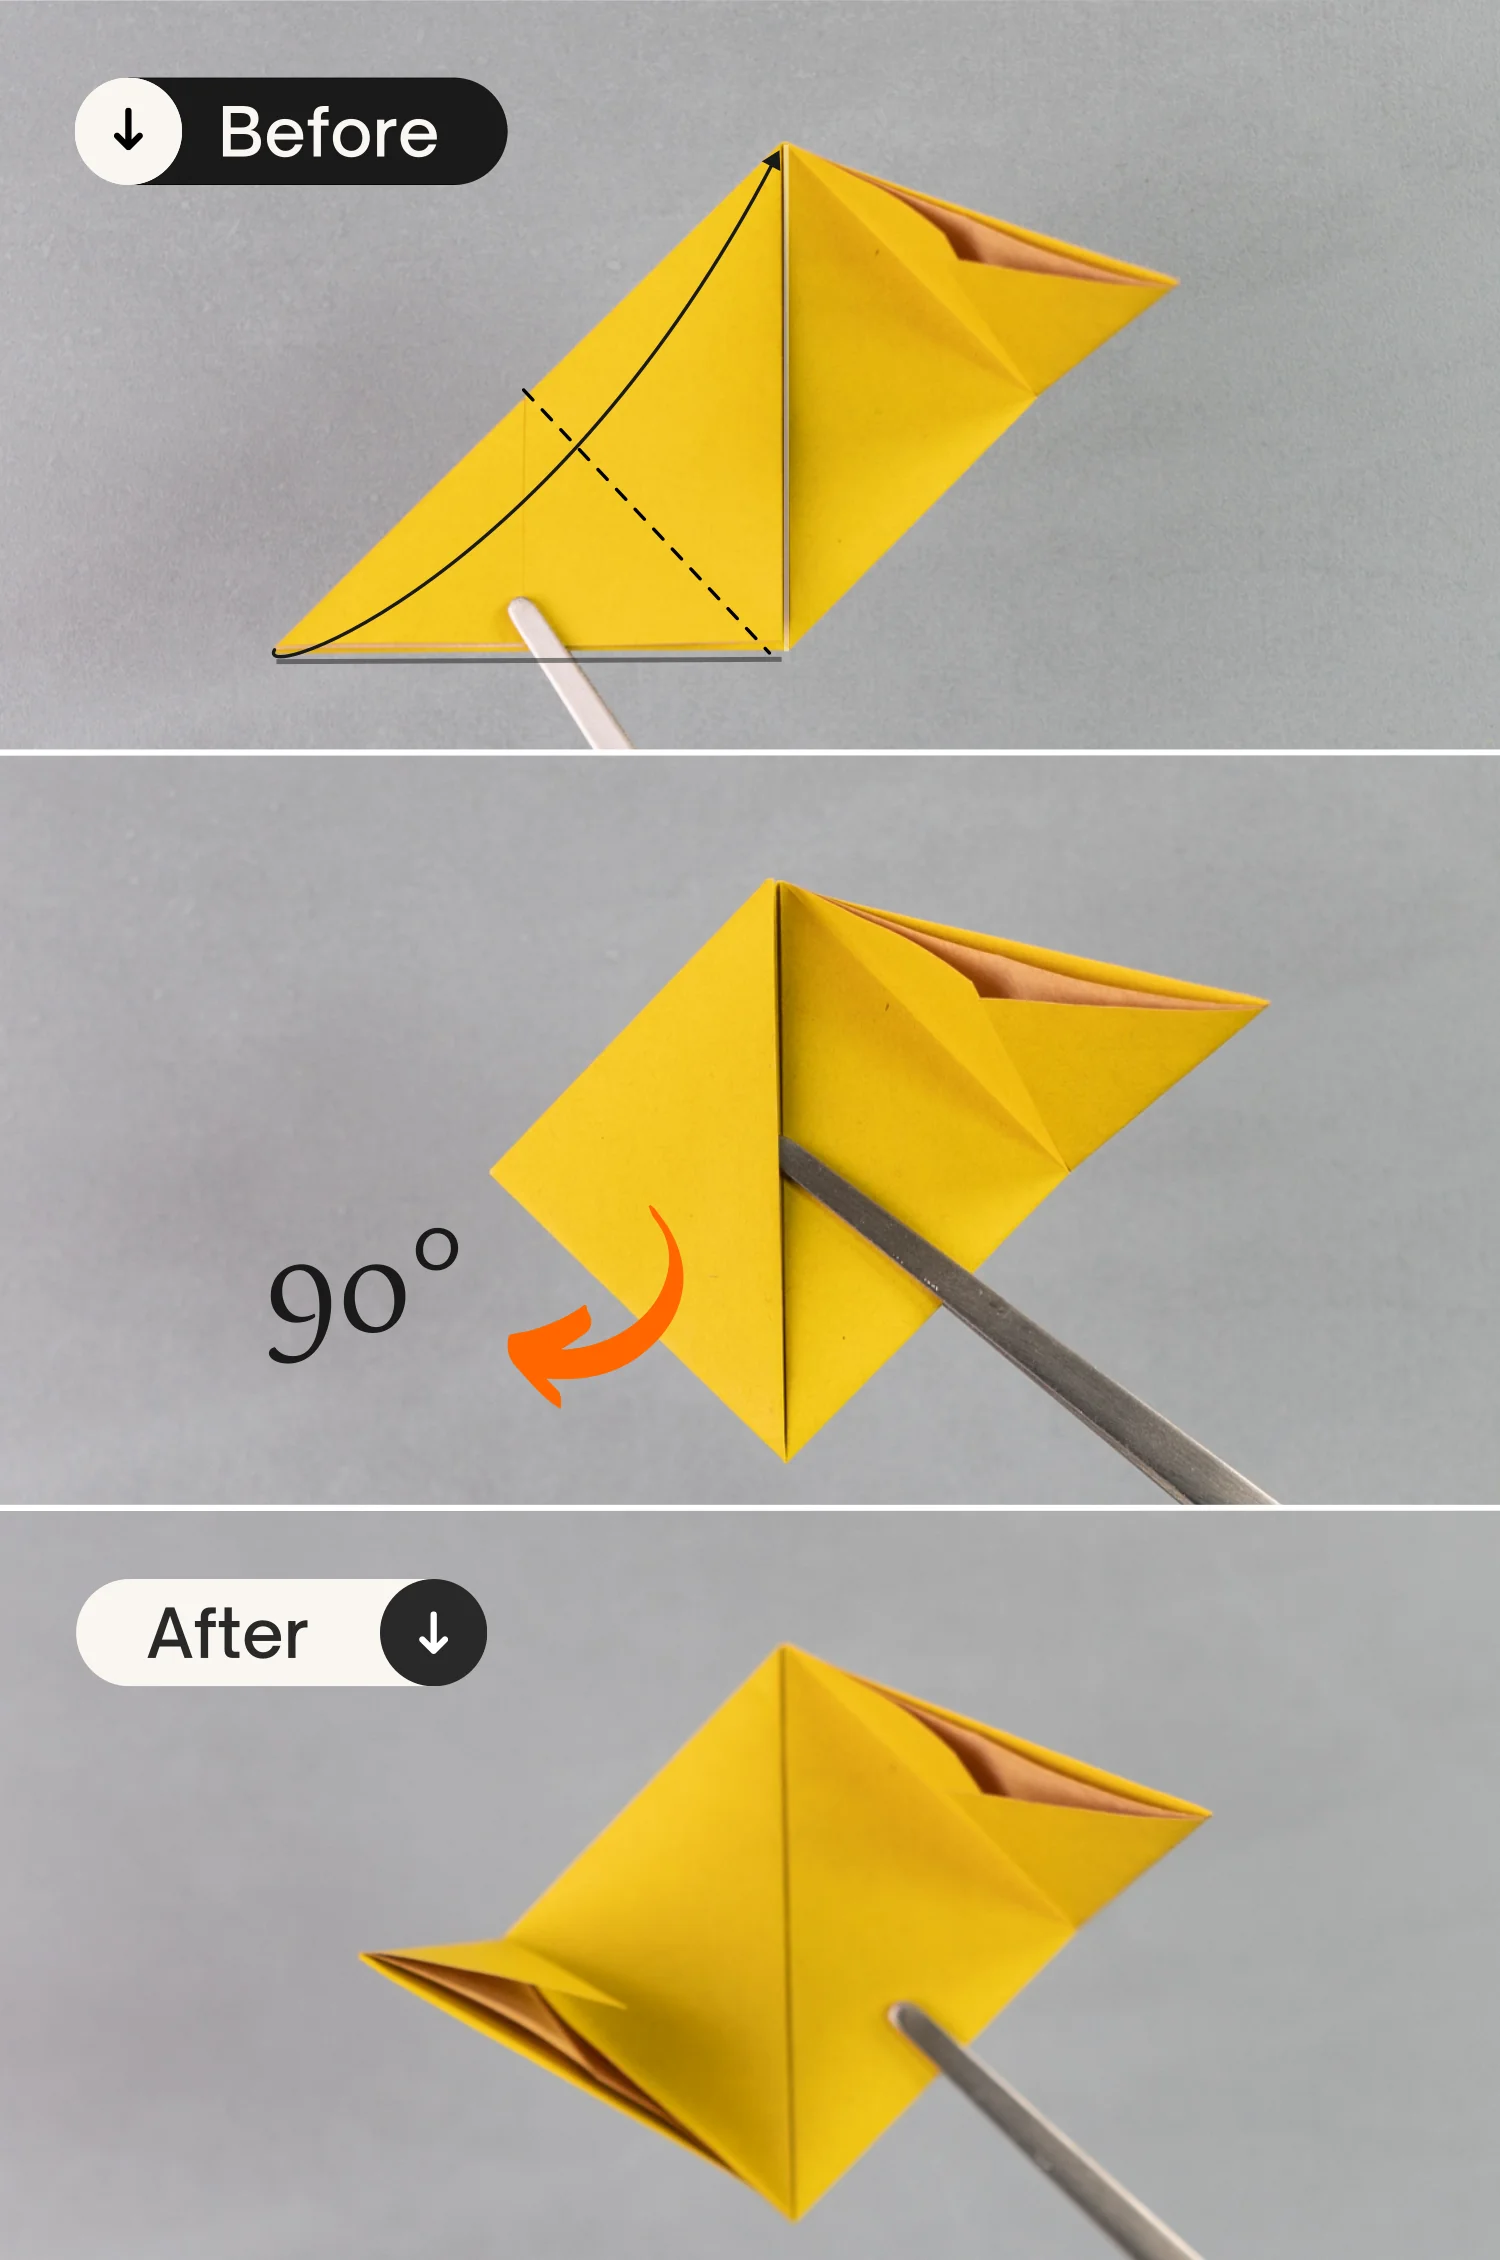
Step 5
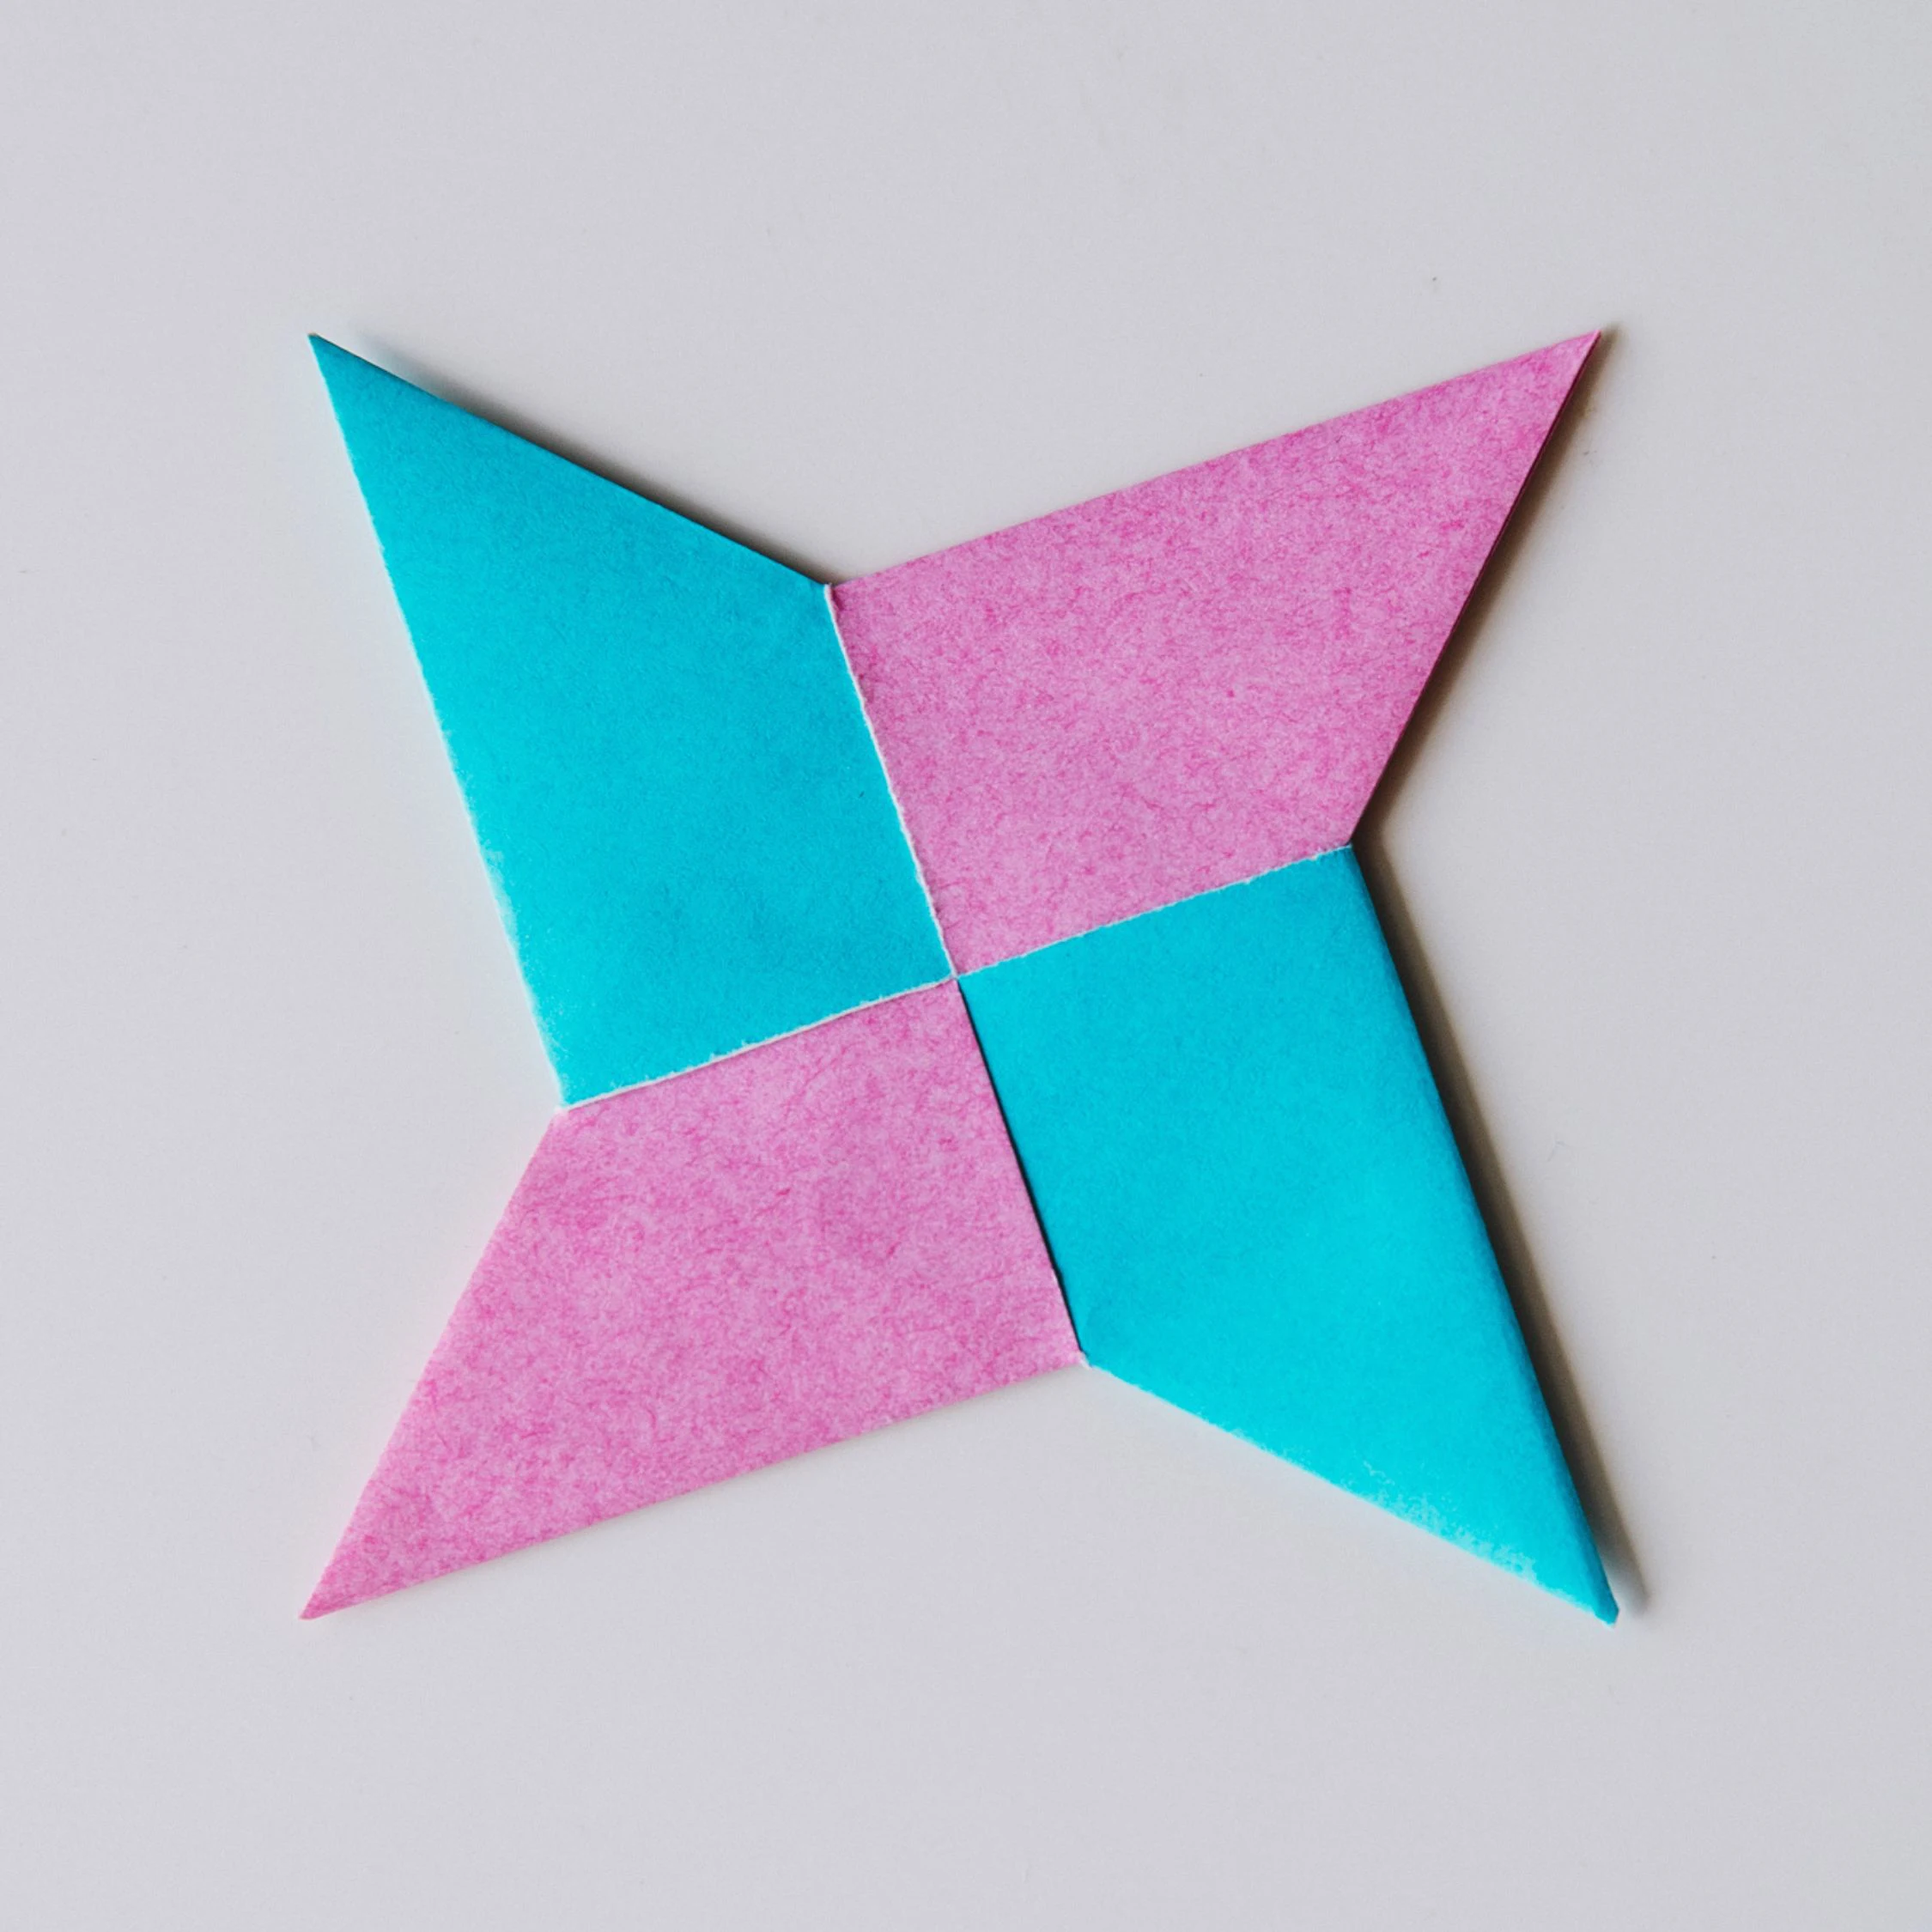
Fold down the top right point to meet the bottom right point, then unfold it for 90 degrees only to make this flap stand.
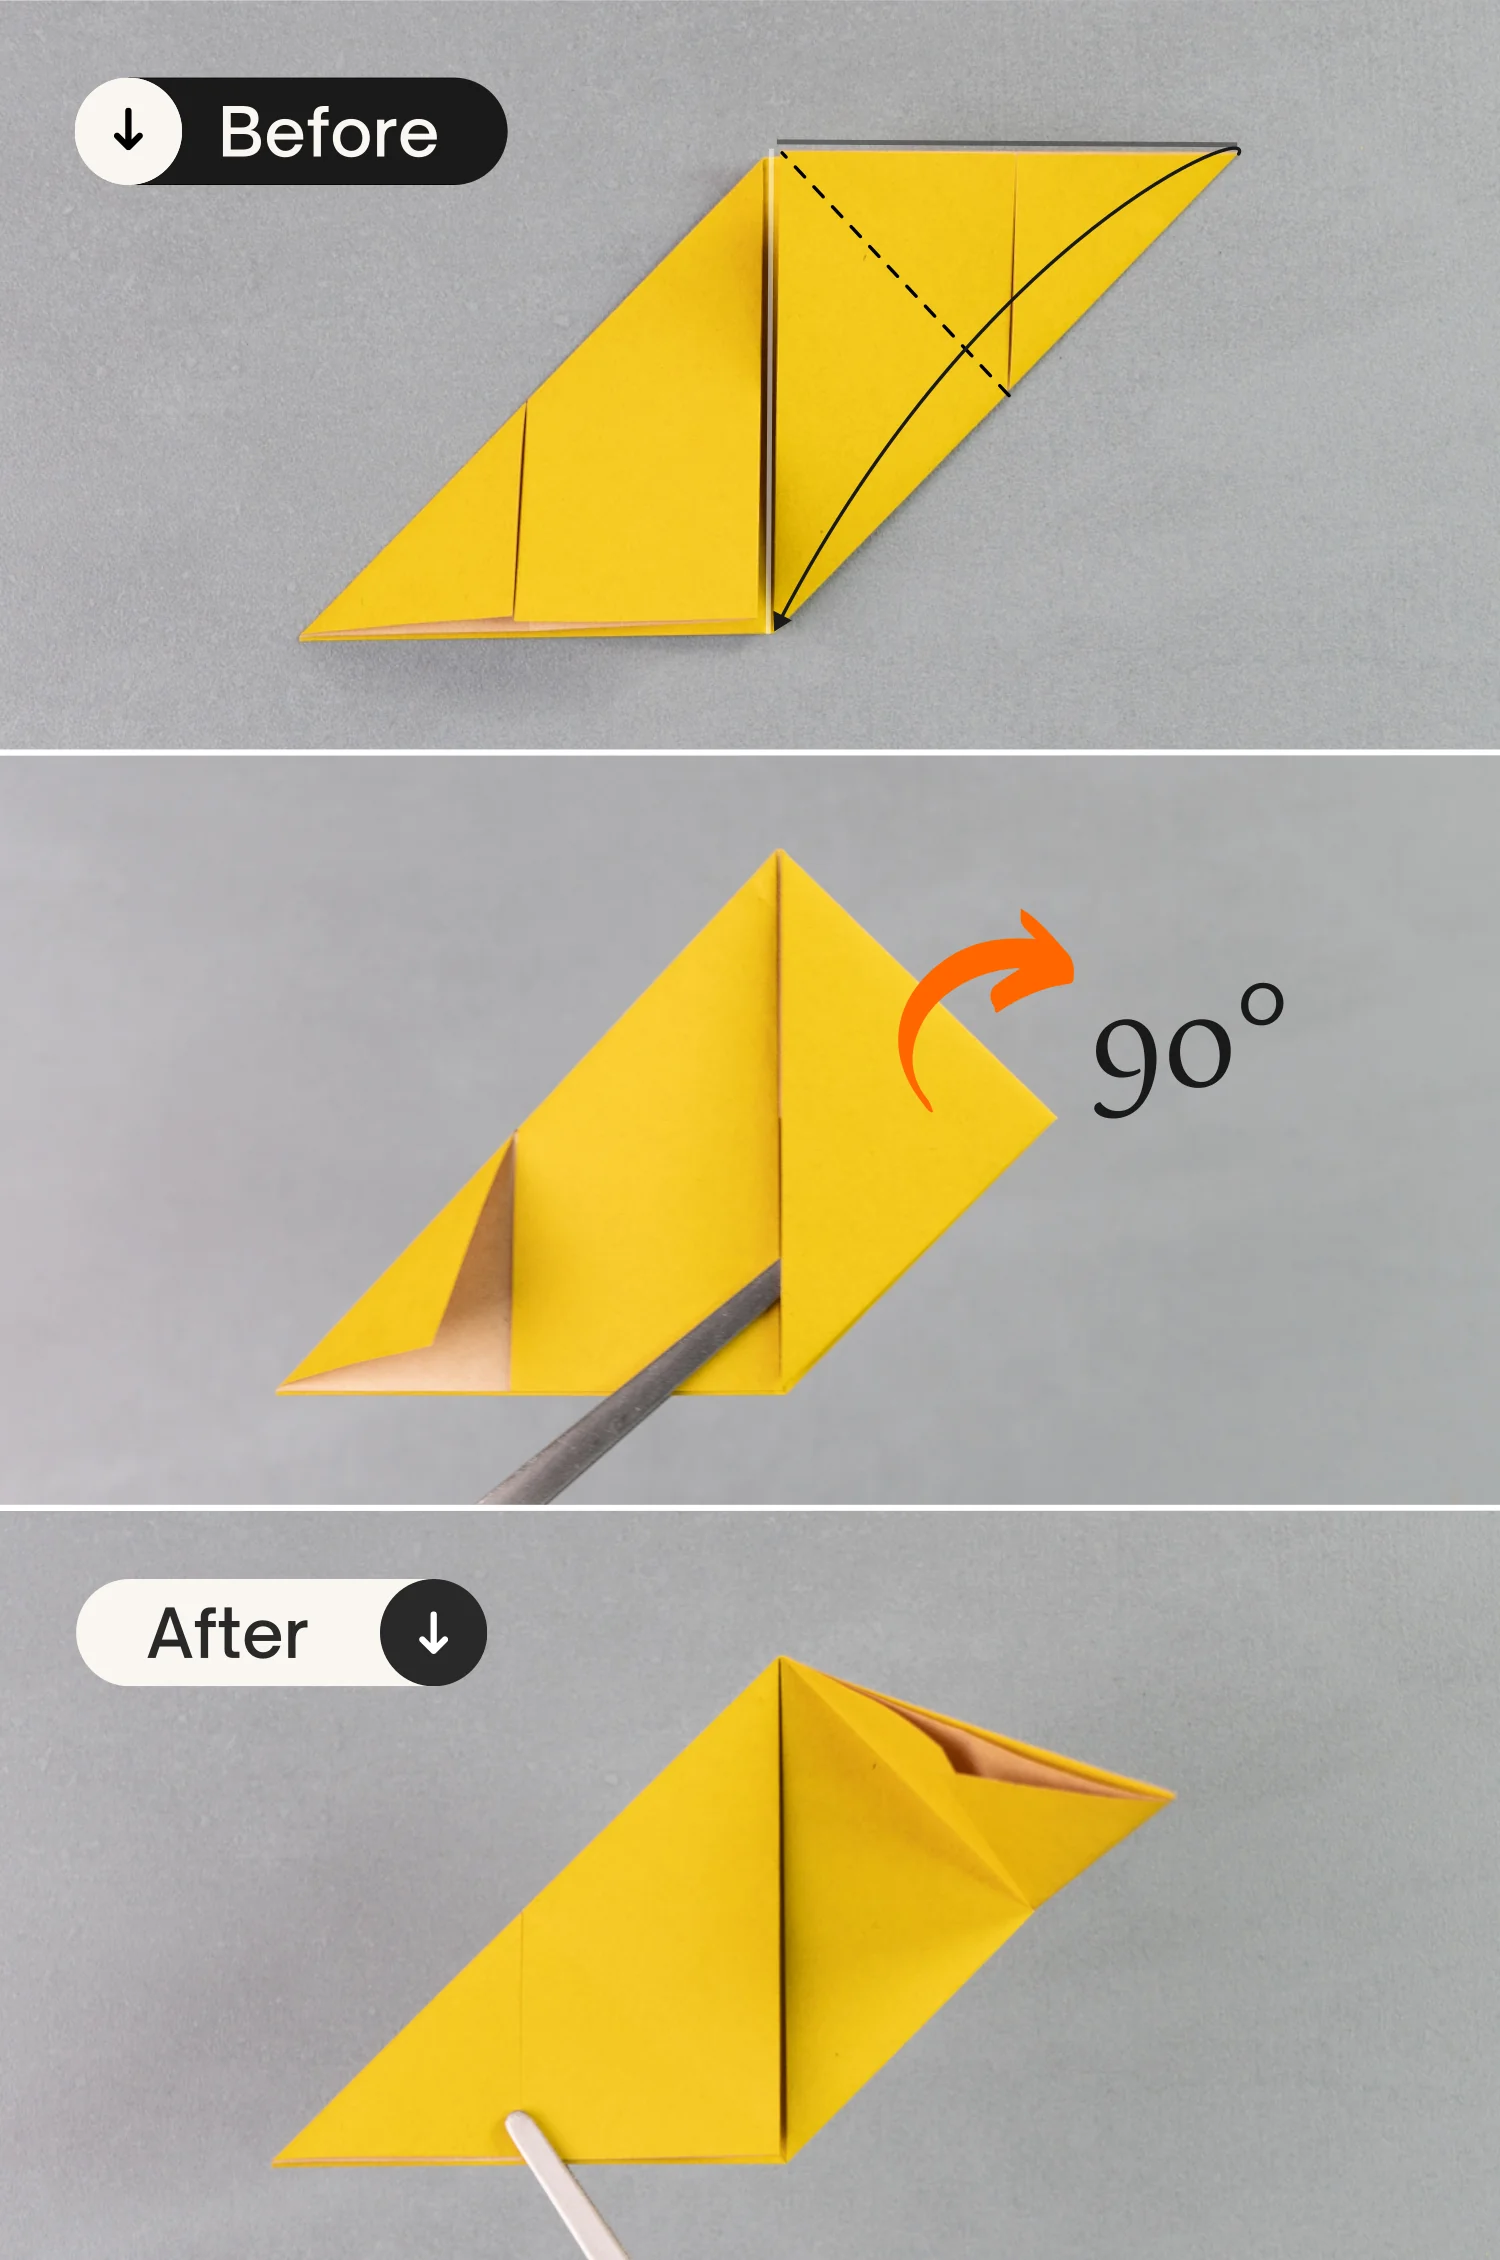
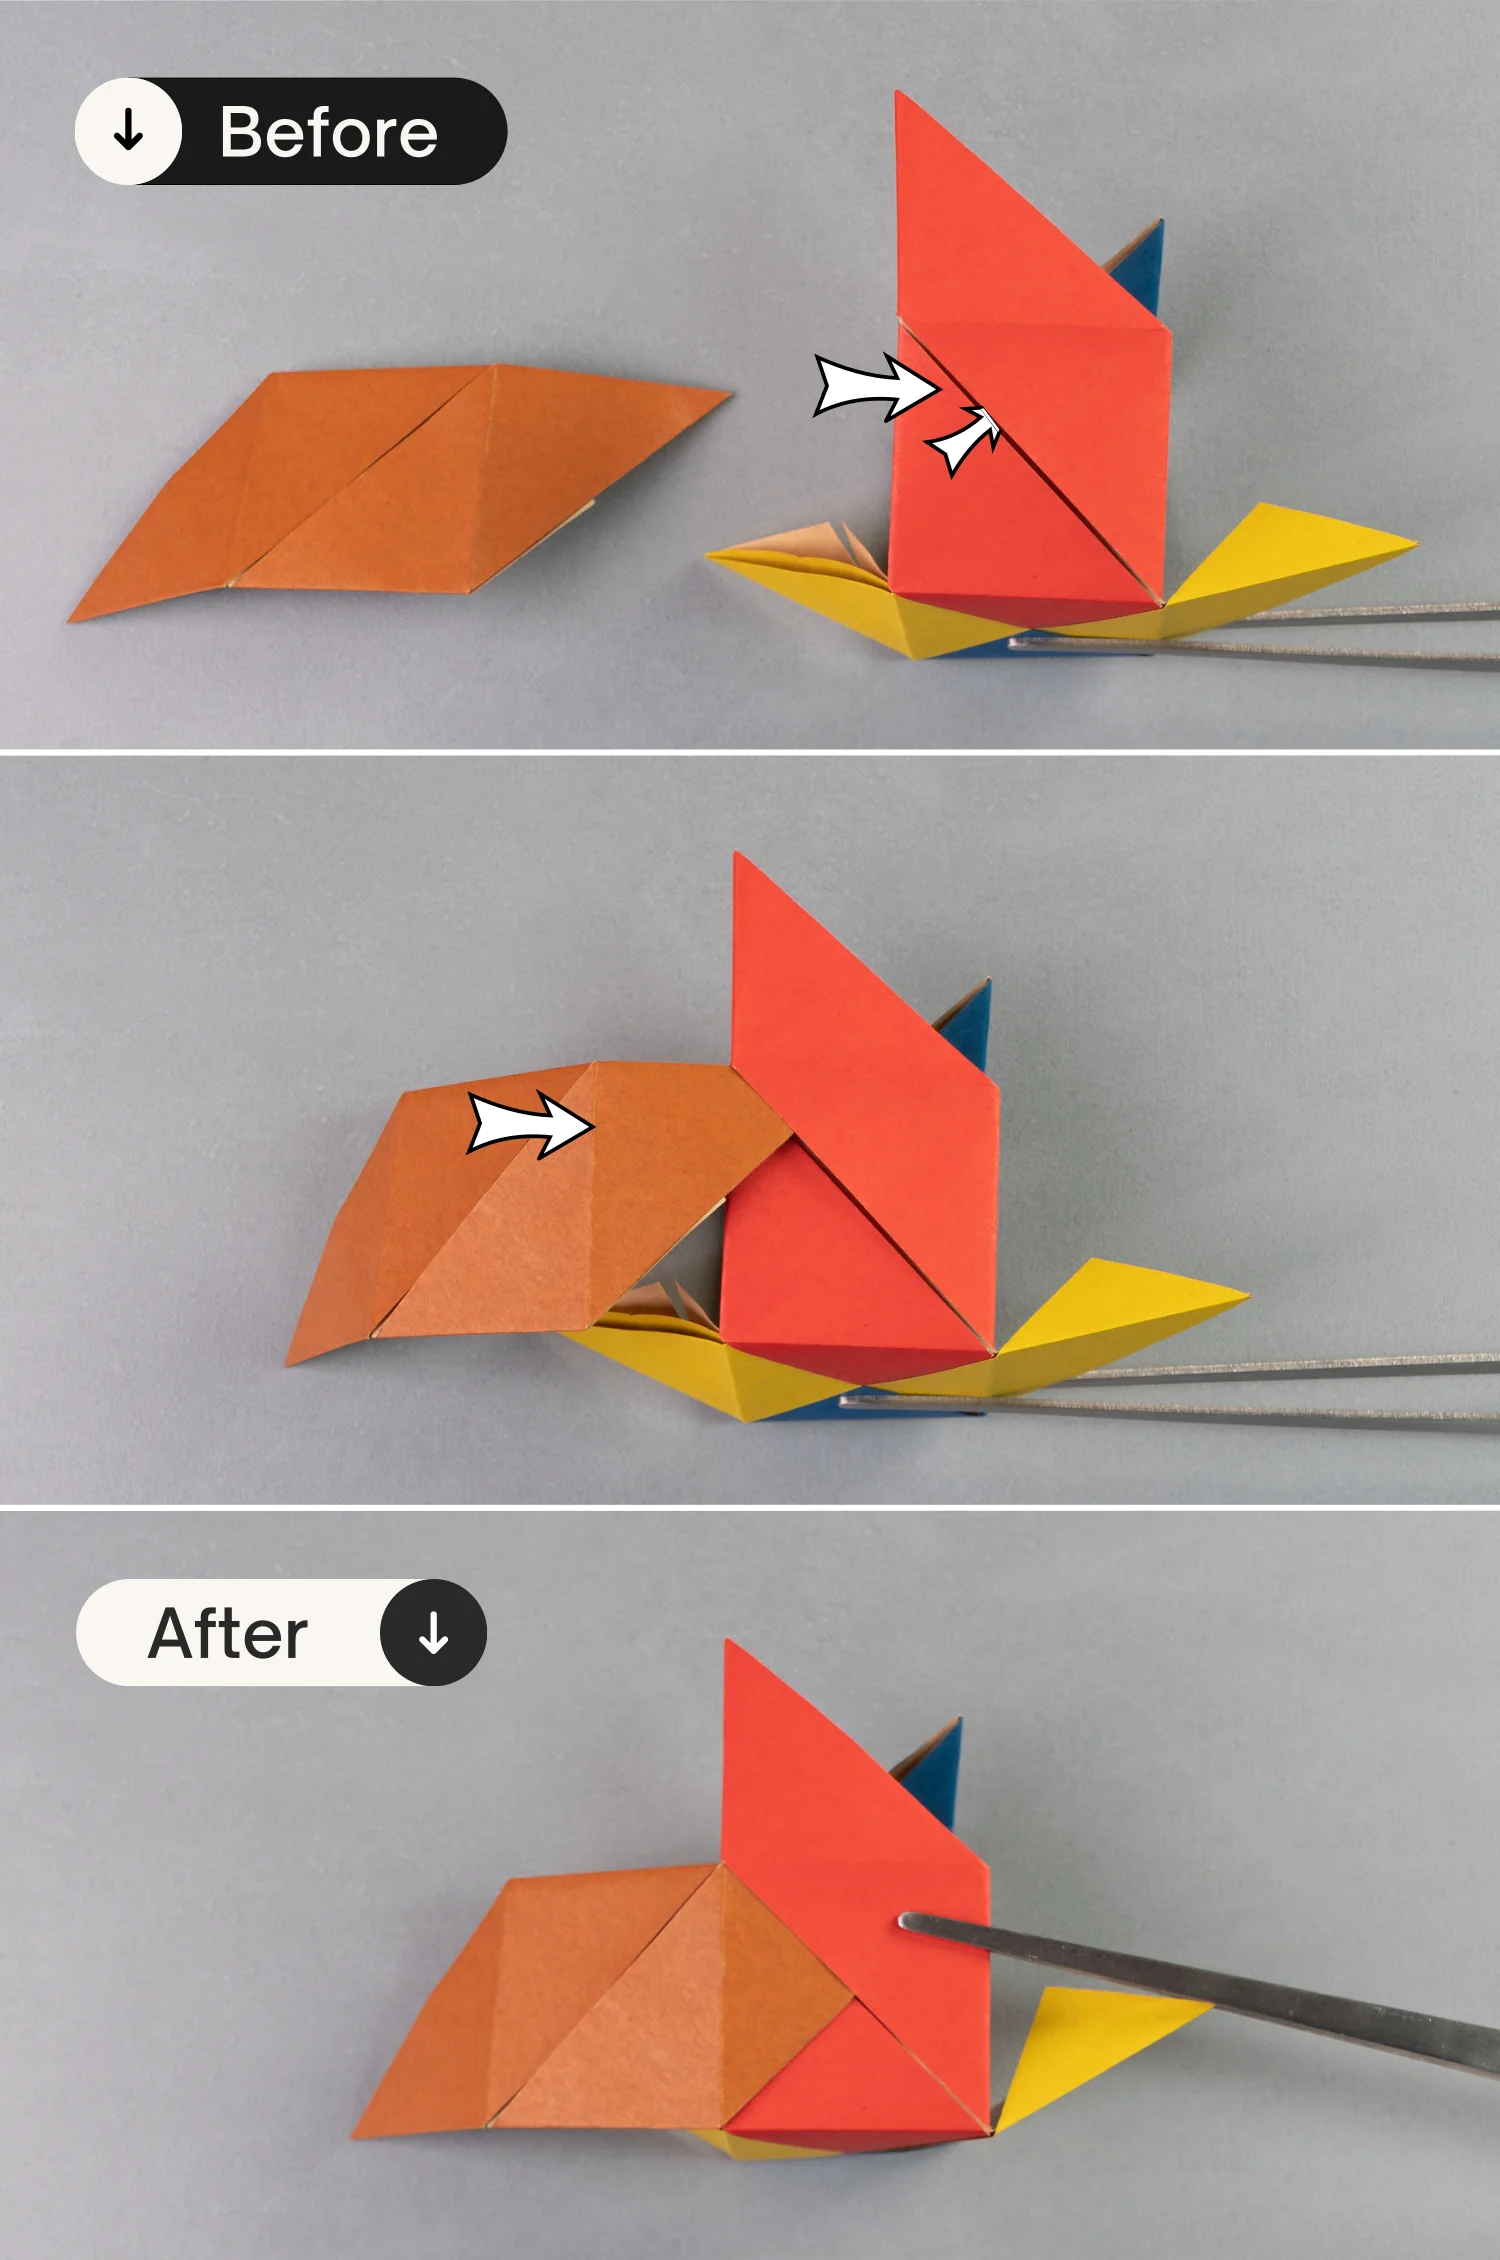
Step 6
Fold up the bottom left point to meet the top point, and unfold it for 90 degrees only to make this flap stand.
Step 7
Fold the other five papers in the same manner, getting 6 same modules.
Step 8
Flip all of them over from left to right.
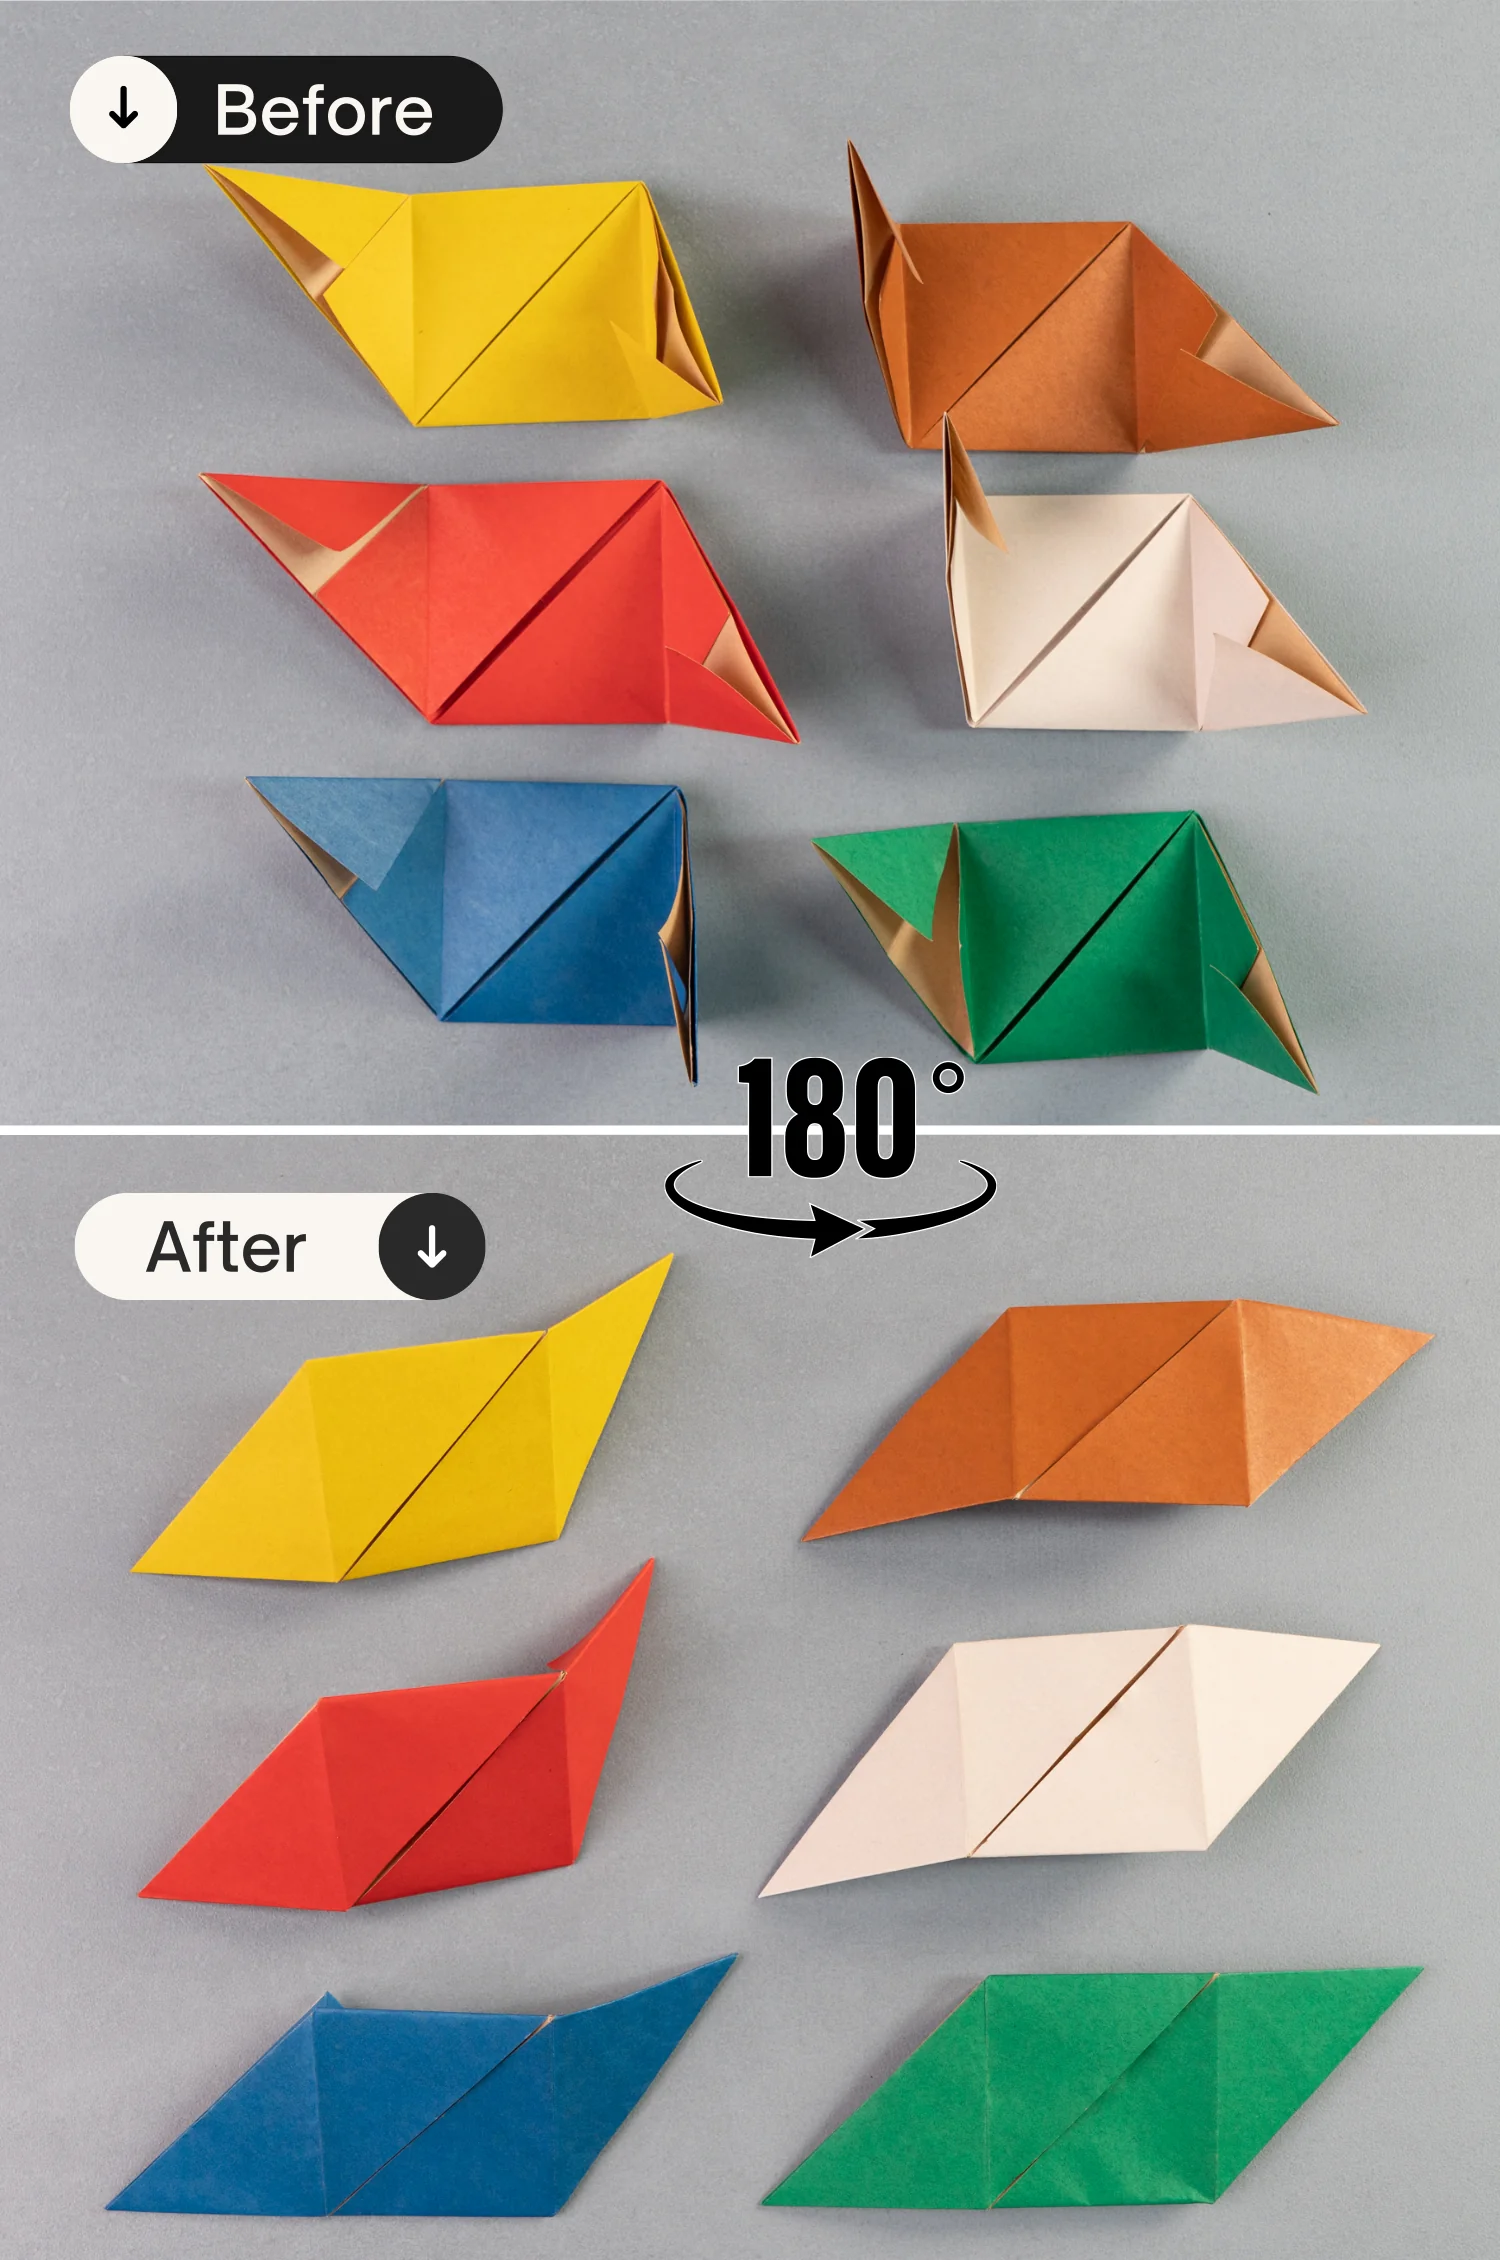
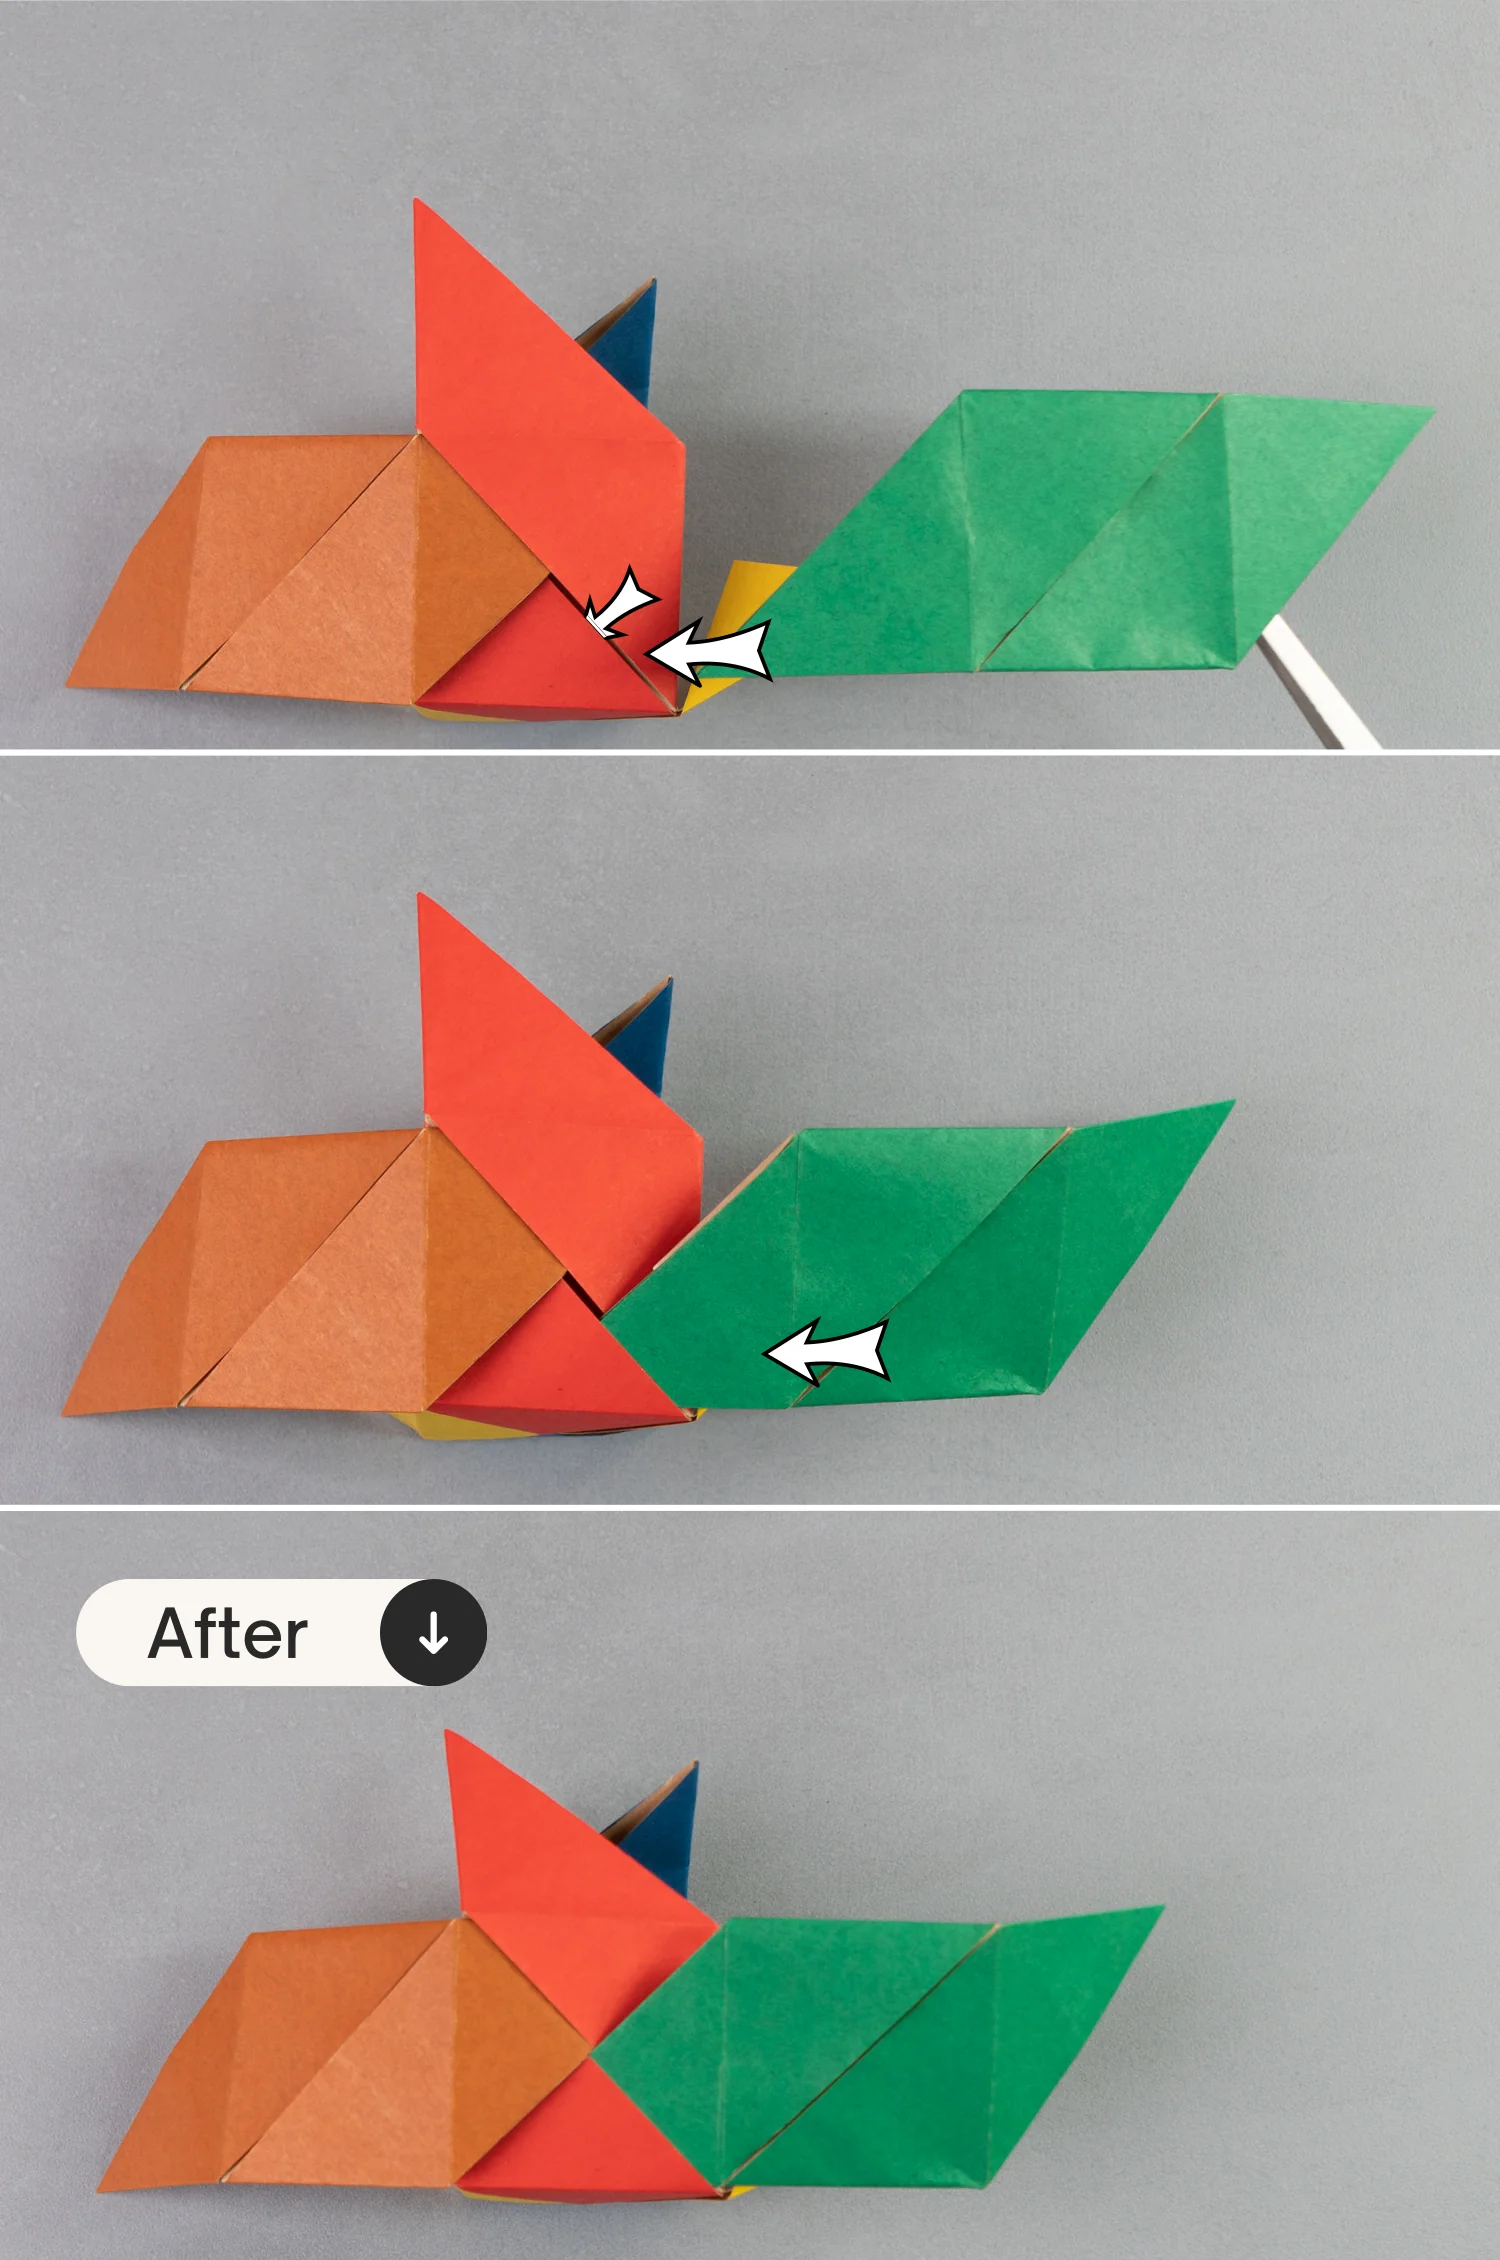
Step 9
Place two of the modules one horizontally and one vertically. Then plug the triangle at the bottom of the vertical module into the pocket of the module placed horizontally as shown.
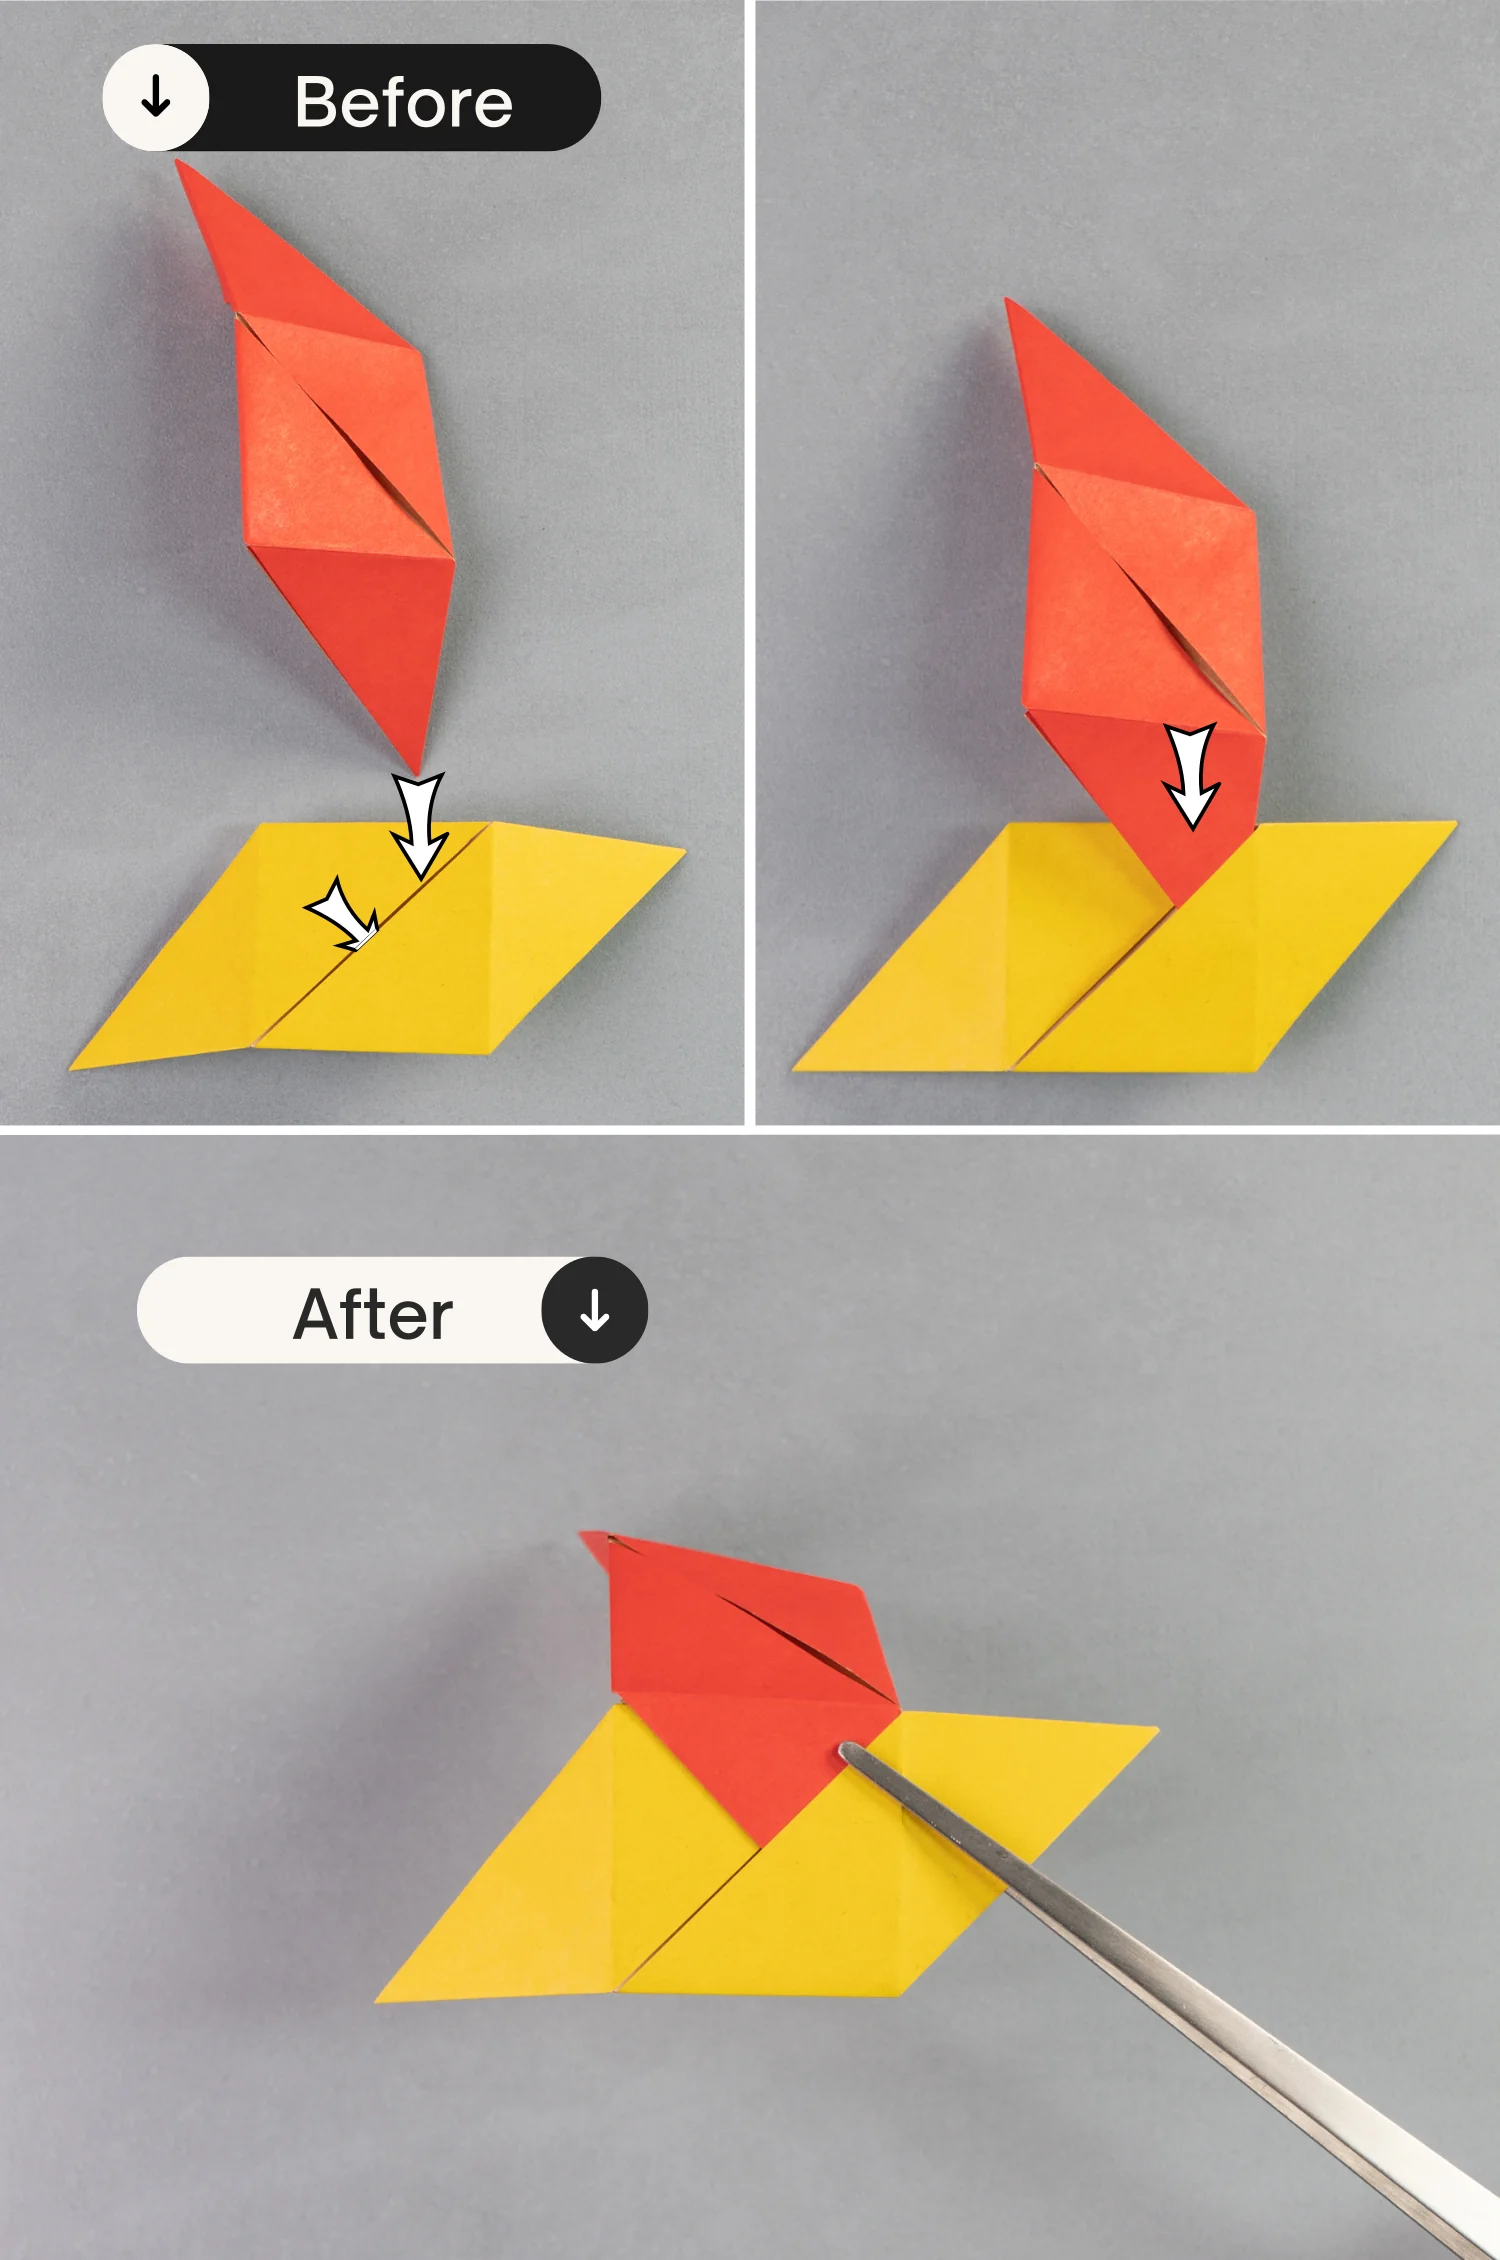
Step 10
Take out another module, place it vertically, and plug its top triangle into the pocket of the module placed horizontally.
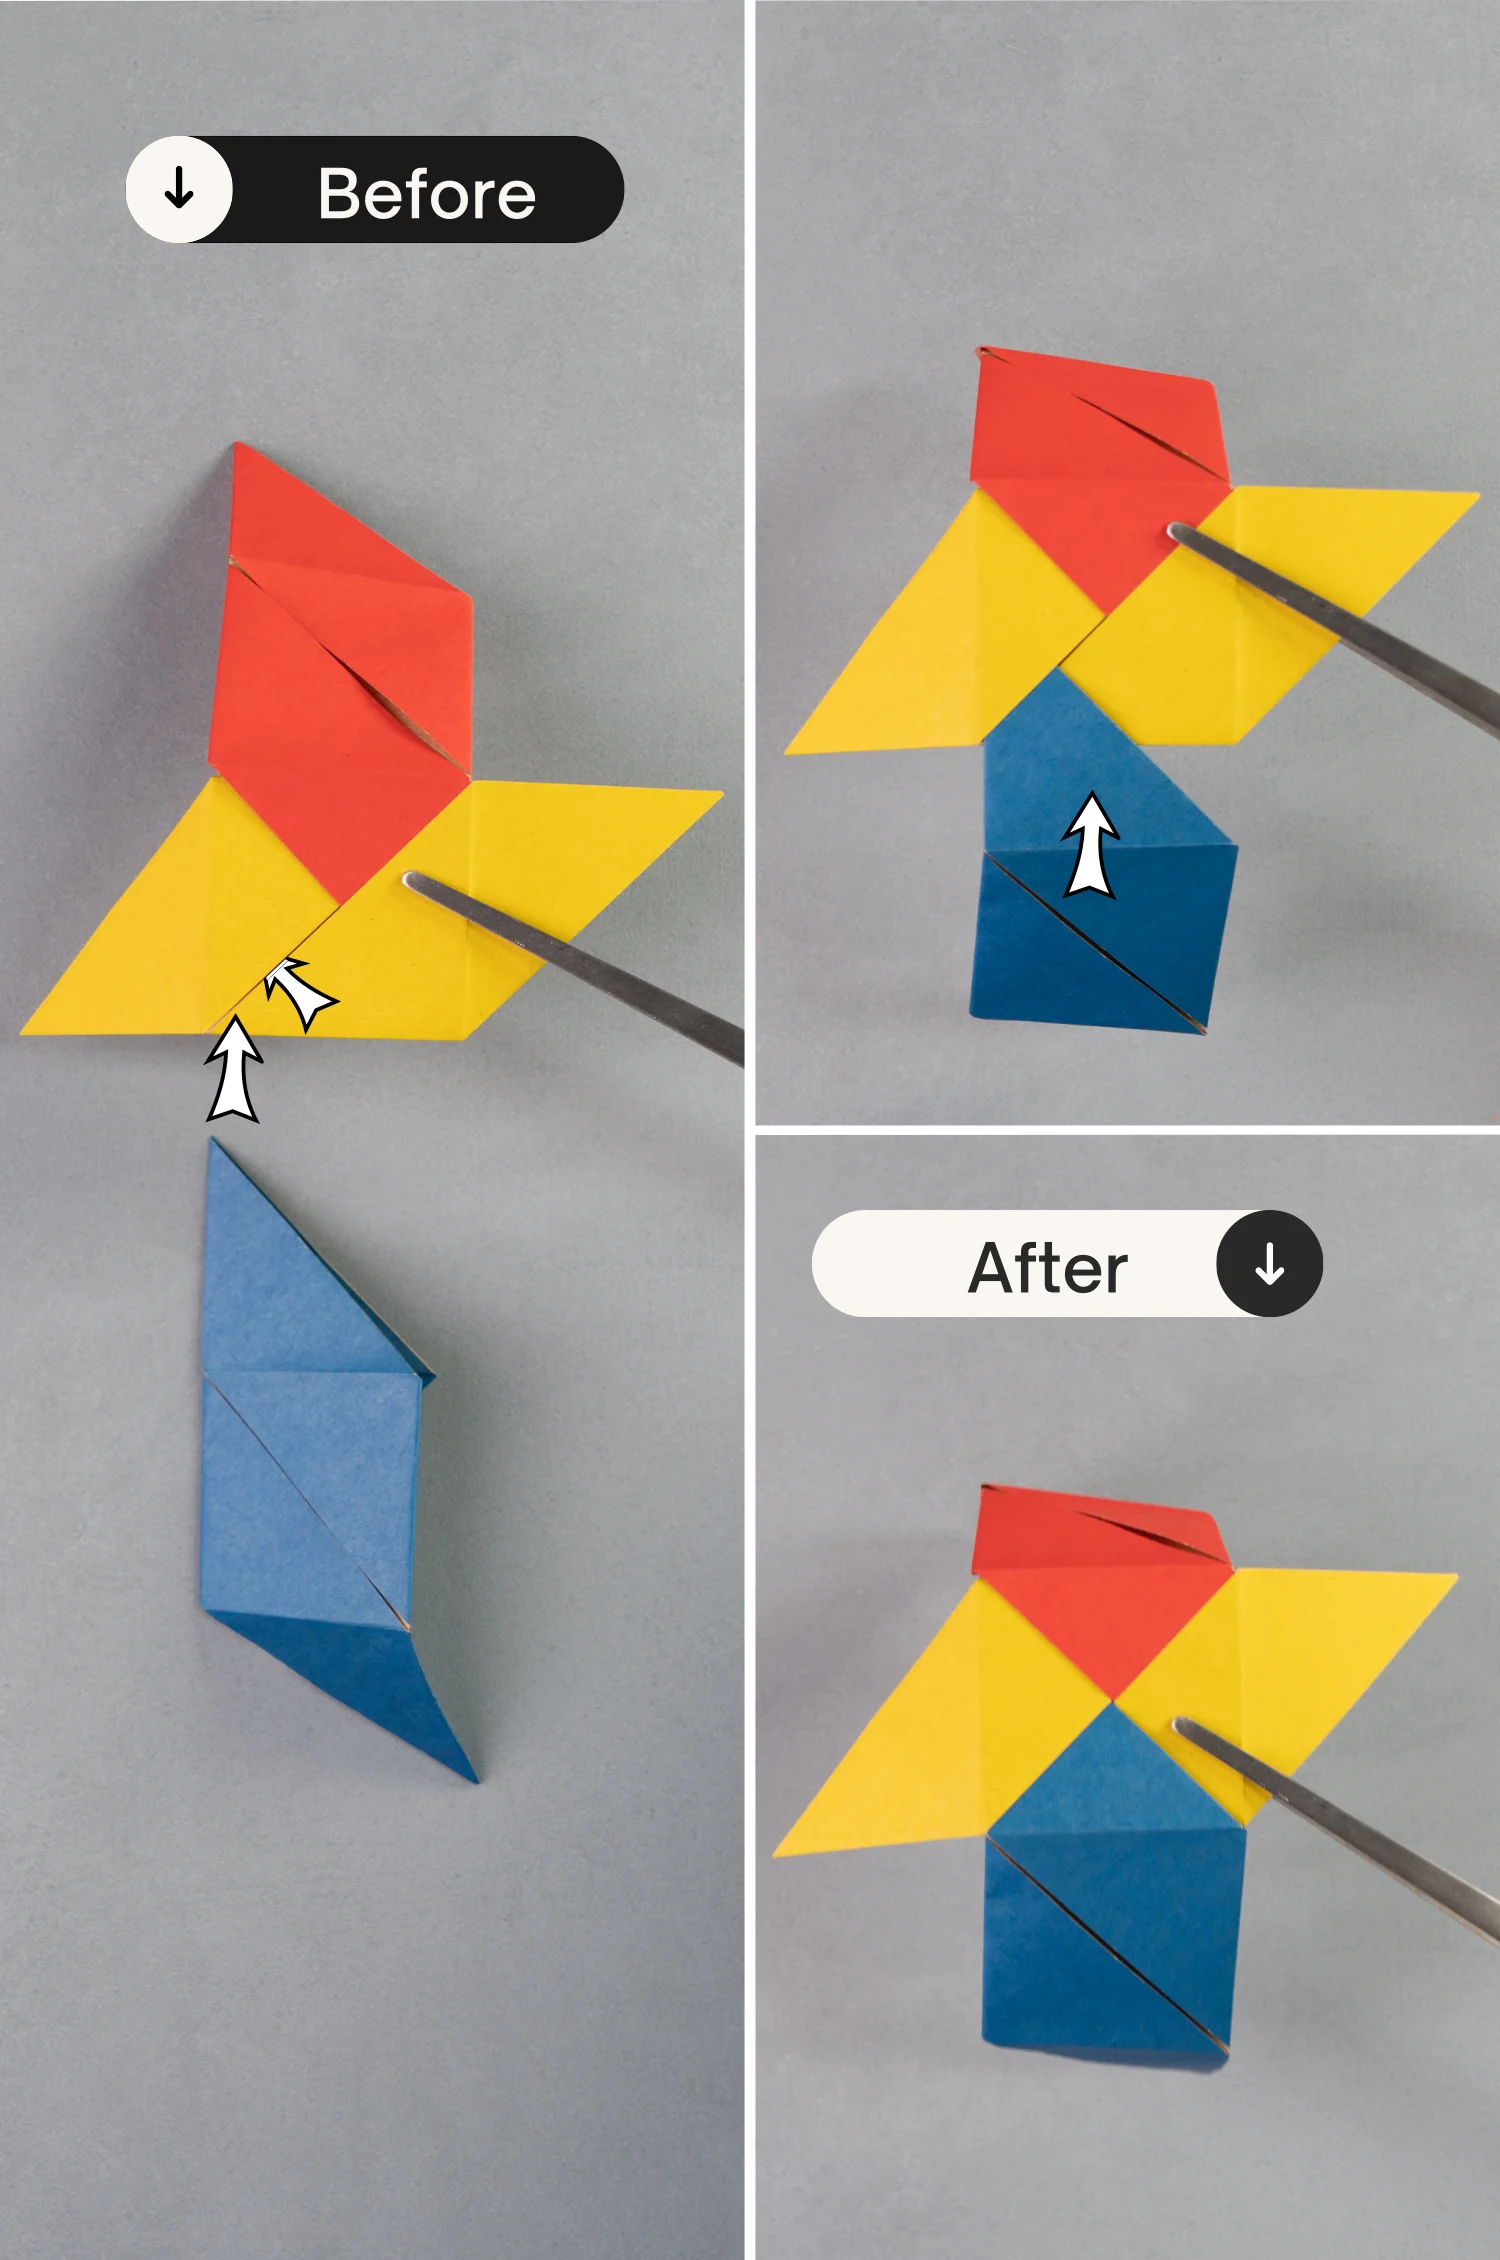
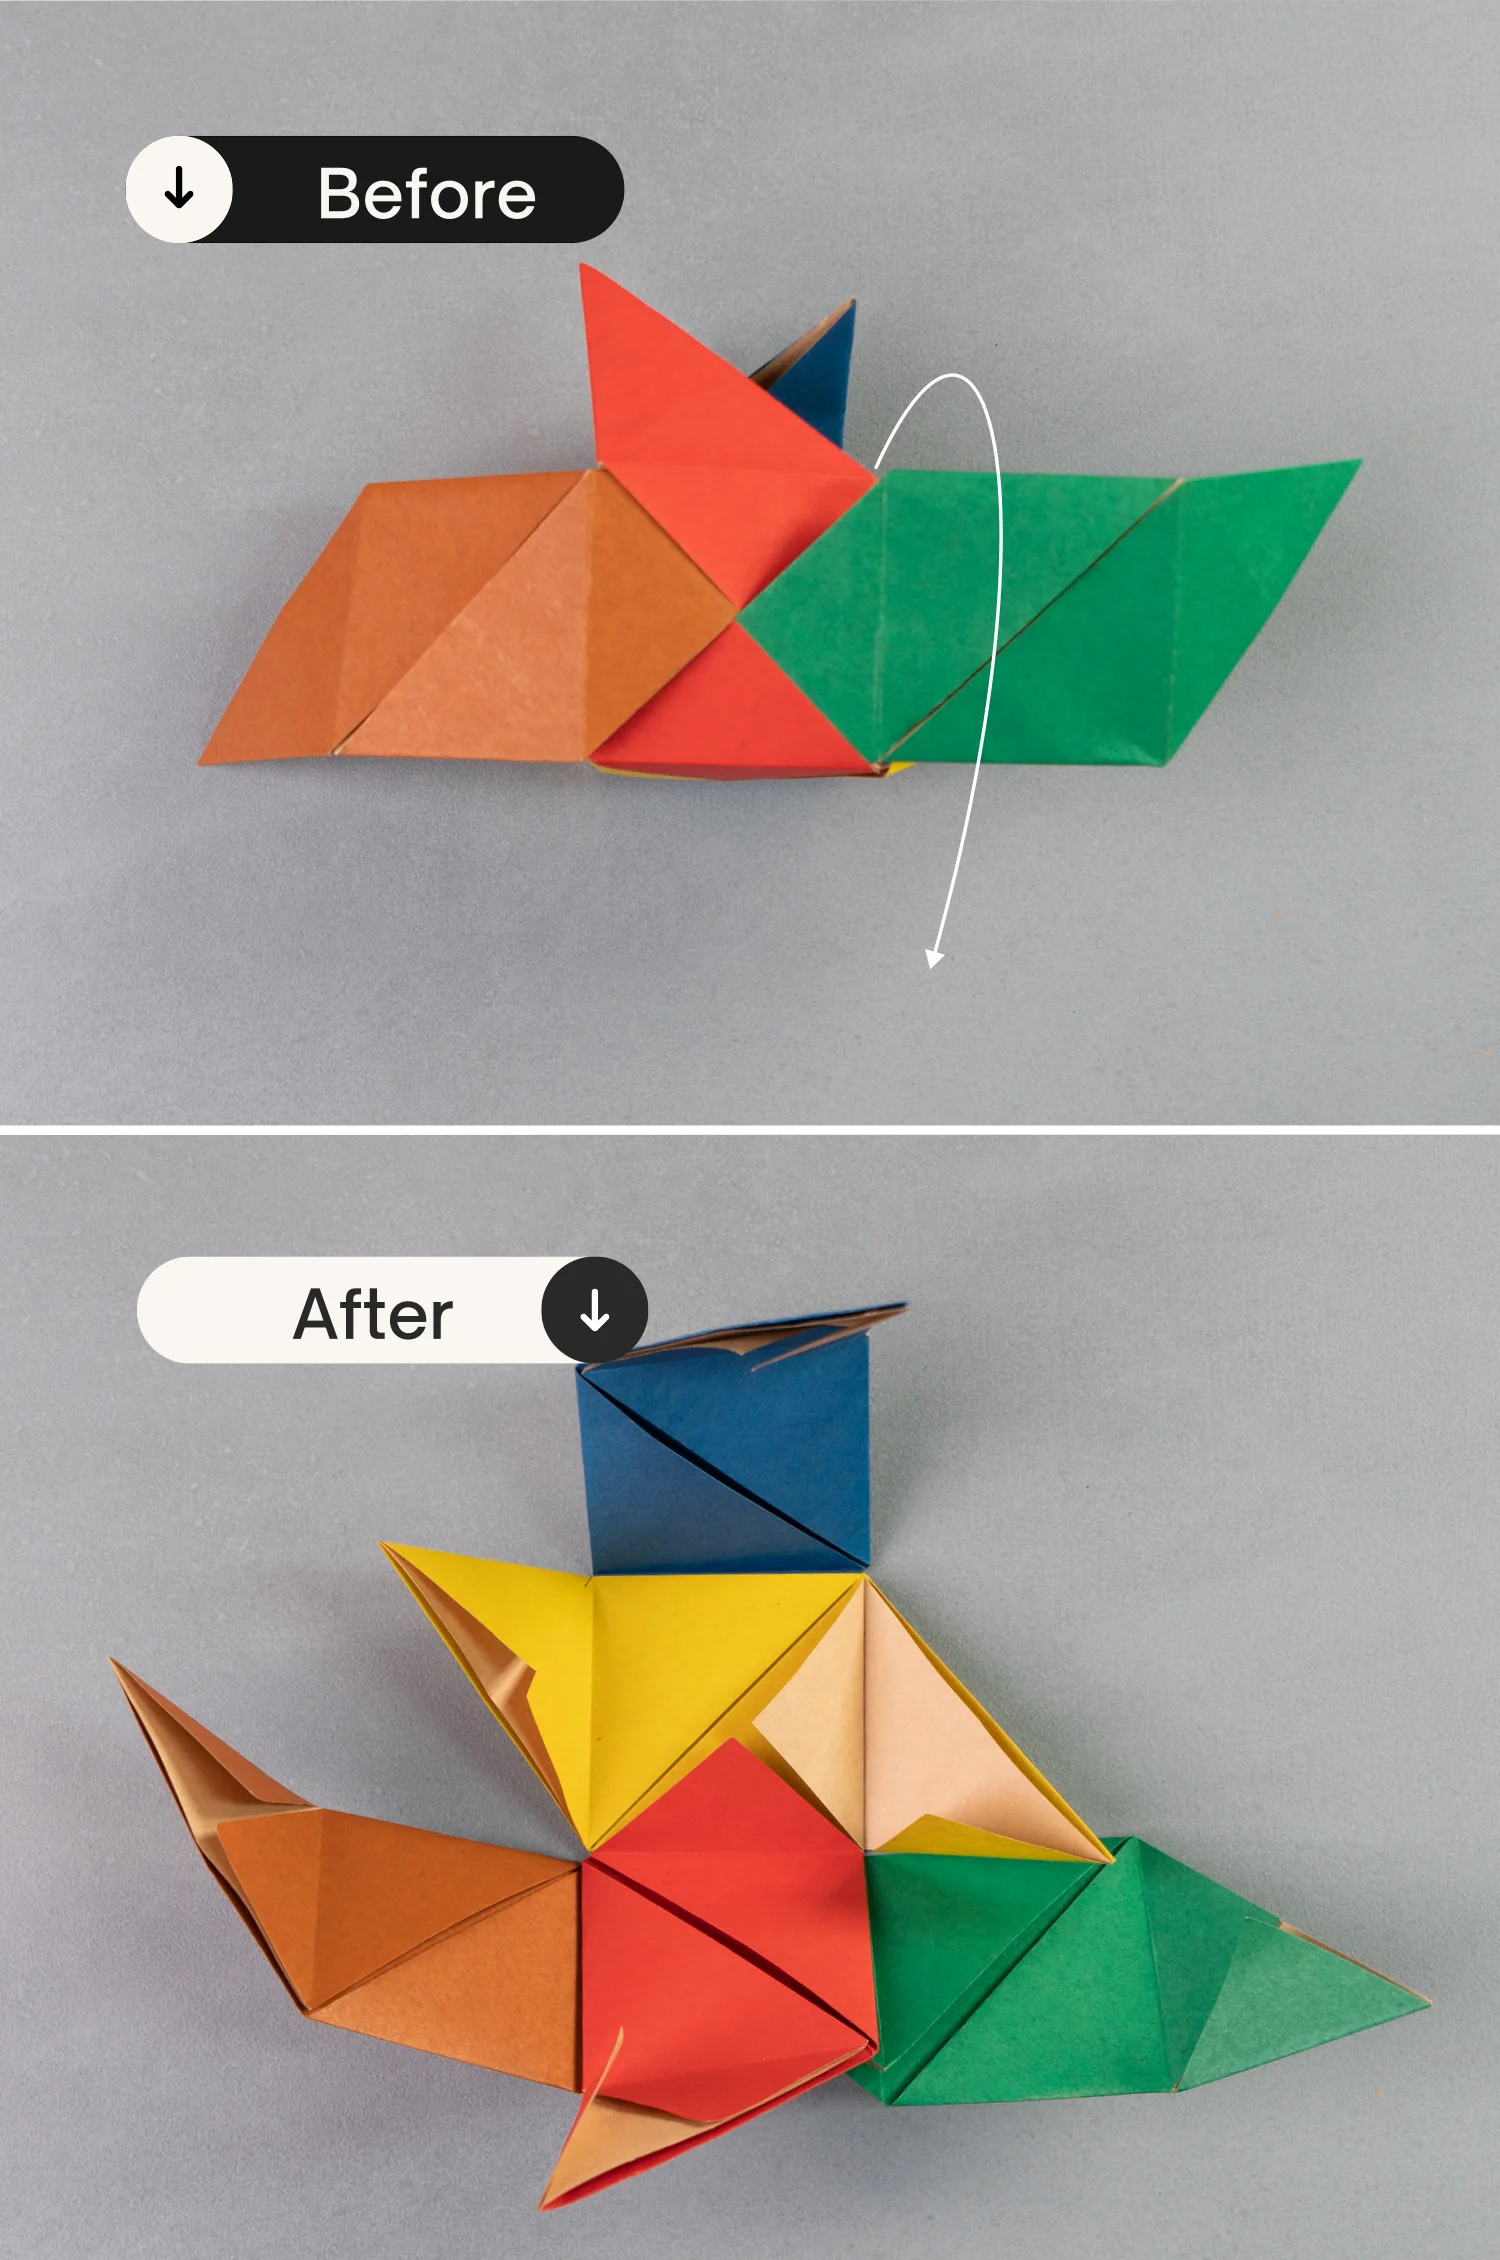
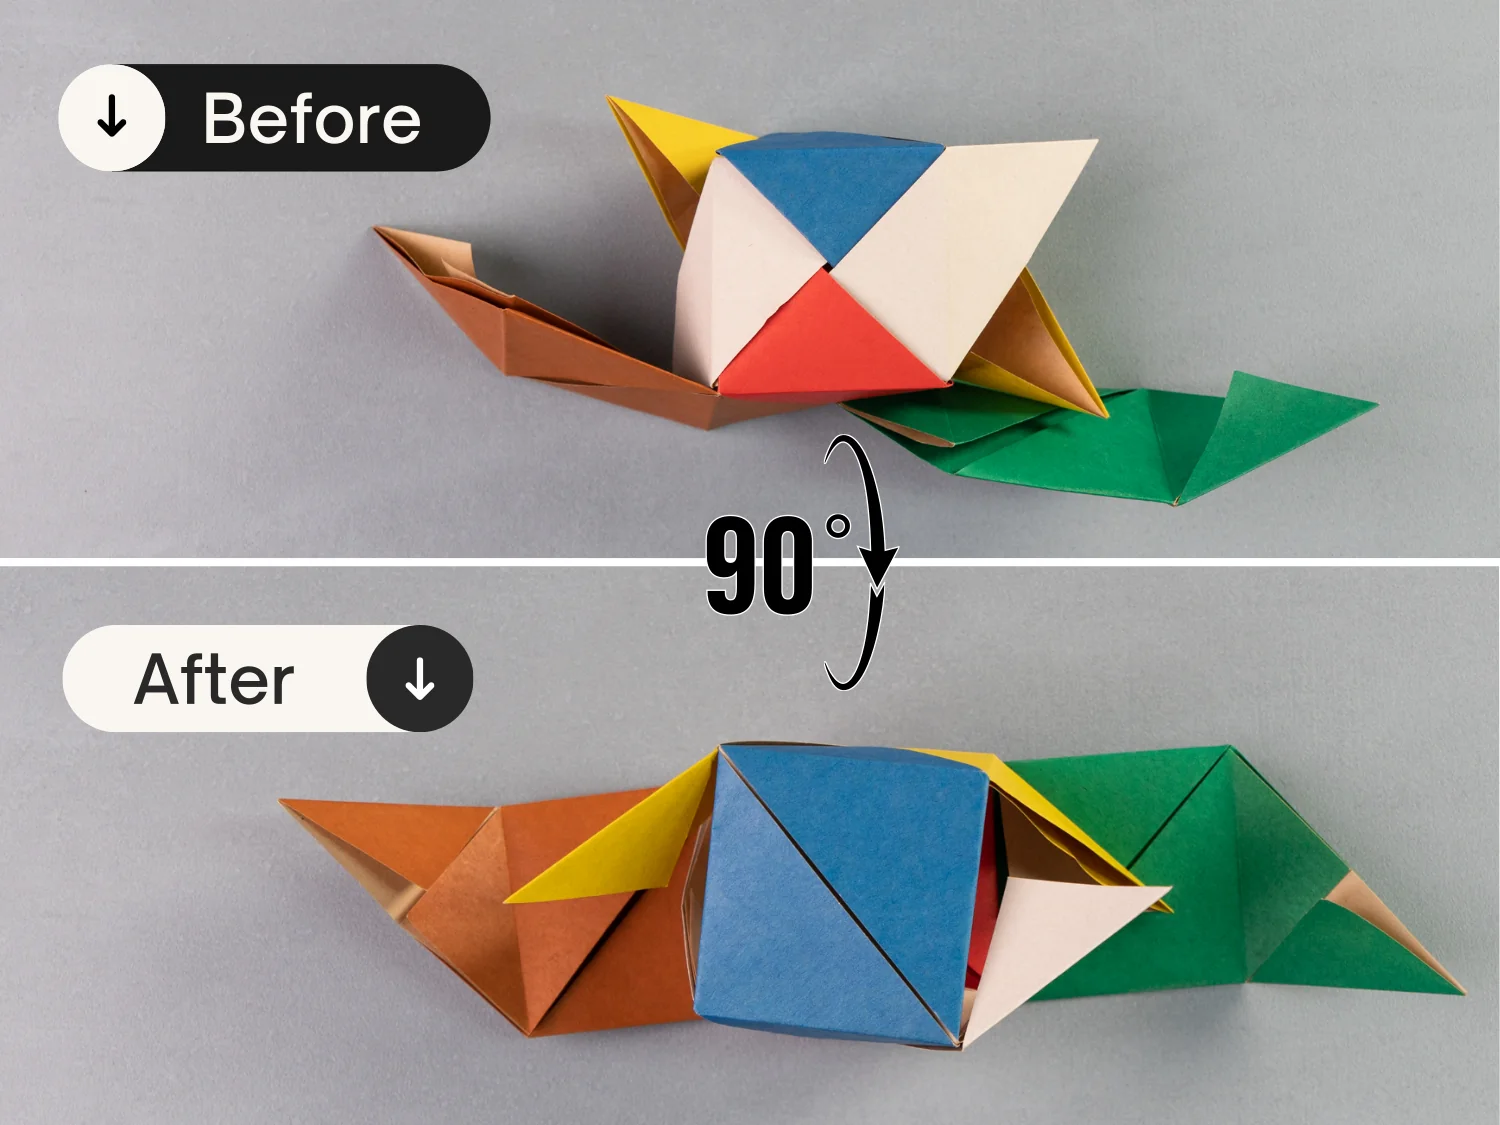
Step 11
Rotate the big module 90 degrees from front to back.
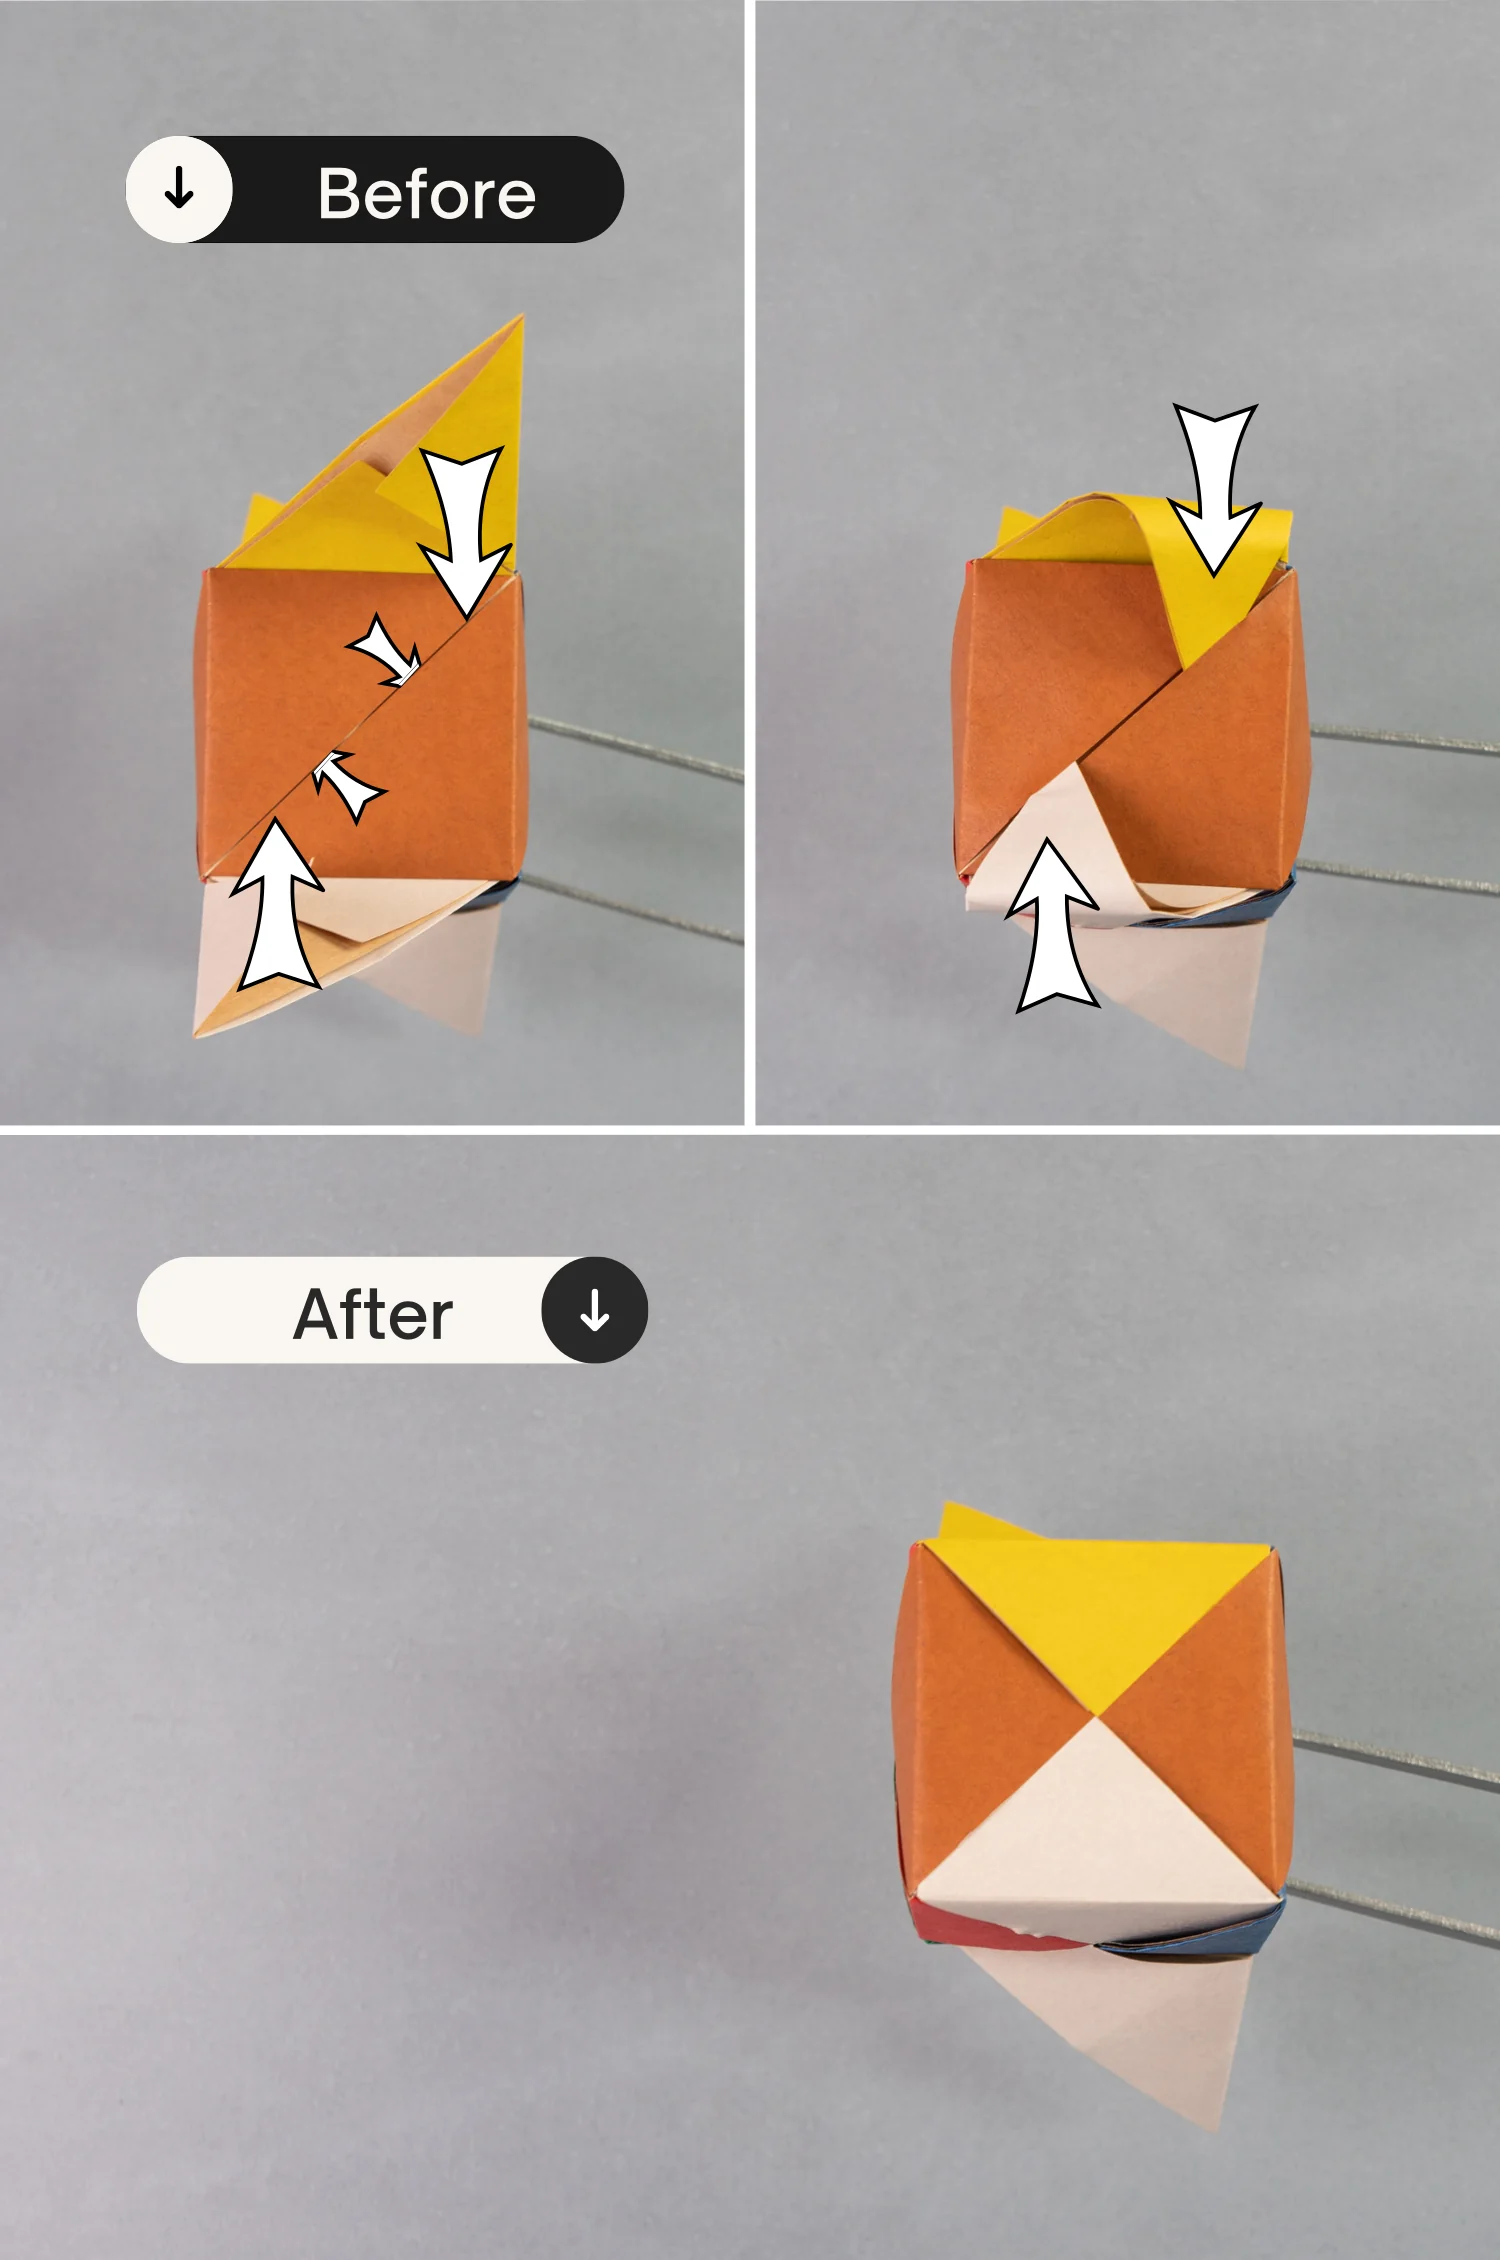
Step 12
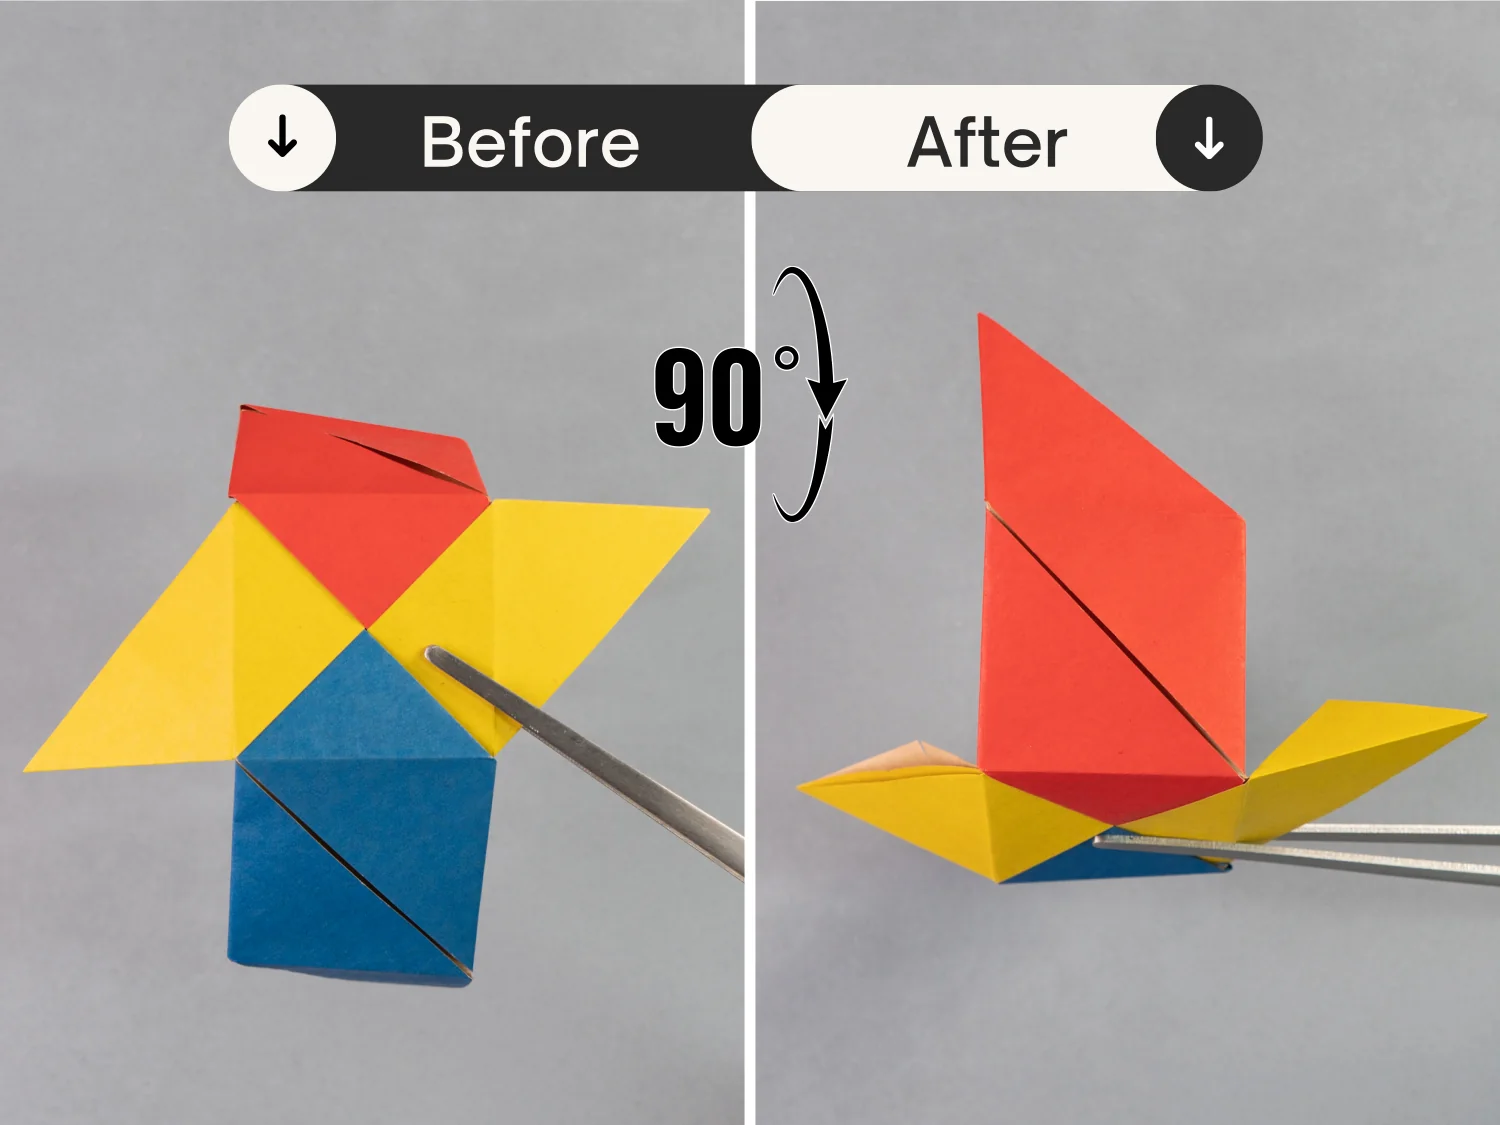
Take out another module, place it horizontally, and plug its right triangle into the pocket of the red module.
Step 13
Take out another module, place it horizontally, and on the right side of the big module, then plug the left triangle of the single module into the pocket of the red module.
Step 14
Push down the front side.
Step 15
Take out the last single module and place it horizontally on top of the big combined module, then plug the triangle of the blue and red modules into the pocket of this white module.
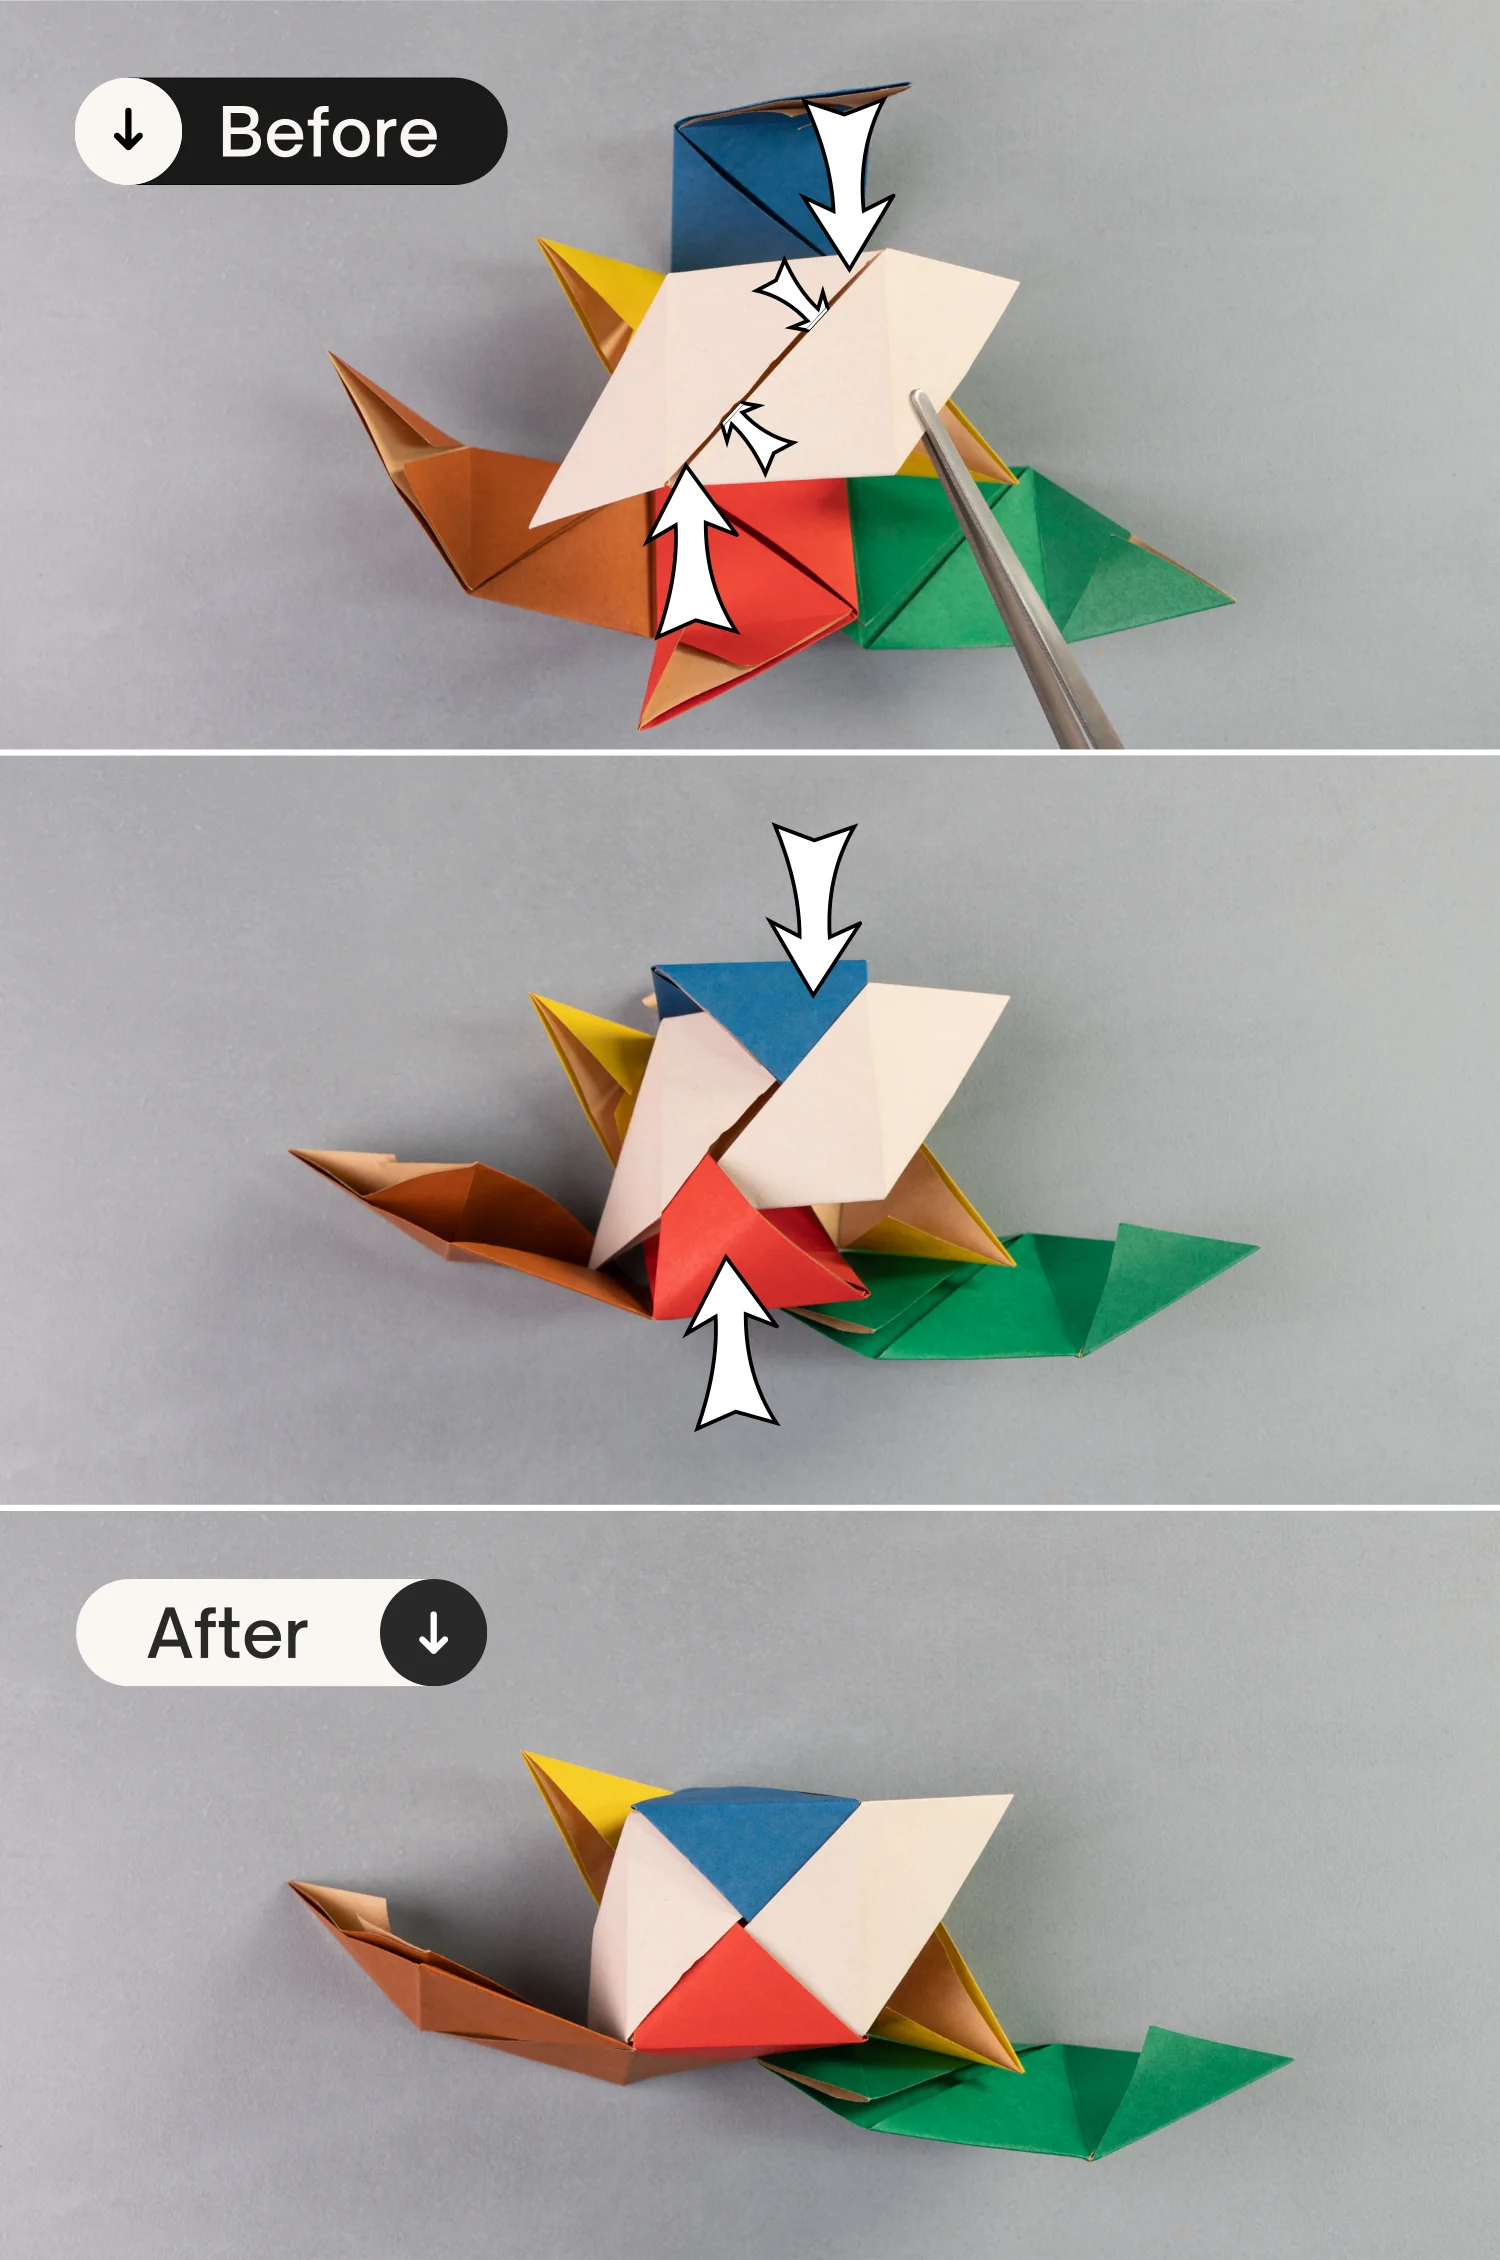
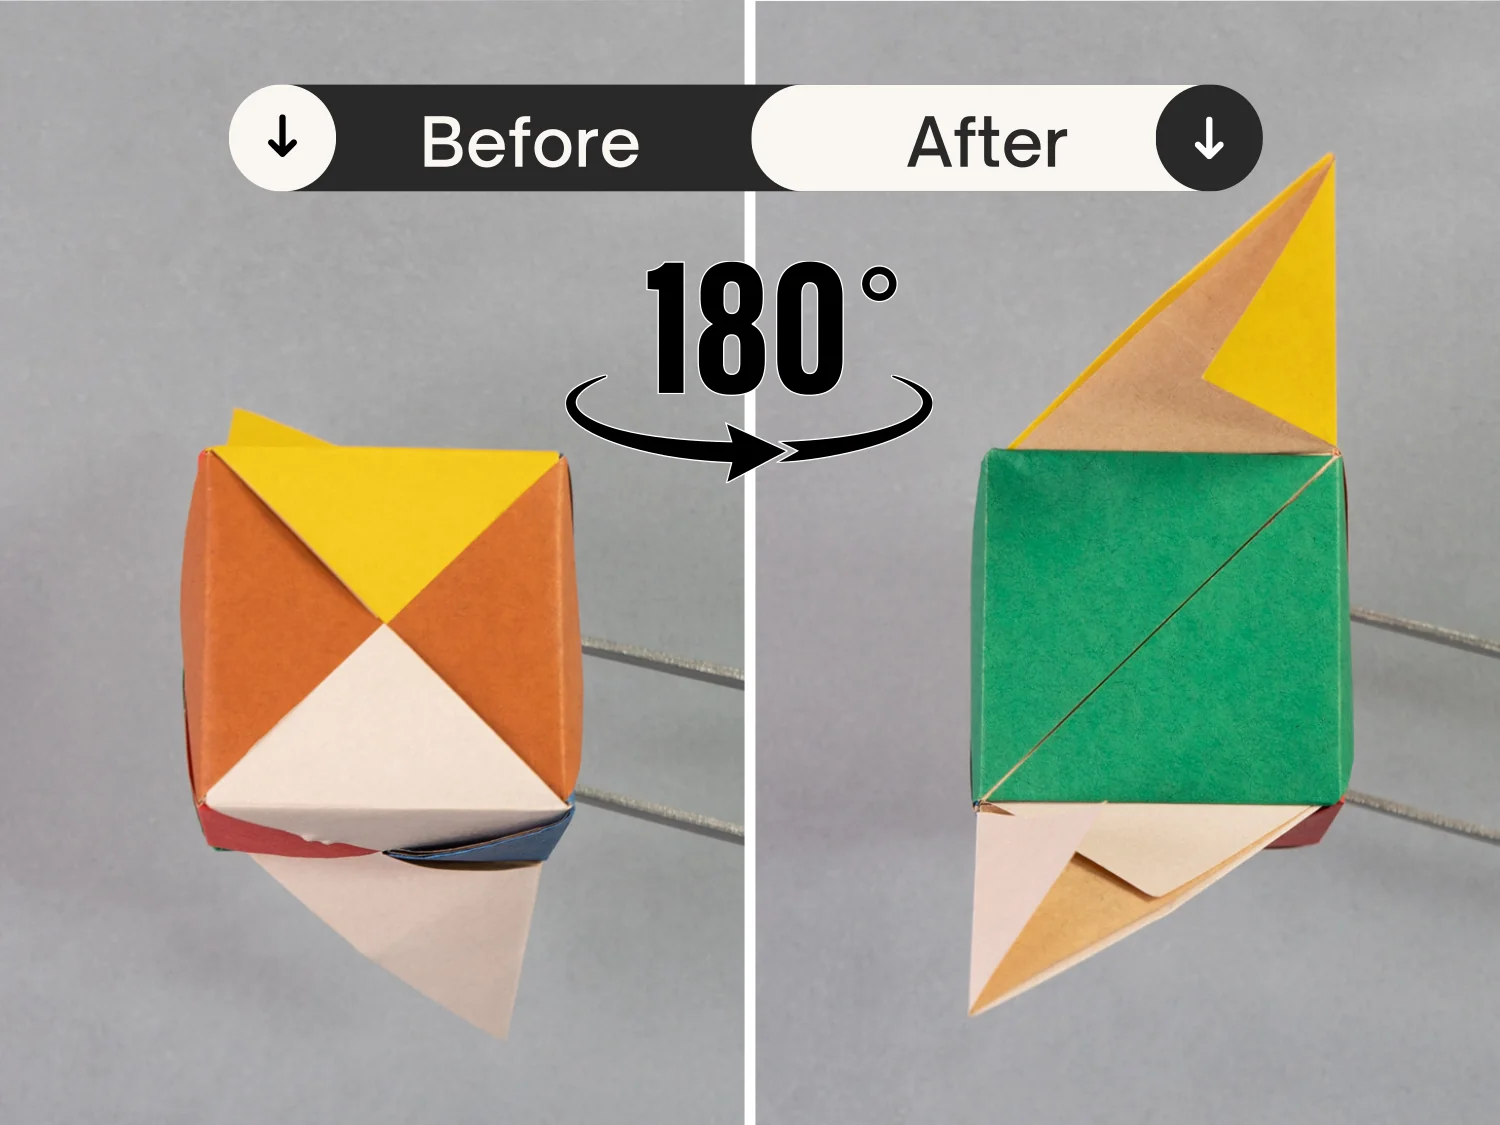
Step 16
Rotate this combined module 90 degrees from front to back.
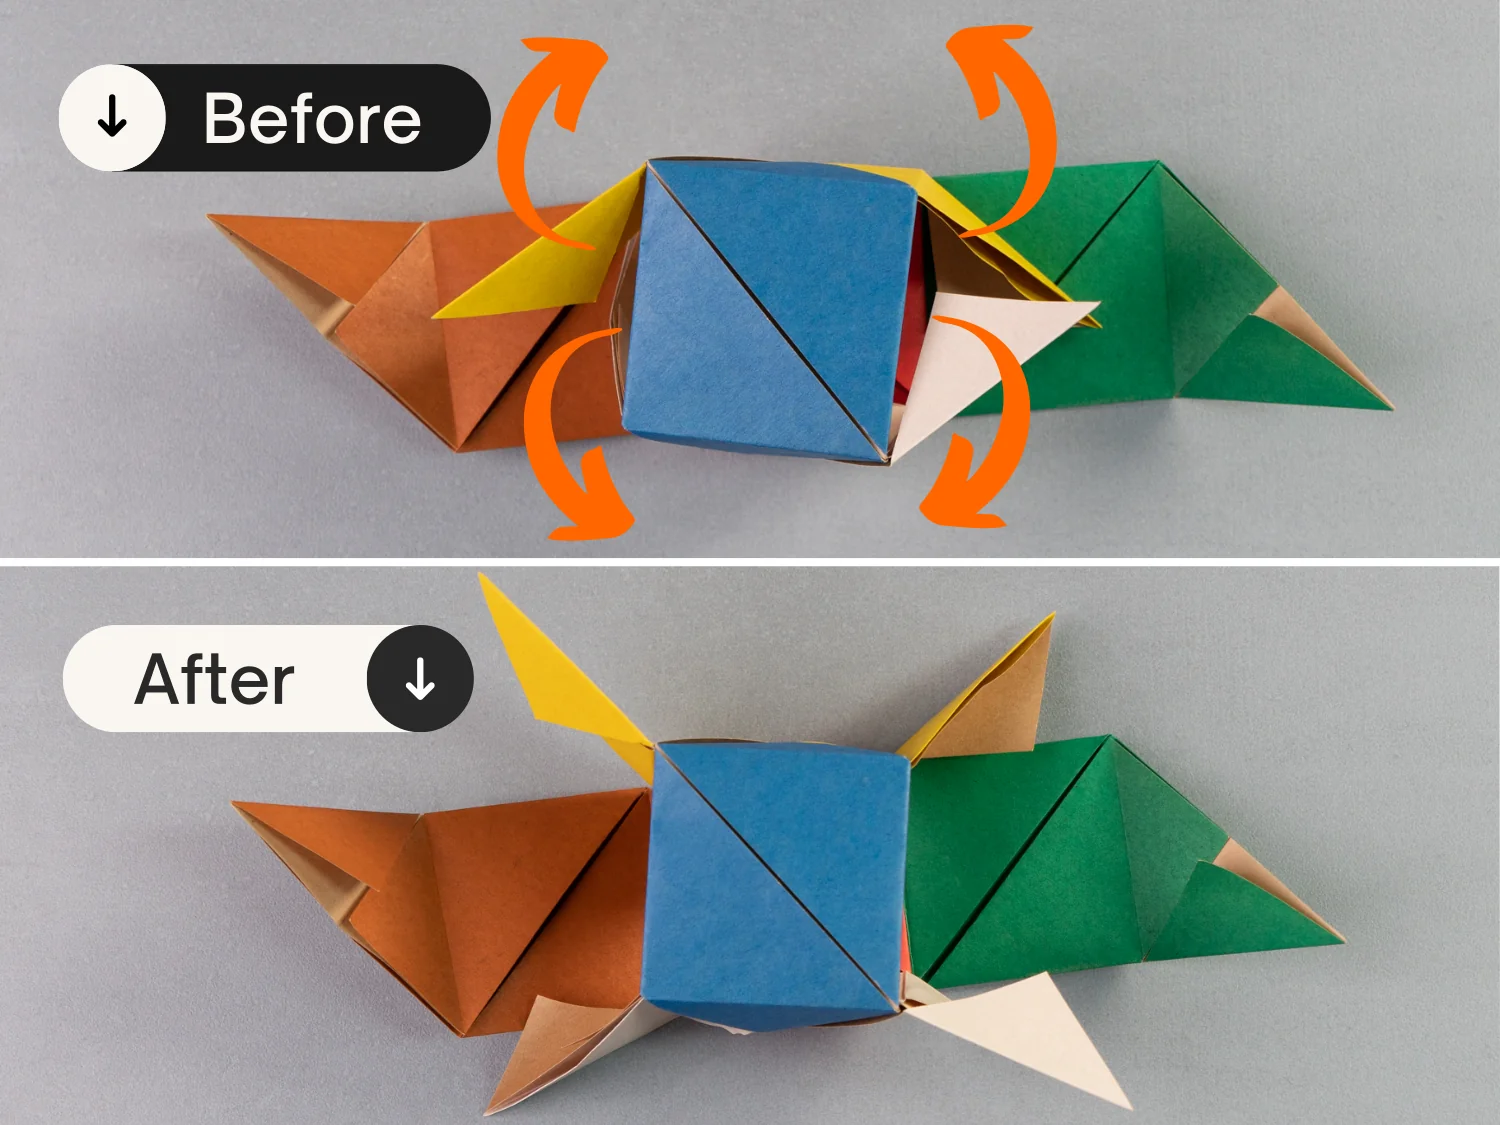
Step 17
Fold these four flaps in four directions, as the pictures show.
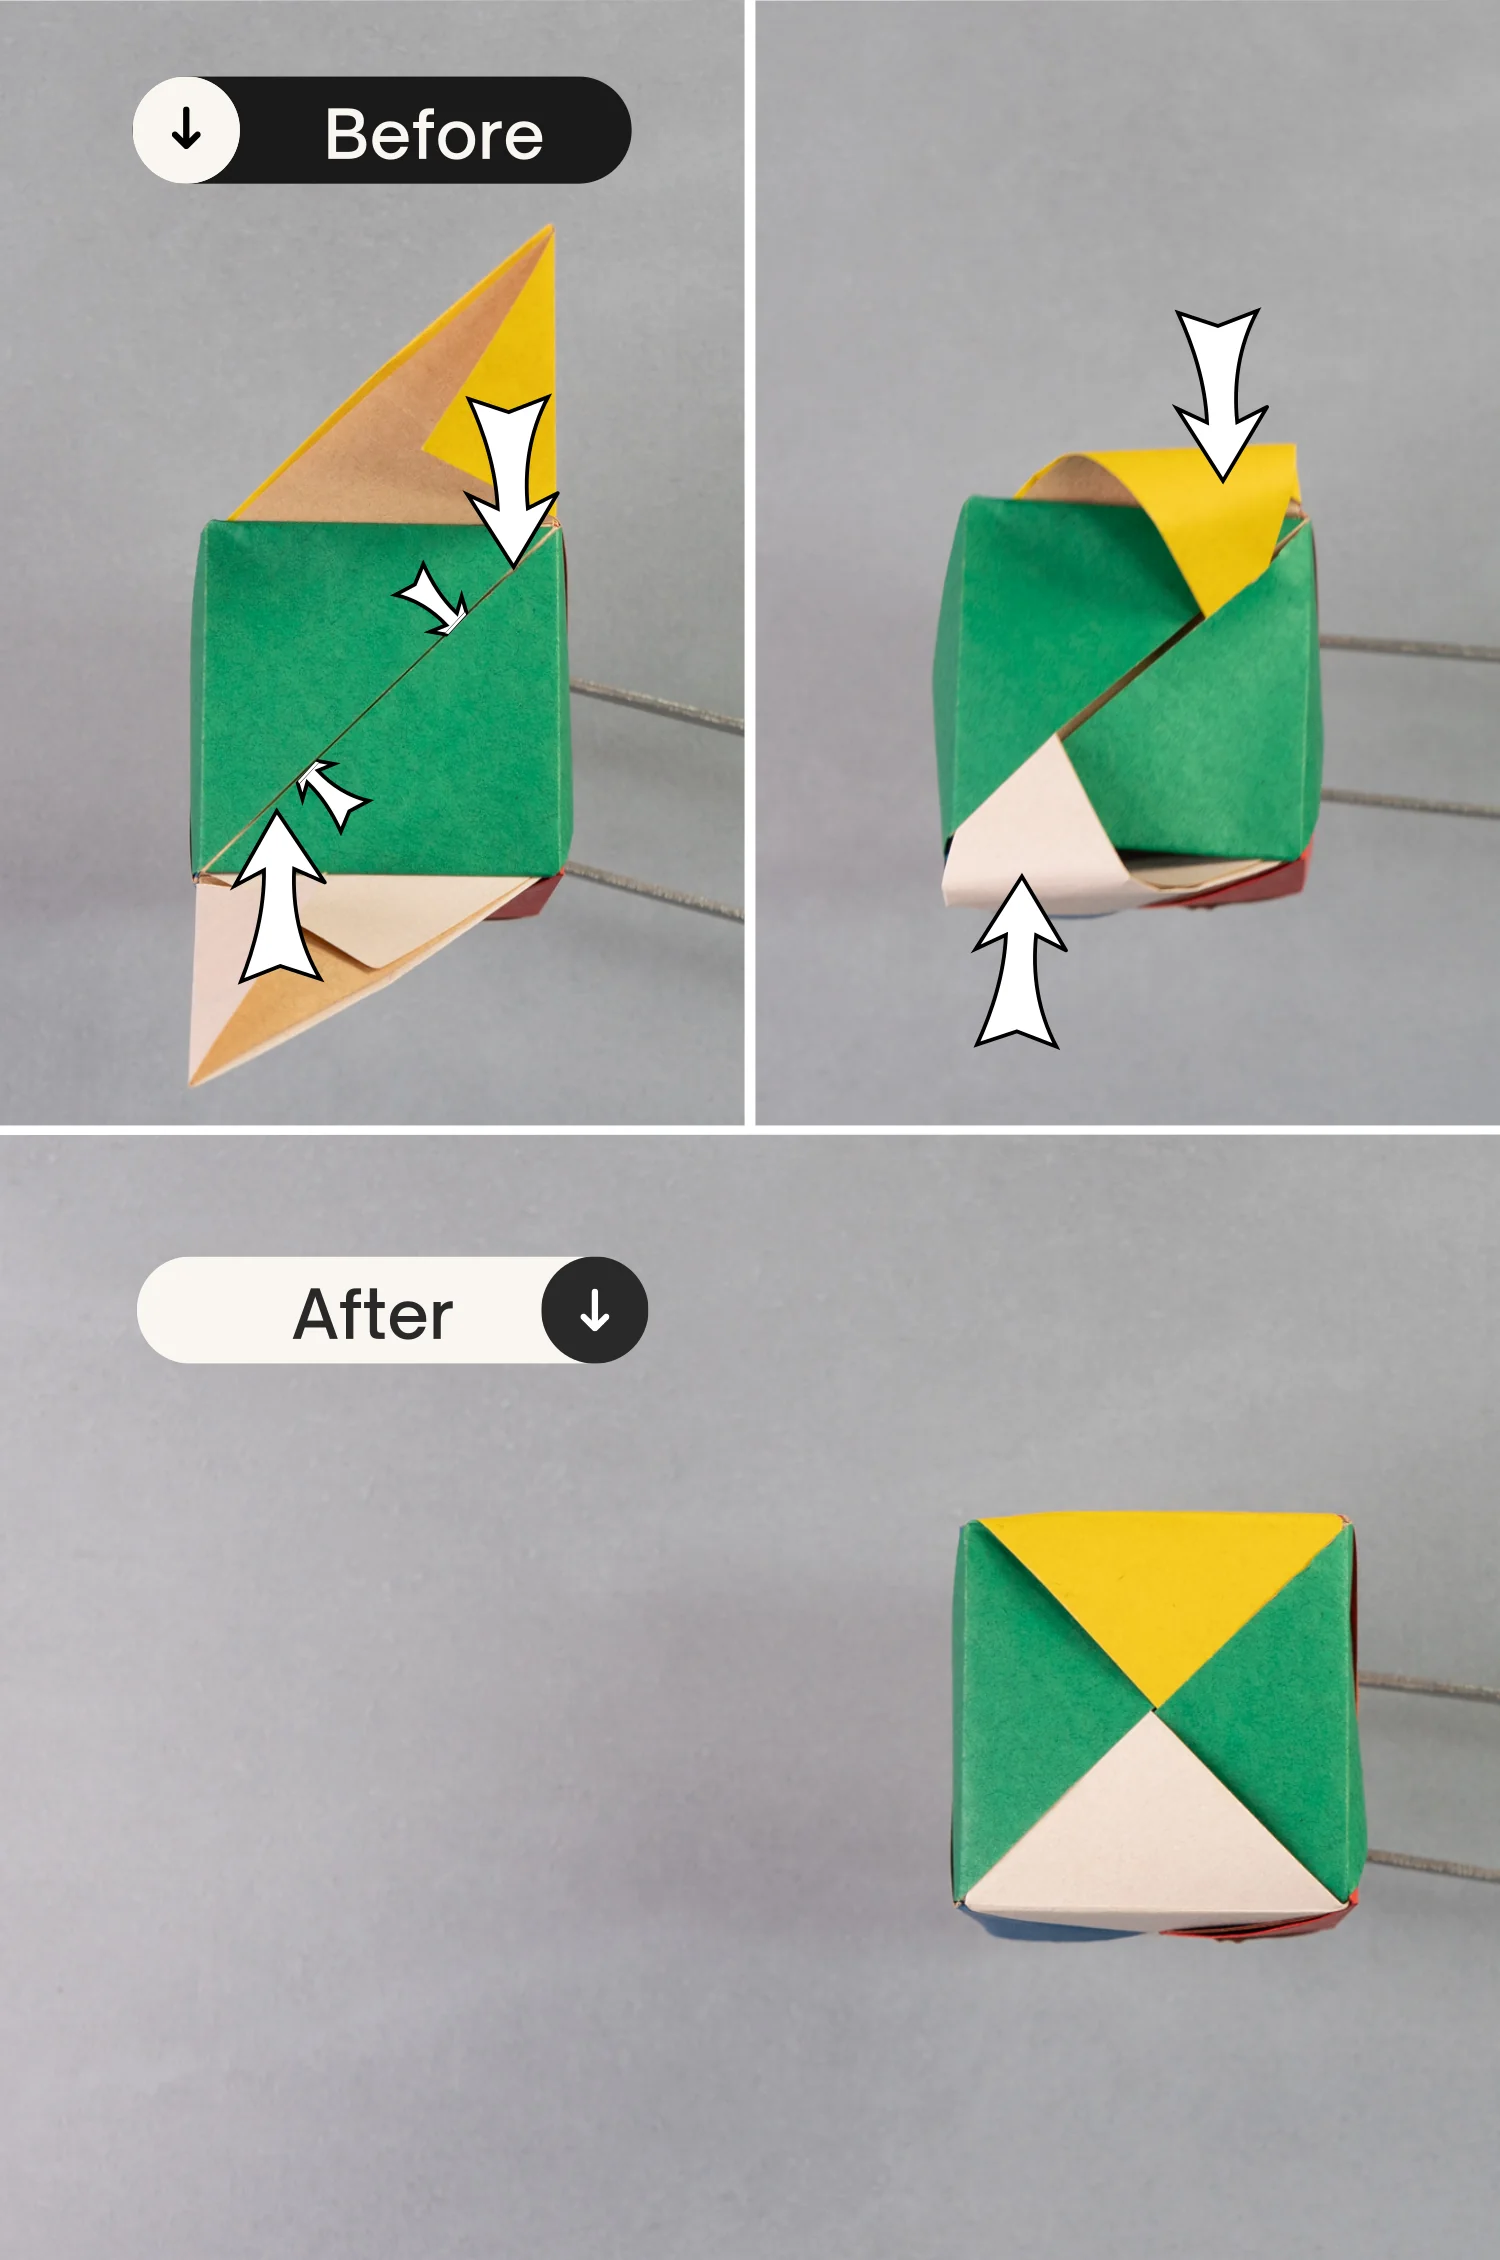
Step 18
Bring up the left and right layers, and plug the triangles of these two layers into the pocket of the top blue module.
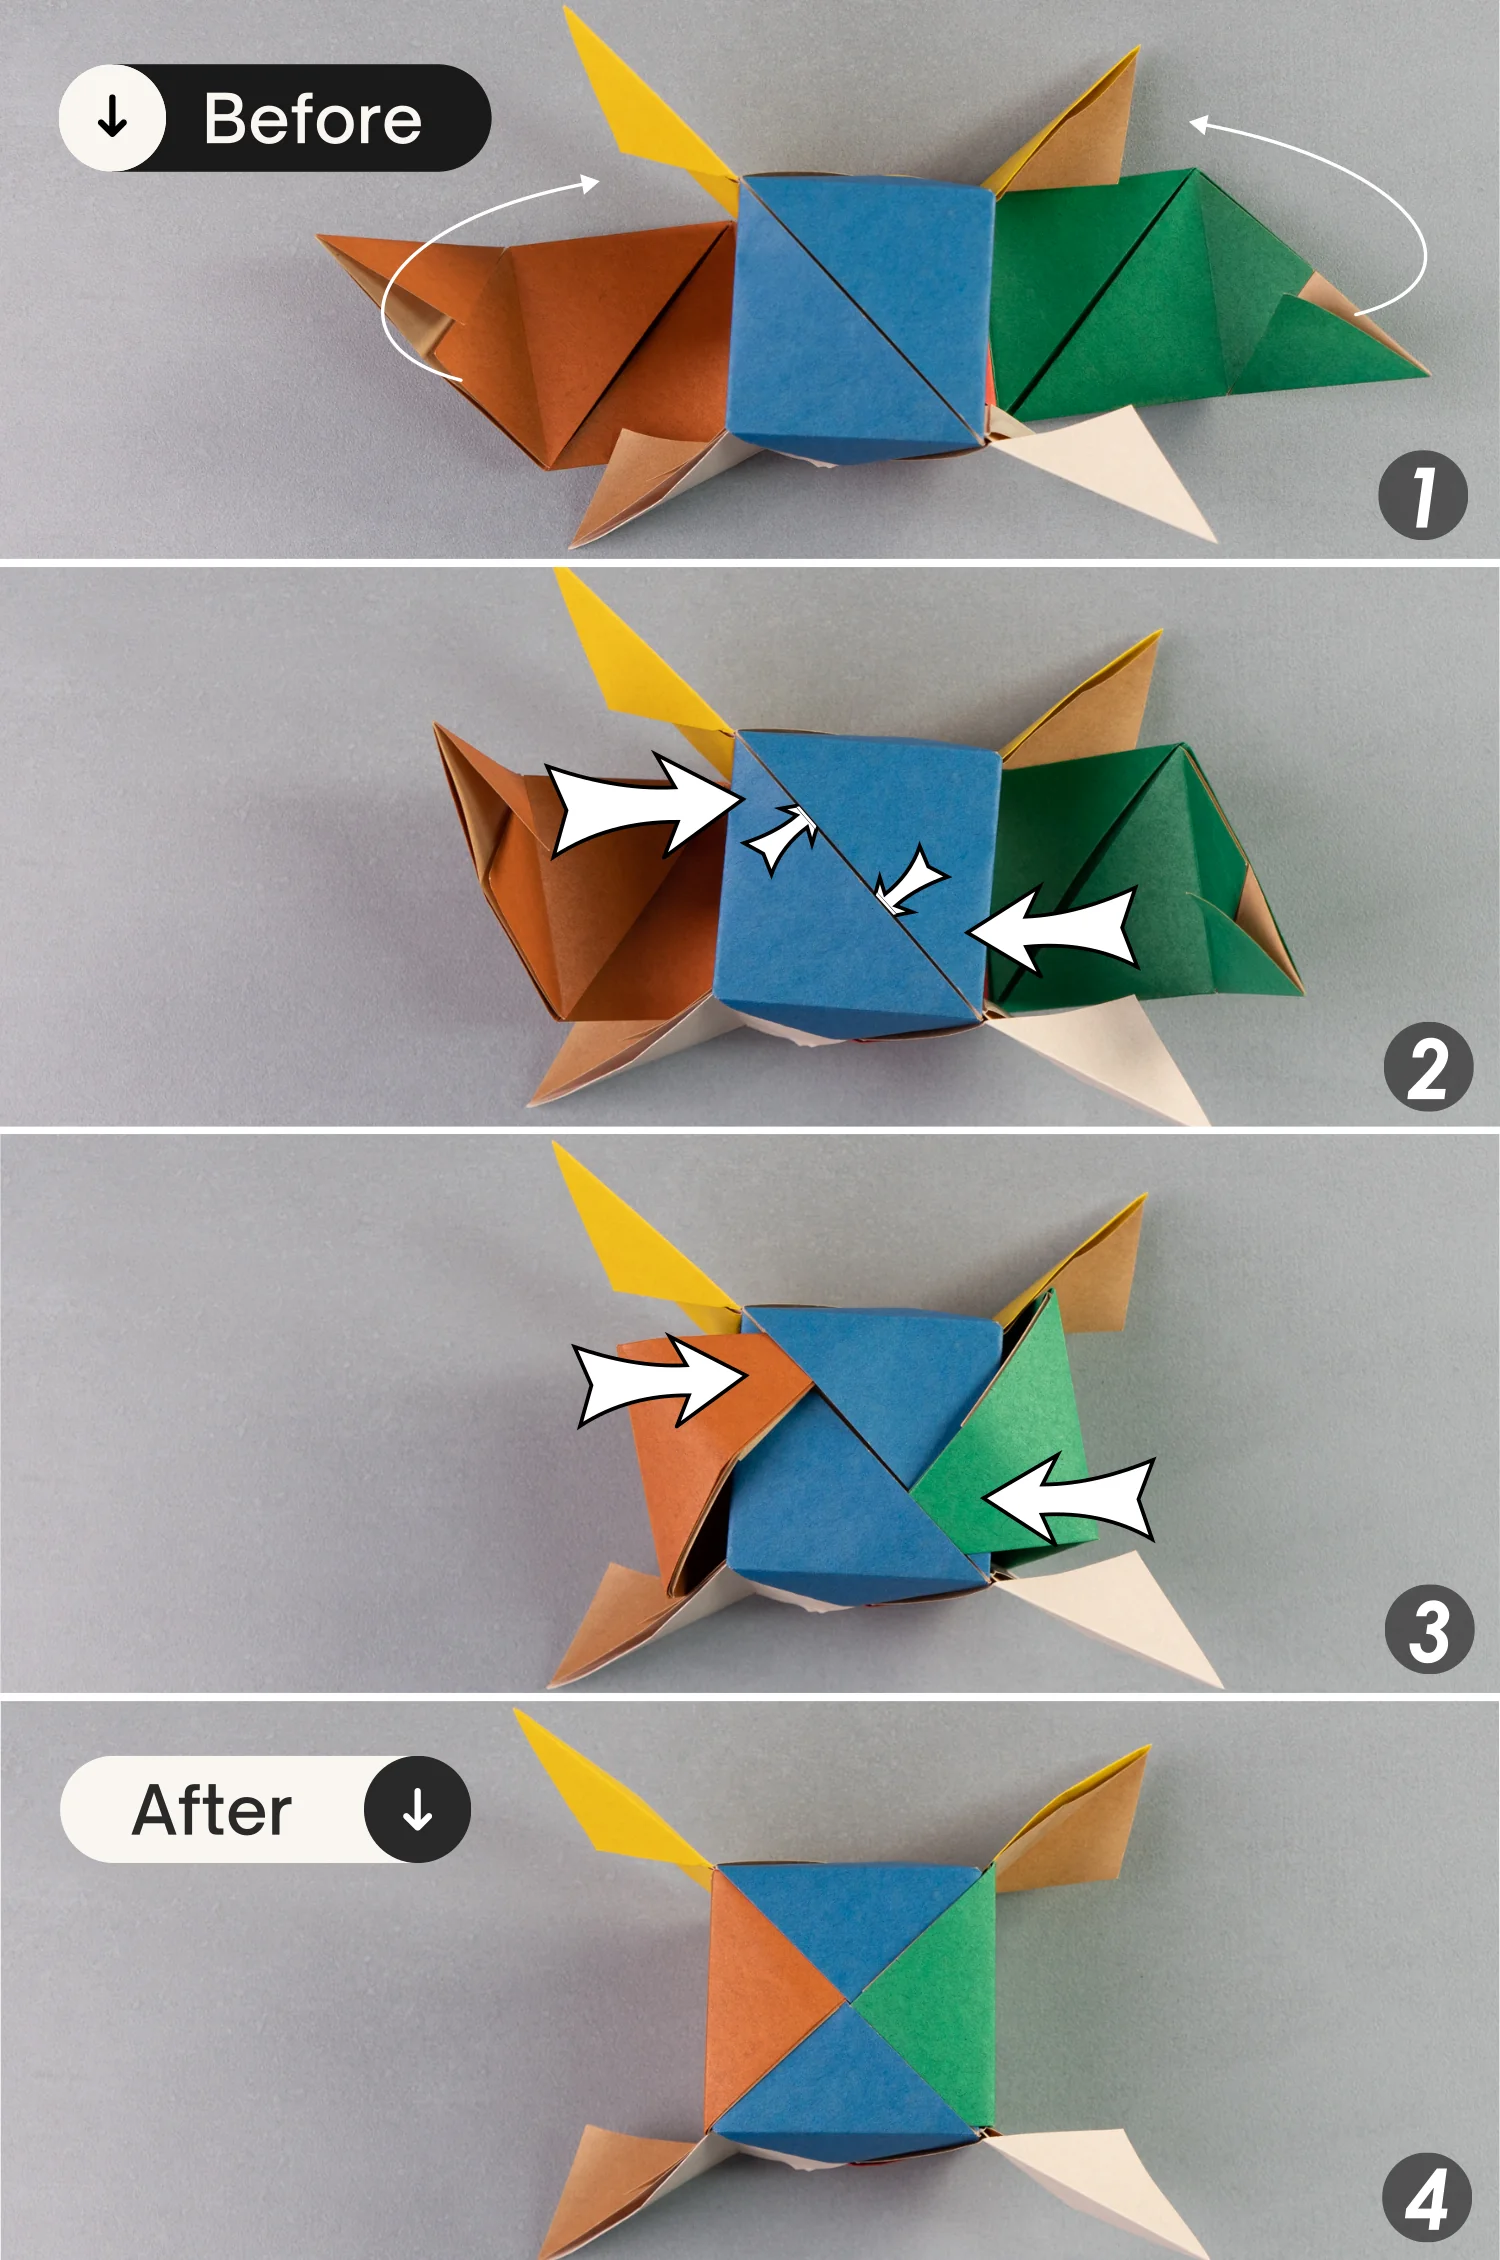
Step 19
Rotate the combined module 90 degrees from left to right.
Step 20
Plug the top and bottom triangles into the pocket.
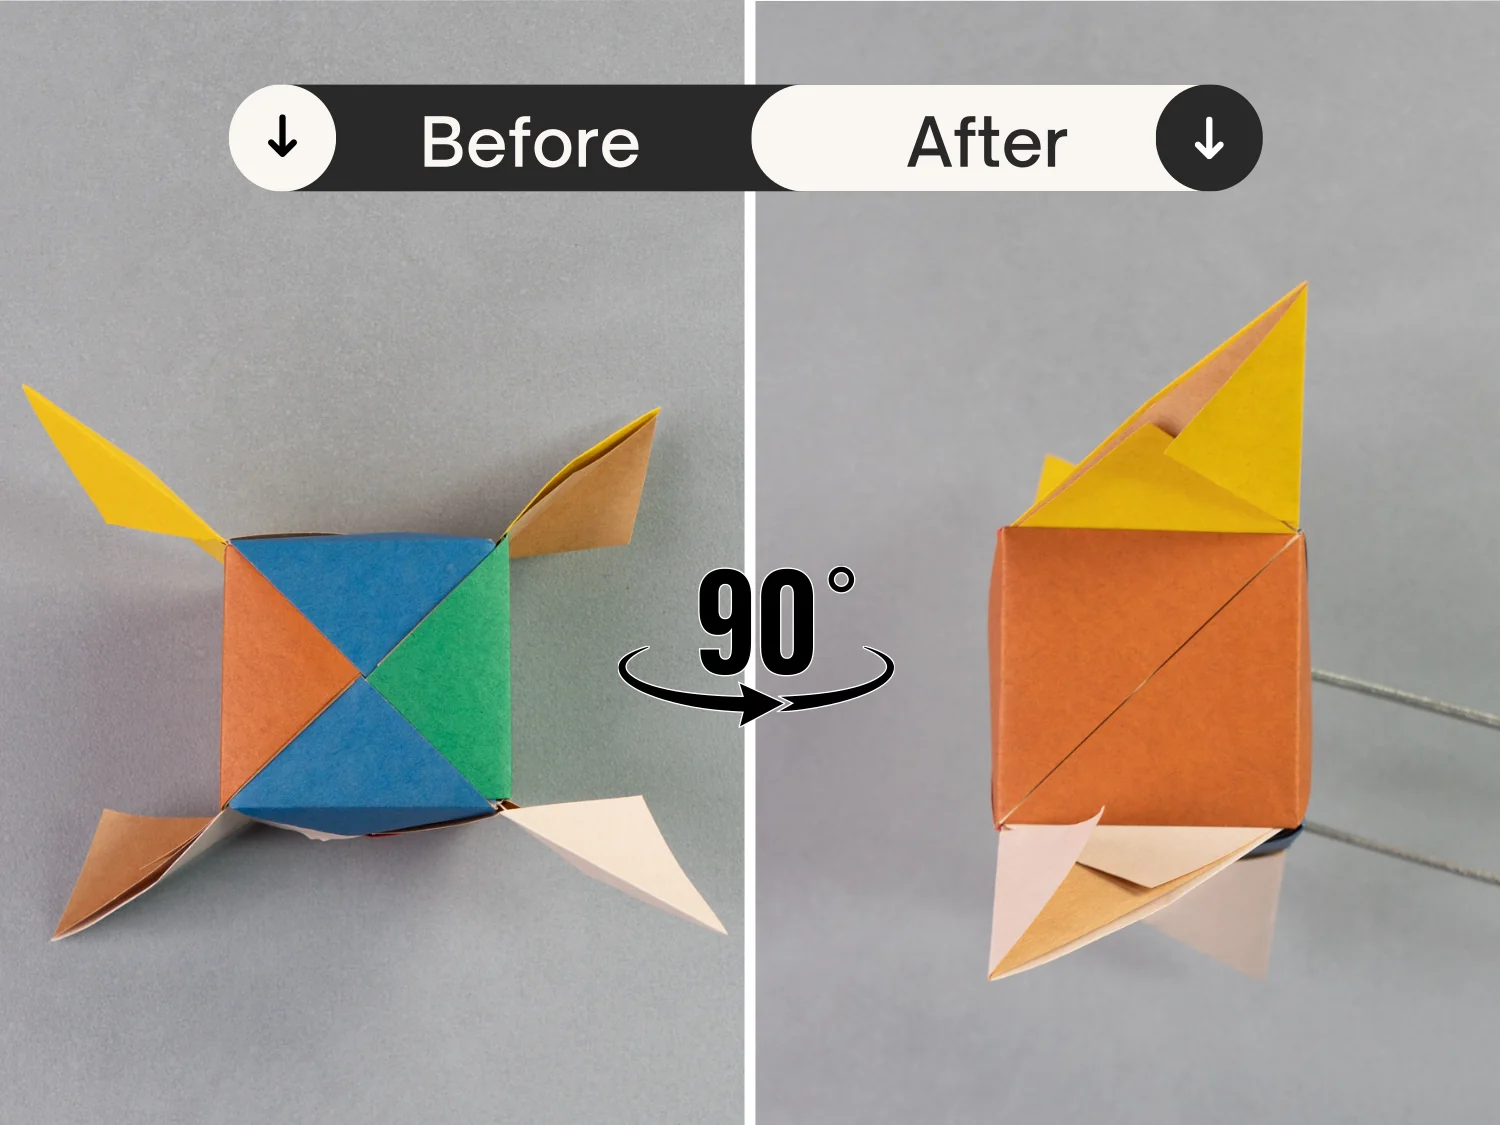
Step 21
Rotate it 180 degrees from left to right.
Step 22
Similarly, plug the top and bottom triangles into the pocket.
Step 23
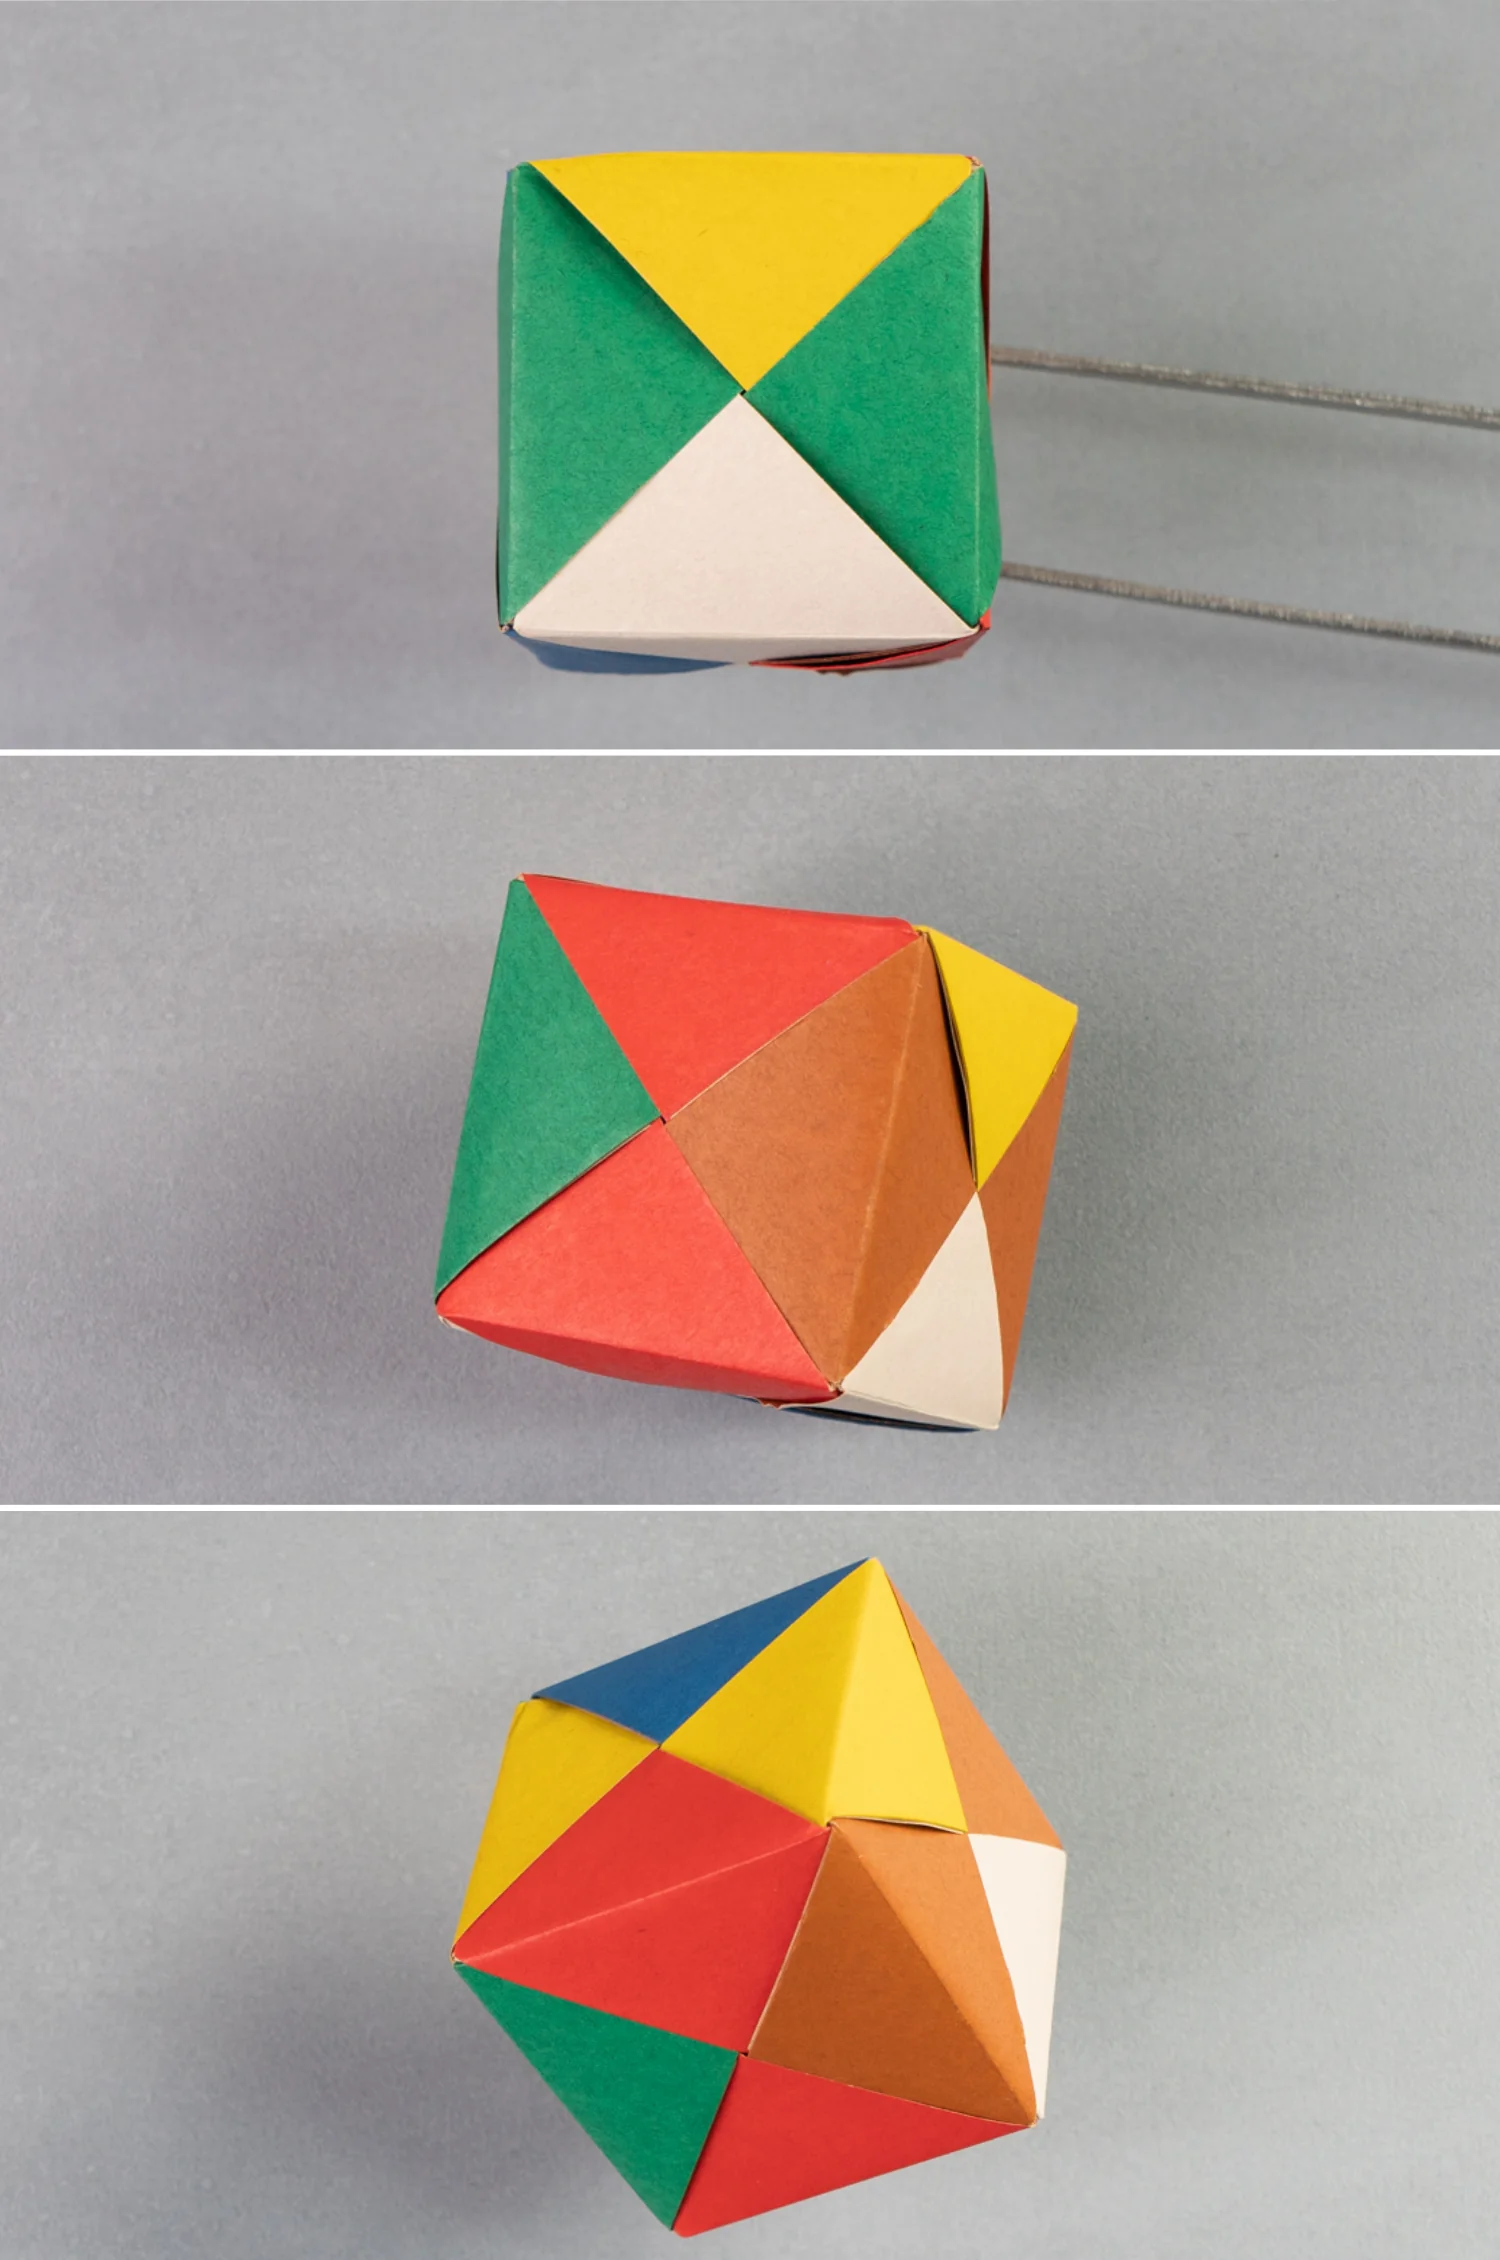
Now you’re done making this fun origami cube!
What’s Next
This is the final shape of an origami cube. Next, you can explore our other interesting origami toy instructions. Happy folding!
Other Origami Toy Ideas