How to Make an Easy Origami Chicken
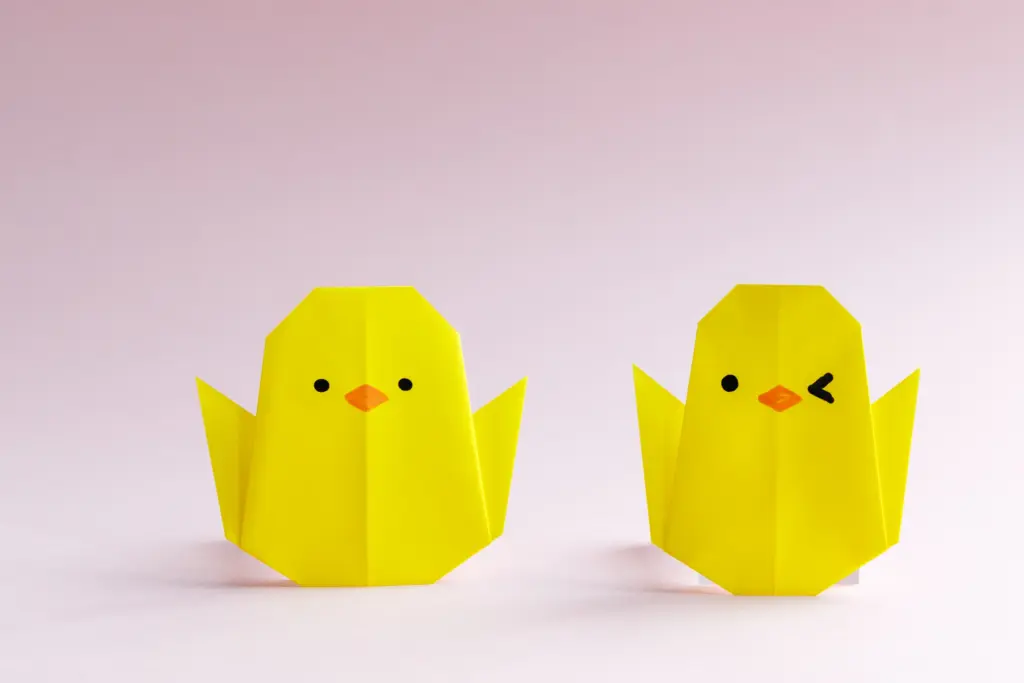
This is a super lovely baby chicken with round head, fact face and two small wings. It only takes several minutes to finish and super friendly for kids.
If your kids are under 7 years old, this cute origami chicken can be an ideal origami idea. Adjusting some folding angles will create either fatter or slimmer chicken.
Drawing eyes and lovely mouth can make the chicken more realistic. Let’s get started.
We provide step-by-step diagram instructions and beginner-friendly videos. Check both for quicker learning.
If you are new to origami, start here from our beginner guide to know the basics and how to read the step-by-step instructions.
- Folding time: 5 minutes
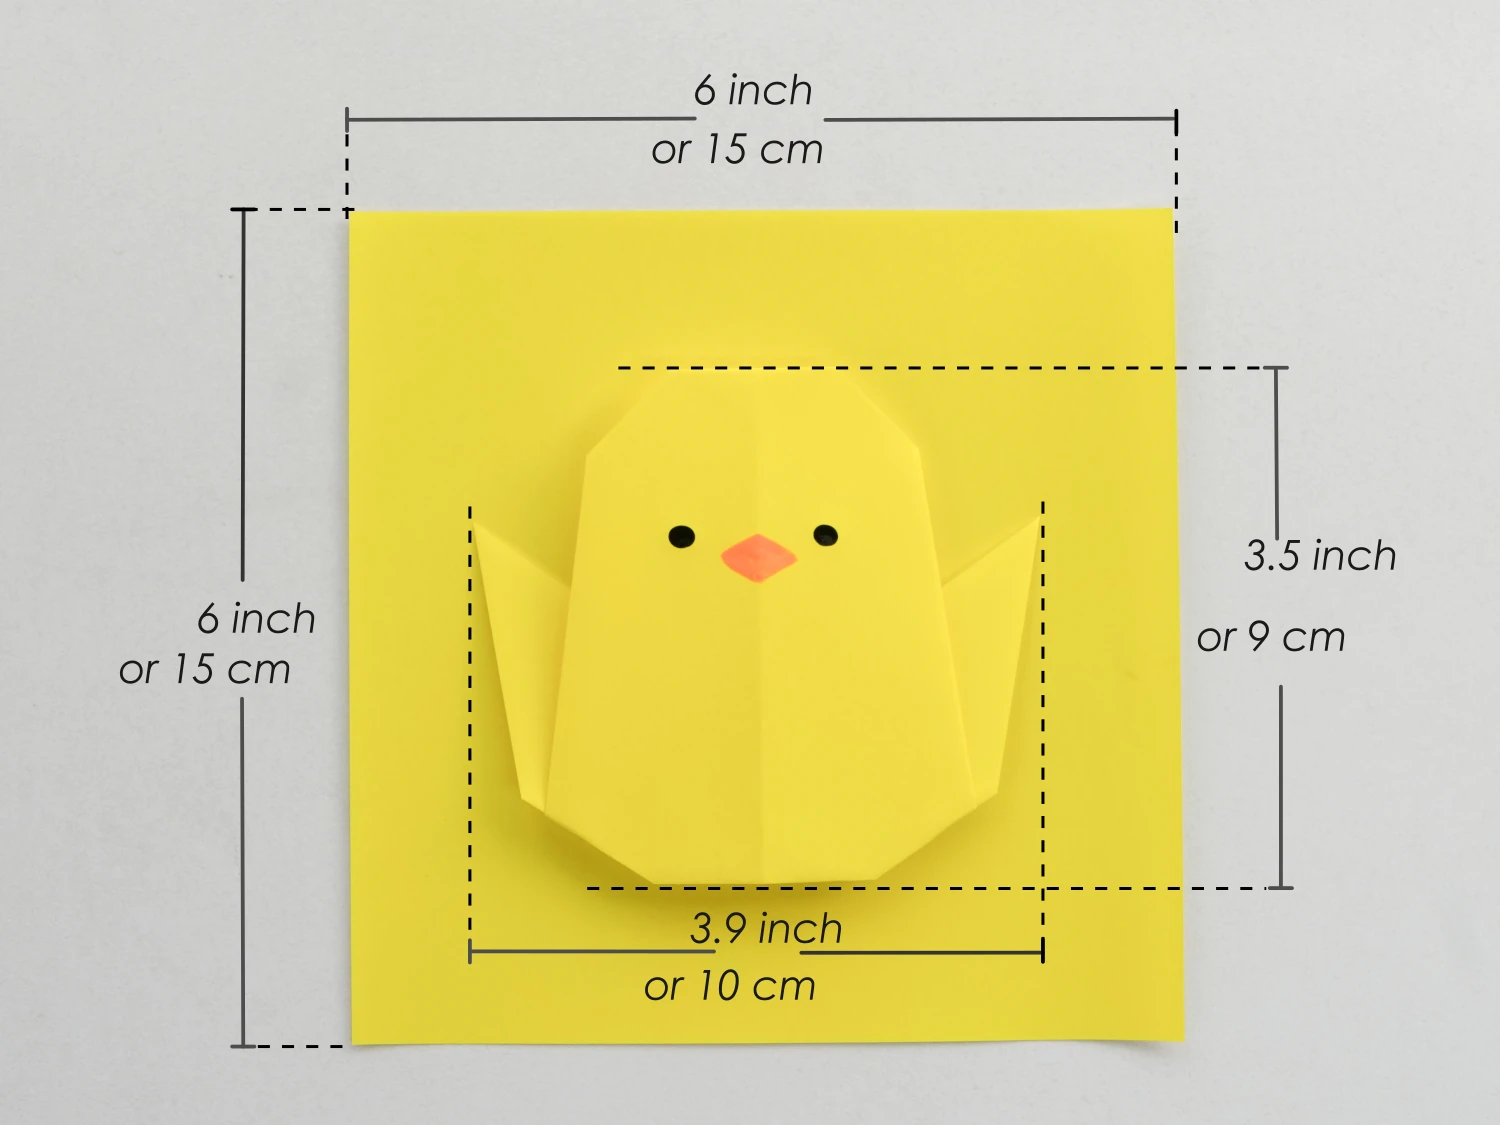
- Paper: 15×15 cm
- Difficulty: Easy, Beginner friendly
Material
Get a 15*15 cm origami paper, one yellow and one white side, and you will get a 9*10 cm chicken face.
Easy Origami Chicken Video
Step by Step Instructions
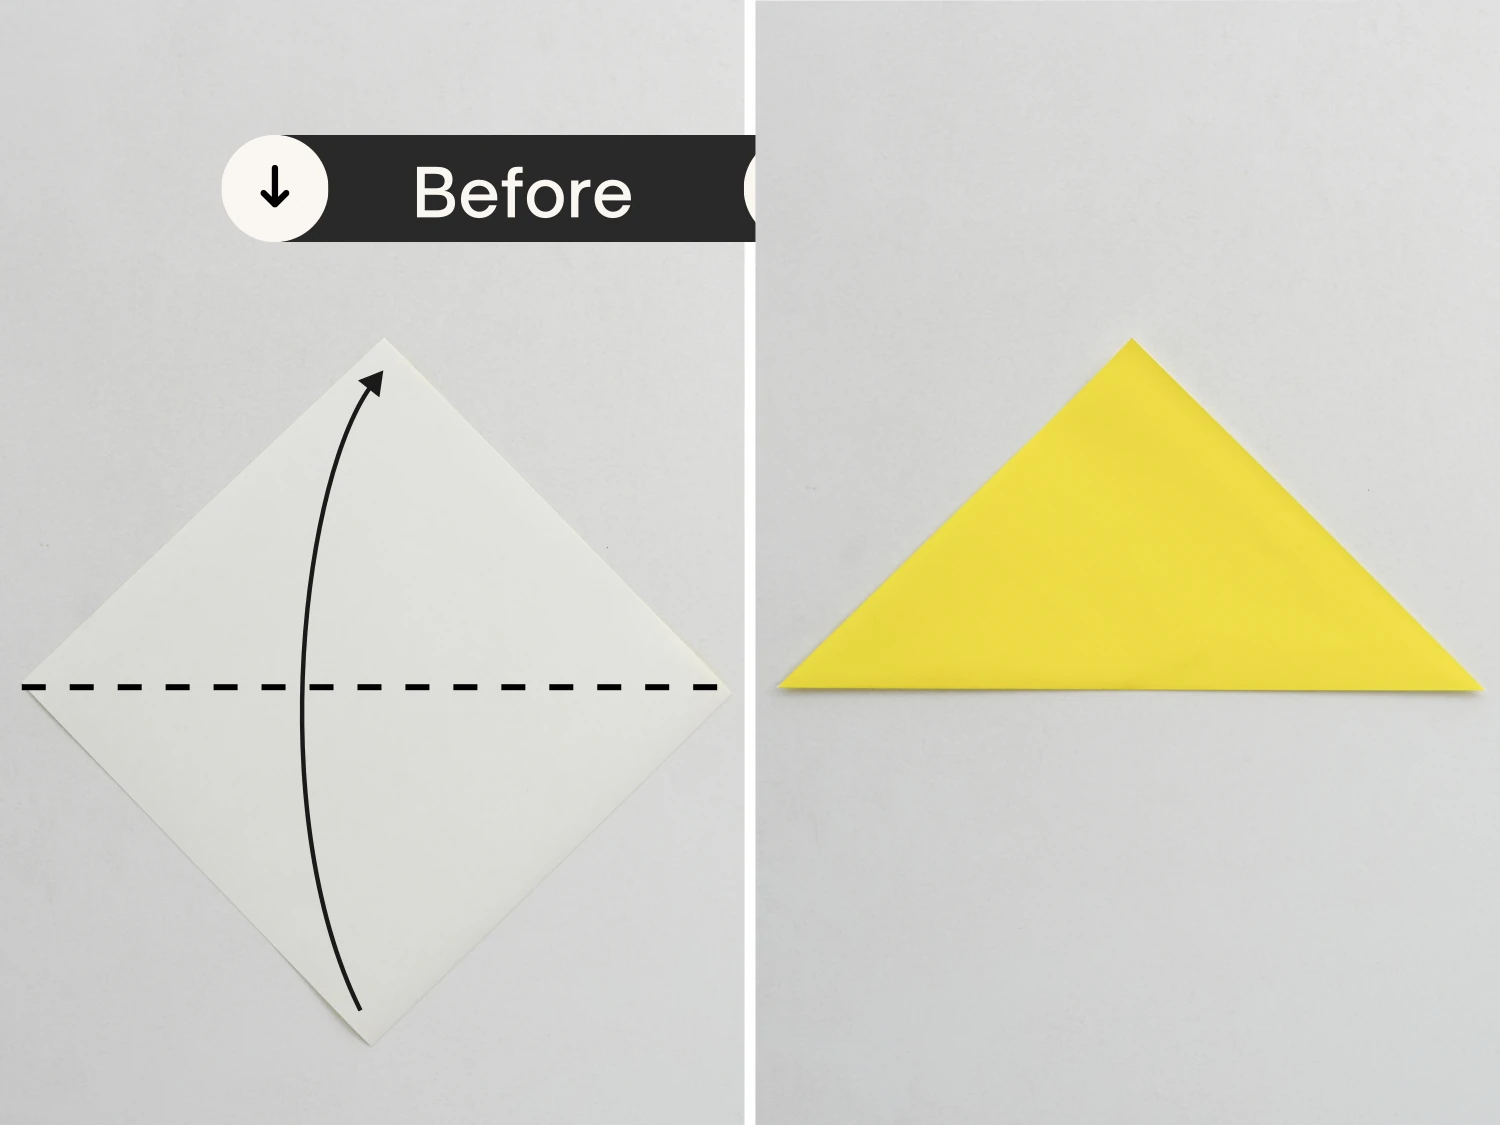
Step 1
Start with the white side of the paper facing up, and fold in half diagonally.
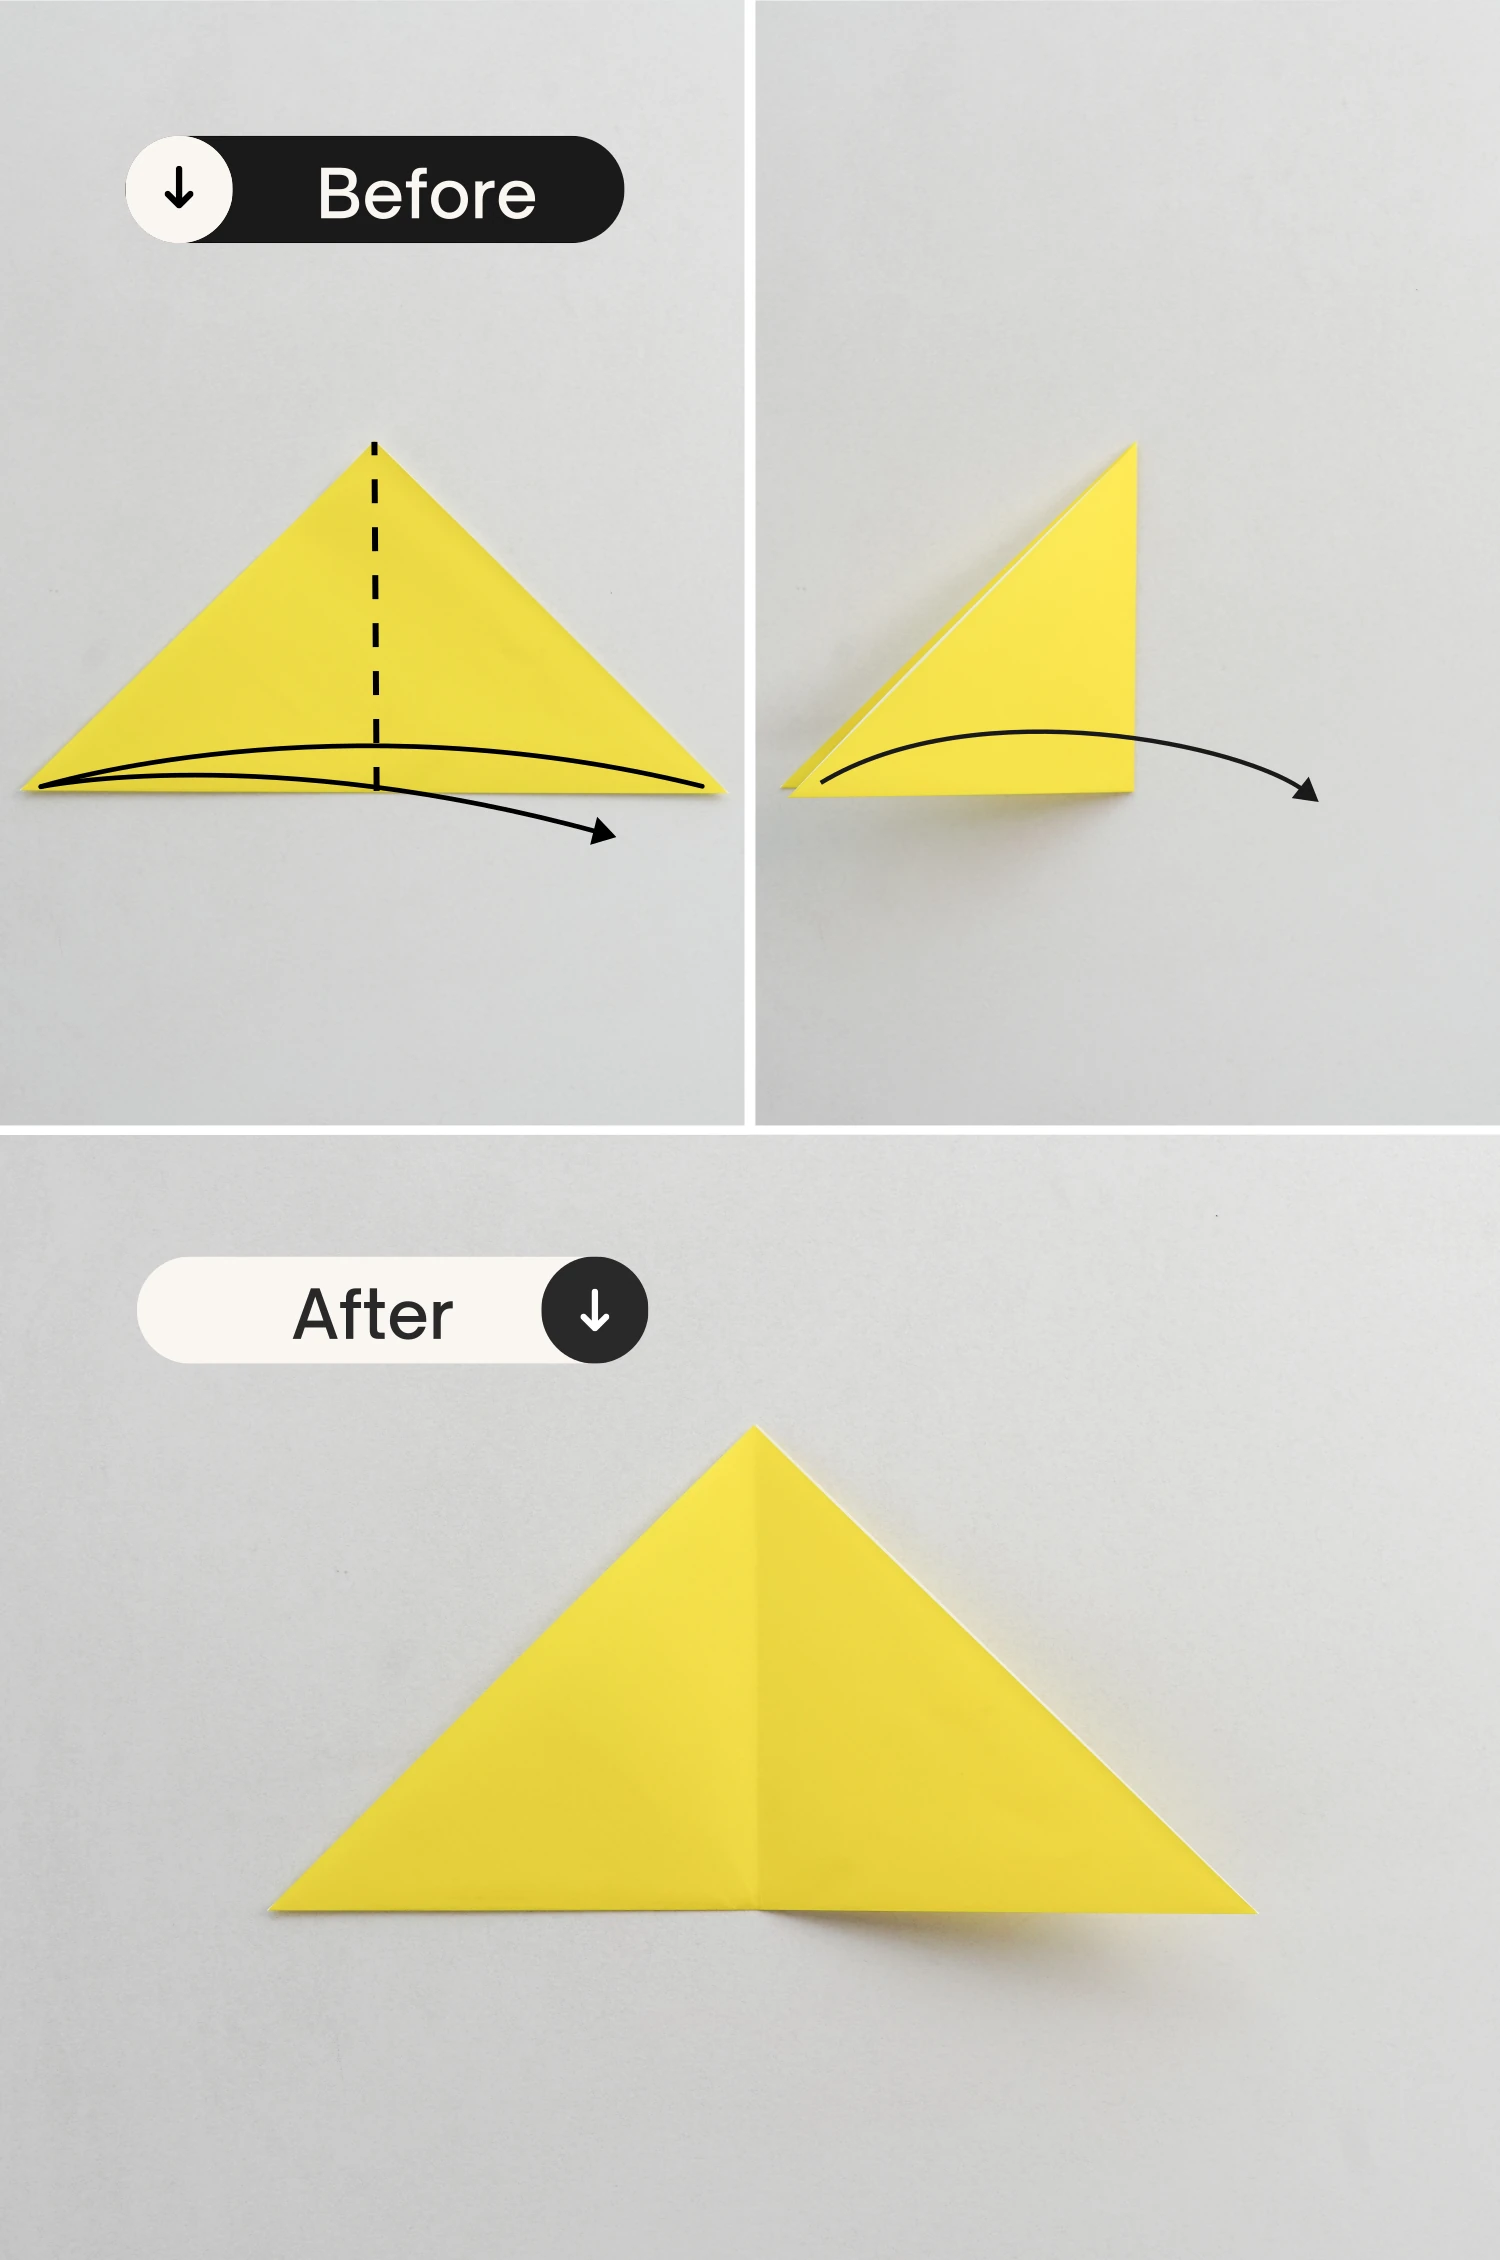
Step 2
Fold the right corner to the left corner diagonally, crease it well then unfold.
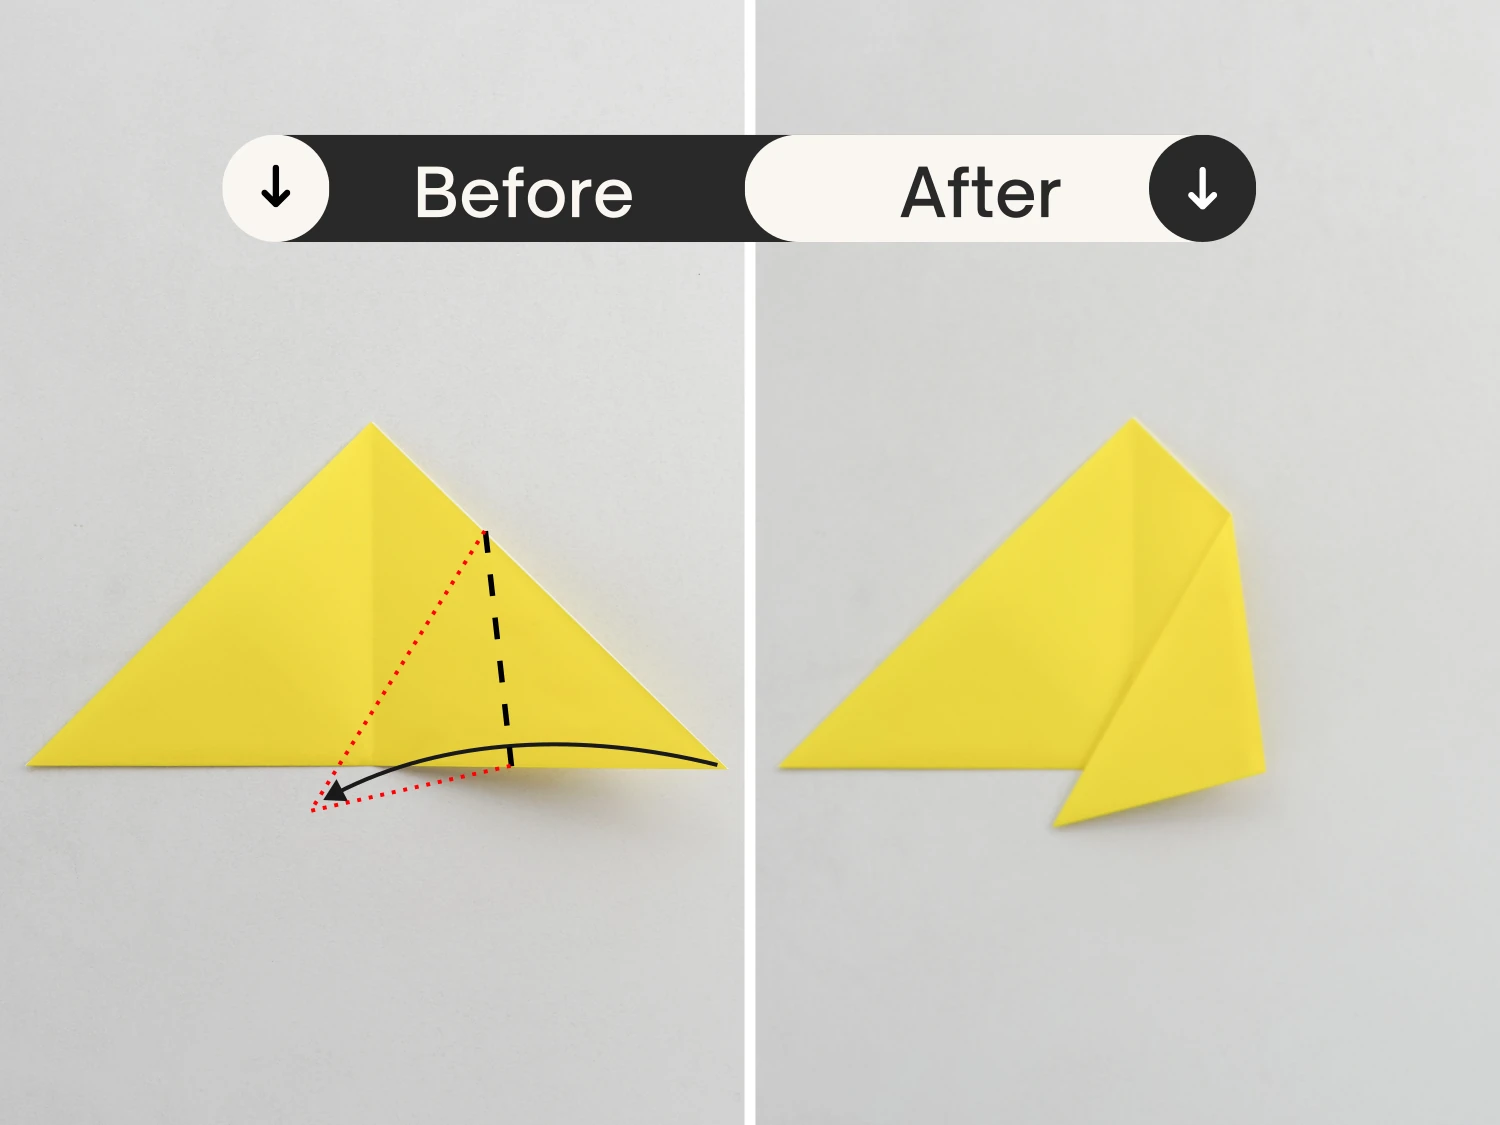
Step 3
Take the right corner, fold it to the left along the black dotted line, and make sure to over the middle crease and under the bottom edge.
The more folds you make, the smaller the chick’s face will be.
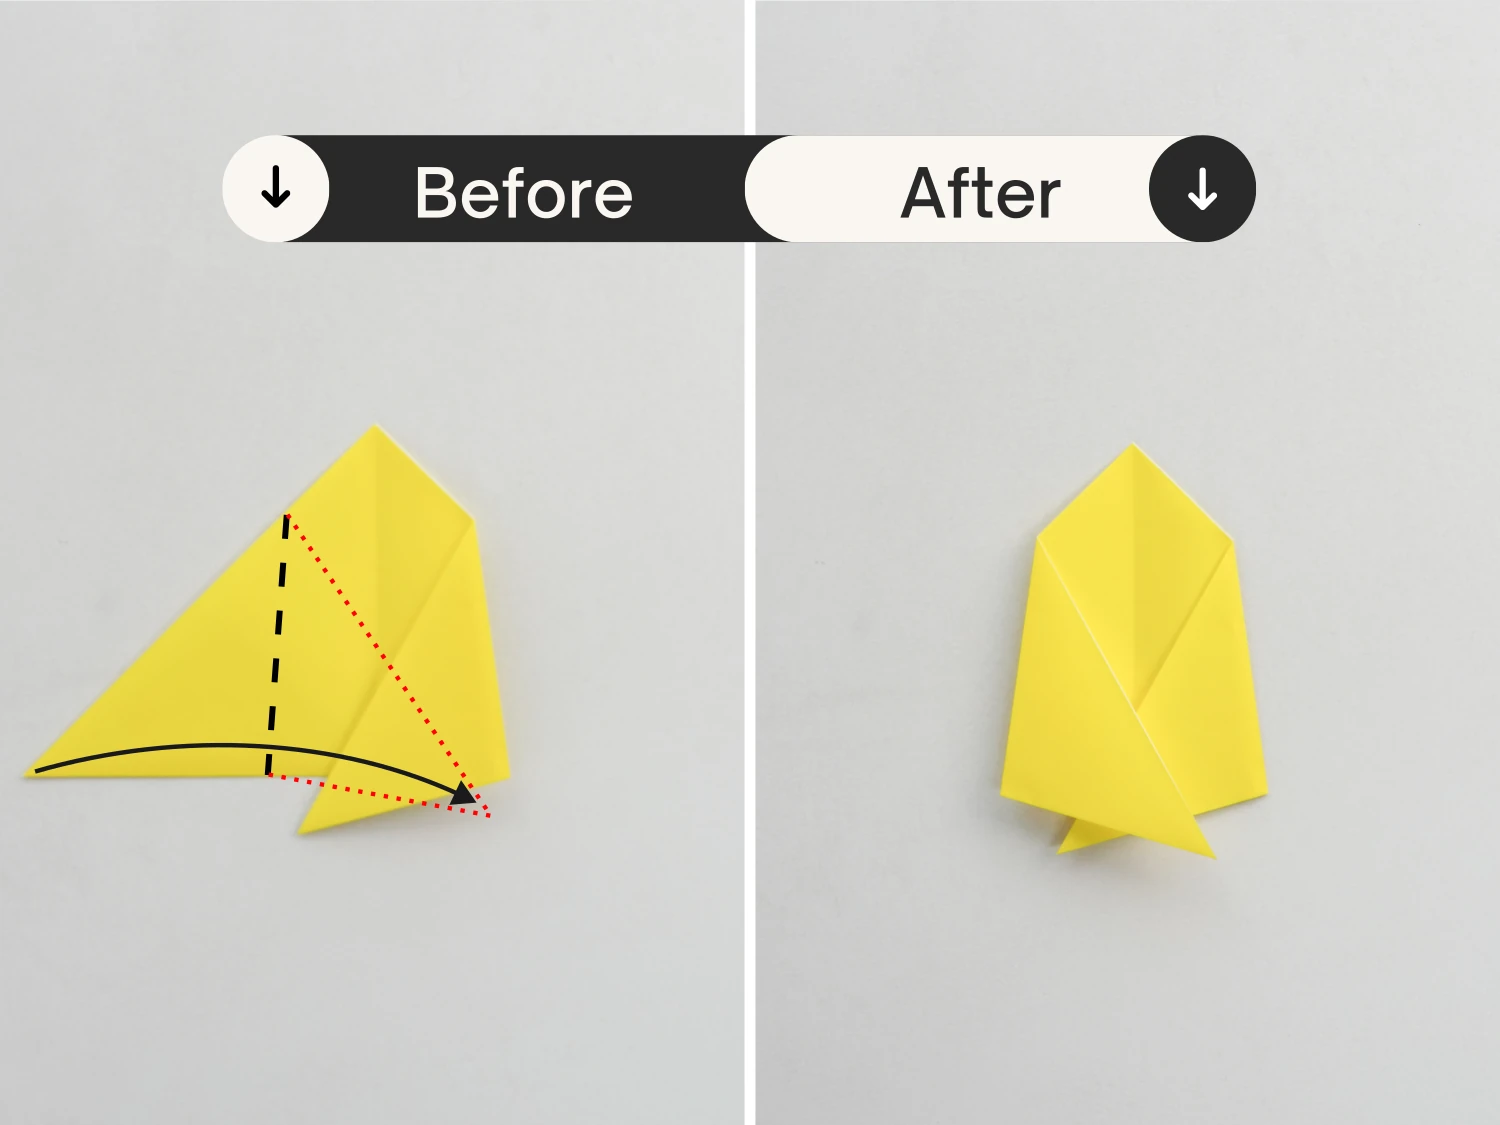
Step 4
Repeat this for the left corner.
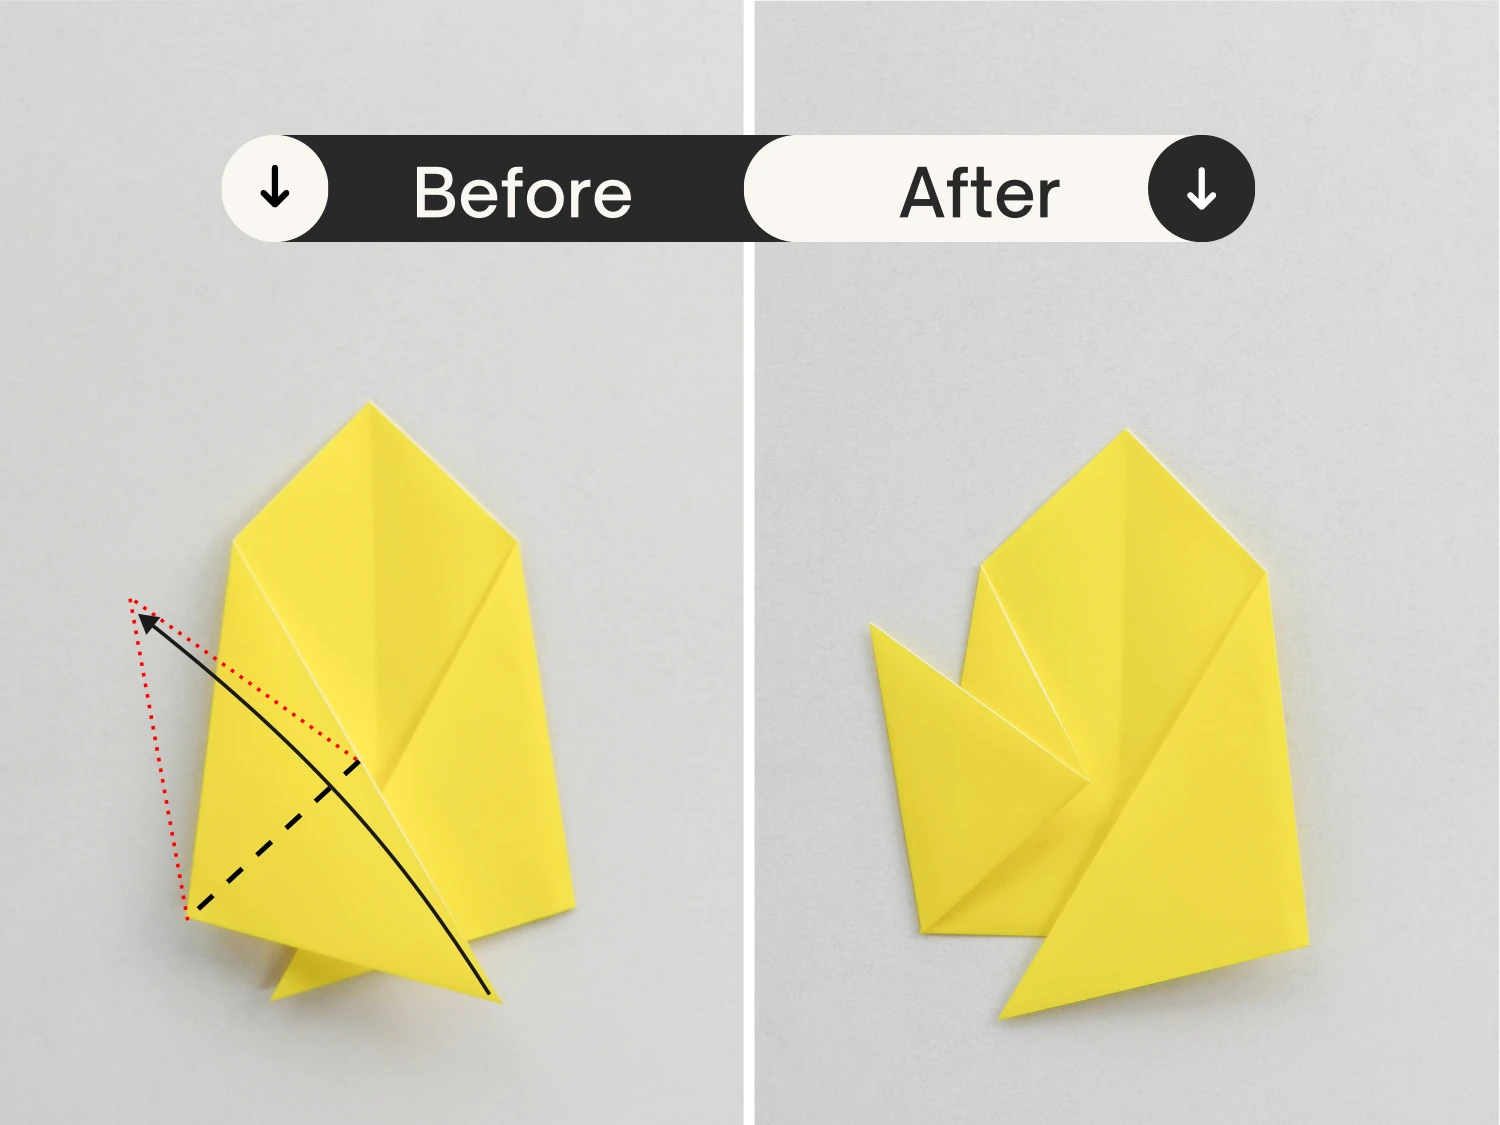
Step 5
Take the left top flap, and fold it up along the black dotted line.
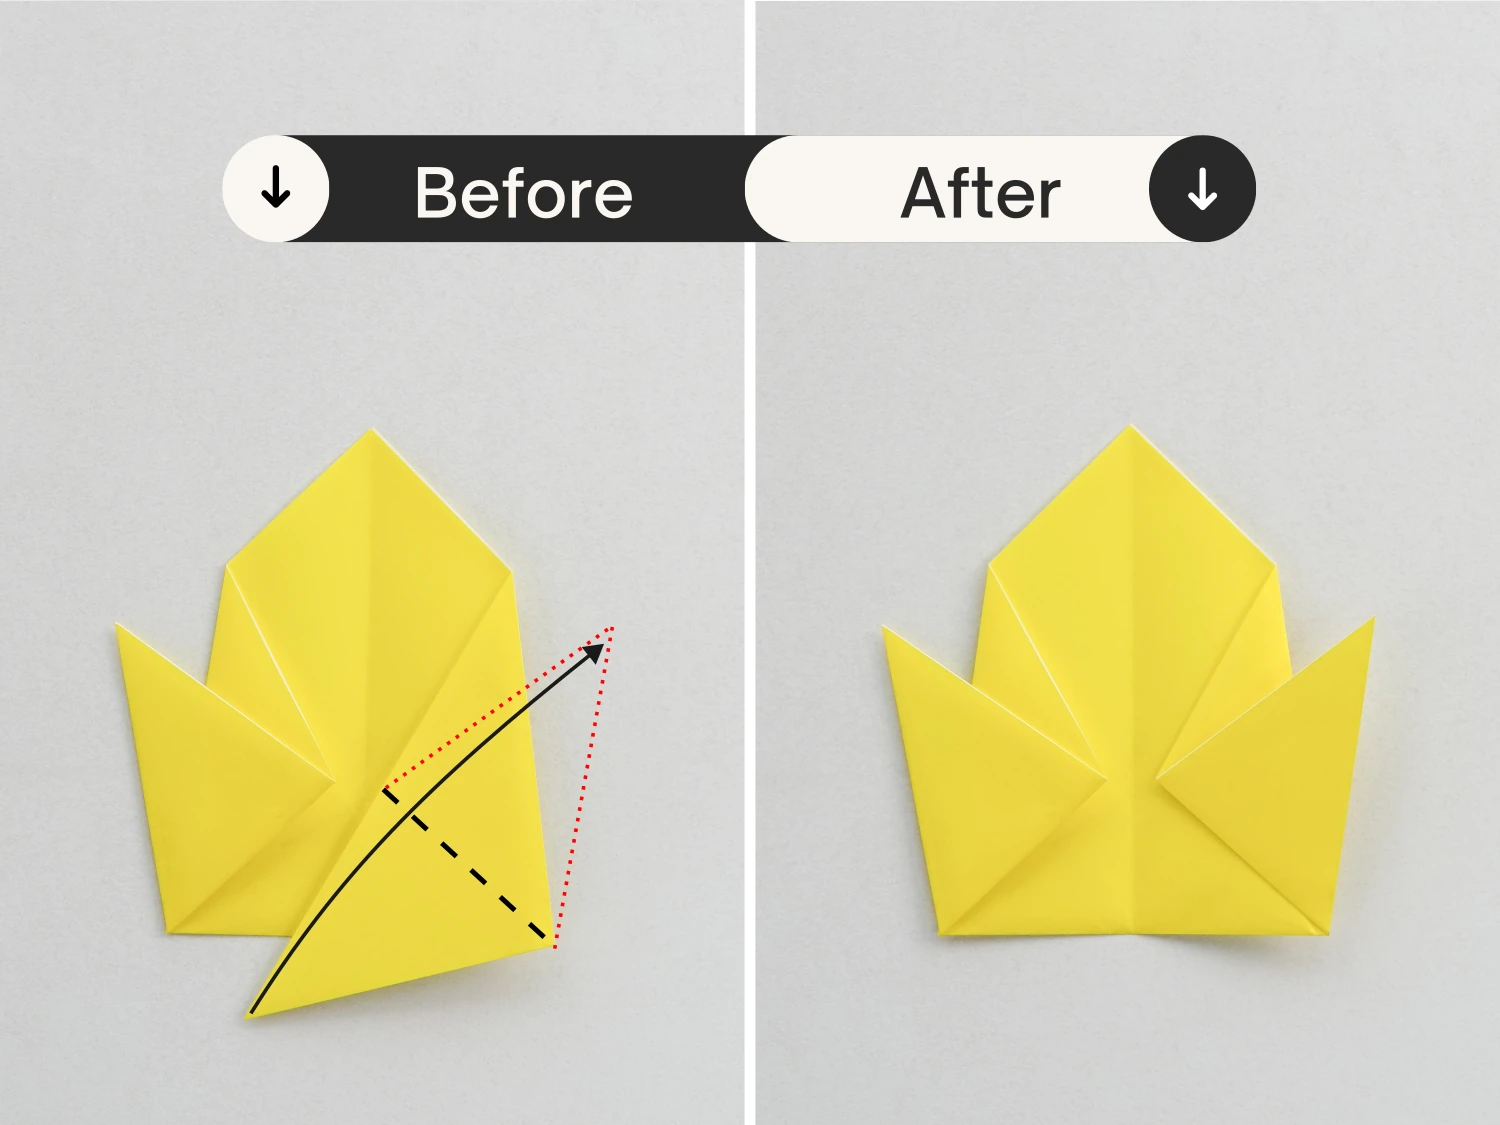
Step 6
Repeat this for the right top flap.
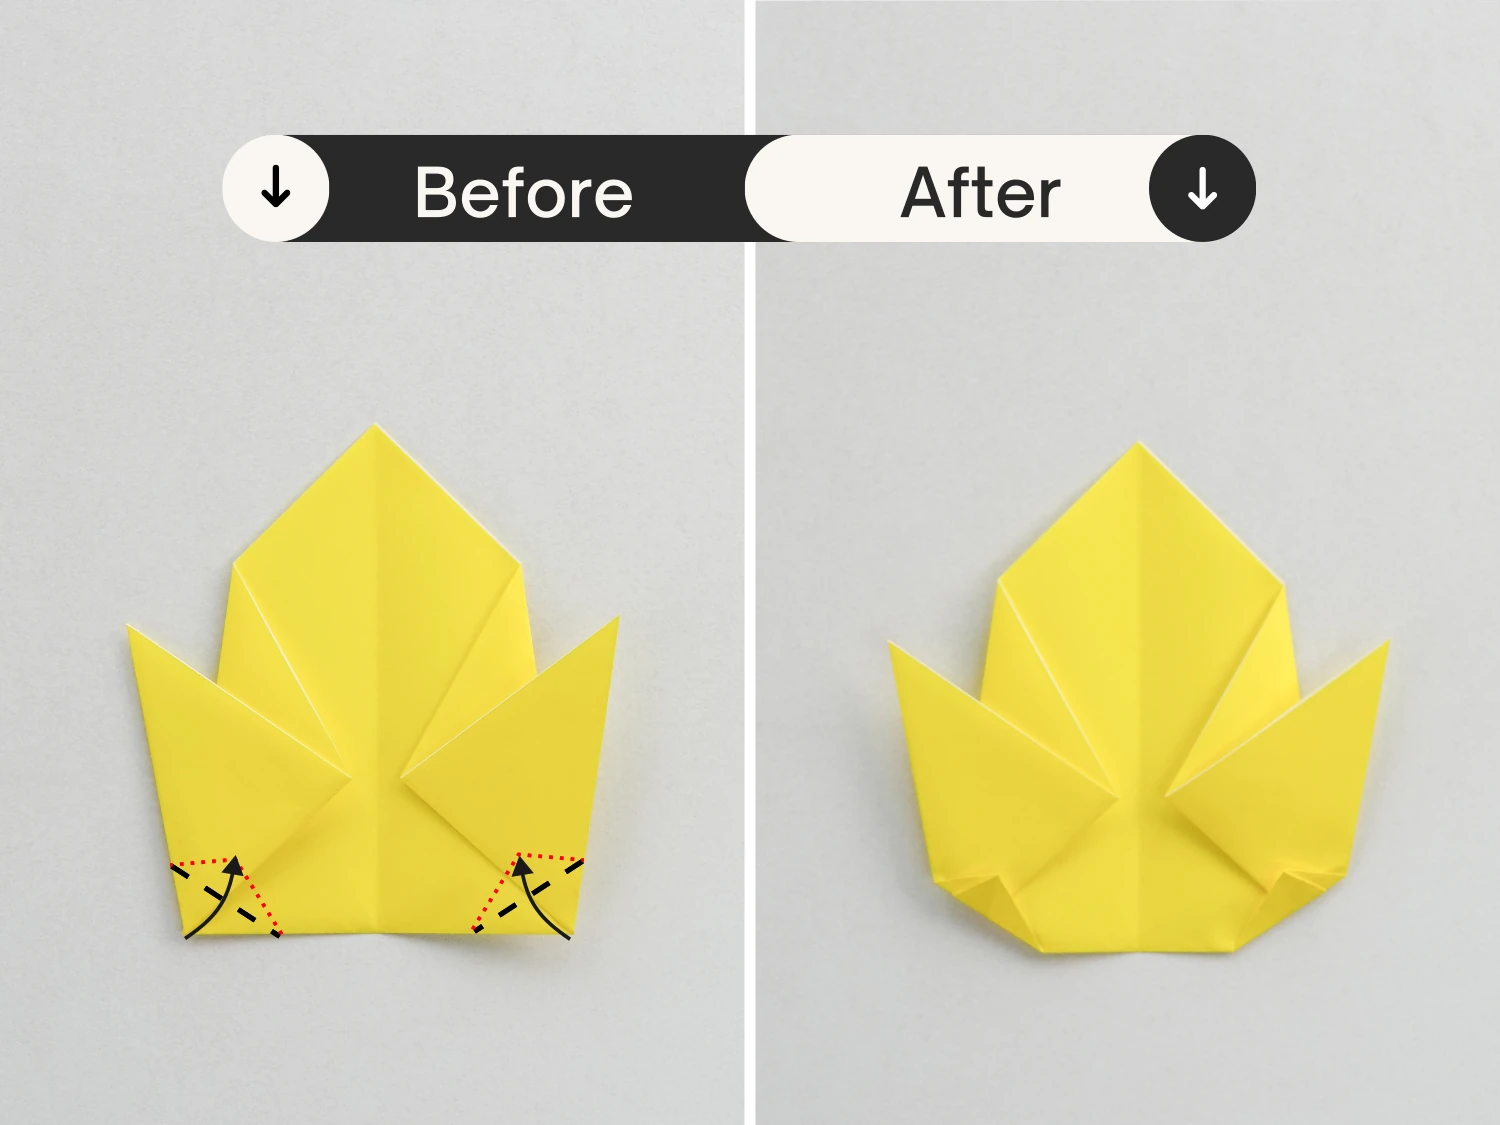
Step 7
Then fold the bottom left and right corners up a little, to form the chicken’s cheeks.
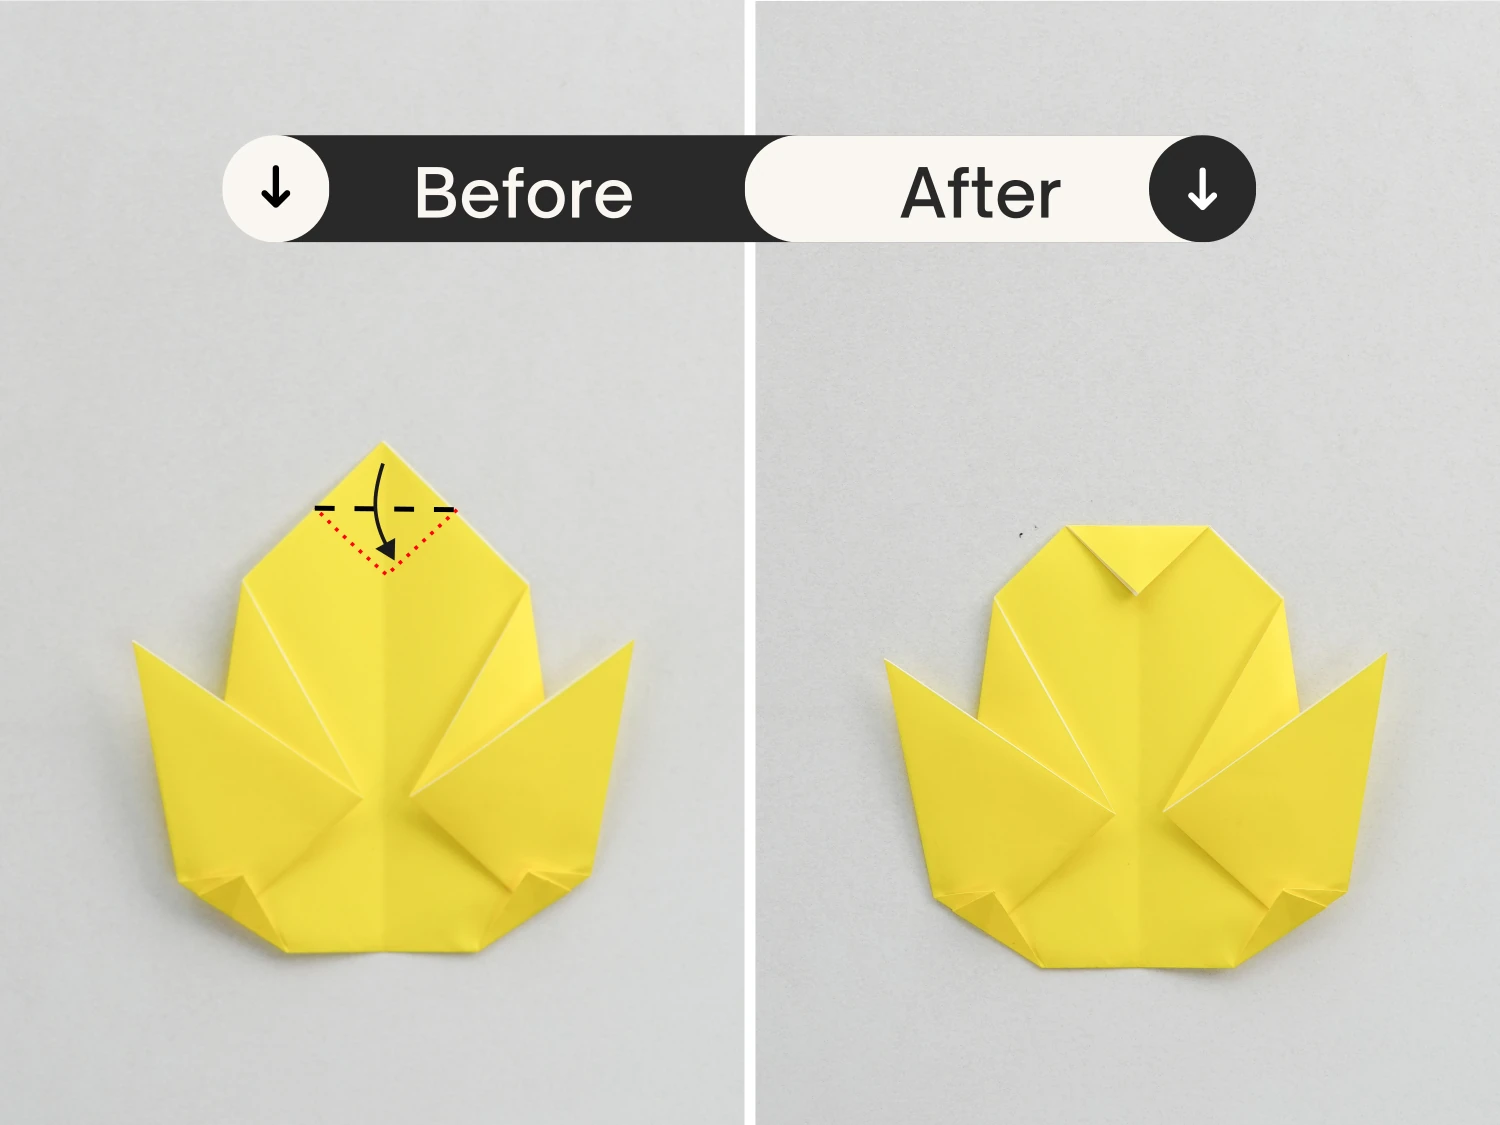
Step 8
Fold the top point down a little as well to form the forehead.
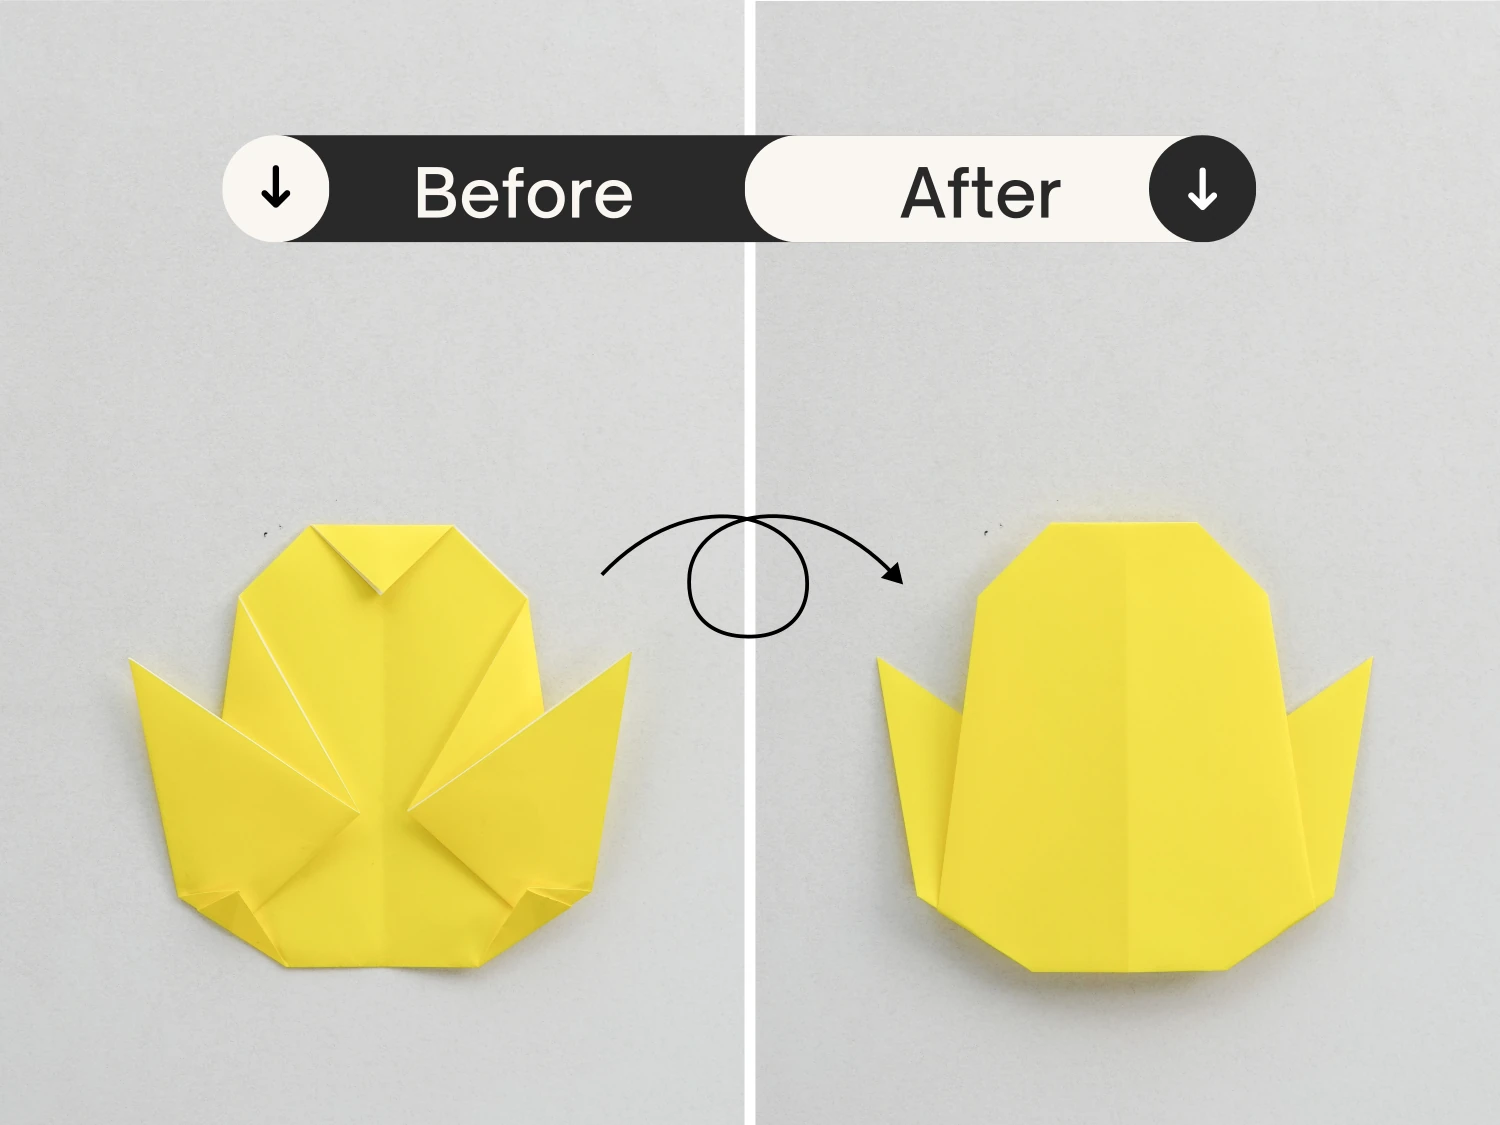
Step 9
Flip the paper over.
Step 10
Use your imagination to draw mouth and eyes or expressions for the chicken.
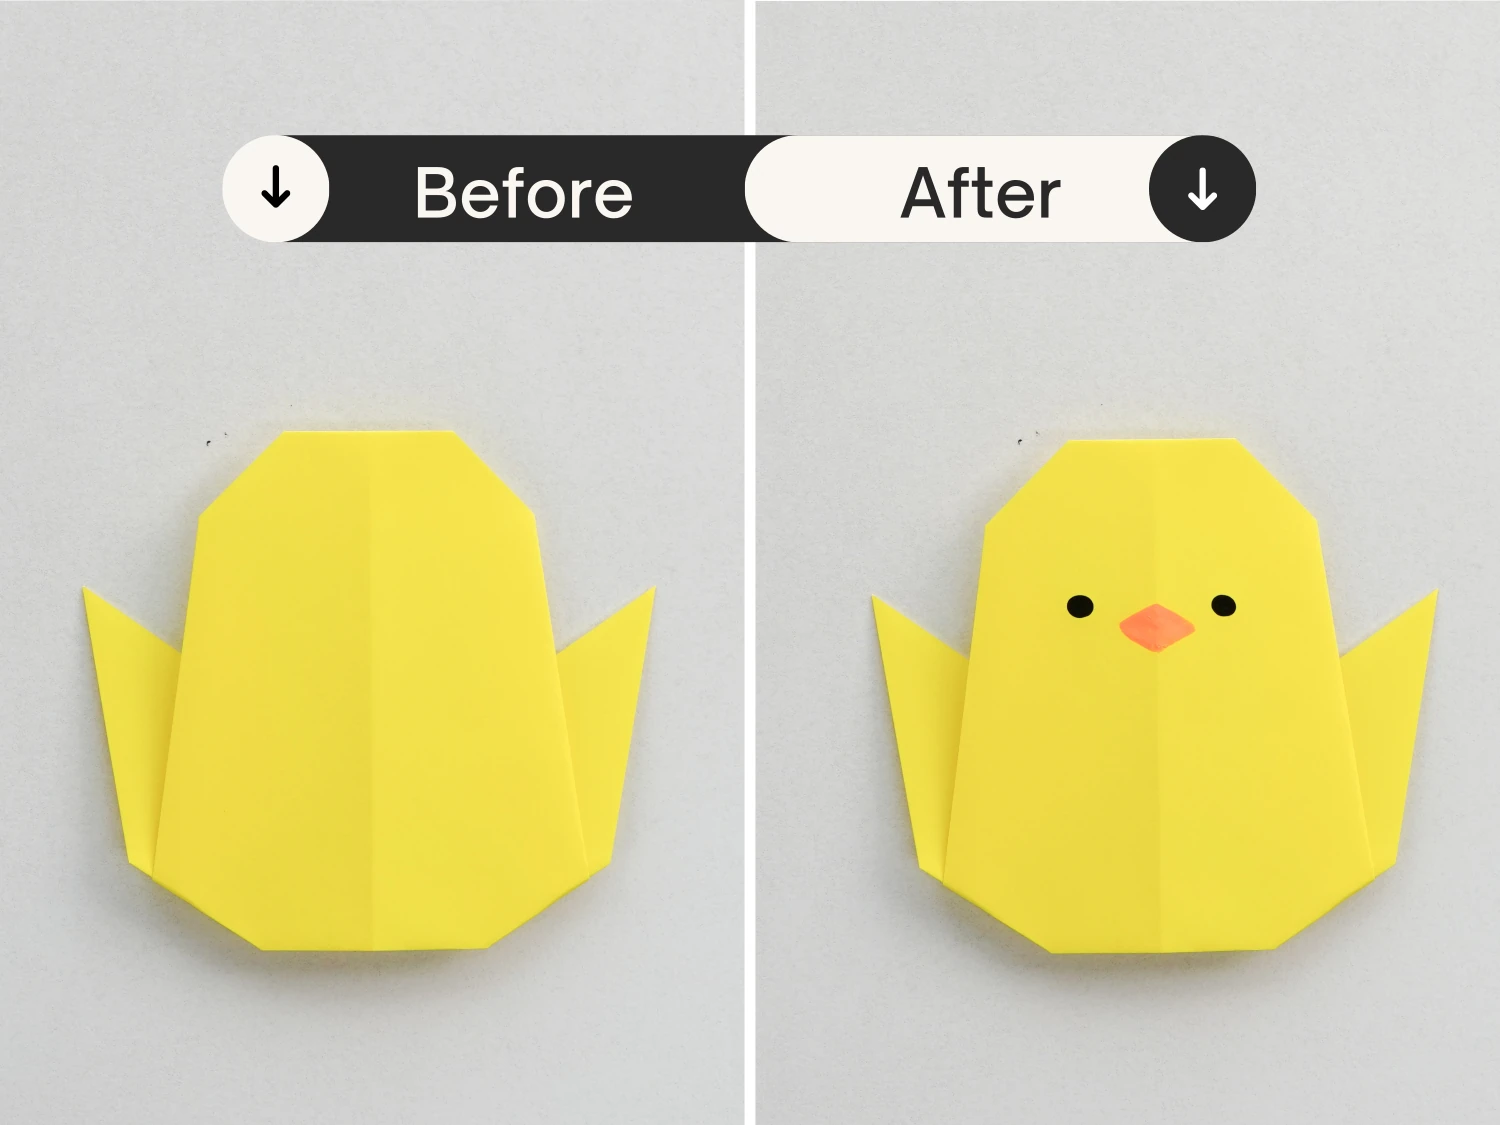

Now you have finished this cute and lovely origami chicken. We have other lovely origami animals only need less than 10 steps like this easy origami penguin. Or further continue explore other origami animal ideas.
Other easy origami animal ideas

Want more origami ideas or more instructions? Remember to subscribe our Newsletters. We will send the newest inspiration to your box.