
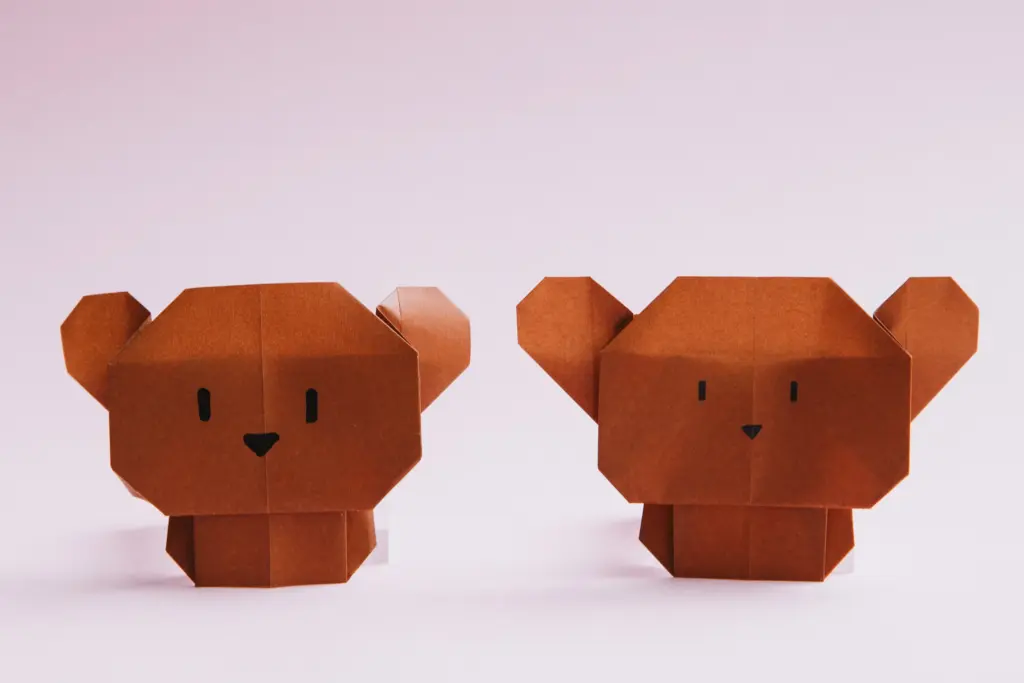
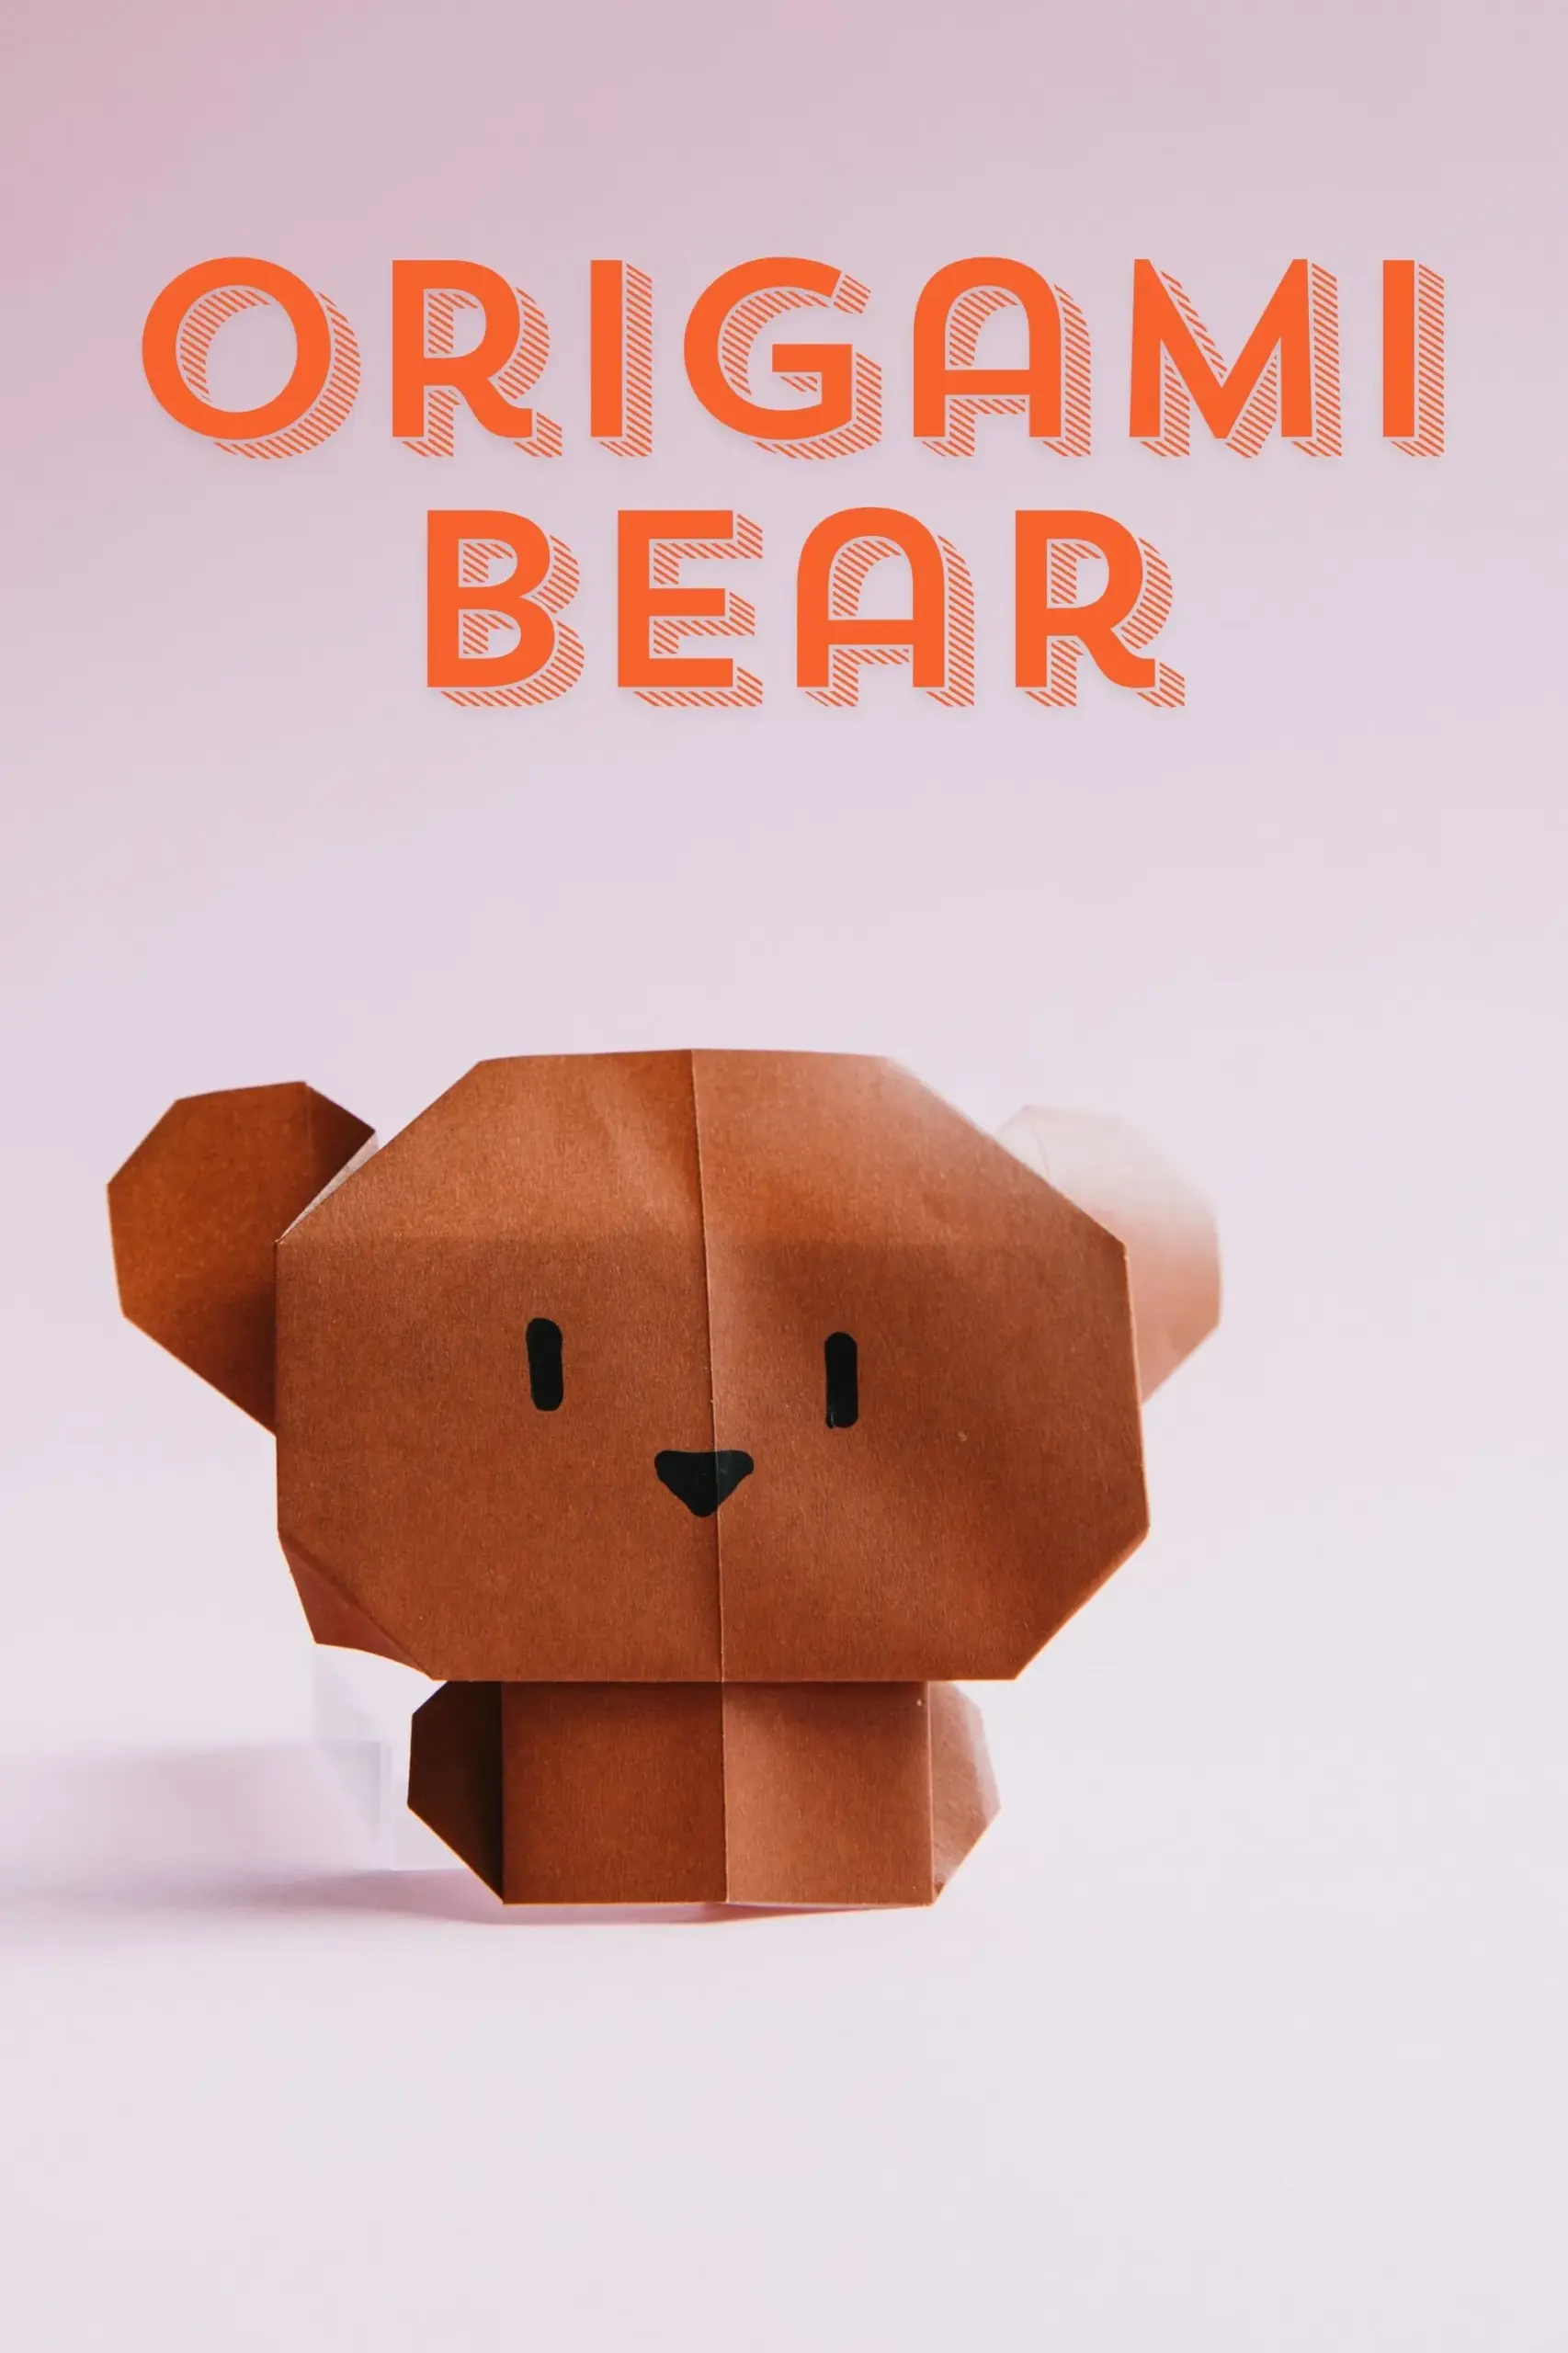
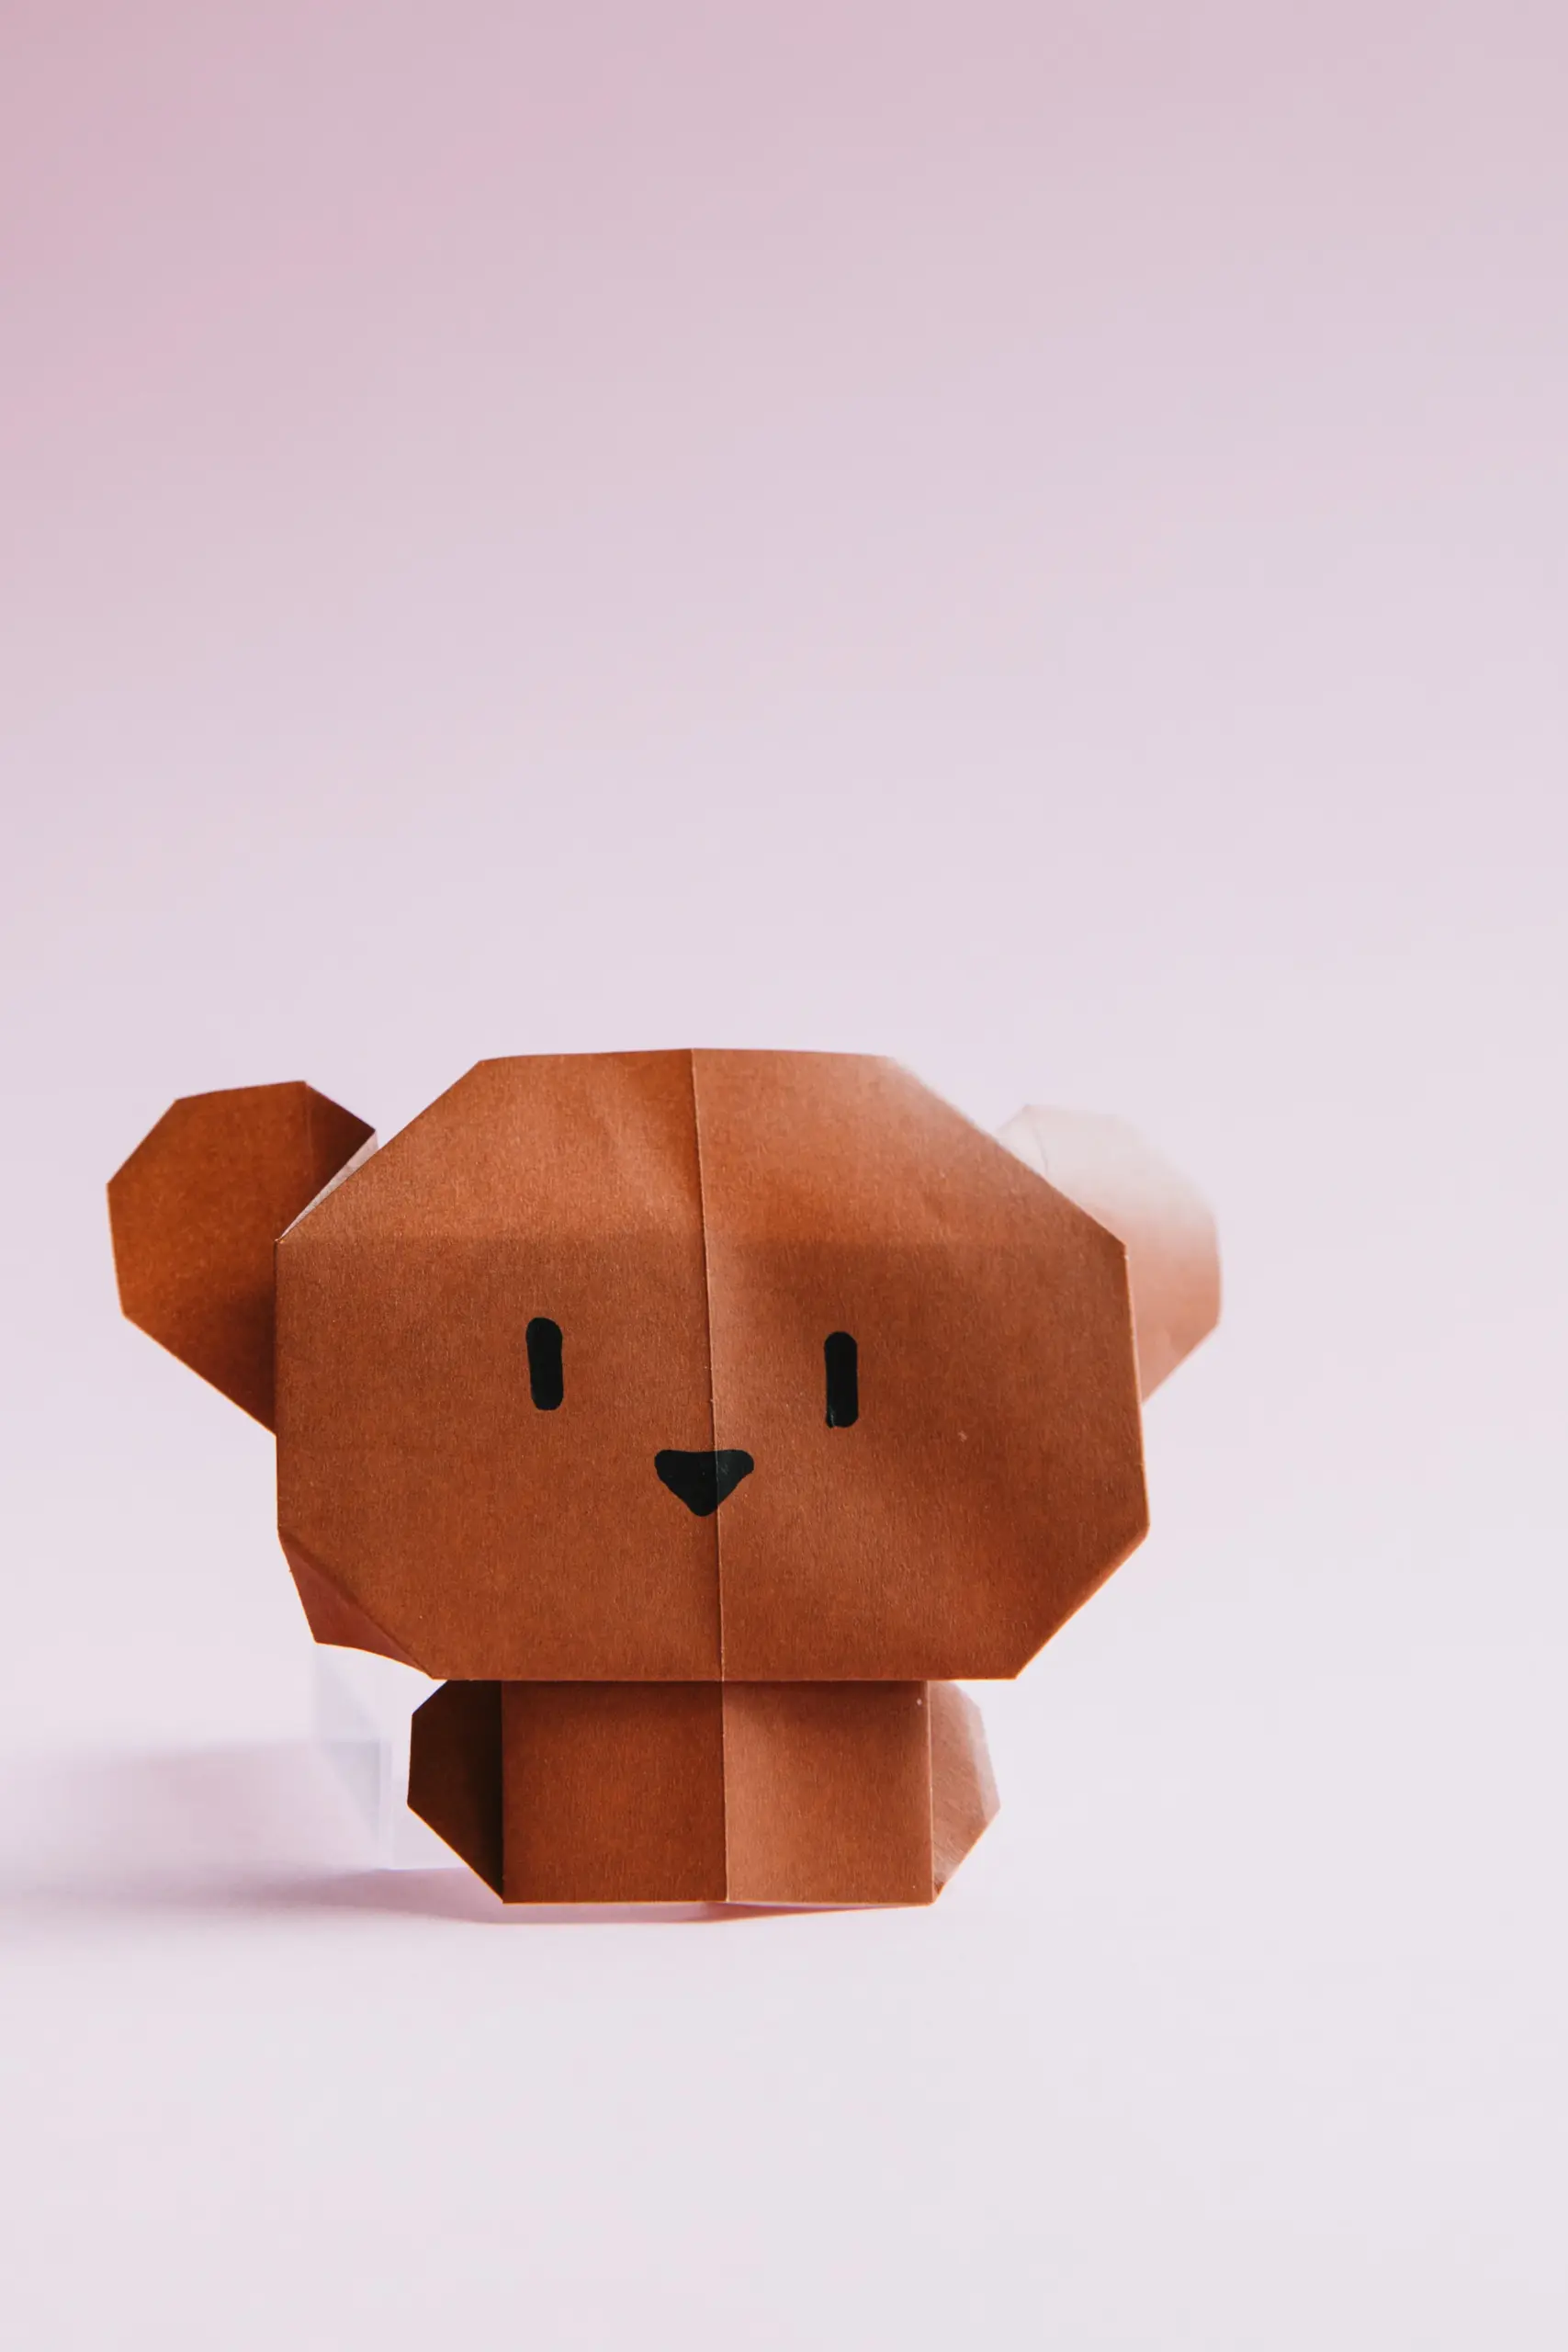
Want to make a lovely bear out of the paper? We present this cute origami model. With this tutorial, you can make a lovely origami bear with two round ears and a fat cute face.
Drawing some cute eye and mouth can make the origami bear more vivid and real. You can change the emotion of your origami bear with different mouth shapes.
If you are new to origami, start here from our beginner guide to know the basics and how to read the step-by-step instructions.
- Folding time: 10 minutes
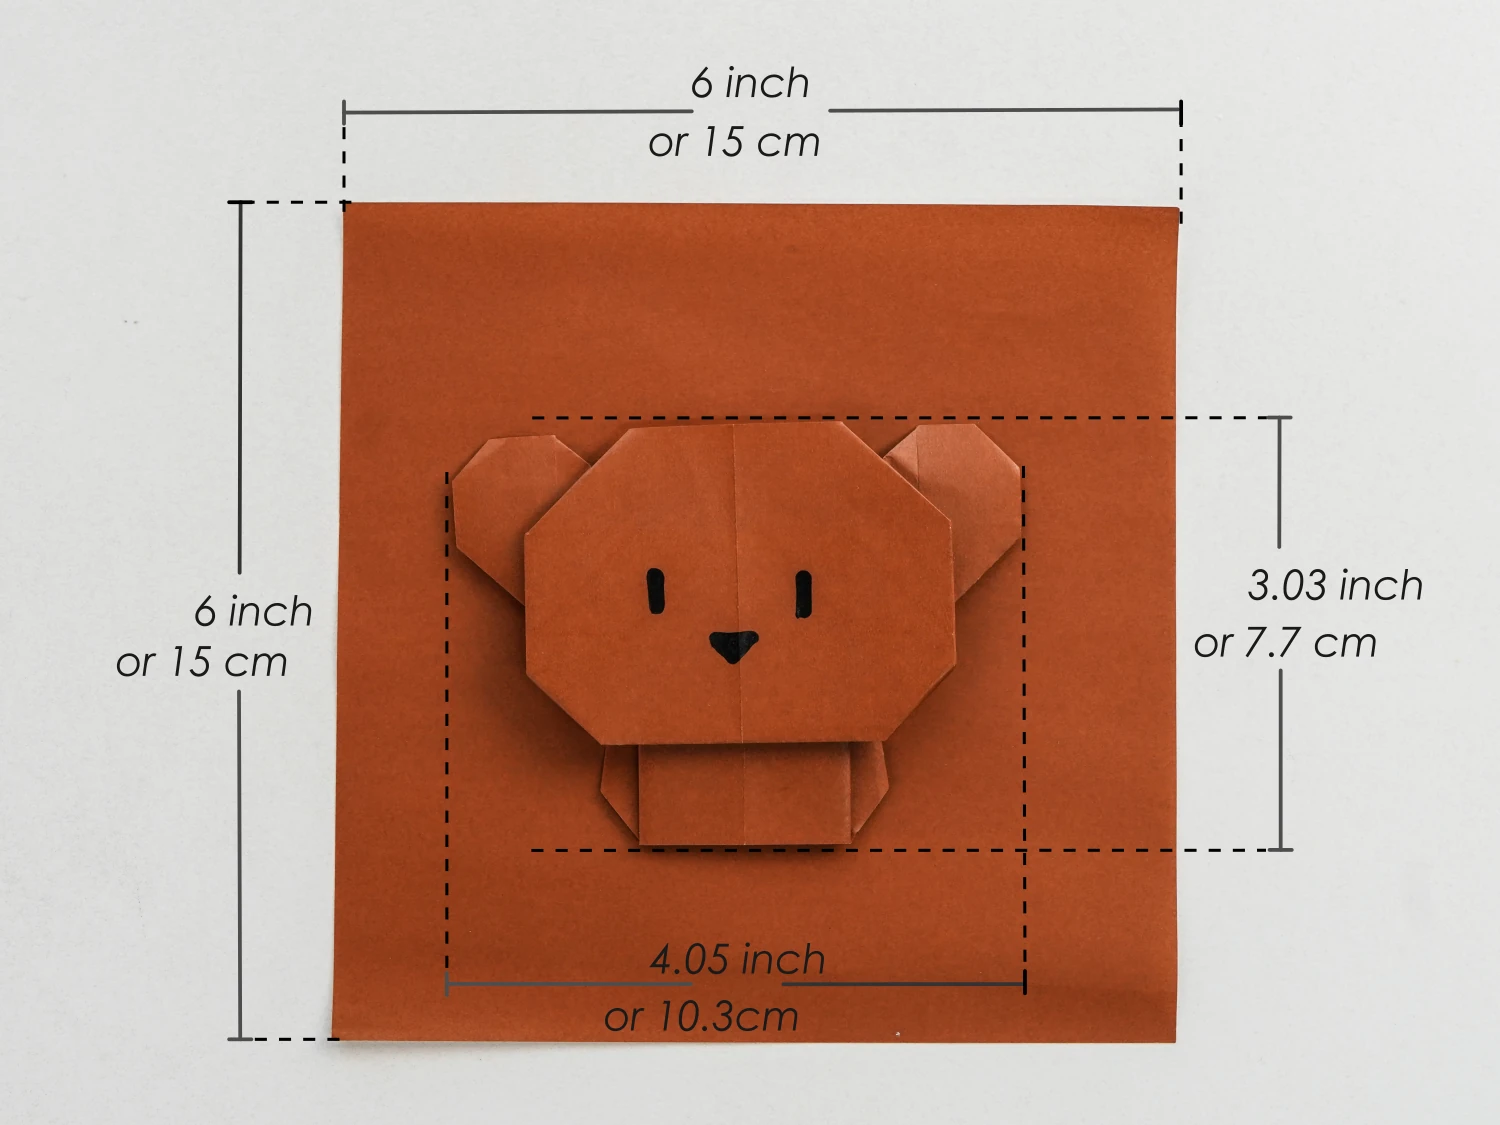
- Paper: 15×15 cm
- Difficulty: Middle
Material
Get a 15×15 cm origami square paper with different colors on each side, to create a 7.7×10.3 cm cute bear. Various colors or sizes of square papers are practicable.
Origami Bear Video
Step by Step Instructions
Step 1
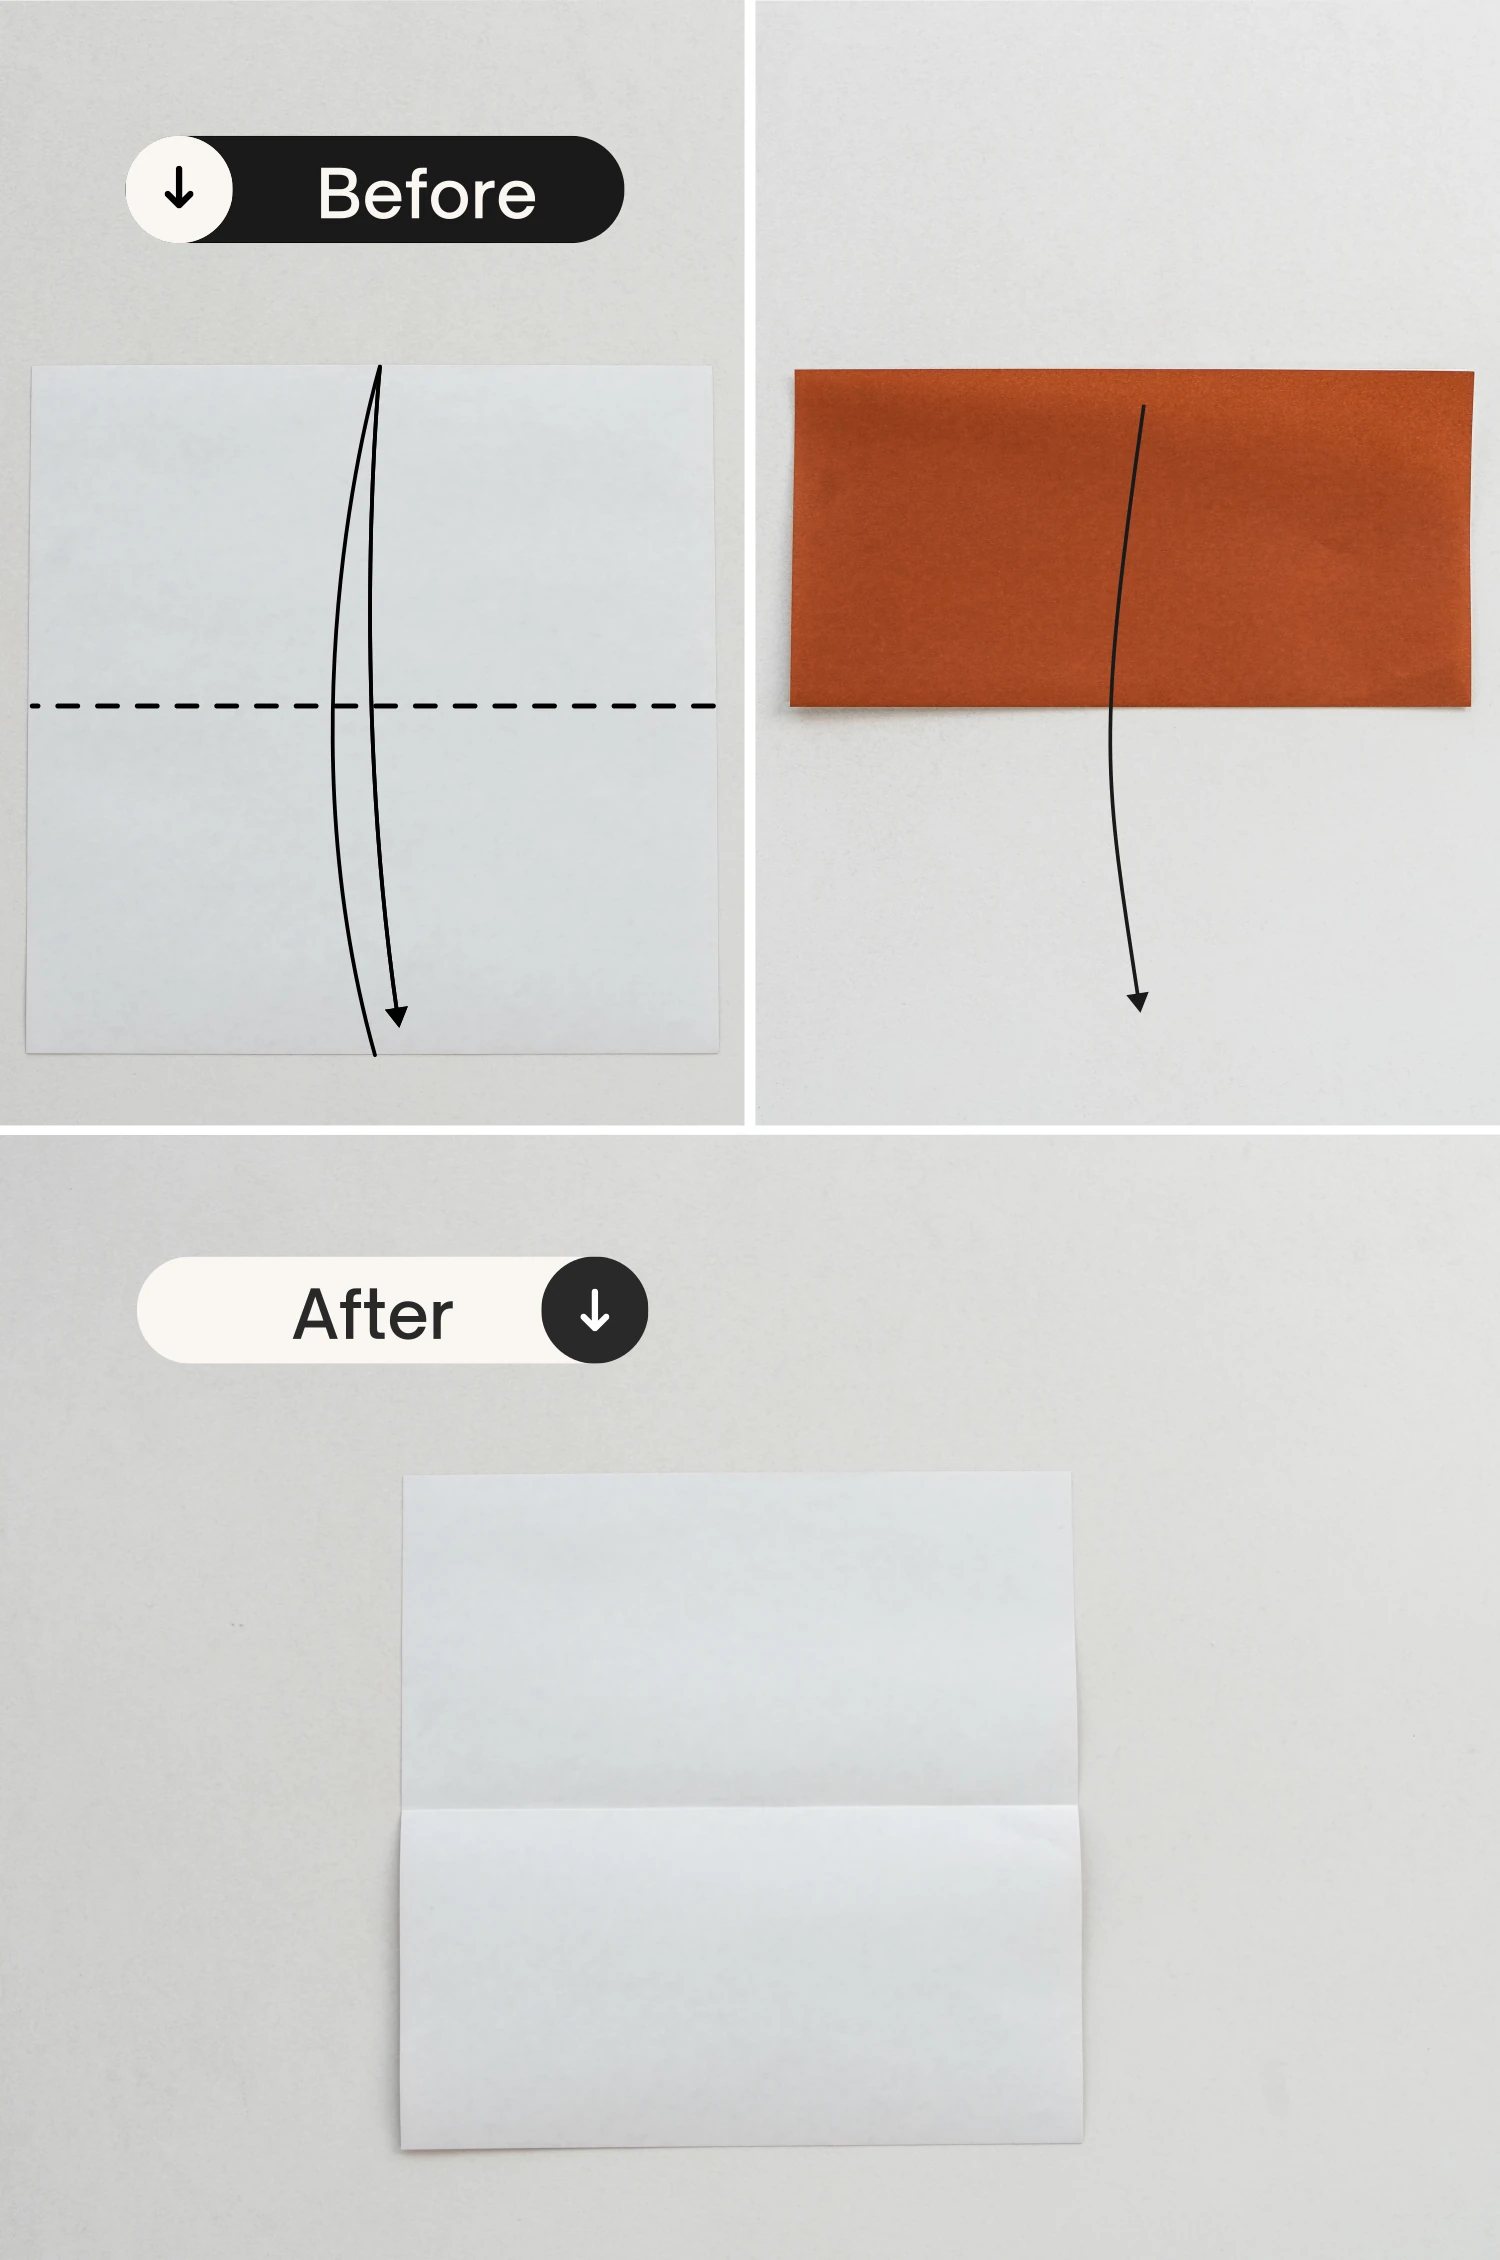
Start with the white side of the paper facing up, fold it in half horizontally to get a crease, and unfold it.
Step 2
Fold the top and bottom edges to align with the crease you just made.

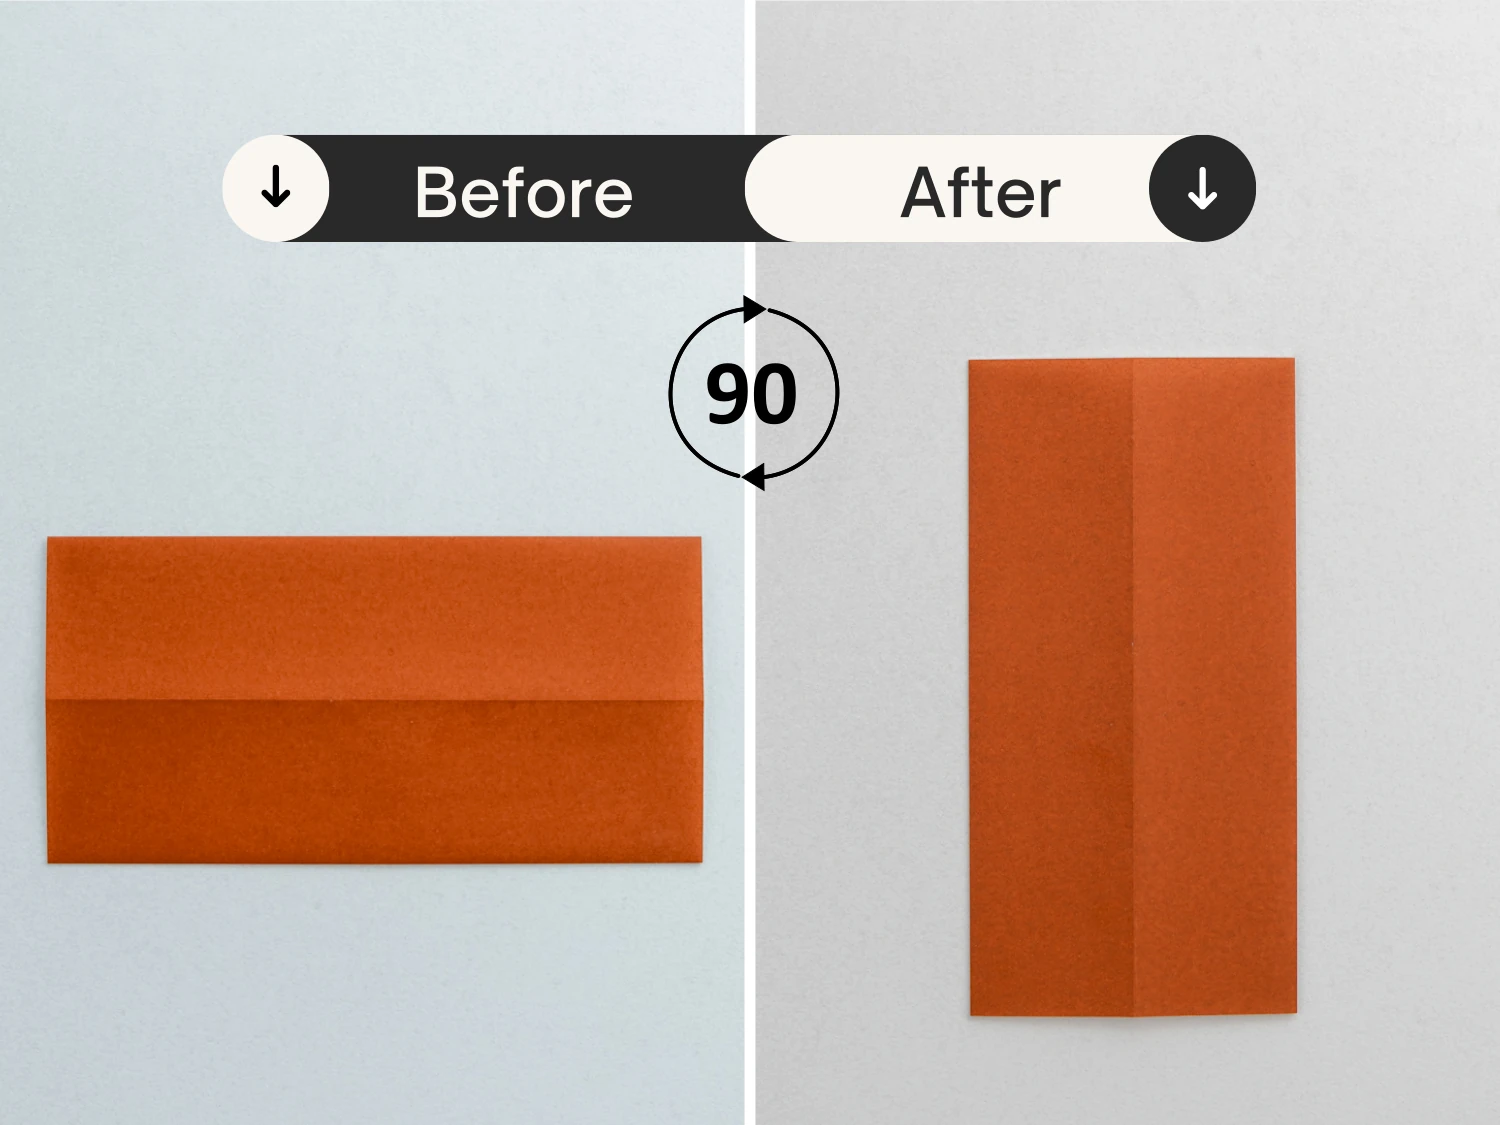
Step 3
Rotate it 90 degrees clockwise.
Step 4
Fold the bottom edge up to the top, crease it well then unfold.
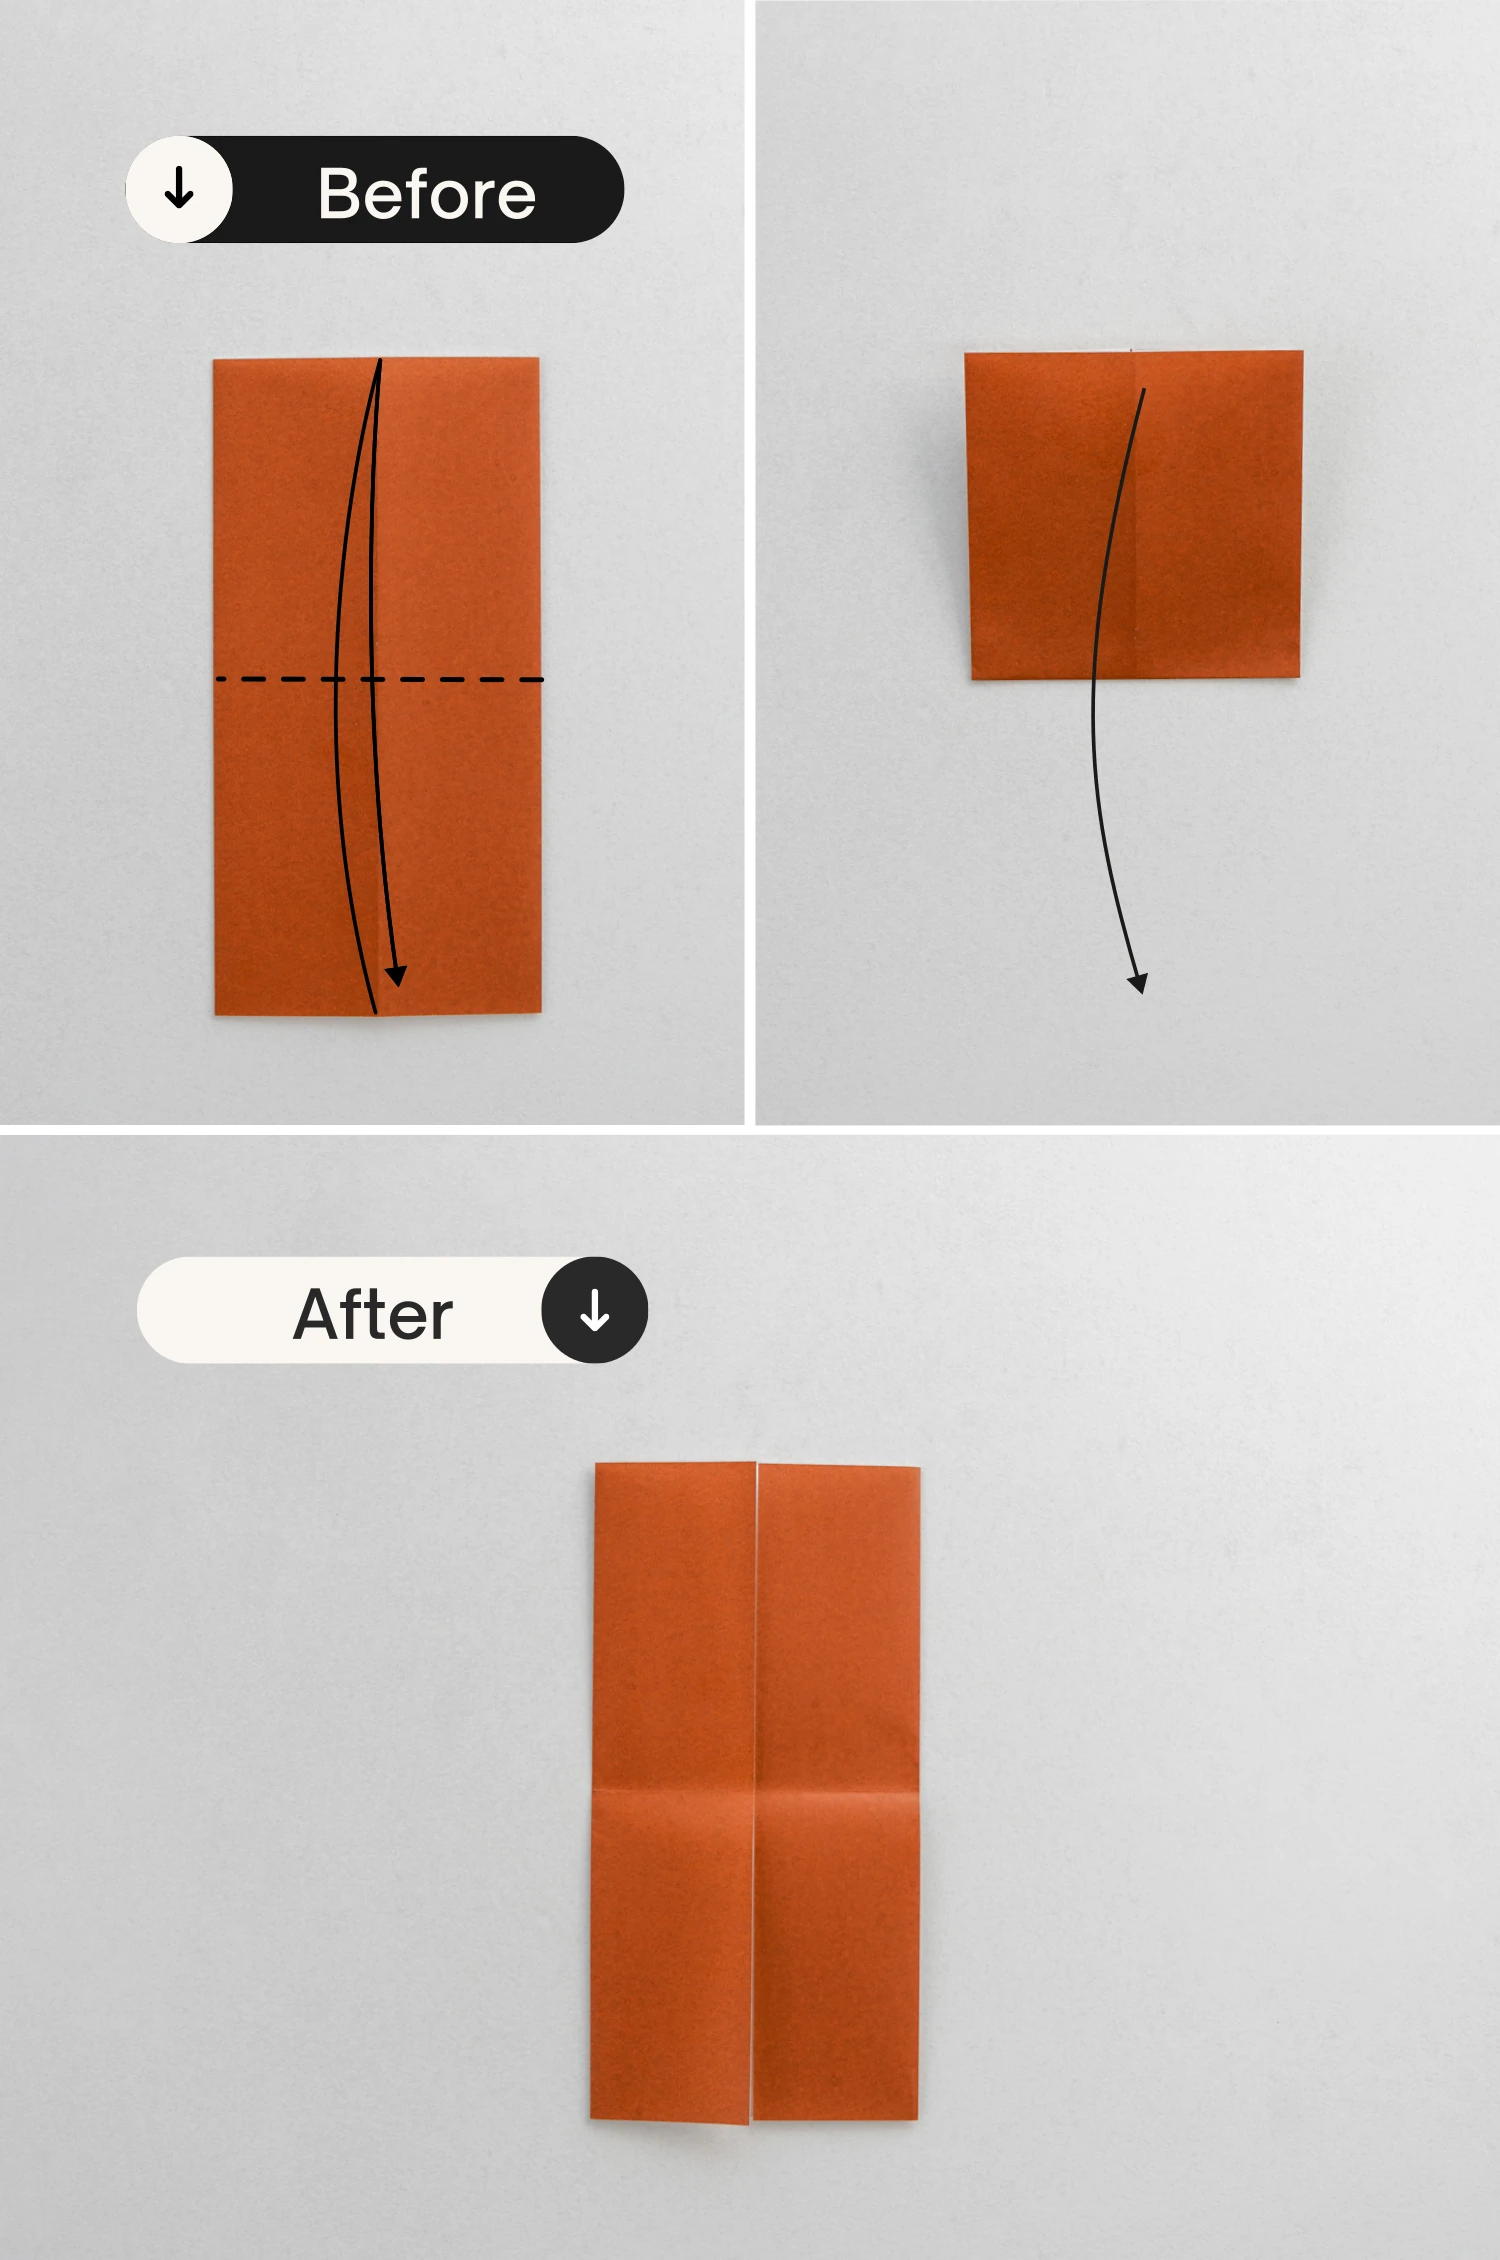
Step 5
Fold the bottom edge to align with the crease you made in the previous step, crease it well then unfold it.
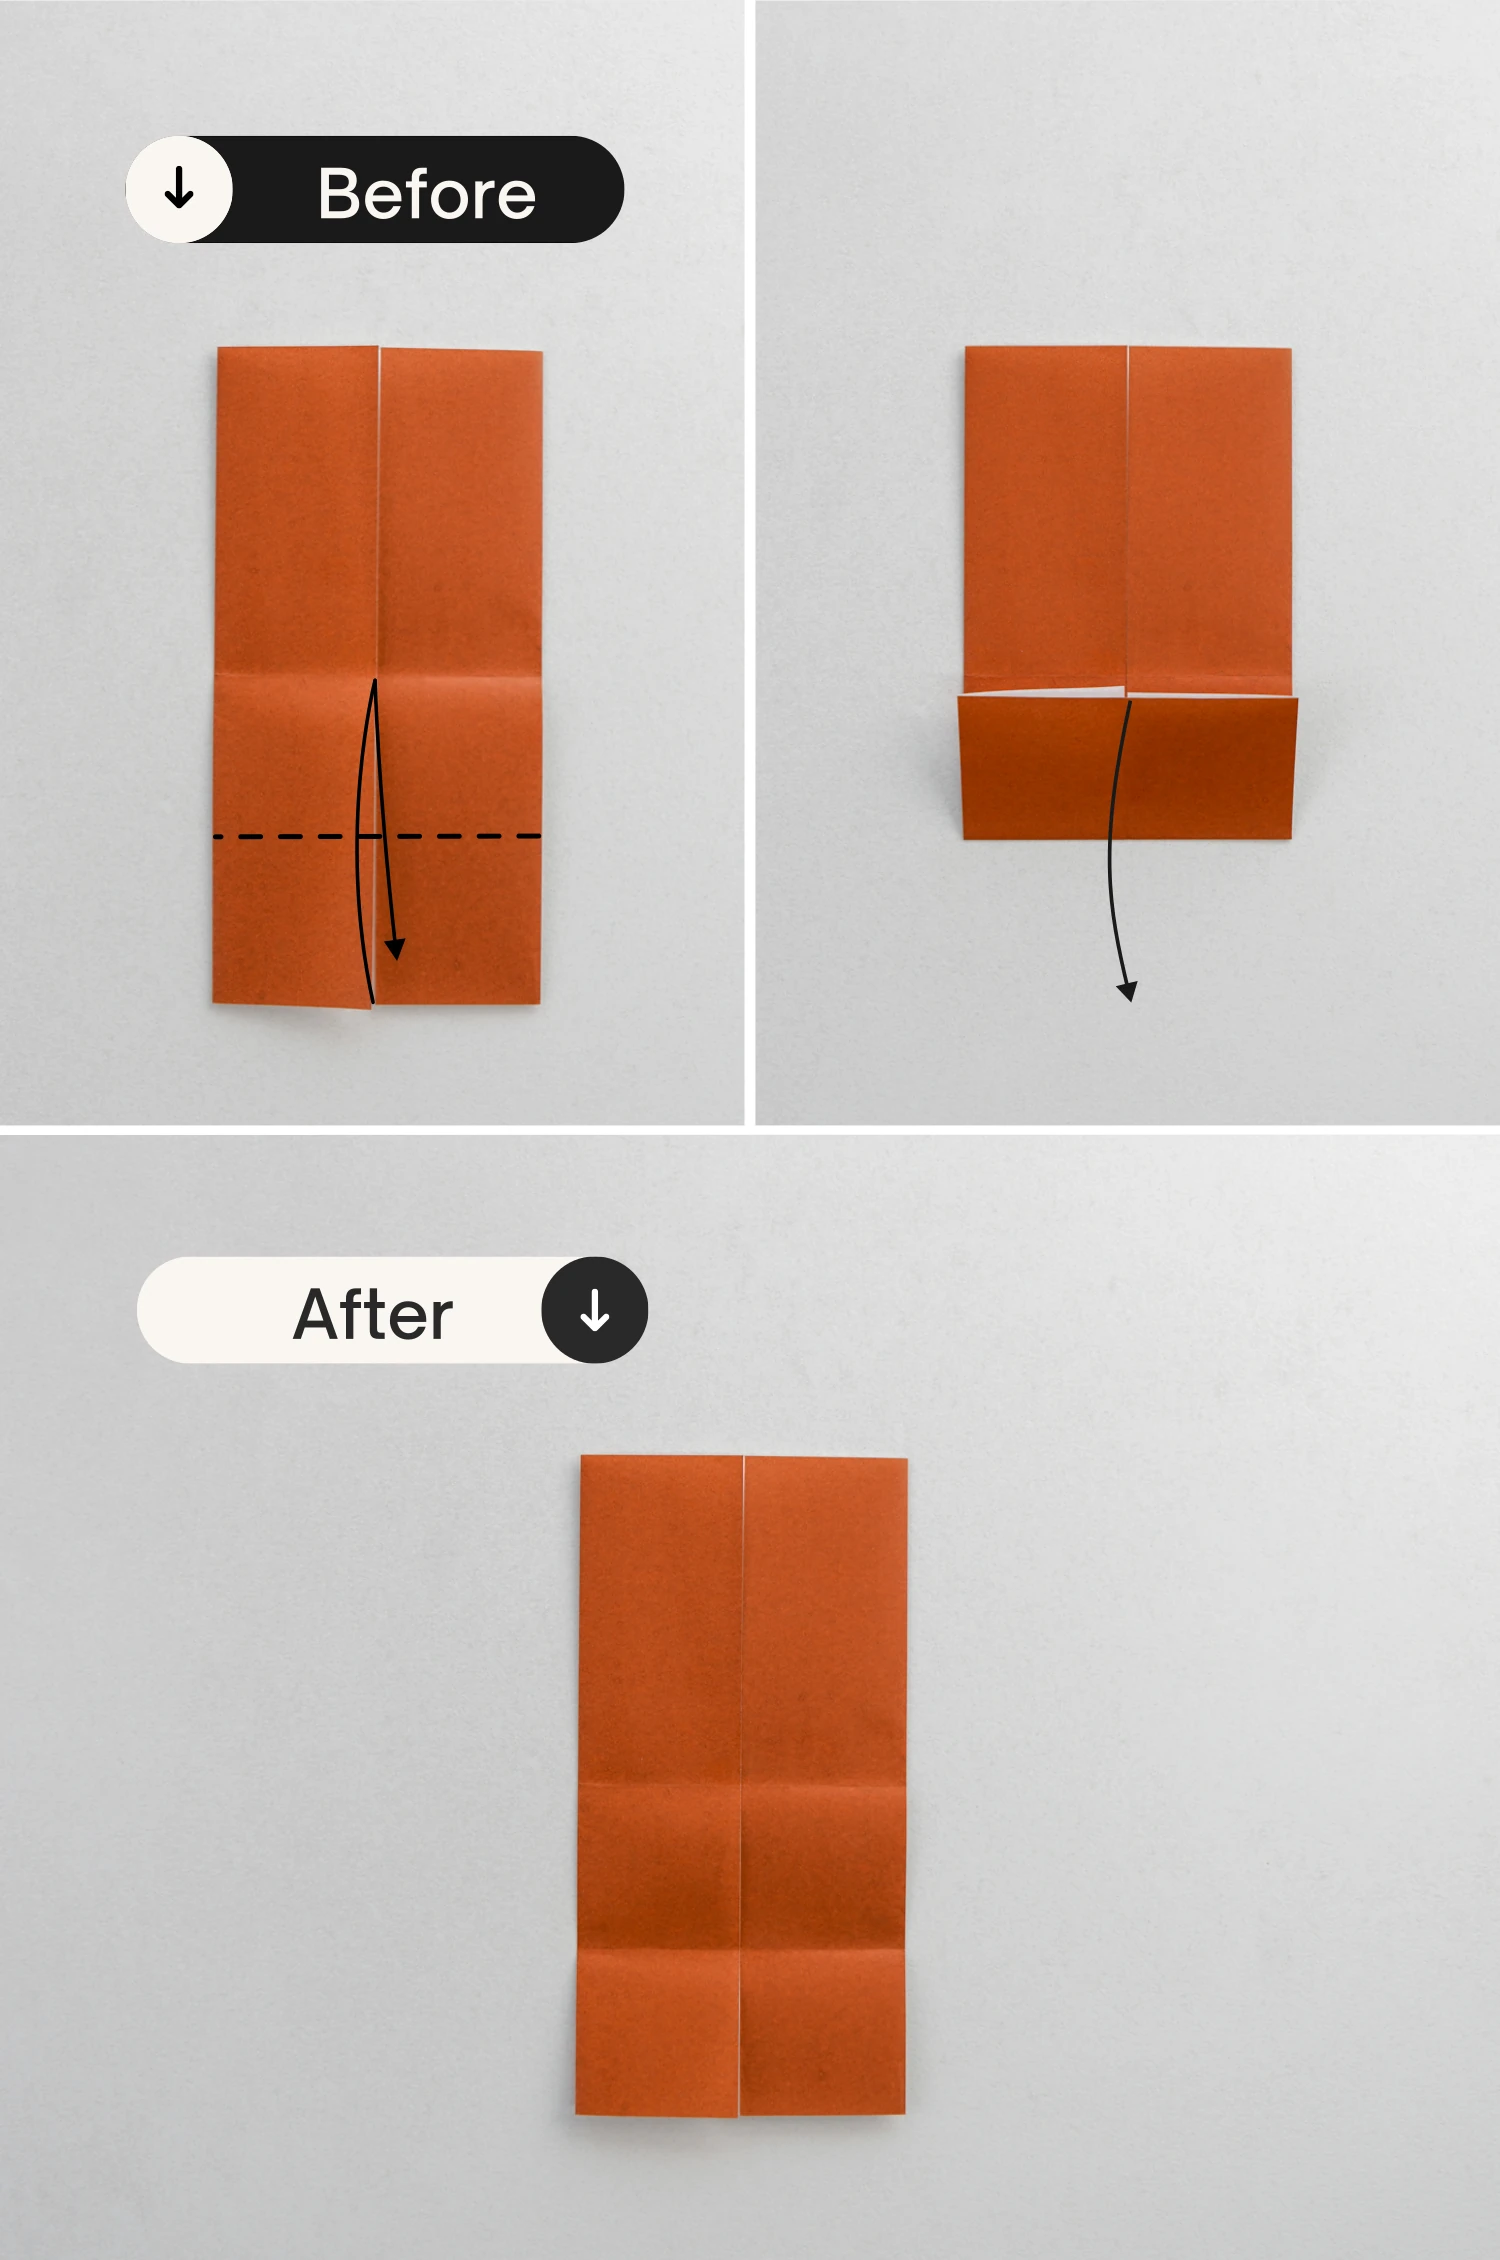
Step 6
Flip it over.
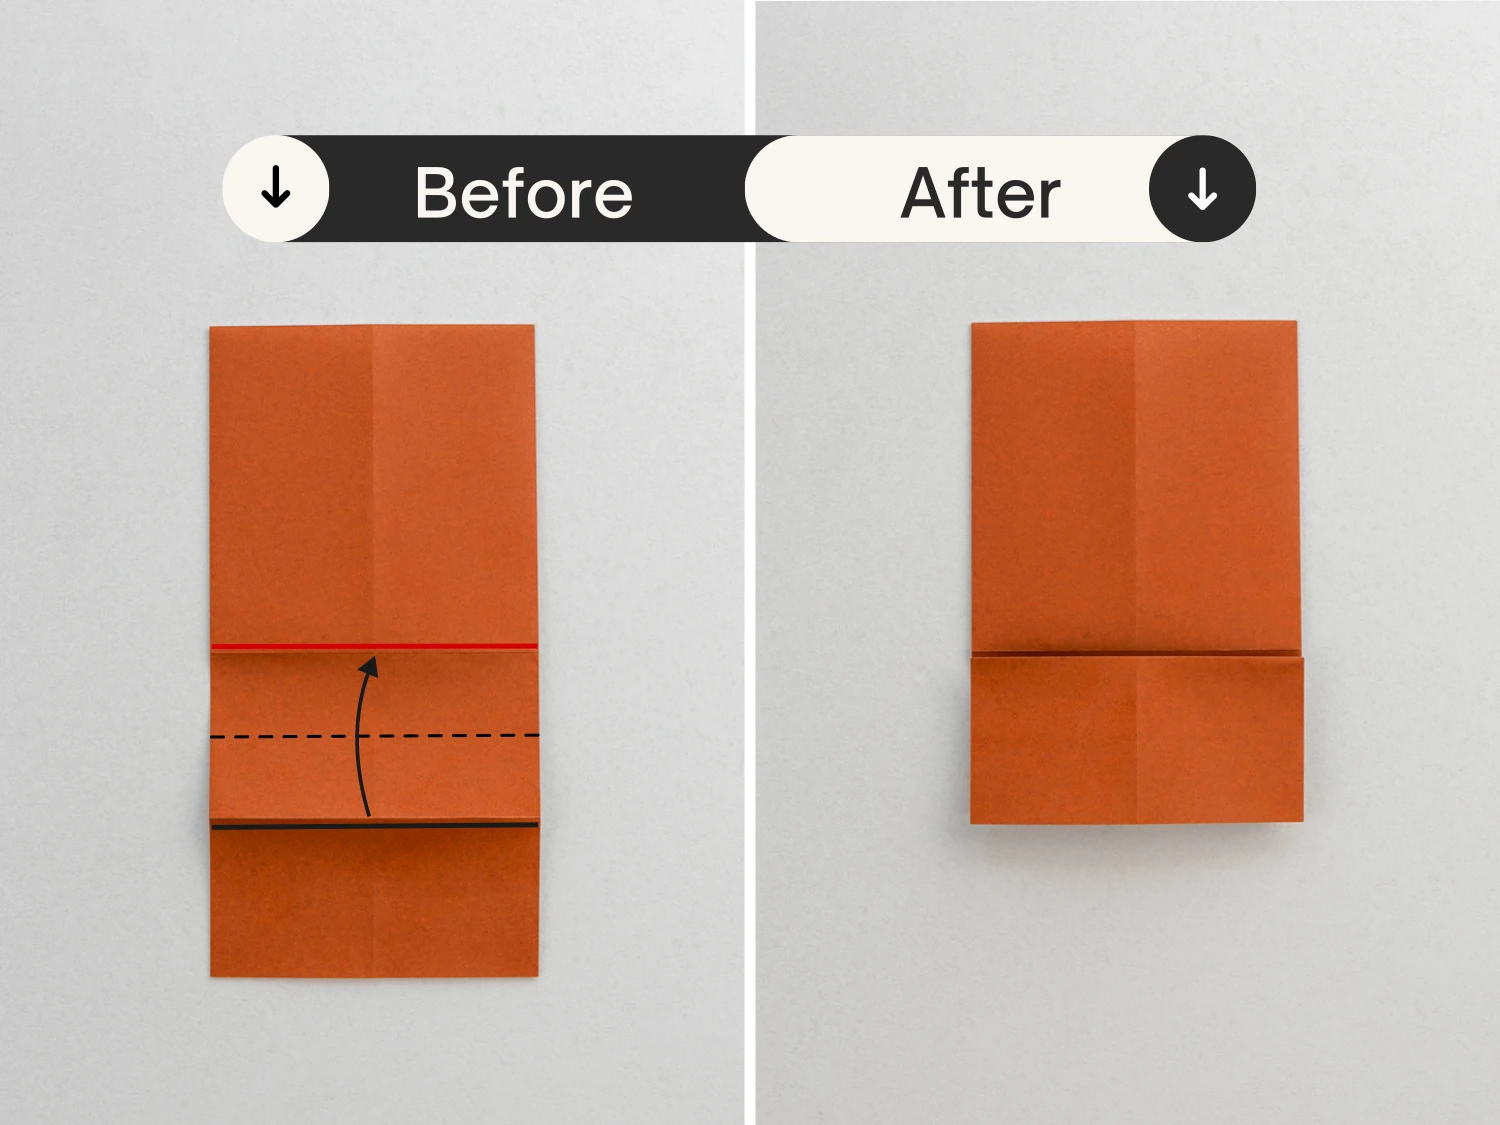
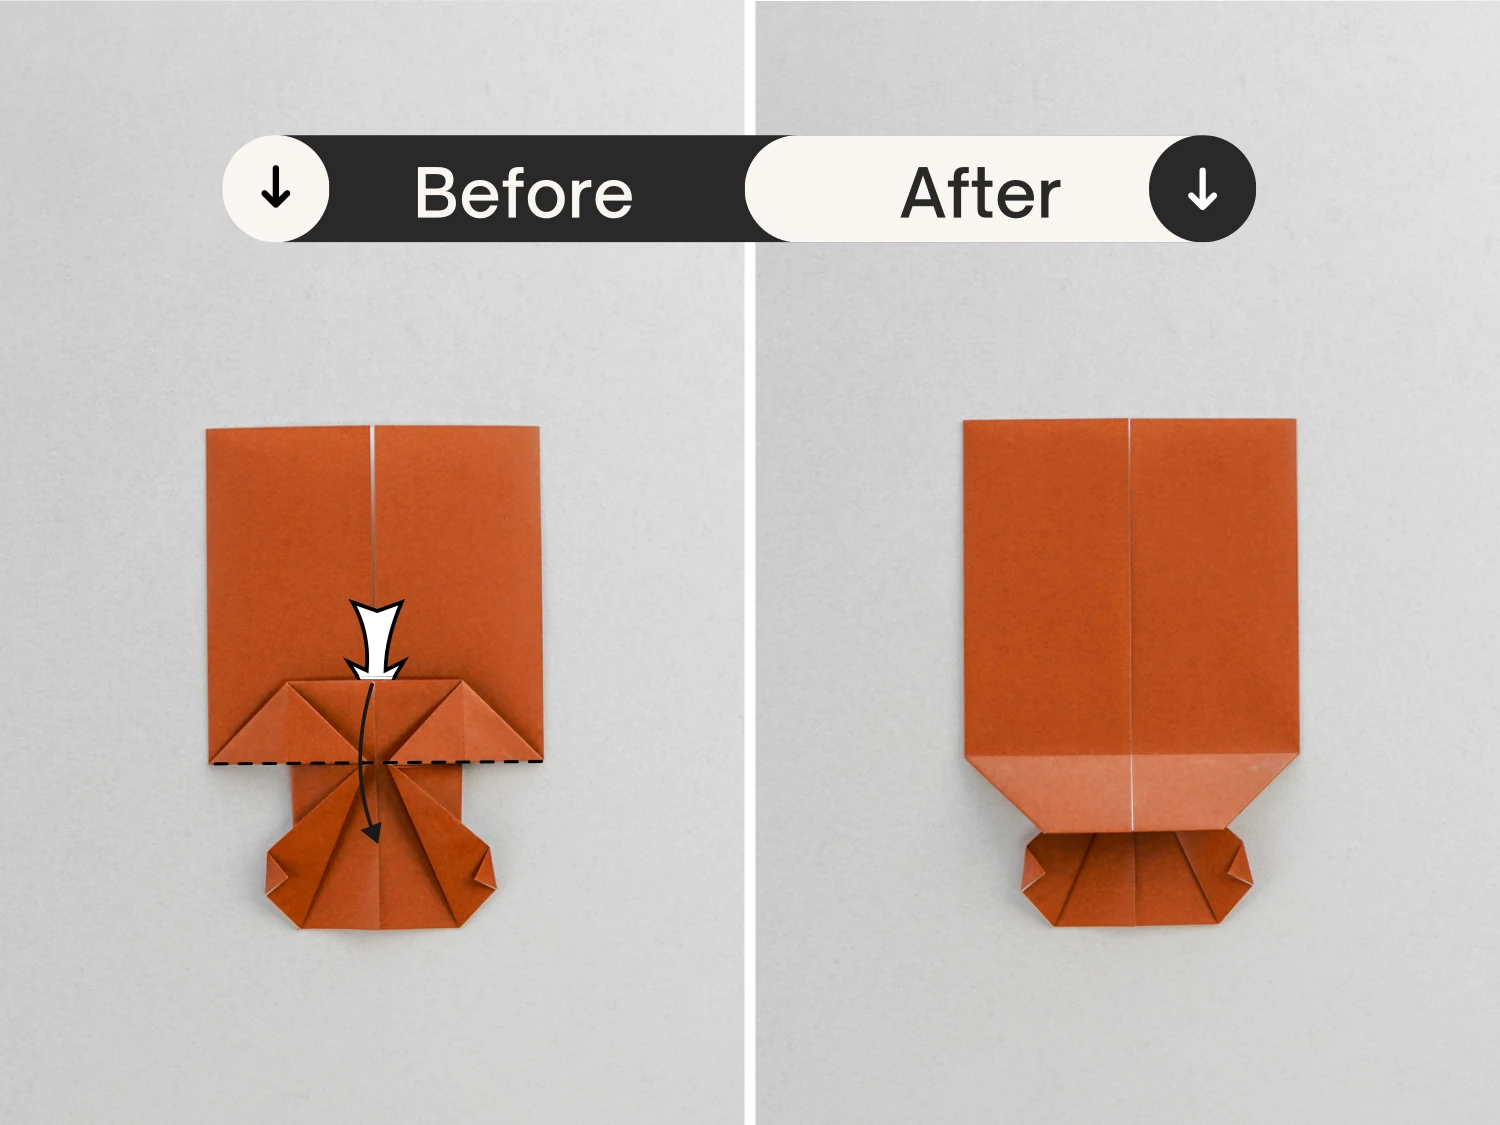
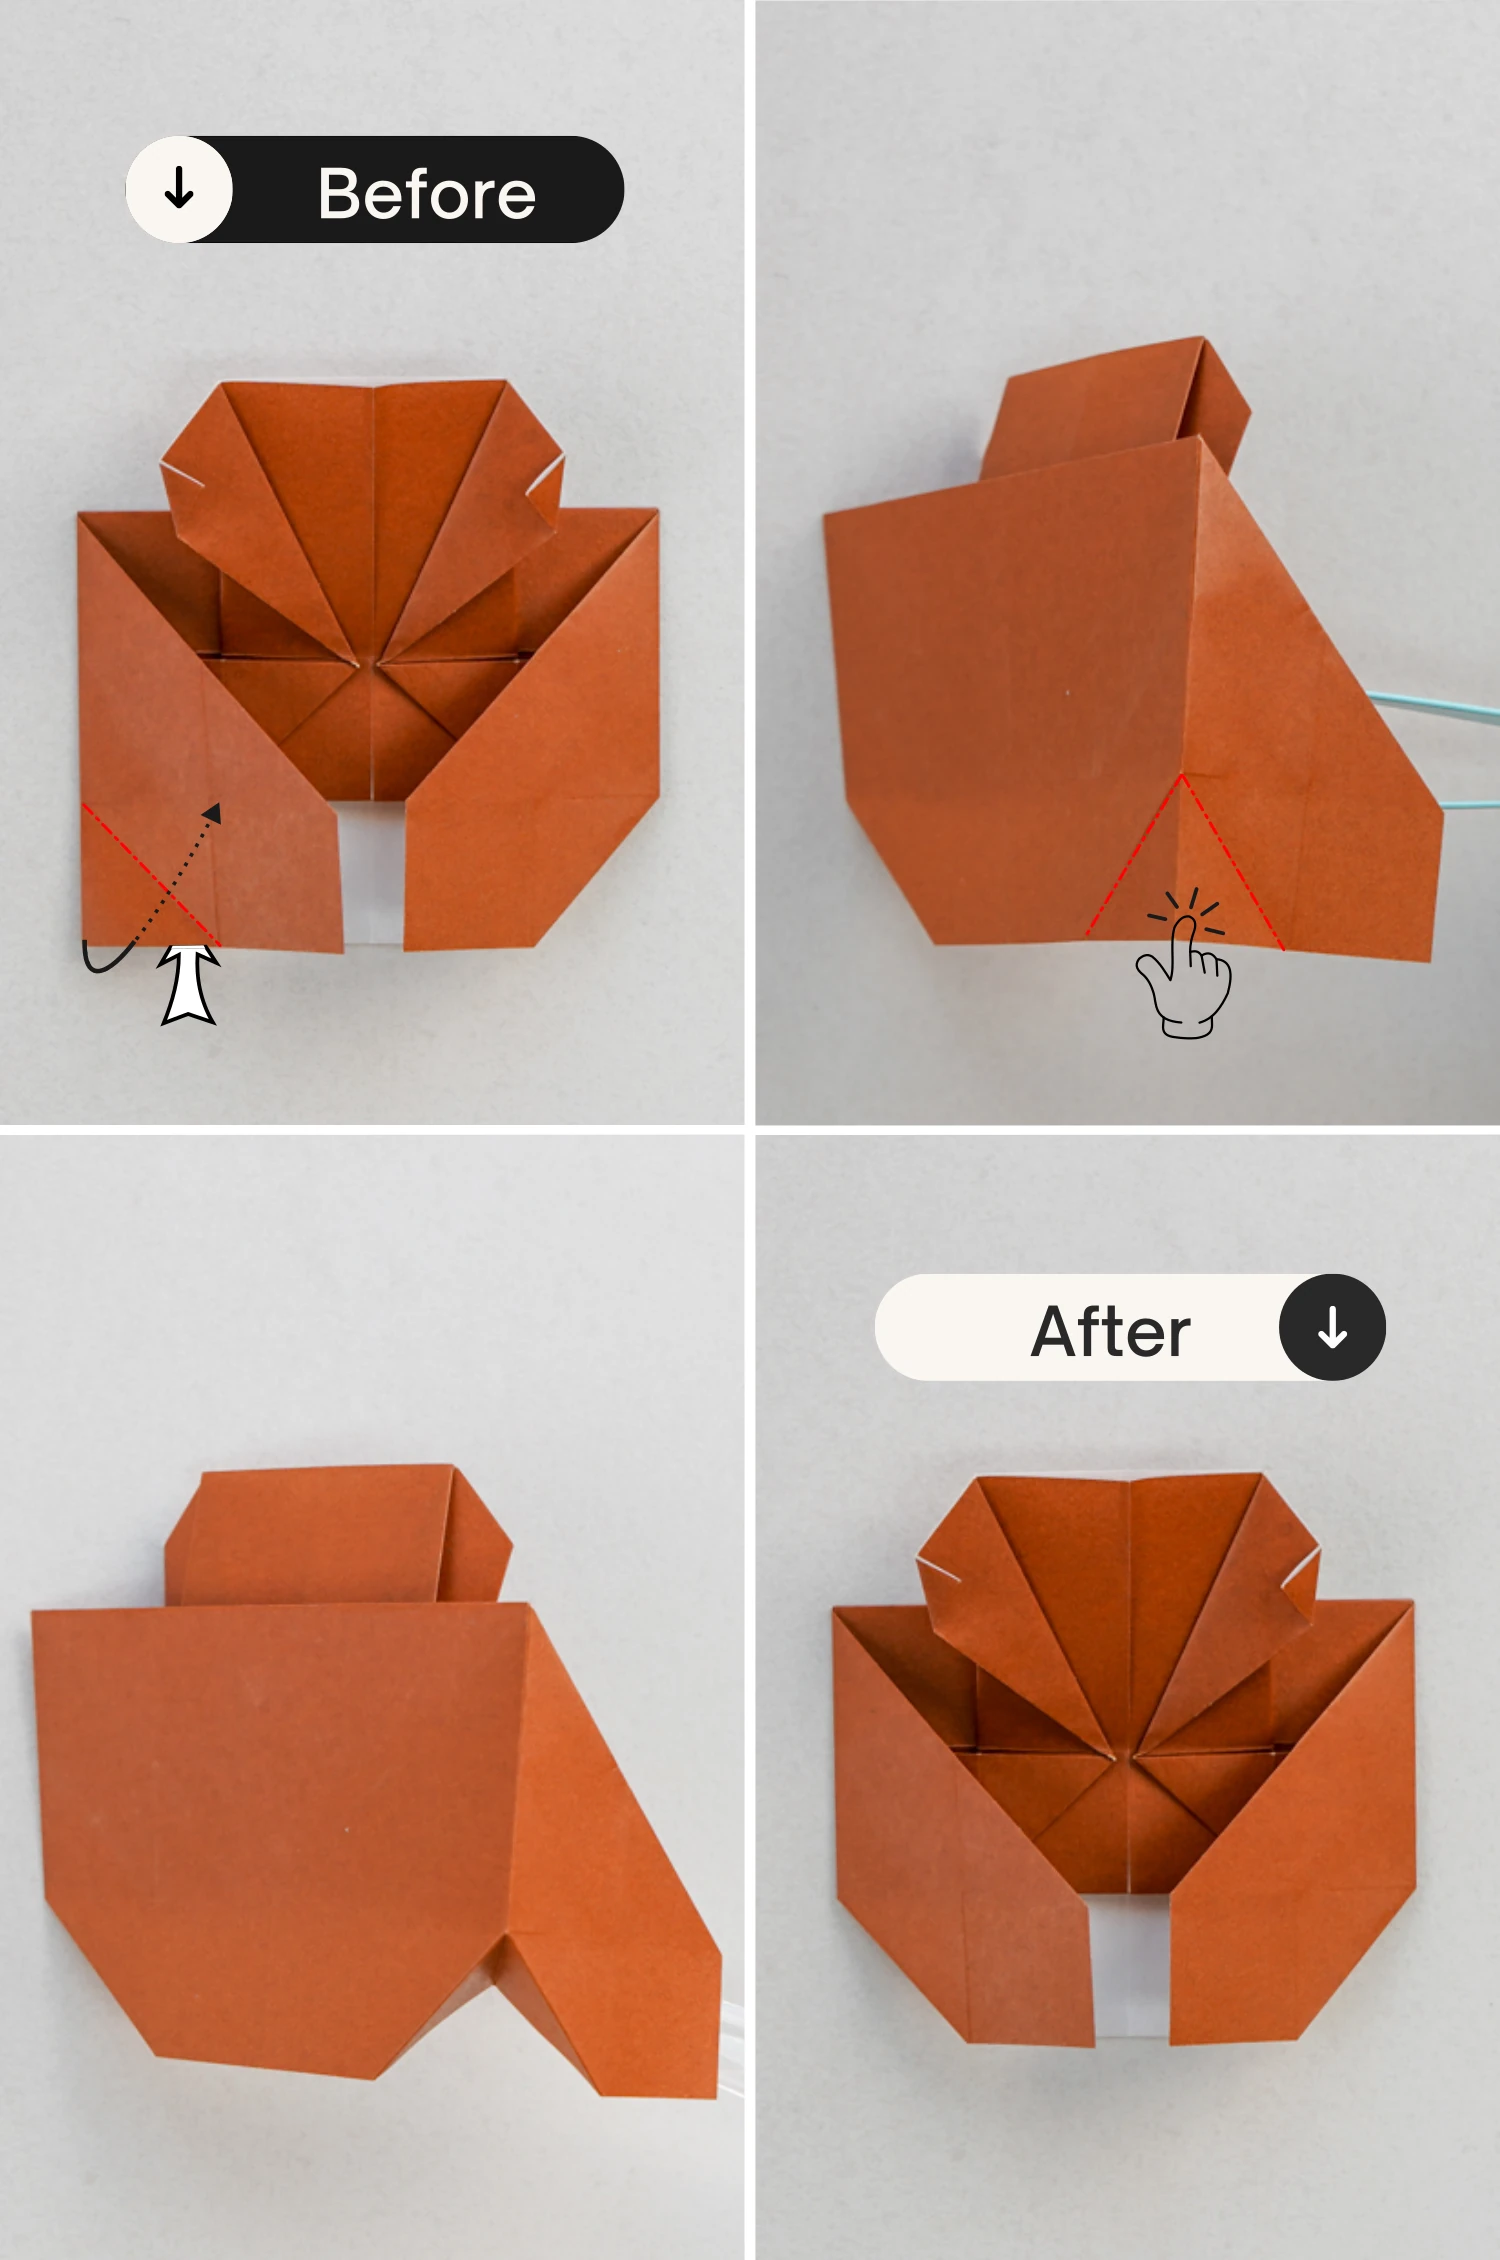
Step 7
Fold the crease you made in step 5(shown by the black line) up along the dotted line, to align with the middle horizontal crease(shown by the red line).
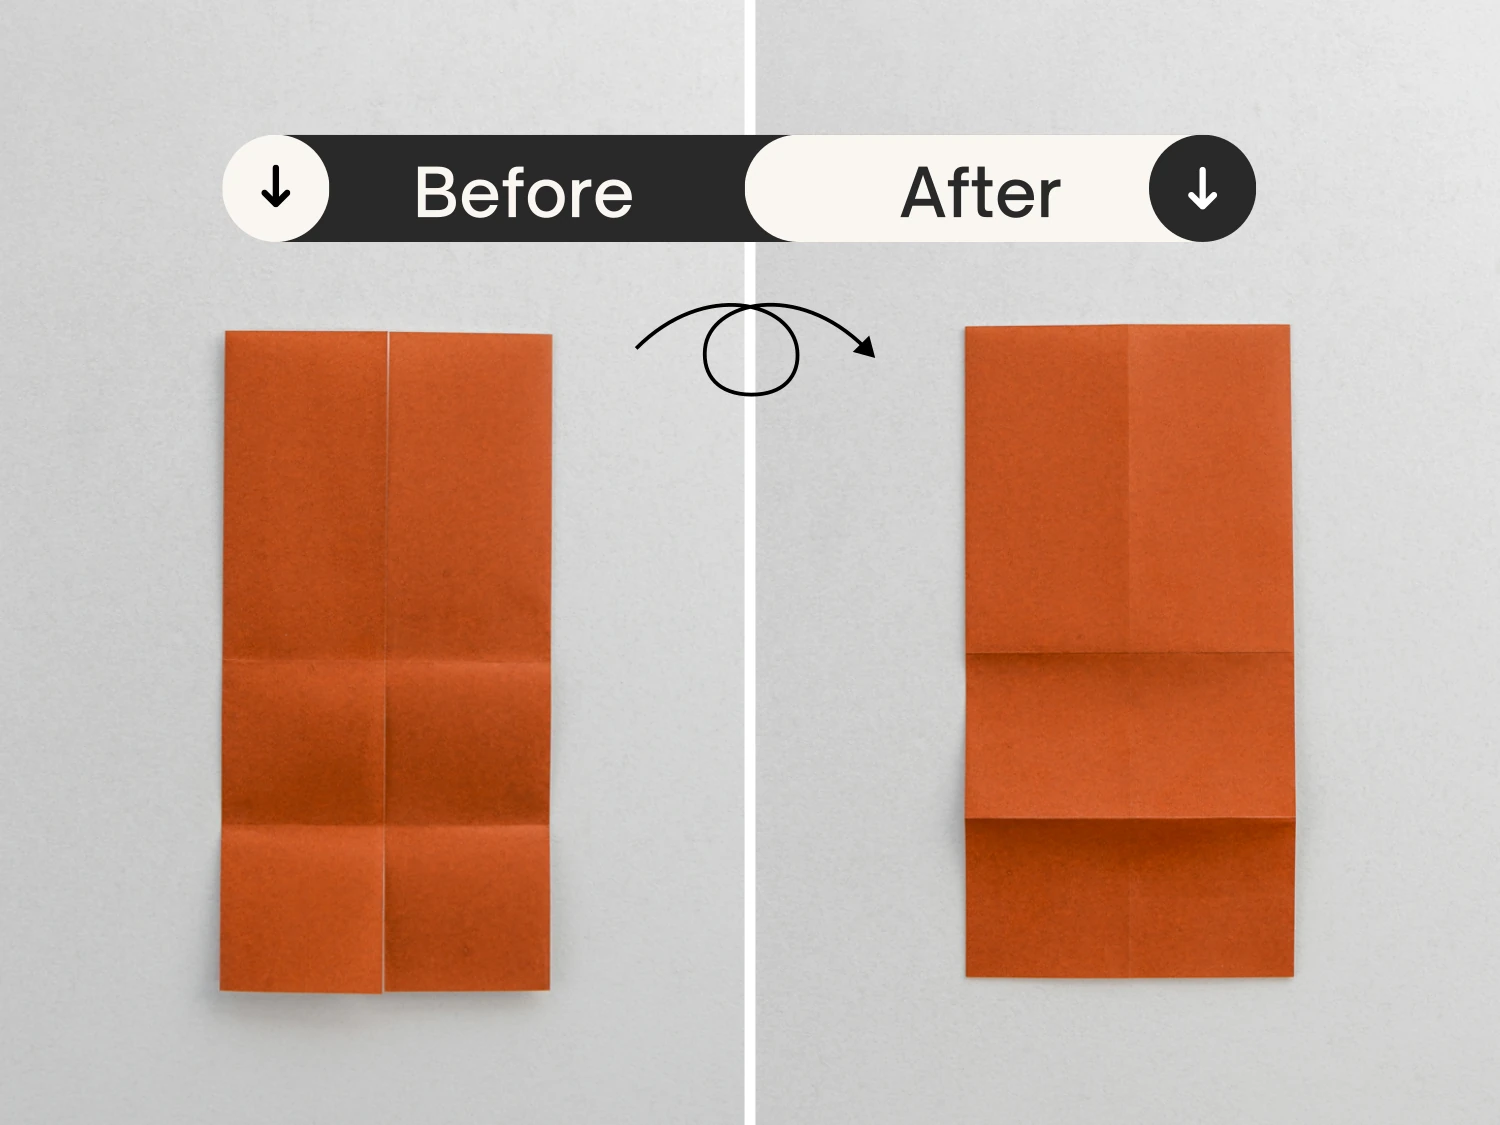
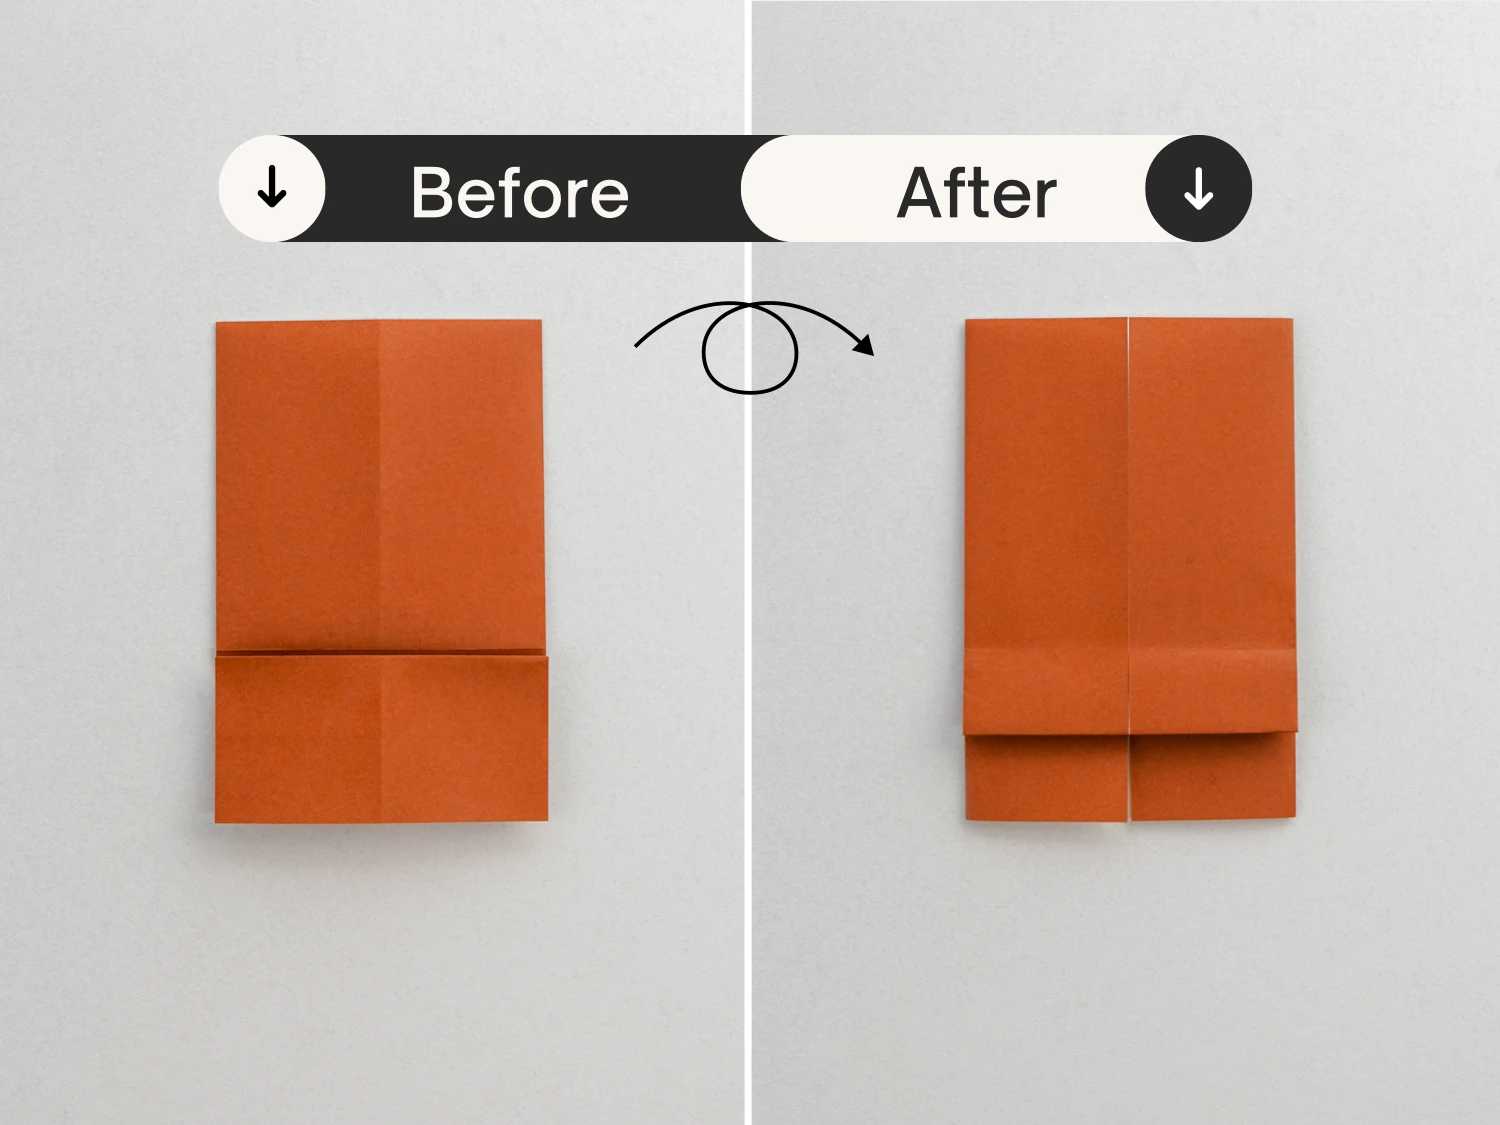
Step 8
Flip it over.
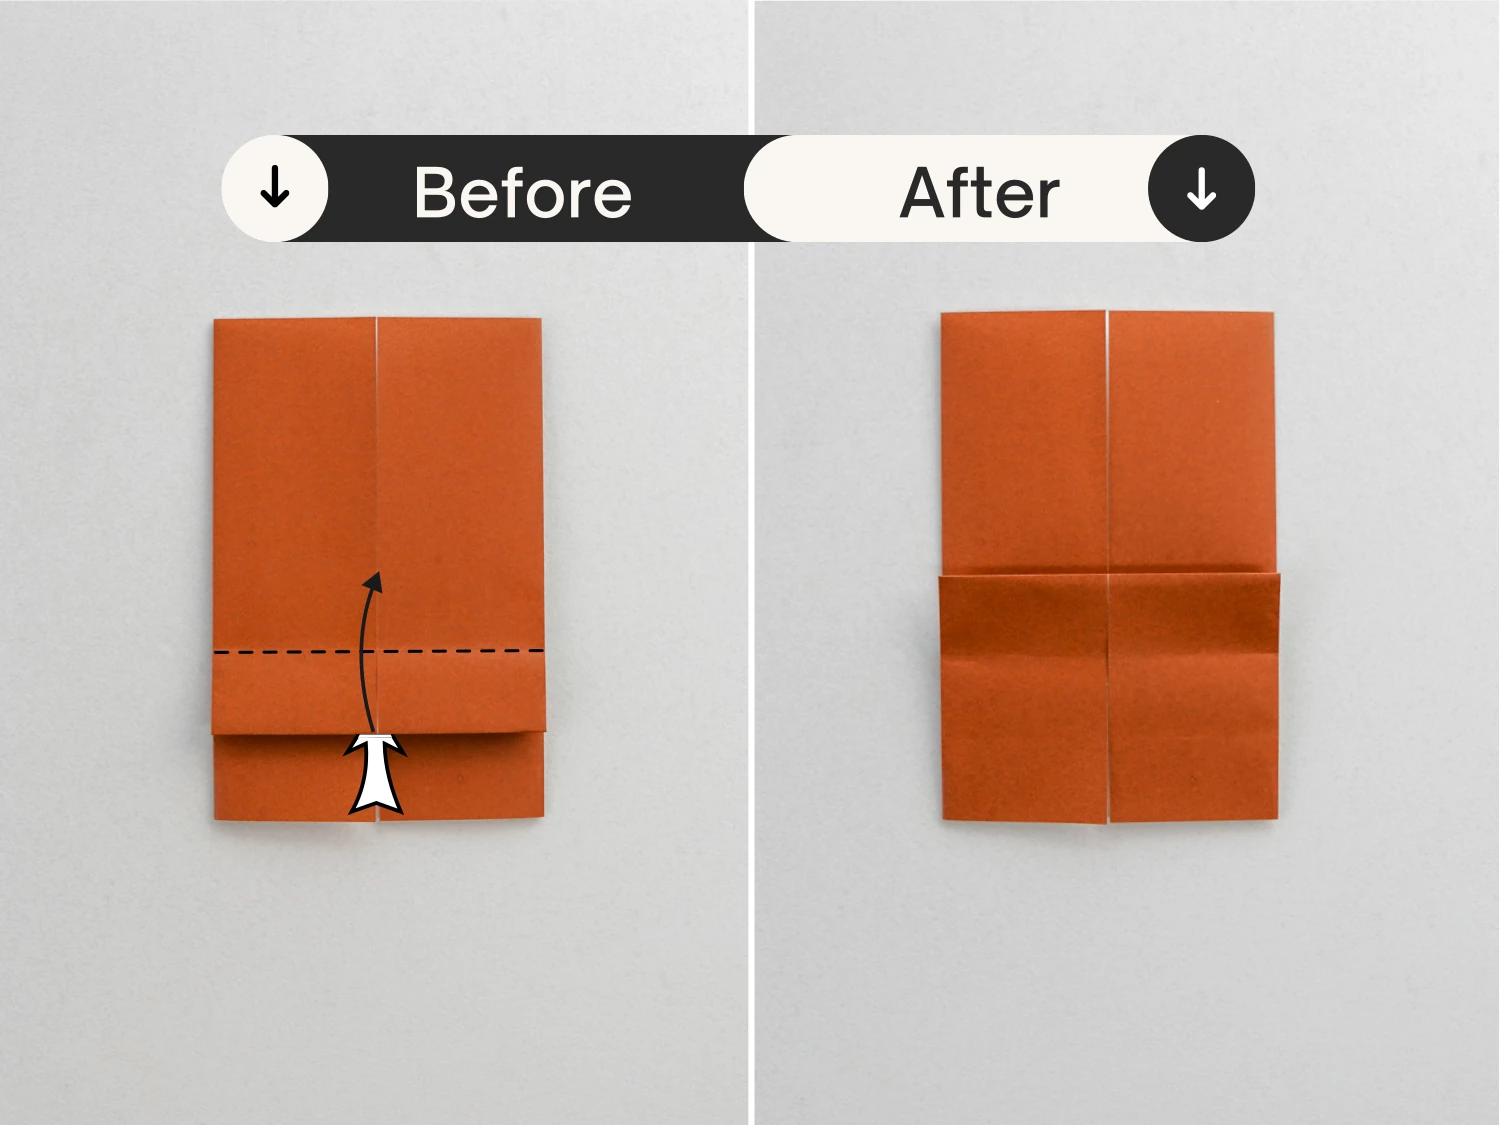
Step 9
Fold the top flap up along the crease shown by the dotted line.
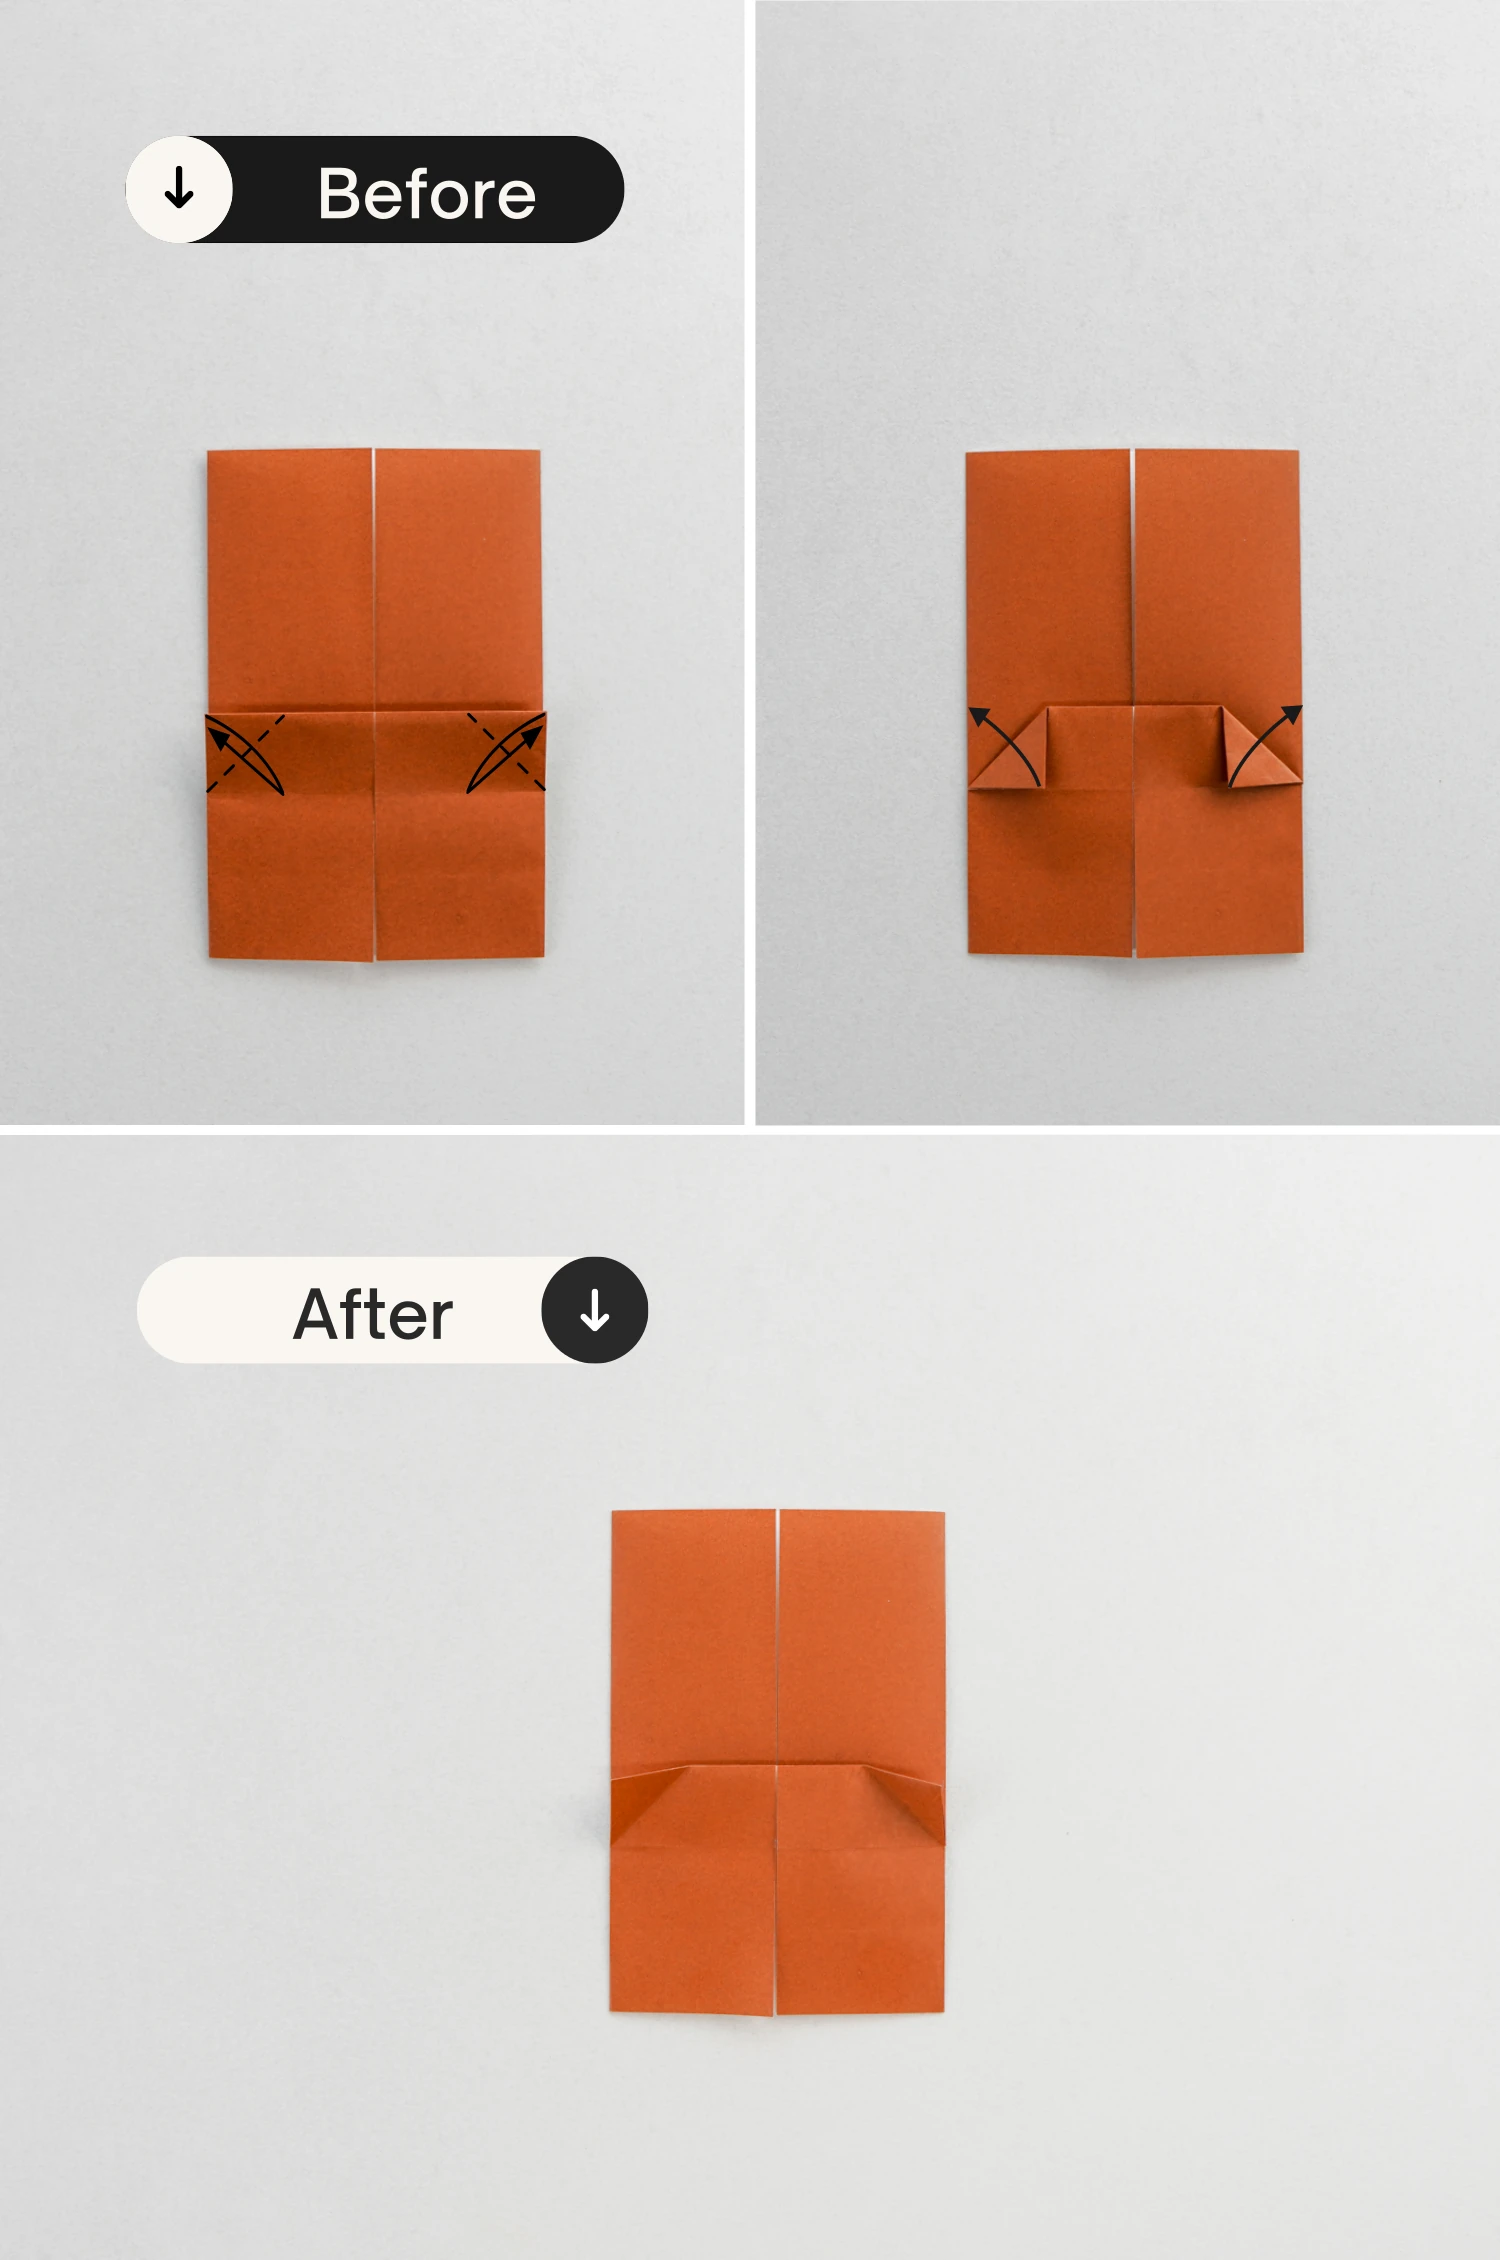
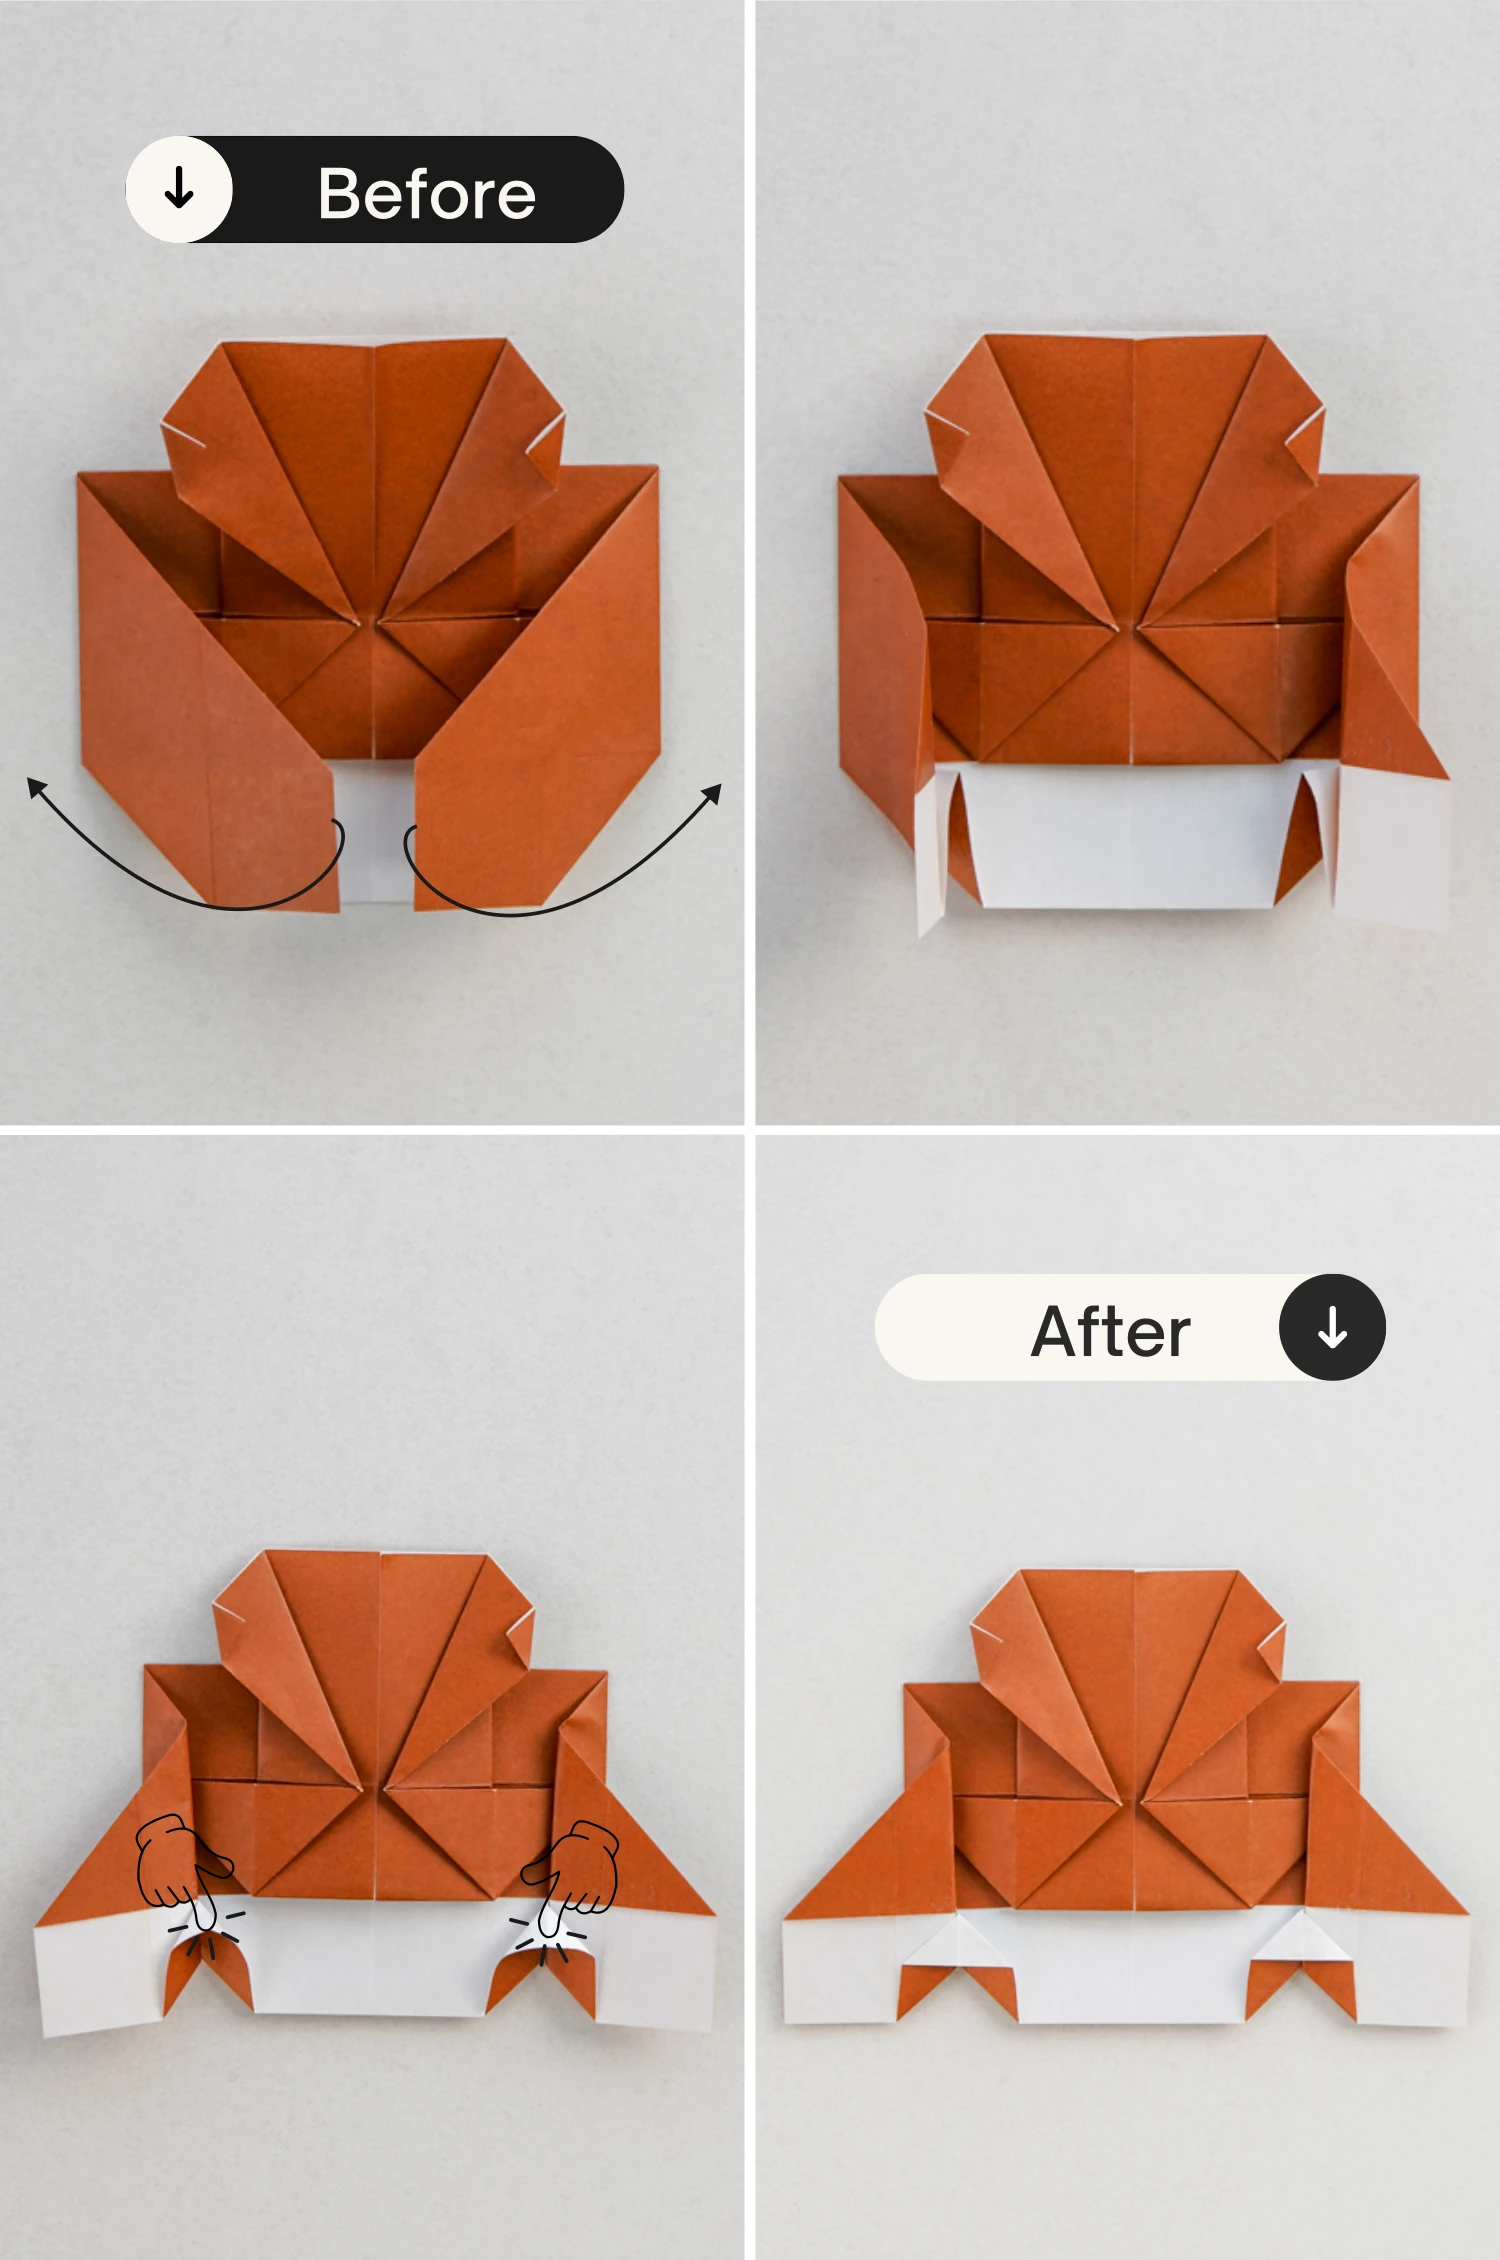
Step 10
Fold the top left and right corners of the bottom rectangle down a little diagonally, creating two triangles, and unfold them.
Step 11
Lift the right edge of the bottom rectangle to open its top right corner, and push the right edge to the left, then flatten it creating a crease that is parallel to the vertical crease, and a small triangle.
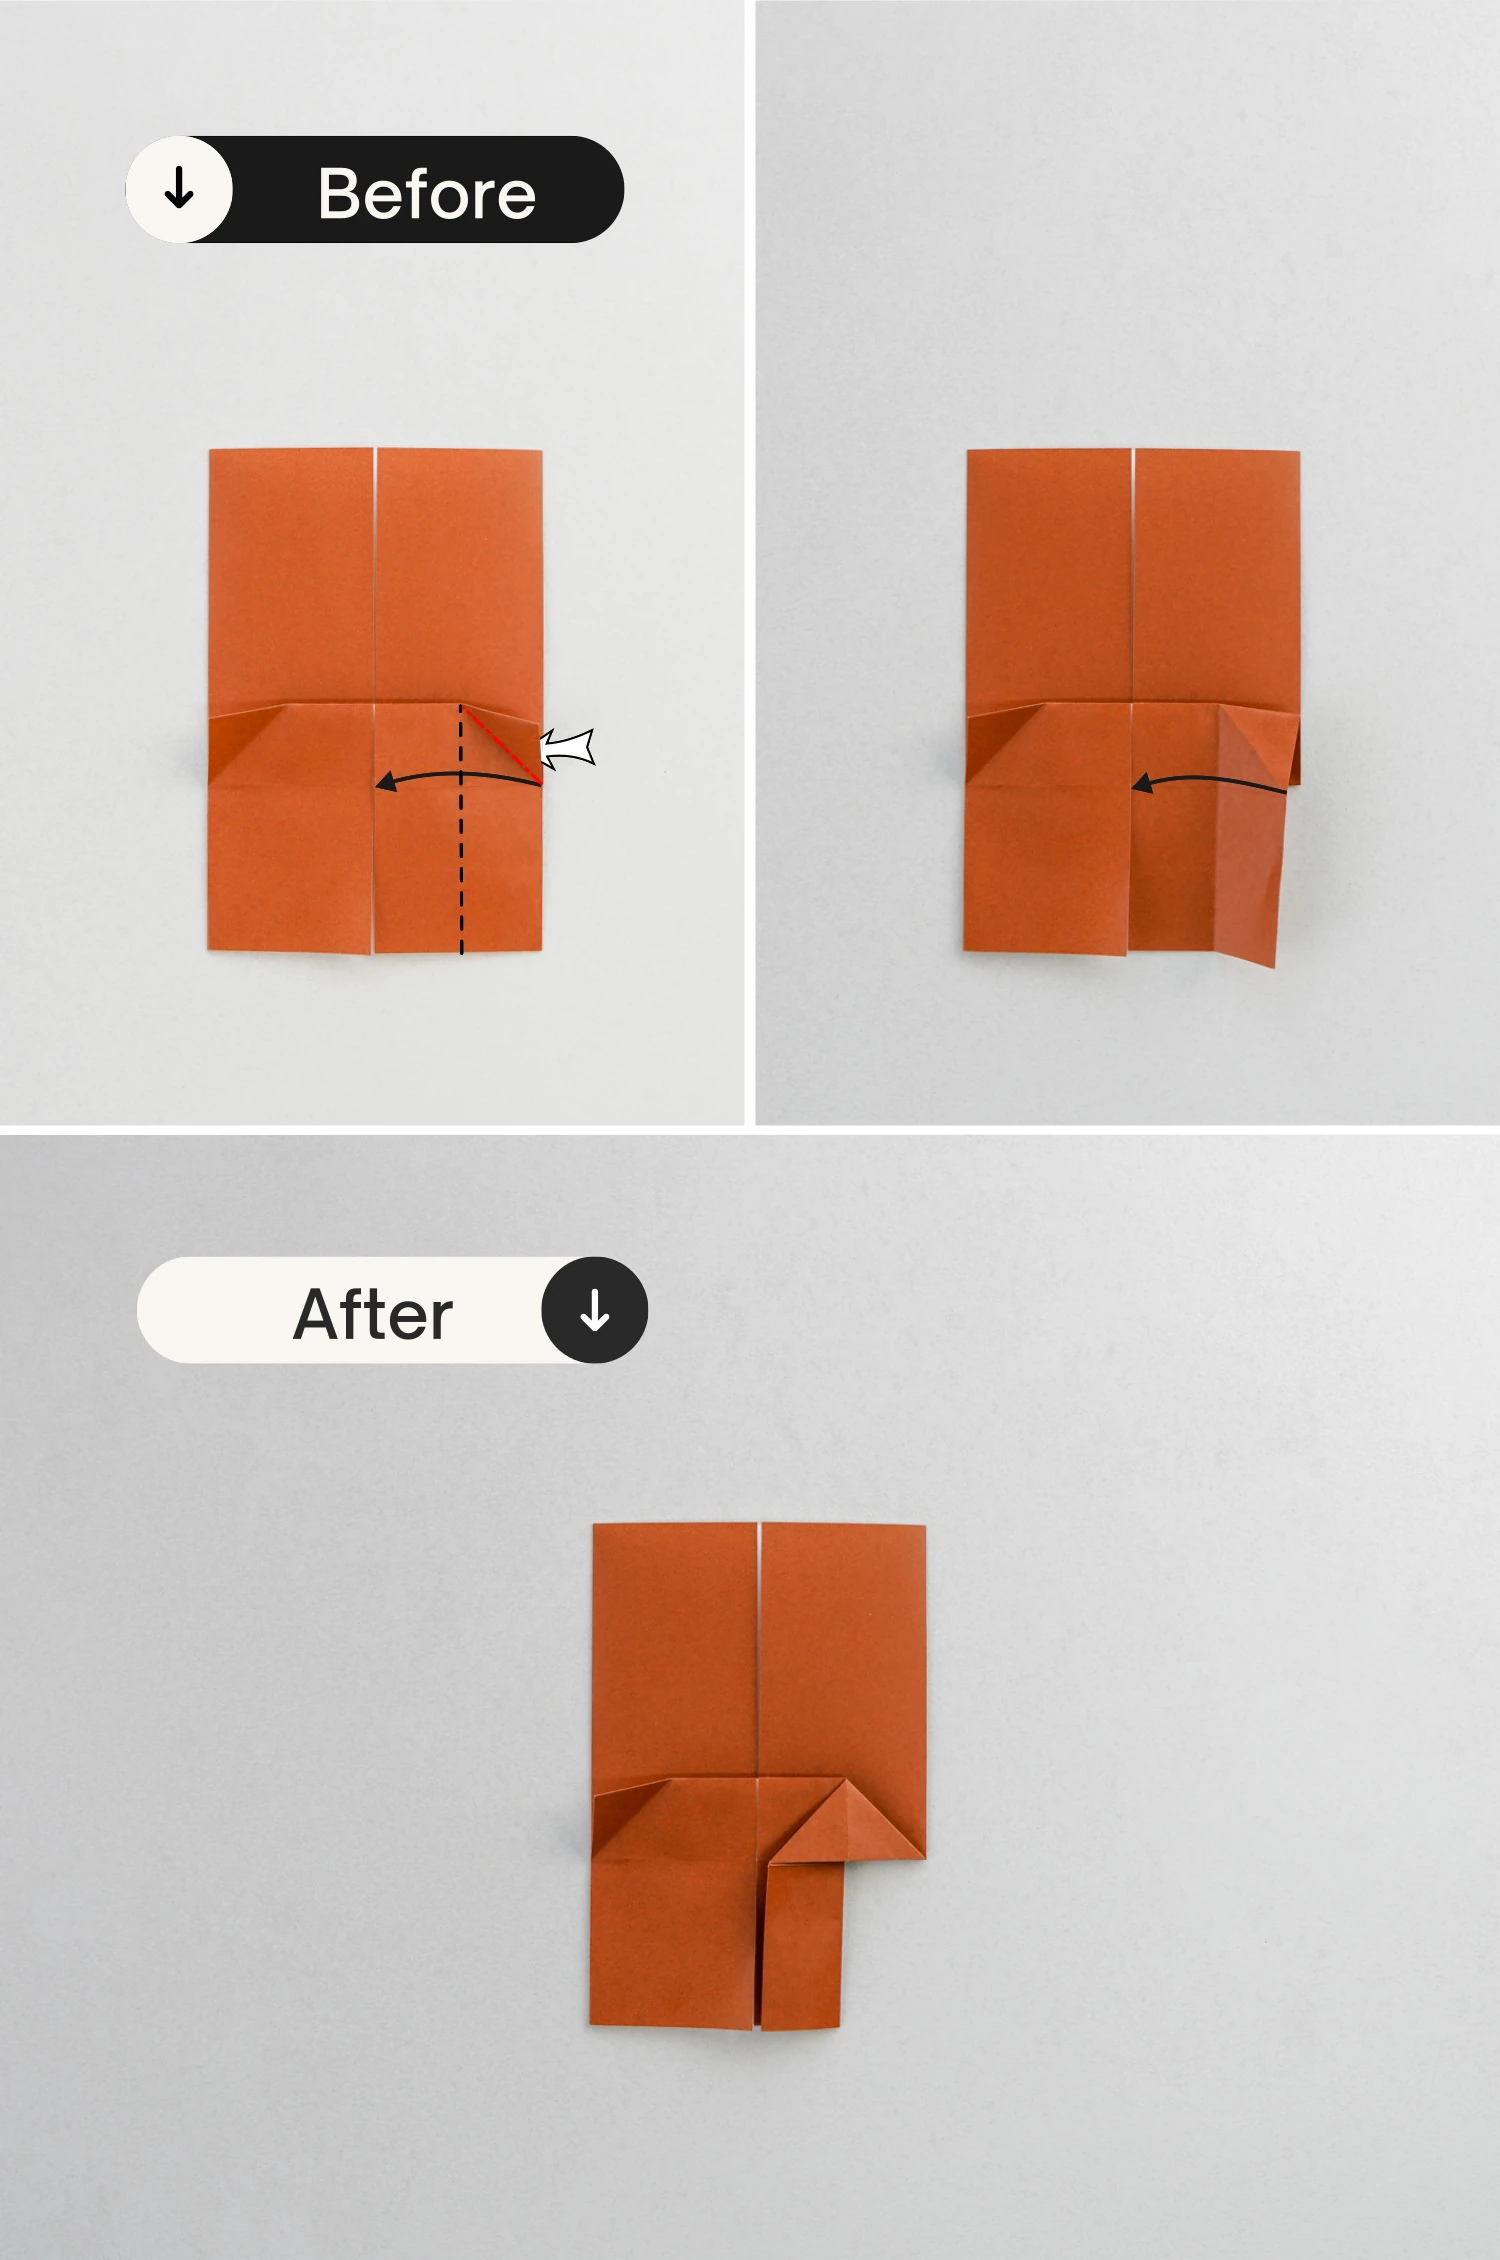
Step 12
In the same manner, lift the left edge to open the top left corner, then flatten it to get the same shape as the right side.
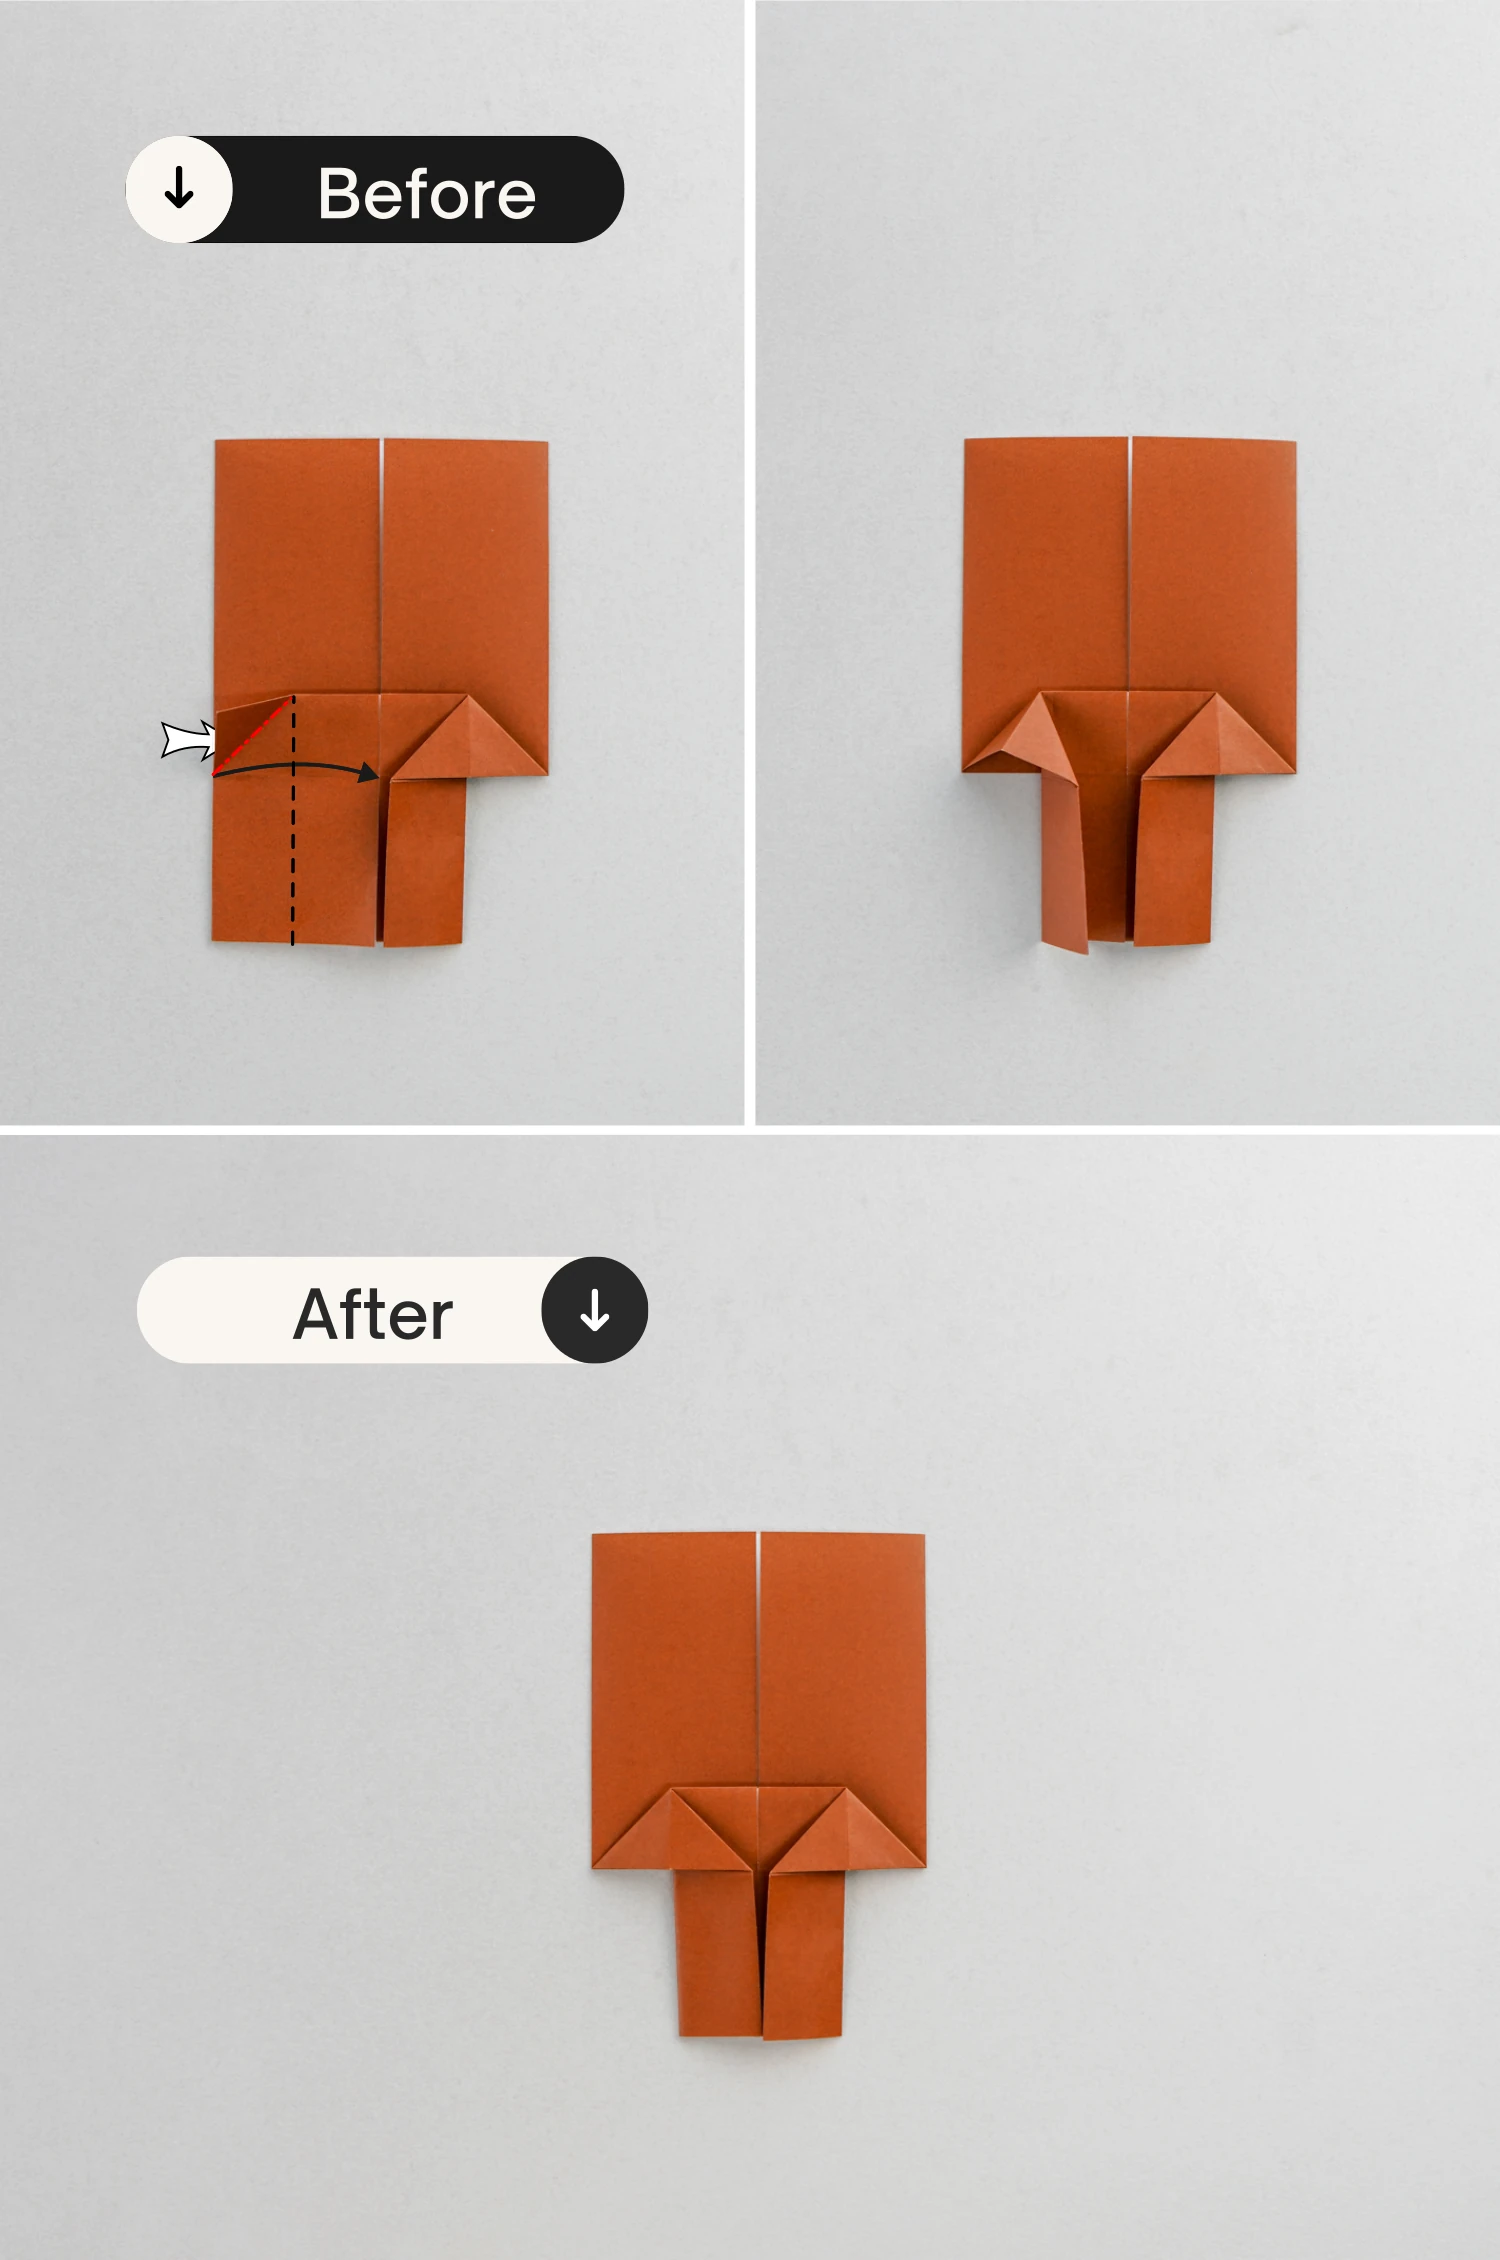
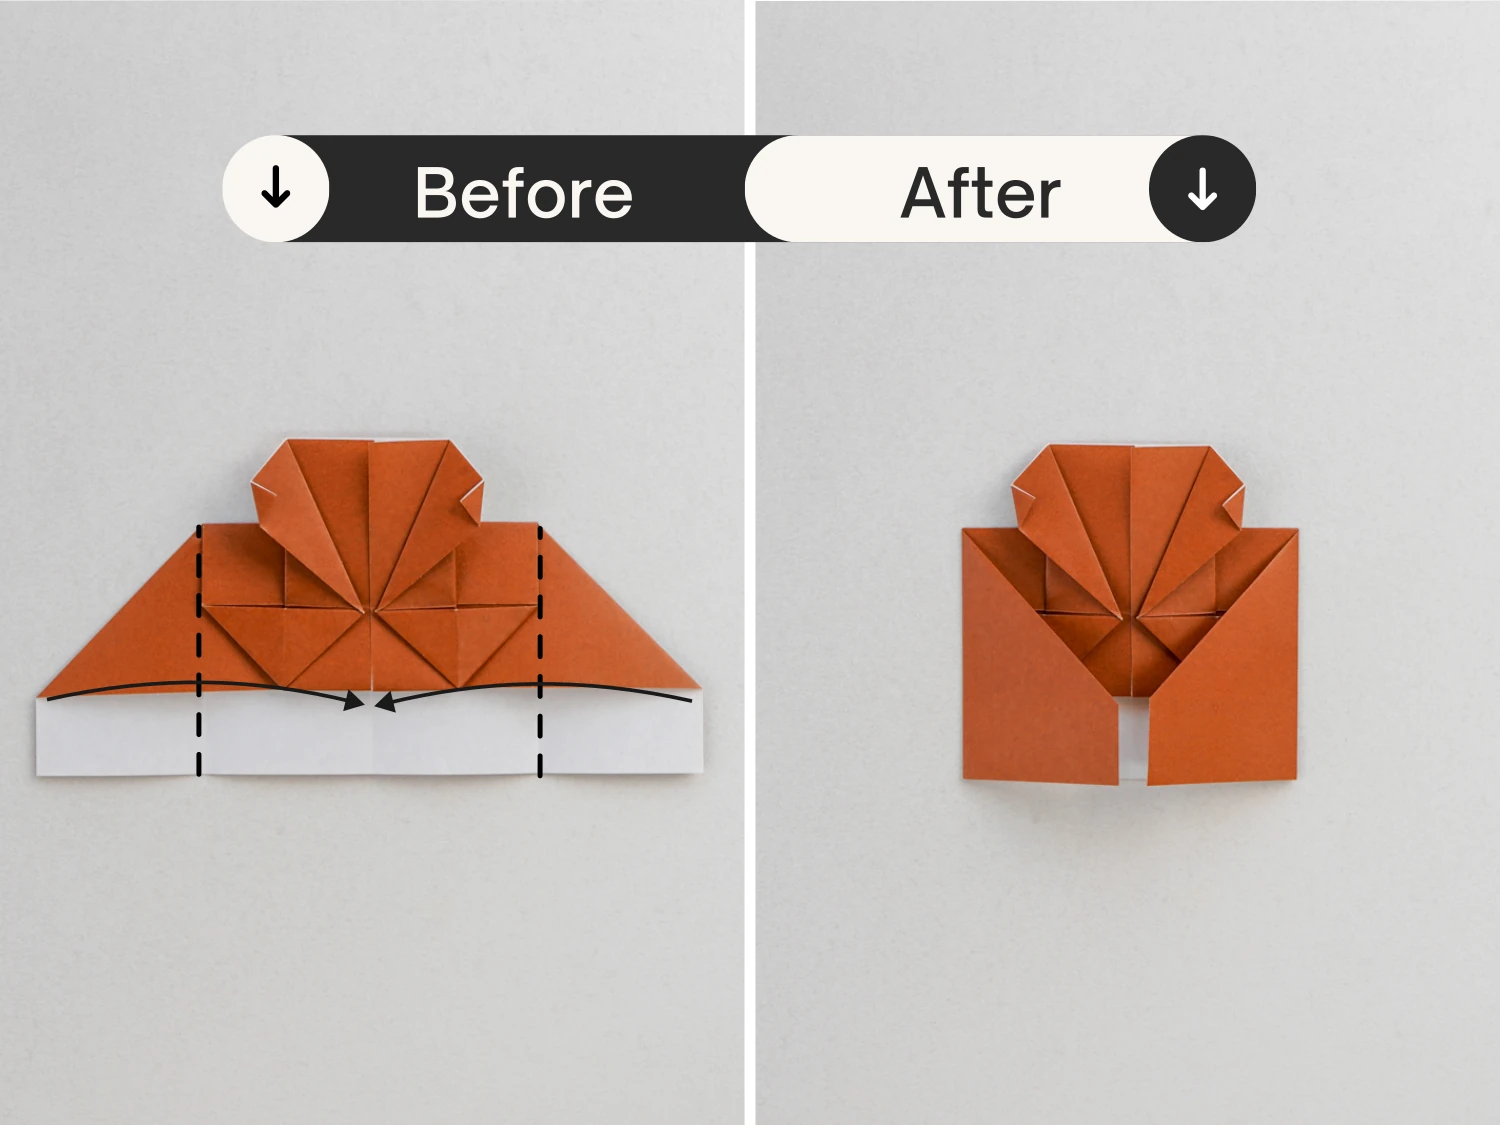
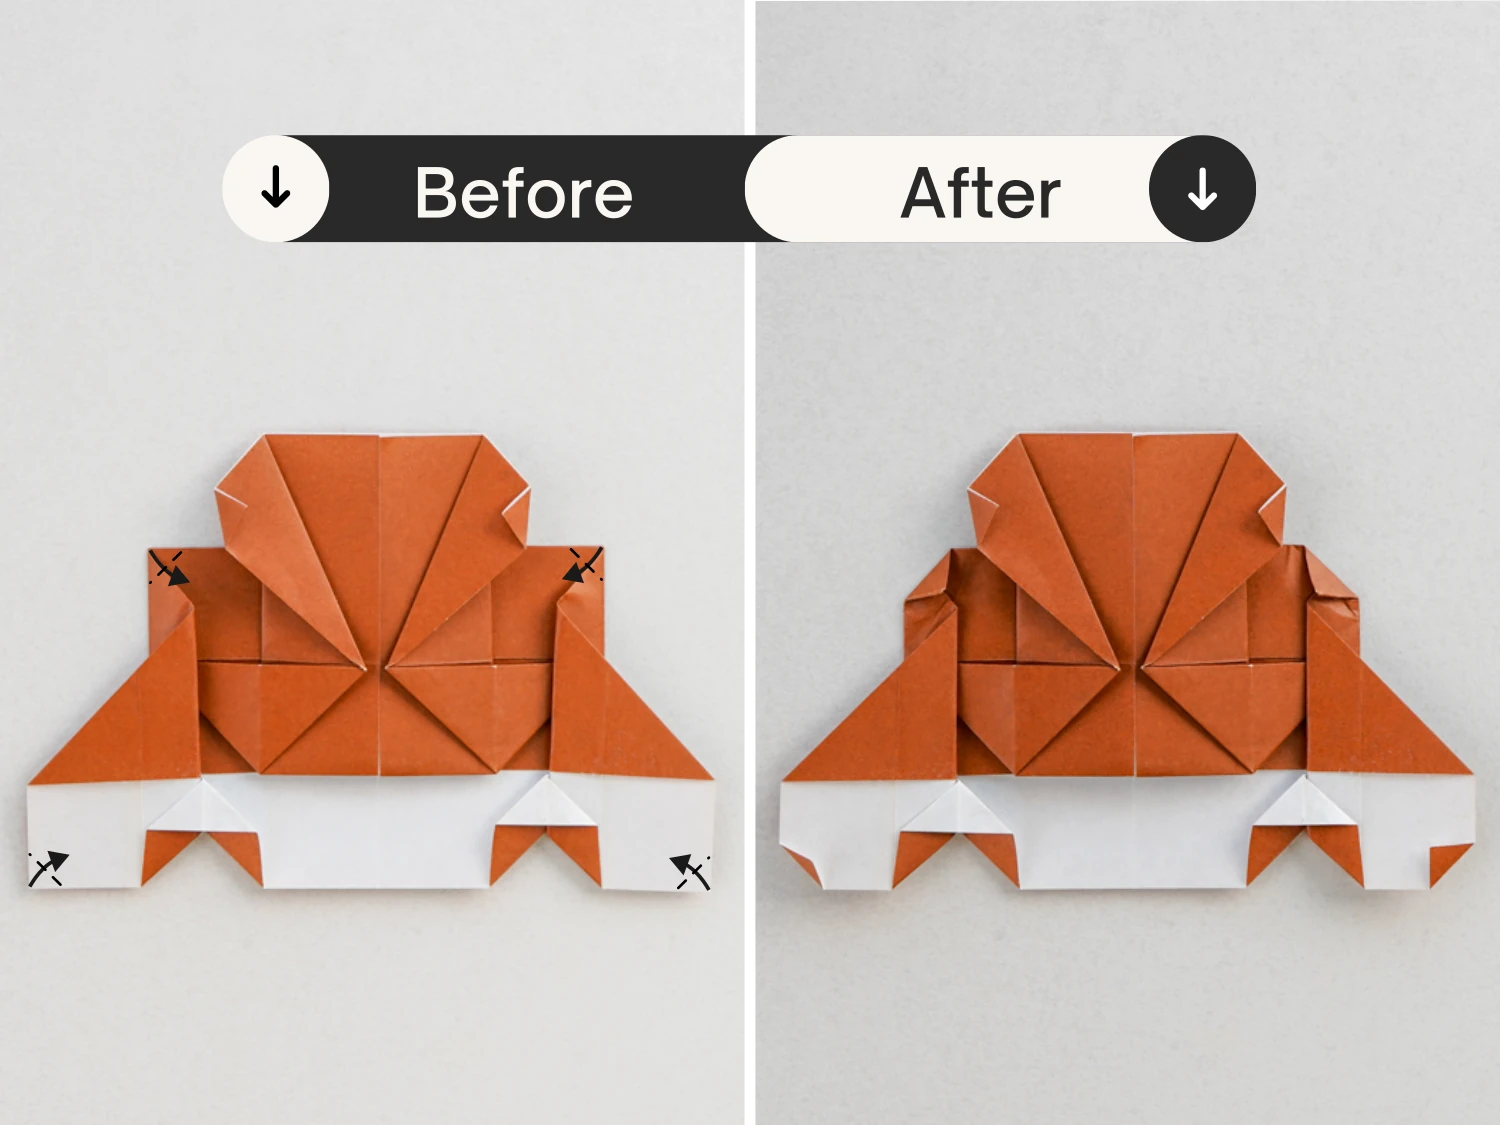
Step 13
Take the two corners on the middle of the bottom edge, and fold them toward their sides along the diagonal lines shown by the dotted lines.
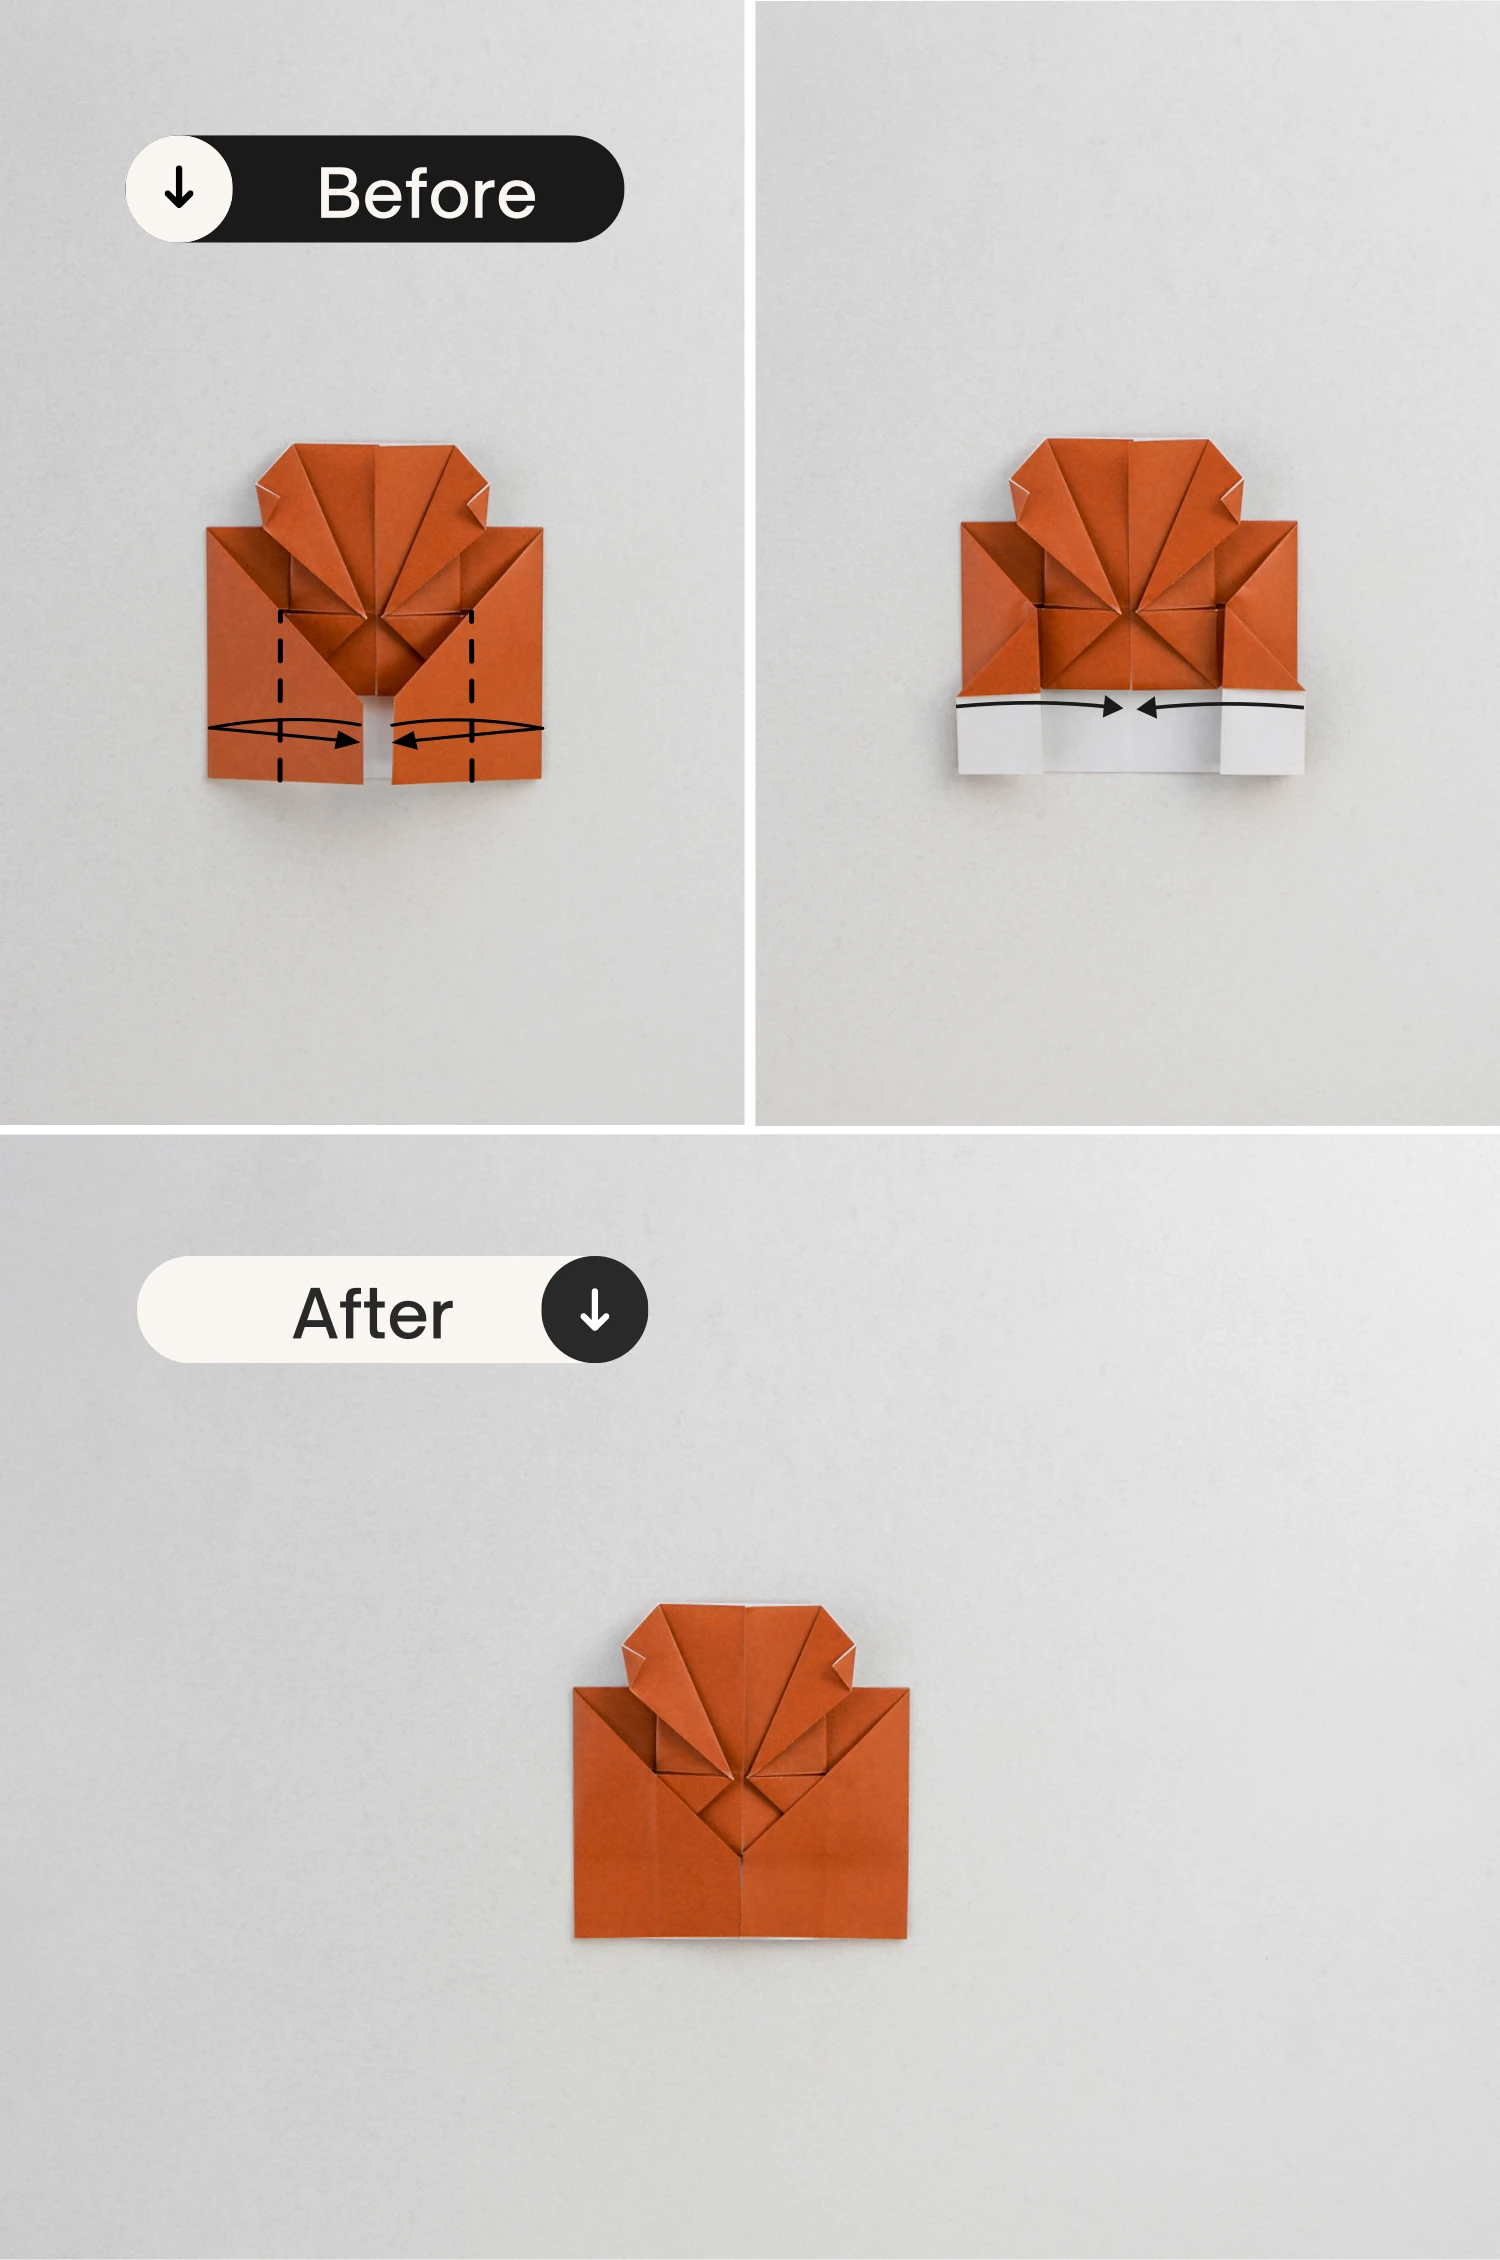
Step 14
Fold the same two corners towards the center slightly.
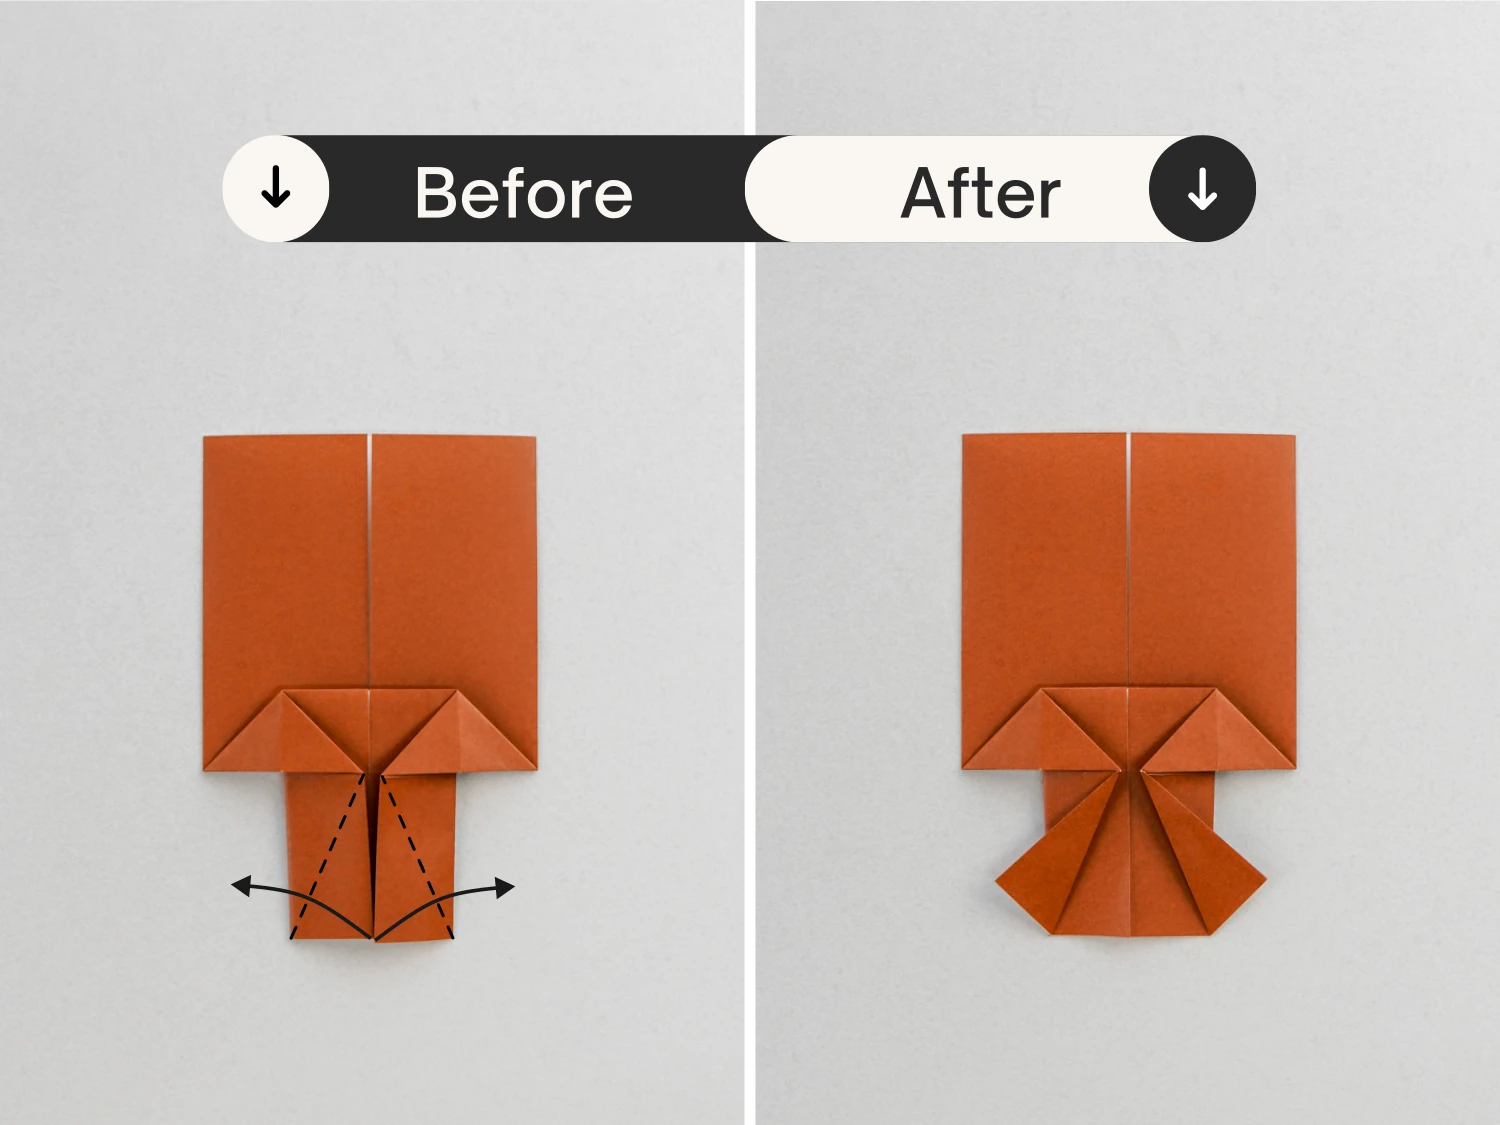
Step 15
Fold the center flap down along the dotted line.
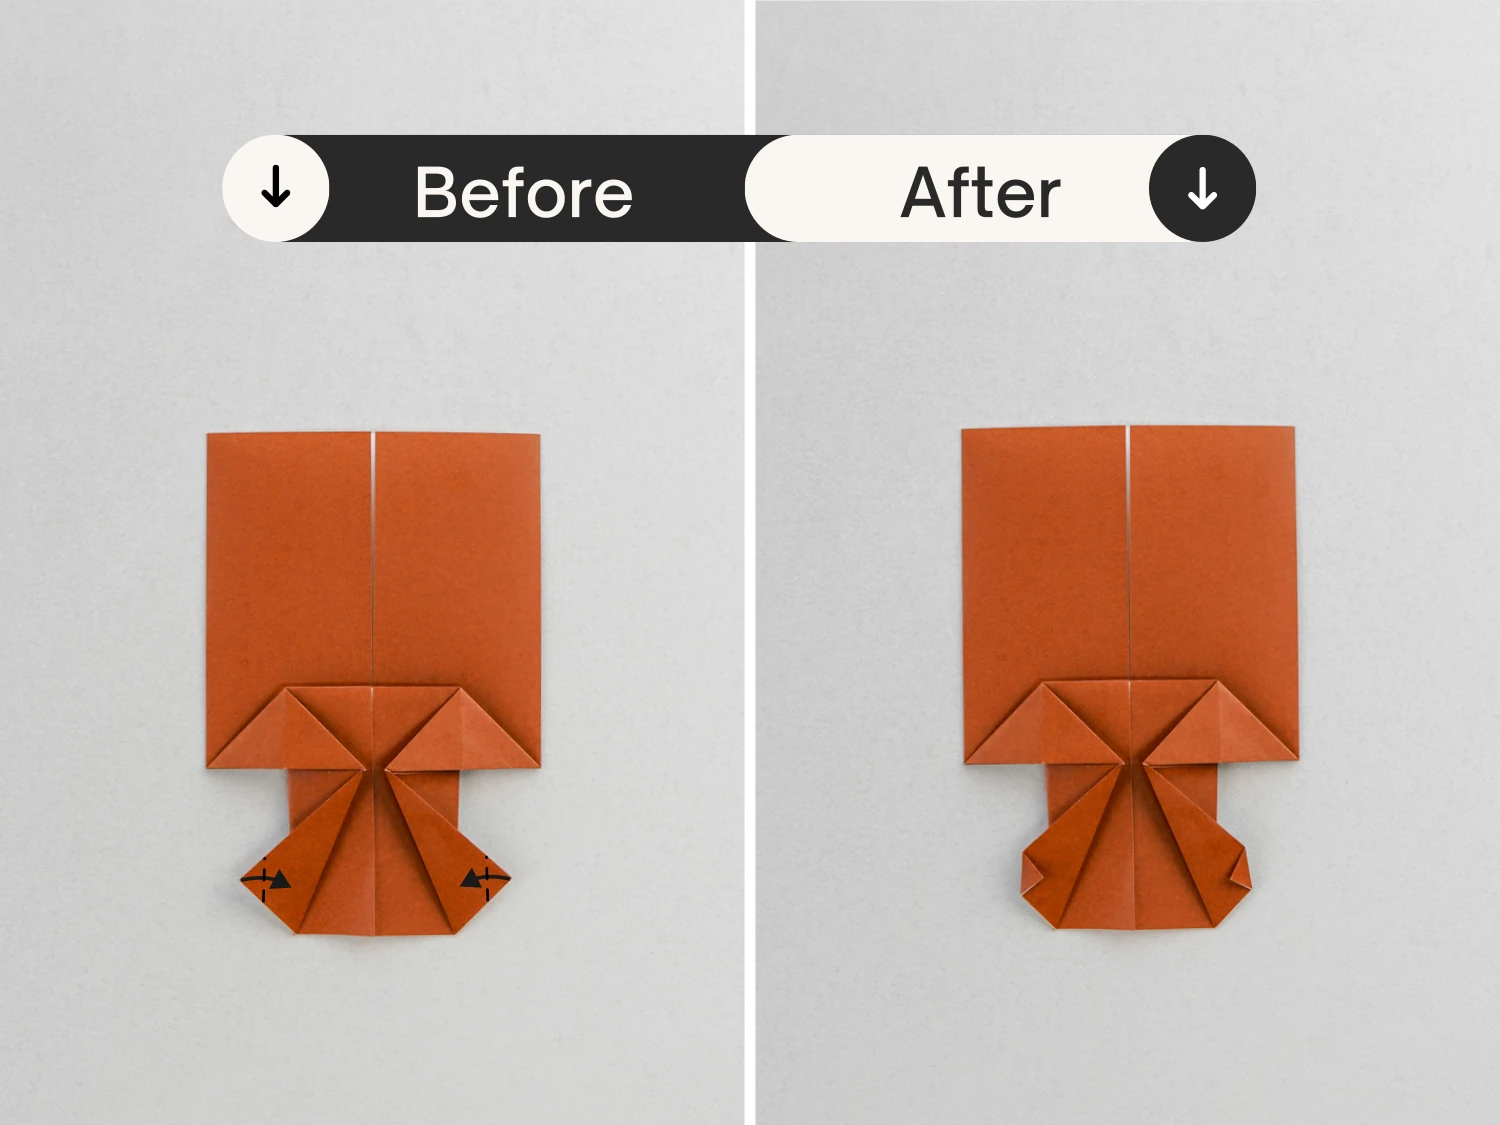
Step 16
Take the left and right diagonal edges of the top part, fold them toward the center along the dotted lines, crease them well then unfold. Finally, lift these two layers along the creases you just made to open the top part.
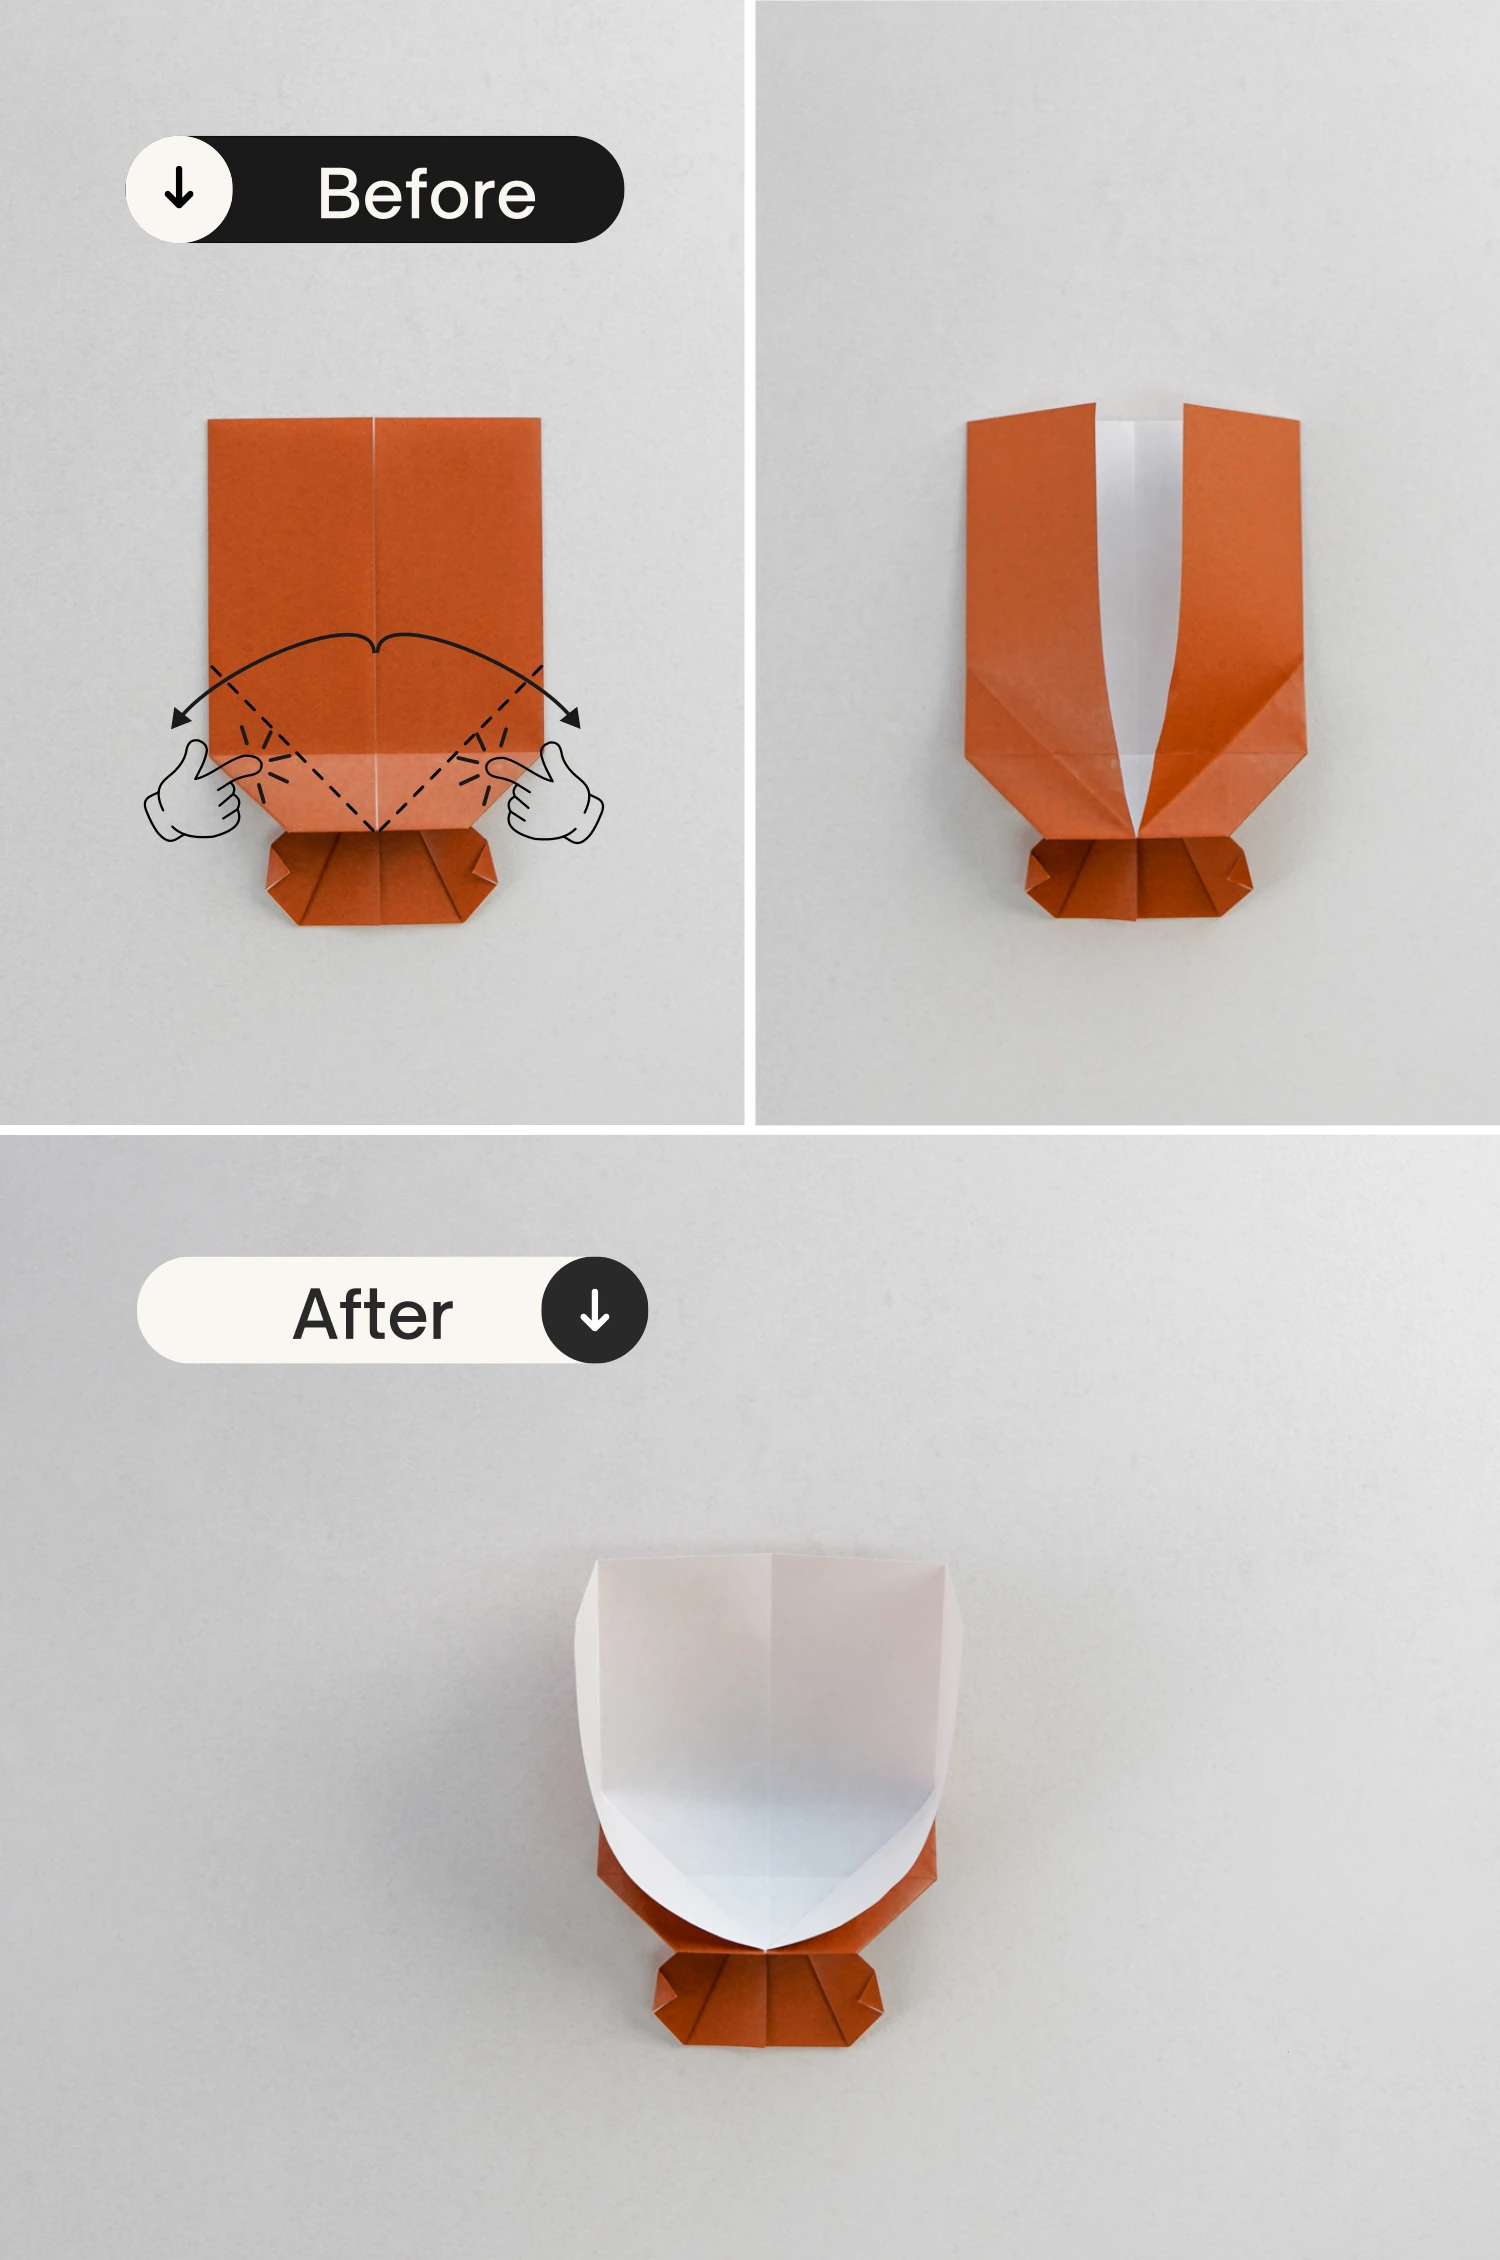
Step 17
Press down the top edge along the dotted line (the line connects the two corners on the left and right).
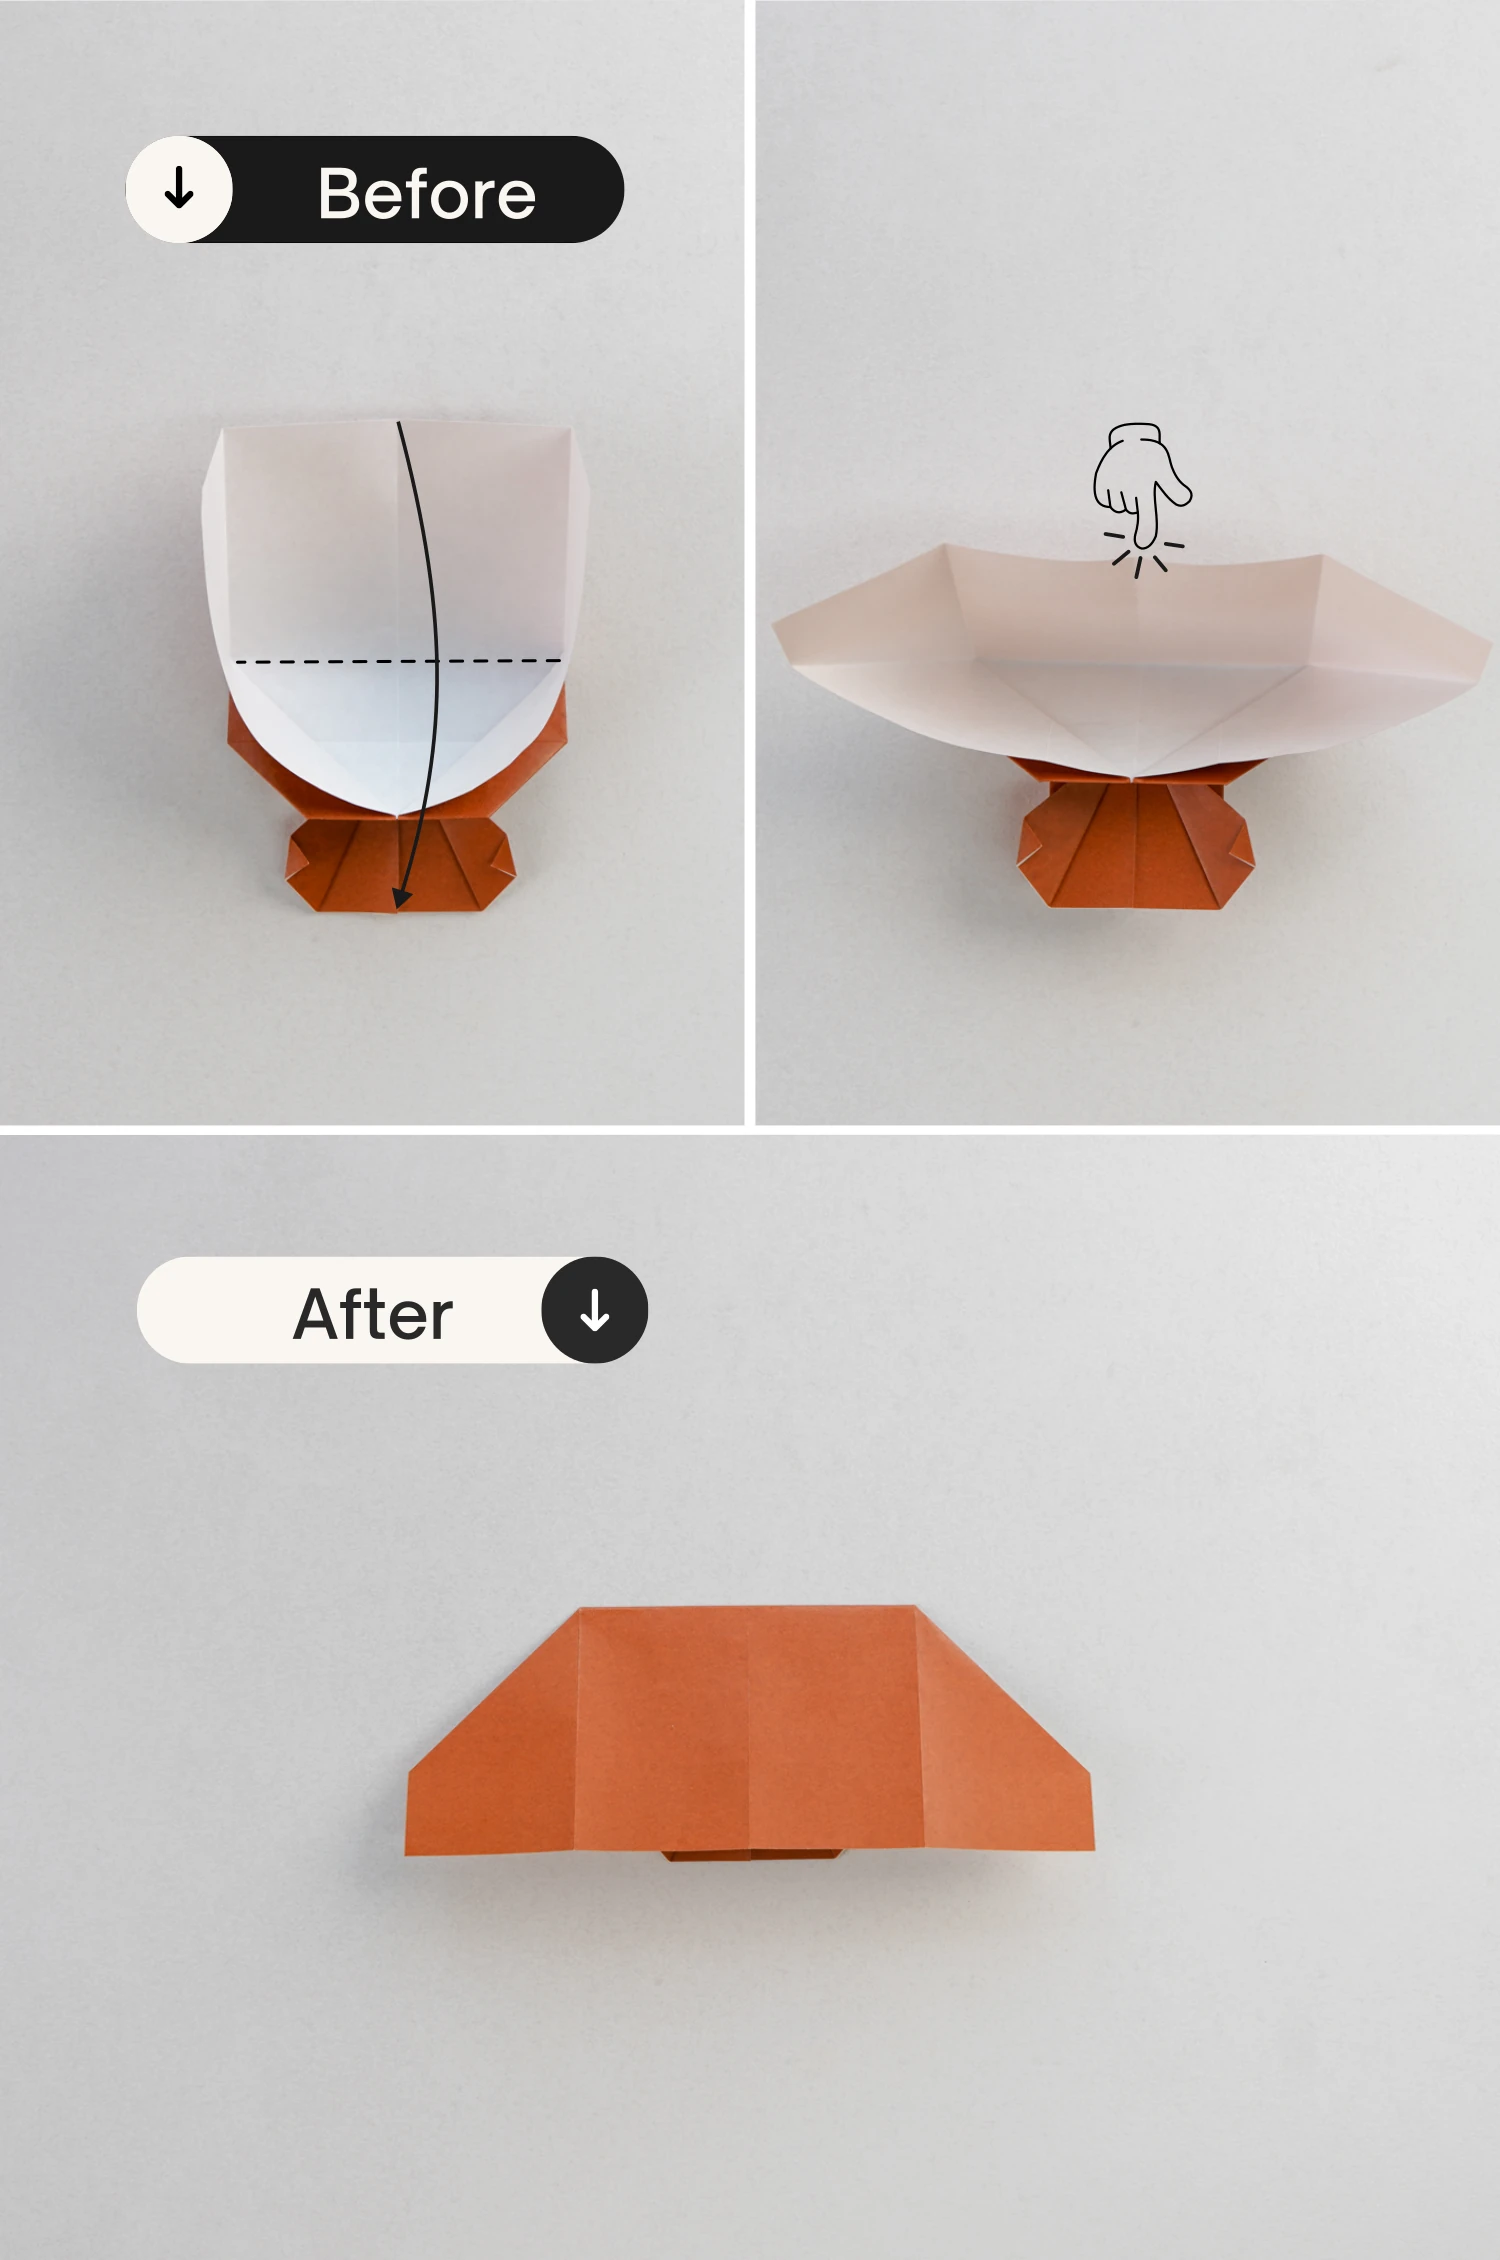
Step 18
Flip the model over.

Step 19
Fold the flap up.
Step 20
Fold the left and right edges to the center along the dotted lines.
Step 21
Then fold them back toward their sides to align with the left and right edges, crease them well then unfold.
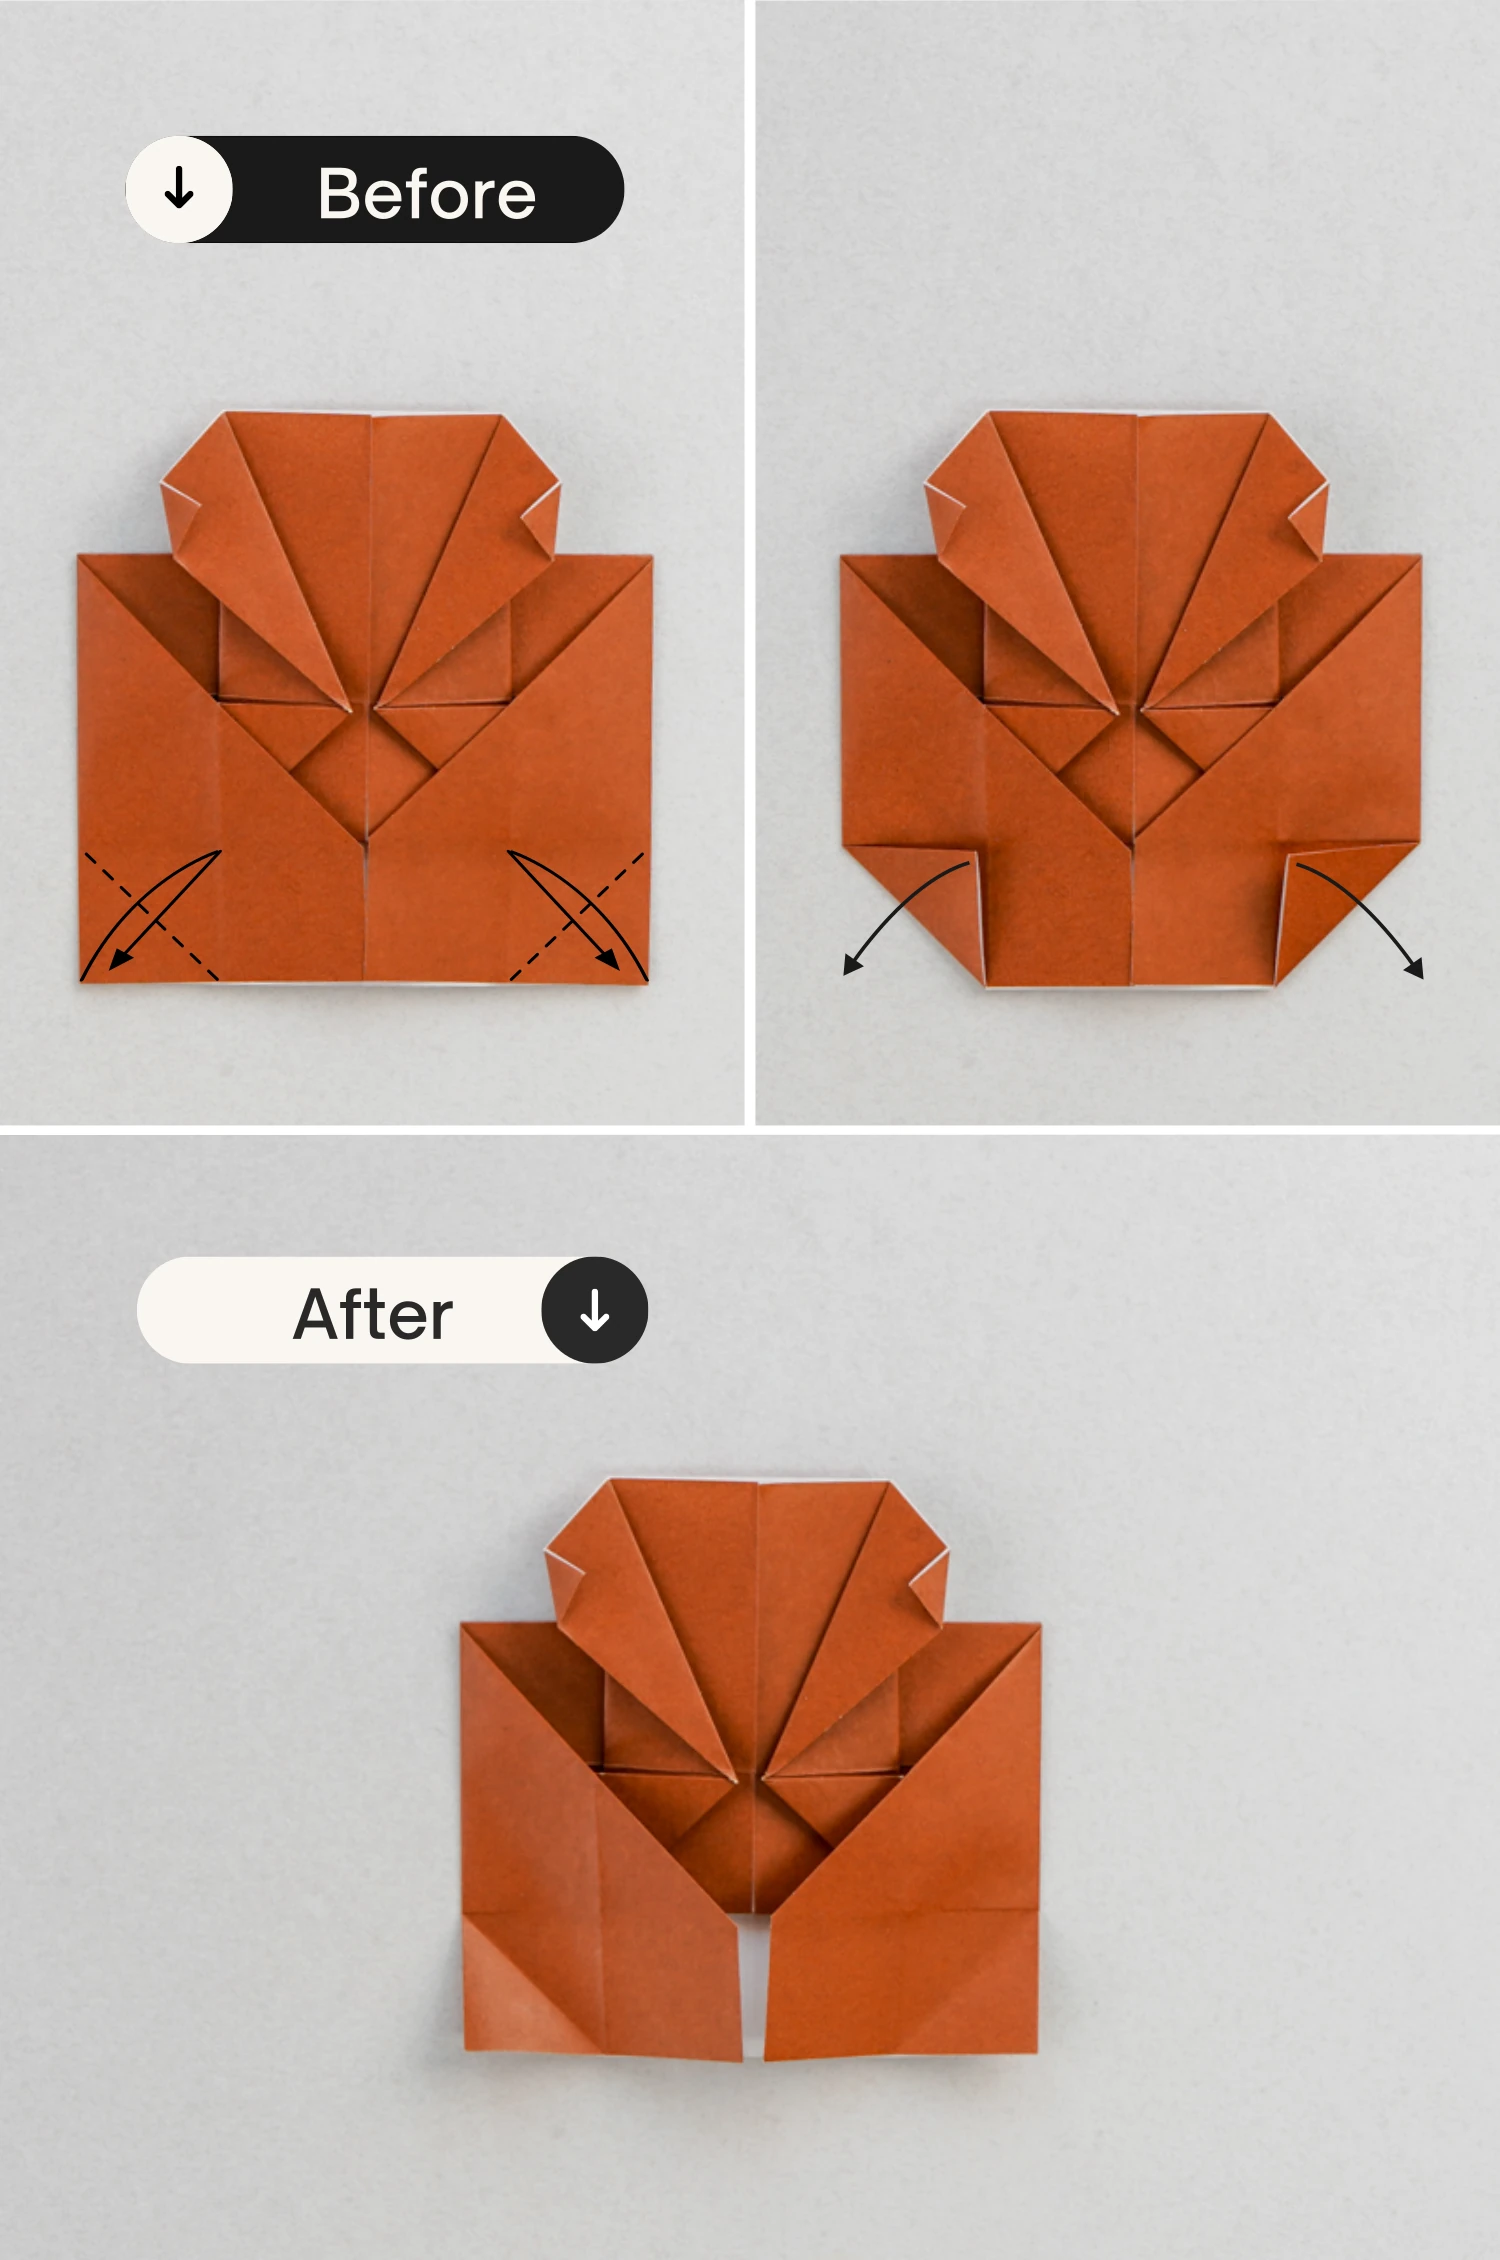
Step 22
Fold the bottom left and right corners up diagonally, and unfold them.
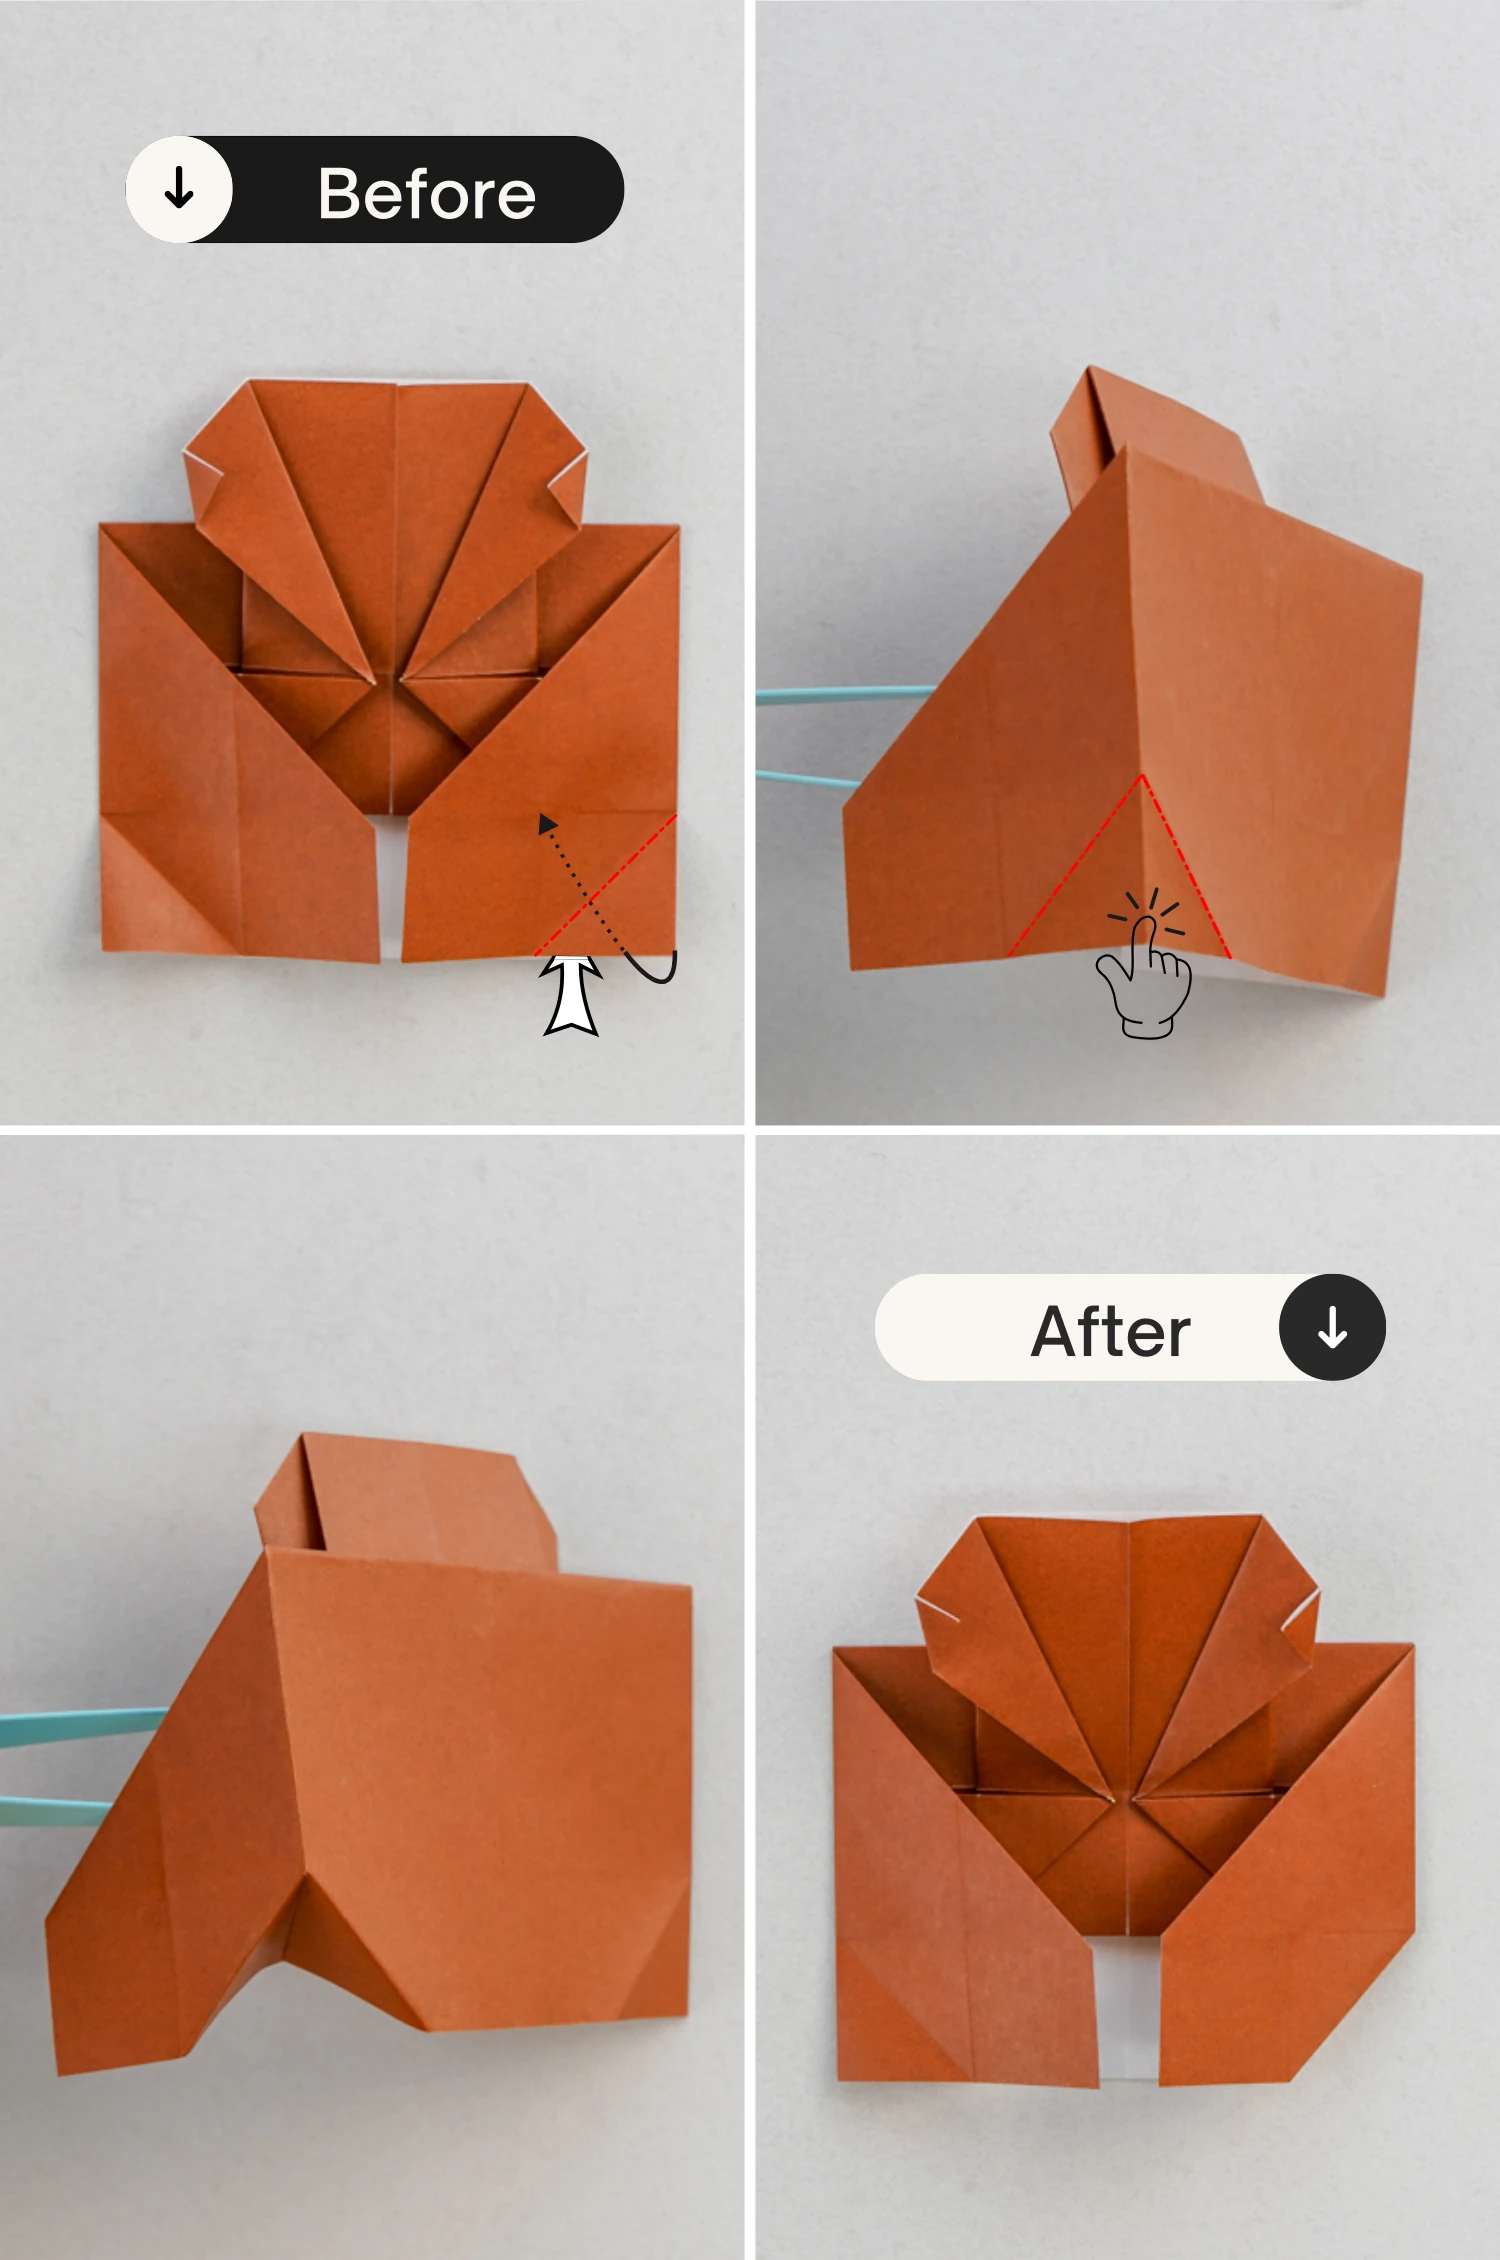
Step 23
Open the bottom right corner, slightly press the tip, and shape the creases on both sides. Push the corner you just folded up, tucking it between the two layers of paper.
Step 24
Similarly, open and press the bottom left corner, and shape the creases on both sides. Finally, tuck it between the two layers of paper.
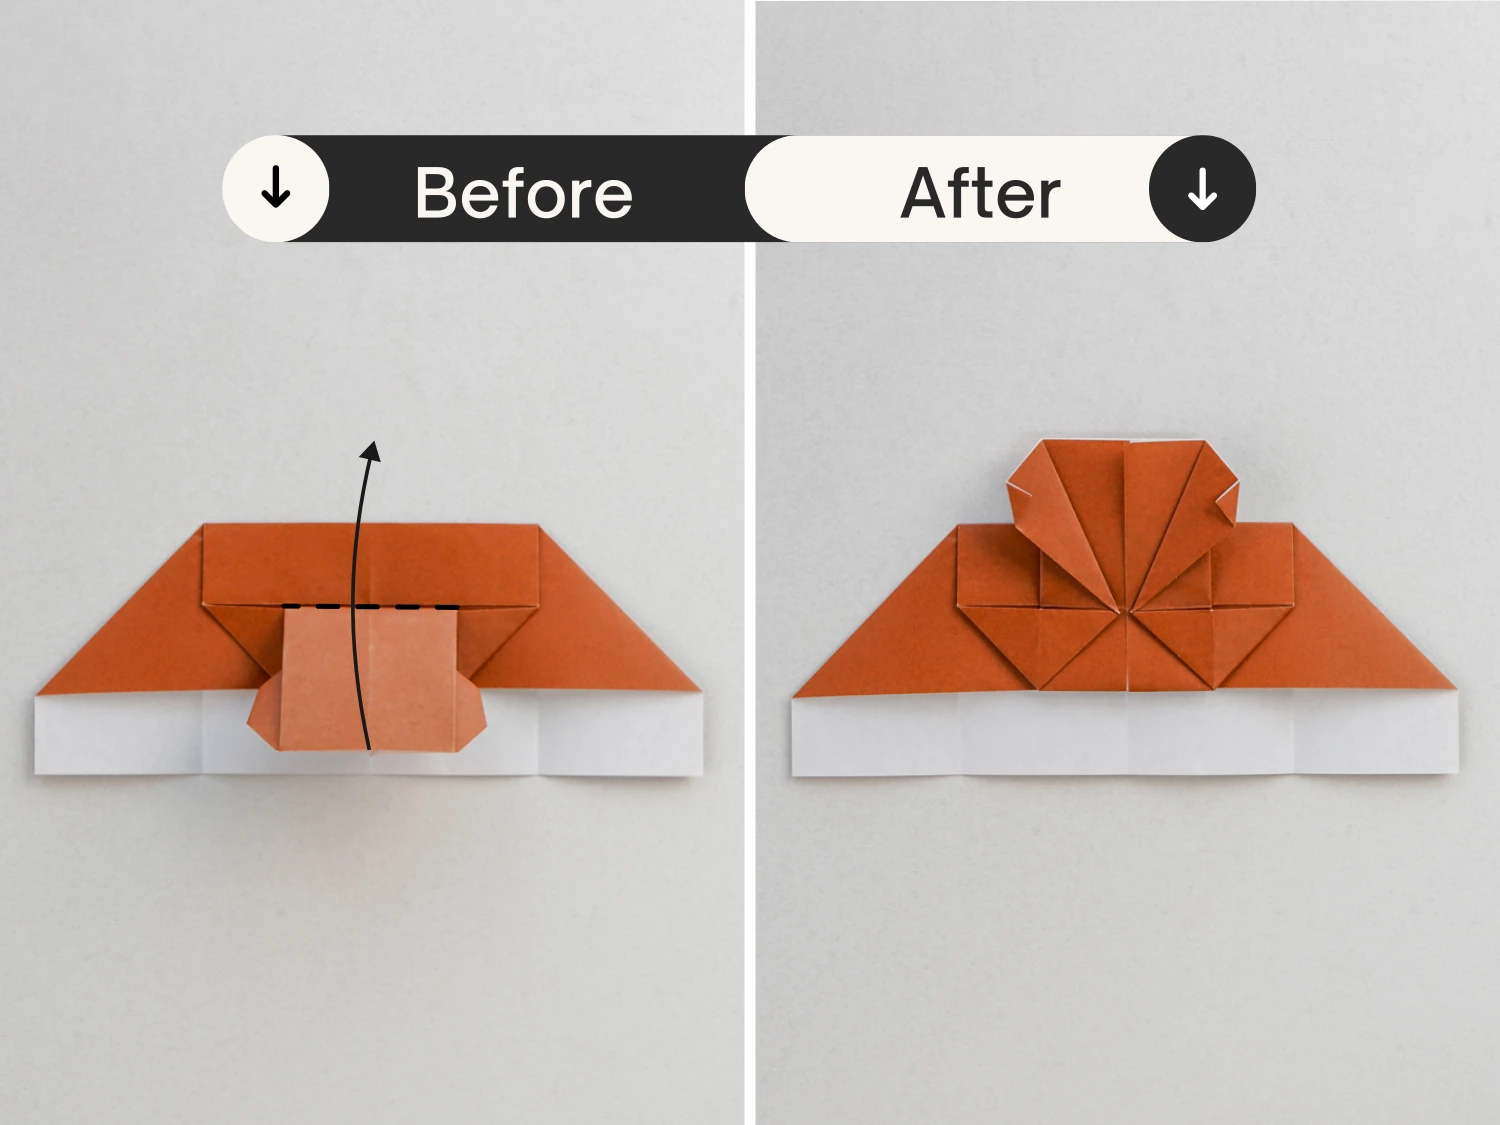
Step 25
Fold the two flaps to their respective sides to reveal the two small corners, then squash the corners and the flaps, creating two small triangles.
Step 26
Fold these four corners a little to make the bear more round.
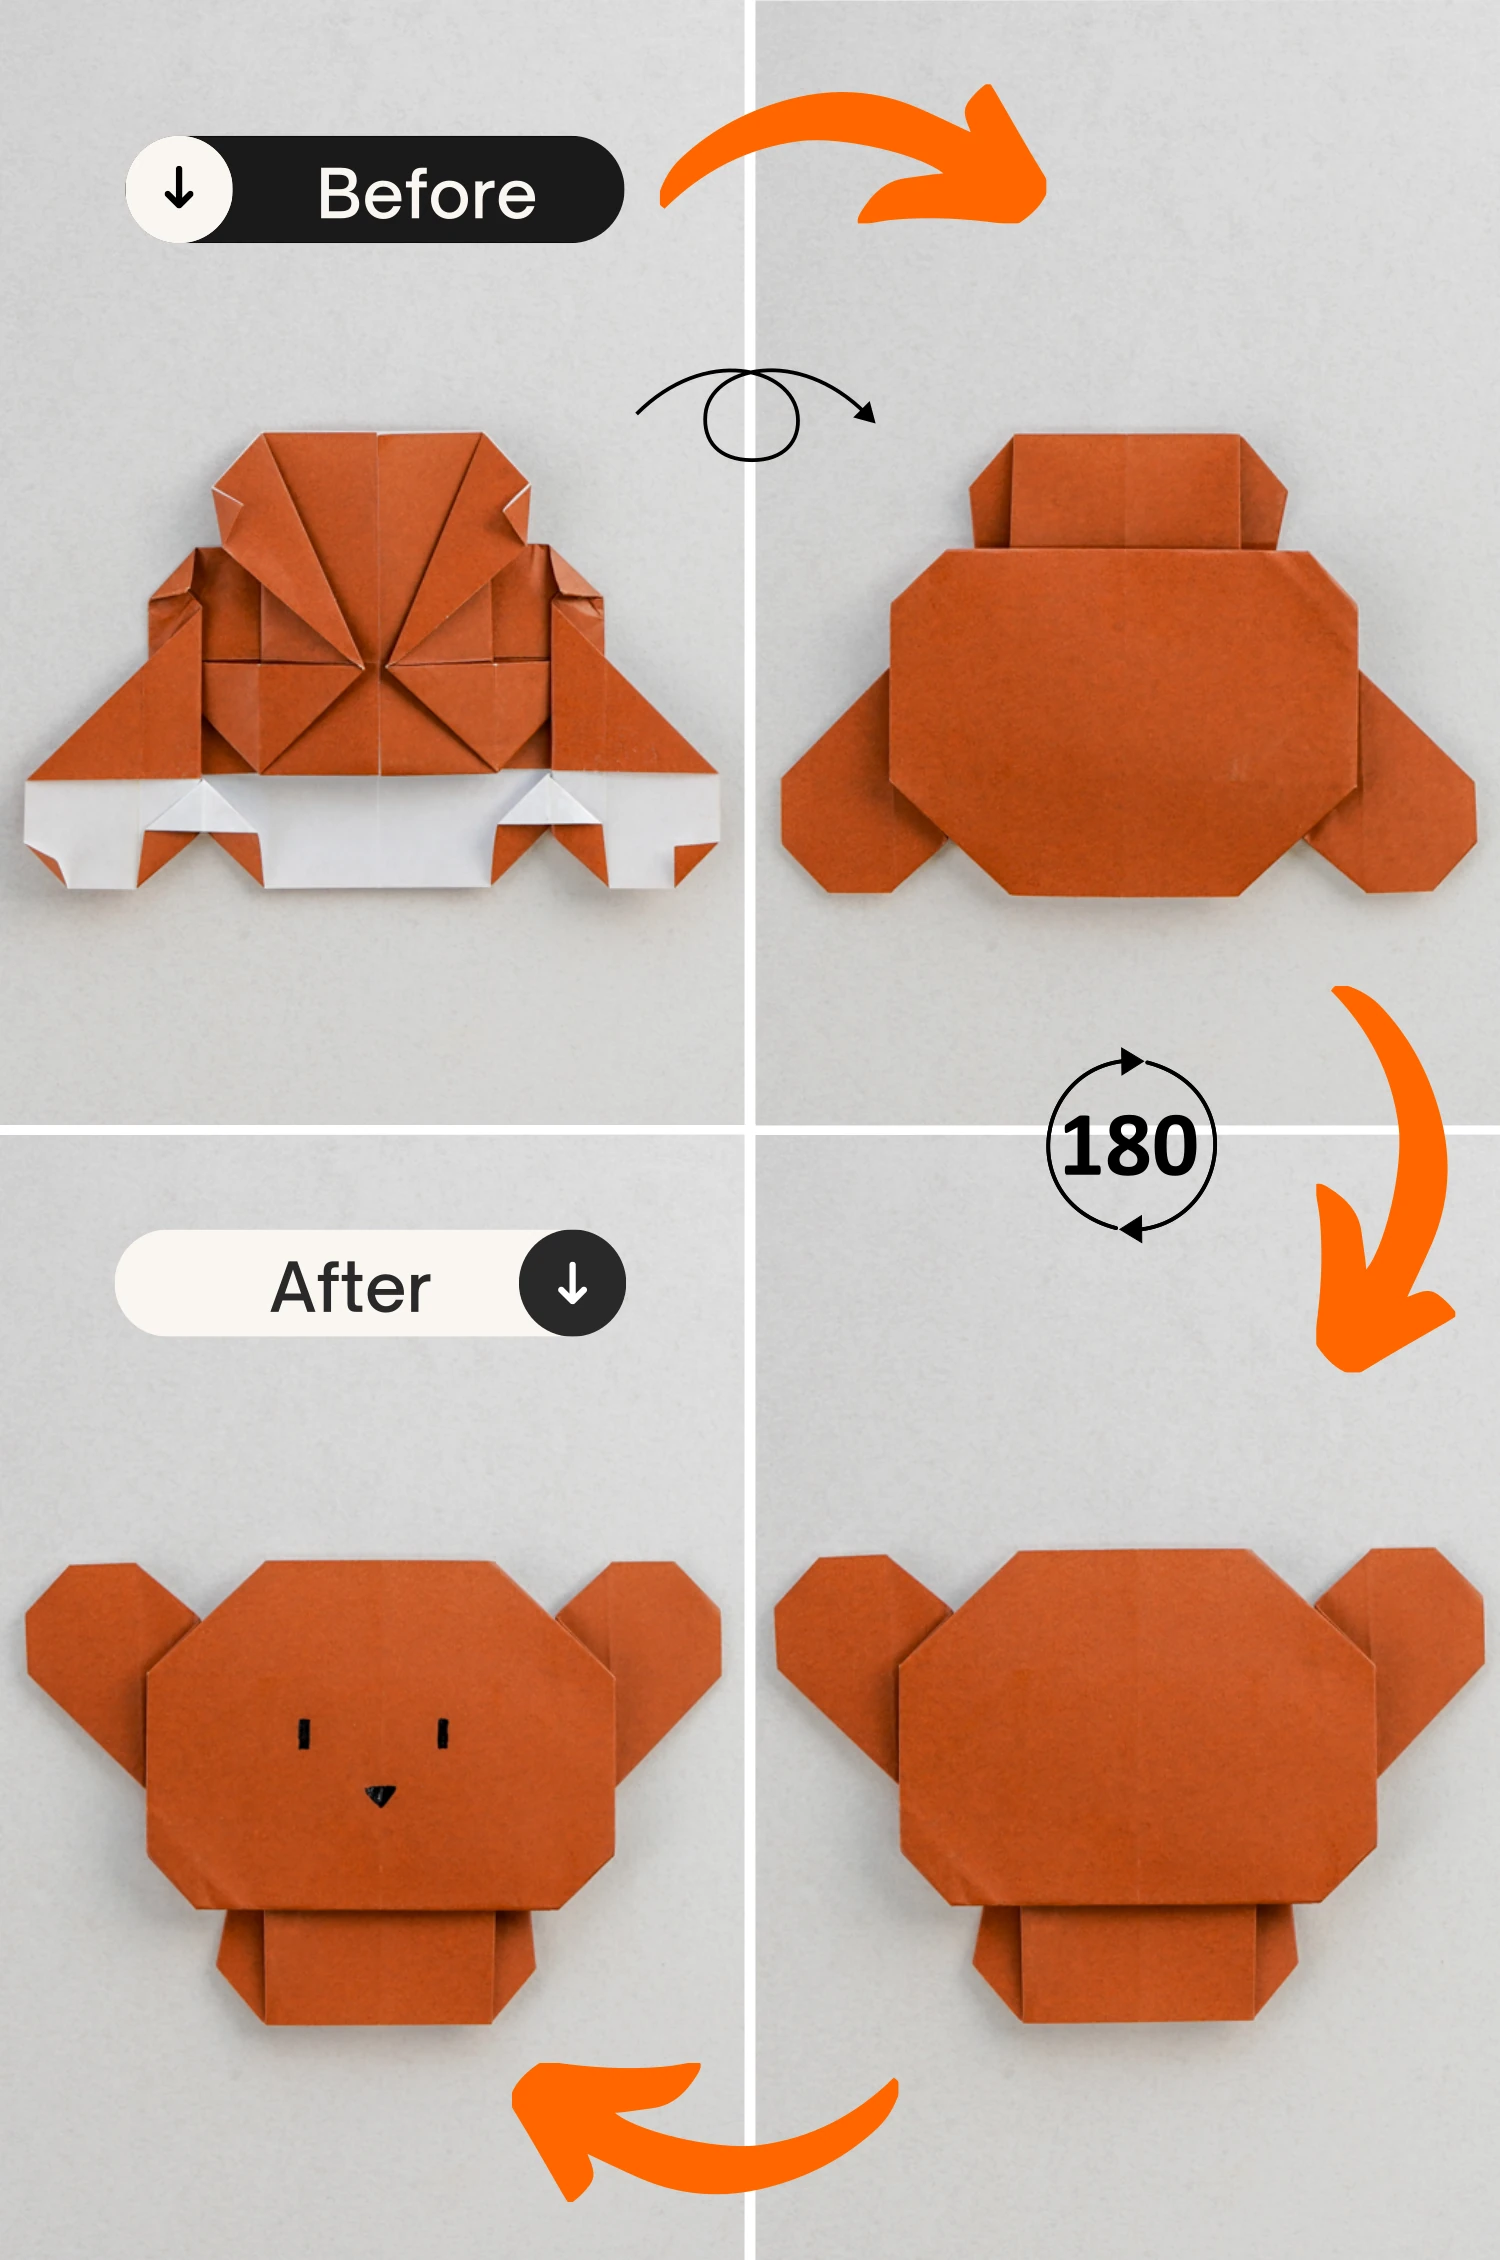
Step 27
Flip the model over, and rotate it 180 degrees clockwise, then you can draw nose and eyes for your cute bear.
What’s Next
This is the final form of an origami bear. Check out our other simple origami animals and you’ll surely adore them, as they are all incredibly charming. Have fun folding!
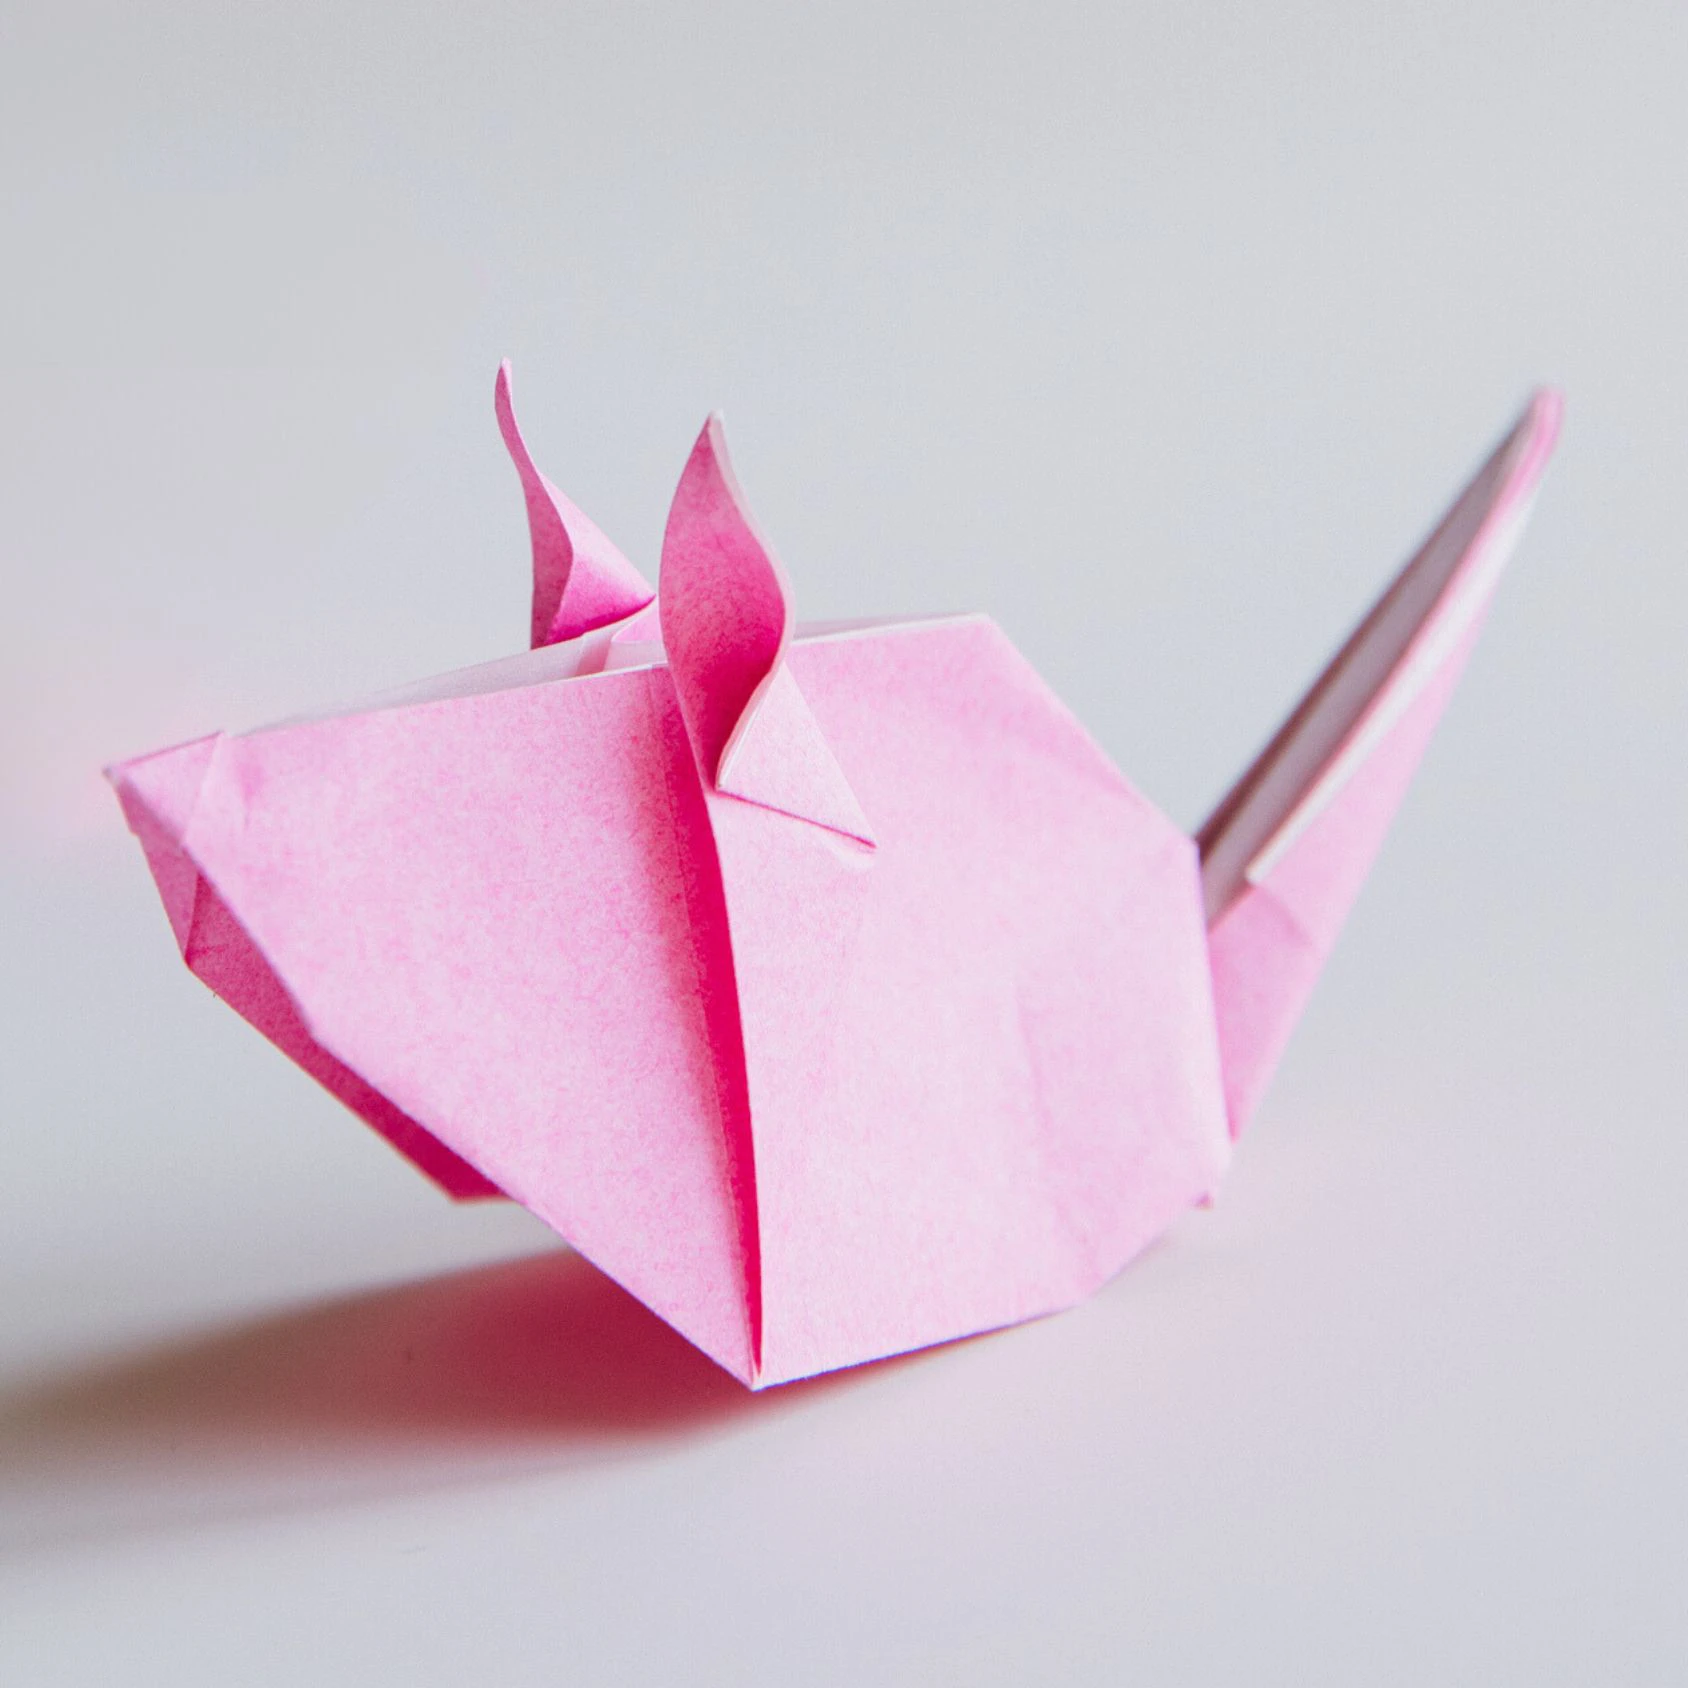
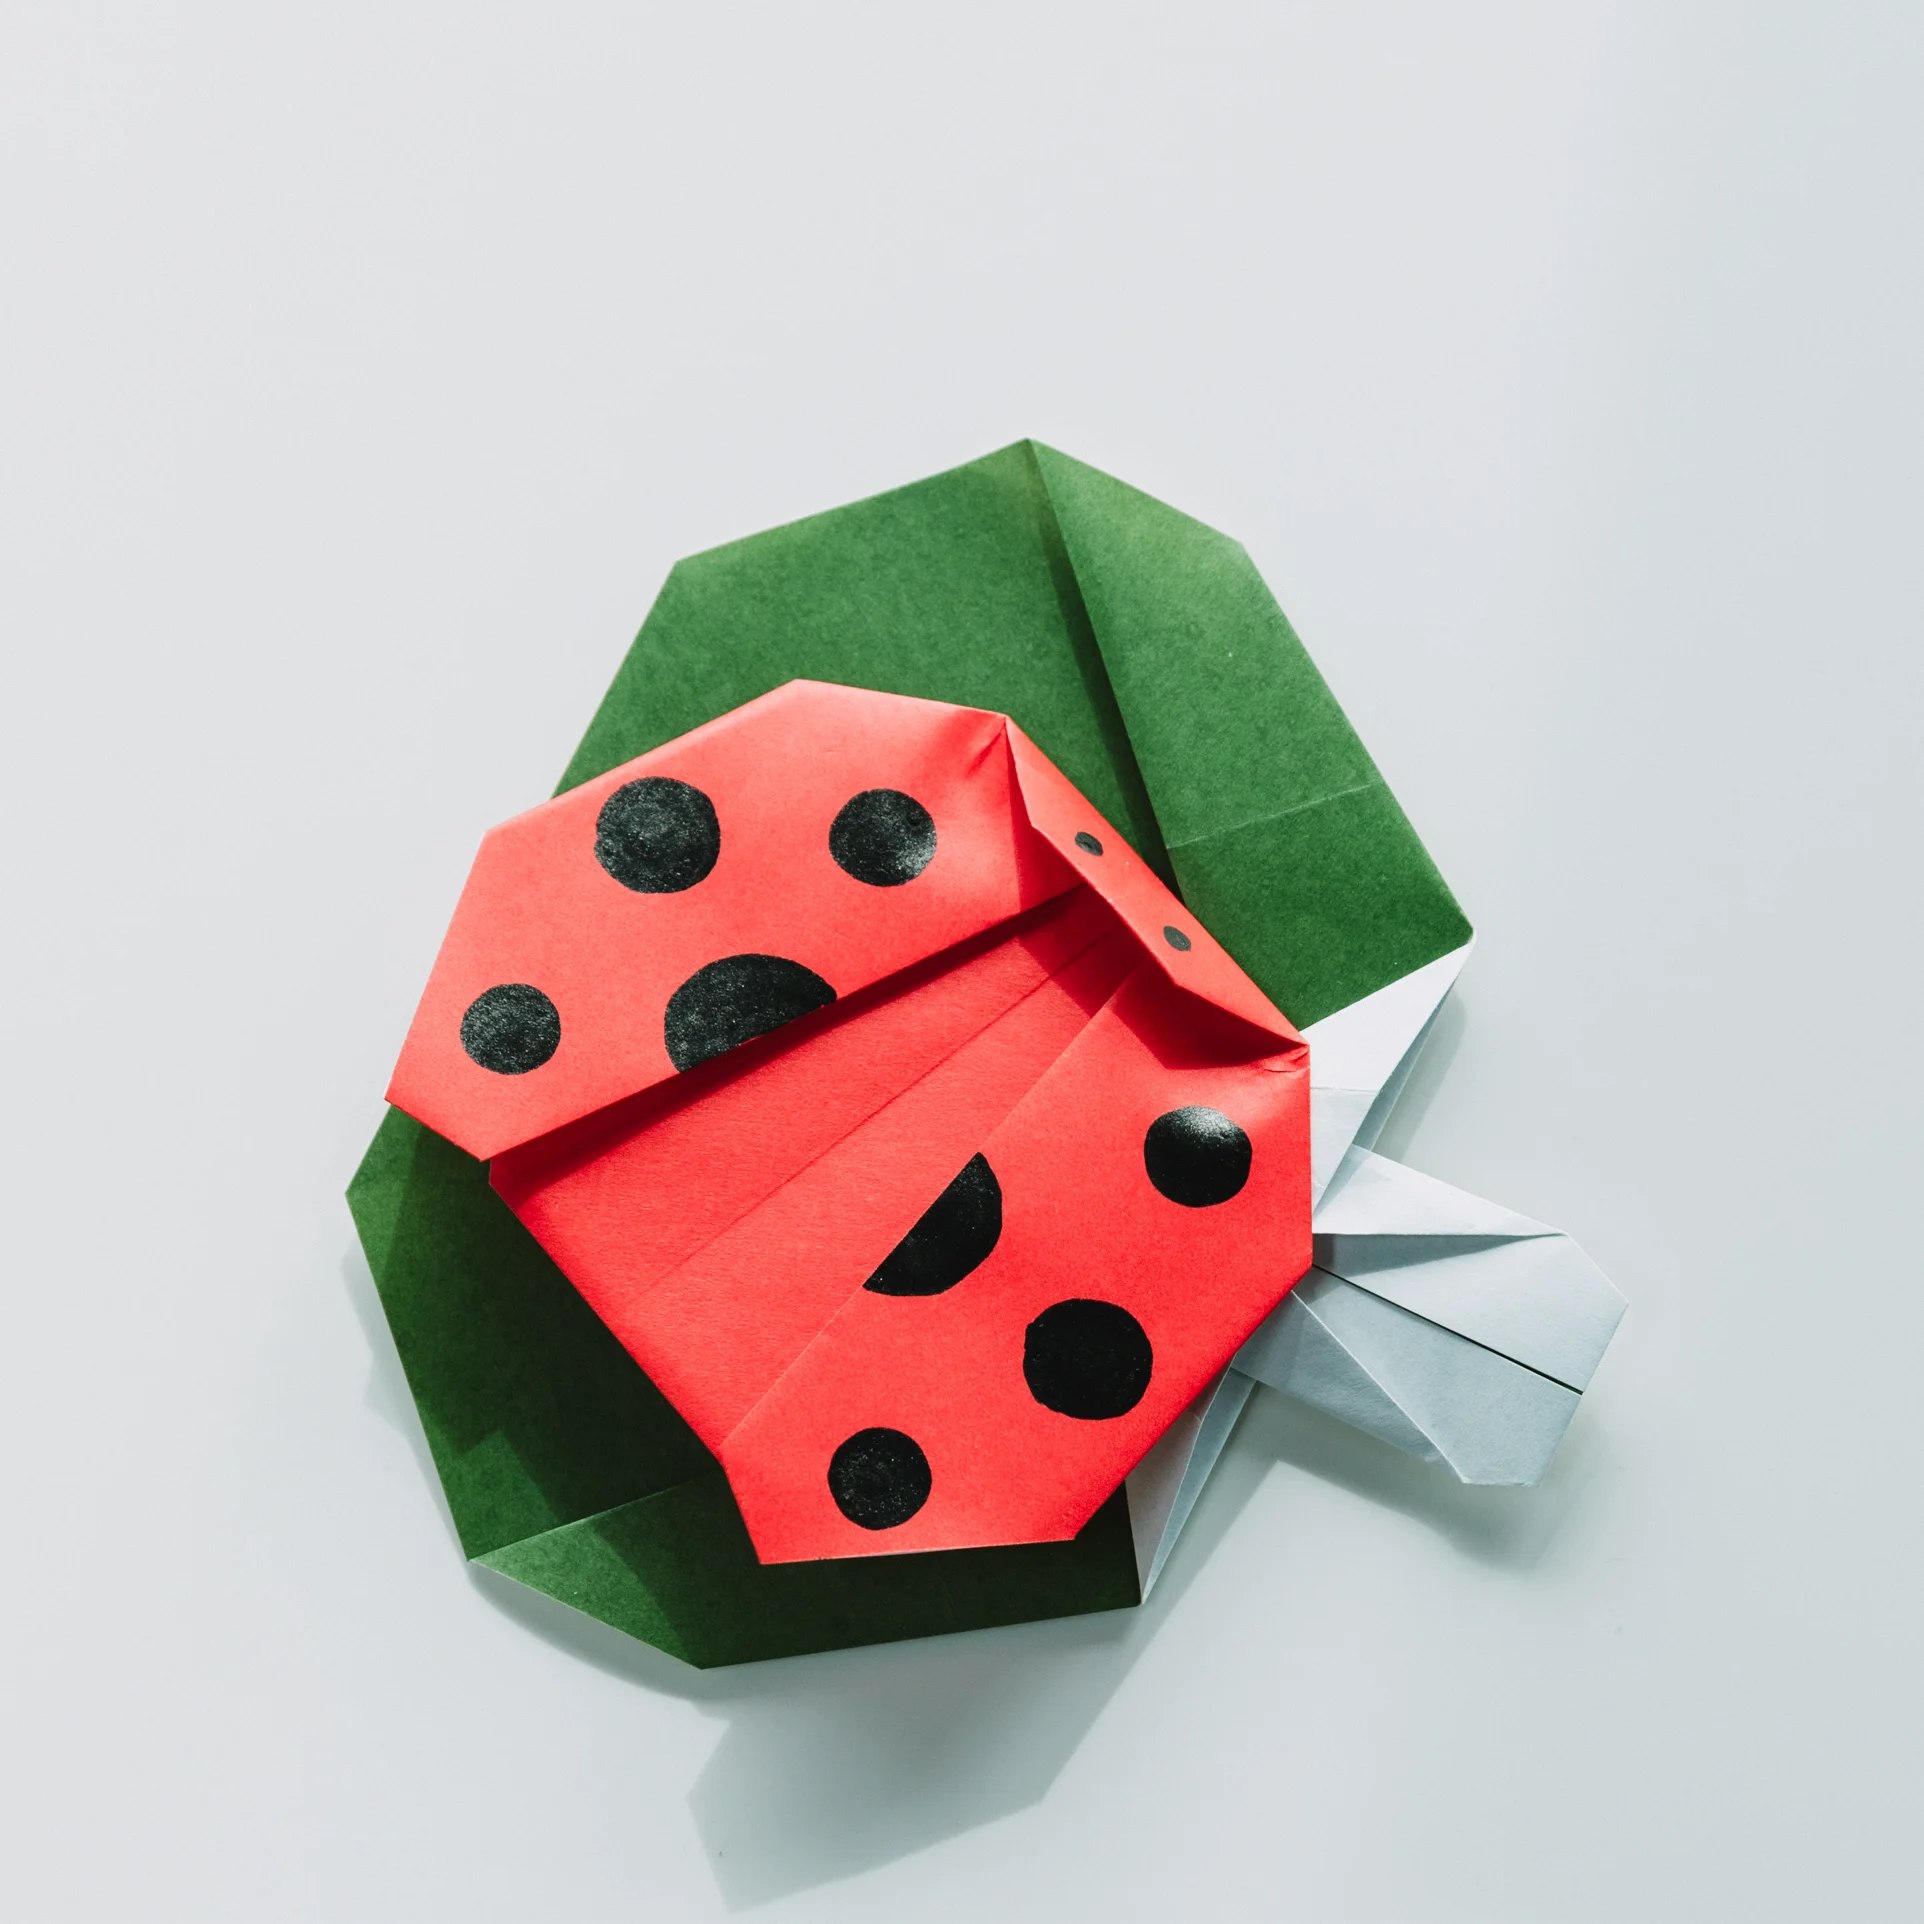
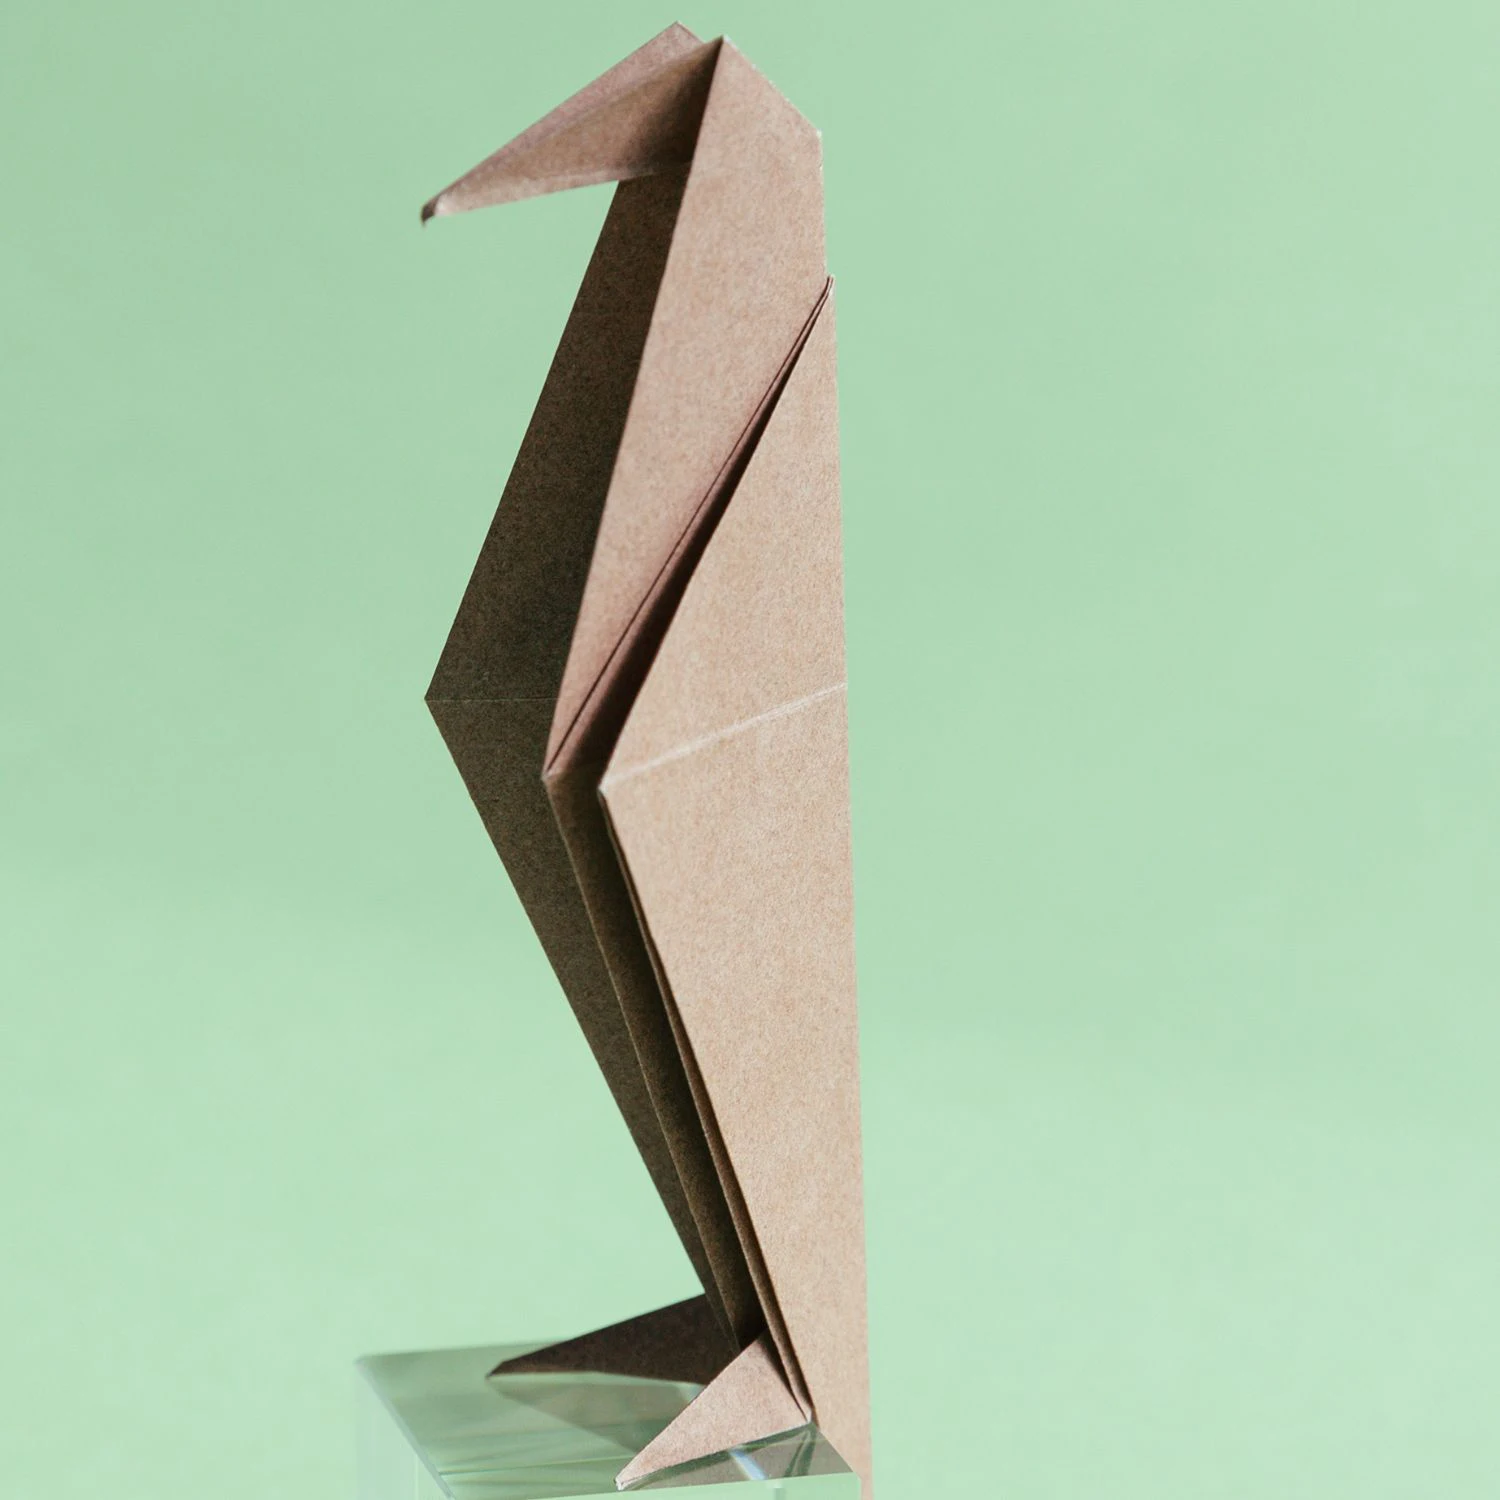
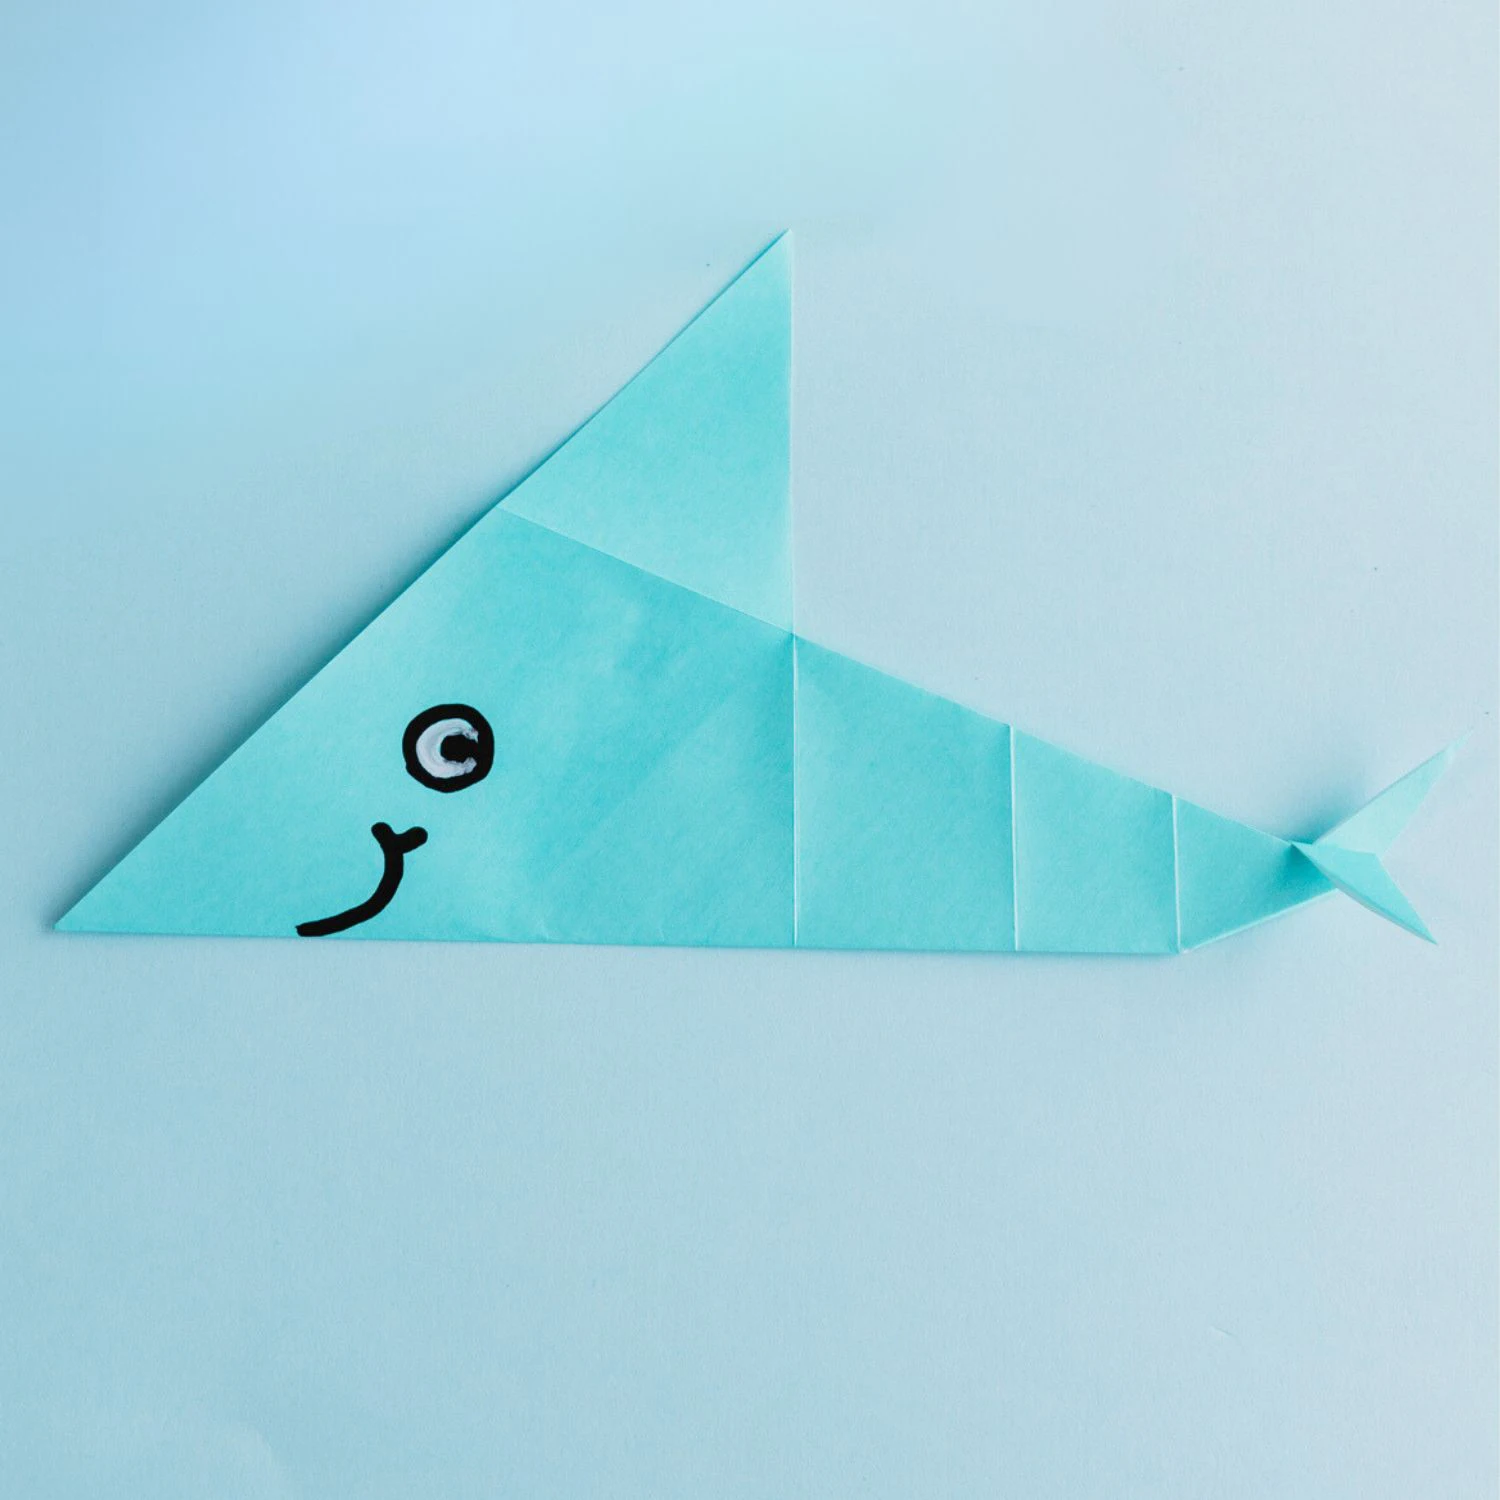
Other Easy Origami Animal Ideas
This completed my bob the minion costume perfectly and was super easy. Thanks!
Thanks Nargis for your lovely feedback. Happy folding!