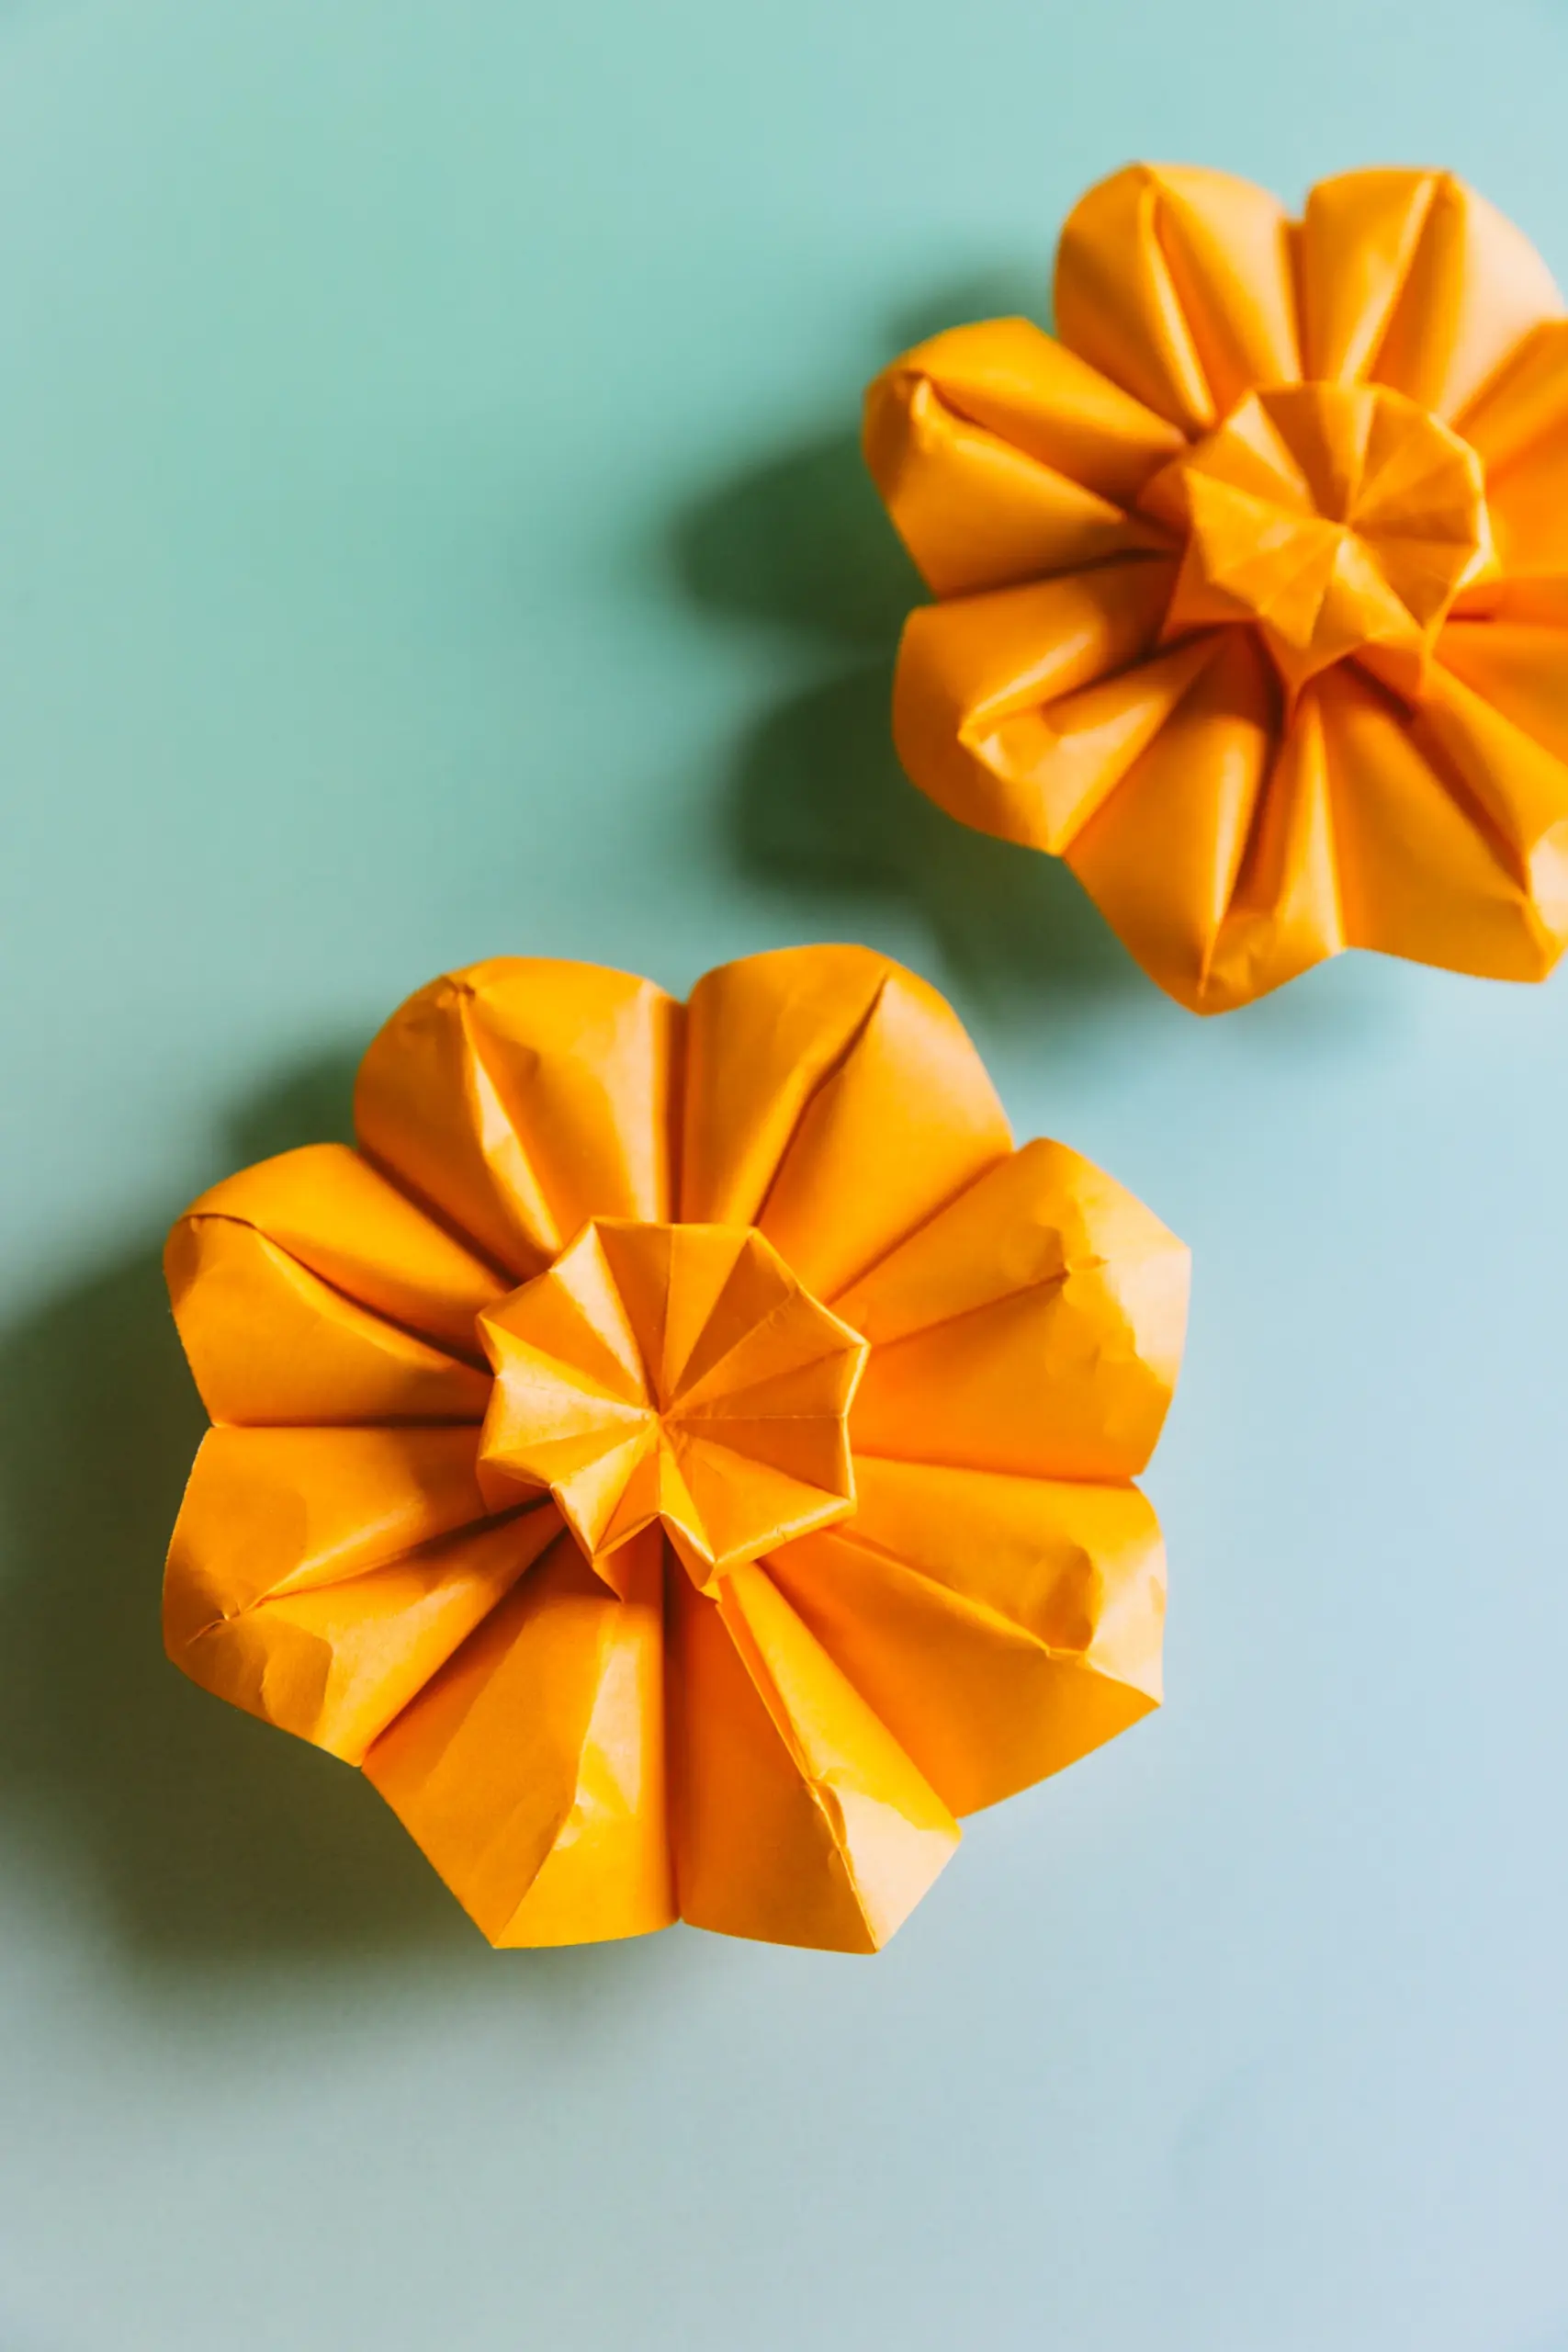
This origami sunflower makes a thoughtful gift for your friends and family, especially those who love flowers and nature. It is designed to be closely like a real sunflower, complete with its radiant and lovely petals and detailed center, which is best for your desk or room decoration.
It is made with a Square Base, and feel free to experiment with different colored and sized square paper to get various sunflowers. In addition, you can check our other origami flowers at the end of this post, to make a bouquet.

If you are new to origami, start here from our beginner guide to know the basics and how to read the step-by-step instructions.
- Folding time: 20 minutes
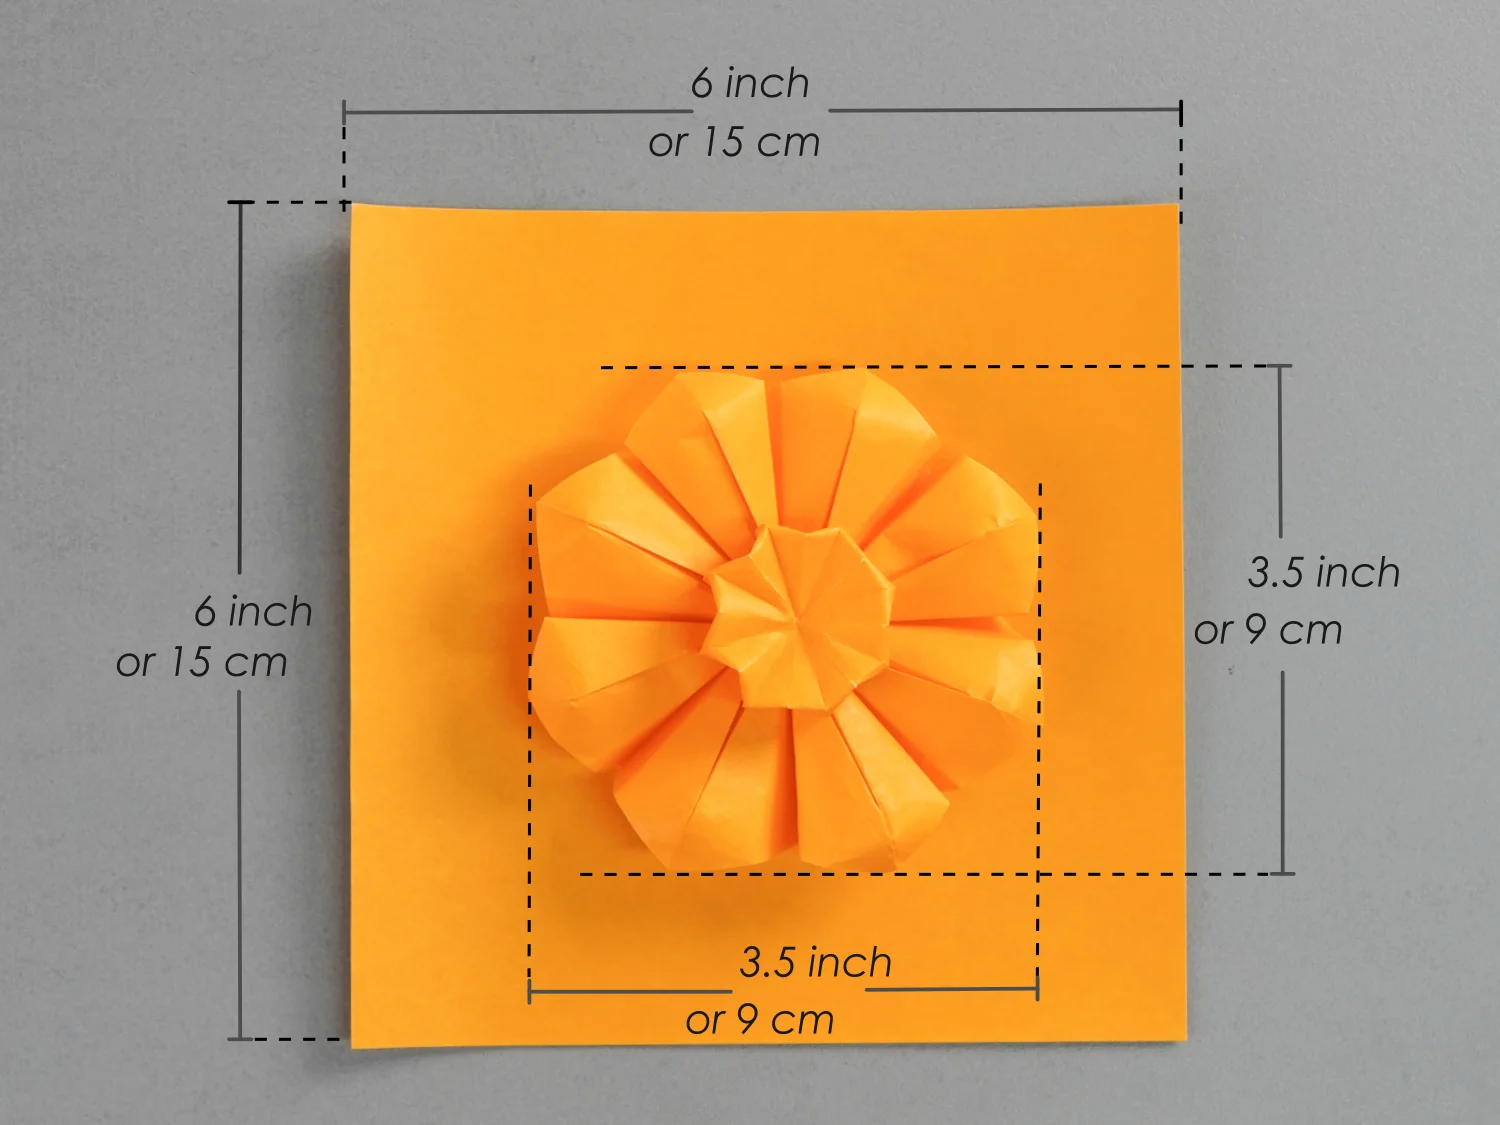
- Paper: 15×15 cm
- Difficulty: Middle
Material
Get a piece of 15×15 cm origami square paper or any other size of square paper, with different colors on each side, to create a 9×9 cm origami sunflower.
About the paper: We suggest you use slightly hard but tough paper.
Step by Step Instructions
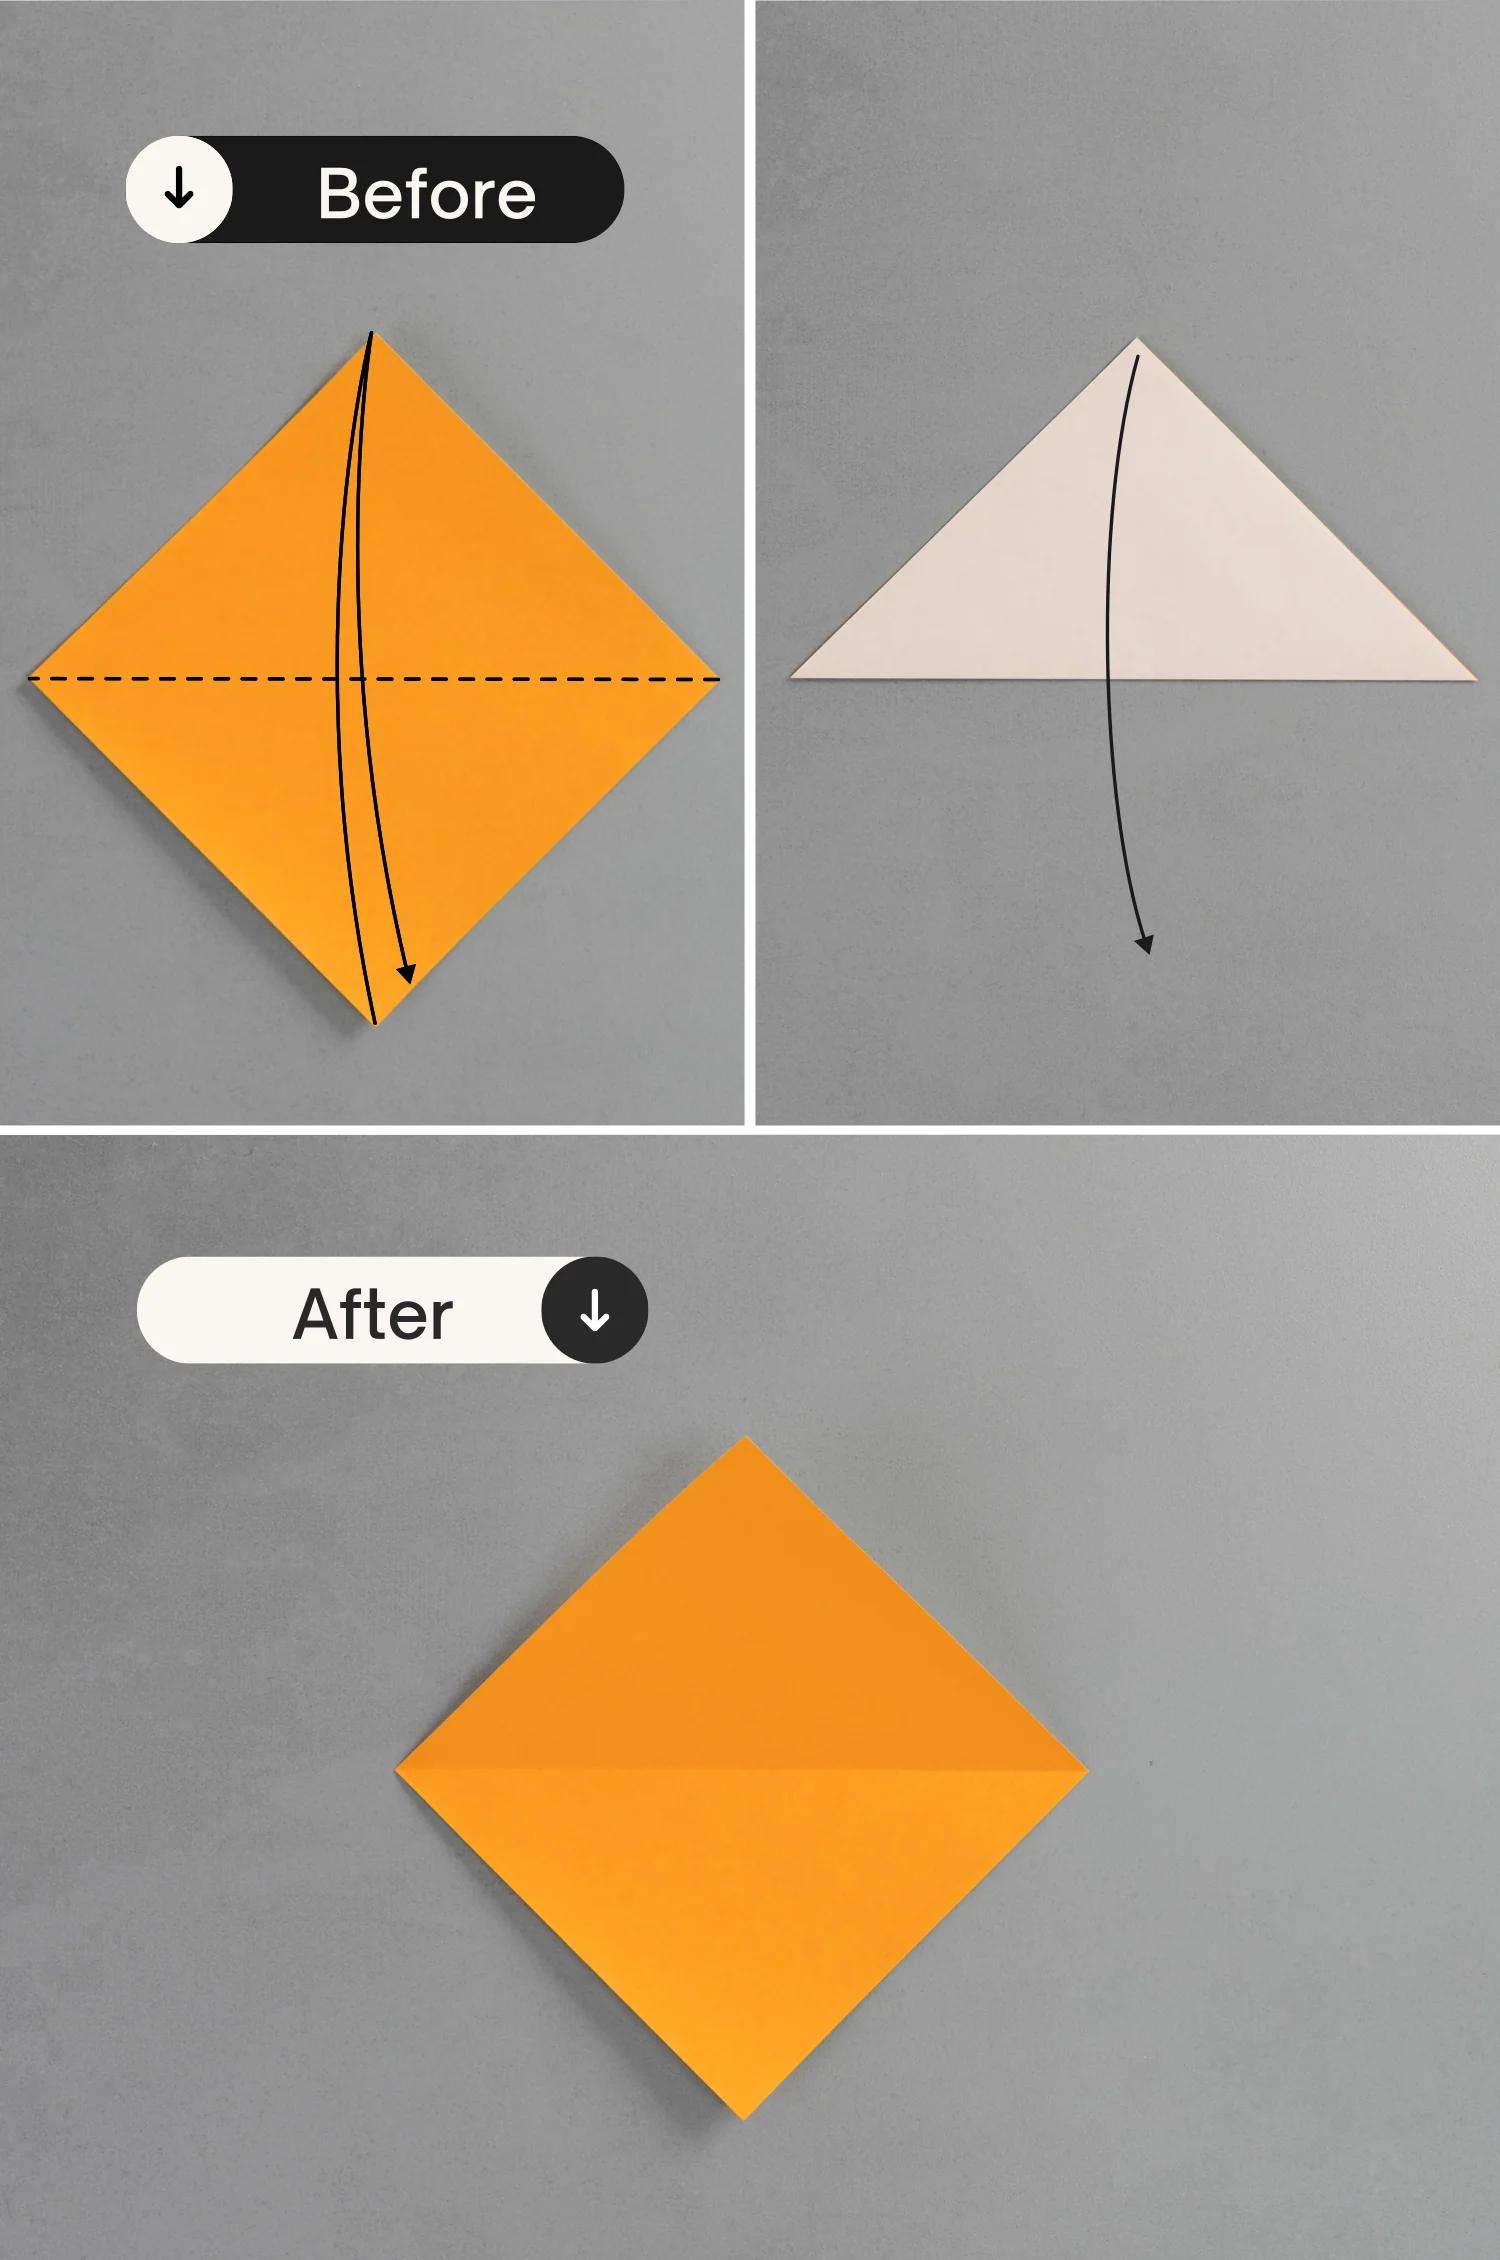
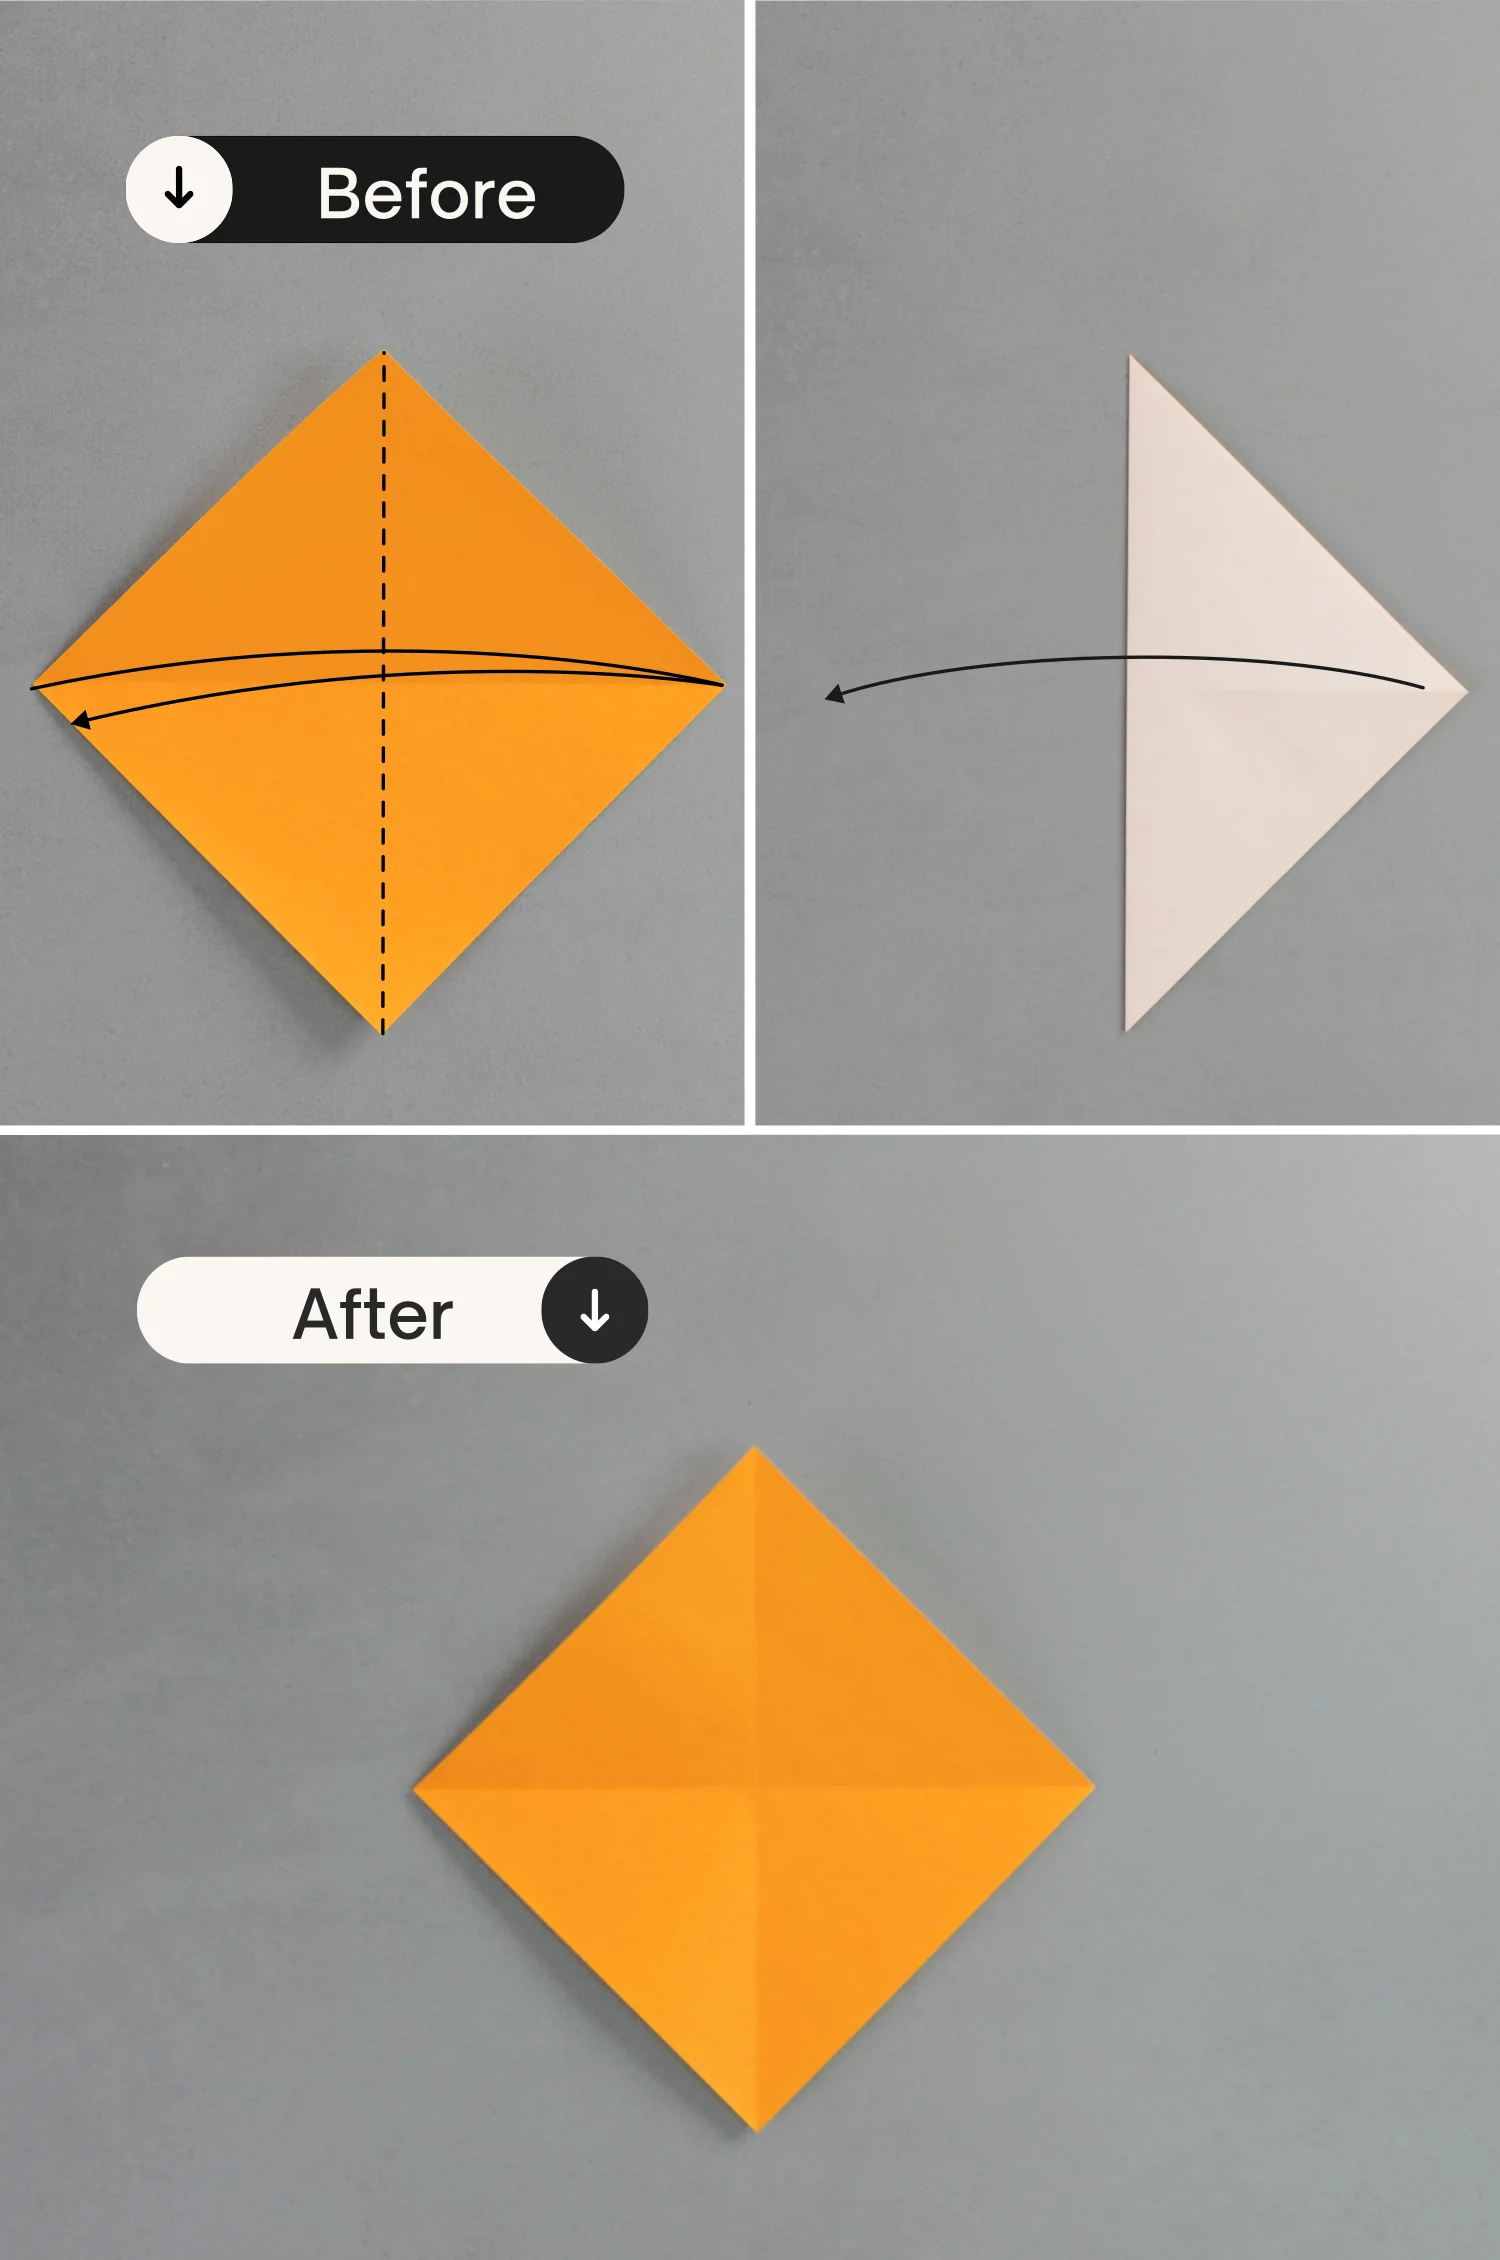
Step 1
Place the paper with the desired display color side up to begin folding, fold it in half horizontally, leaving a crease then unfold it.
Step 2
Fold it in half vertically, and unfold it.
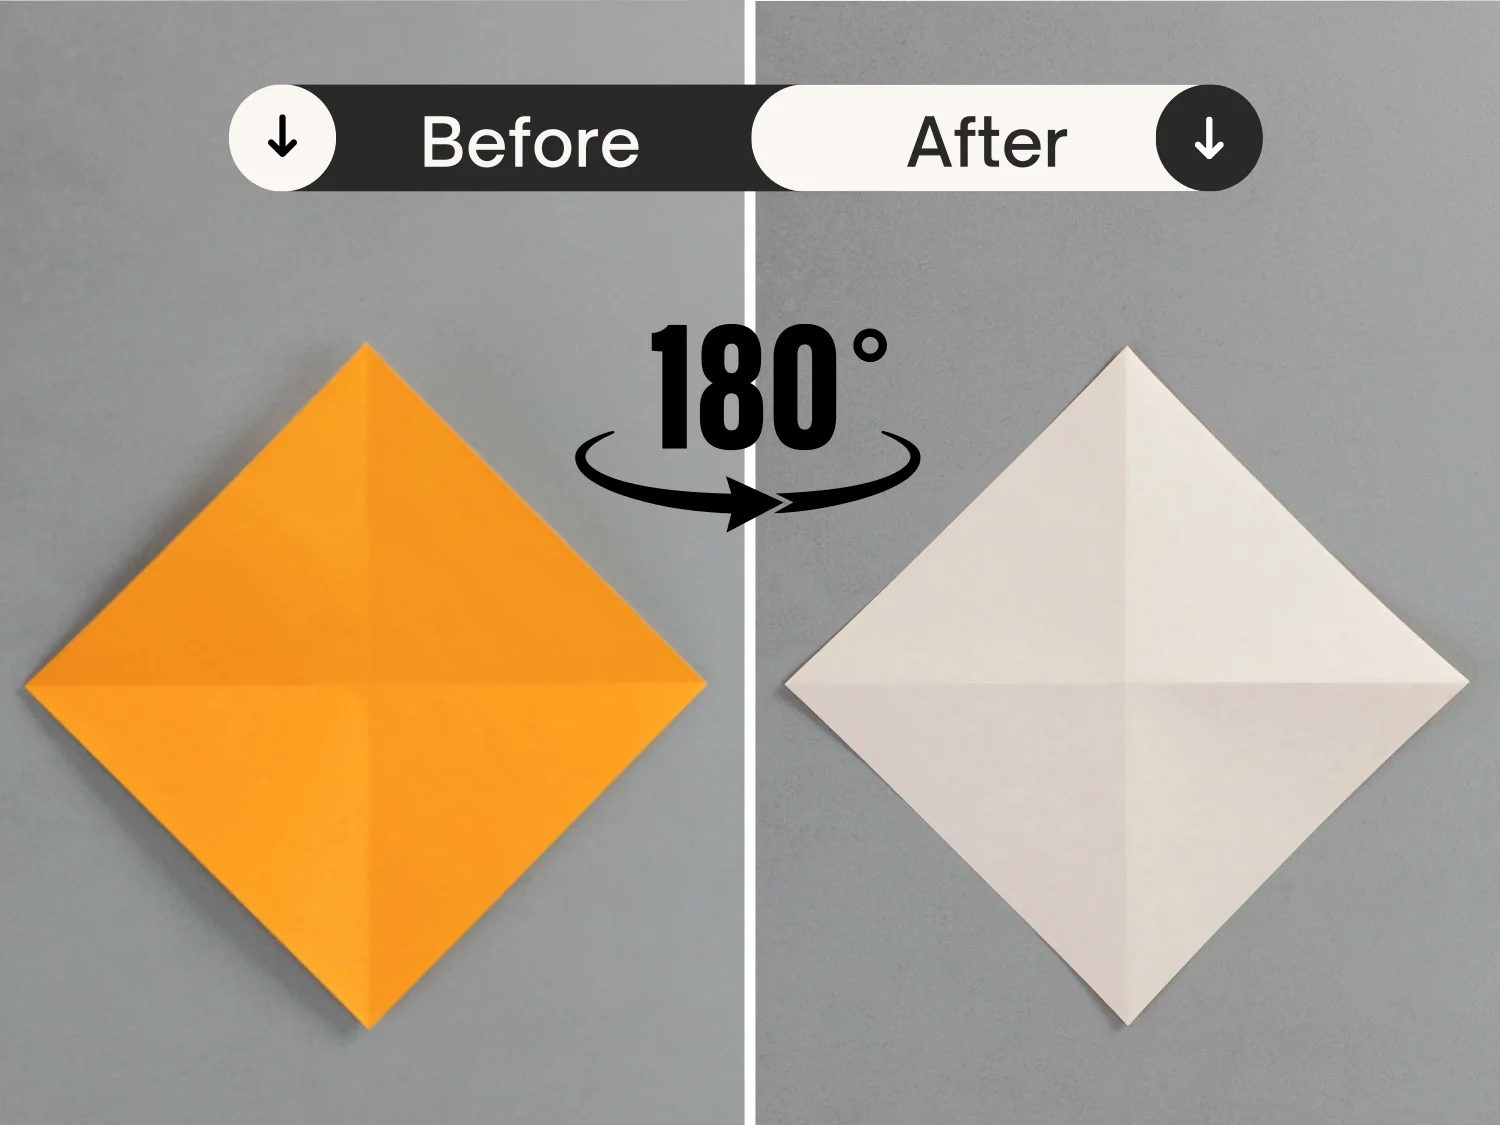
Step 3
Rotate it 180 degrees from the left to the right to flip the paper over.
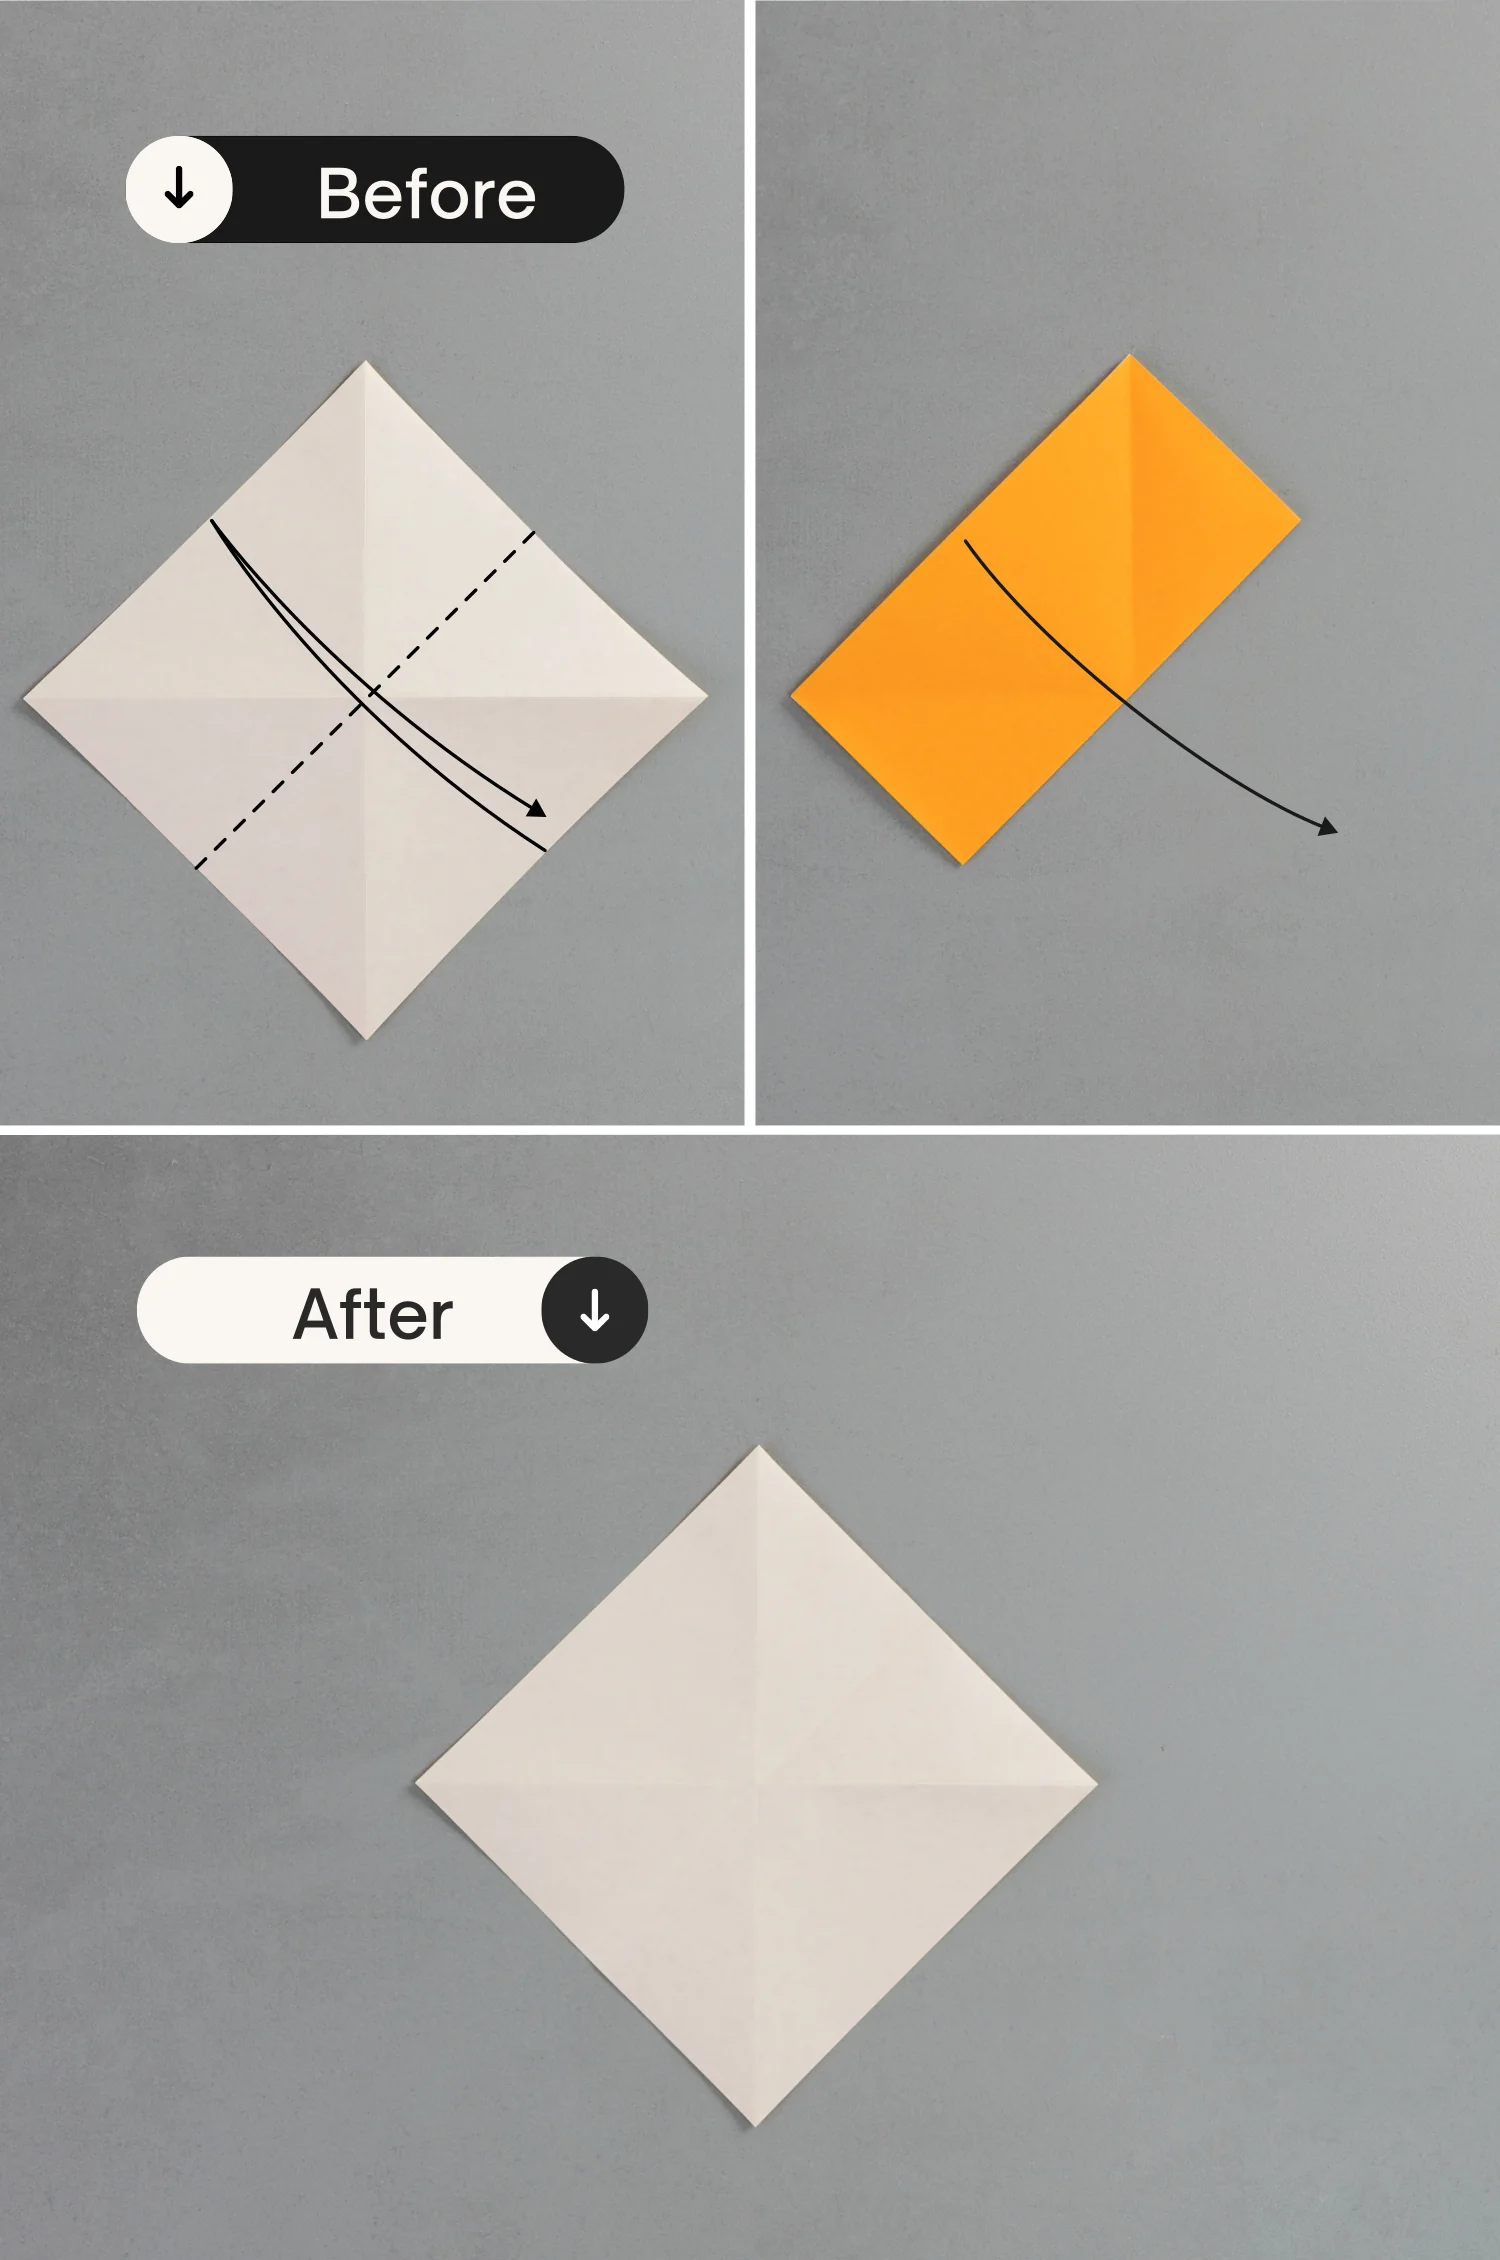
Step 4
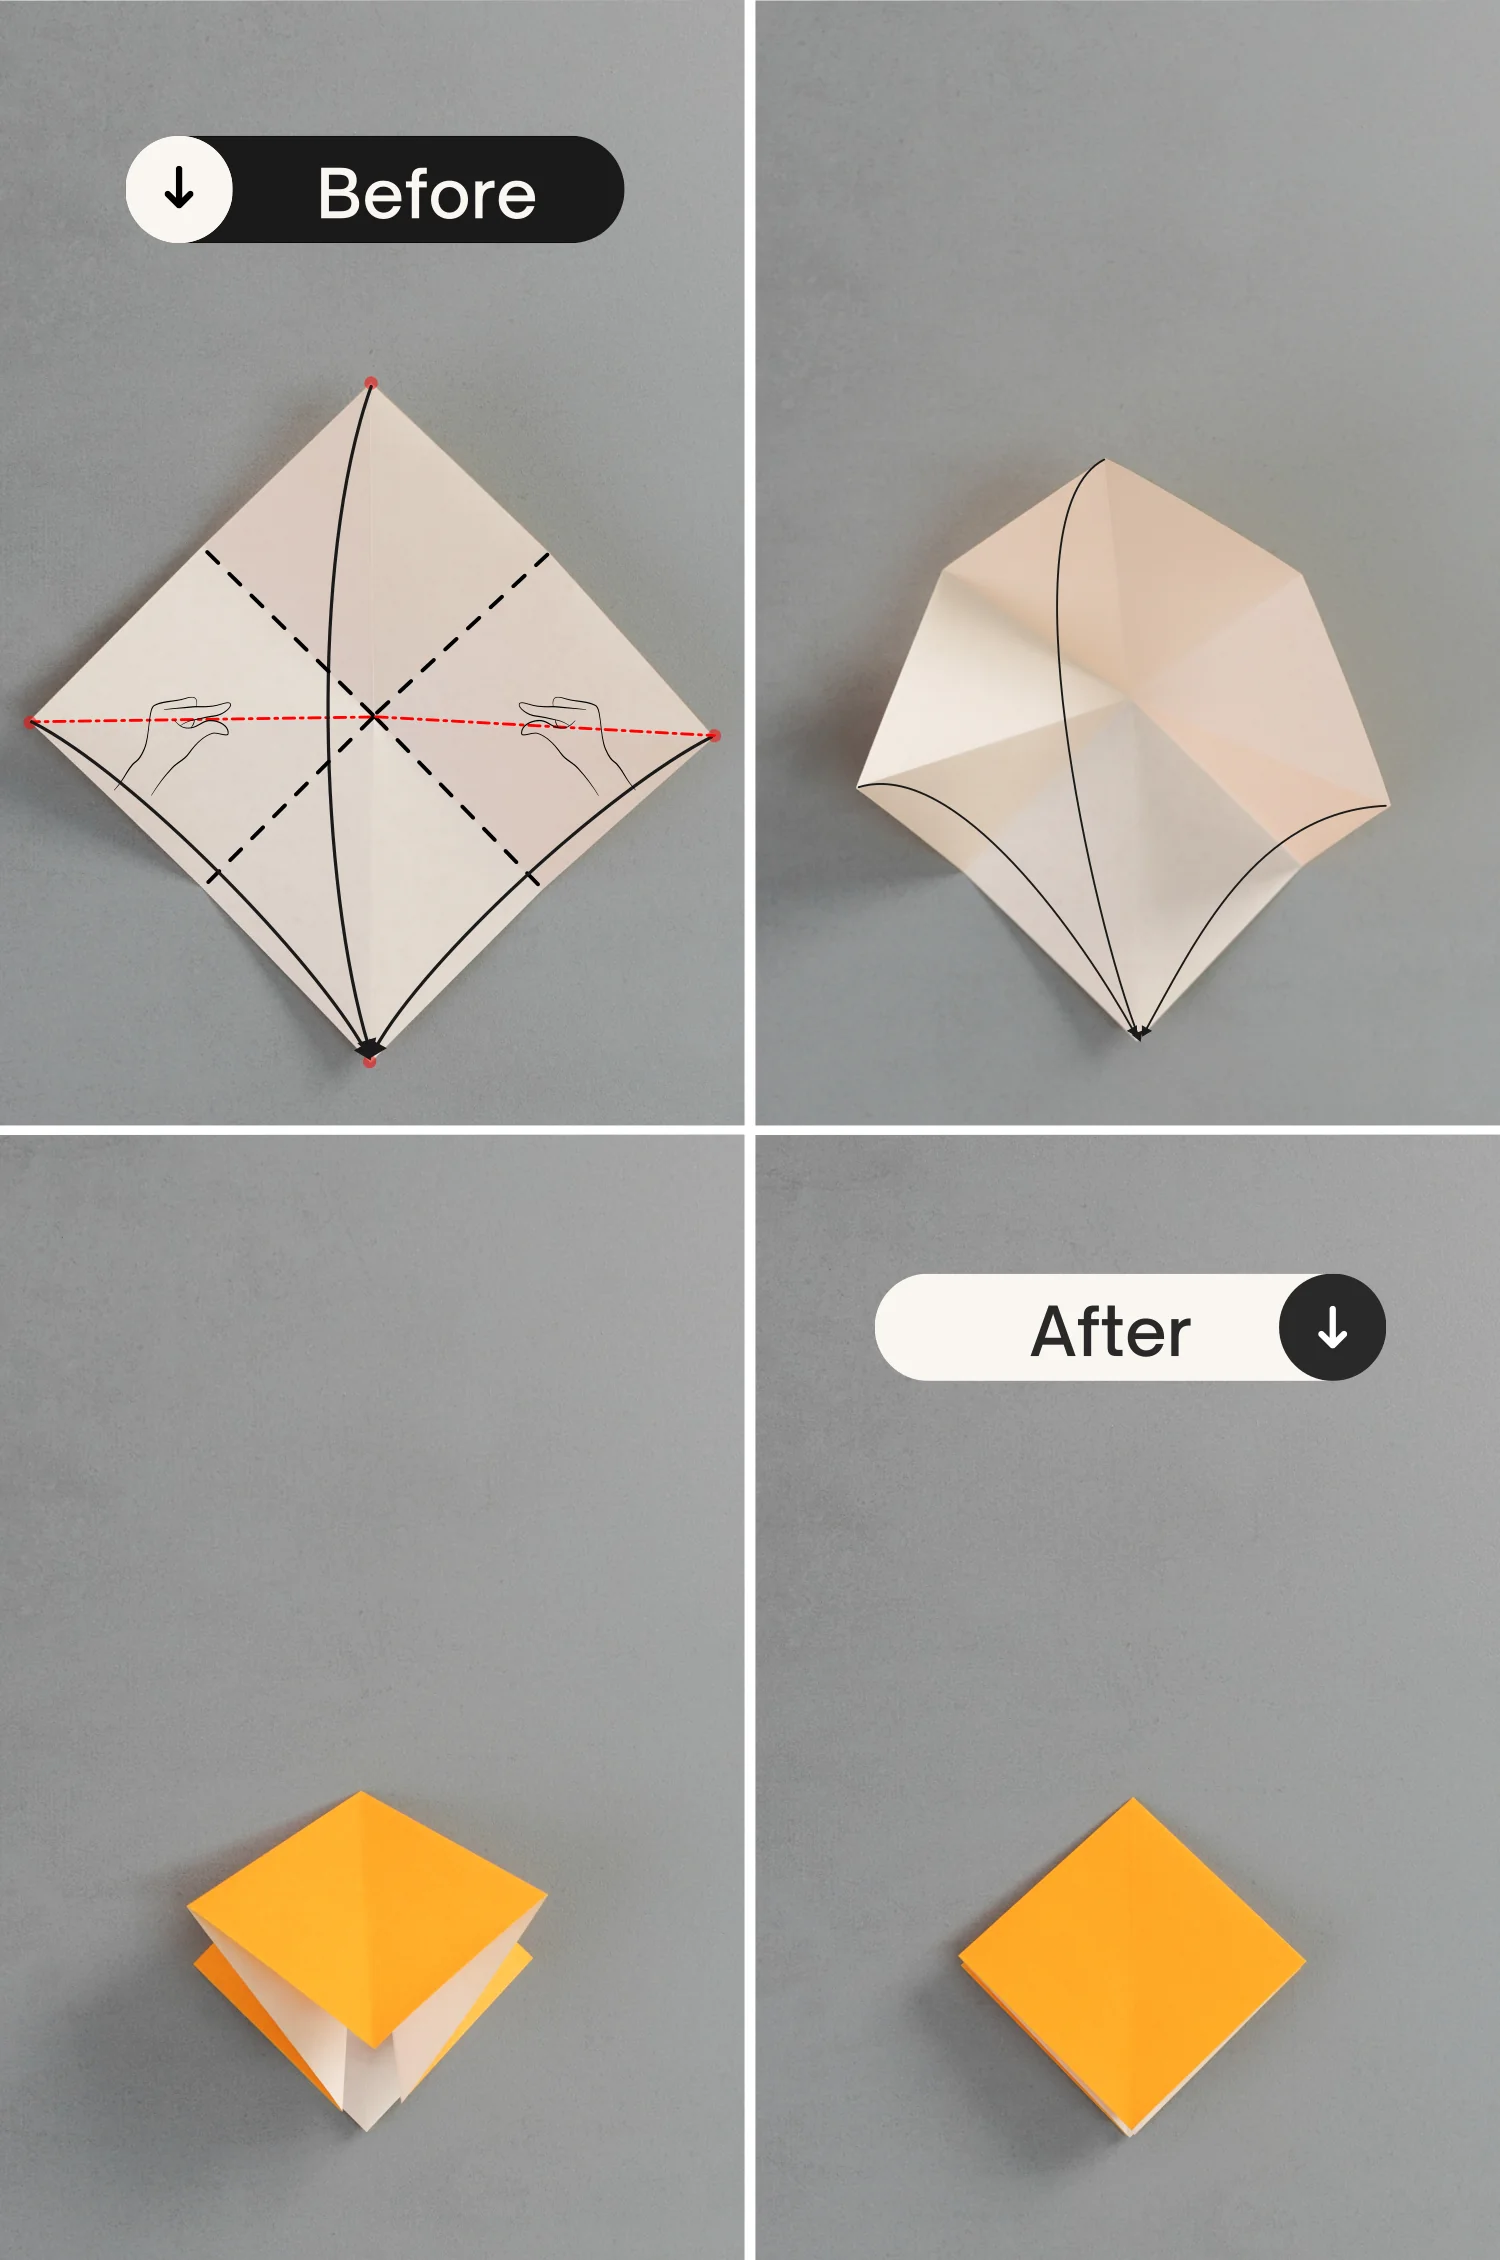
Fold the bottom right edge to align with the top left edge, leaving a crease then unfold it.
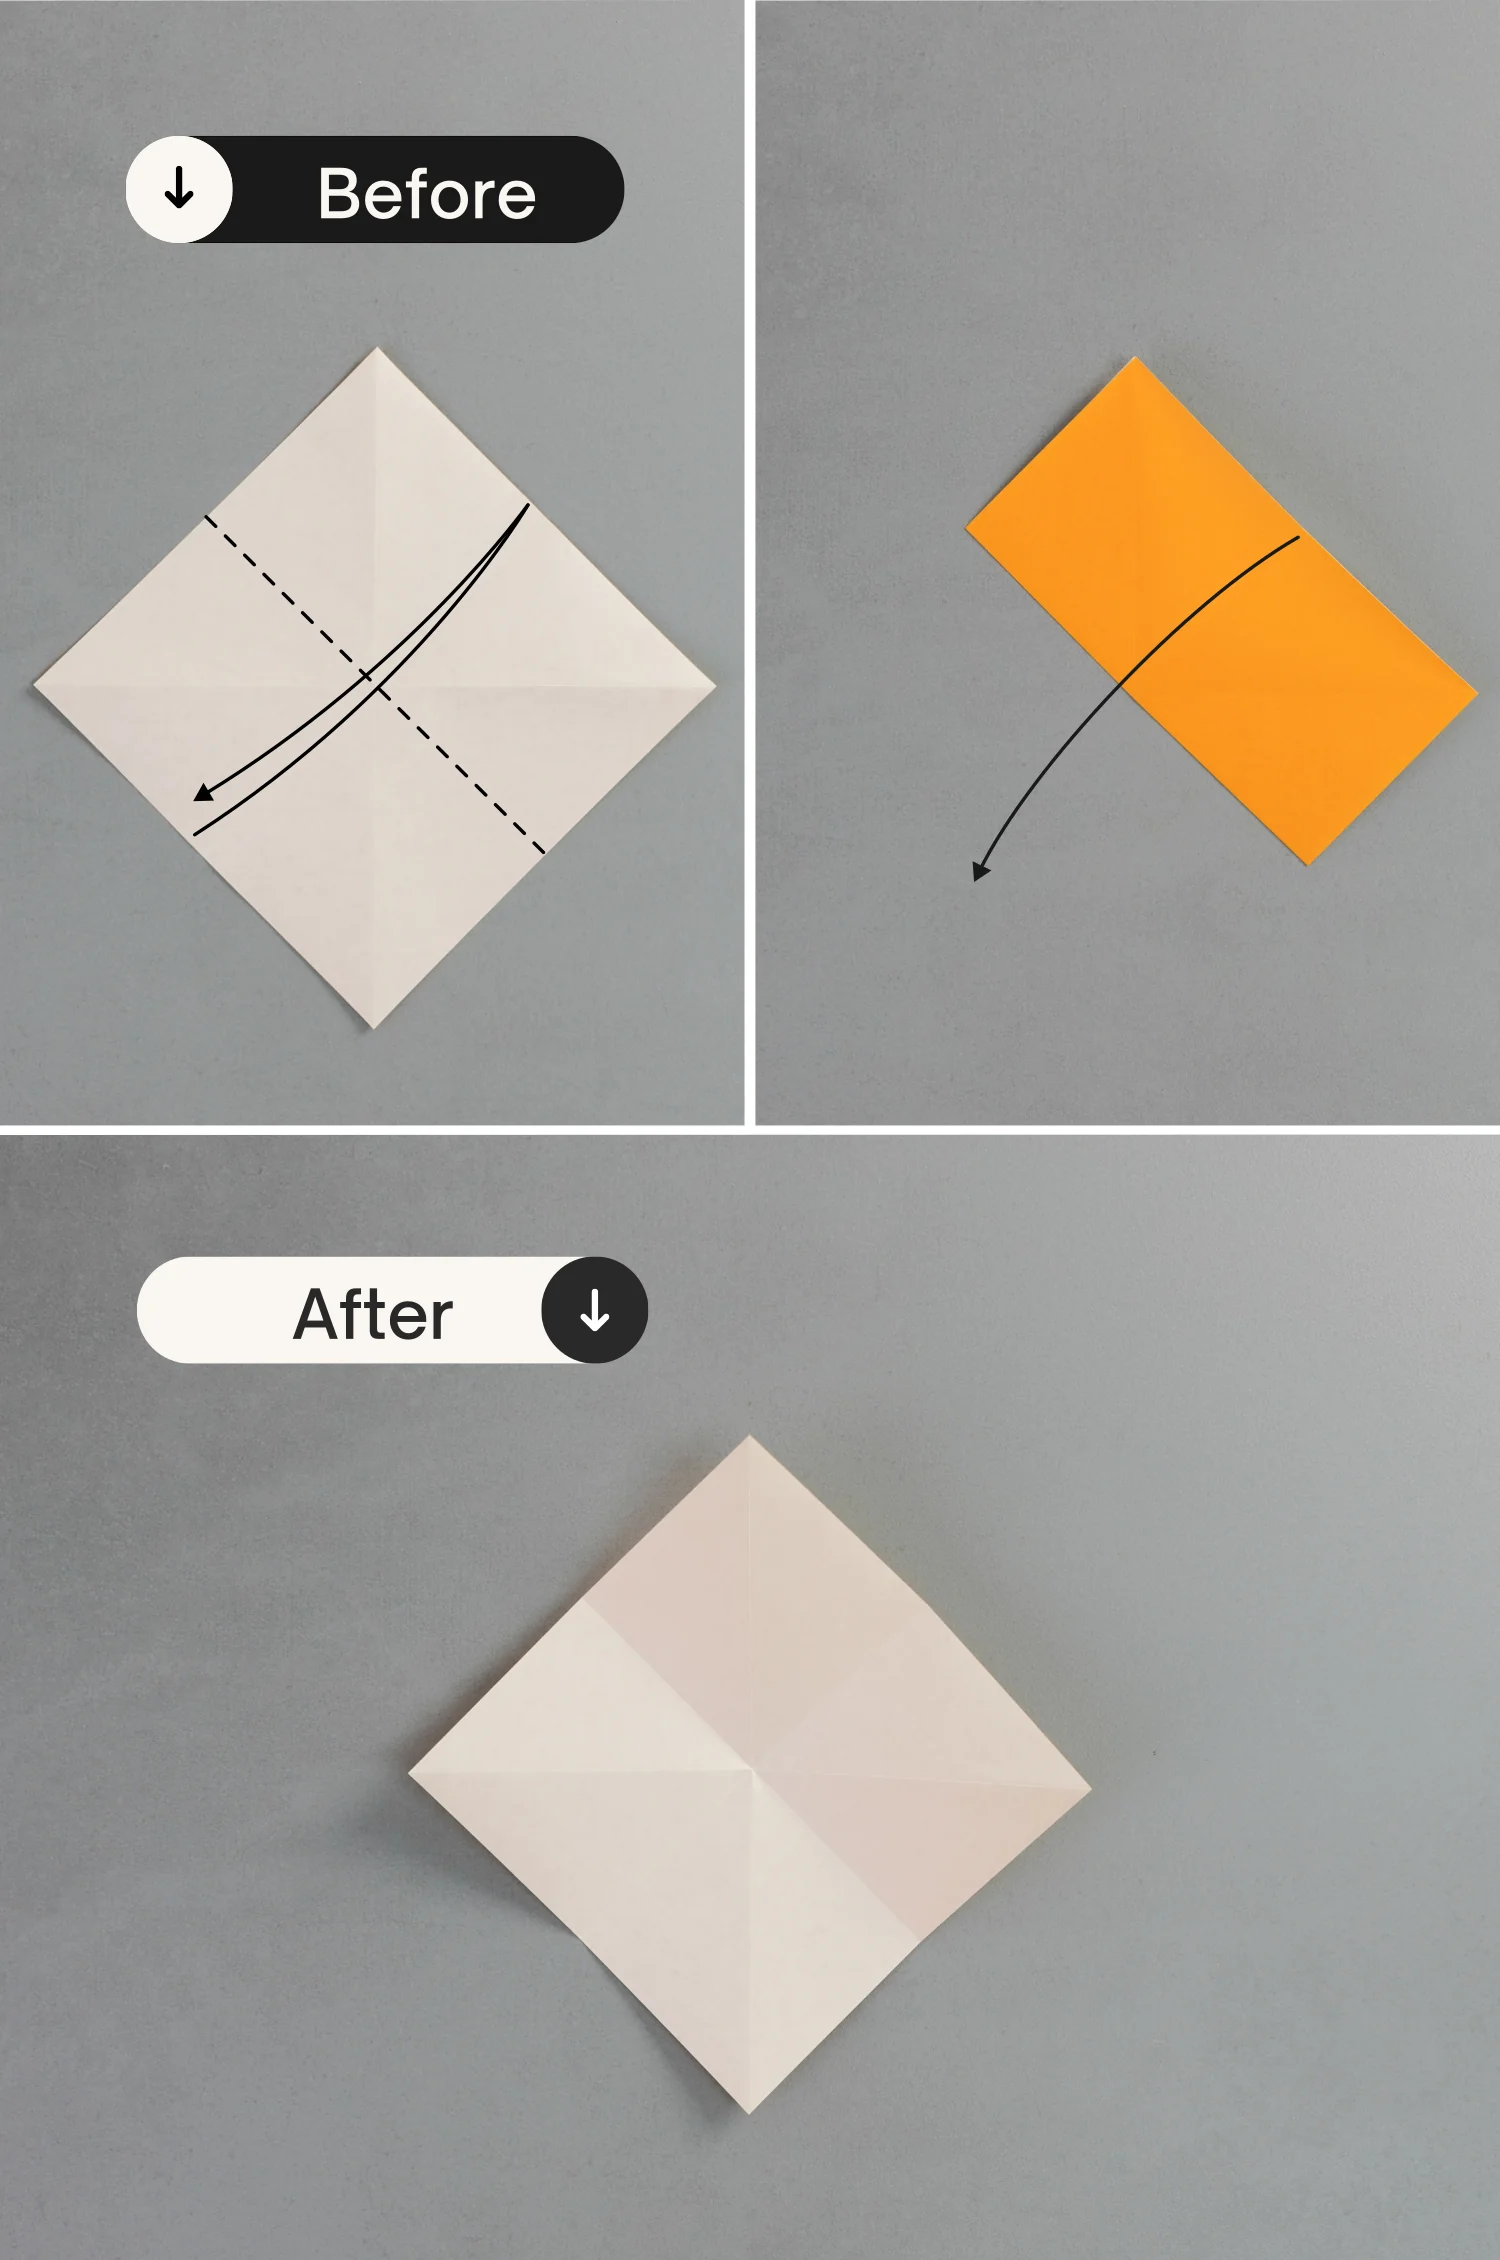
Step 5
Fold the bottom left edge to align with the top right edge, and unfold it.
Step 6
Shape the left and right creases, and push the left, right, and top points to meet the bottom point. Flatten the fold to create a small square.
Step 7
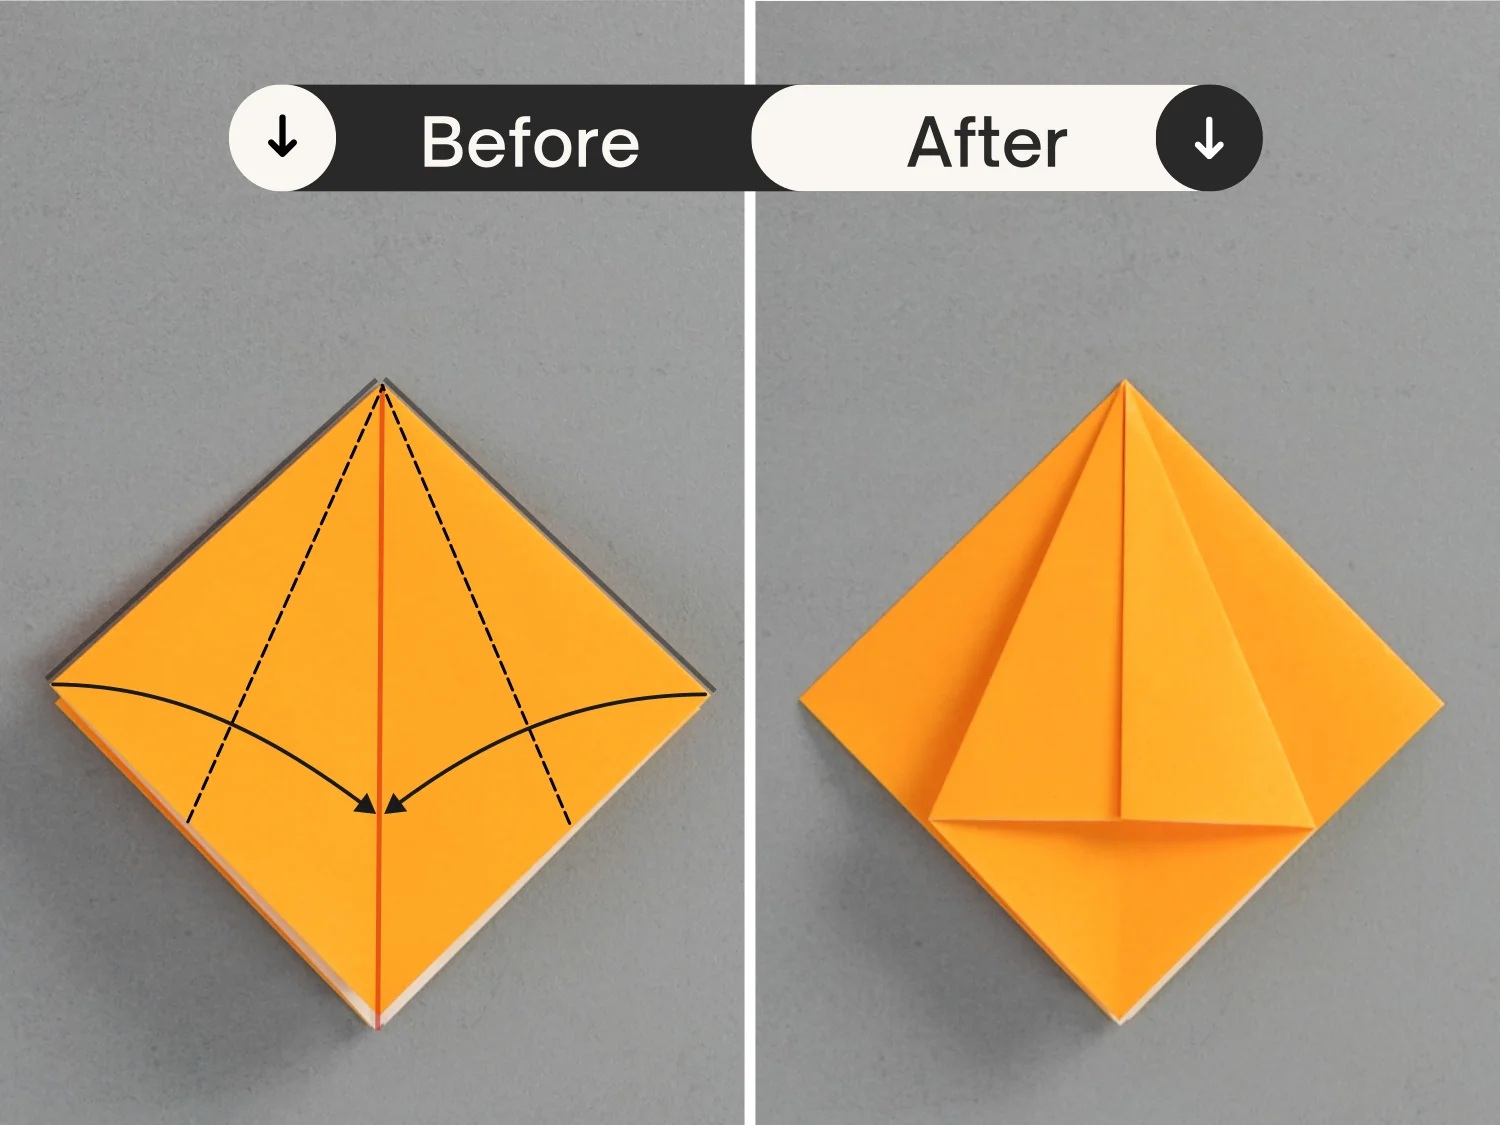
Fold the top left and right edges of the top layer to align with the middle vertical crease.
Step 8
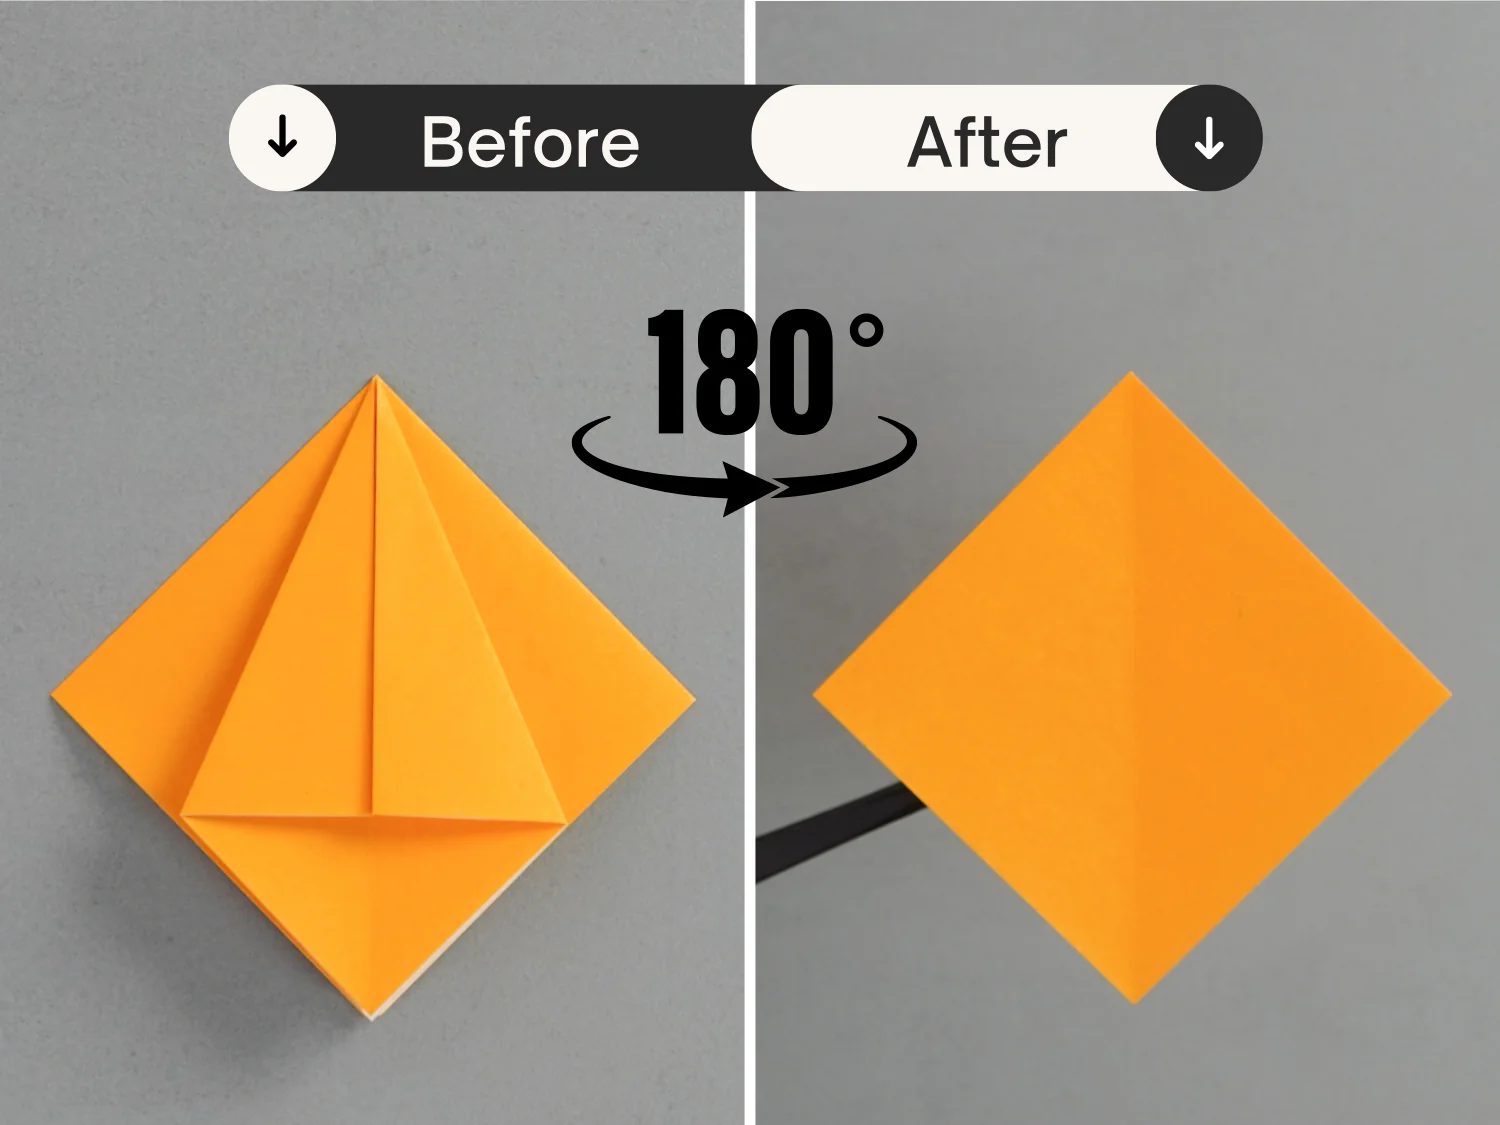
Rotate it 180 degrees from the left to the right to flip it over.
Step 9
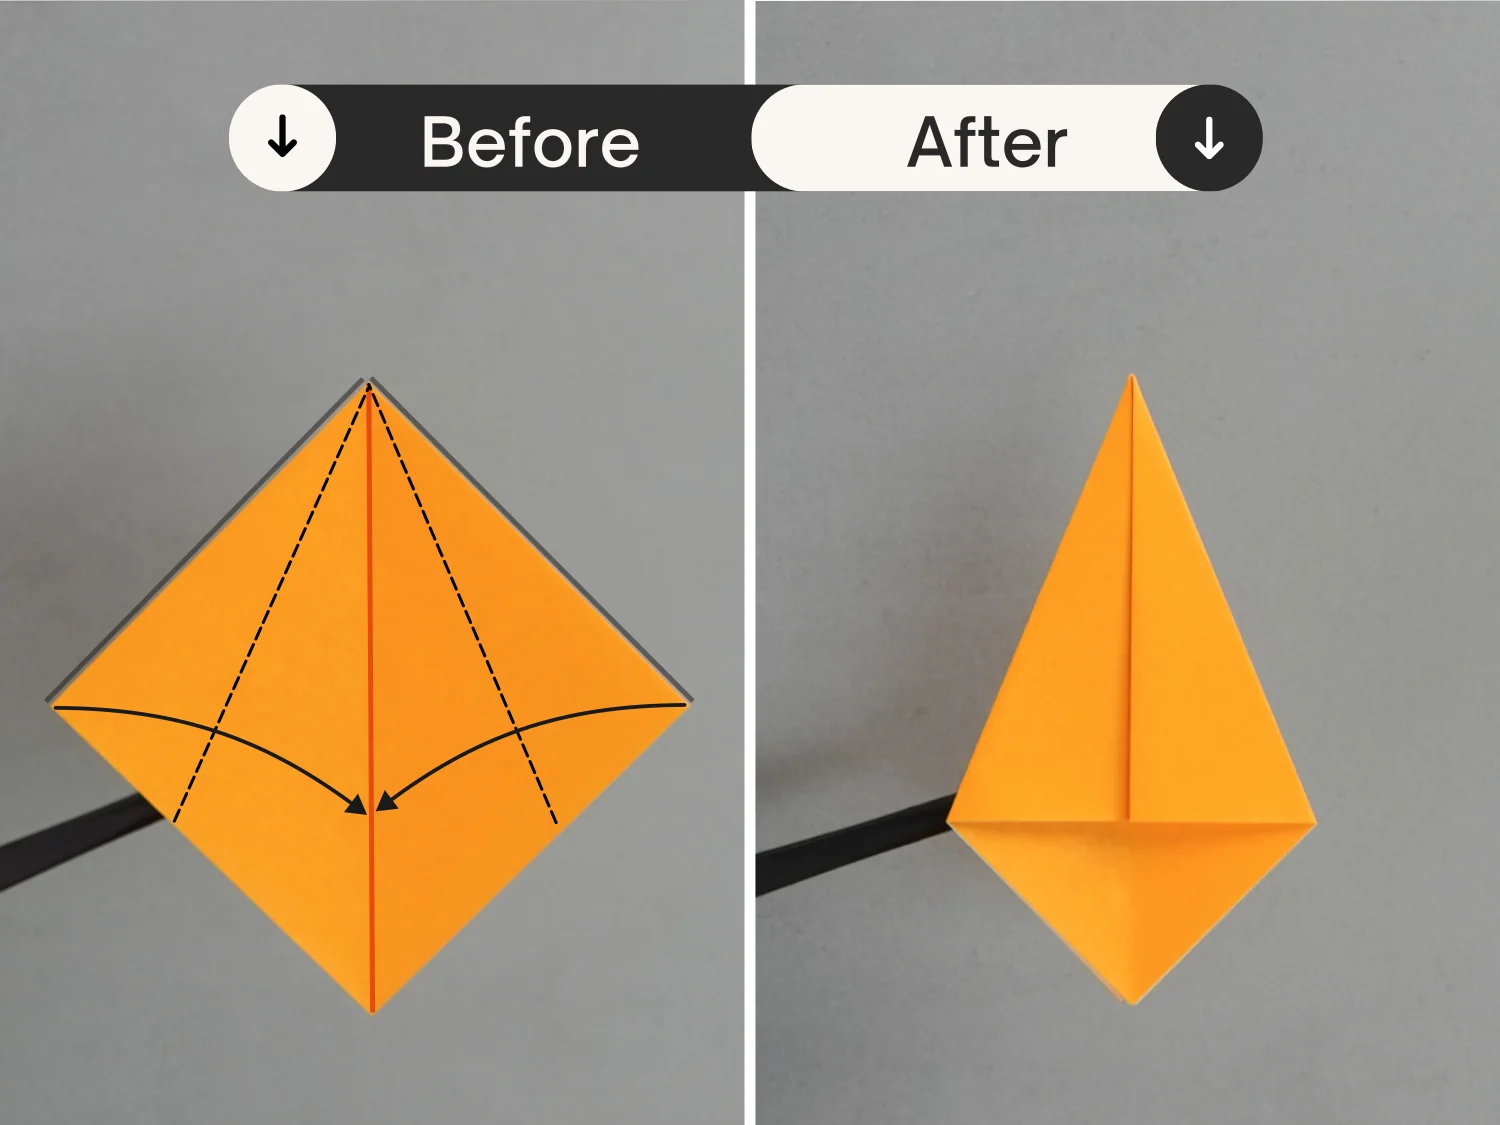
Fold the top left and right edges to align with the vertical crease.
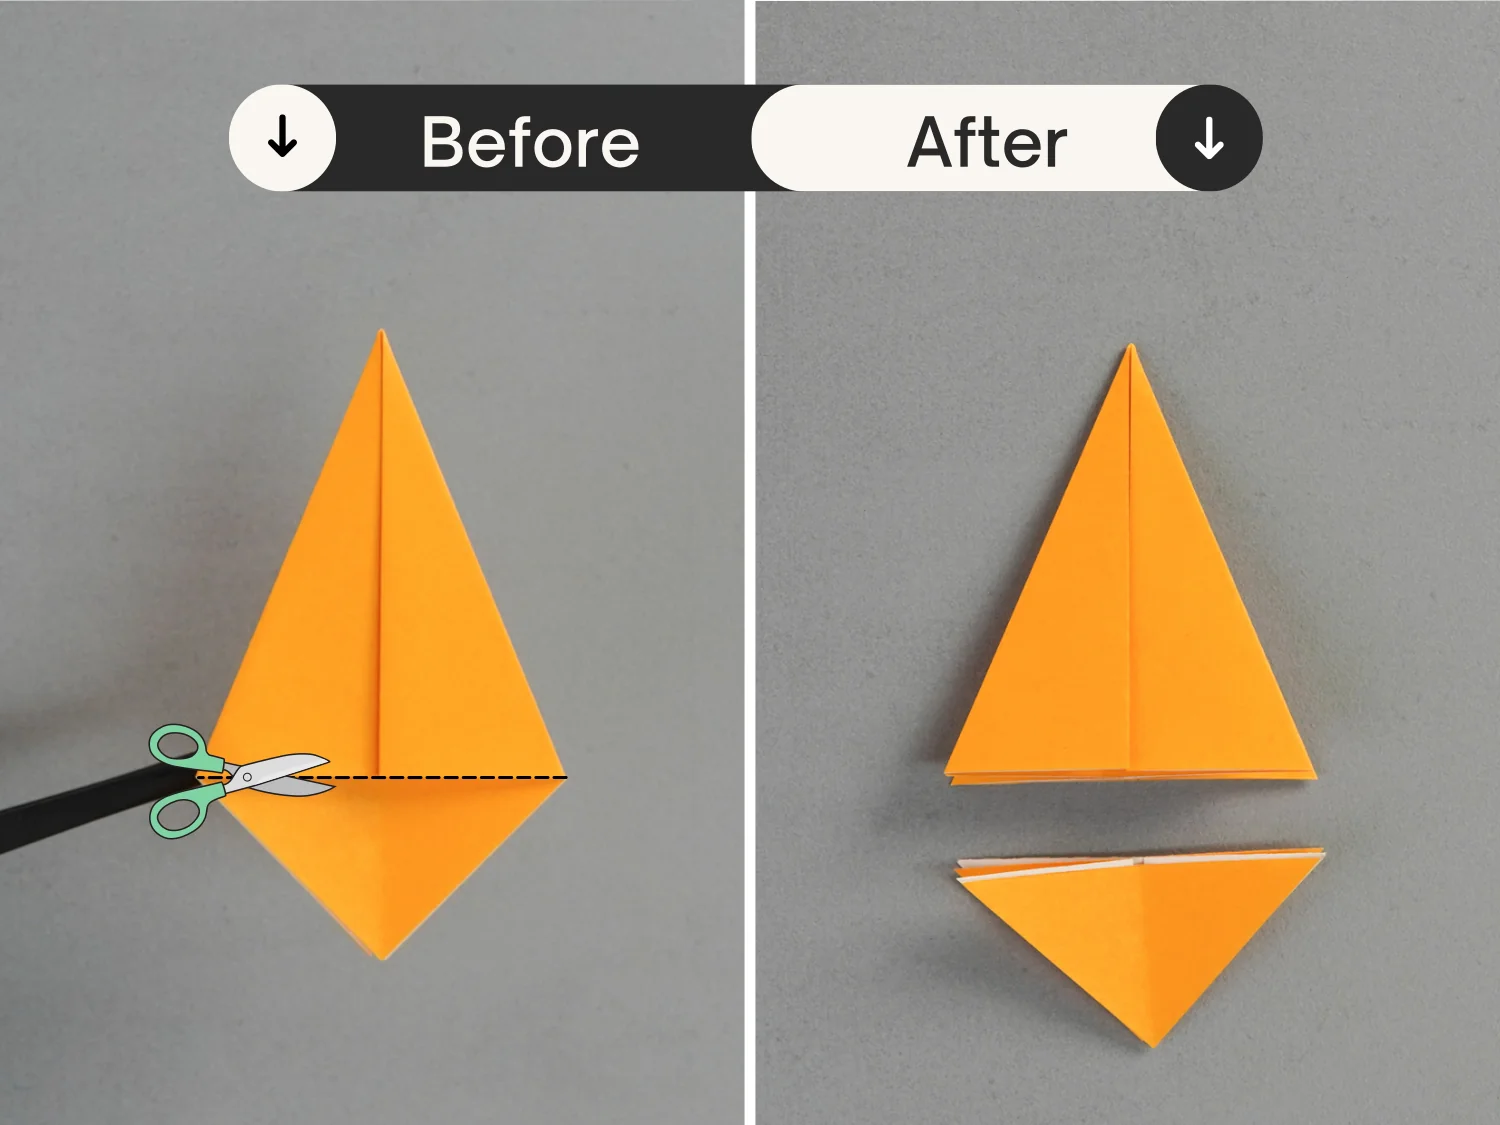
Step 10
Cut out the bottom triangle.
Step 11
Fold down the top point diagonally to meet the midpoint of the bottom edge, crease it well then unfold it.
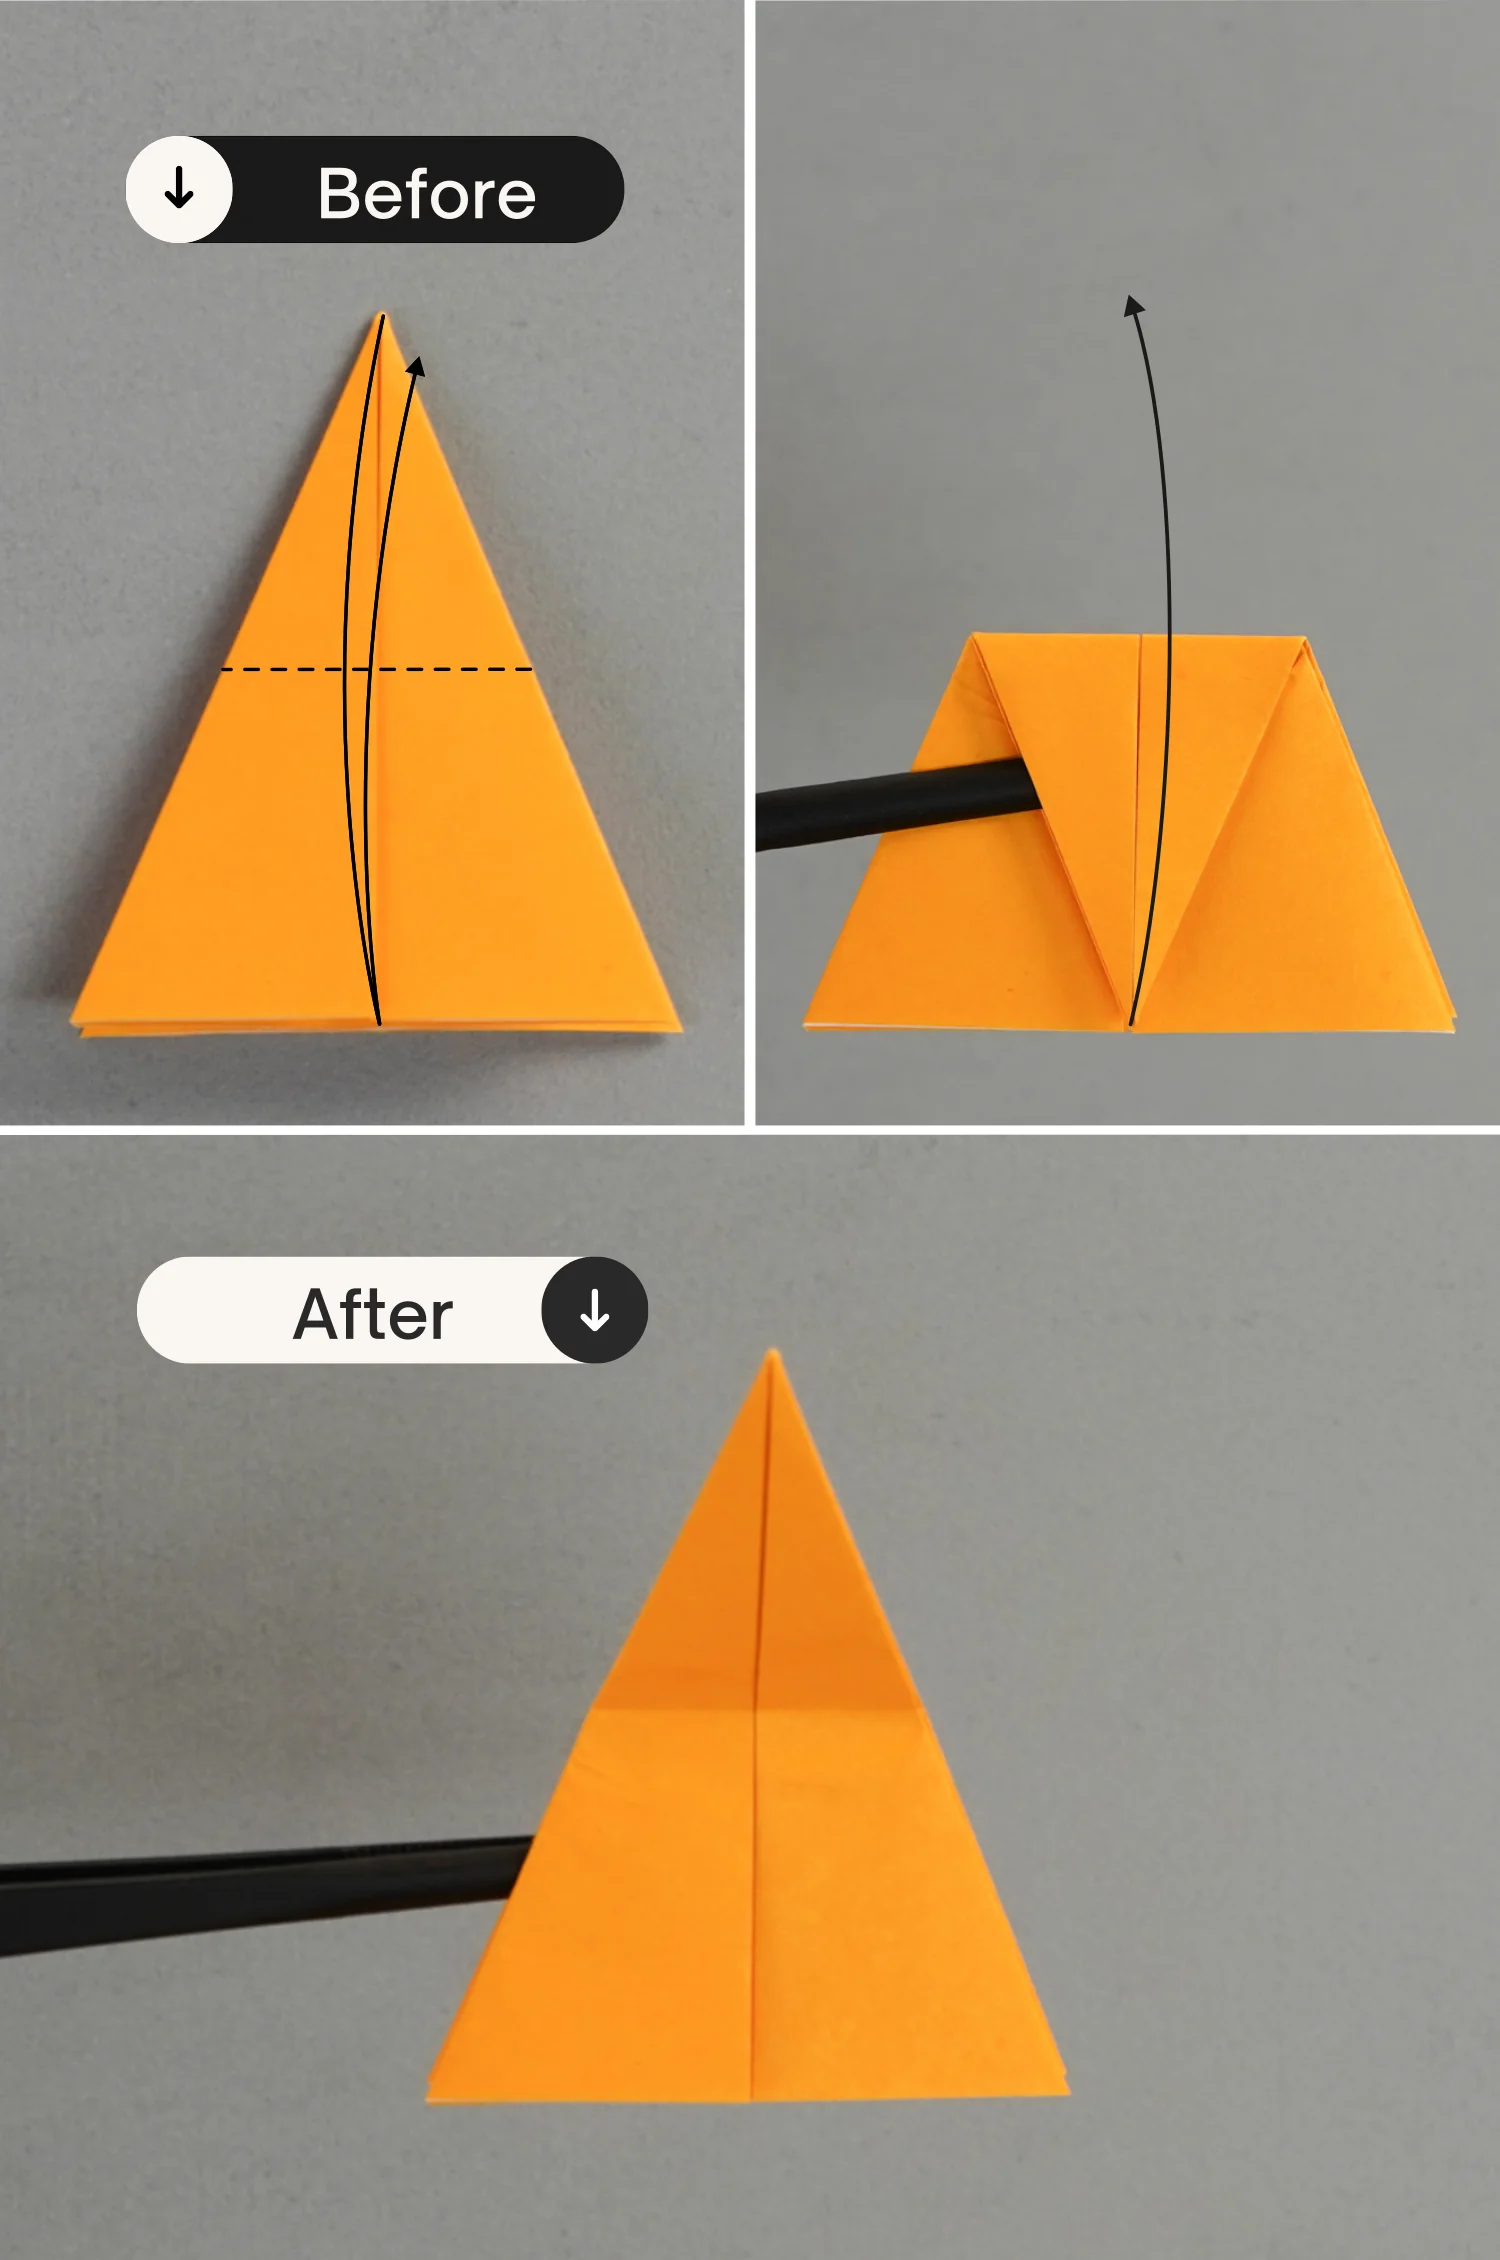
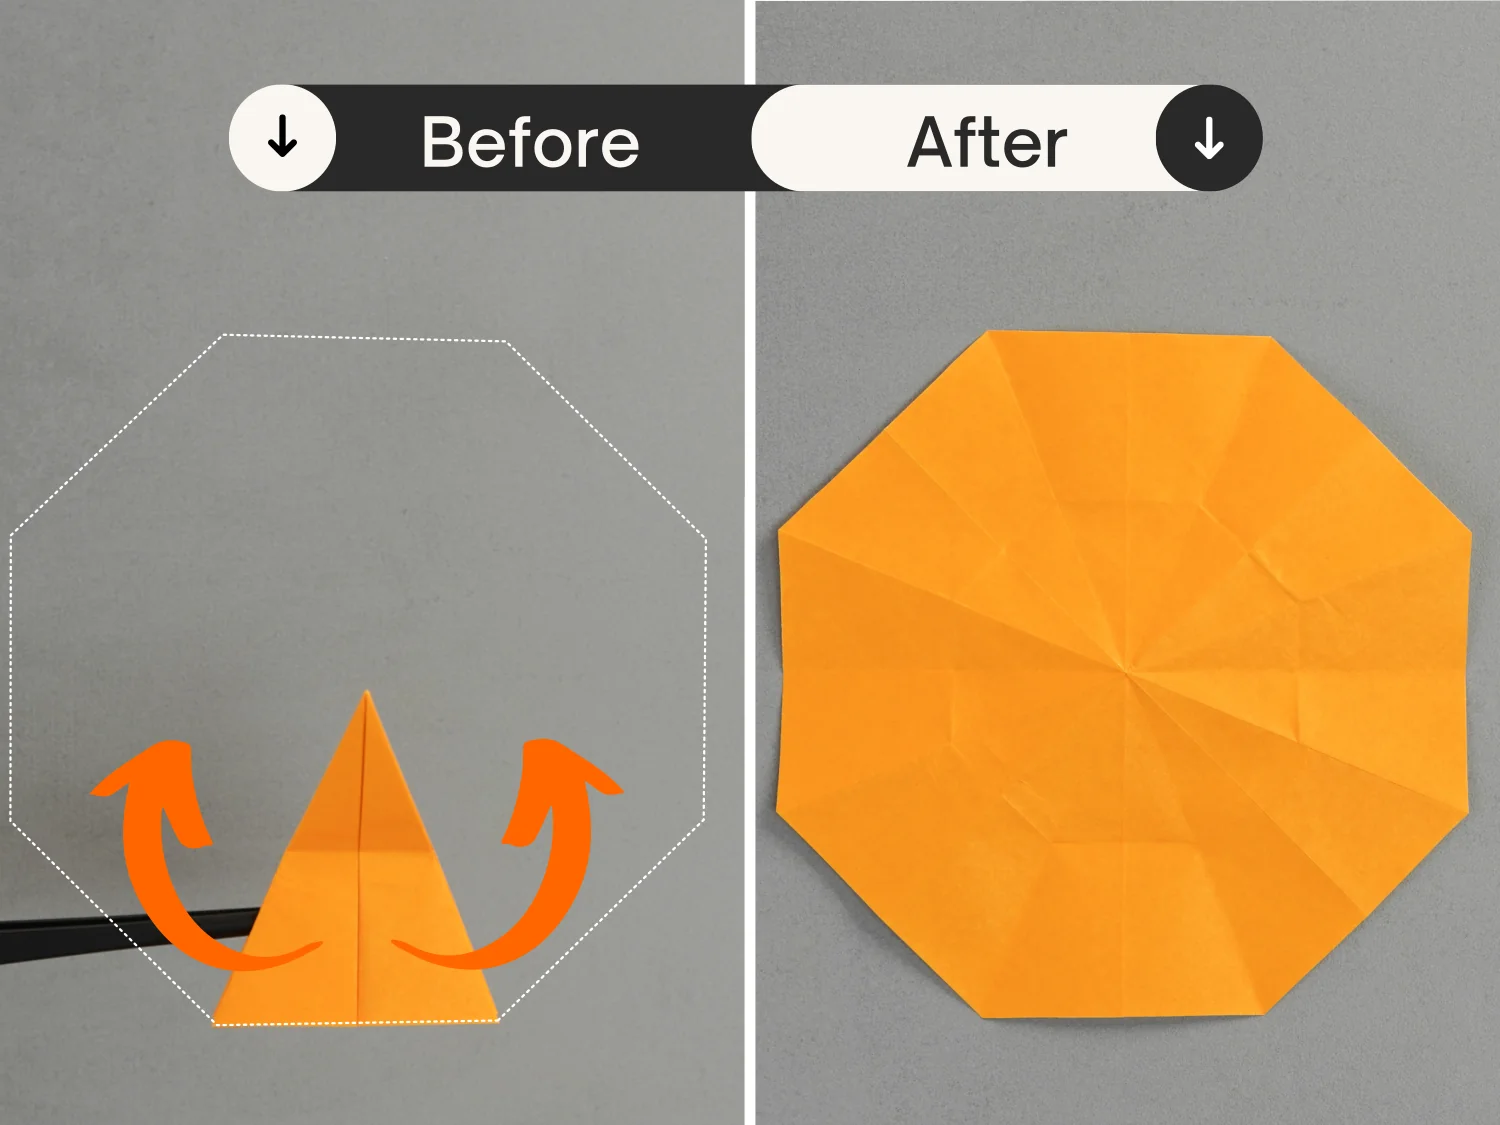
Step 12
Unfold the paper completely.
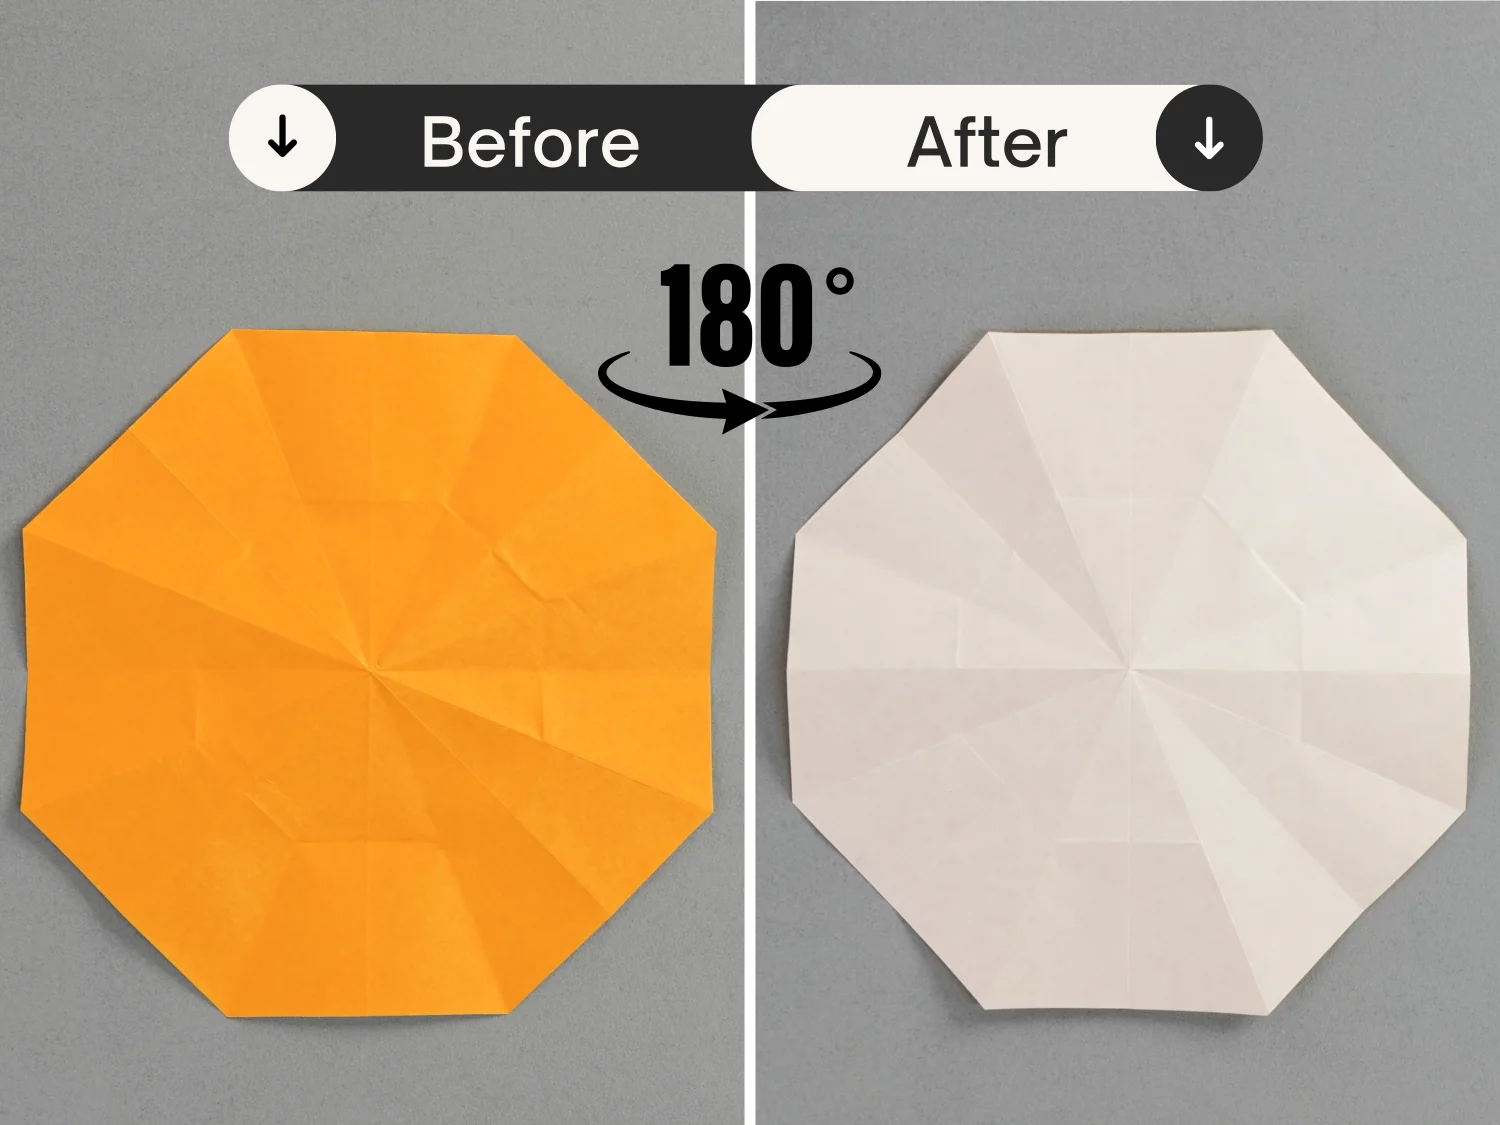
Step 13
Rotate it 180 degrees from the left to the right.
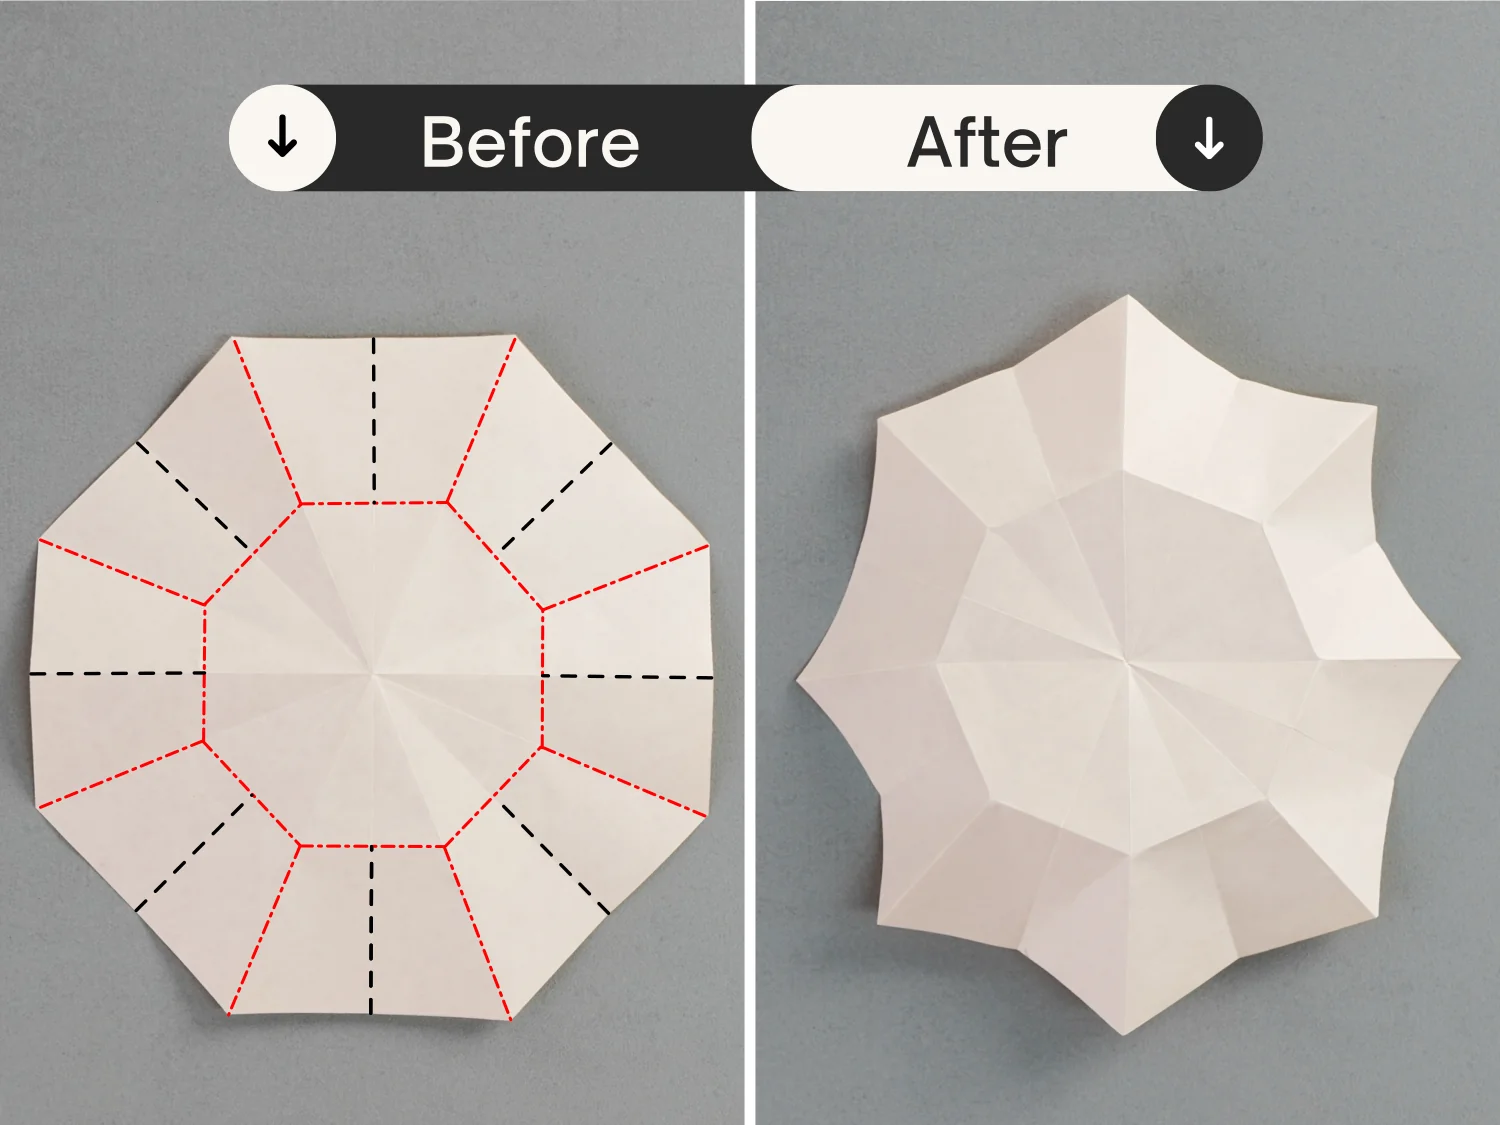
Step 14
Mountain fold the creases indicated by the red dotted lines, and valley fold the creases indicated by the black dotted lines. [The after picture has rotated a little to make a mountain fold at the top]
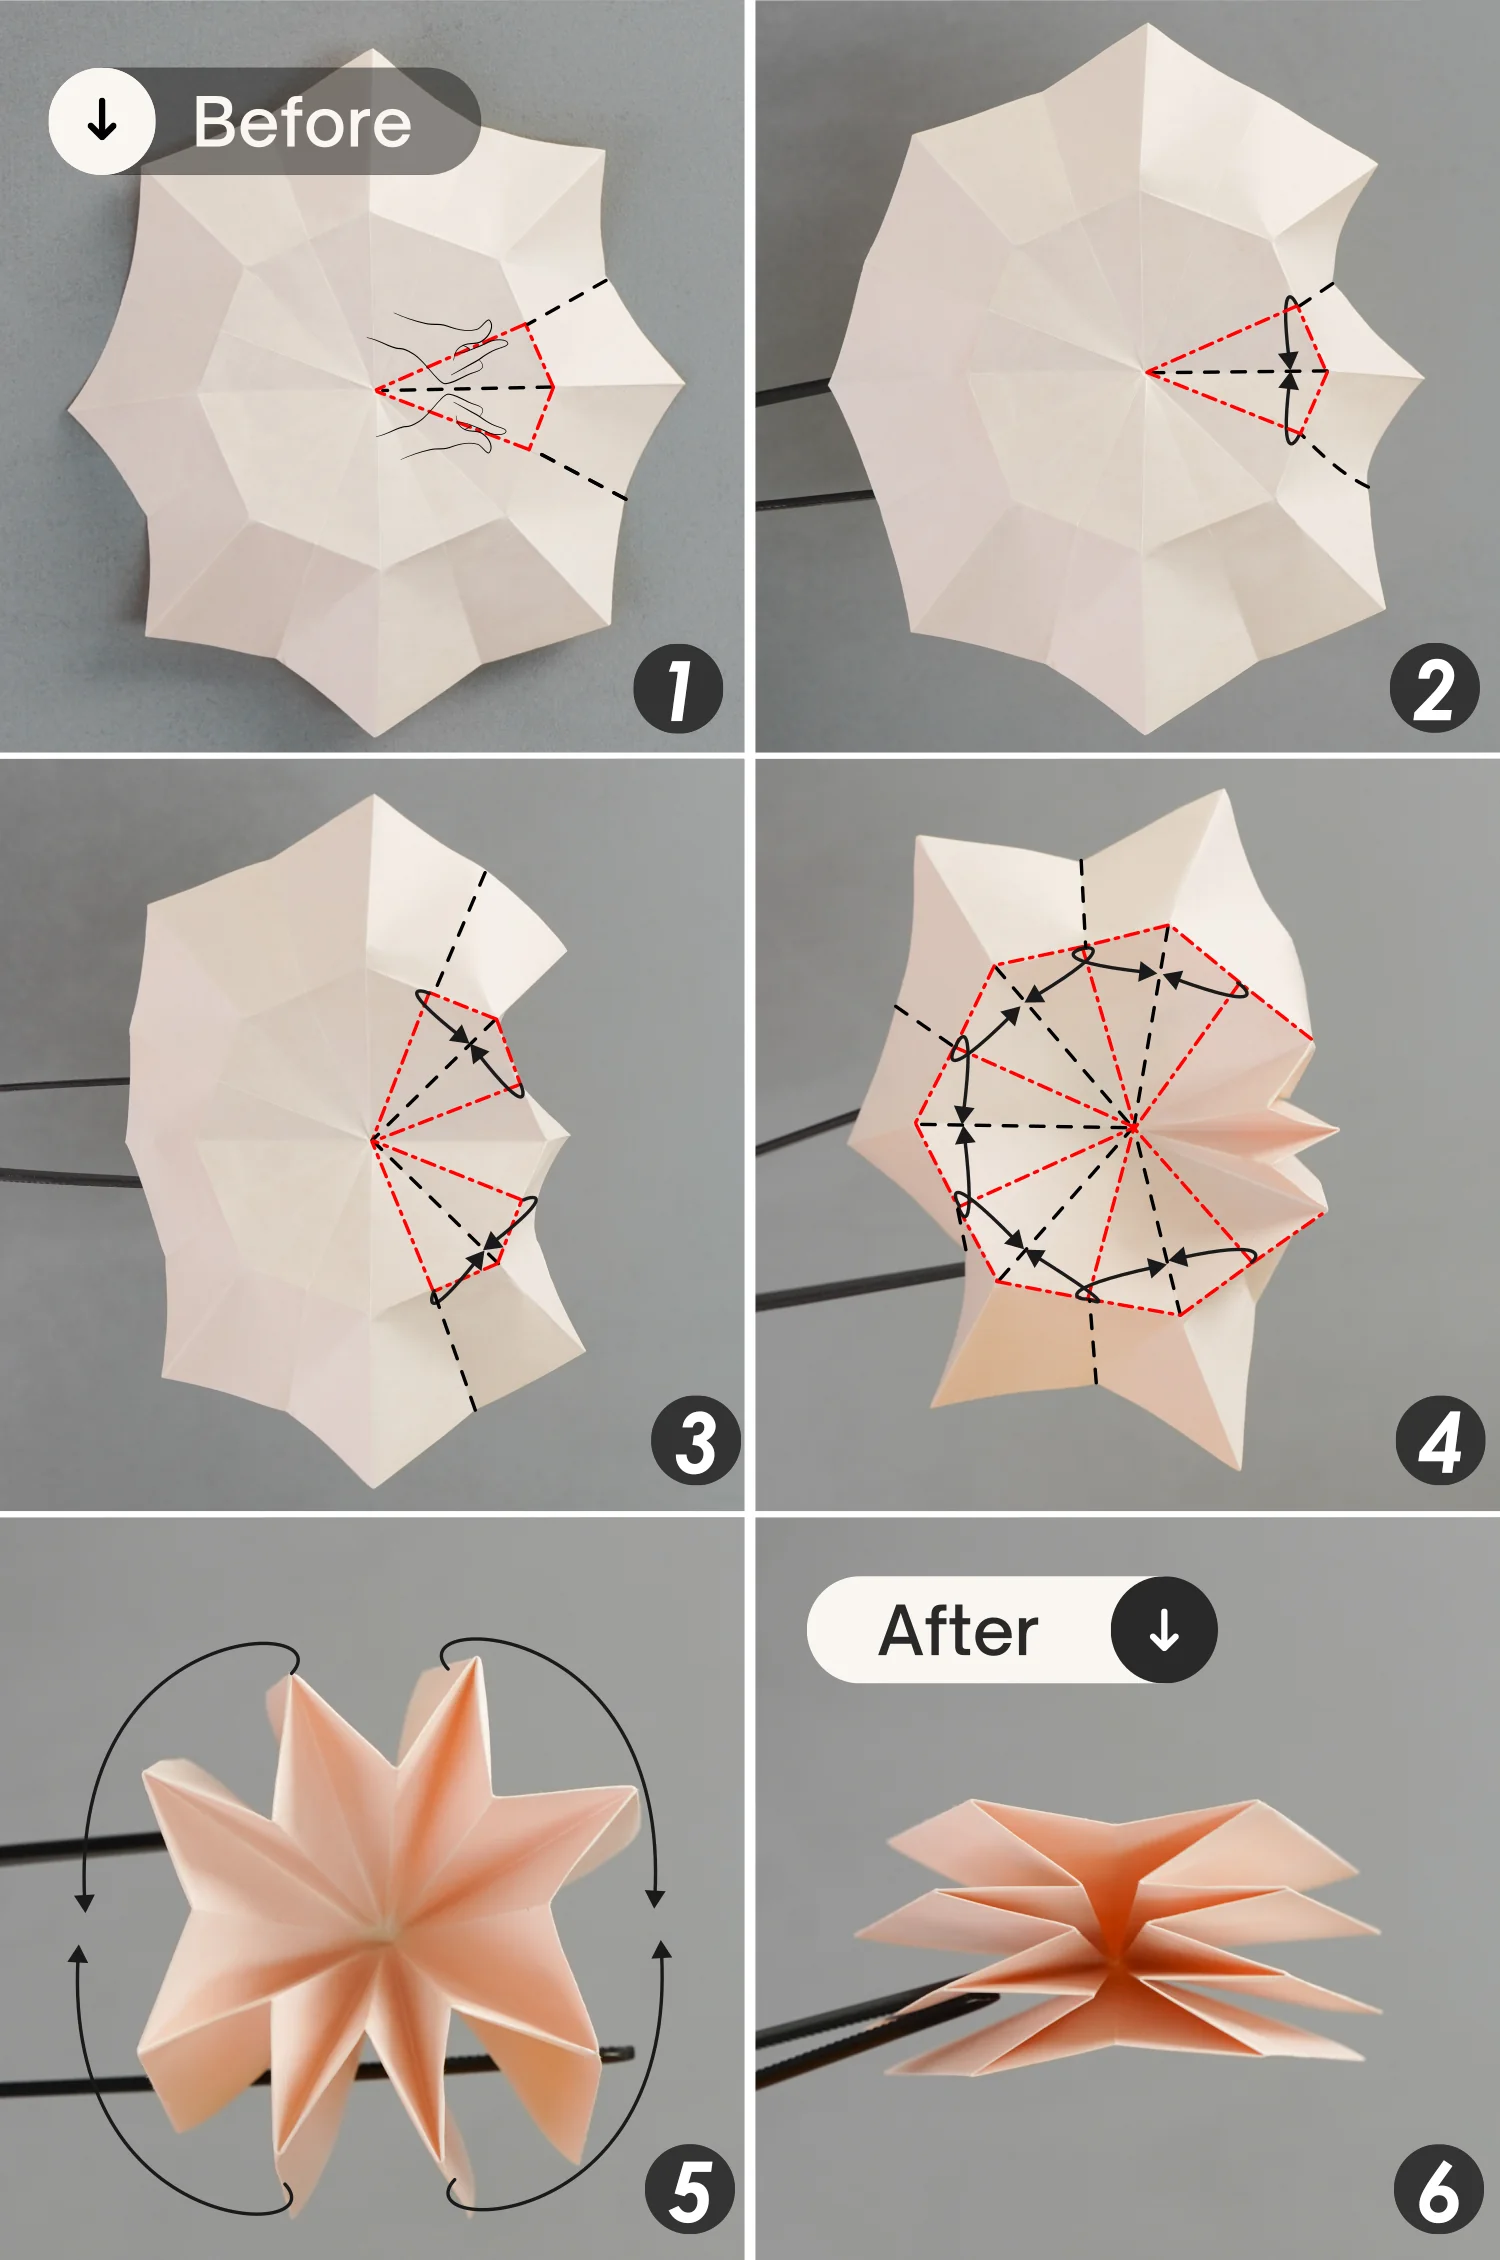
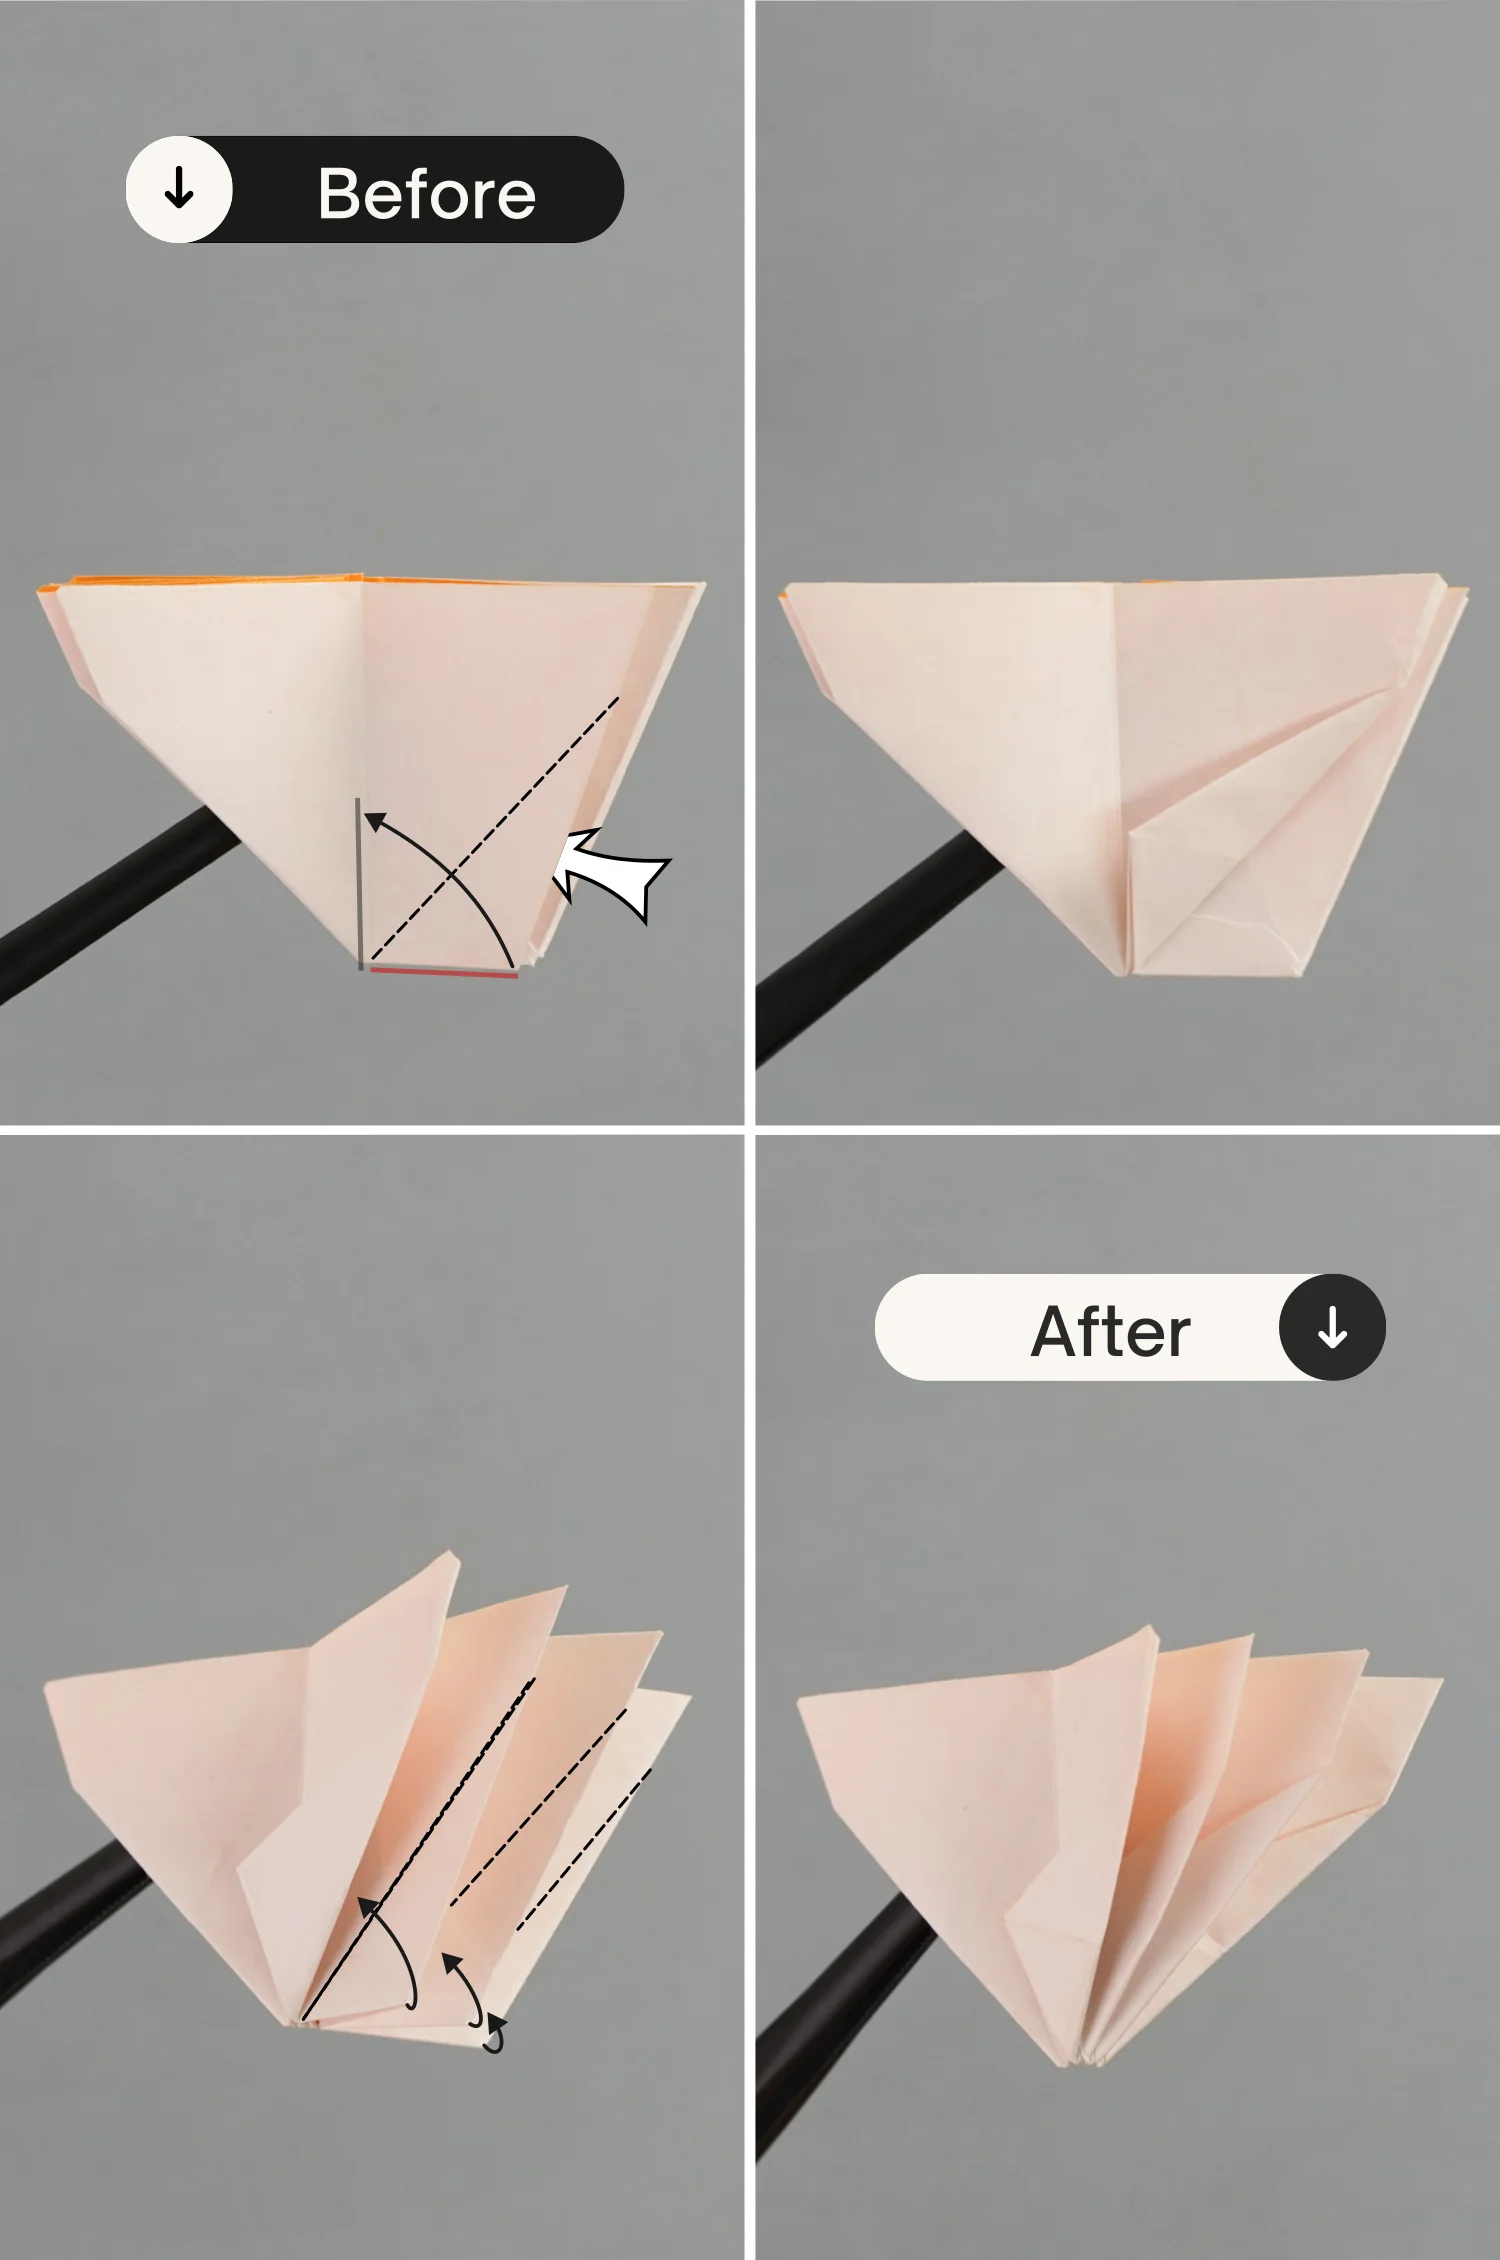
Step 15
Firstly, press down the edges along the center circle creases, then look at the first picture, shape the two creases extend from the center point indicated by the red dotted lines, and fold them to align with the crease indicated by the black dotted line that located between these two, as you can see in the second picture.
Fold the remaining creases that extend from the center point in the same way, then you will get a model as the fifth picture shows.
Finally, flatten the paper, so that there are four flaps on each left and right side.
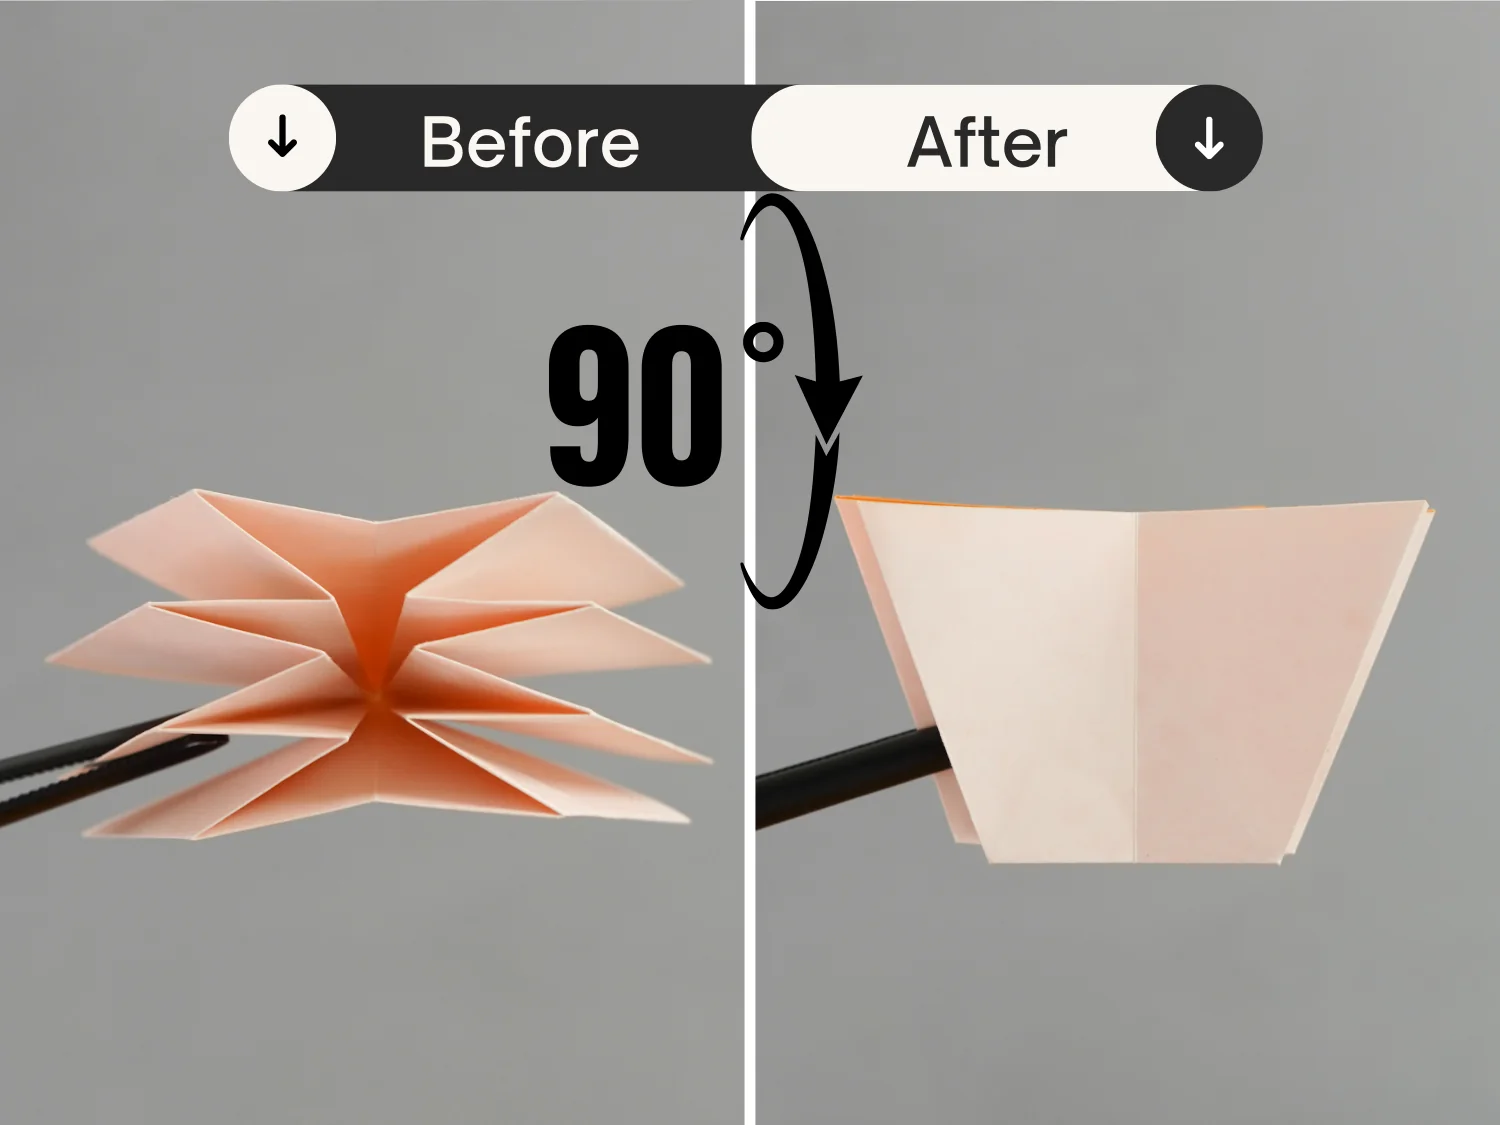
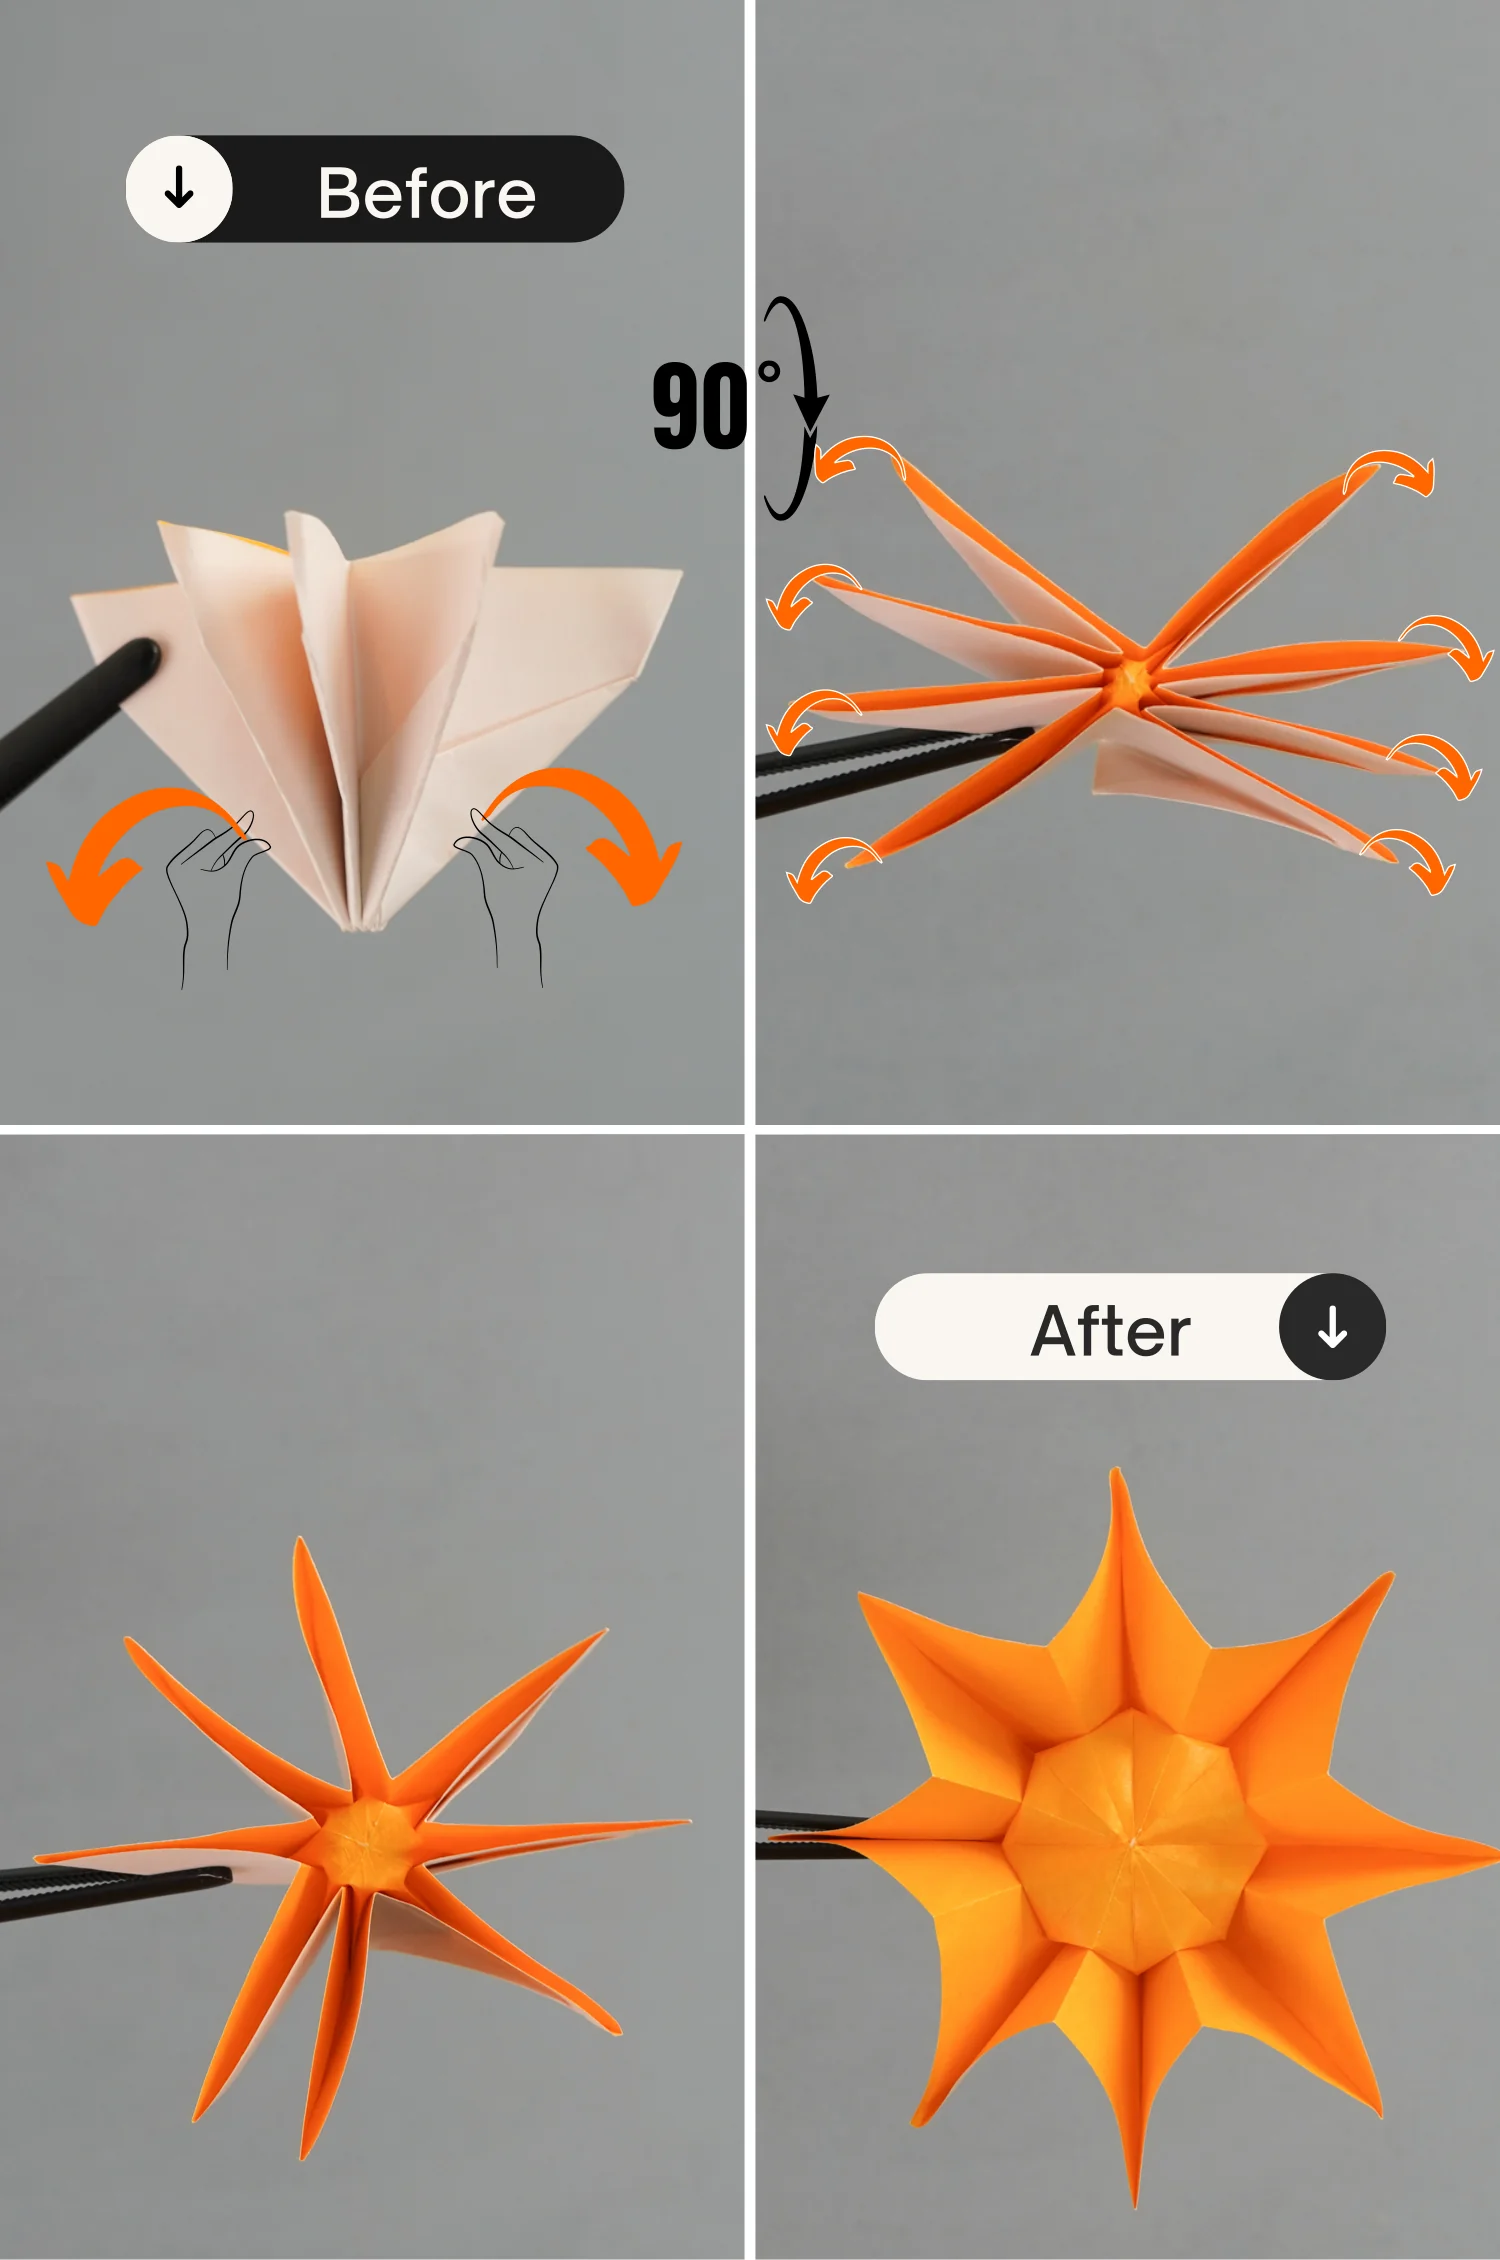
Step 16
Rotate it 90 degrees from the front to the back.
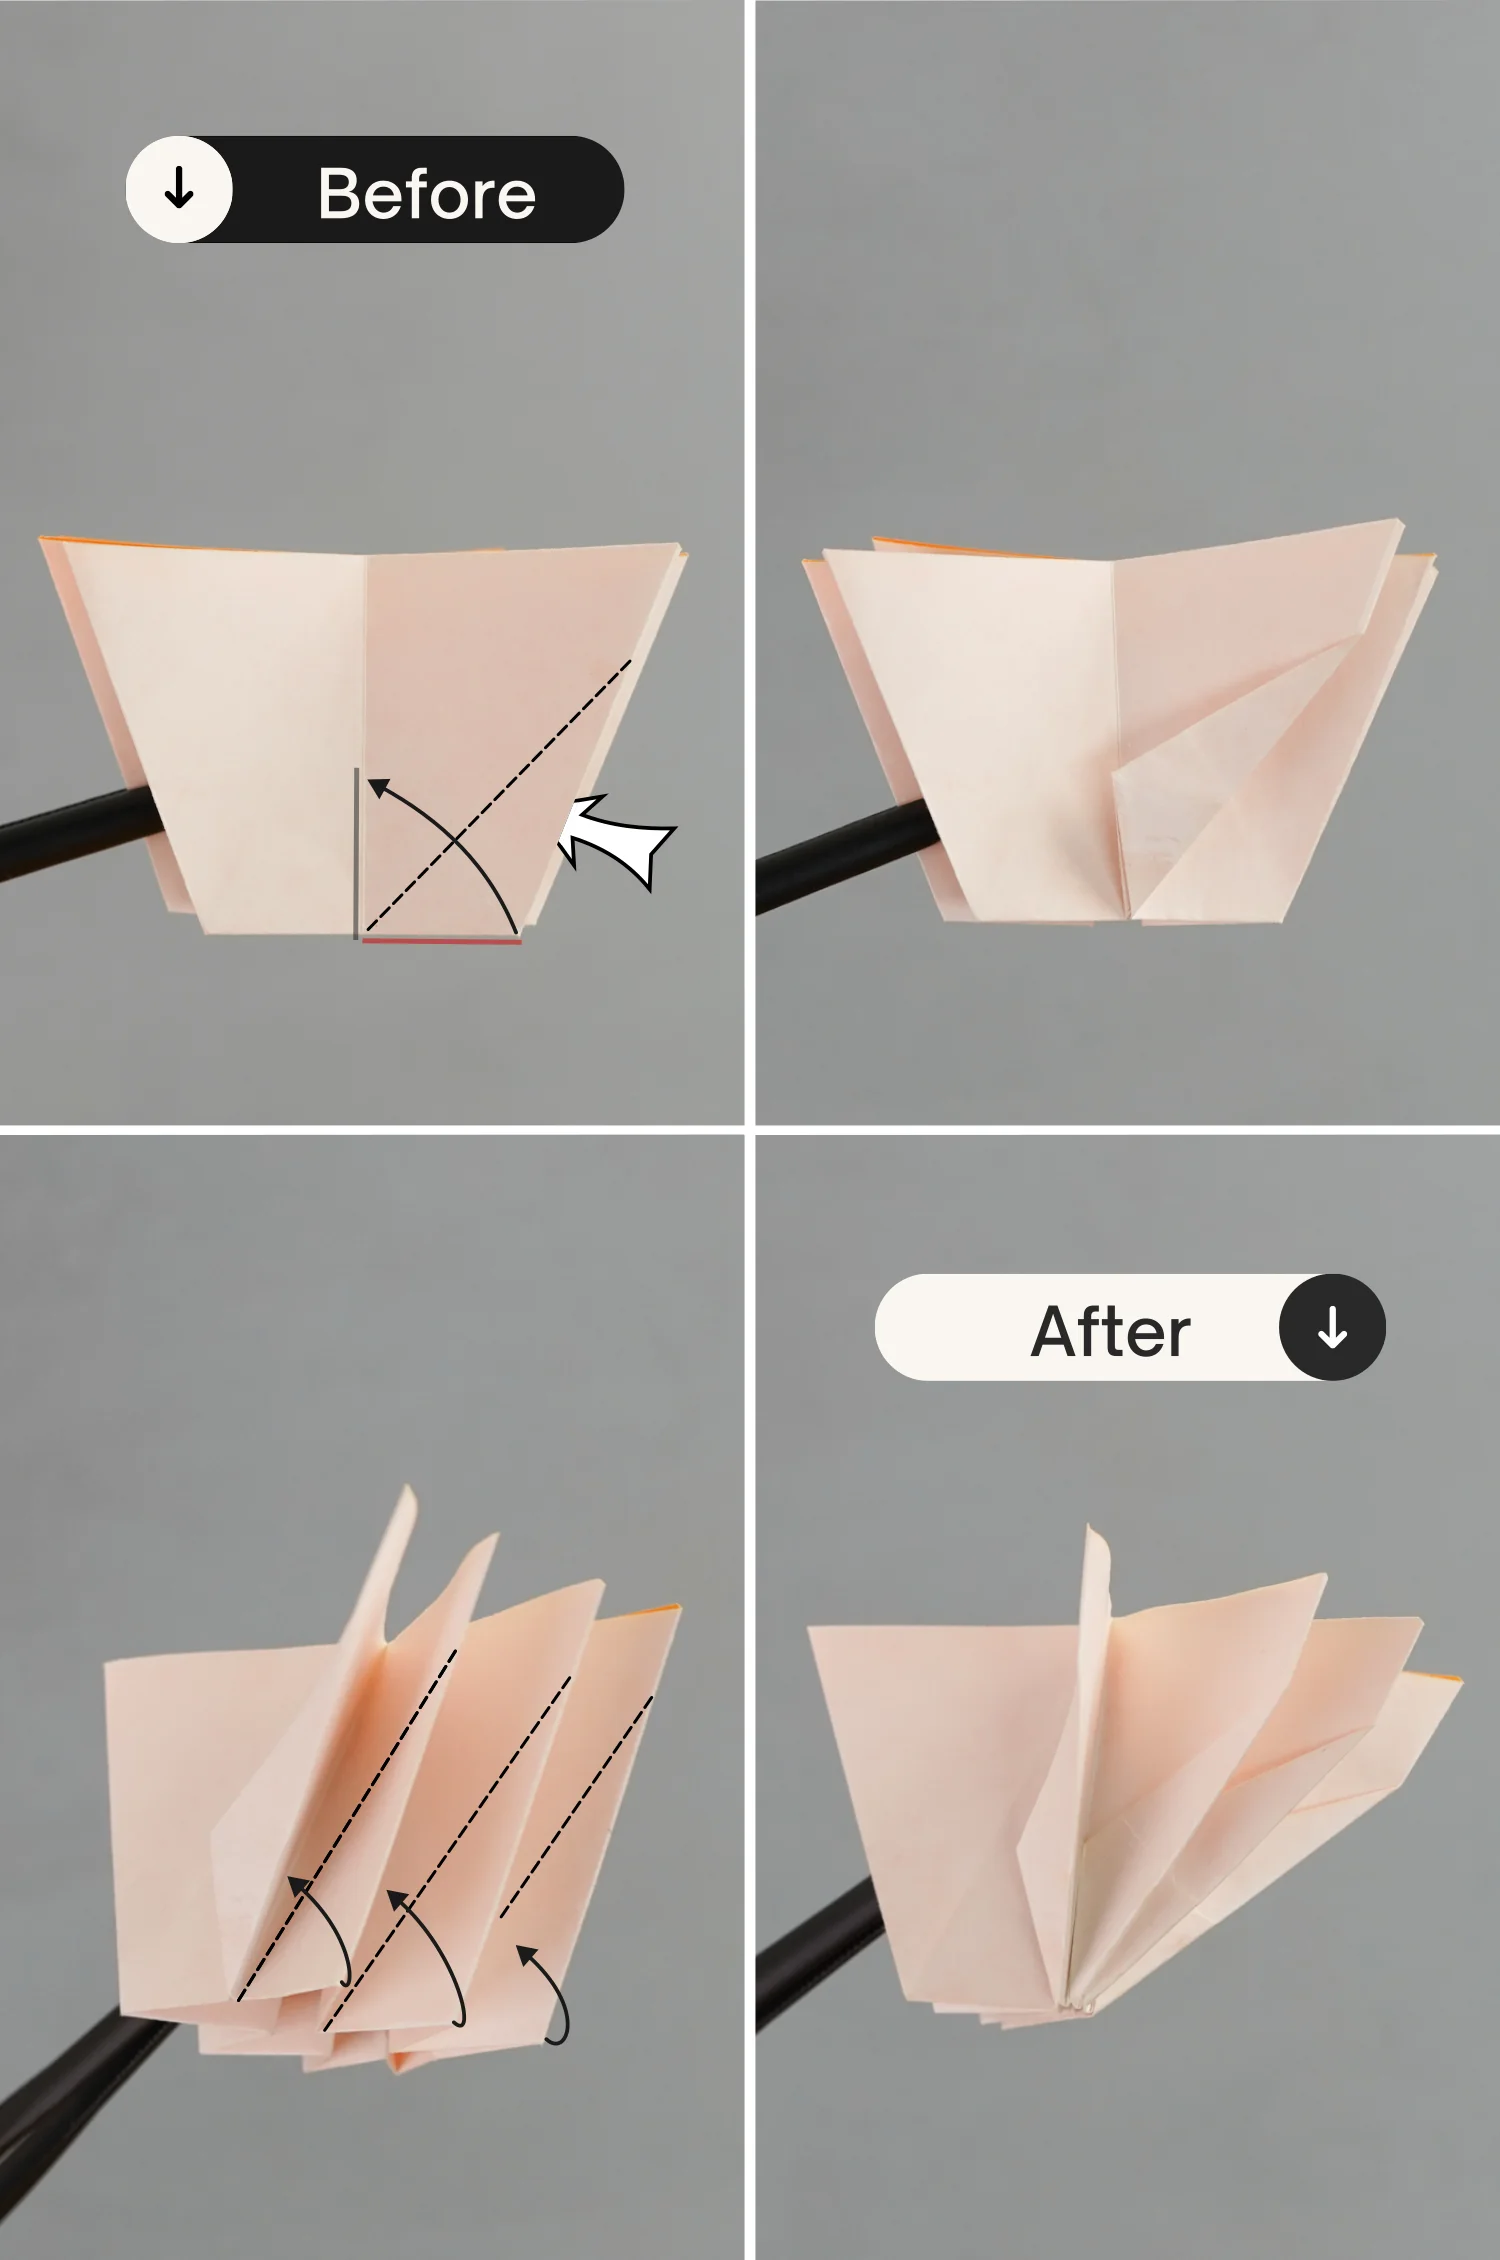
Step 17
Fold up the right section of the bottom edge to align with the vertical crease, and you will do this four times since there are four flaps.
Step 18
Rotate it 180 degrees from the left to the right.

Step 19
Like before, fold up the bottom edge of each layer to align with the vertical crease.
Step 20
Pinch the bottom of two flaps with both your hands, ensure there are three flaps between these two flaps, and pull them toward the sides separately.
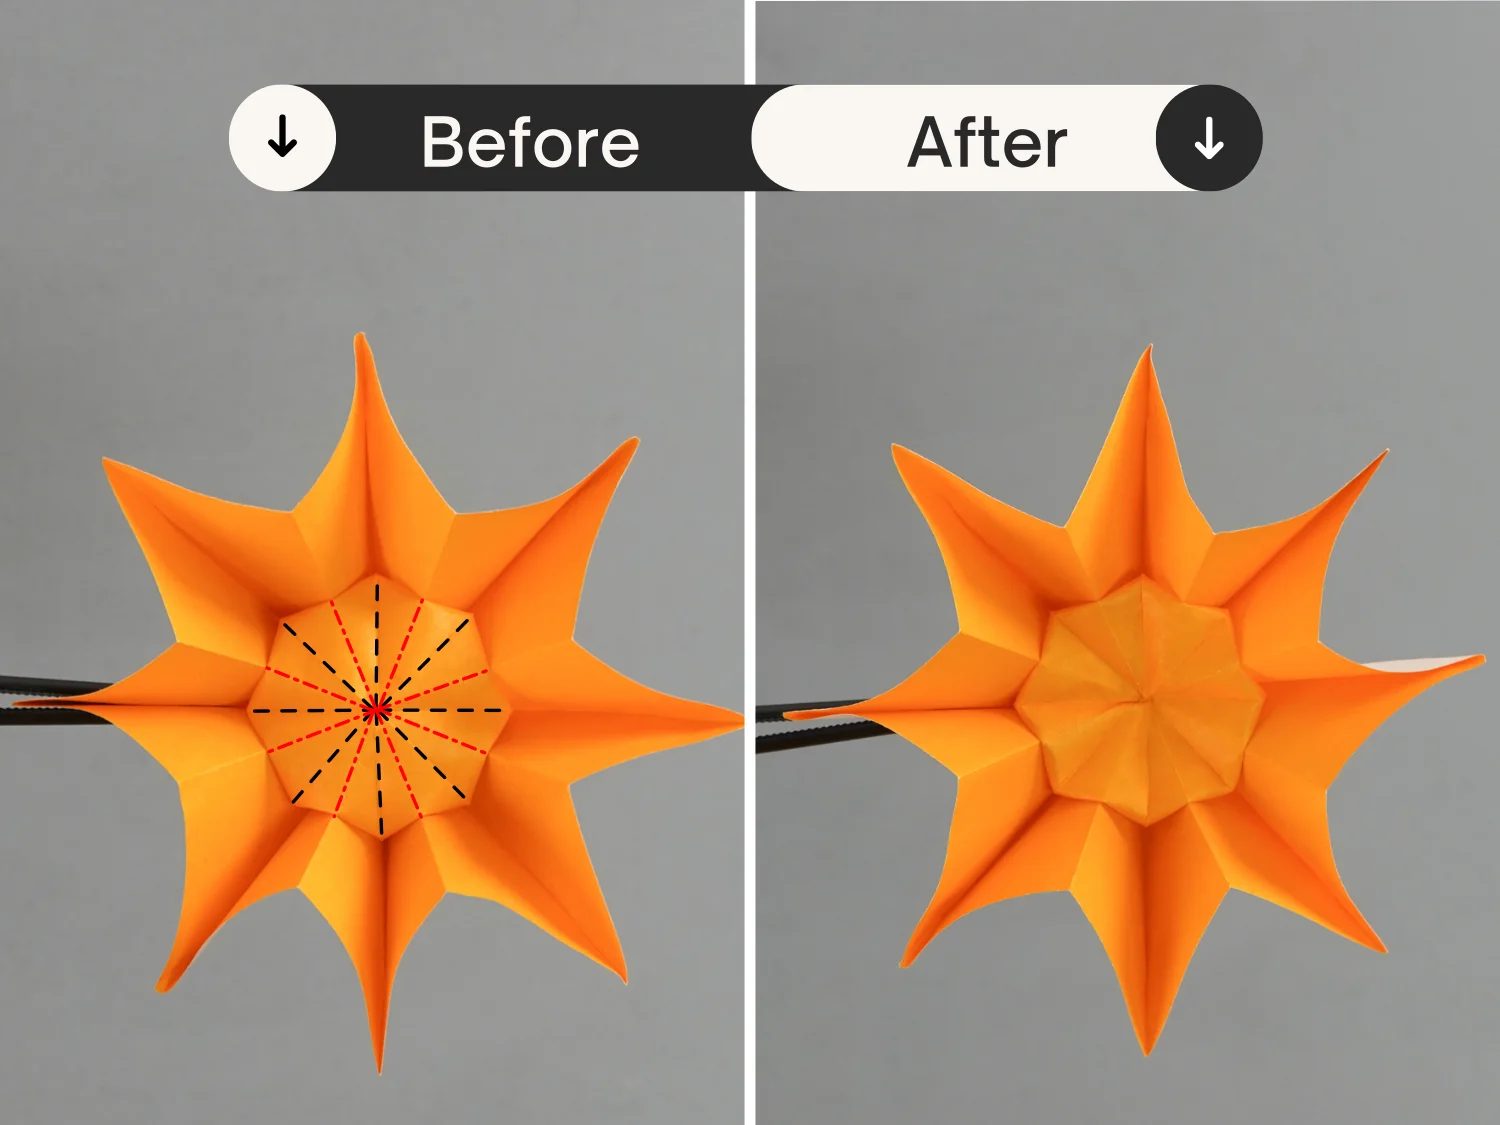
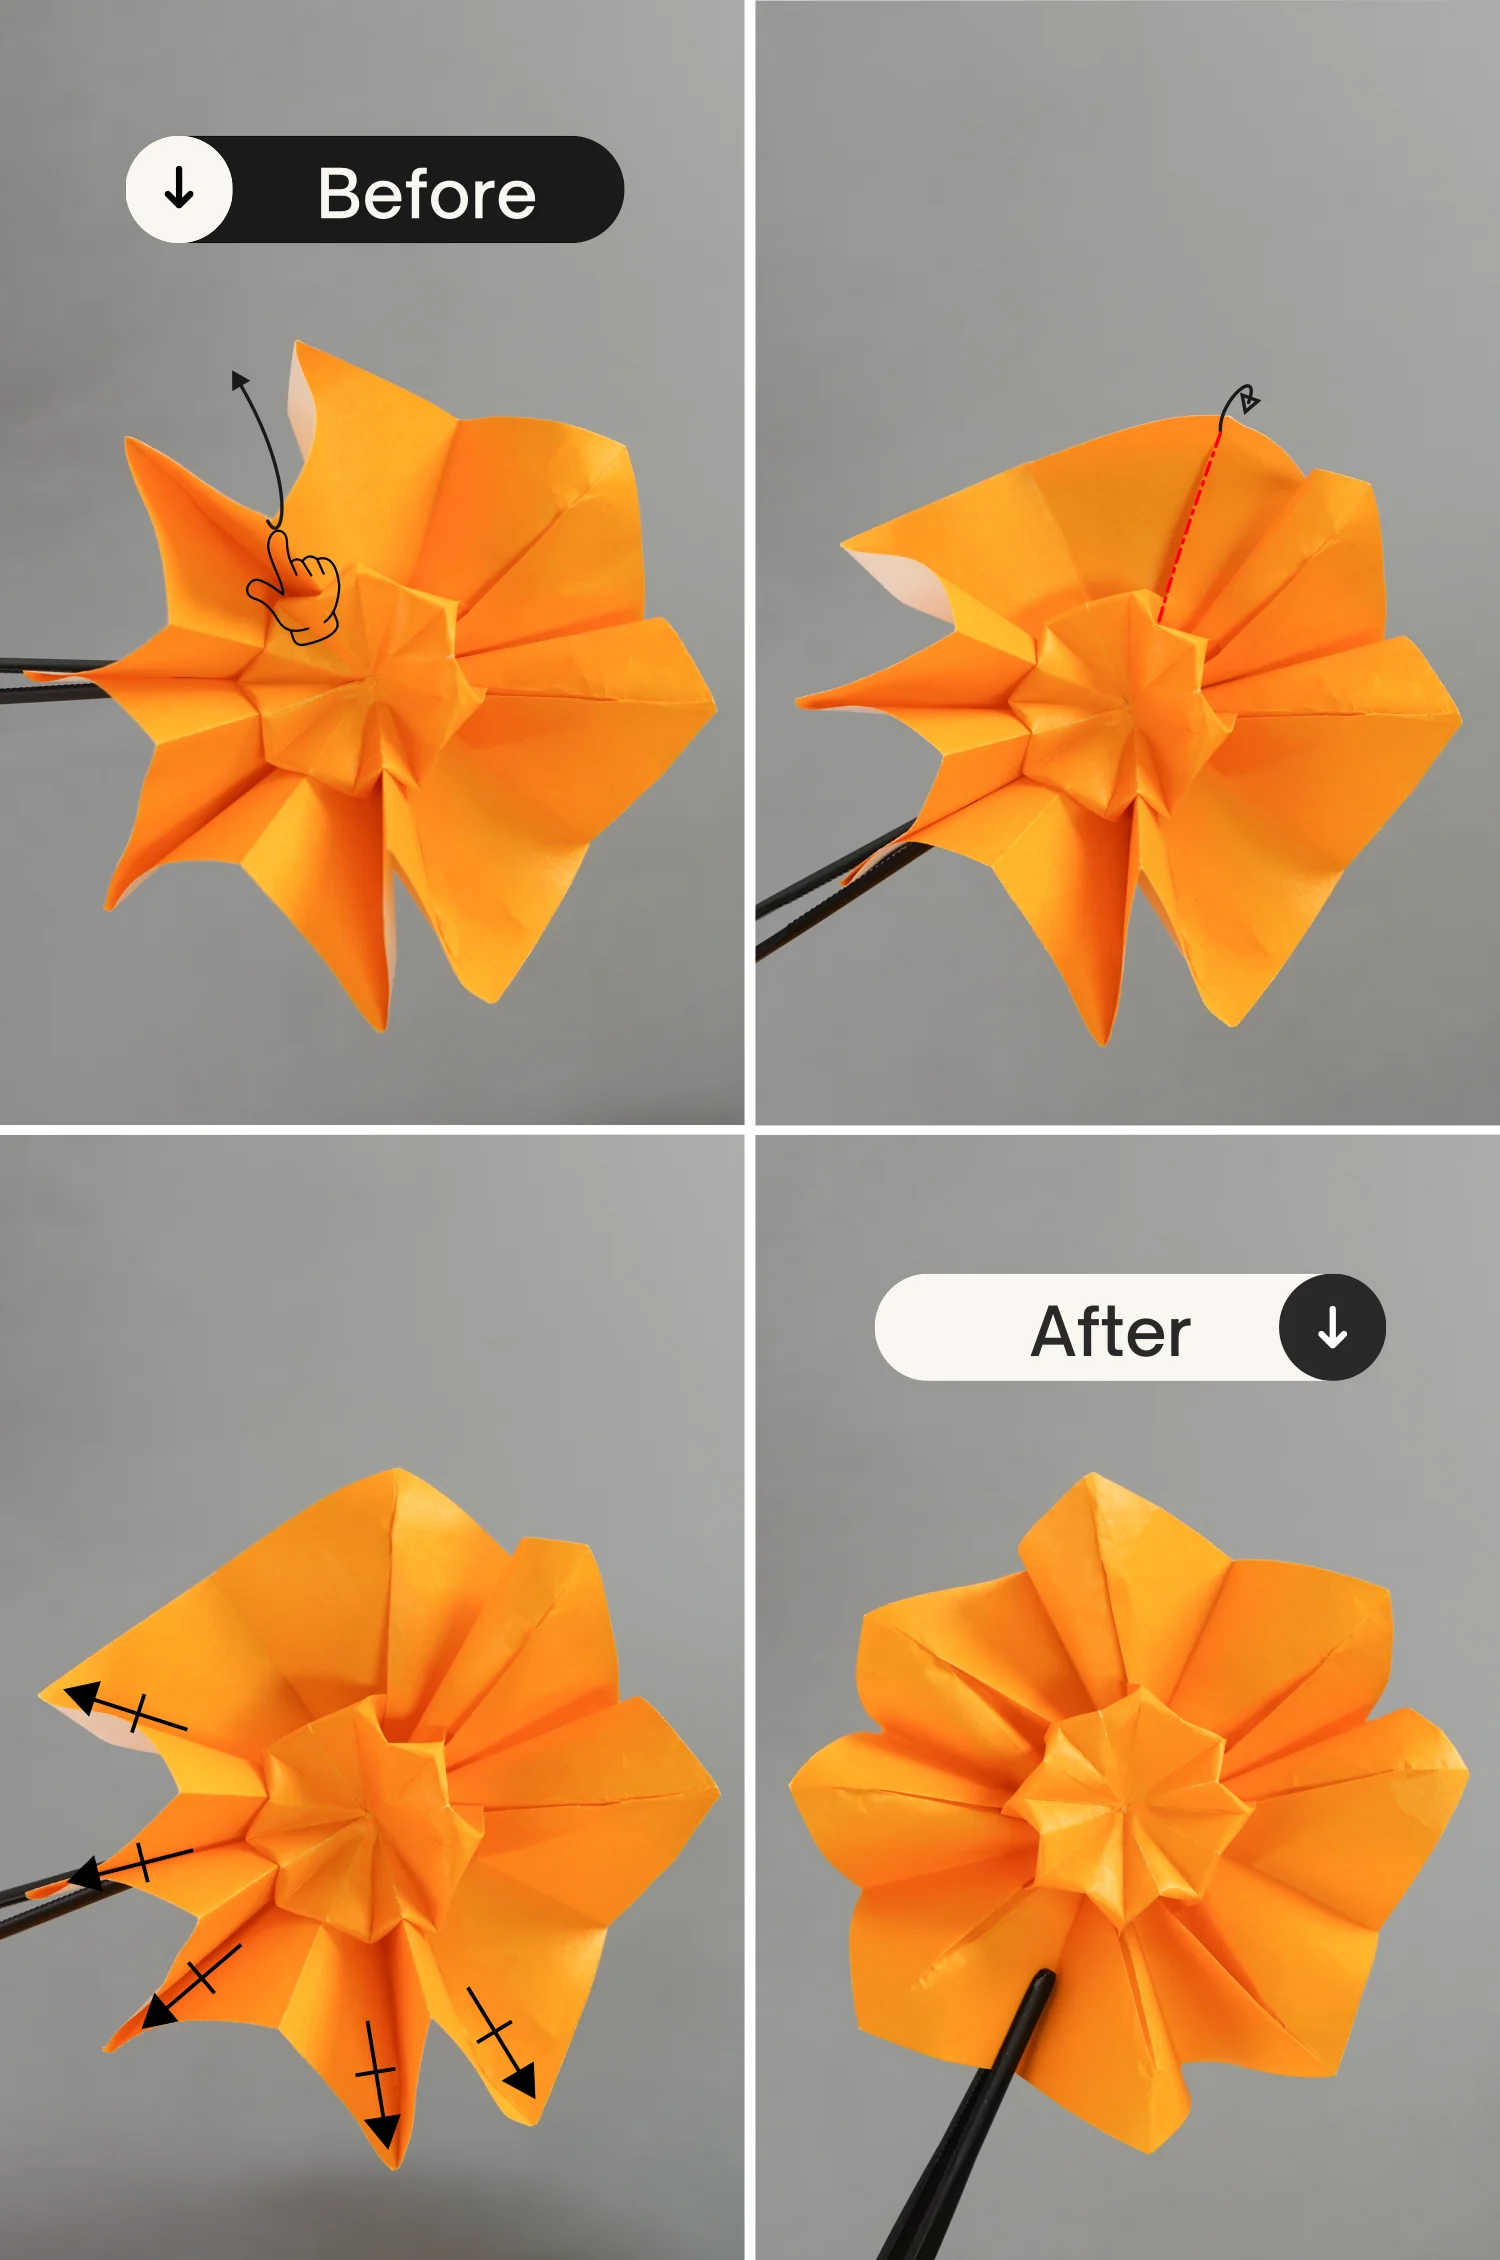
In the same way, pull each of the eight flaps to make the center propped up and bulged. You can adjust constantly to get an ideal state.
Step 21
Press down the center point.
Step 22
Turn the mountain lines into valley lines of the right petal, and this petal will be slightly expanded, then press down the tip of this petal. [picture 1 and 2]
Next, press down the top mountain line to turn it into a valley line, then press down the tip of this petal.
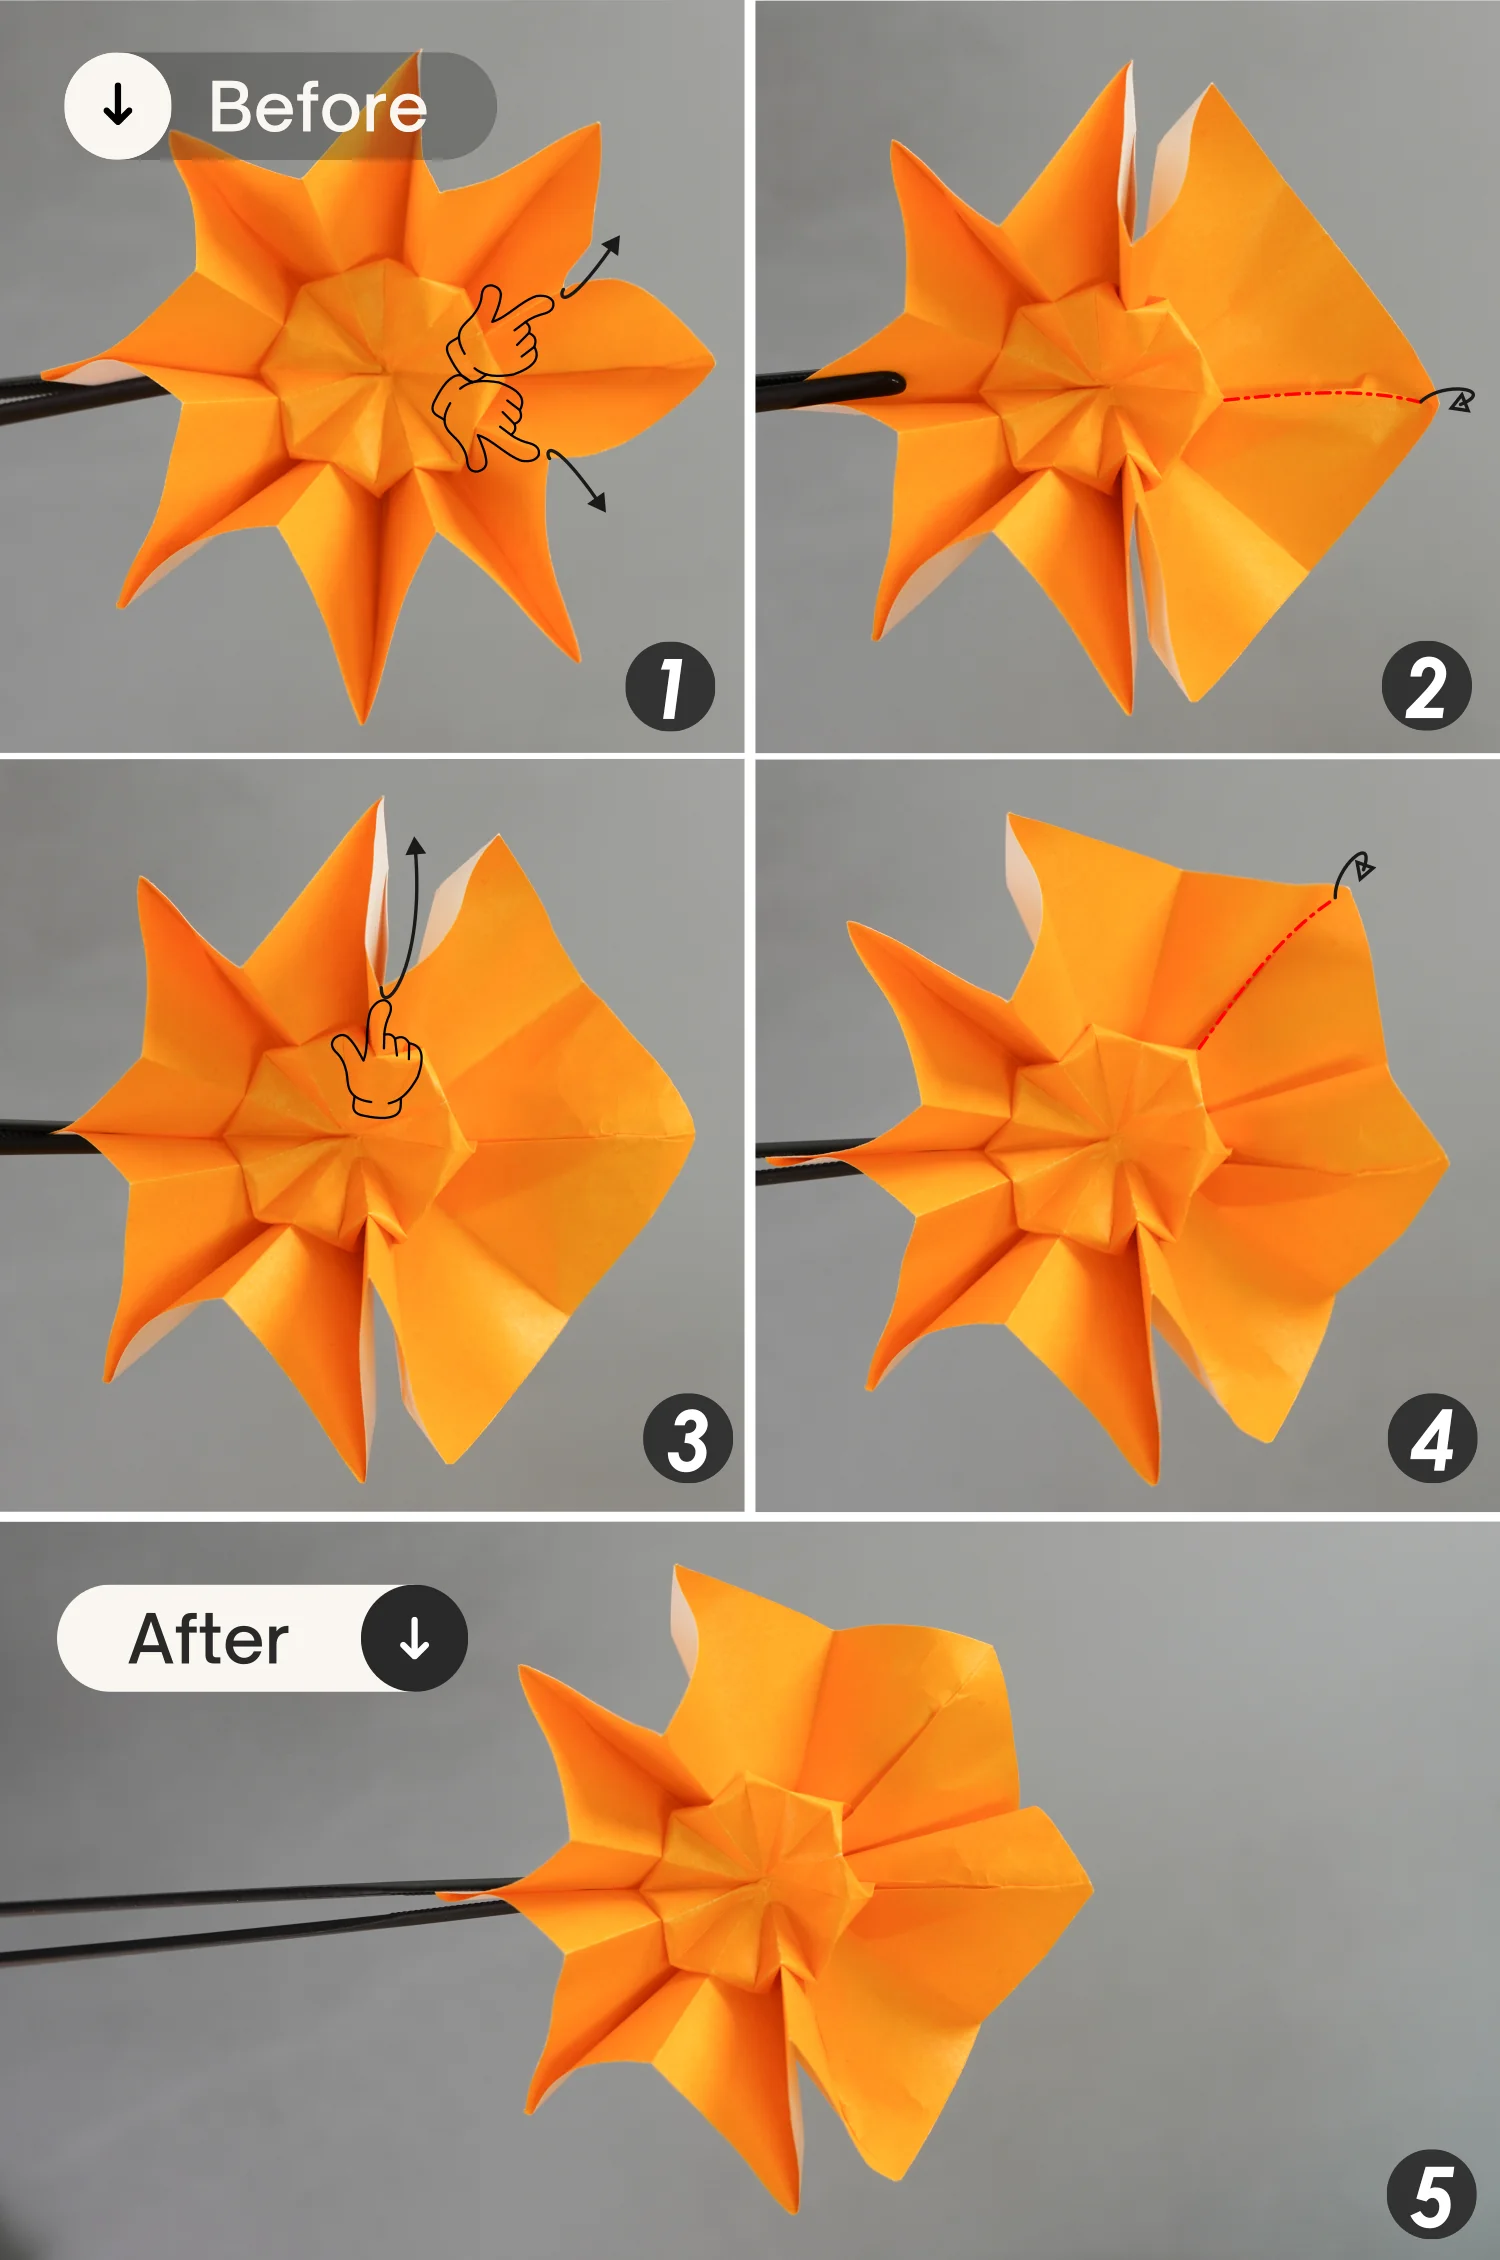
Step 23
Repeat this for the remaining petals.
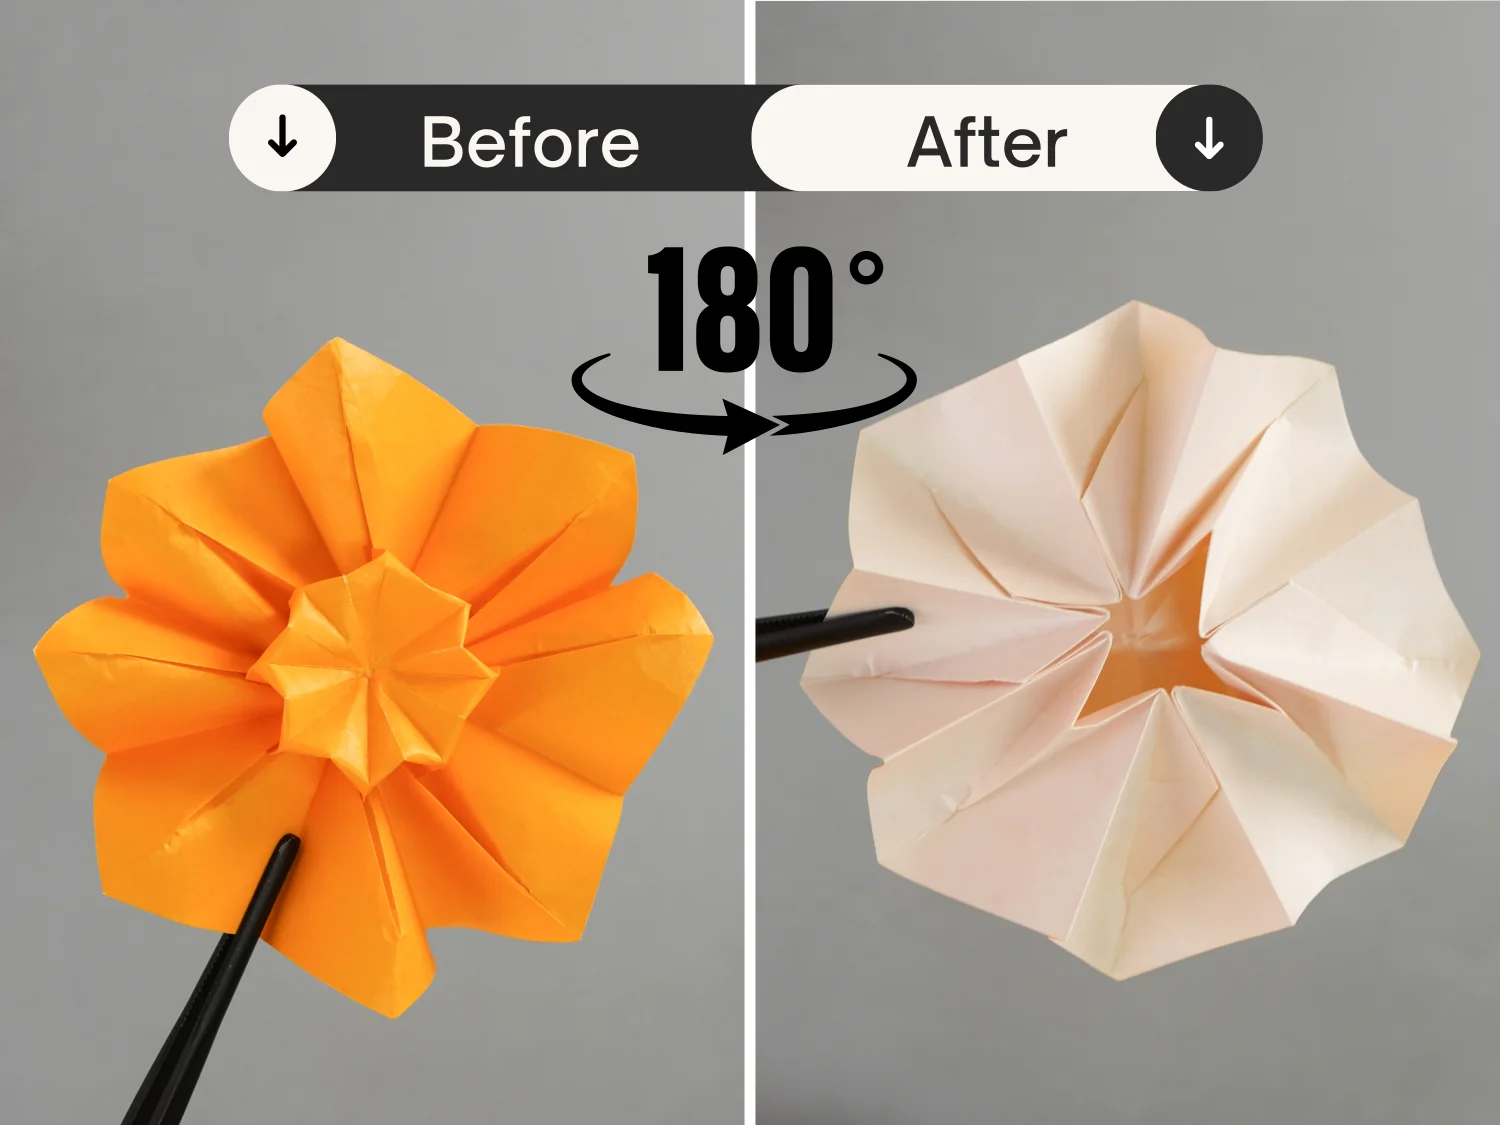
Step 24
Rotate it 180 degrees from the left to the right.
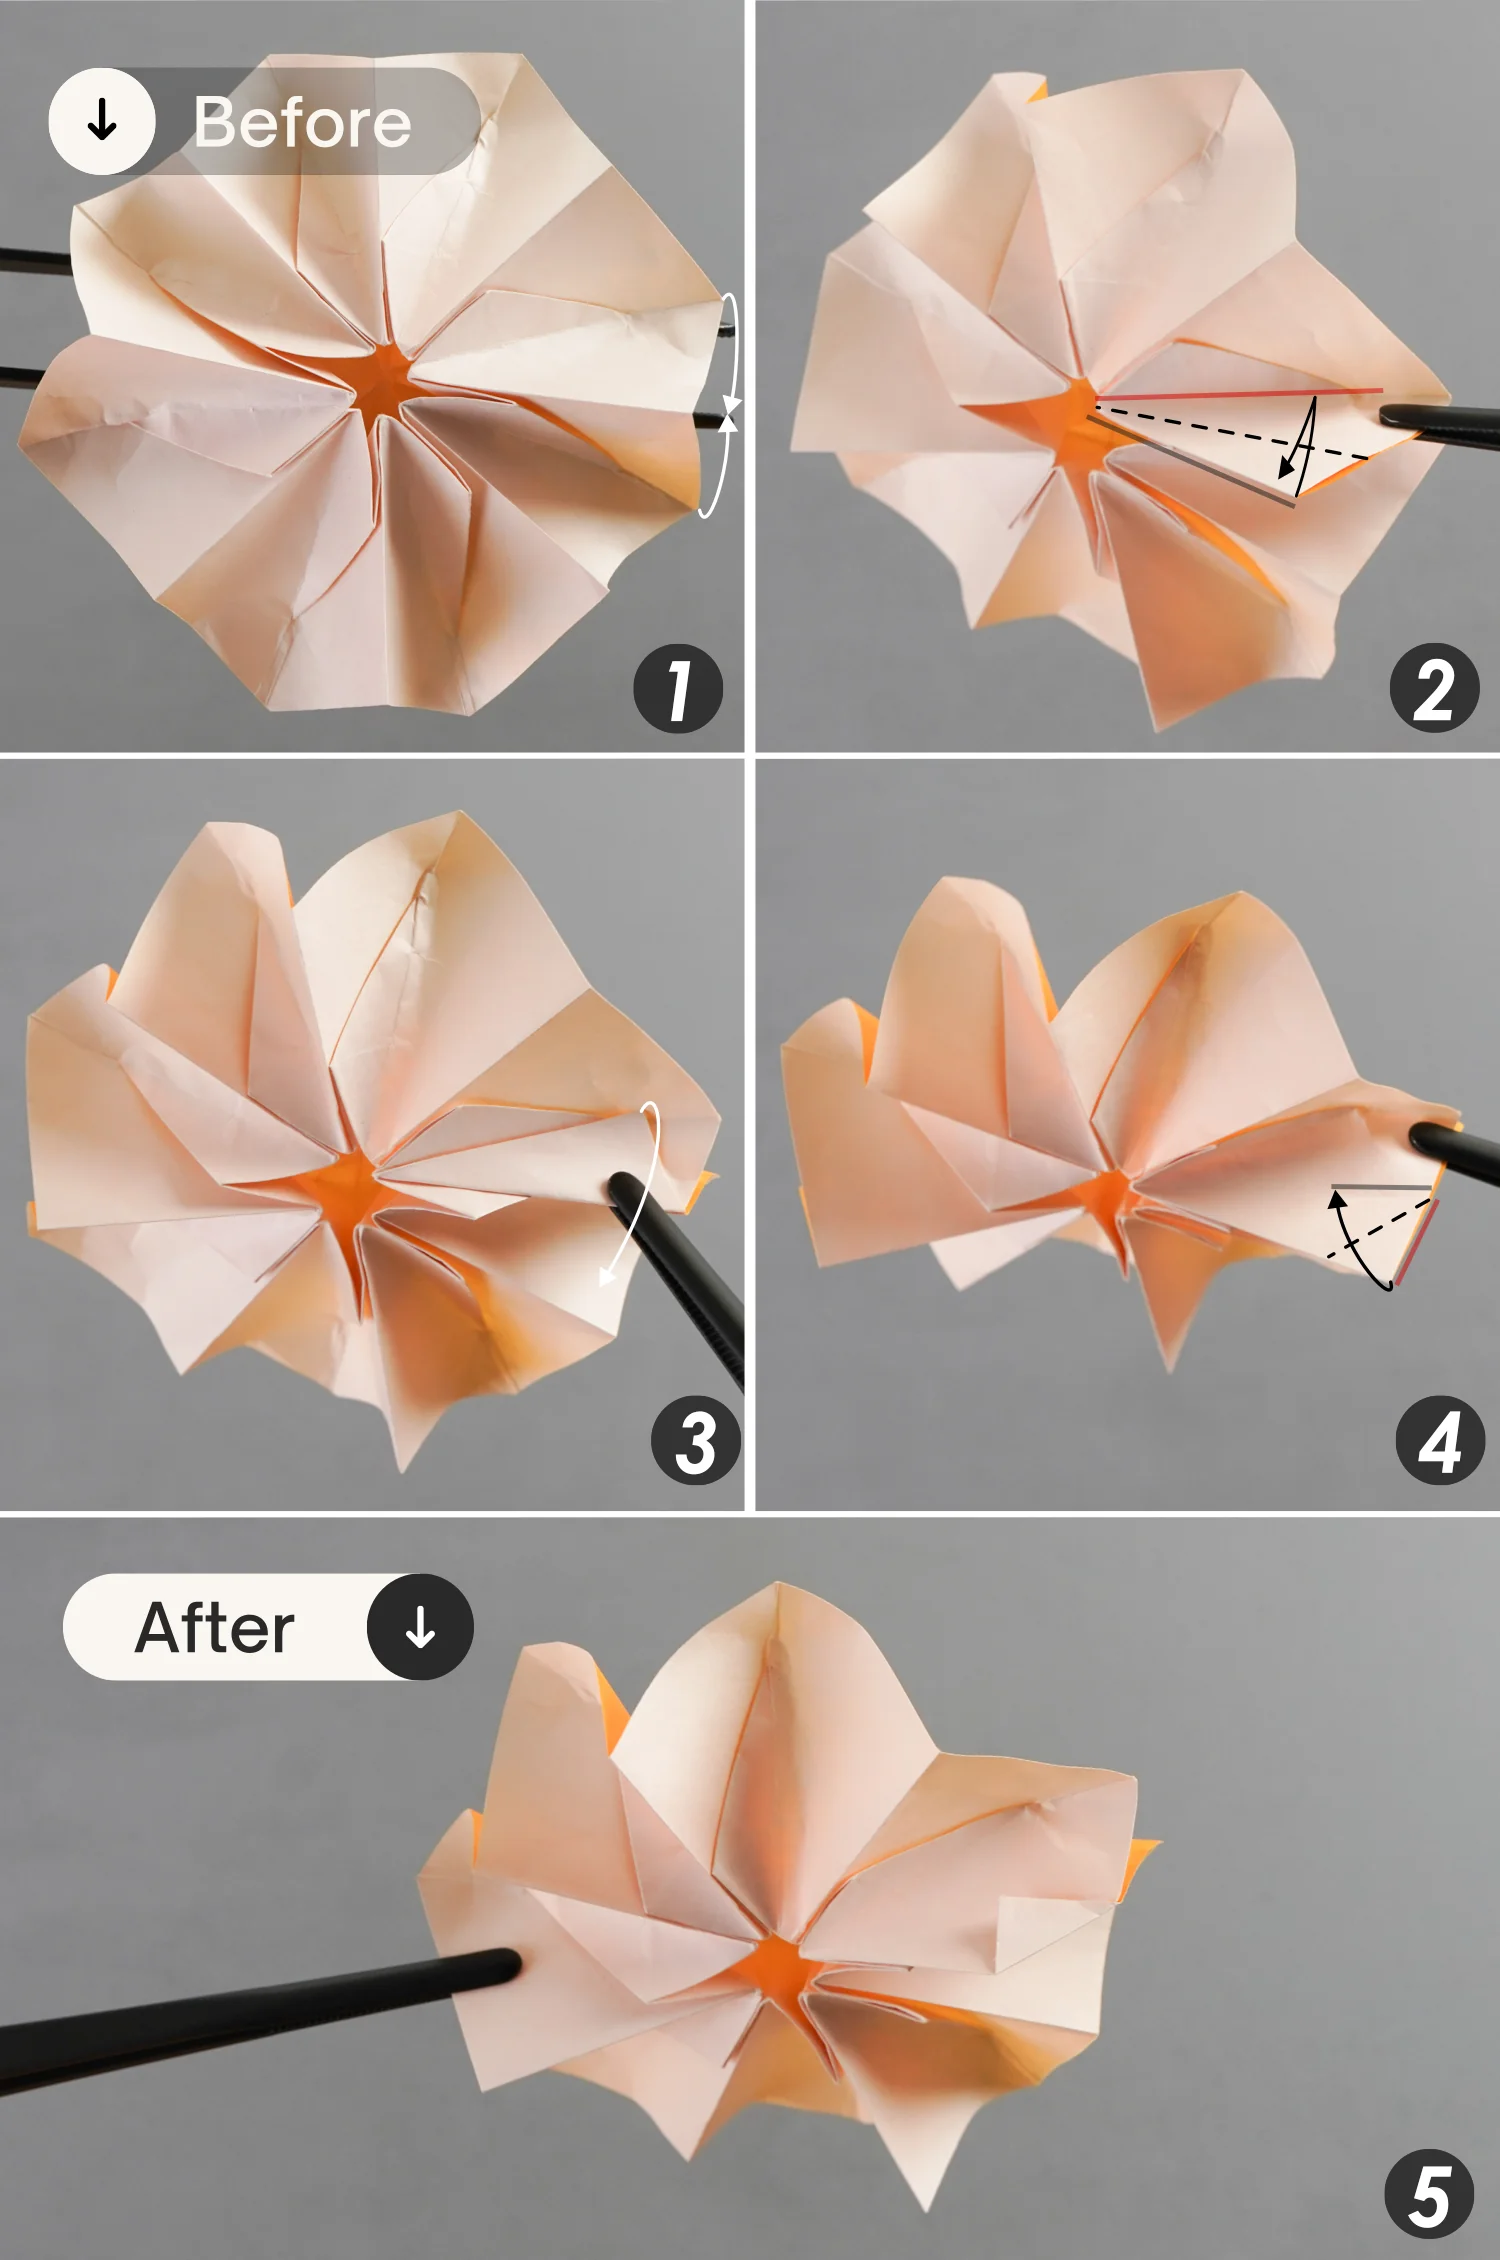
Step 25
Fold the edge indicated by the black line to align with the crease indicated by the red line, leaving a crease then unfold it. [picture 1 to 3]
Next, fold the right edge shown by the red line to align with the crease you just made.[picture 4 to 5]
Step 26
Repeat this for the remaining seven edges.
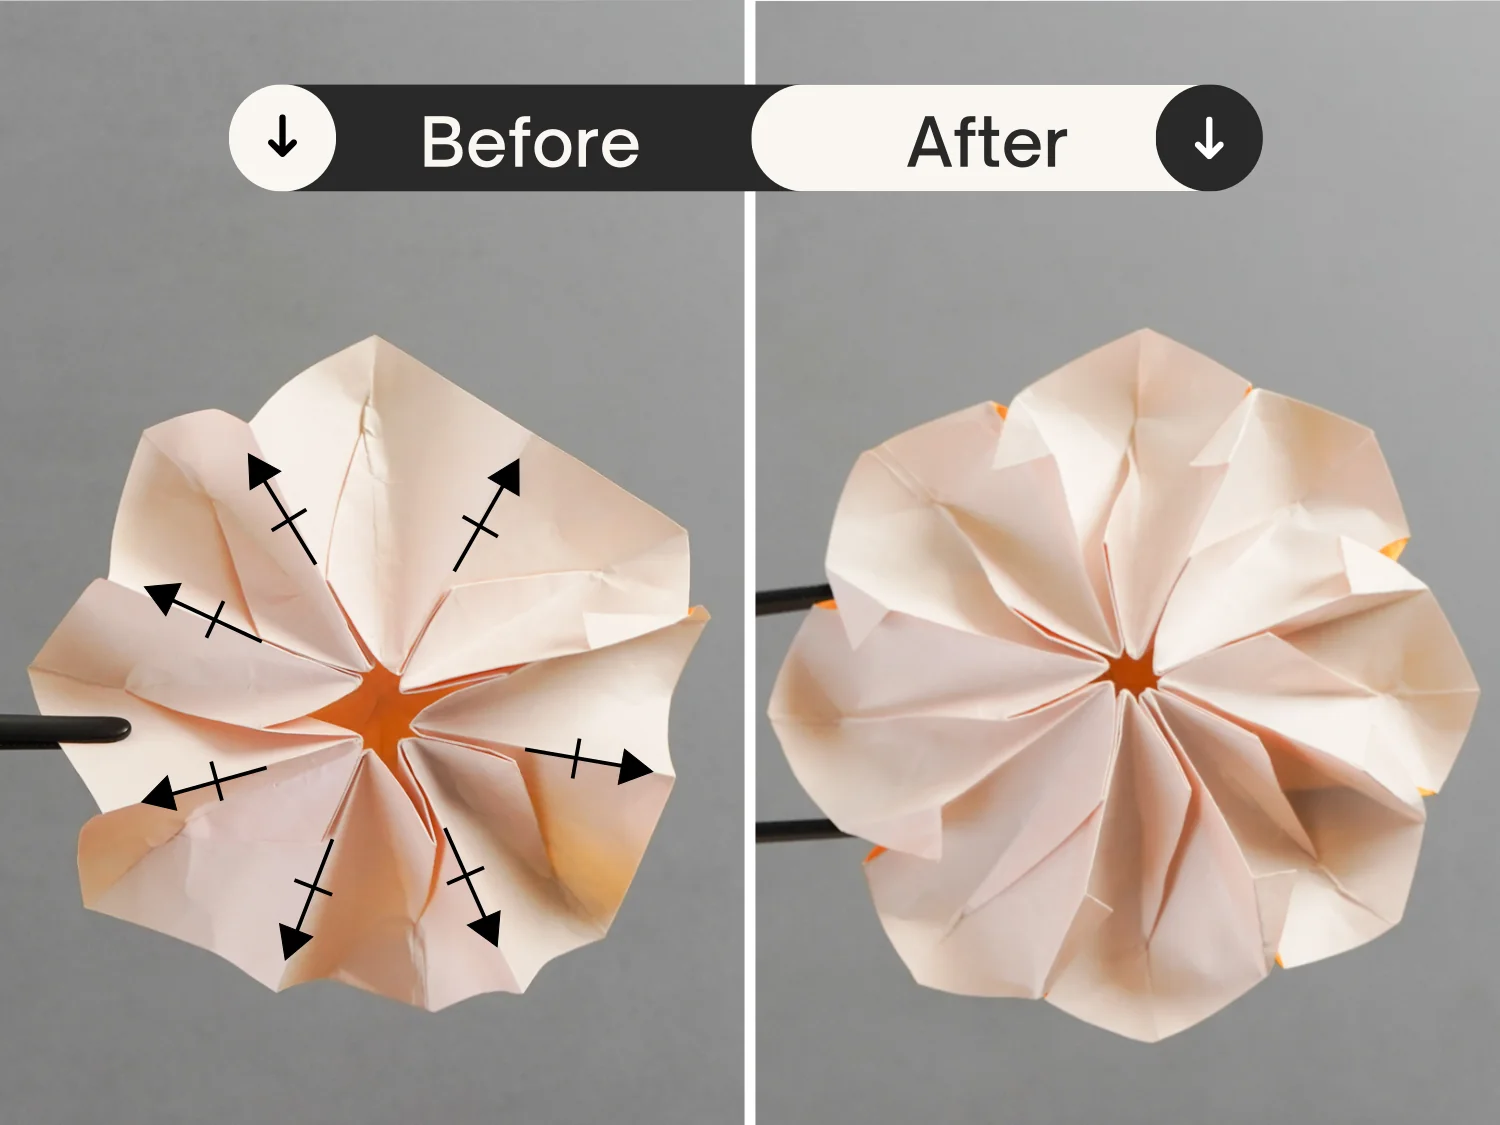
Step 27
Rotate it 180 degrees to flip it over, and this is the final shape of an origami sunflower.

What’s Next
That’s your lovely origami sunflower, now you can explore our other origami flower instructions, and create a fabulous garden. Happy folding!
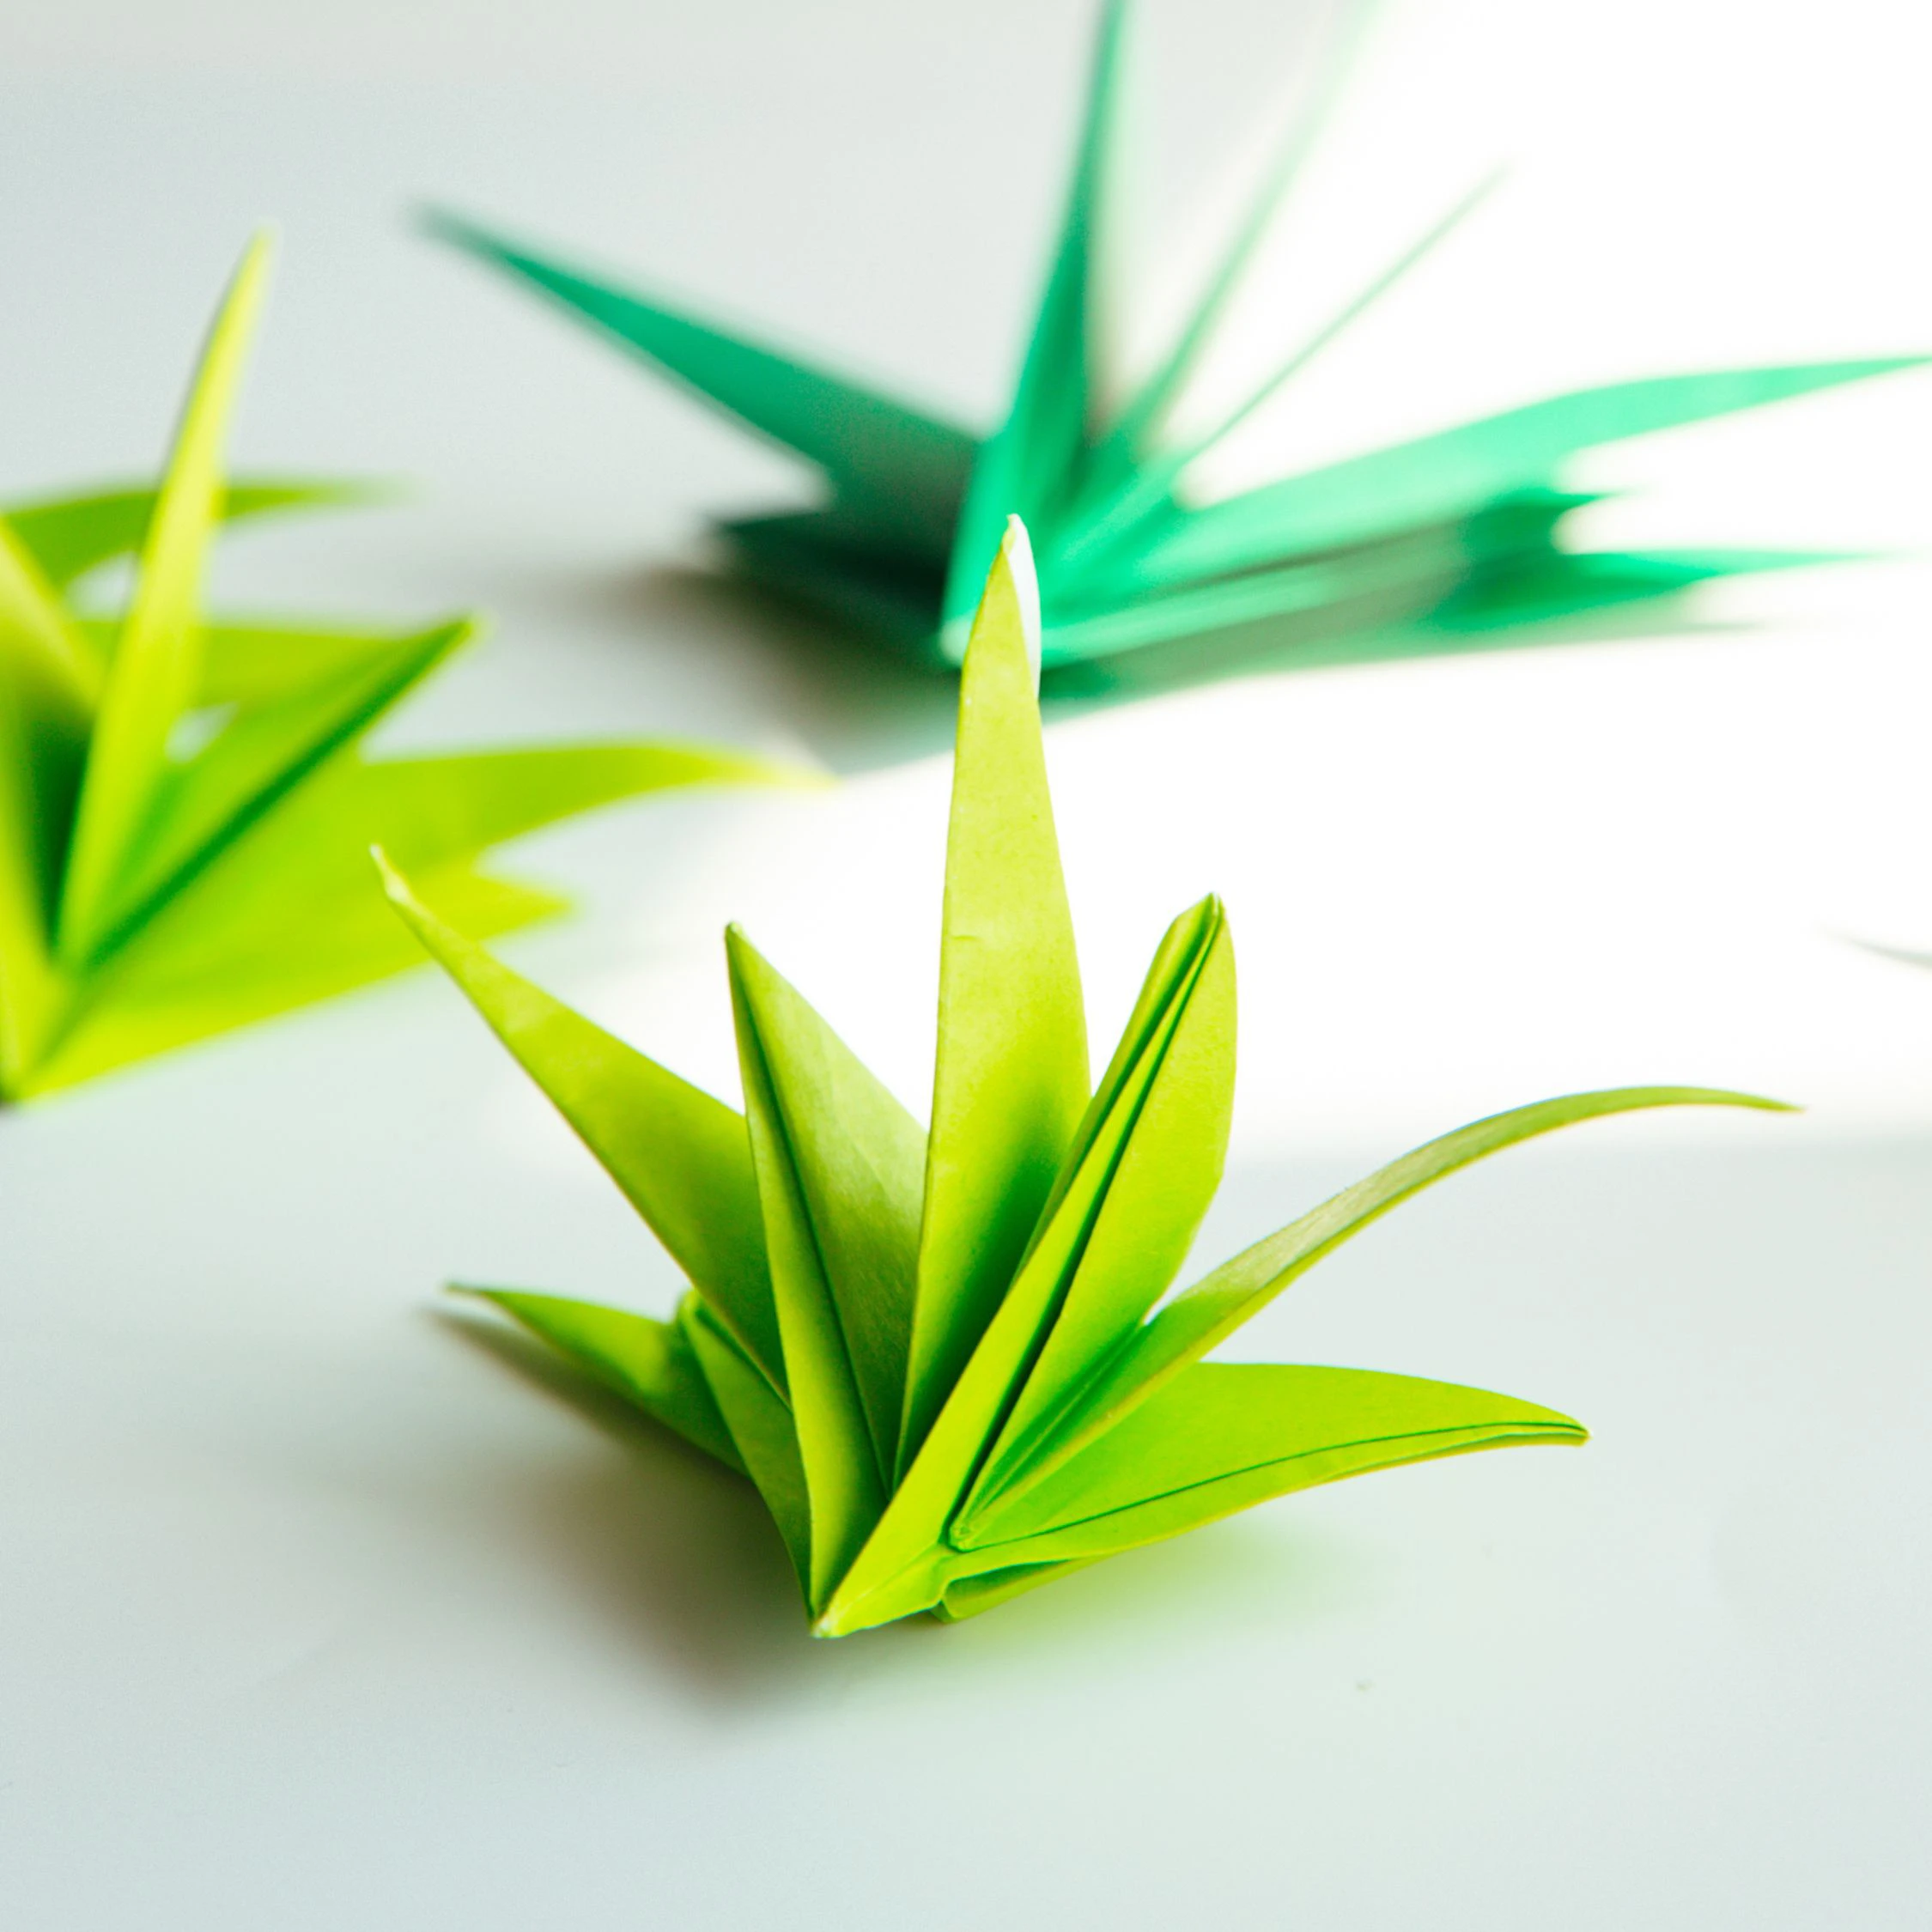
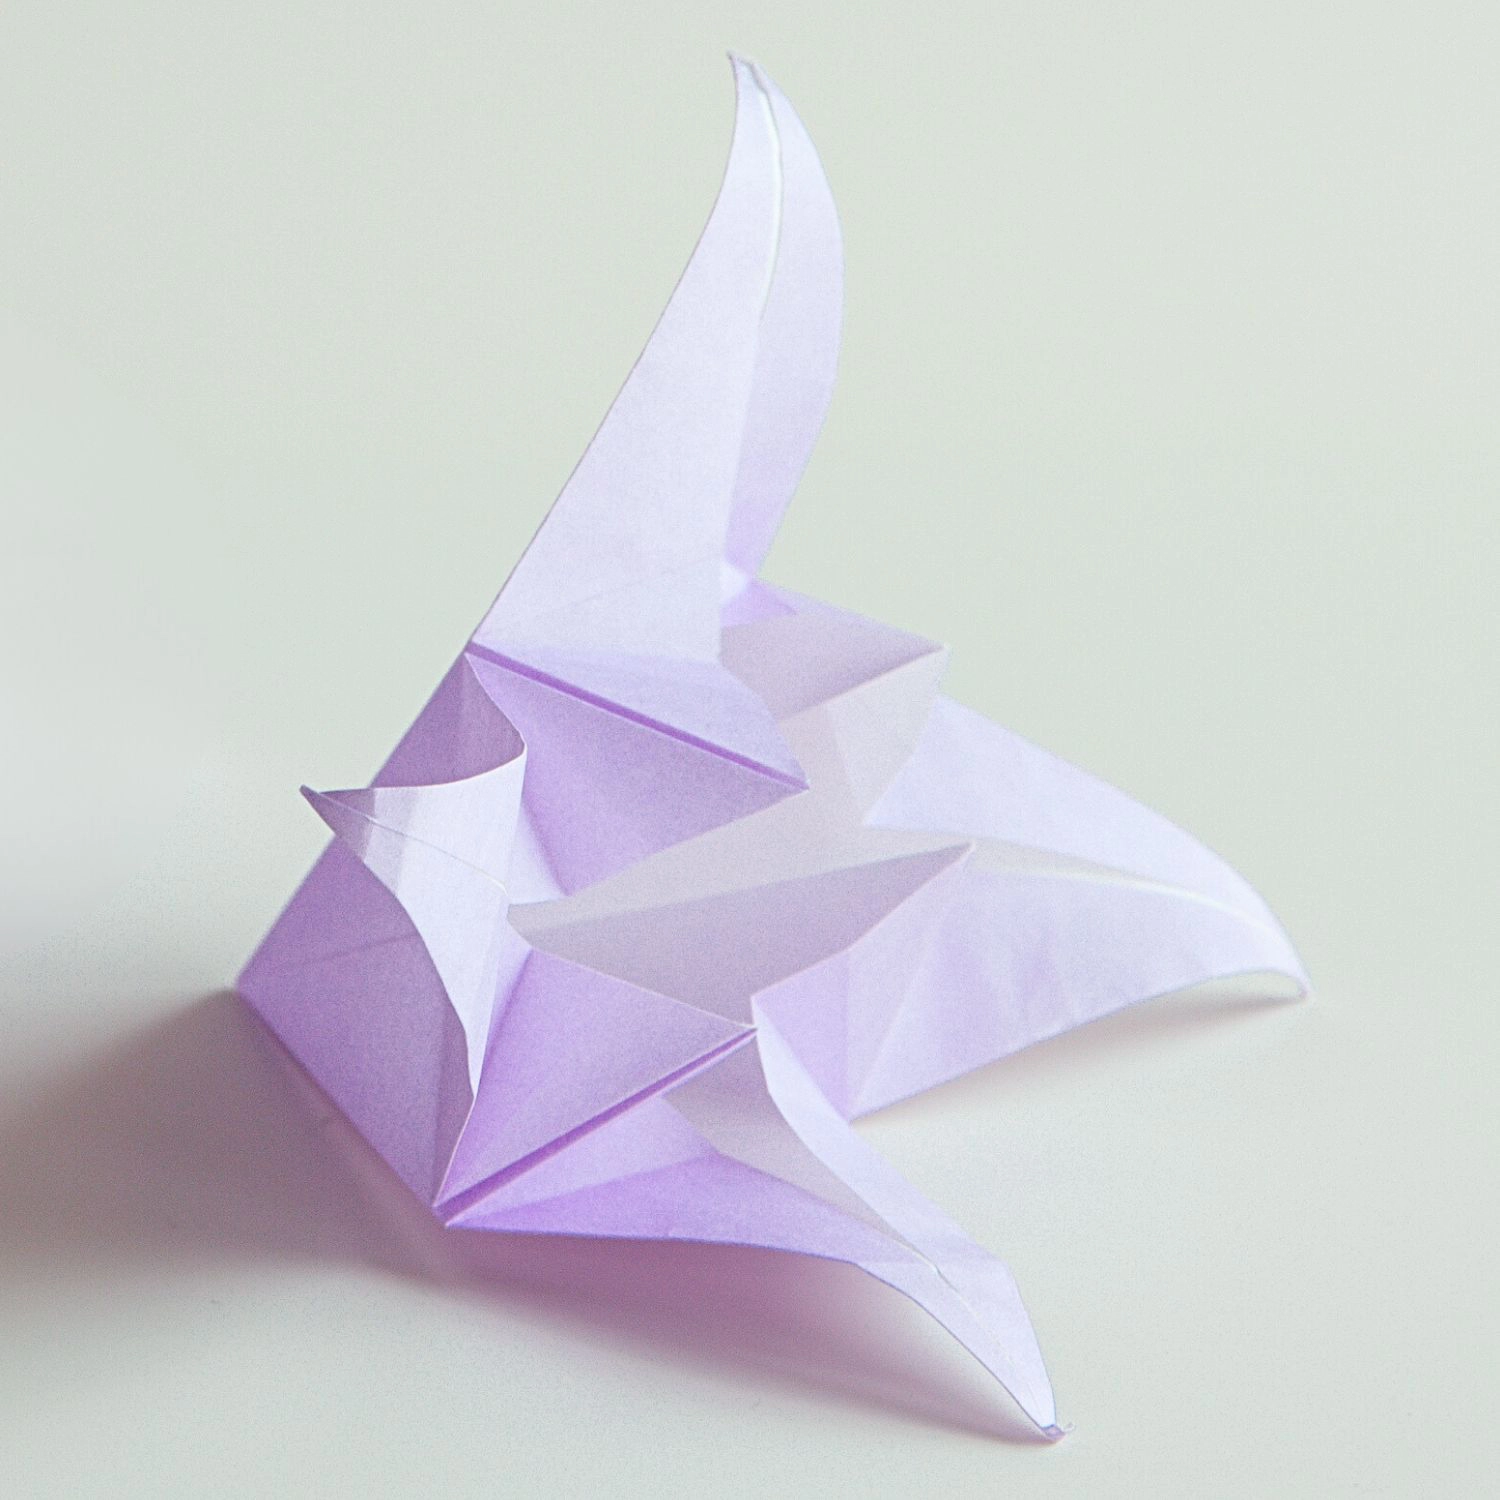
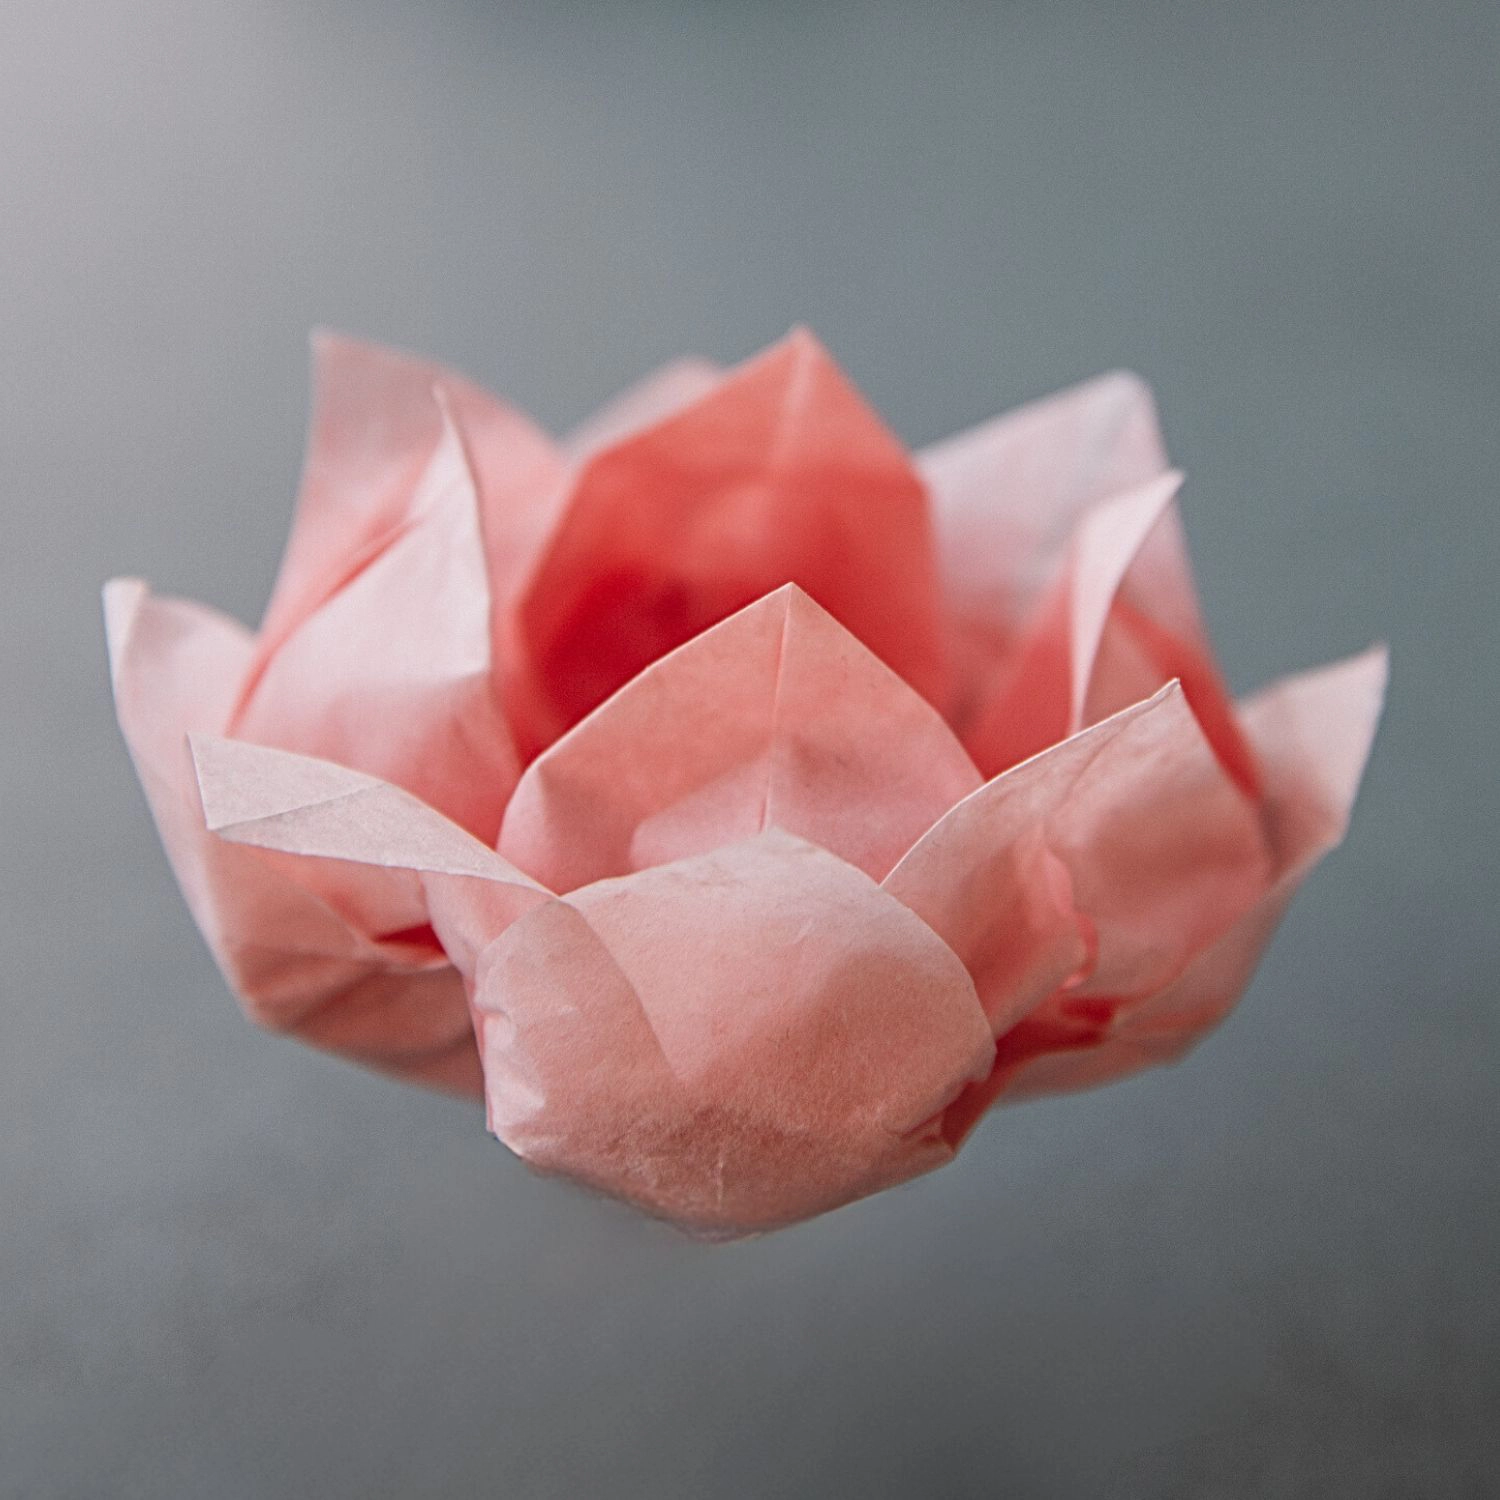
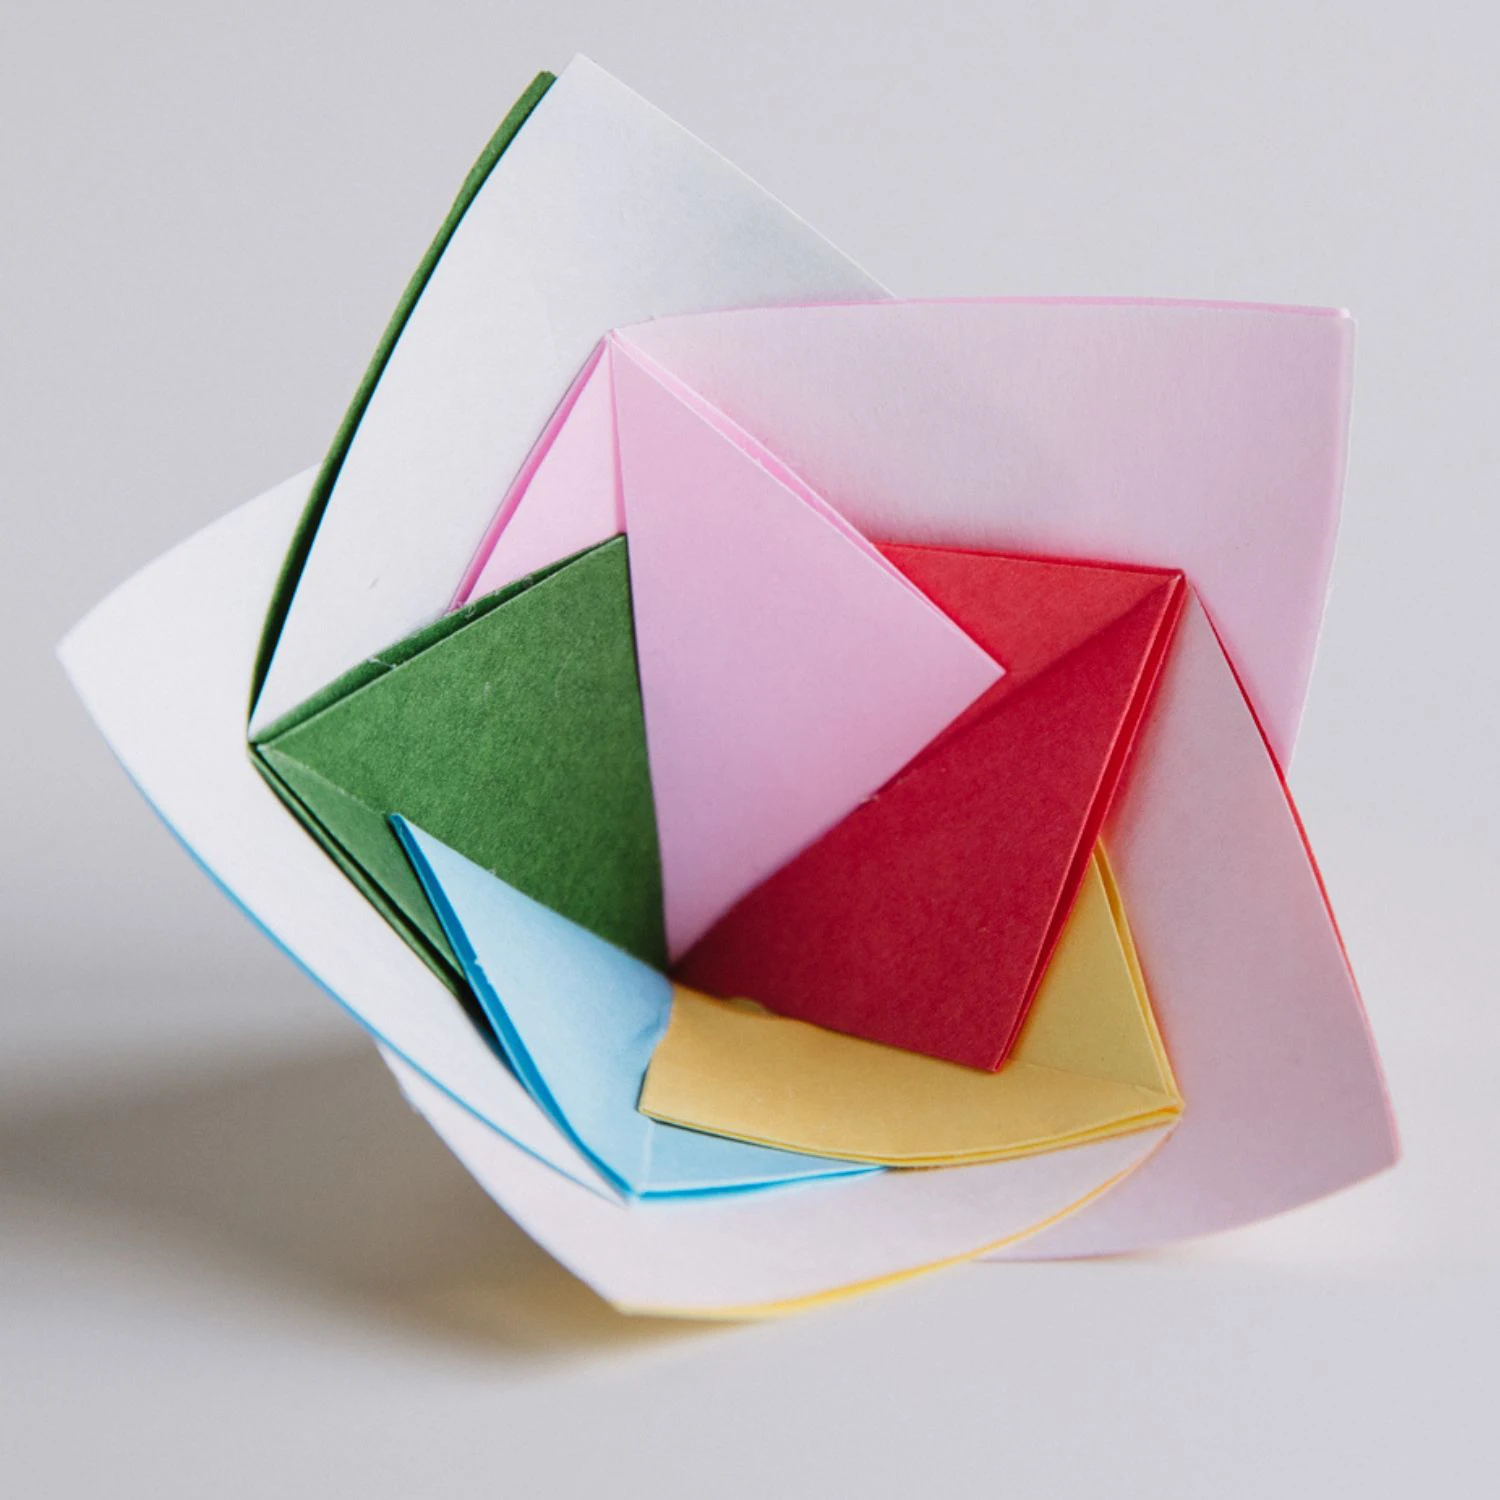
Other Origami Flower Ideas