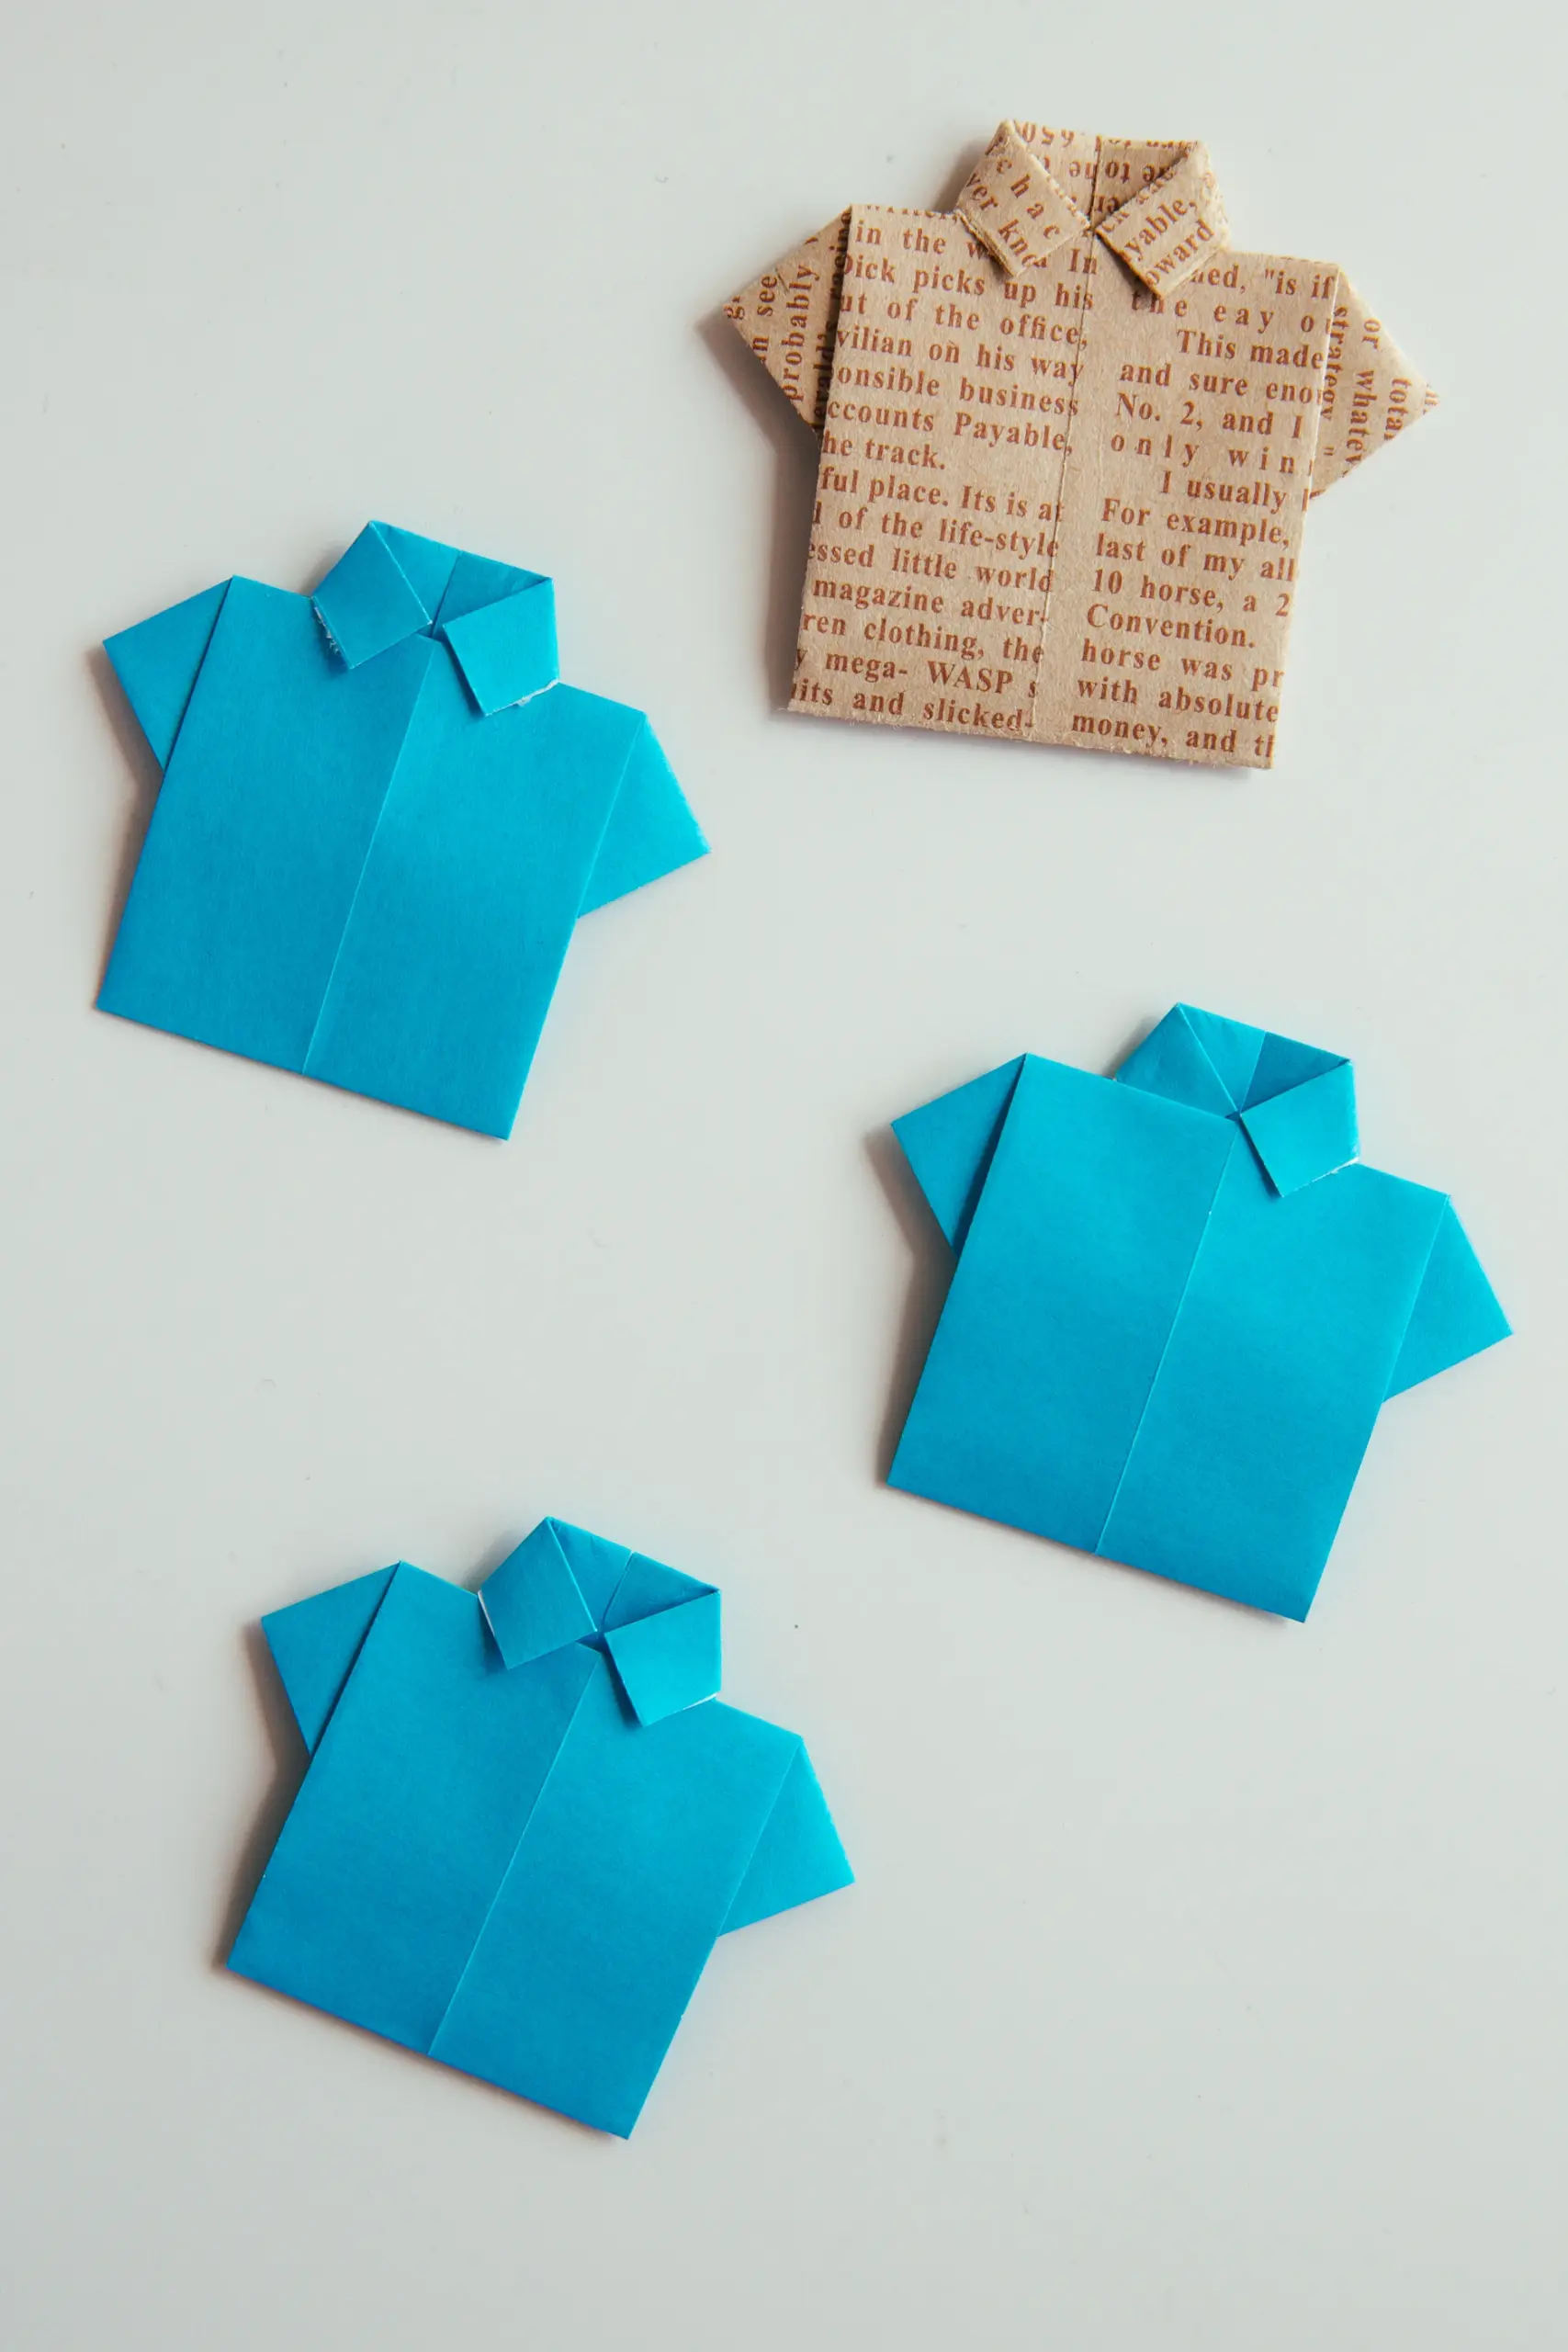
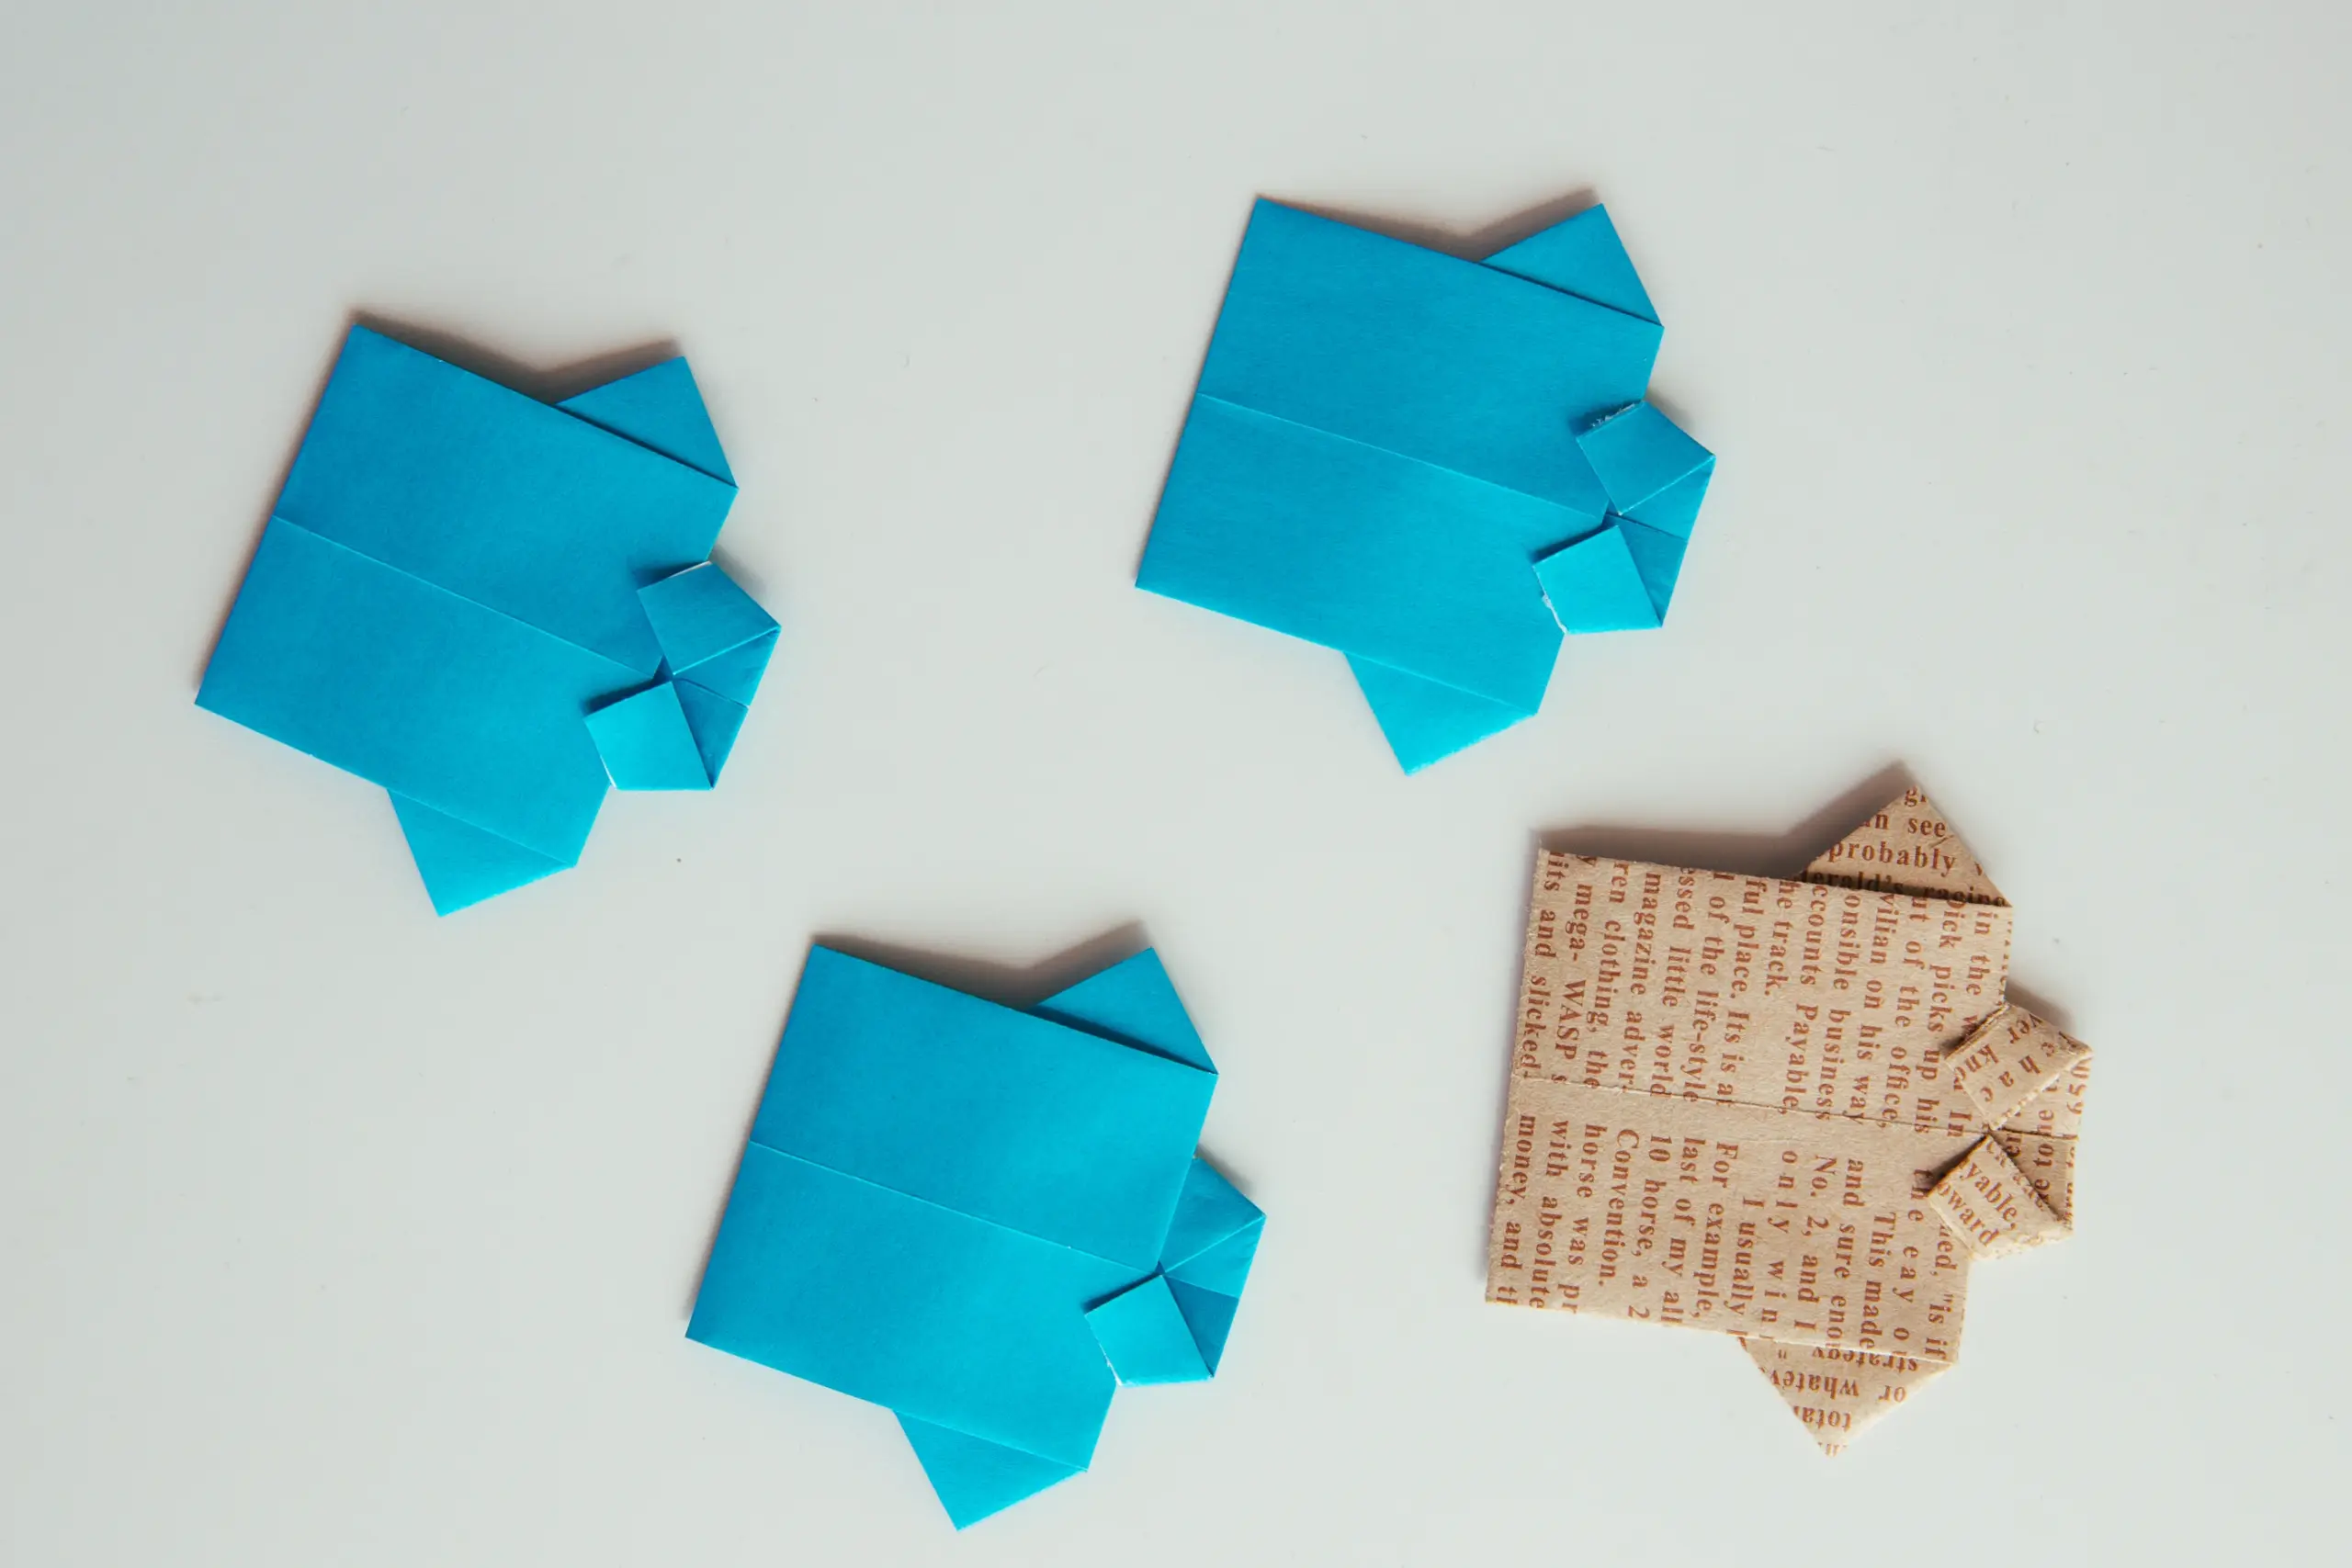
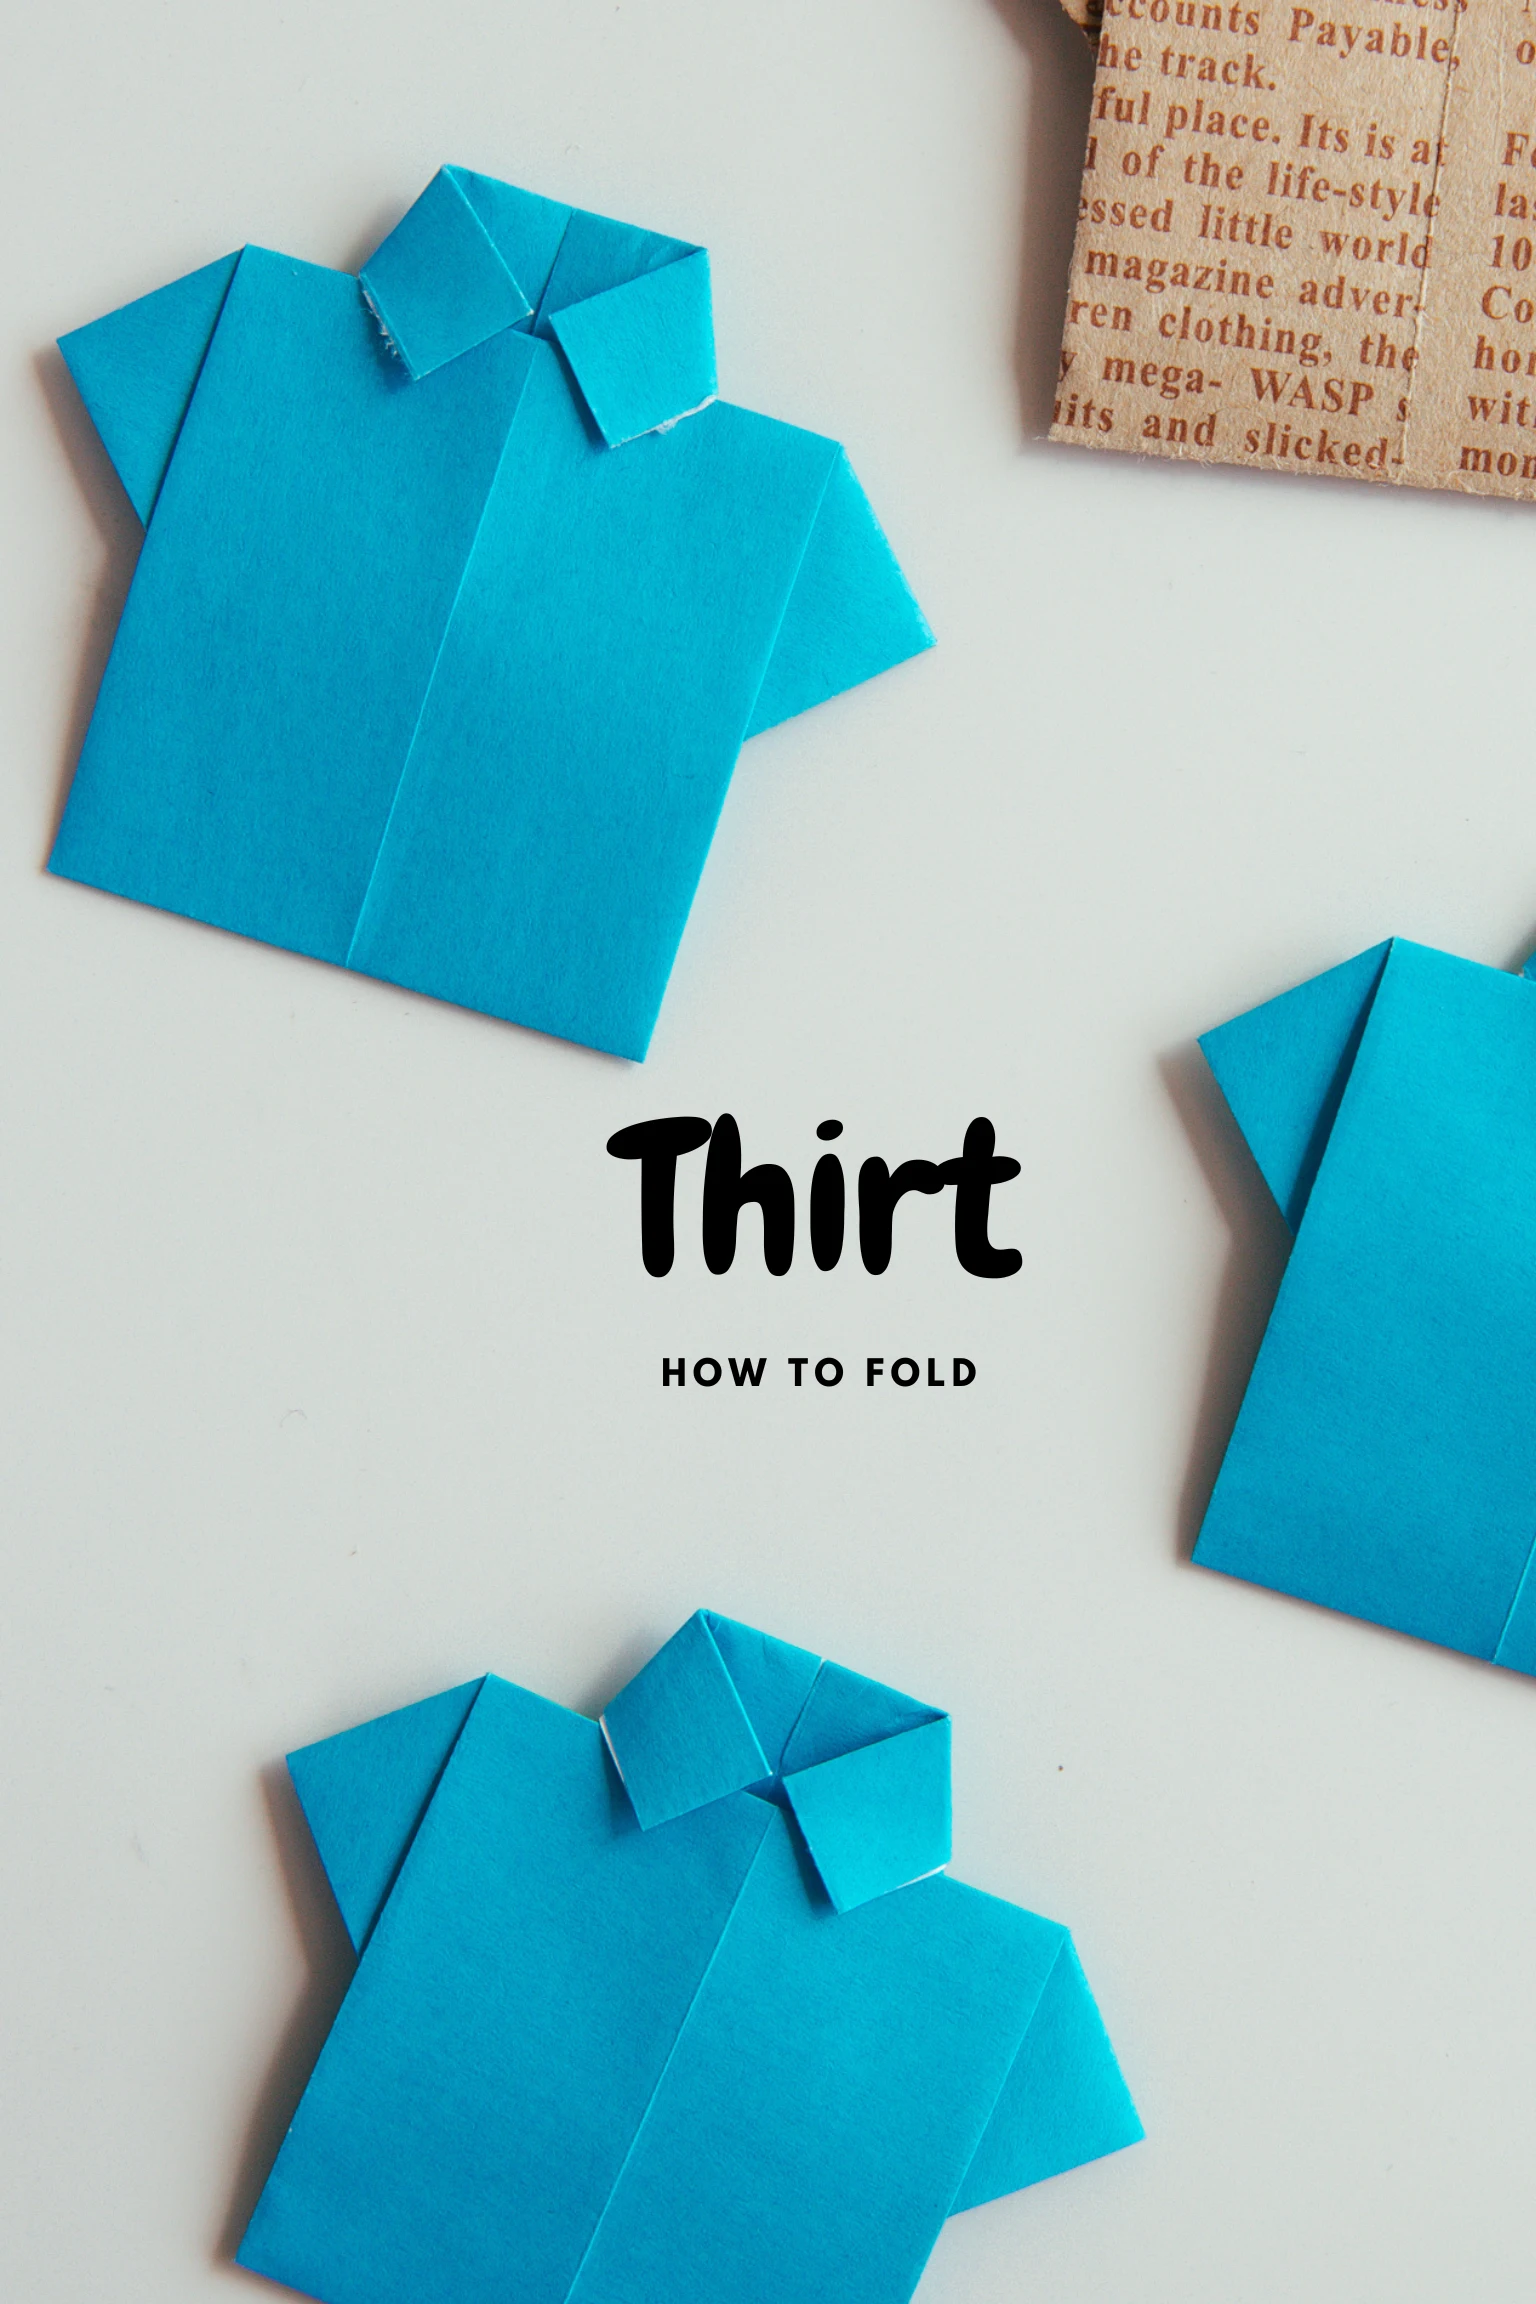
This tutorial will guide you in creating a lovely origami shirt, transforming a simple sheet of paper into a shirt in just a few simple steps. What impressed me is that it is completed with collars and sleeves, which is really cute and does look like a neatly folded shirt. Once finished, you can personalize it by adding some details like buttons, pockets, or a tie.
If you are new to origami, start here from our beginner guide to know the basics and how to read the step-by-step instructions.
- Folding time: 10 minutes
- Paper: 15×15 cm
- Difficulty: Easy
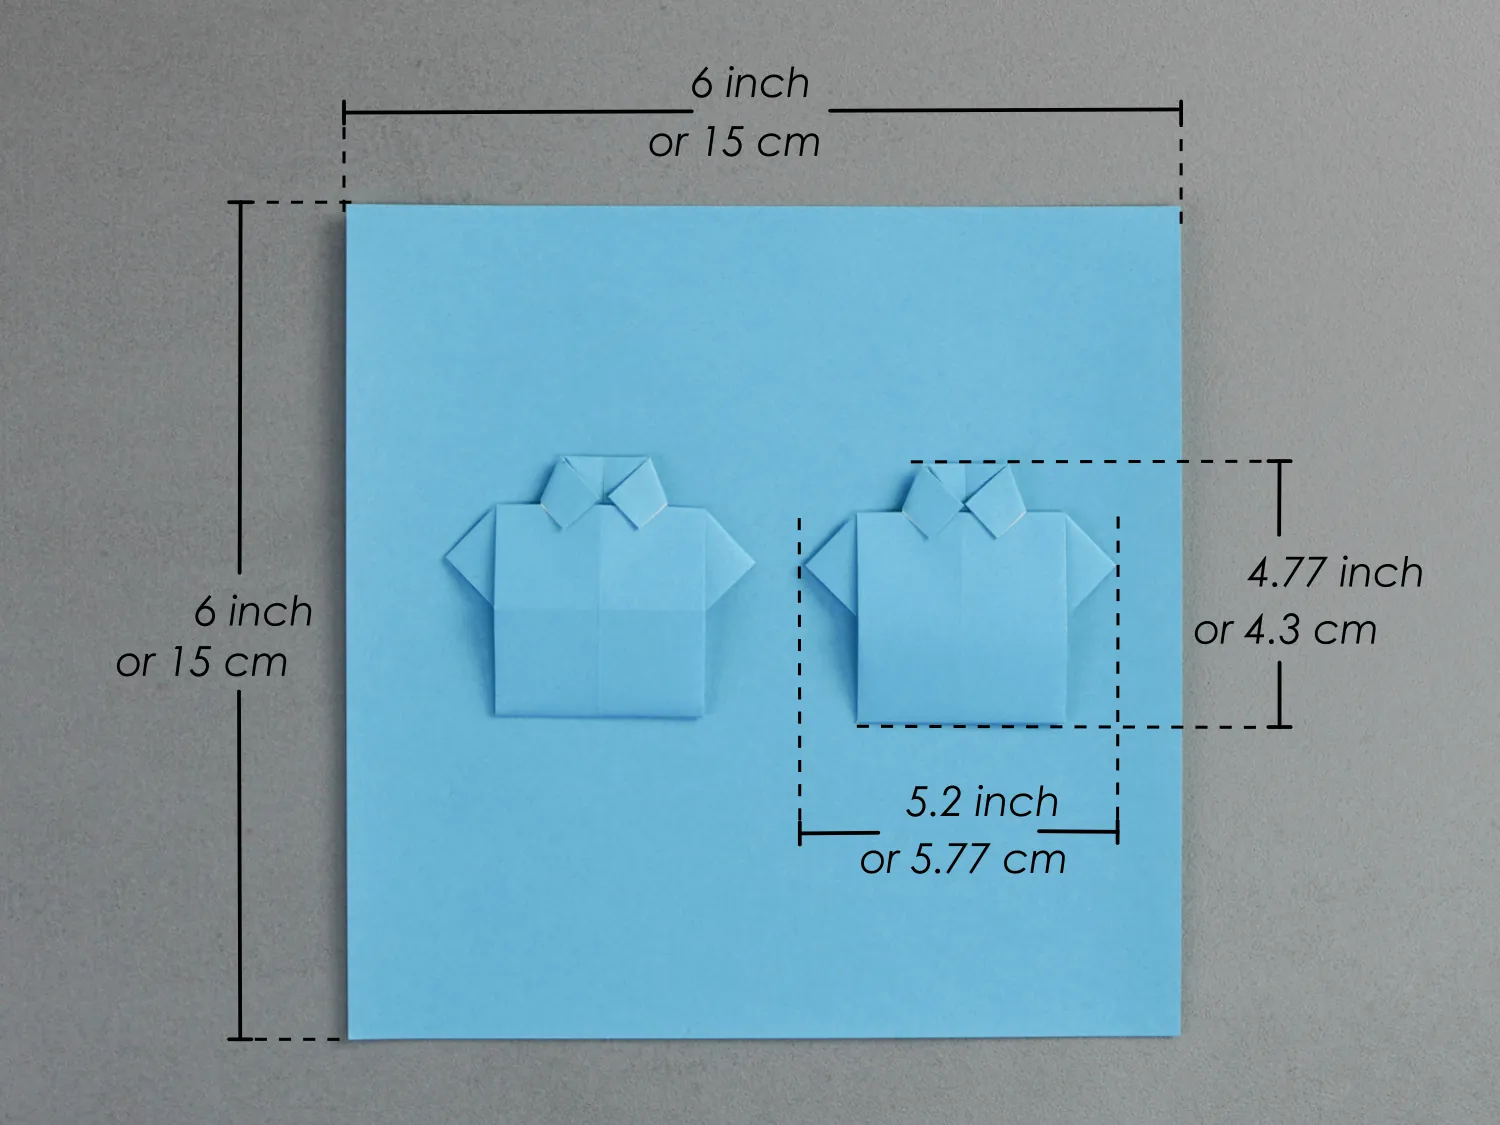
Material
Prepare a piece of 15×15 cm origami square paper with different colors on each side, and you will get a 4.3×5.77 cm shirt. Traditional origami paper works well, but you can also use colored or patterned paper to give it a unique feeling, and the size of the square paper can vary.
Step by Step Instructions
Step 1
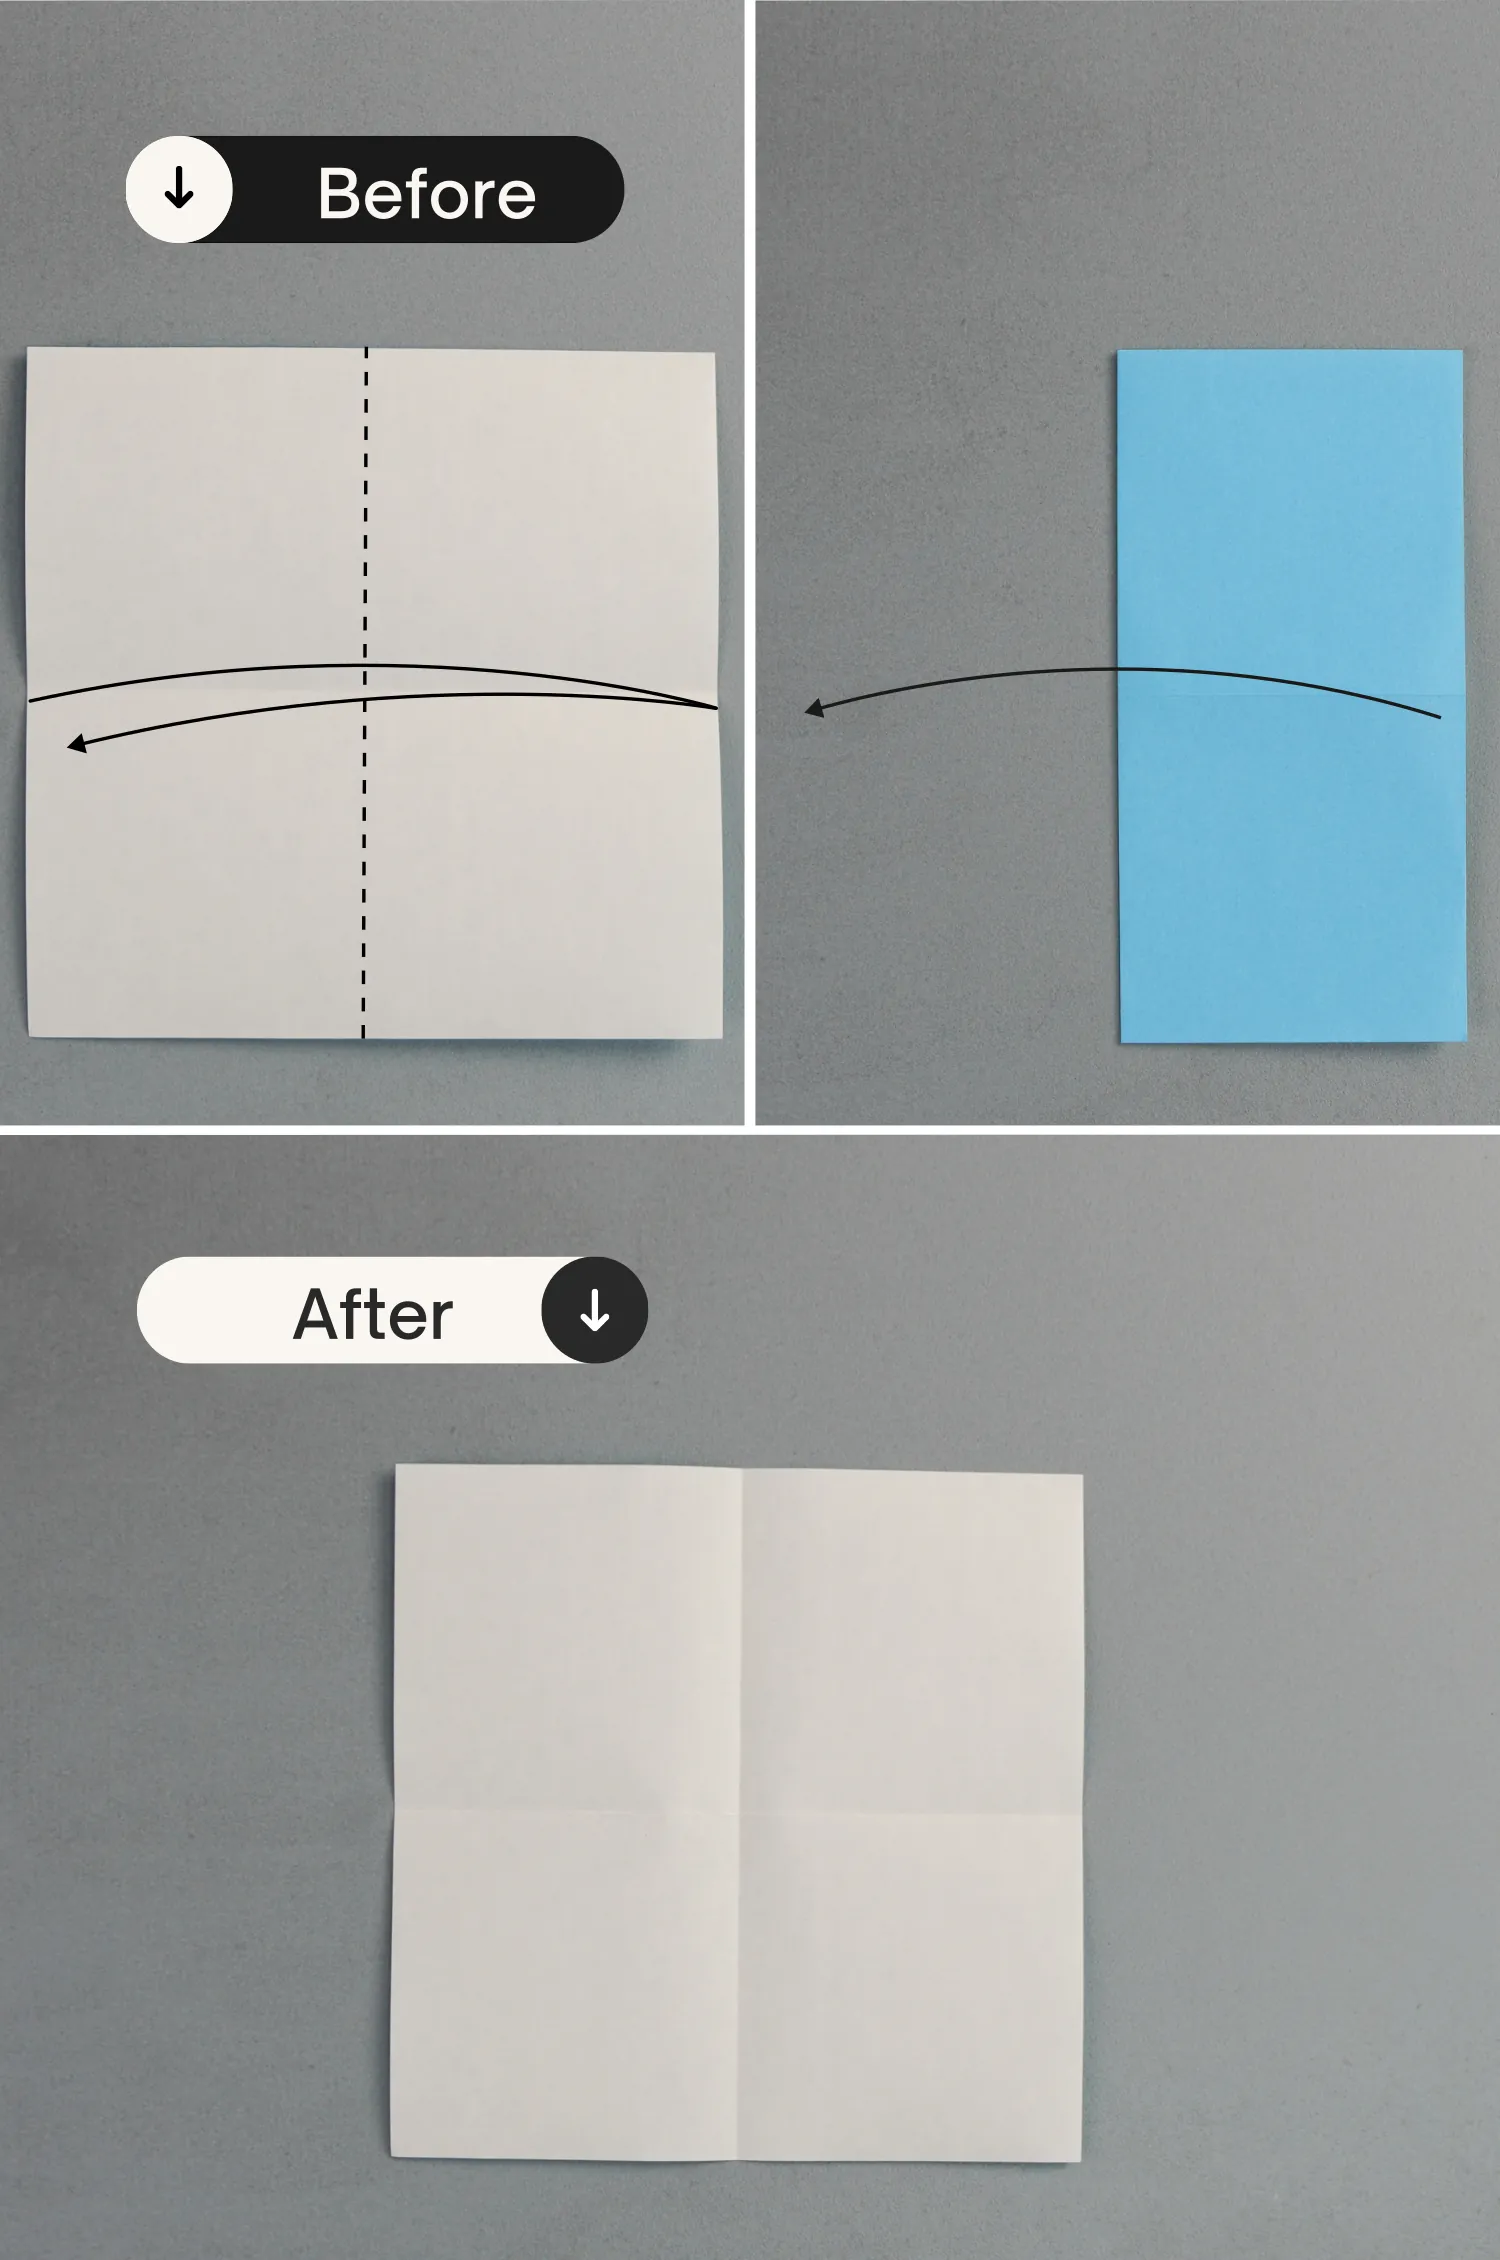
Start with the white side of the paper facing up. Fold it in half horizontally, crease it well then unfold.
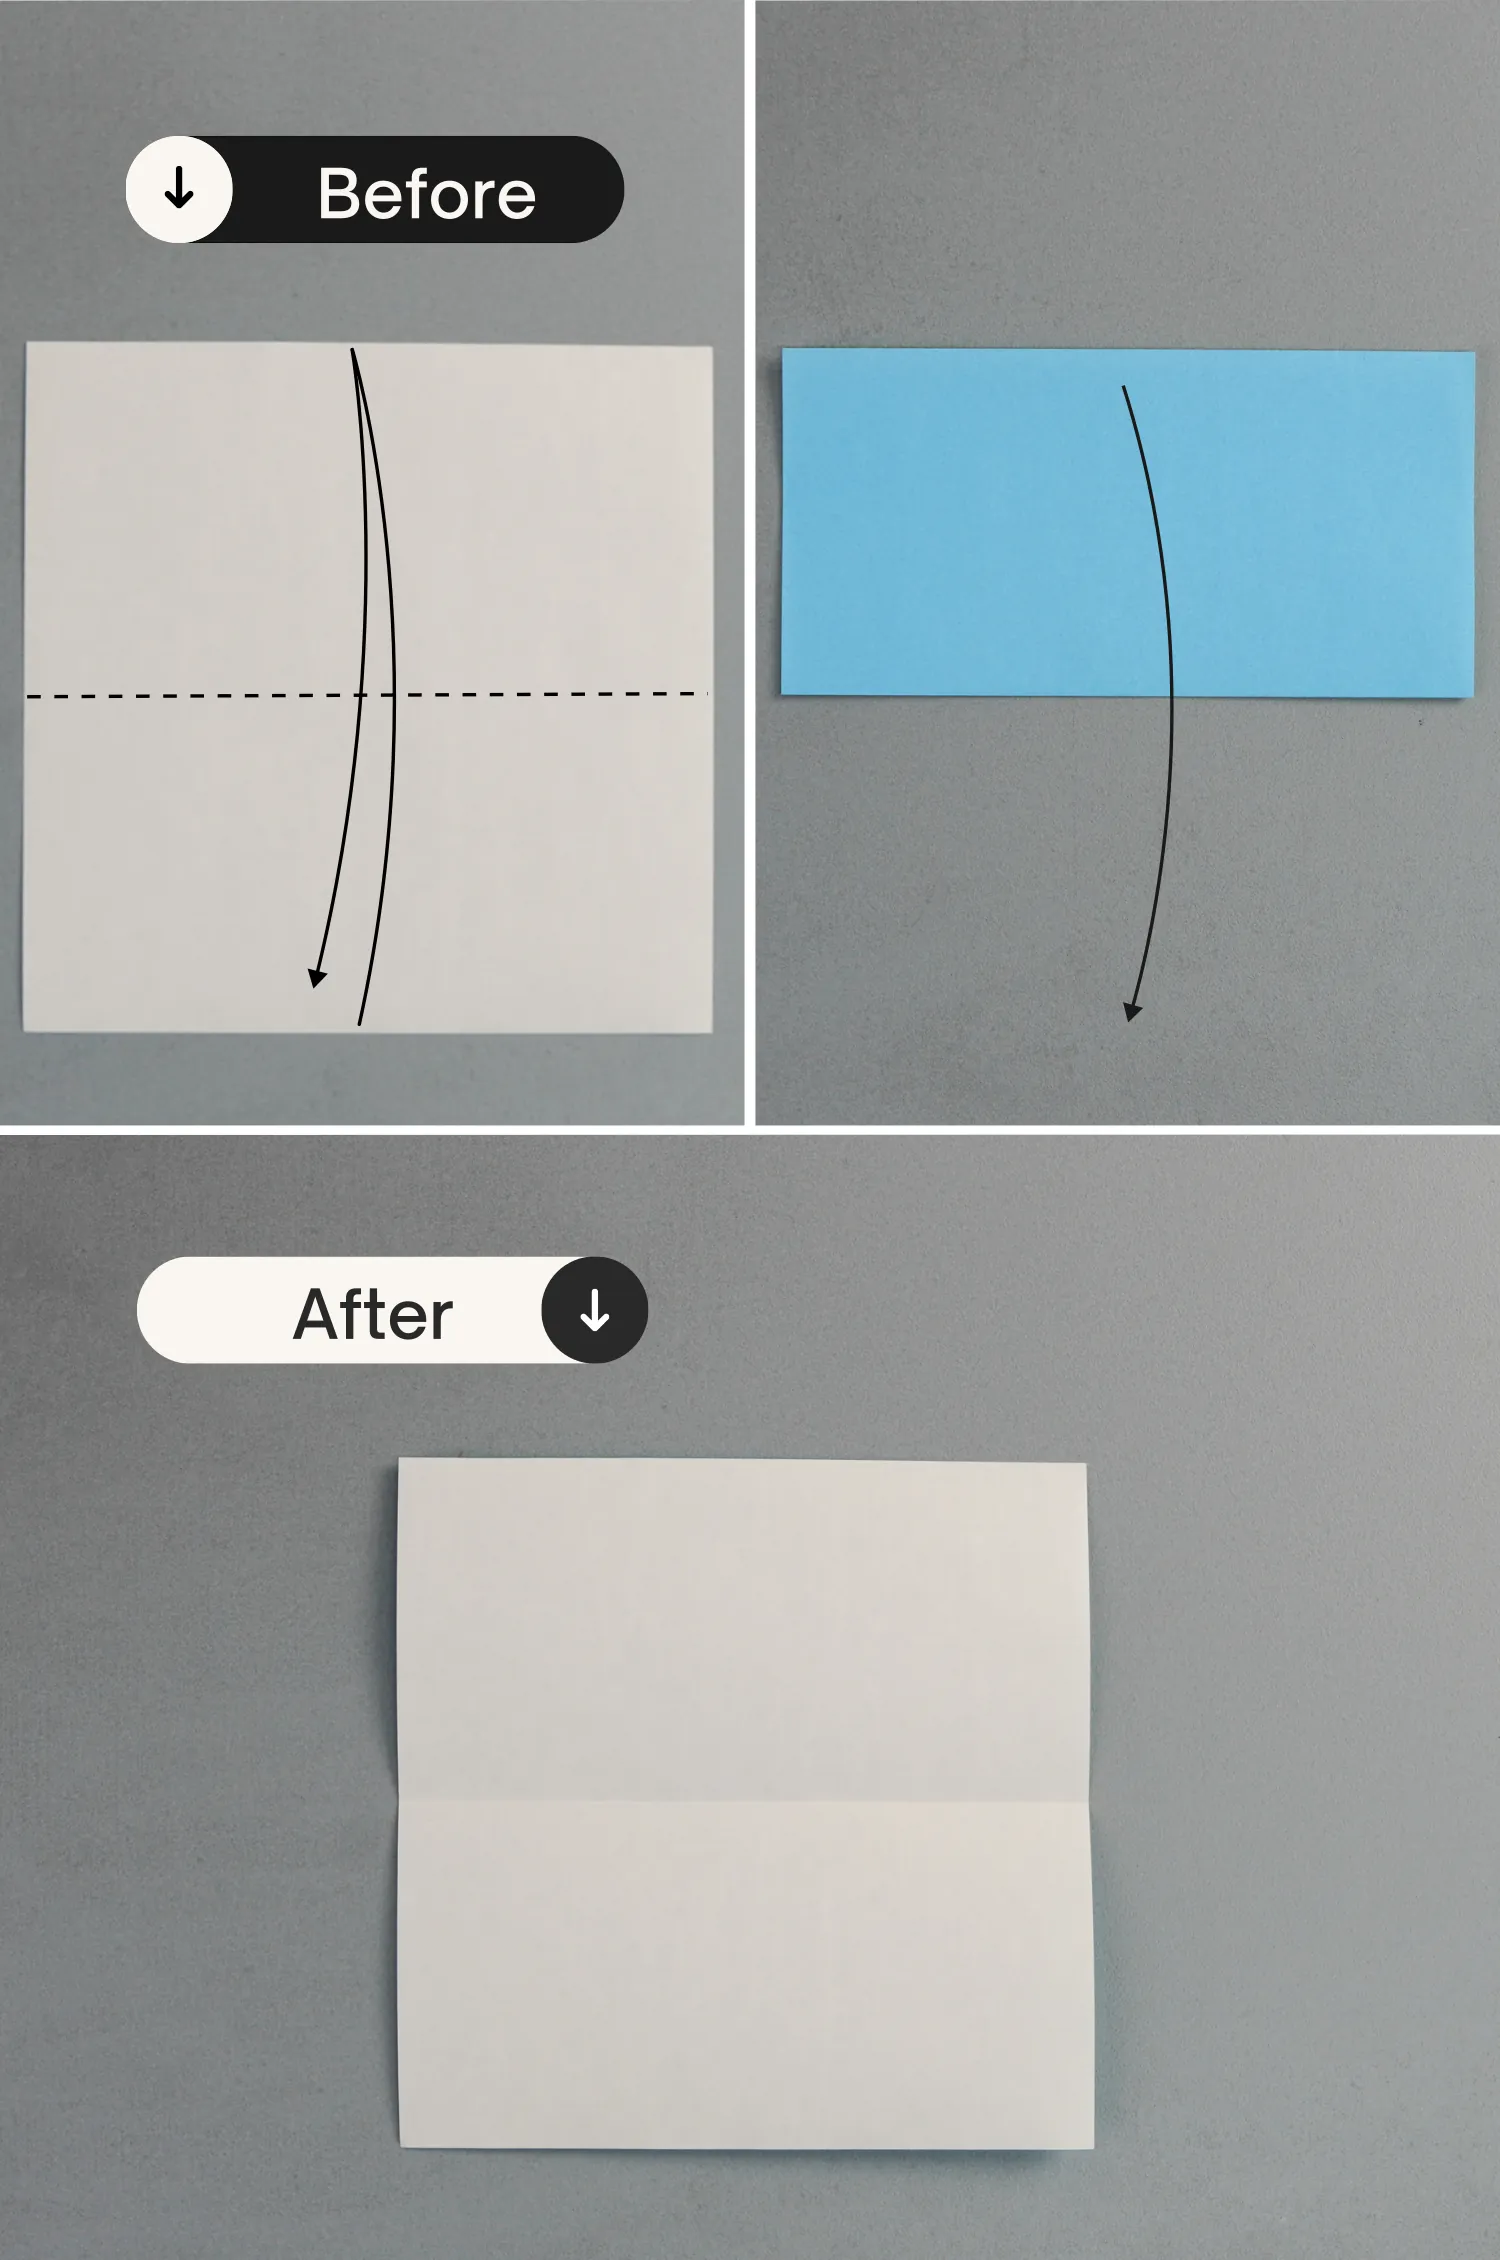
Step 2
Fold it in half vertically, and unfold it.
Step 3
Fold the bottom edge to align with the middle horizontal crease, and unfold it.

Step 4
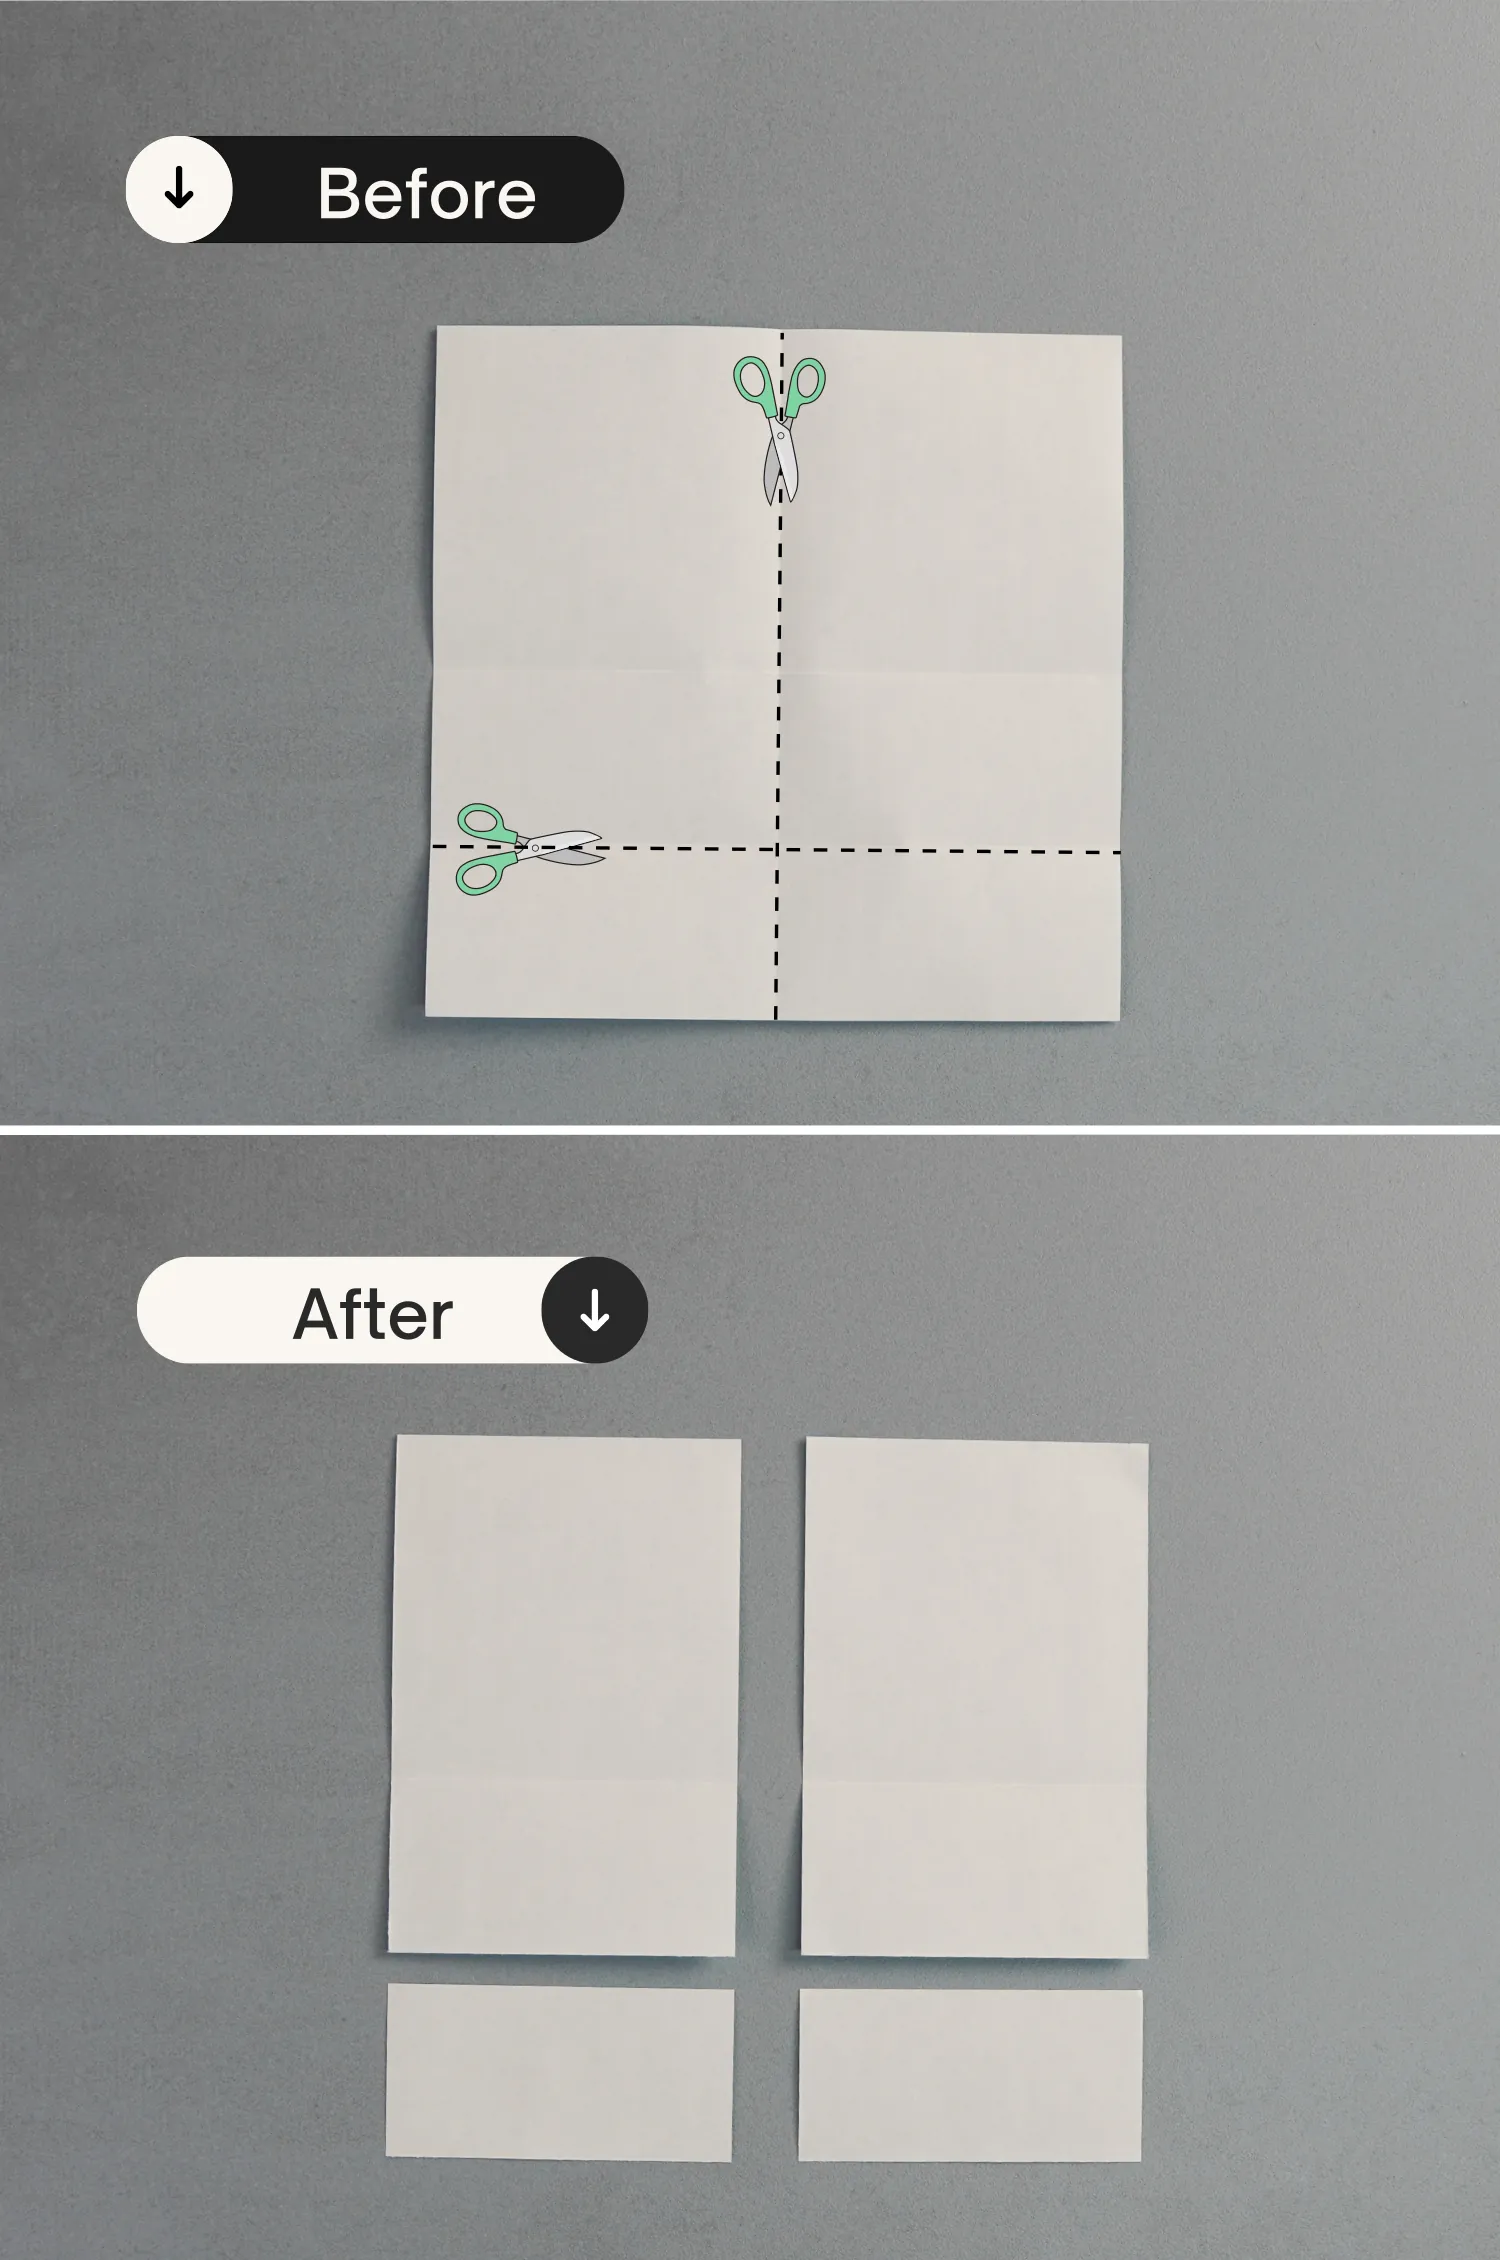
Cut the paper along the creases shown by the dotted lines.
Step 5
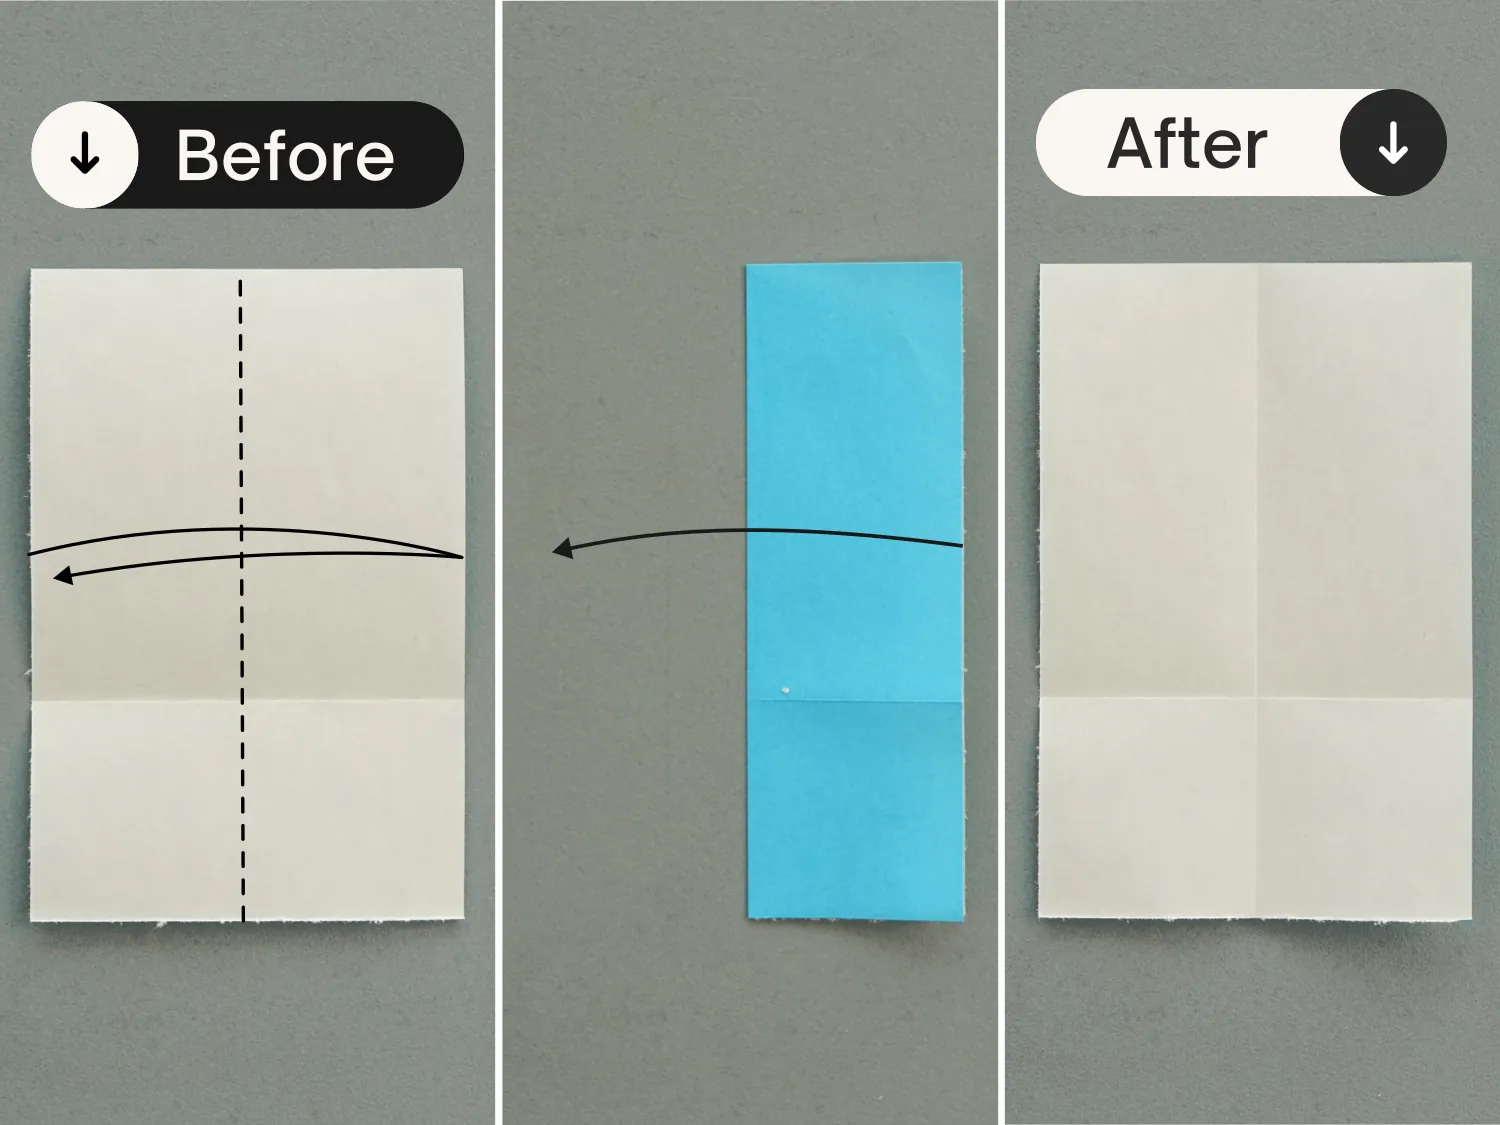
Take out one of the bigger papers, fold it in half vertically, leaving a crease then unfold.
Step 6
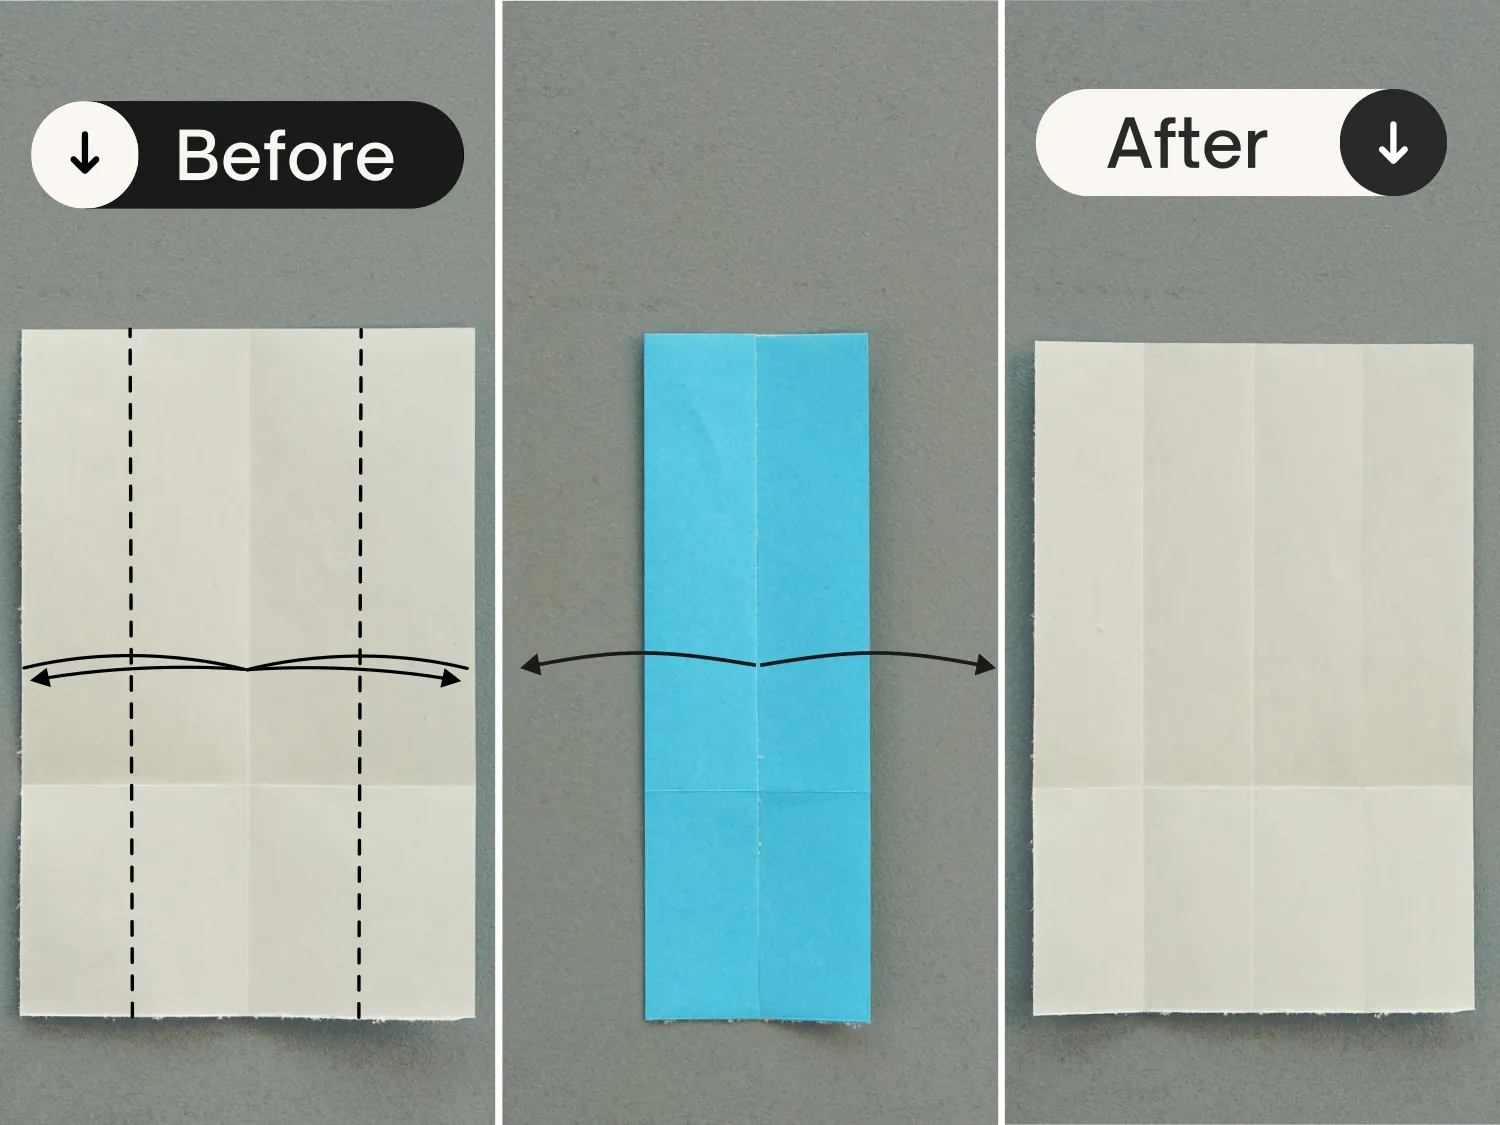
Then fold the left and right edges to align with the middle vertical crease, crease them well then unfold.
Step 7
Fold down the top left and right points diagonally to meet the middle vertical crease, and unfold.
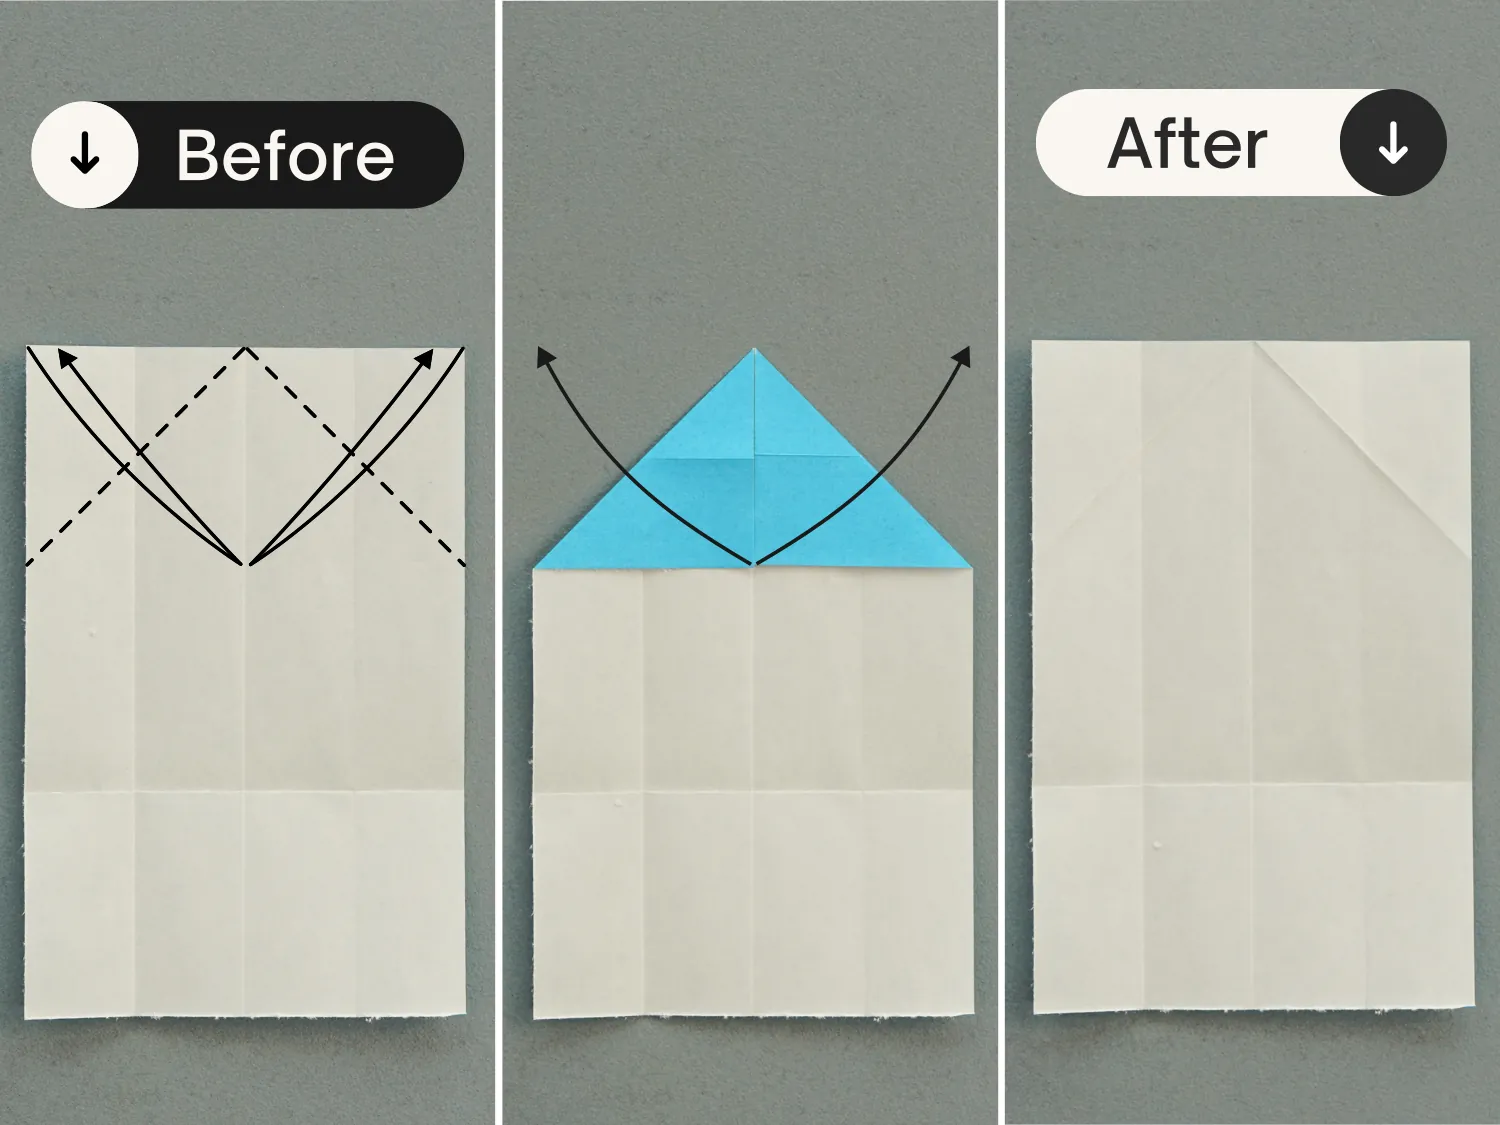
Step 8
Then fold down the top left and right points diagonally again to meet the creases you just made.
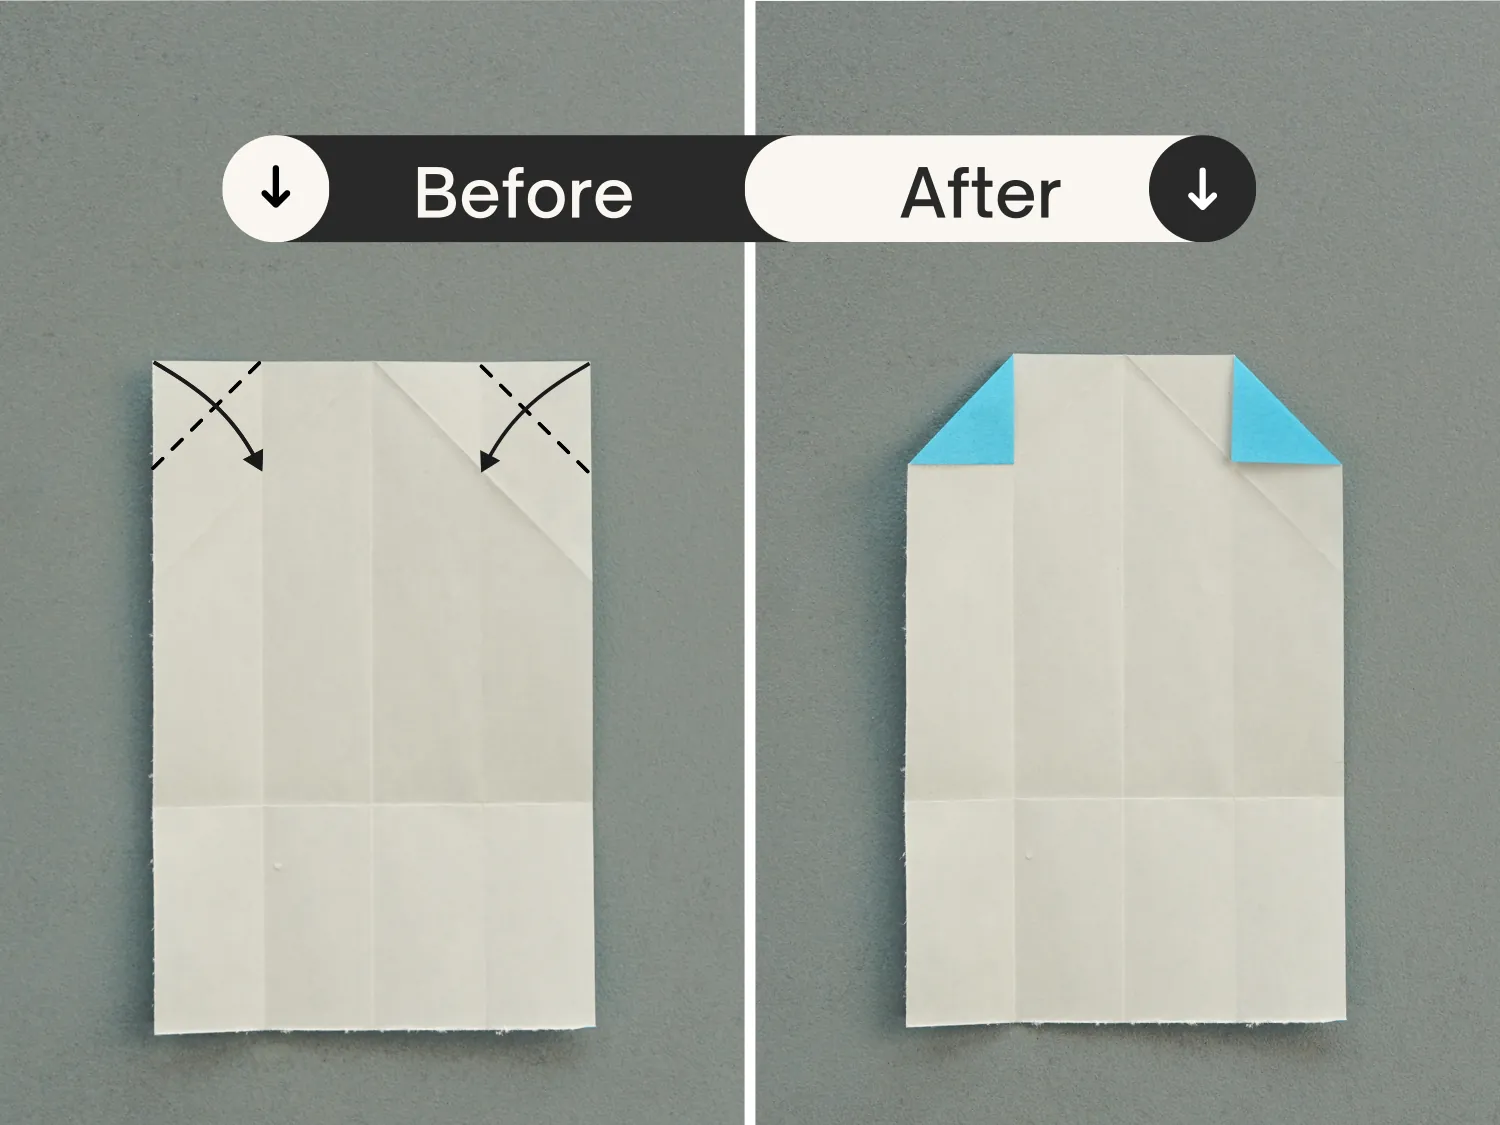
Step 9
Fold the left and right edges to align with the middle vertical crease.

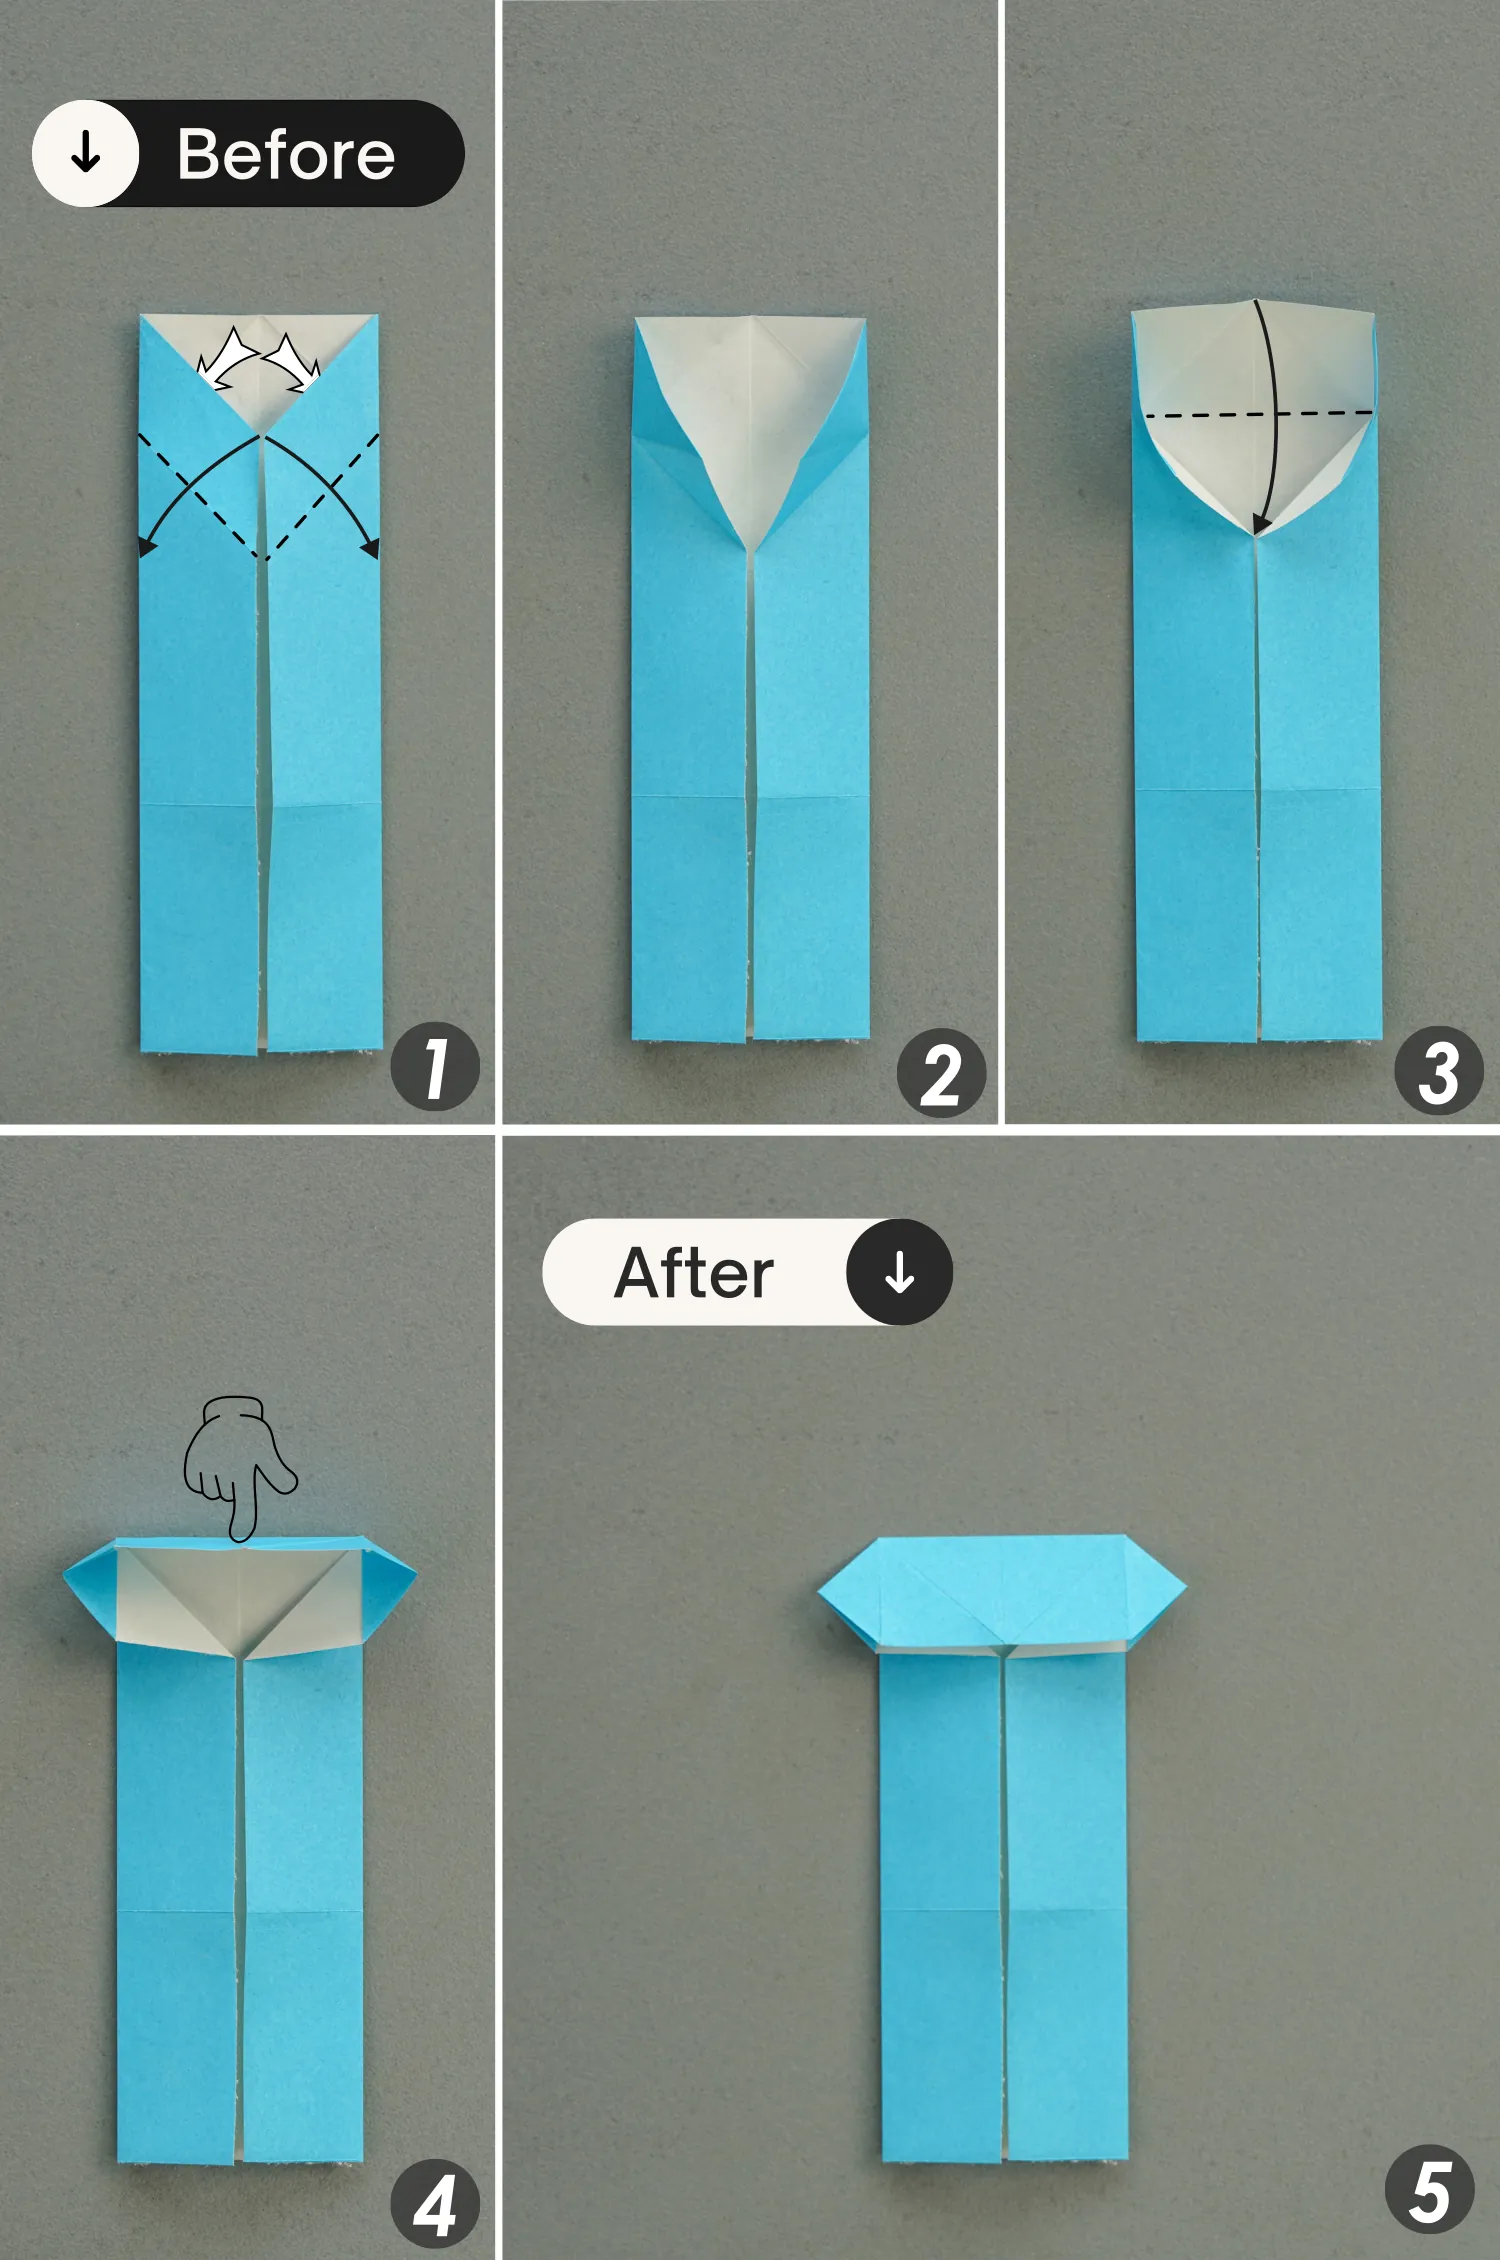
Step 10
lift the top edges of the top left and right layers along the existing creases(shown by the dotted line in the first picture), to open the top pocket, then press down the top edge of the paper along the dotted line as the third picture shows, and finally flatten the fold.
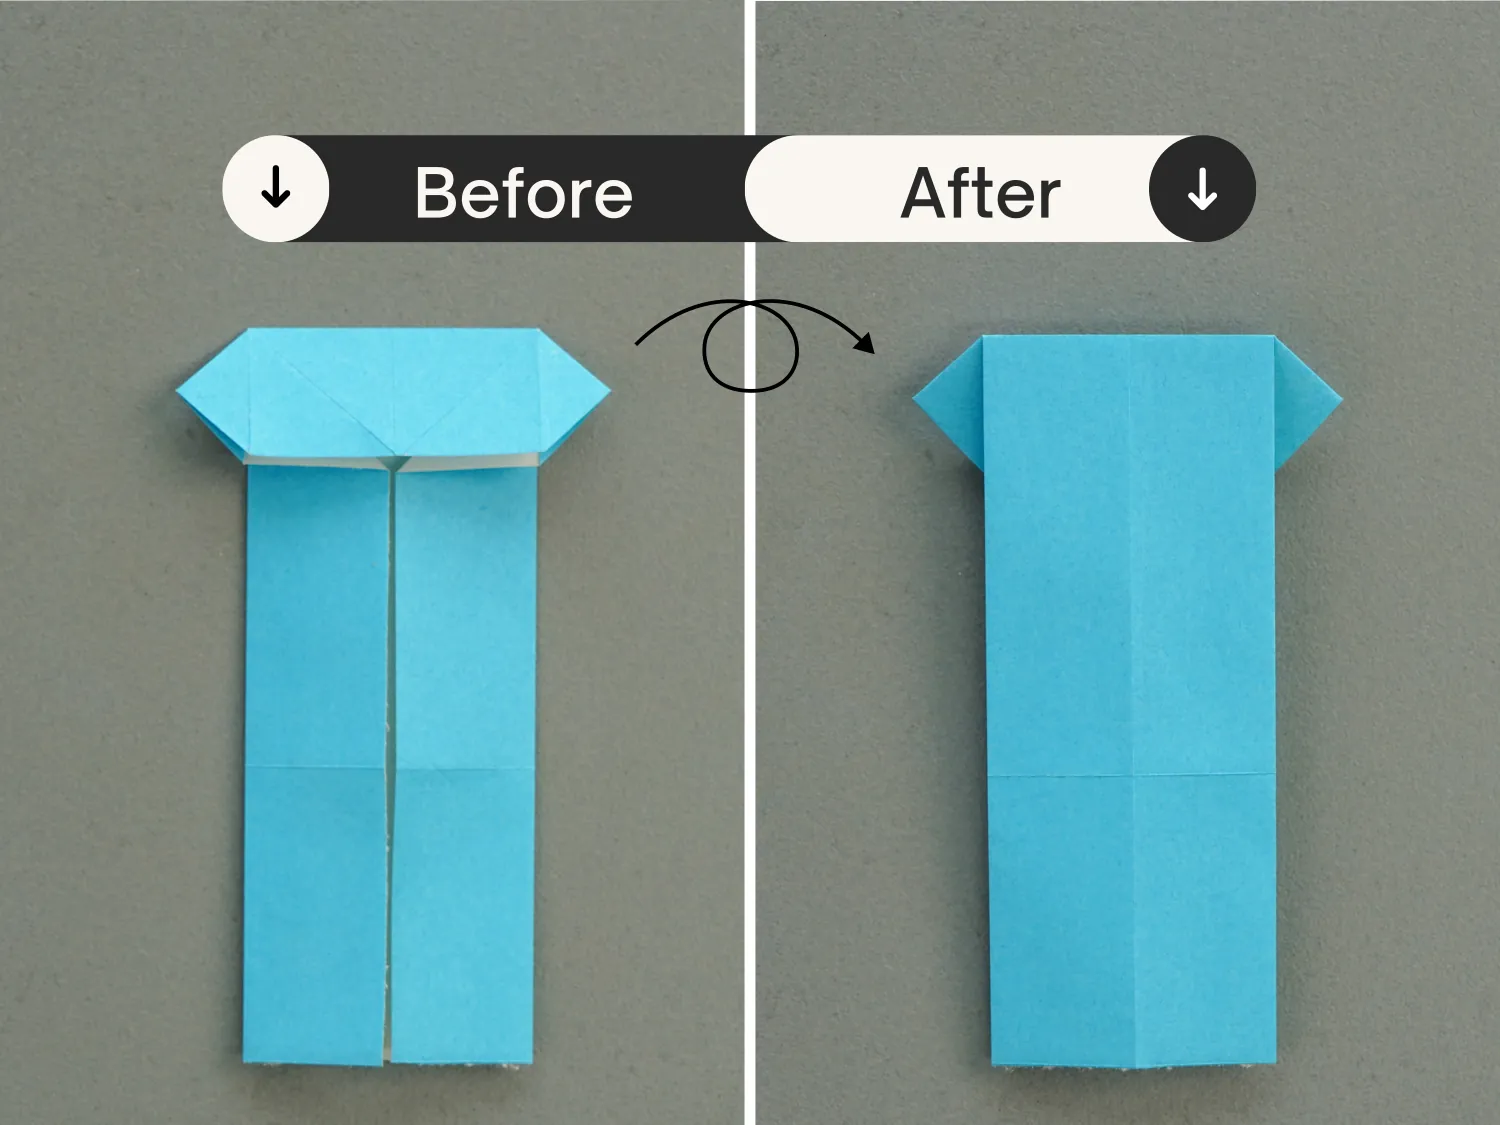
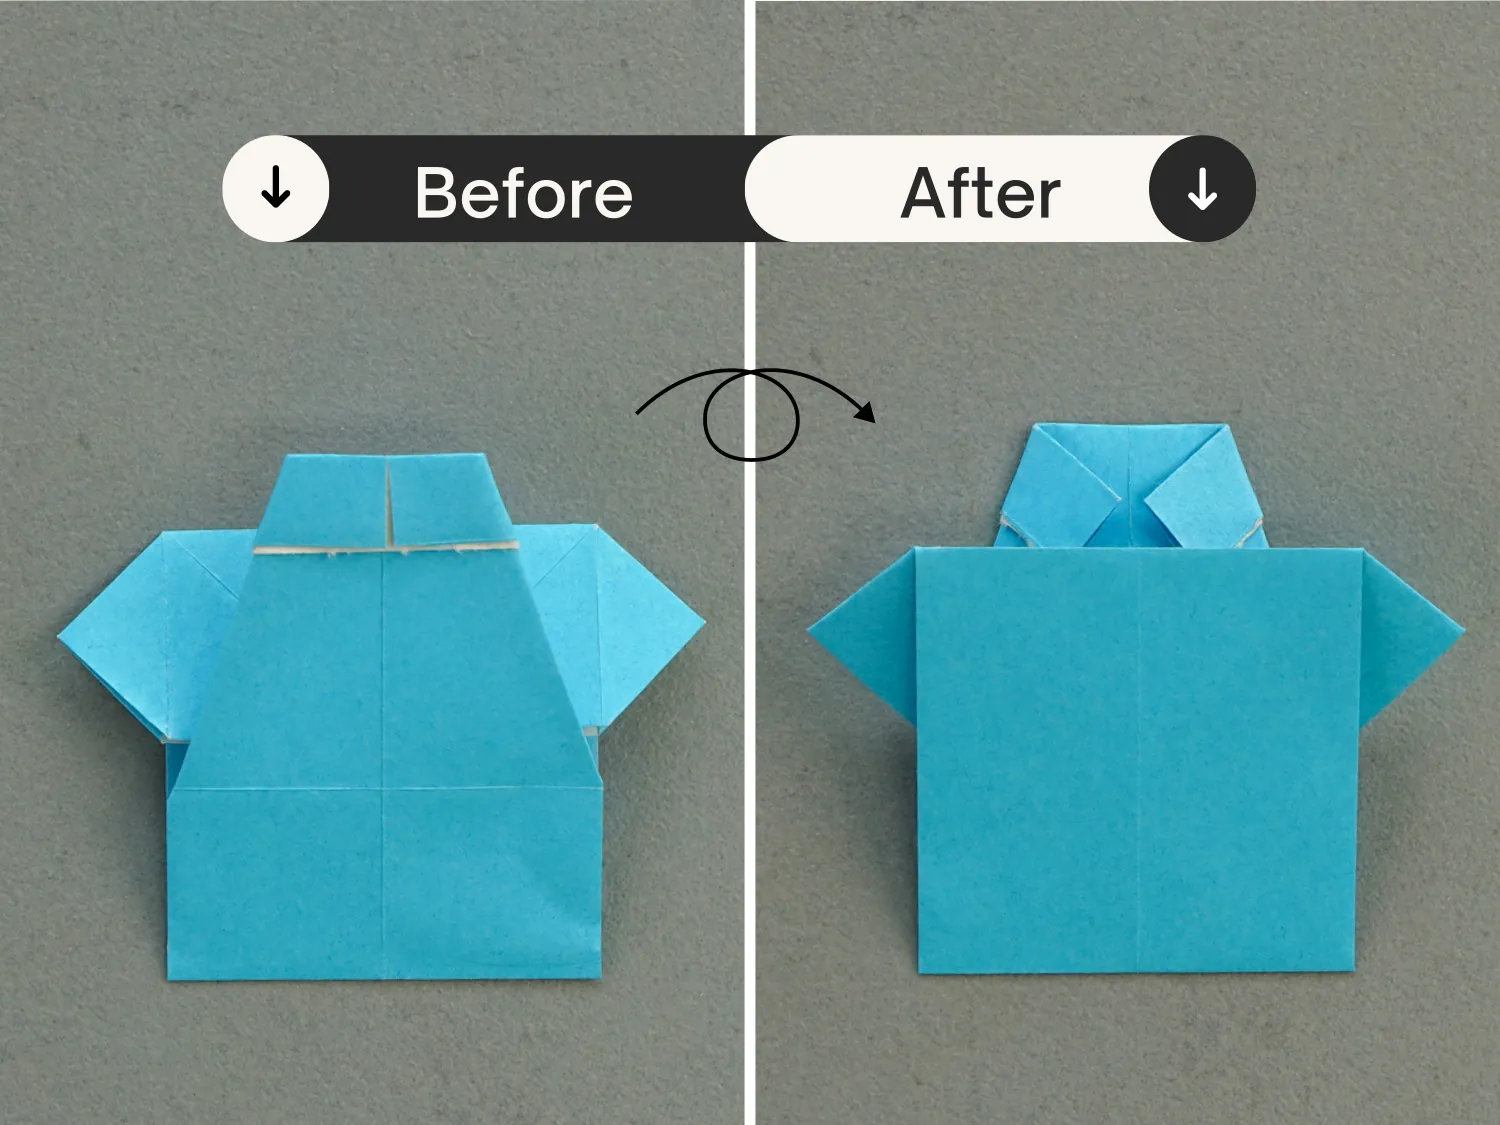
Step 11
Flip the paper over.
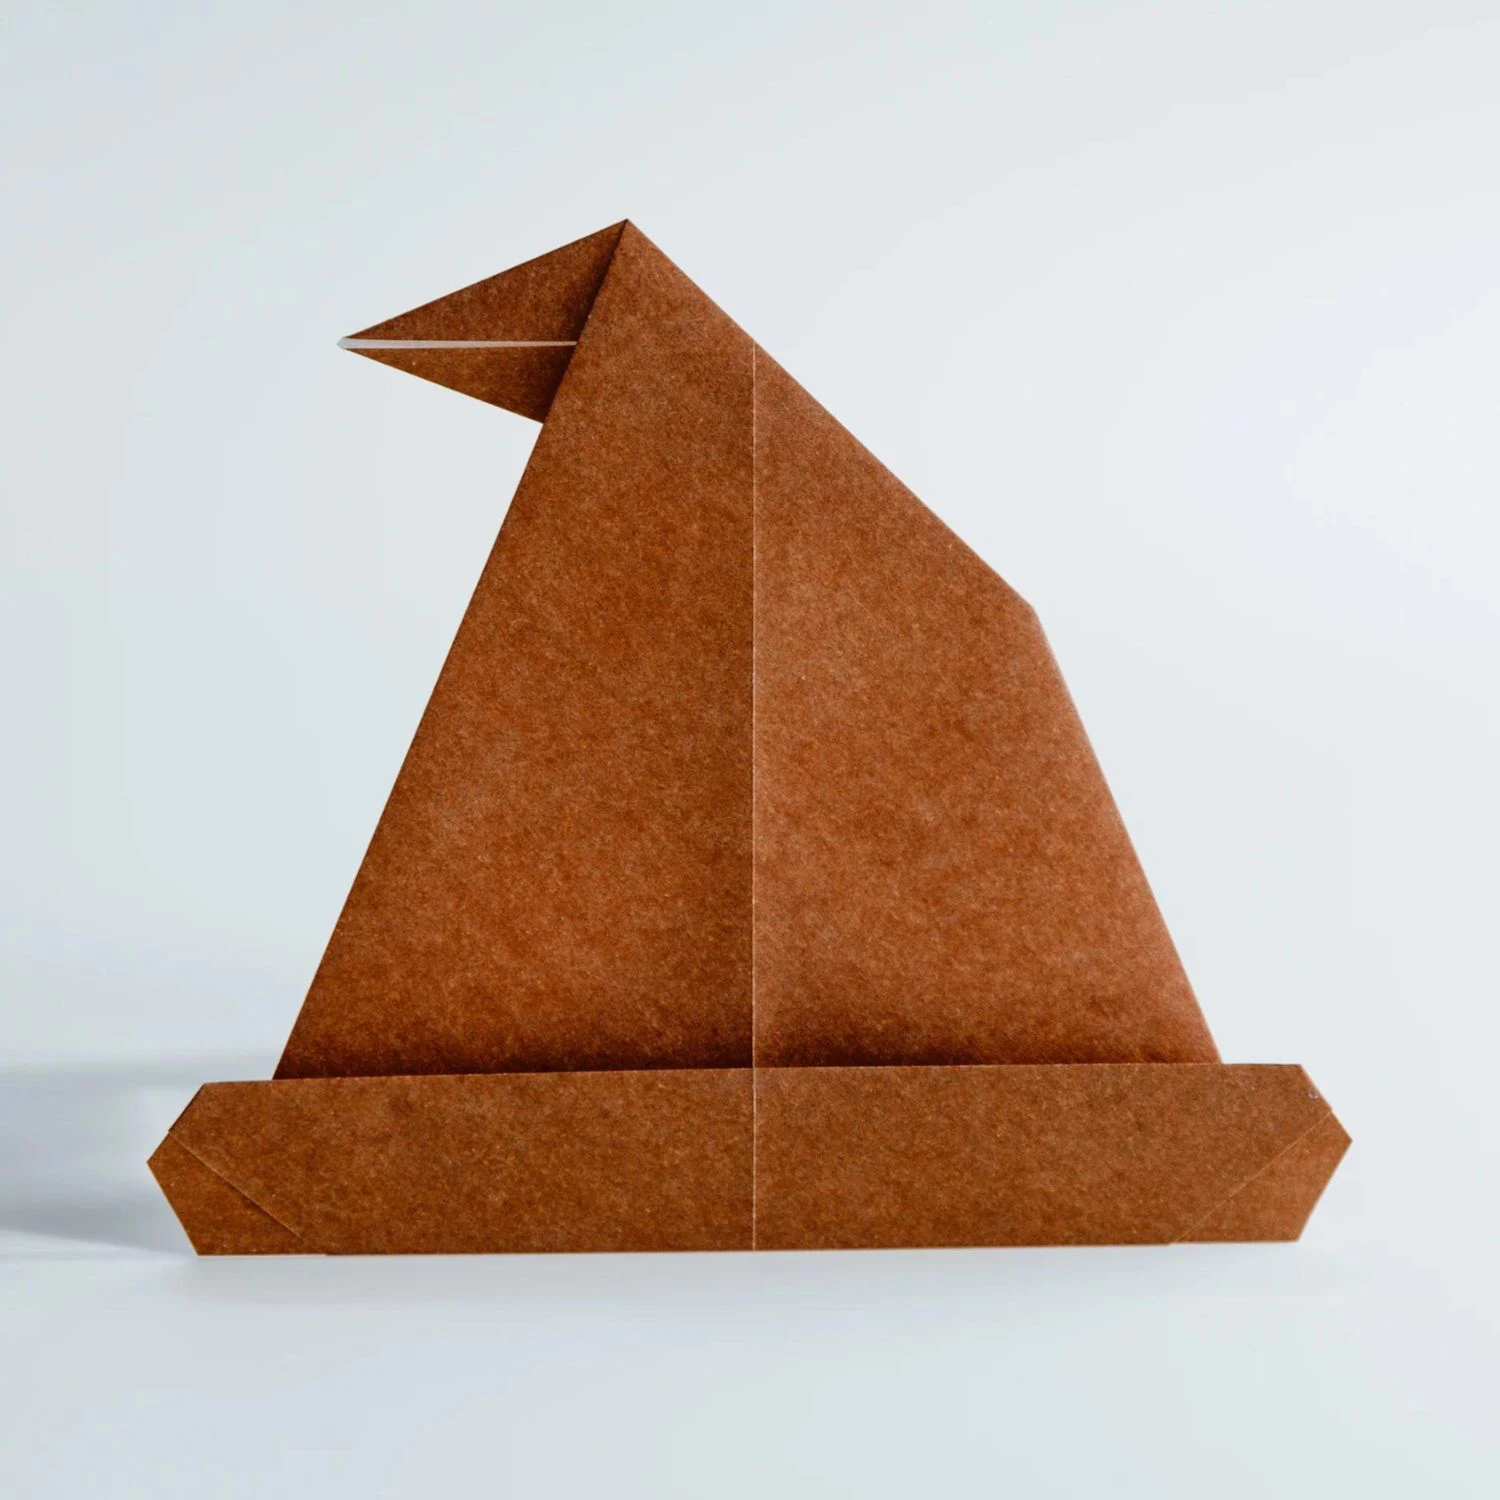
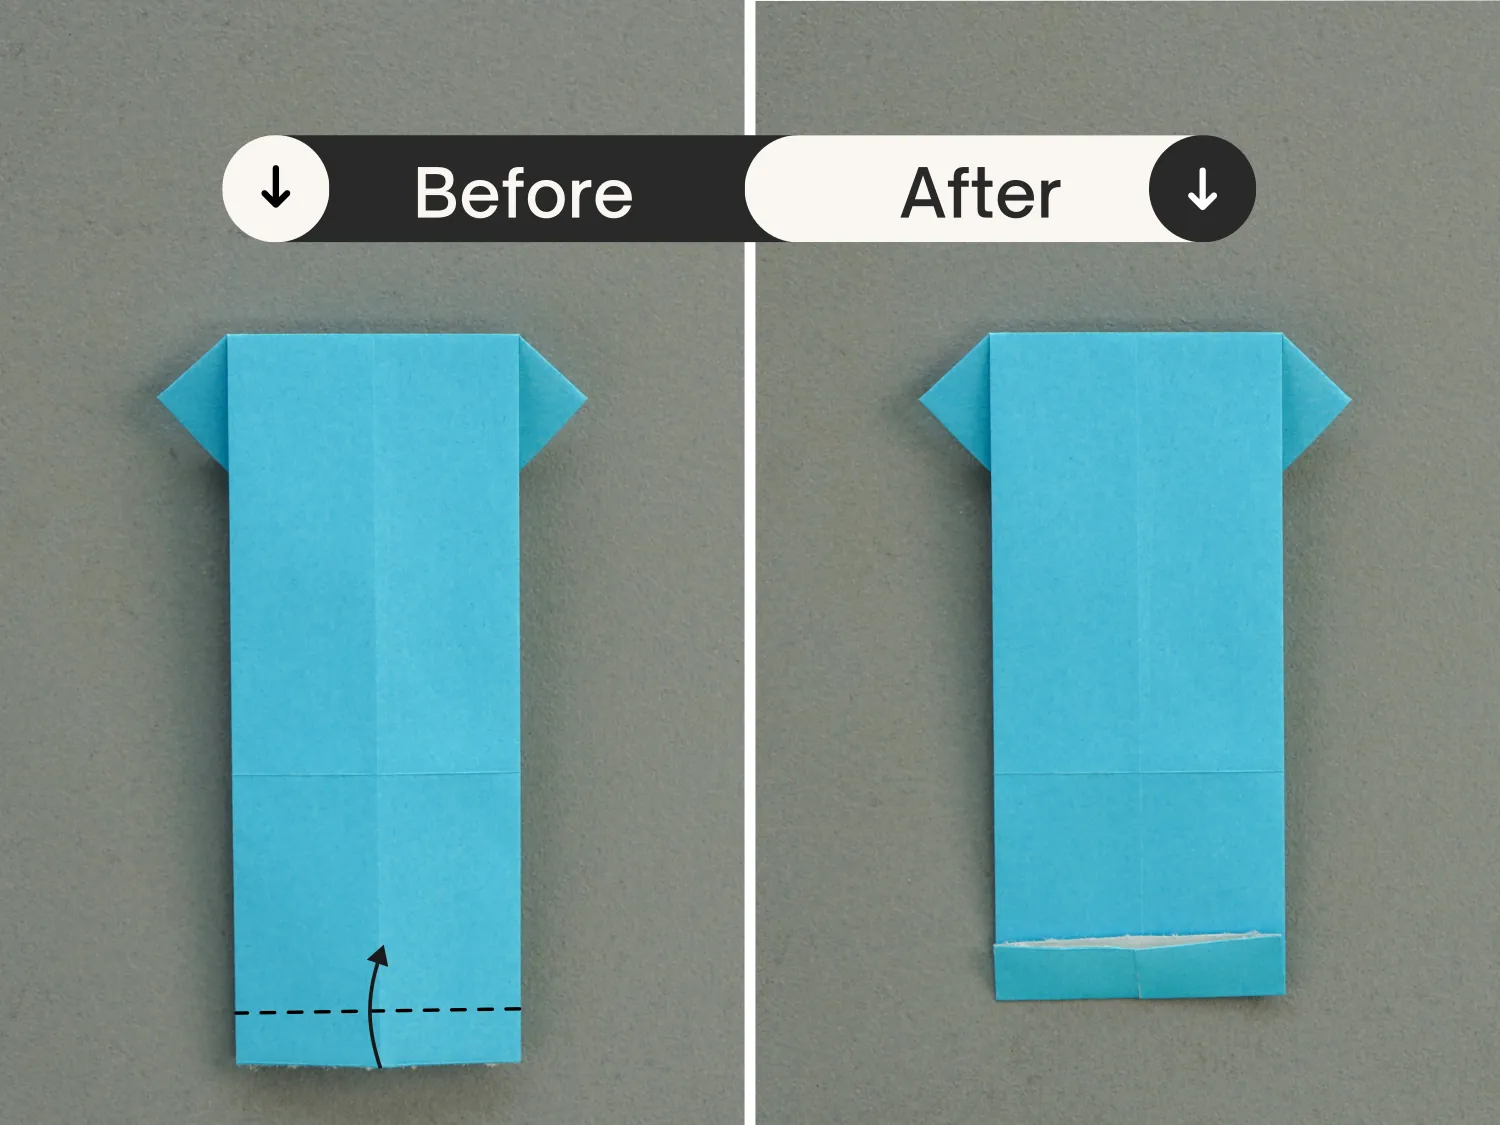
Step 12
Fold the bottom edge up a little.
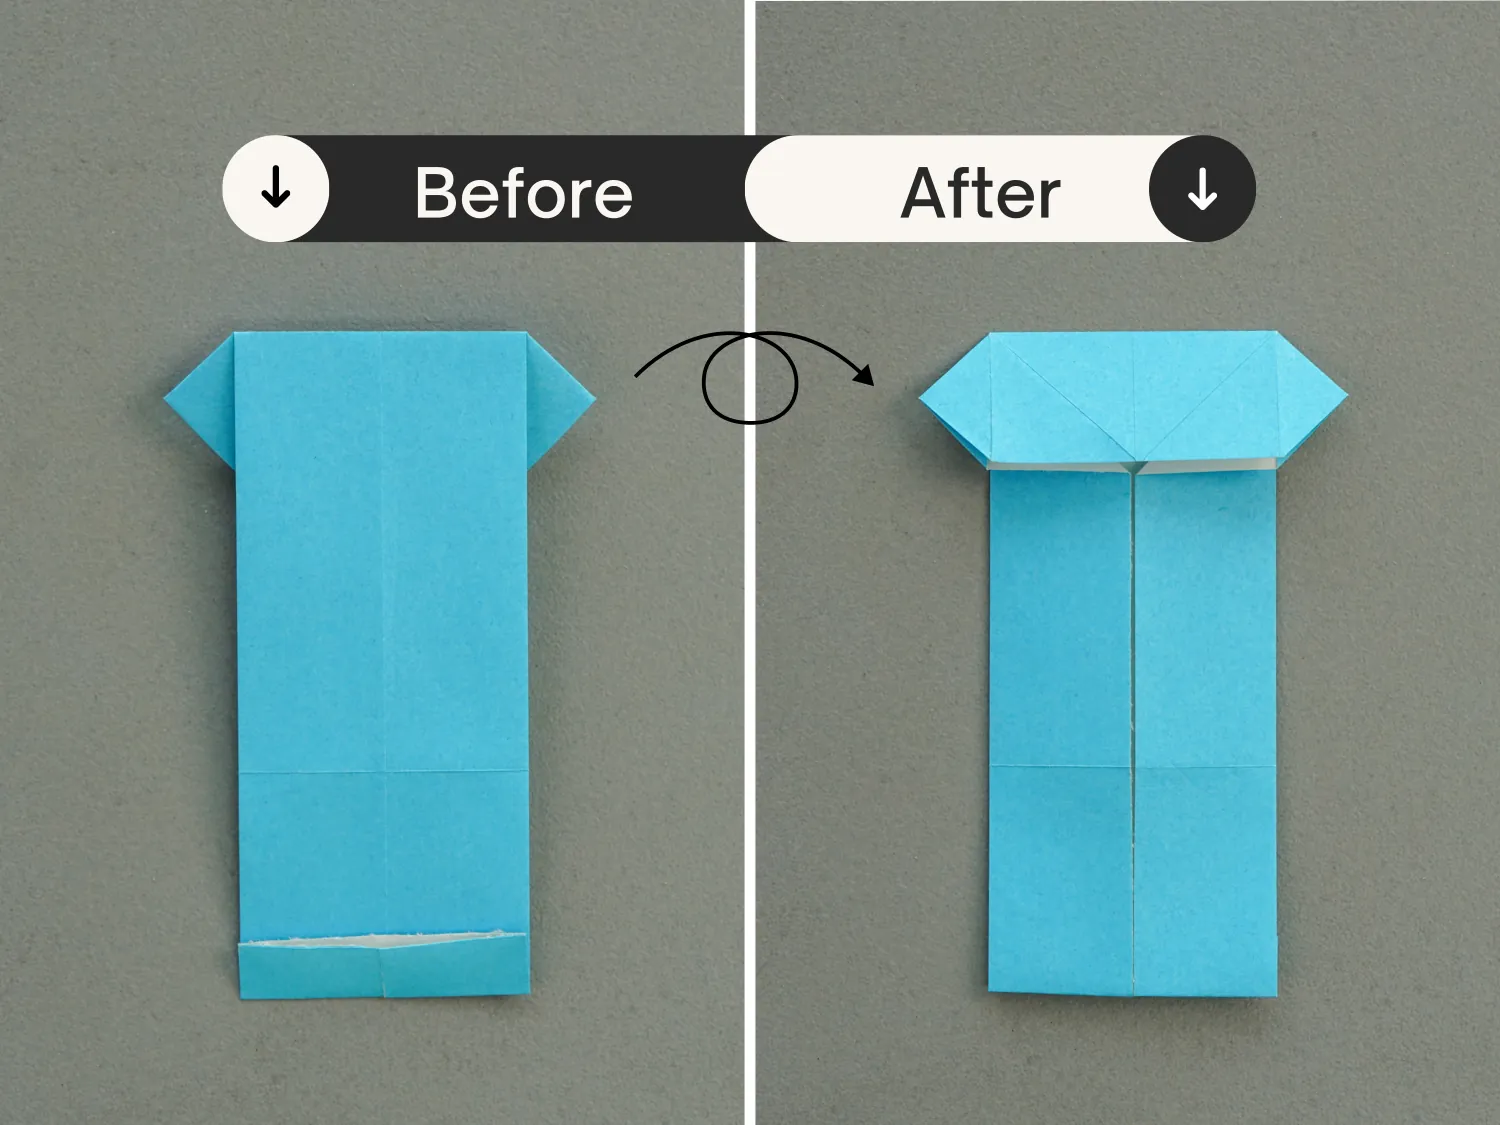
Step 13
Turn over the paper.
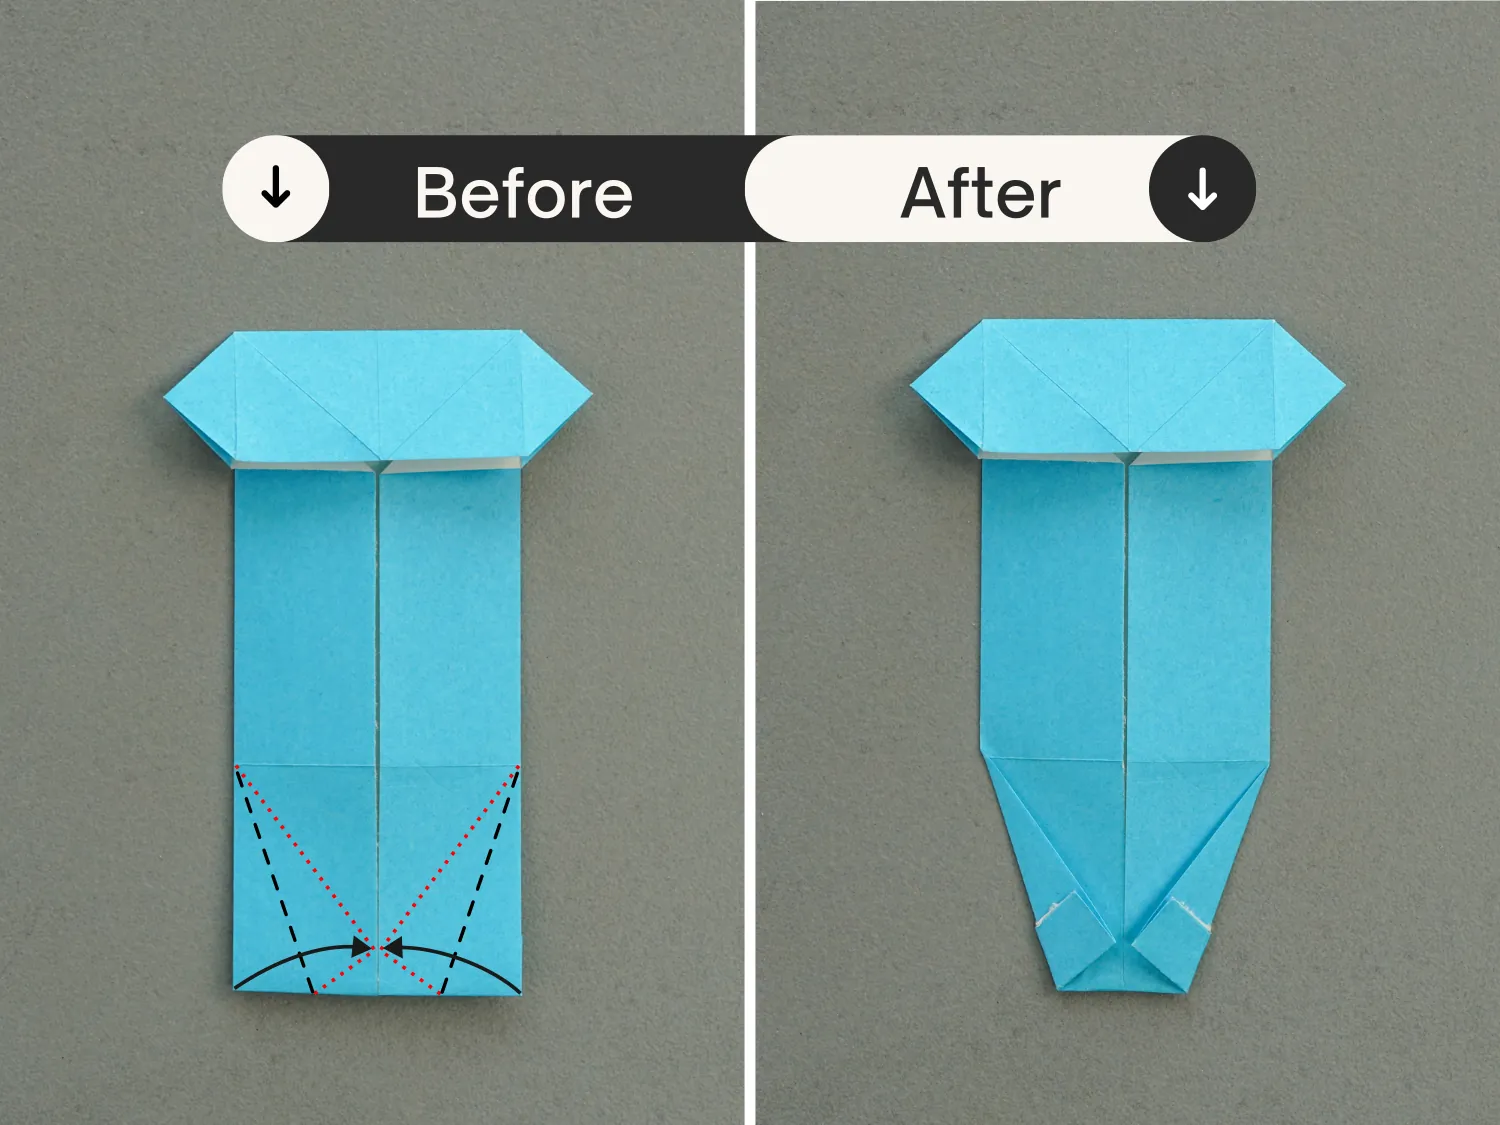
Step 14
Fold the bottom left and right corners along the black dotted lines to meet the middle vertical line.
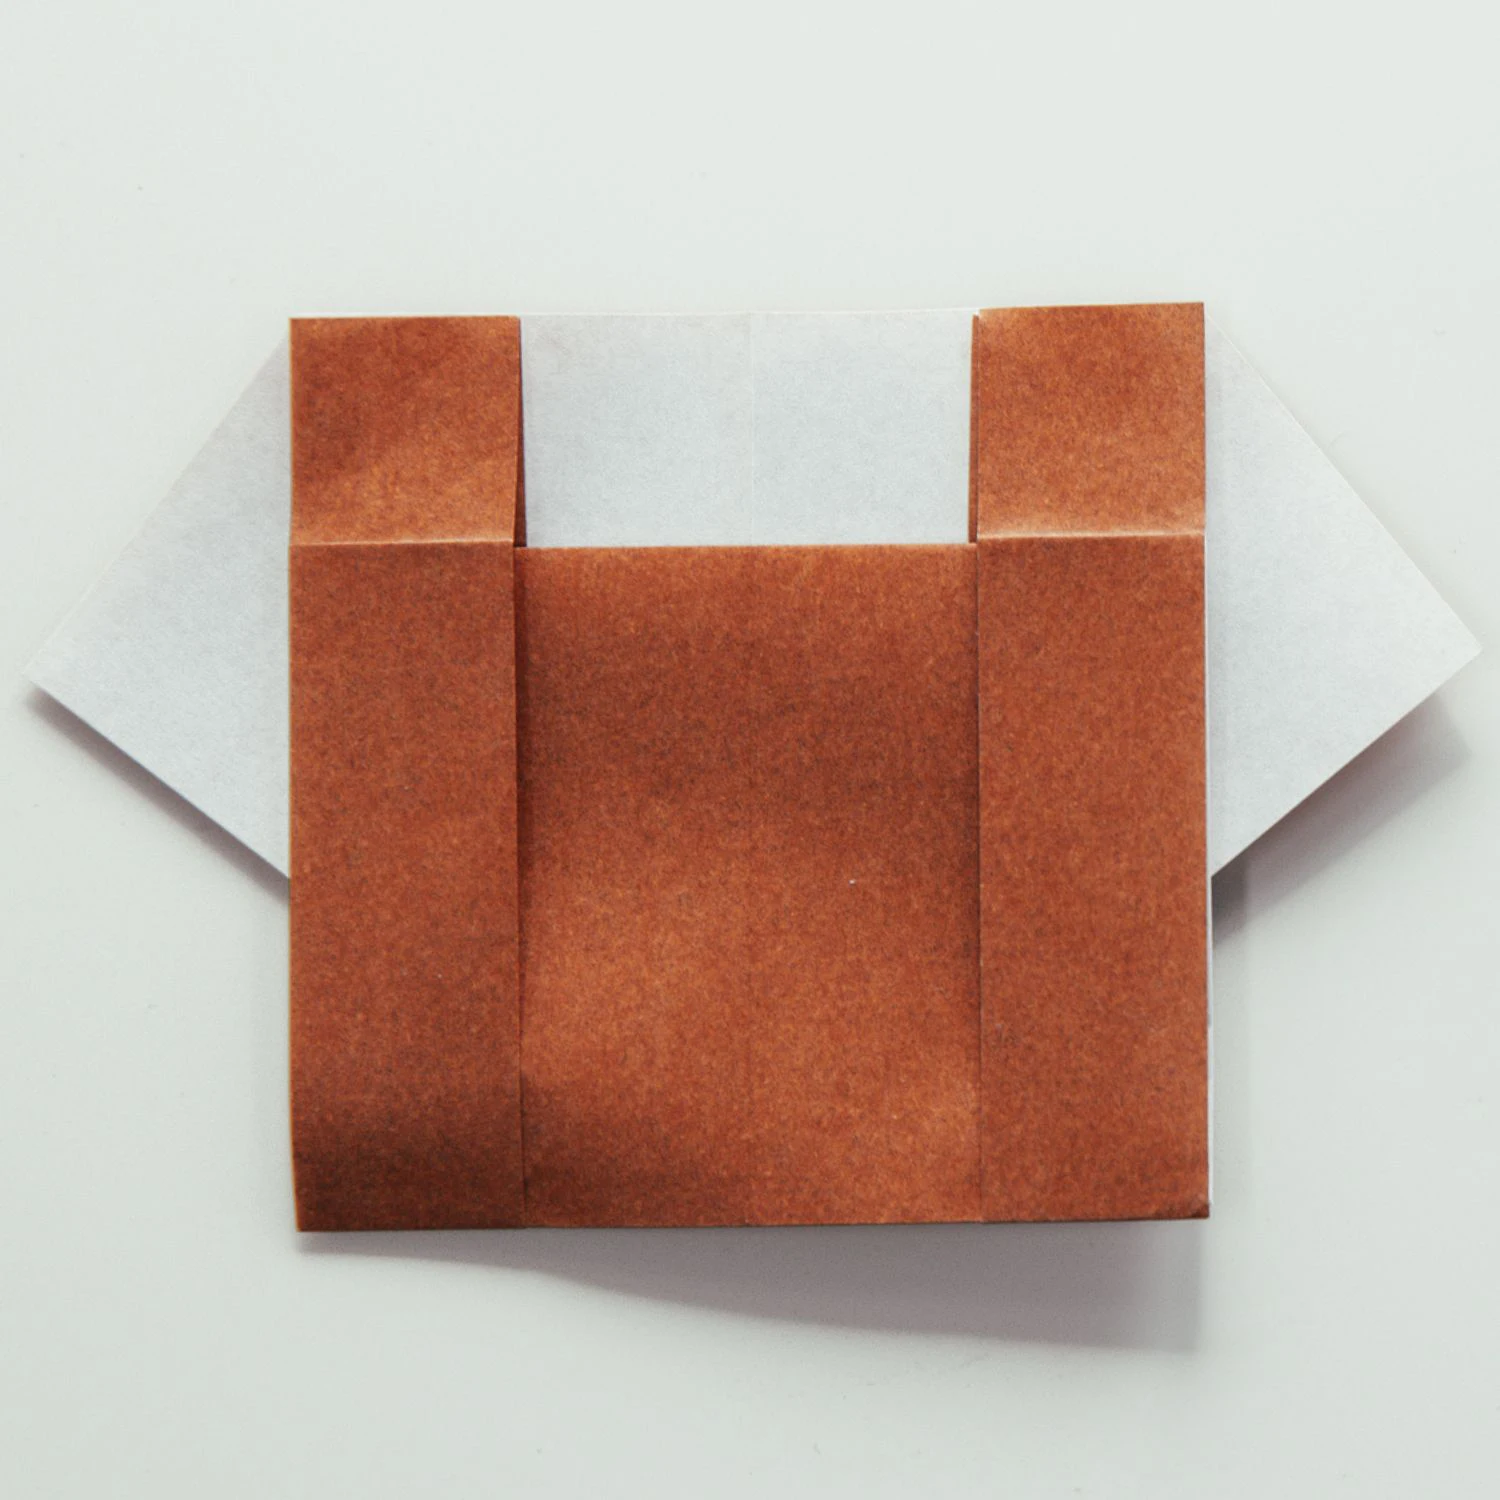
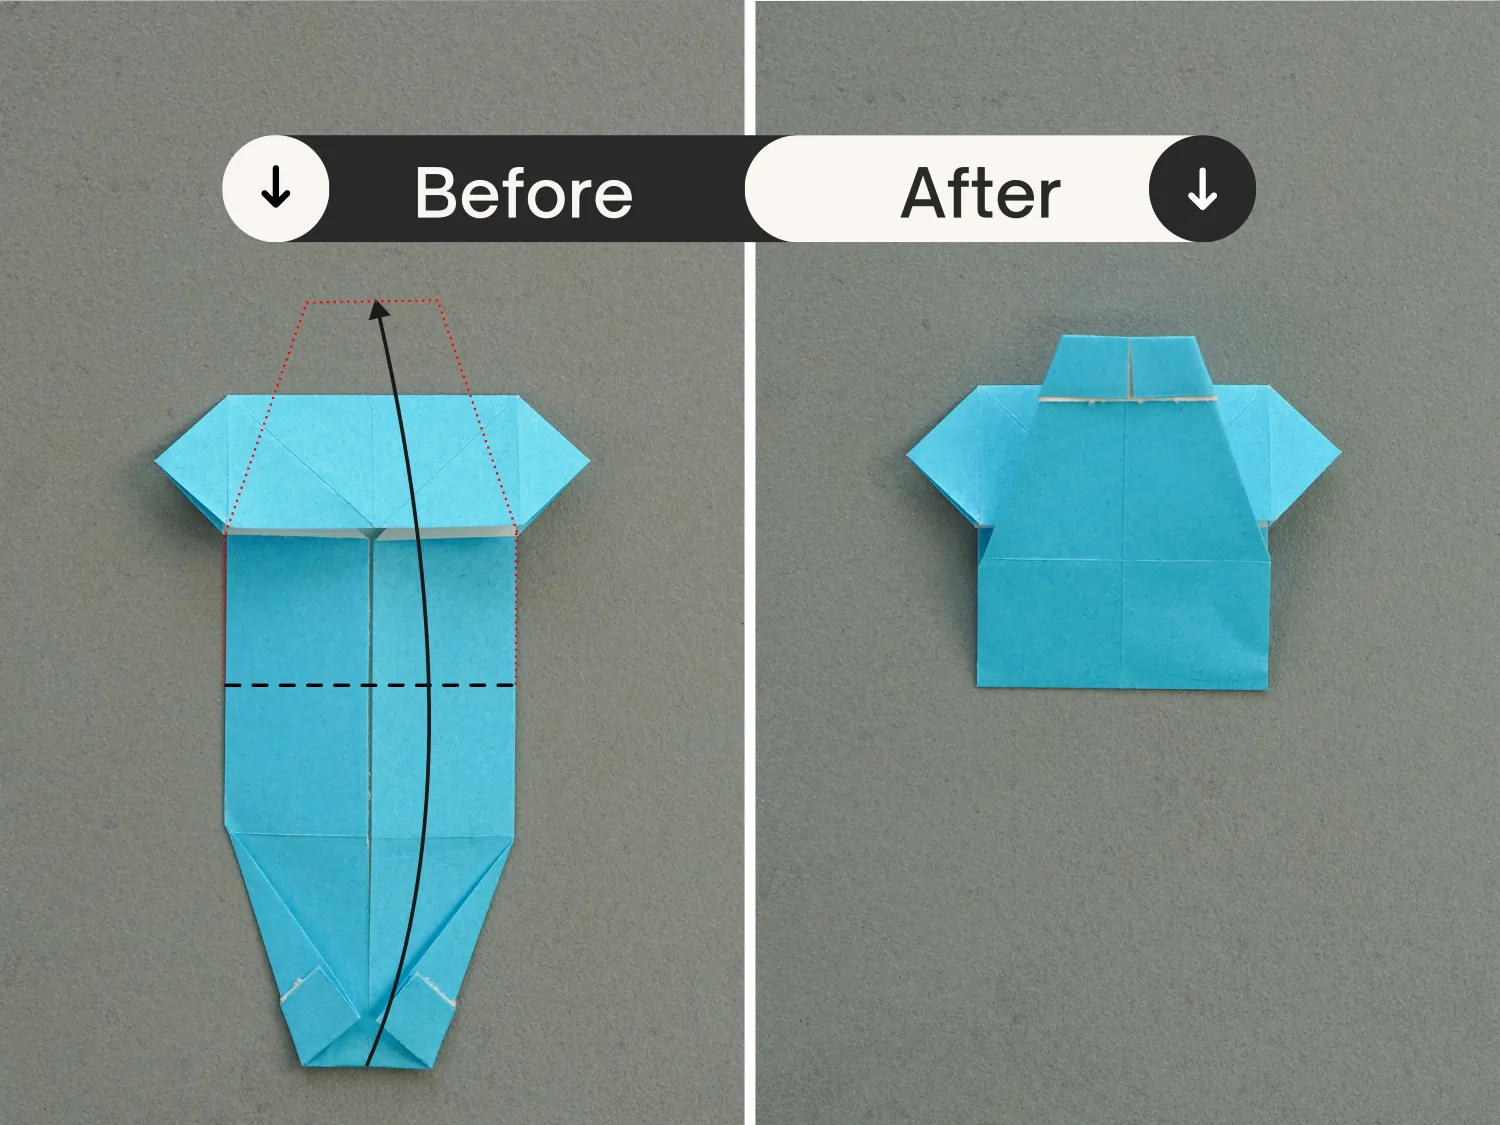
Step 15
Fold up the bottom part along the dotted line.
Step 16
Flip the paper over.
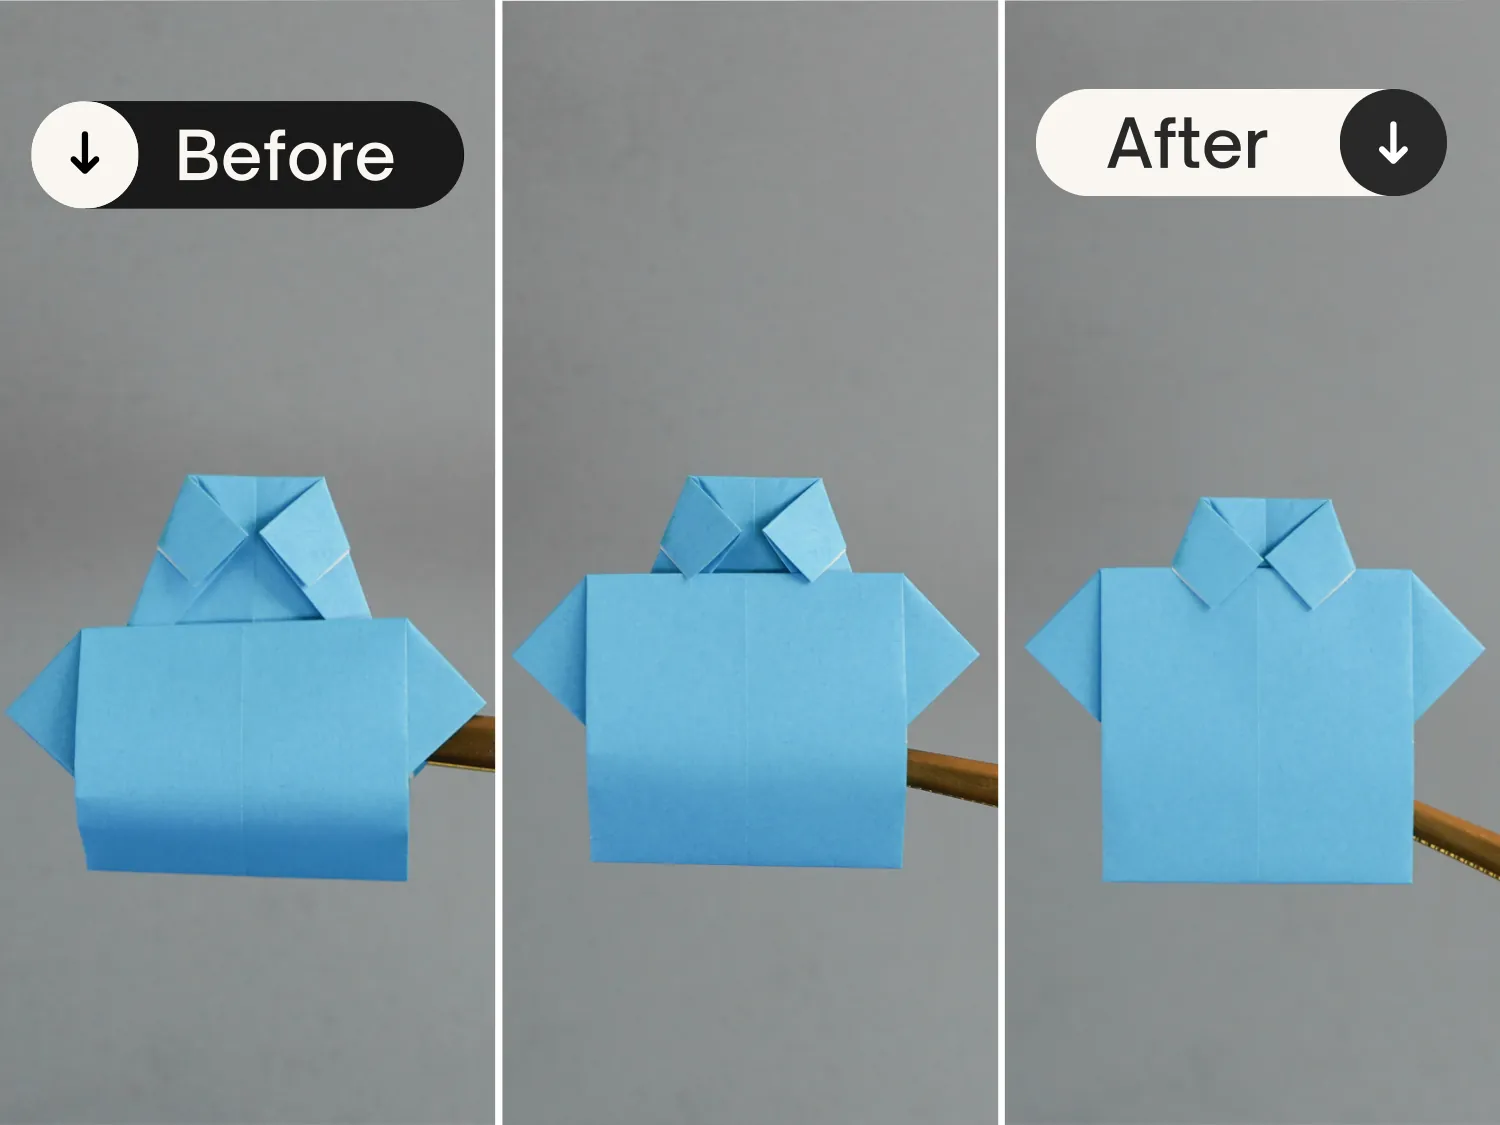
Step 17
Lift both collars to the top and press the top edge of the square underneath.
What’s Next
This is your lovely origami shirt, you may draw eyes to decorate it and to make it more cute. Next, you can check our other origami animal ideas, they are all adorable and lifelike, hope you will enjoy the process!
Other Easy Origami Clothes Ideas