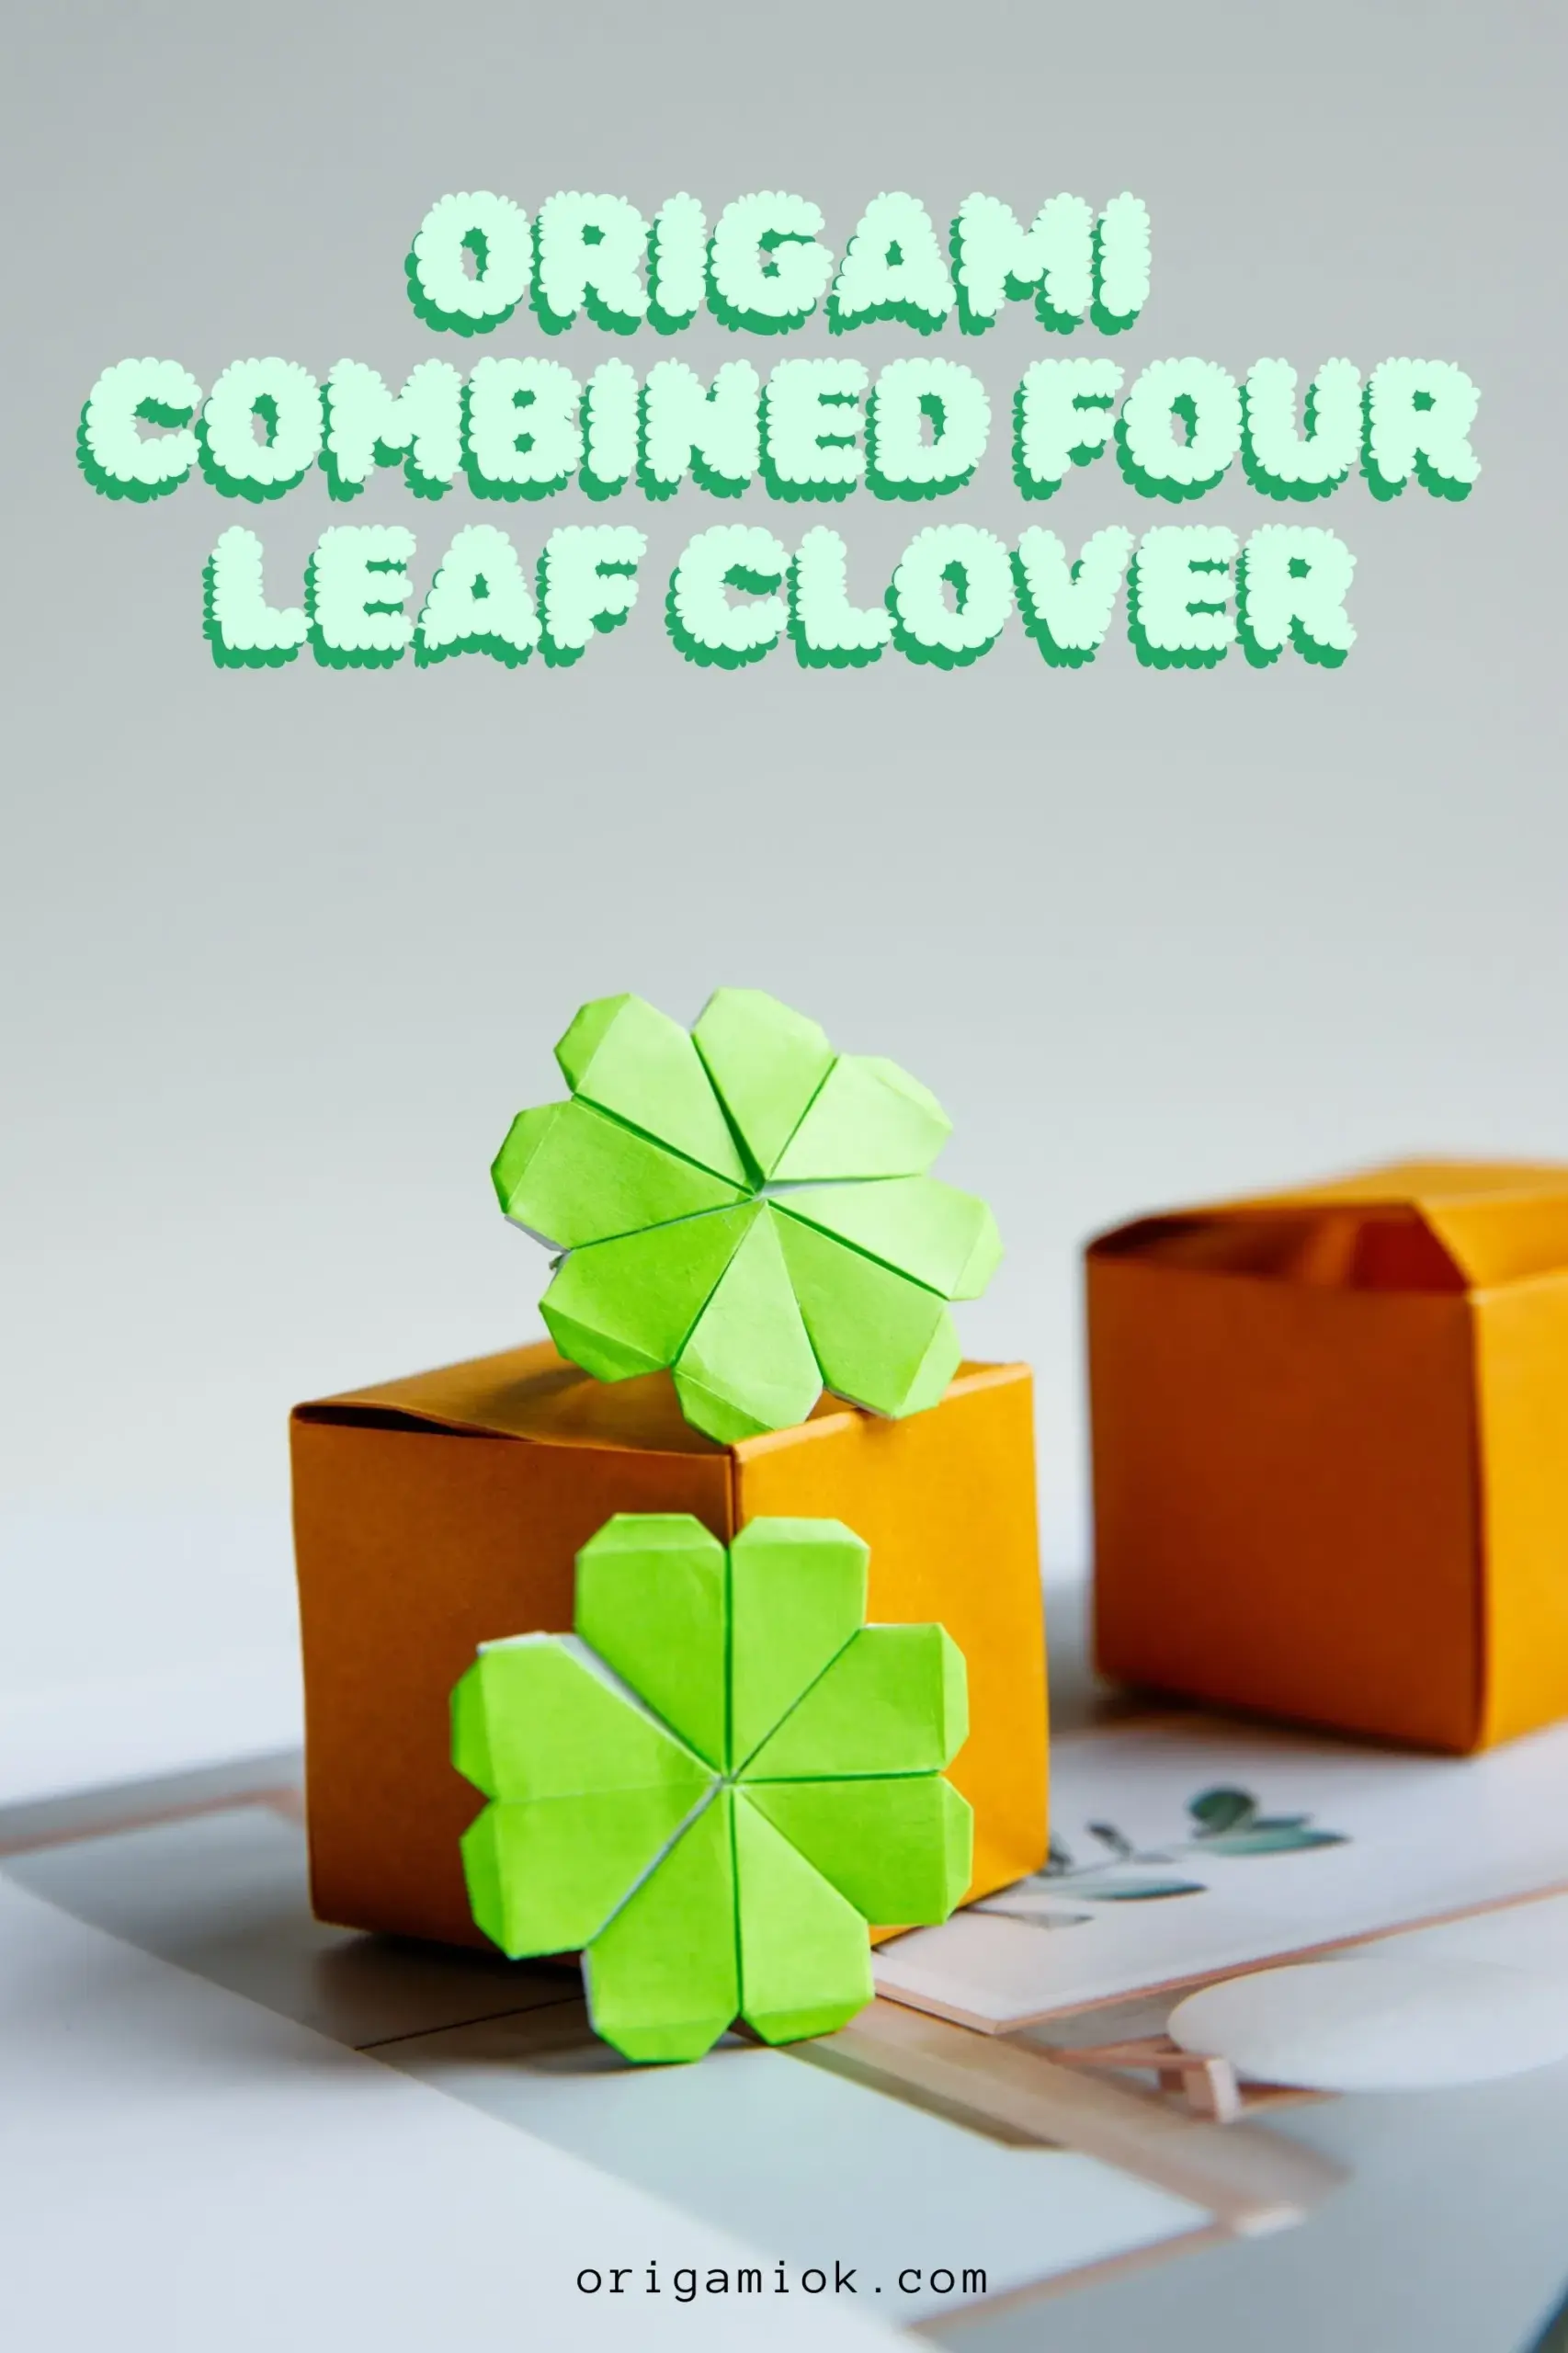
The four leaf clover is always the symbol of luck, it is very hard to find one in nature, so let’s fold one by our hands. This combined four leaf clover is made using four papers, and we also offer another version of origami four leaf clover, which is made using just one piece of paper.

If you are new to origami, start here from our beginner guide to know the basics and how to read the step-by-step instructions.
- Folding time: 10 minutes
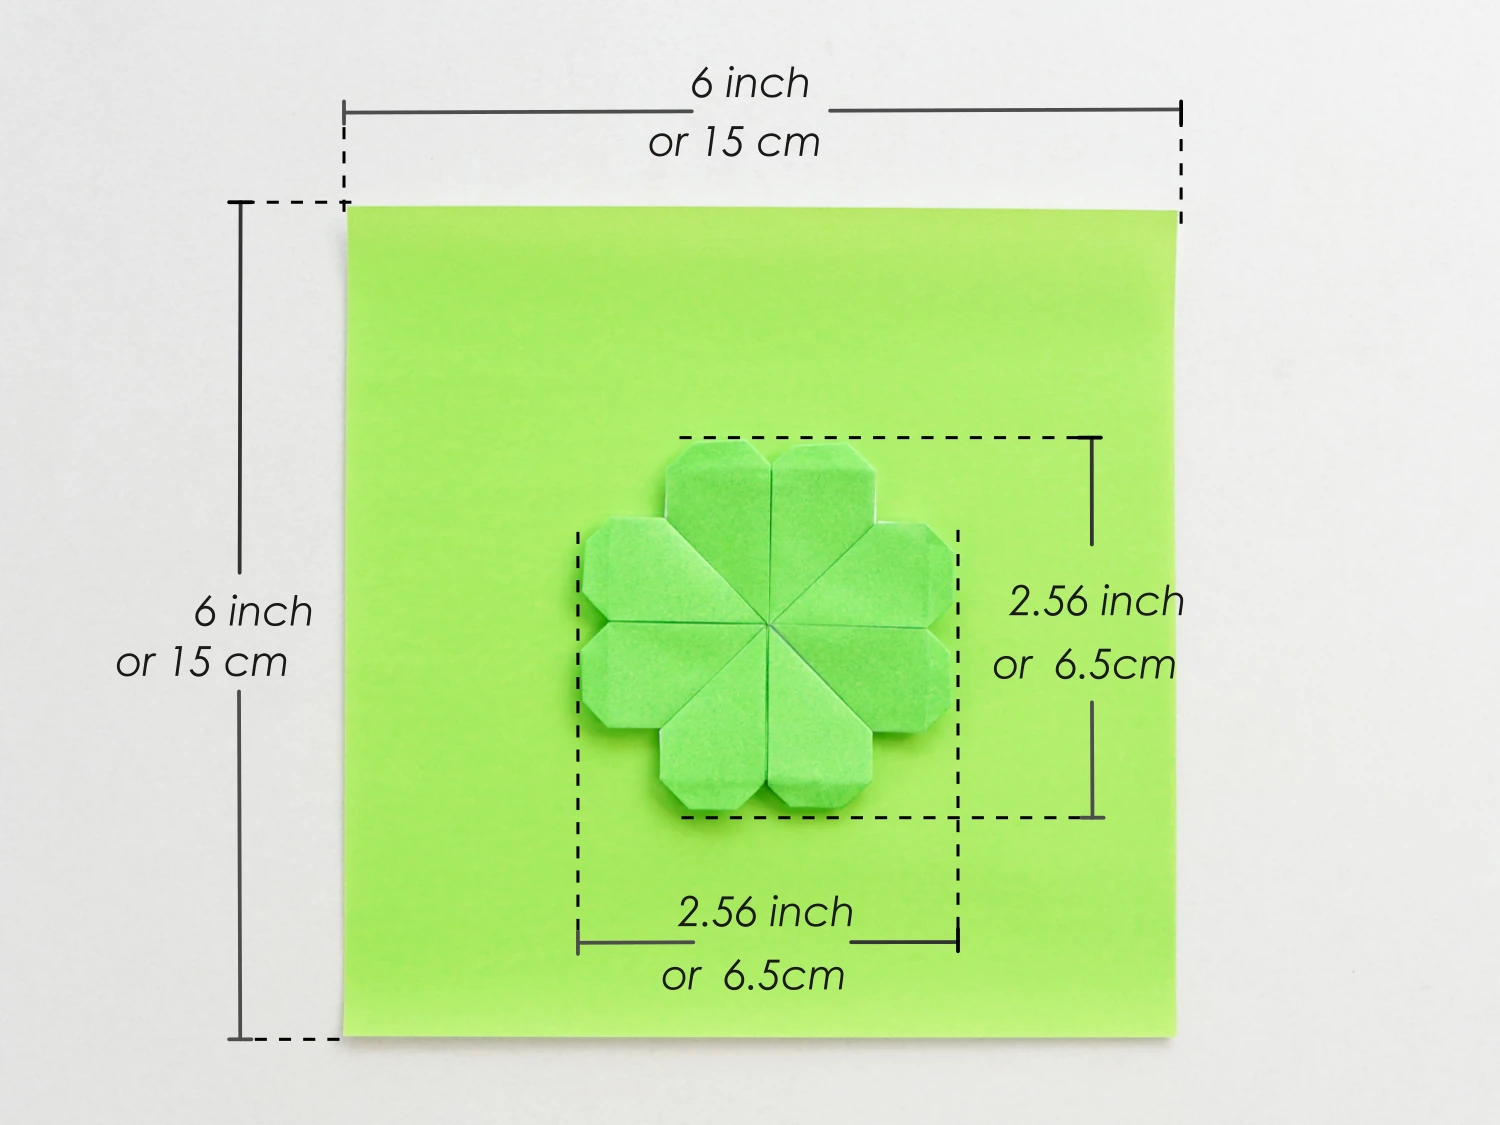
- Paper: 15×15 cm
- Difficulty: Easy
Material
Get a 15*15 cm square origami paper, with one green and one white side, to create a 6.5*6.5 cm four leaf clover.
Origami Combined Four Leaf Clover Video
Step by Step Instructions
Step 1
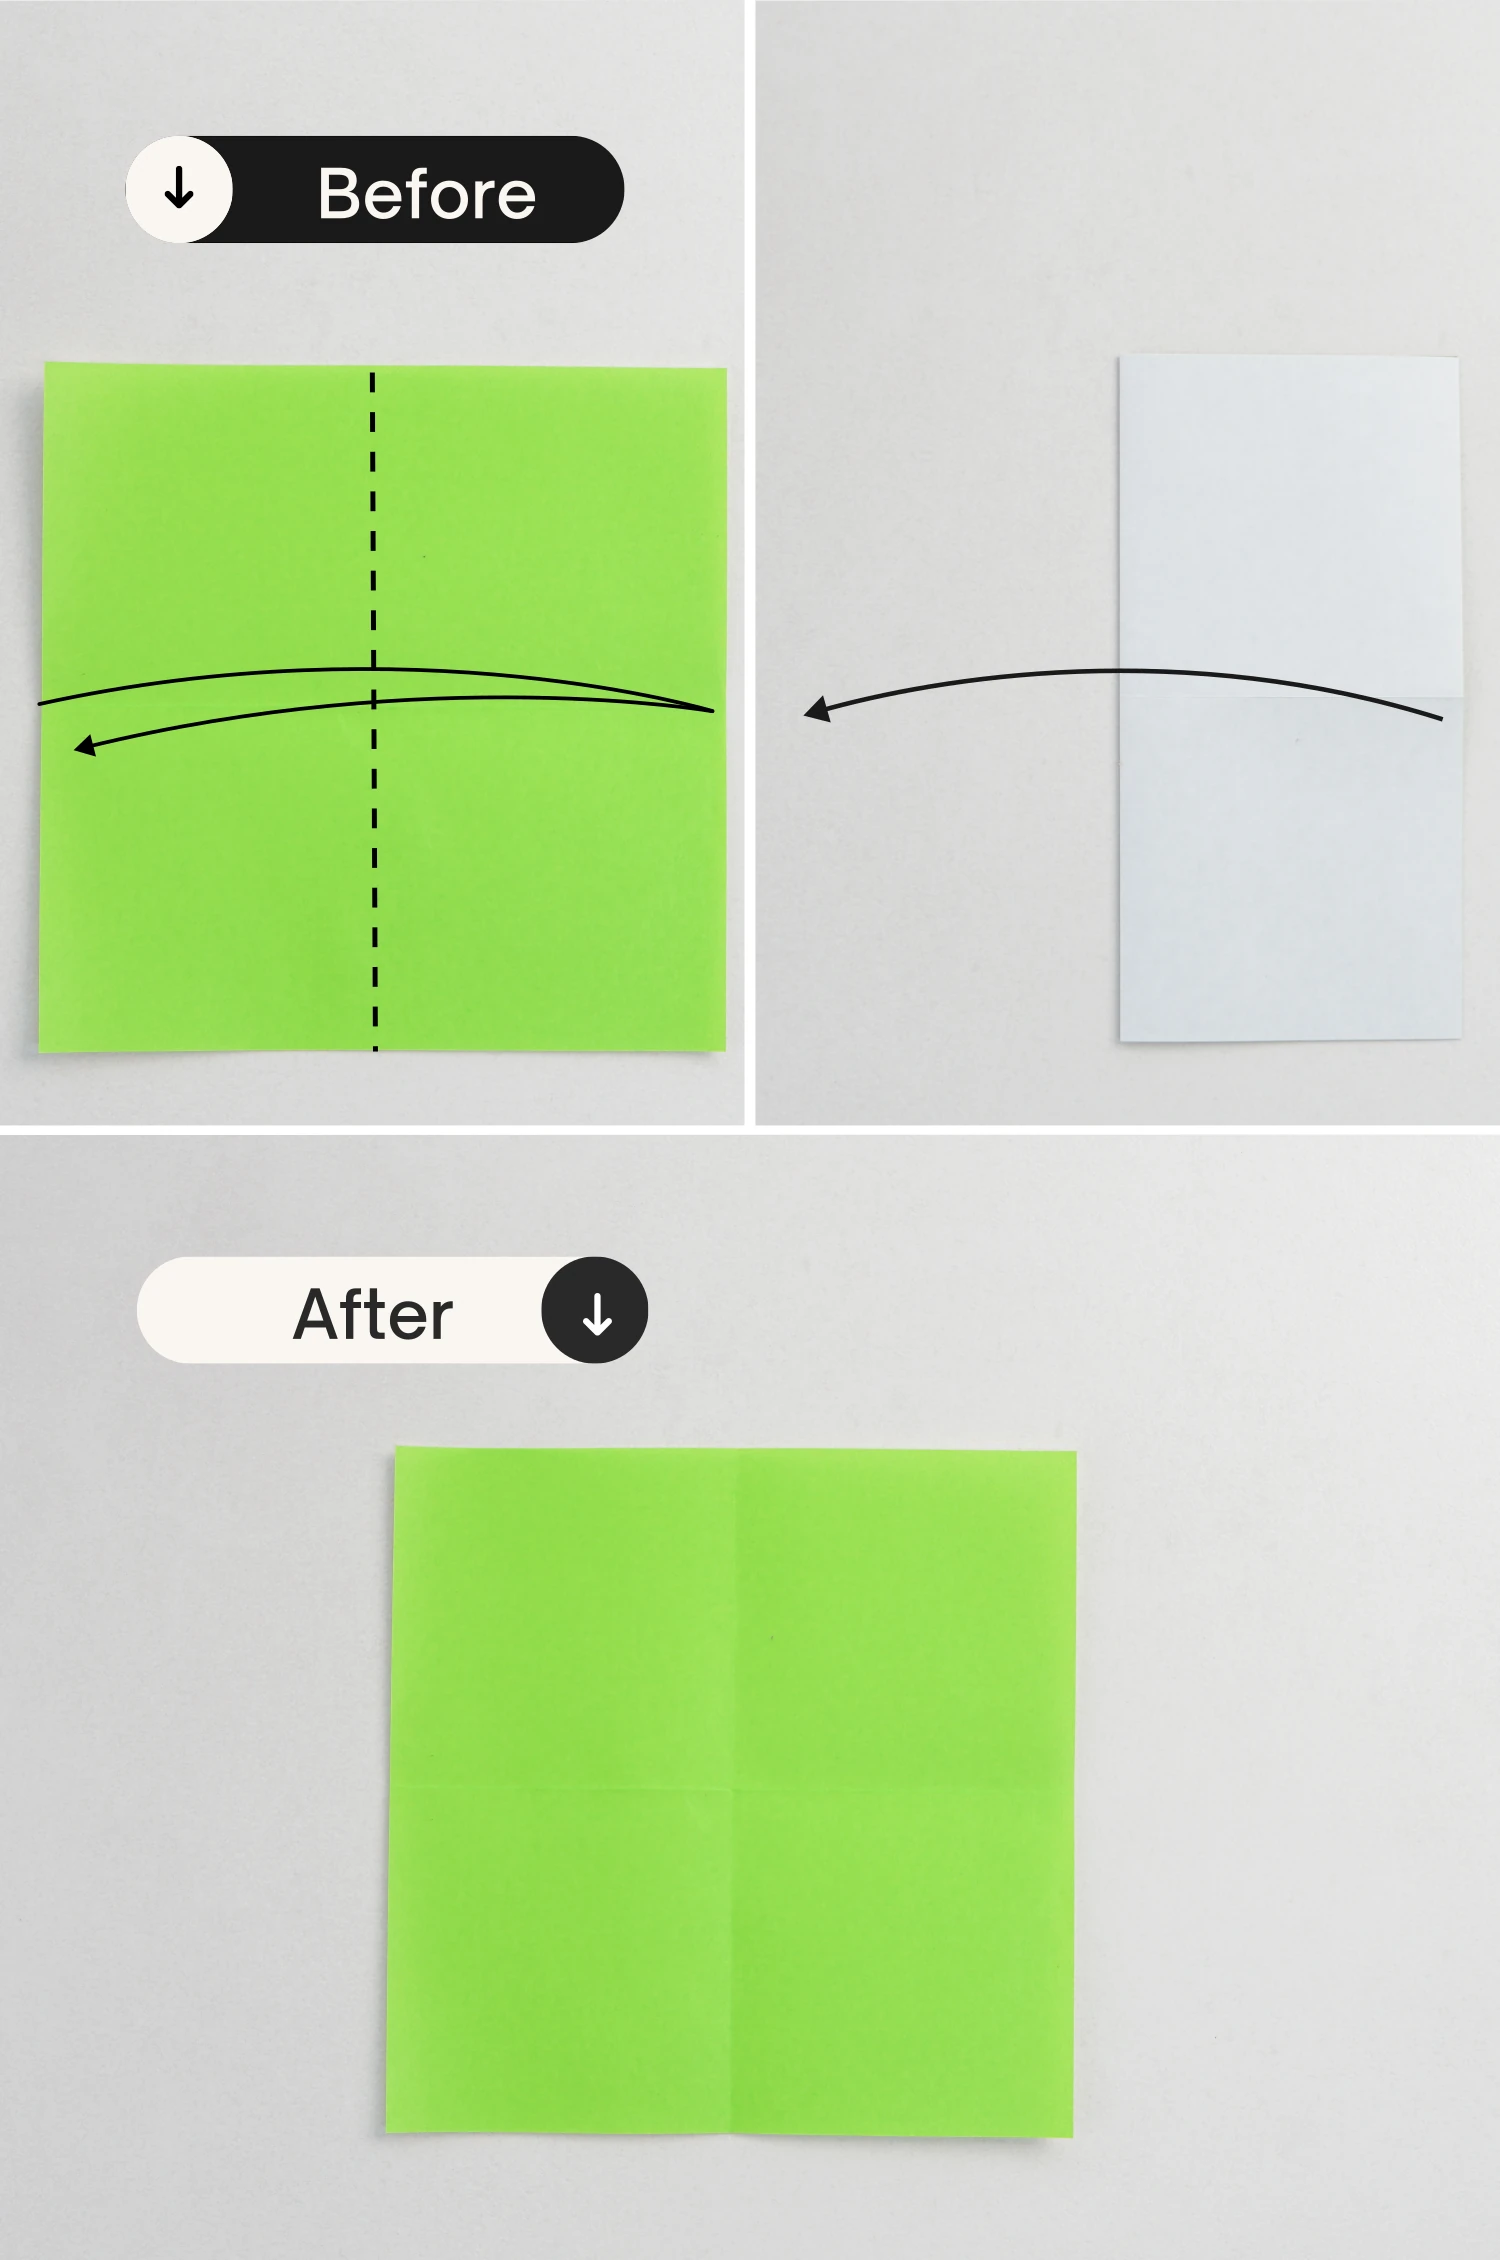
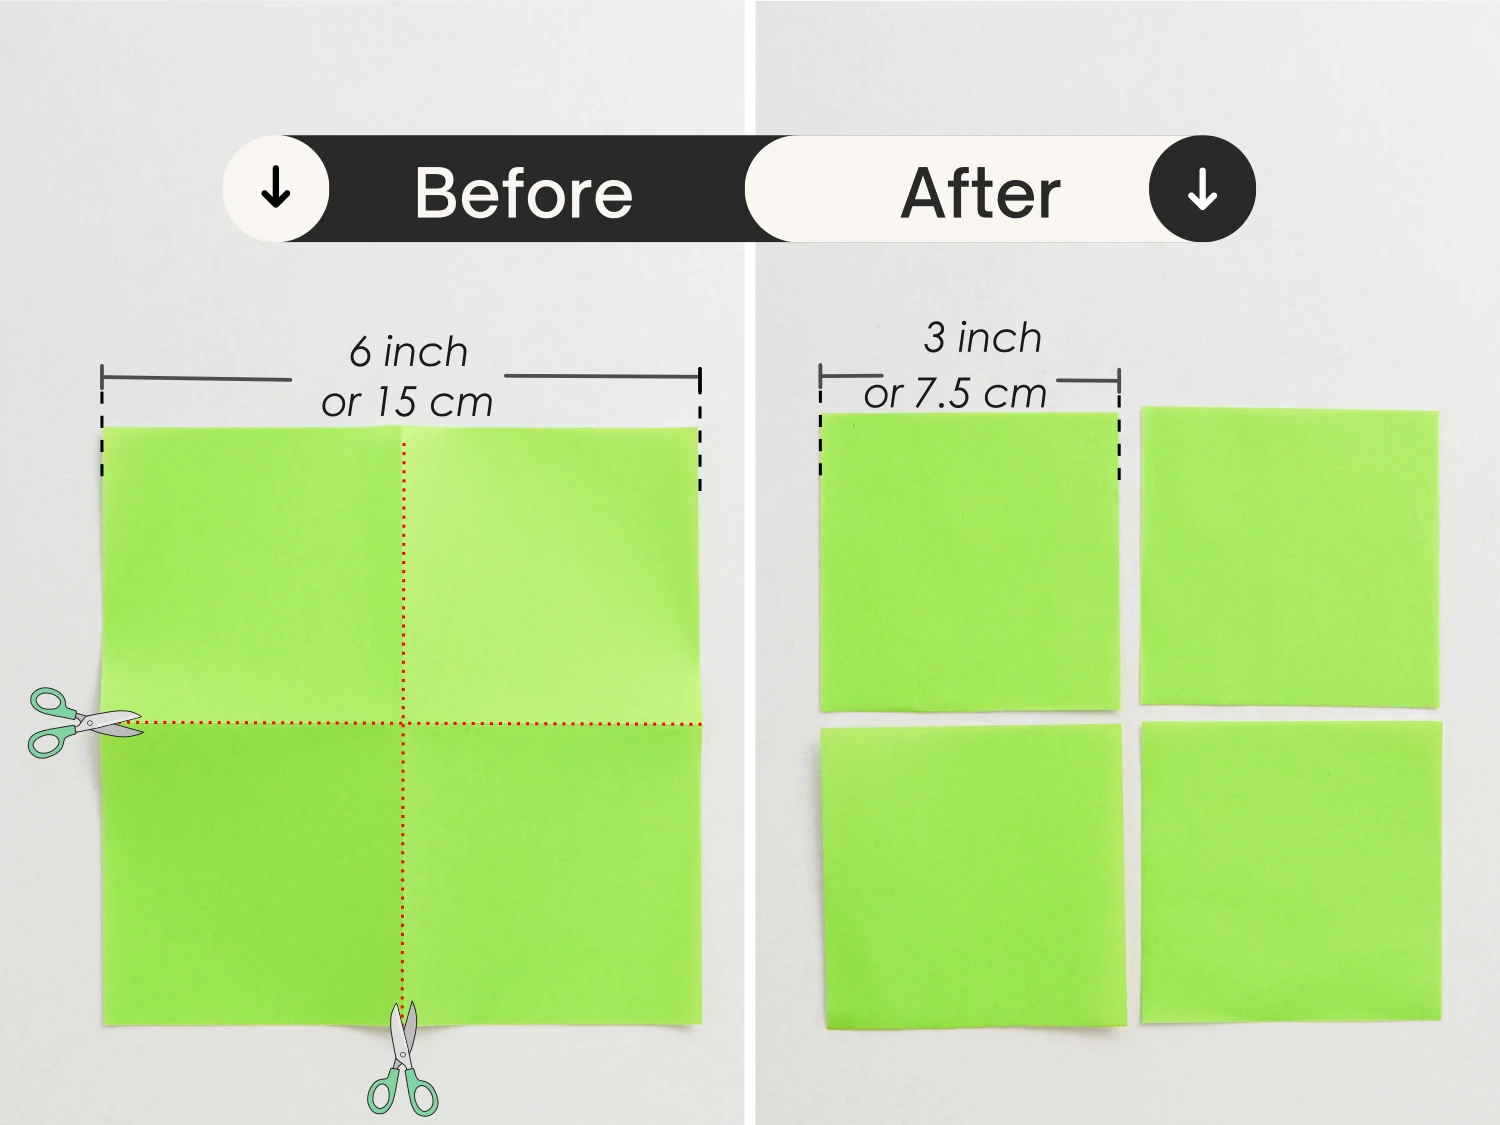
Start with the green side of the paper facing up, fold it in half horizontally, crease it well then unfold.

Step 2
Fold it in half vertically, crease it well and unfold it.
Step 3
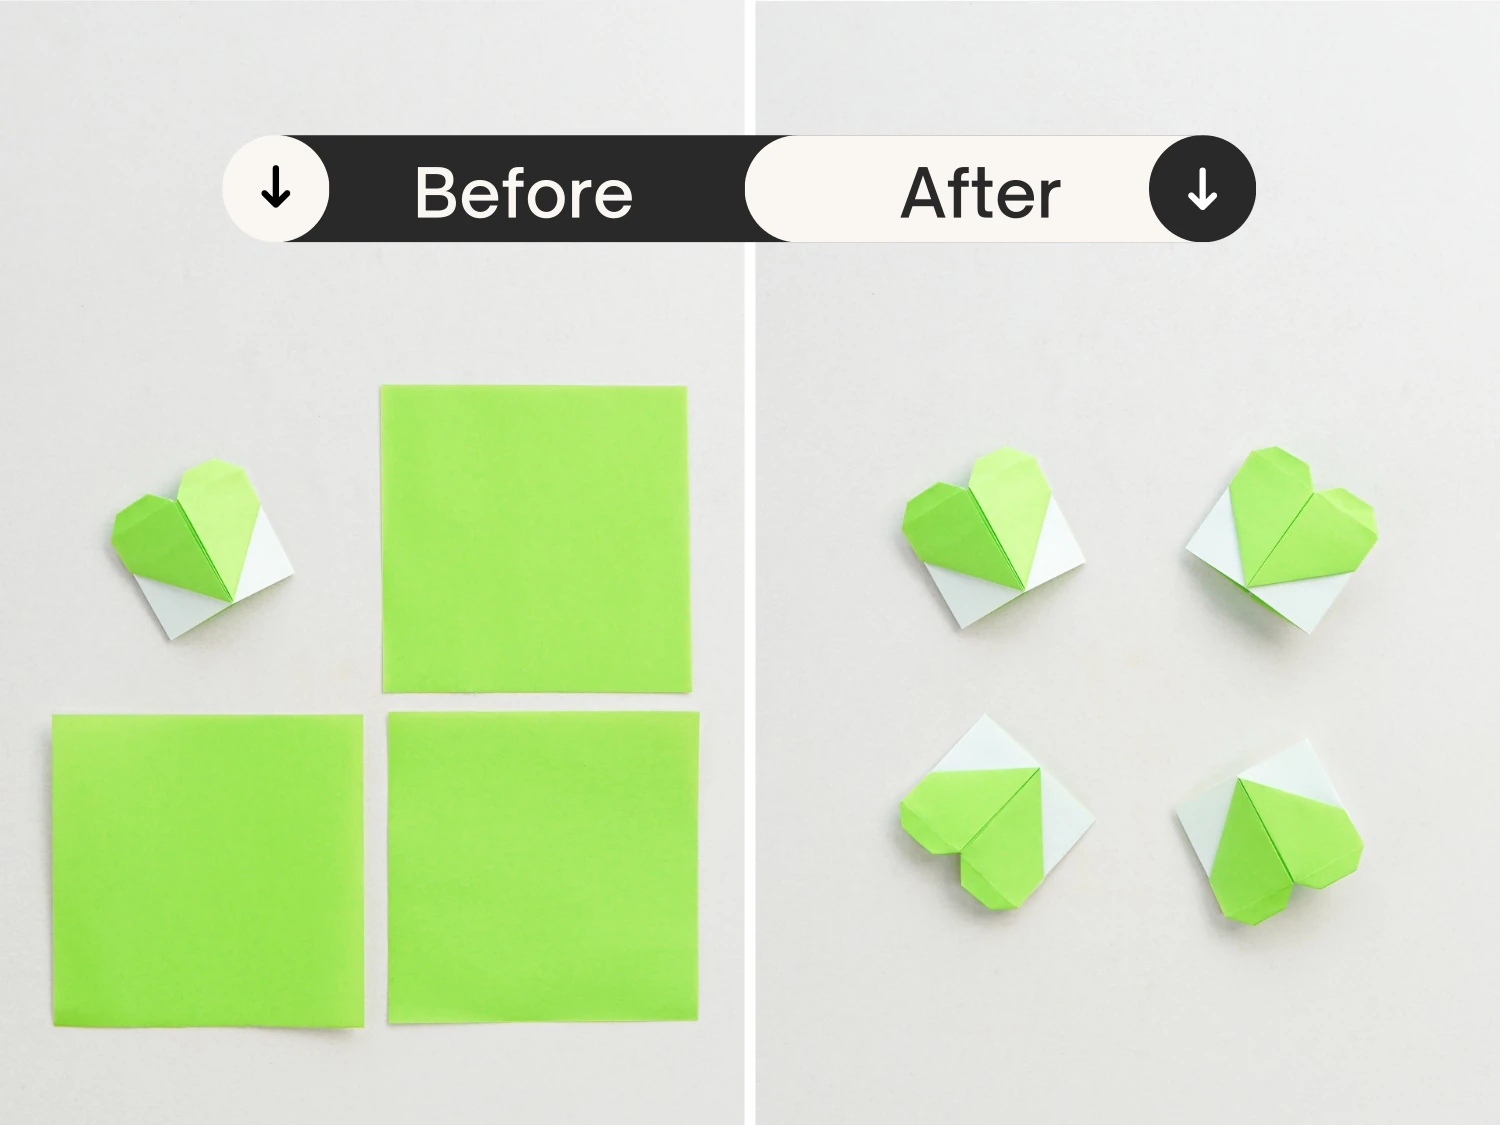
Cut the paper along the two creases you just made, getting four small squares.
Step 4
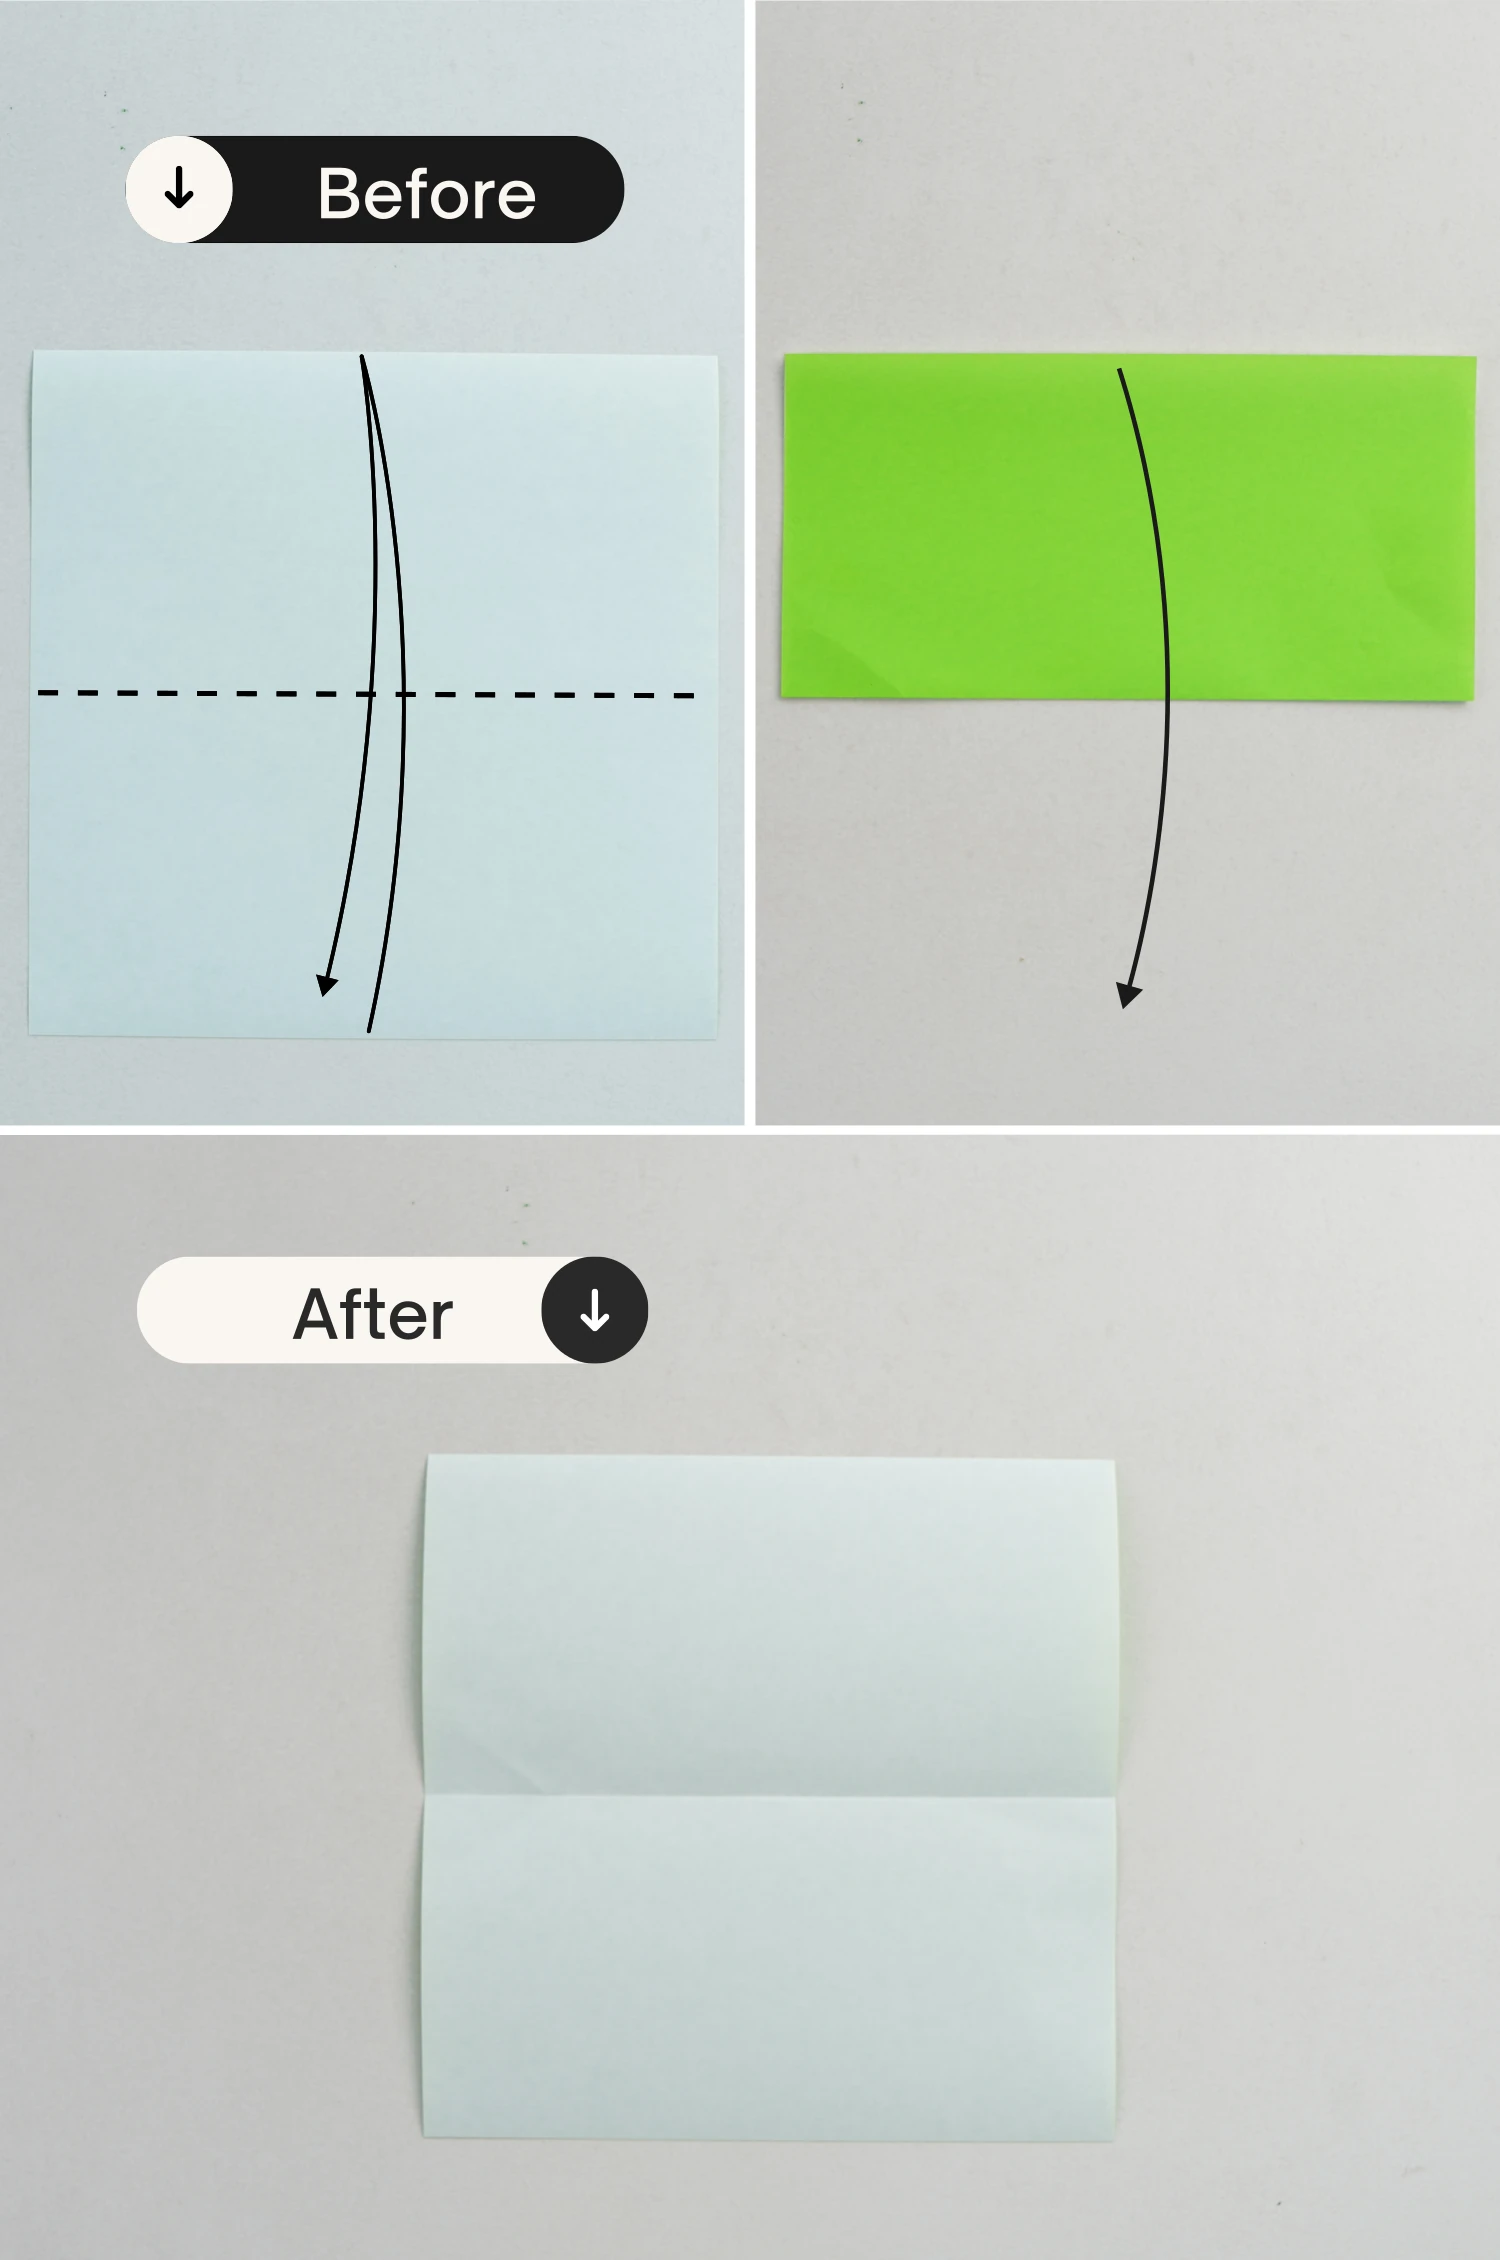
Take out one of the four squares, start with the white side facing up, fold it in half horizontally, crease it well then unfold.
Step 5
Fold it in half vertically, crease it well then unfold.
Step 6
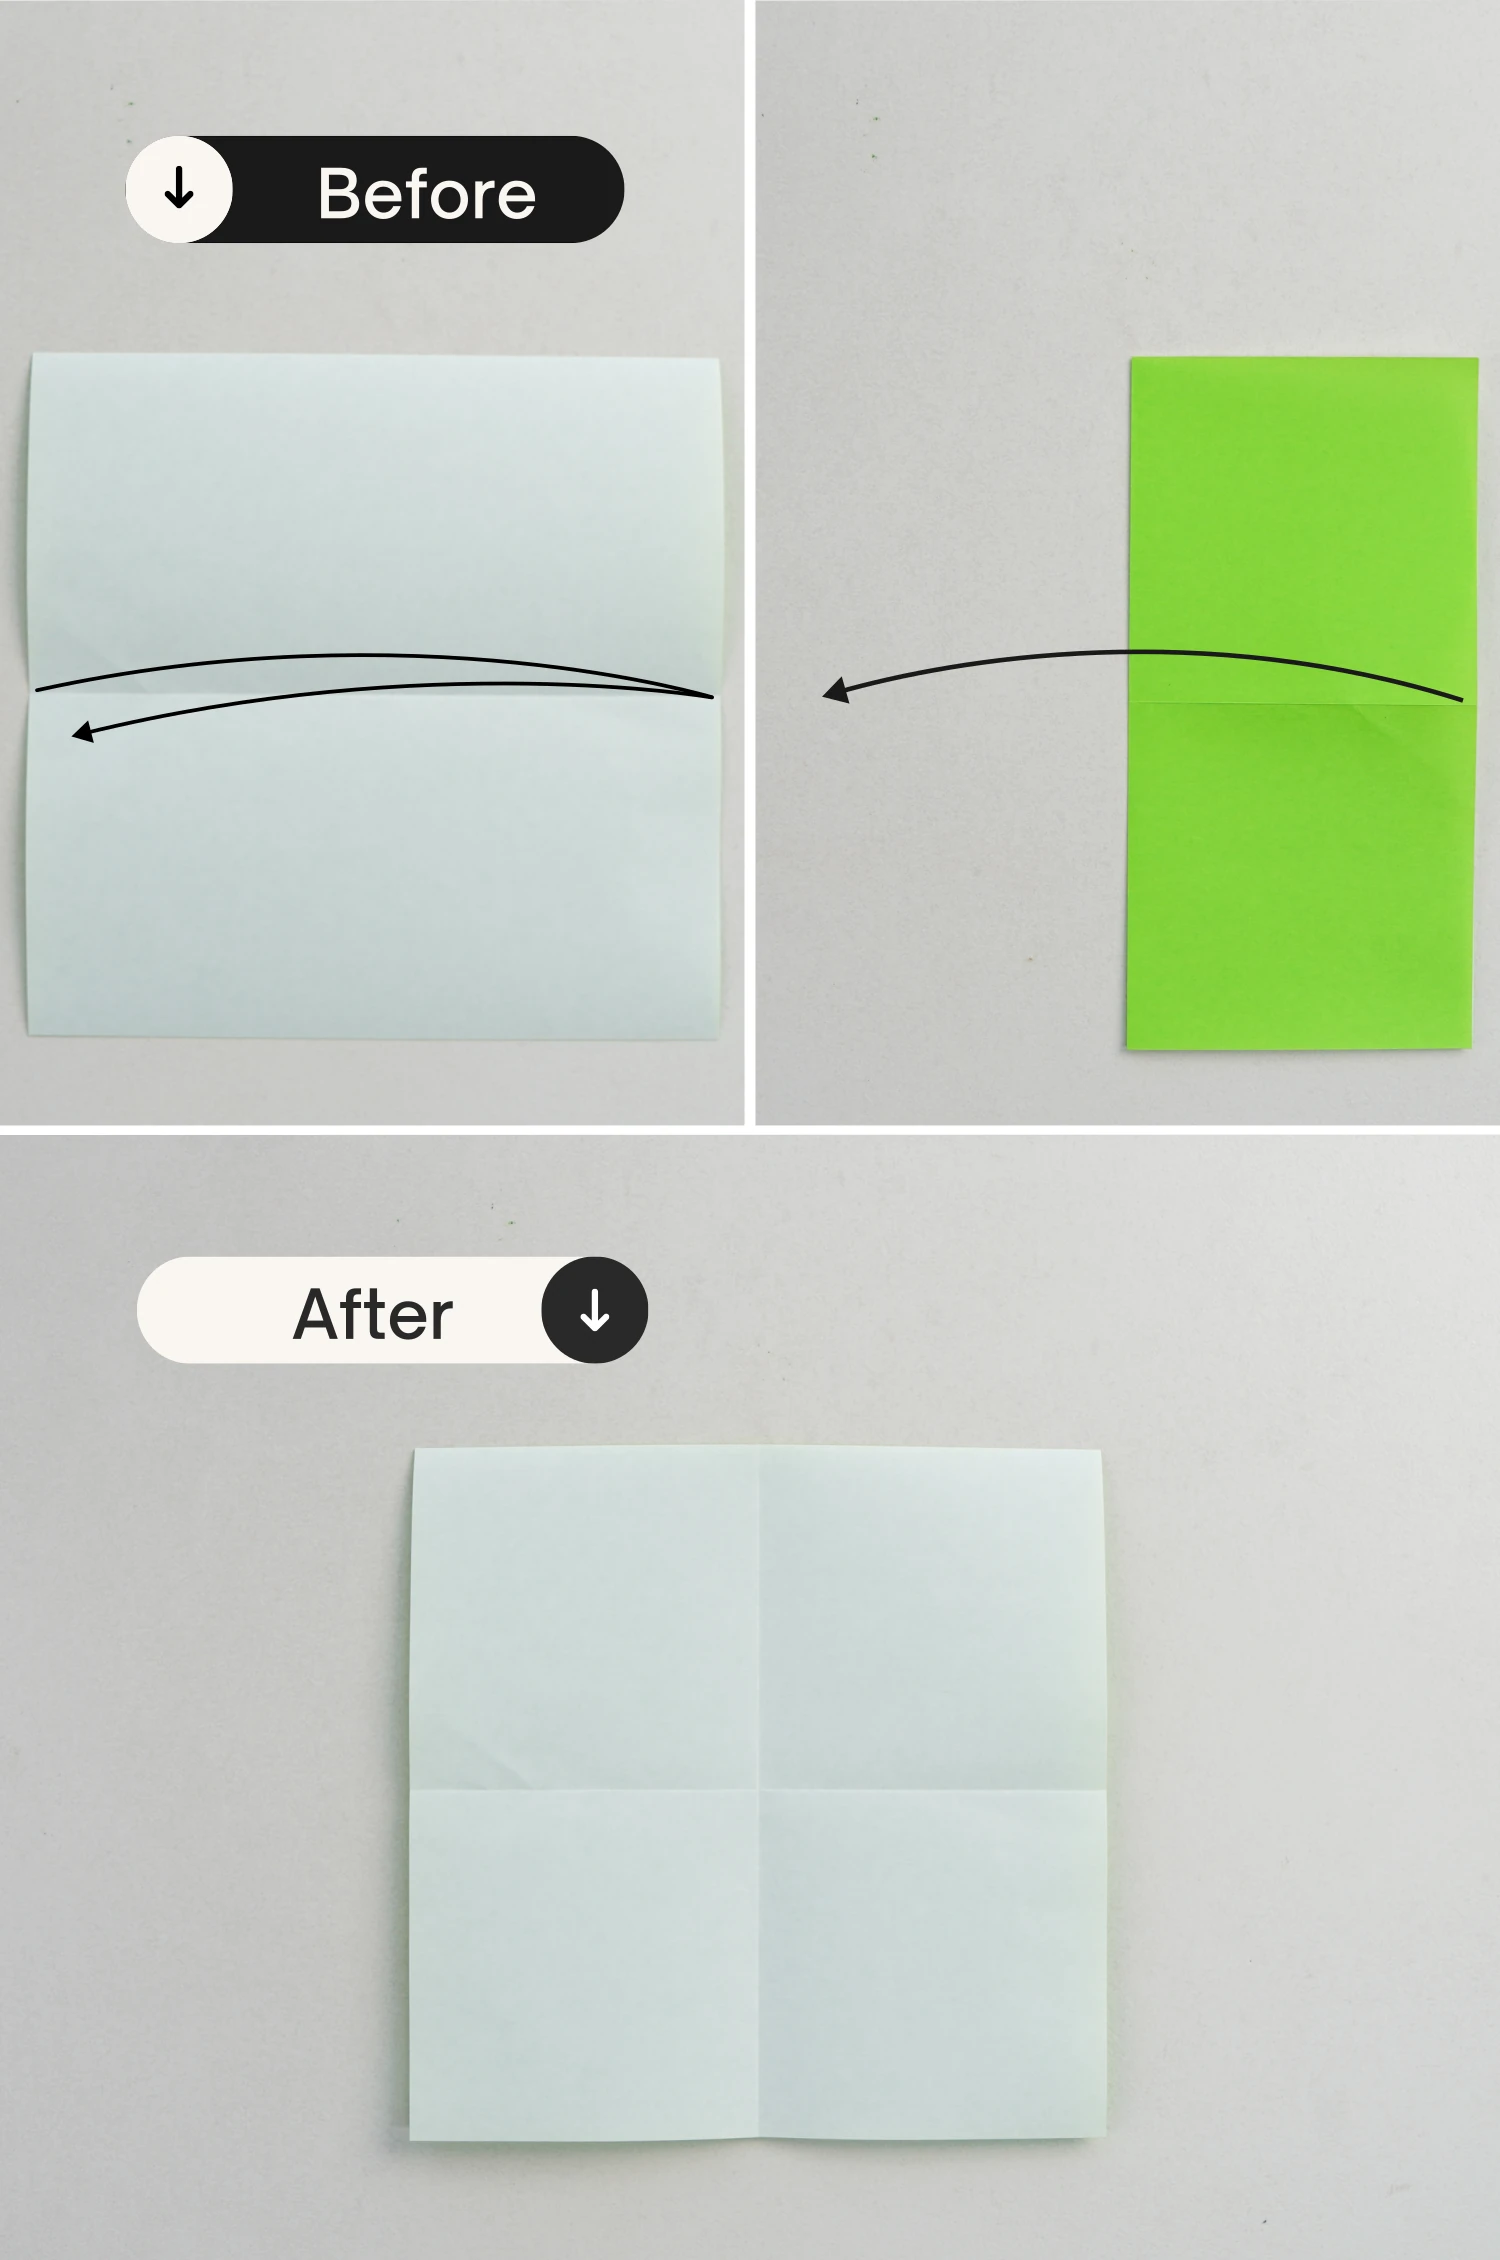
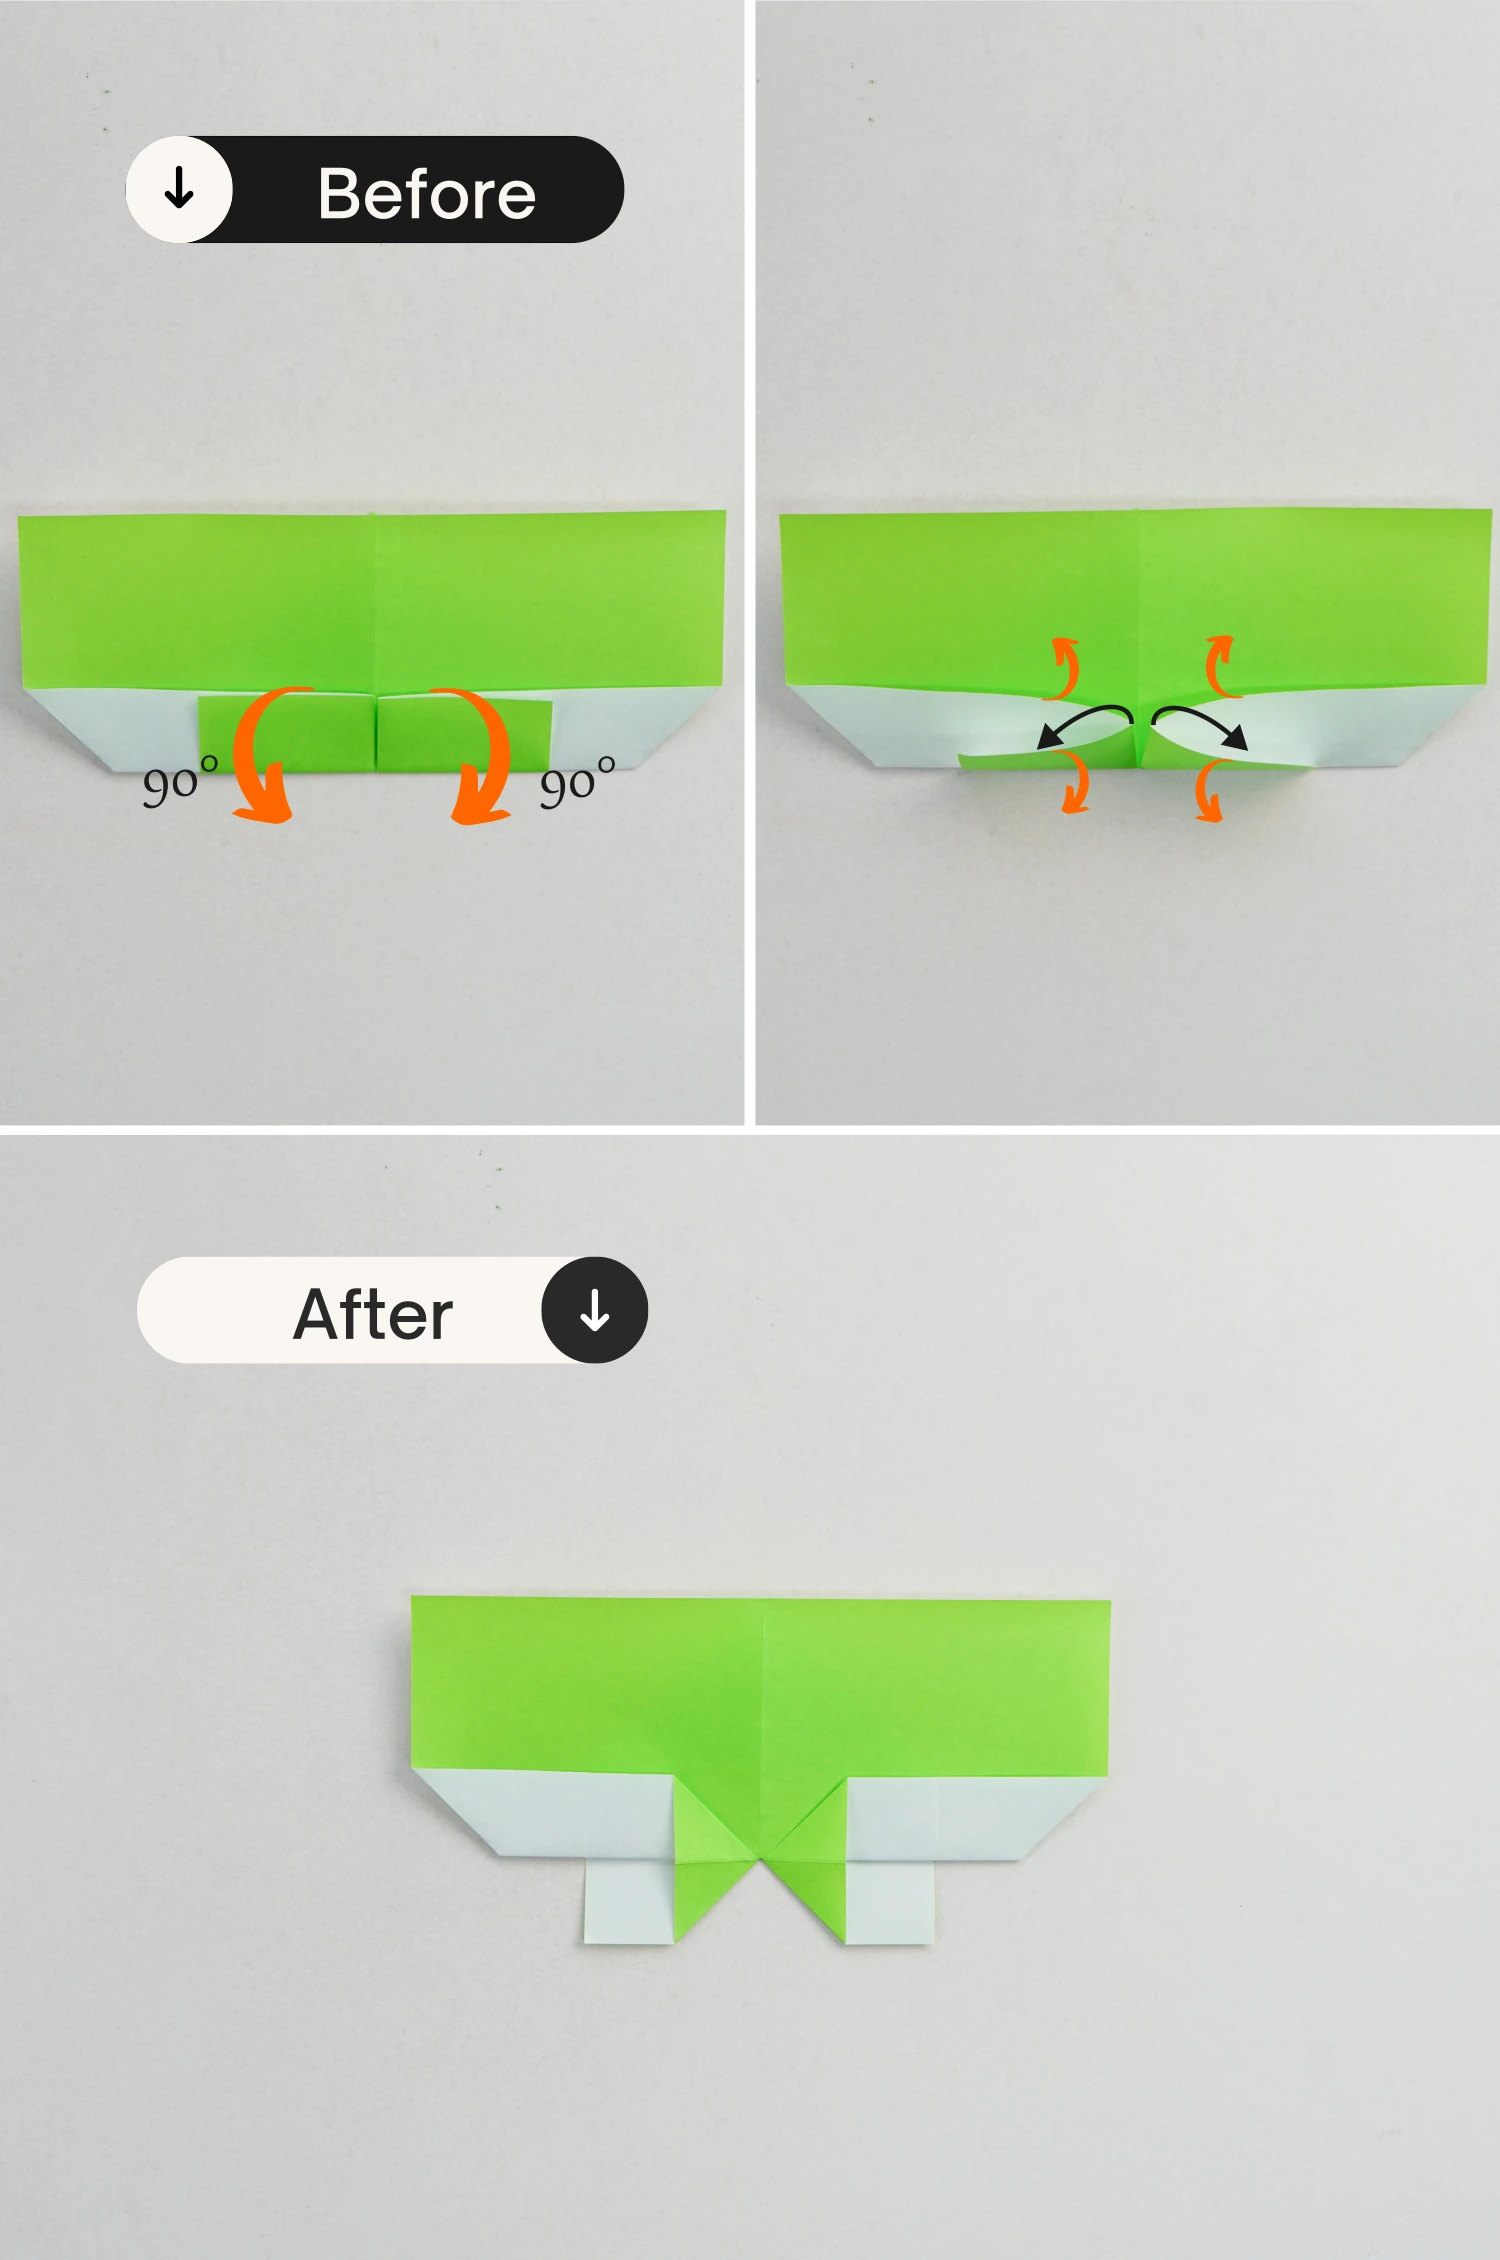
Fold the bottom edge up to align with the horizontal crease.

Step 7
Flip it over.
Step 8
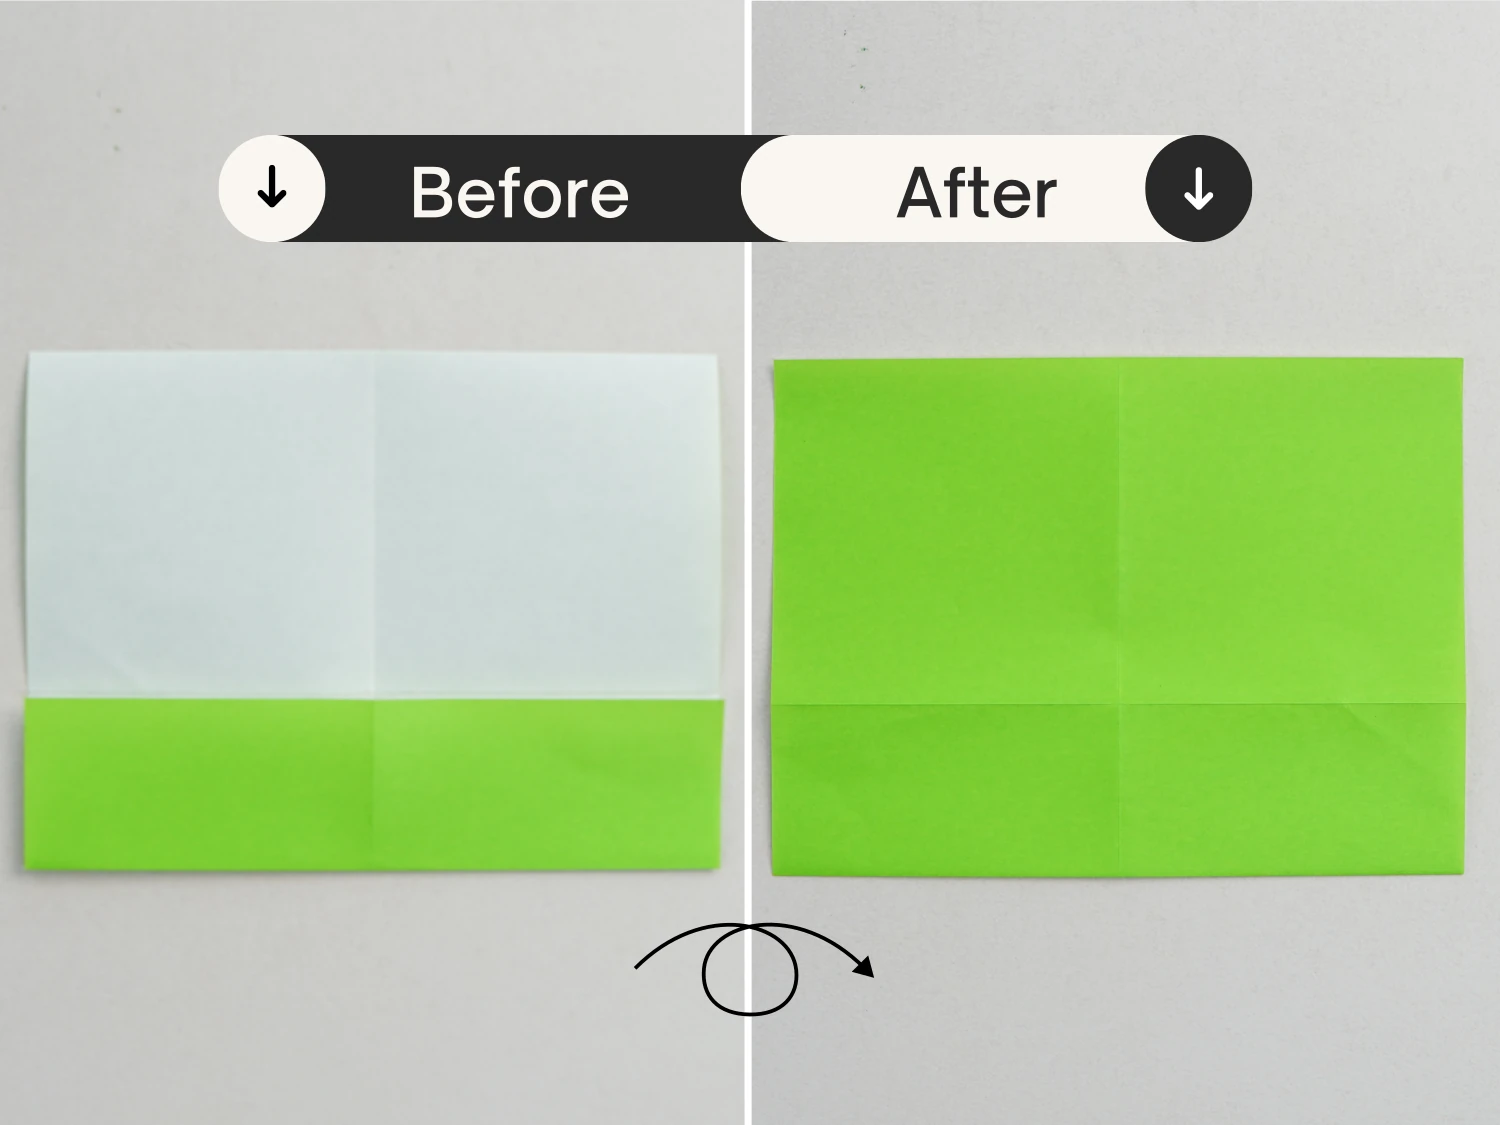
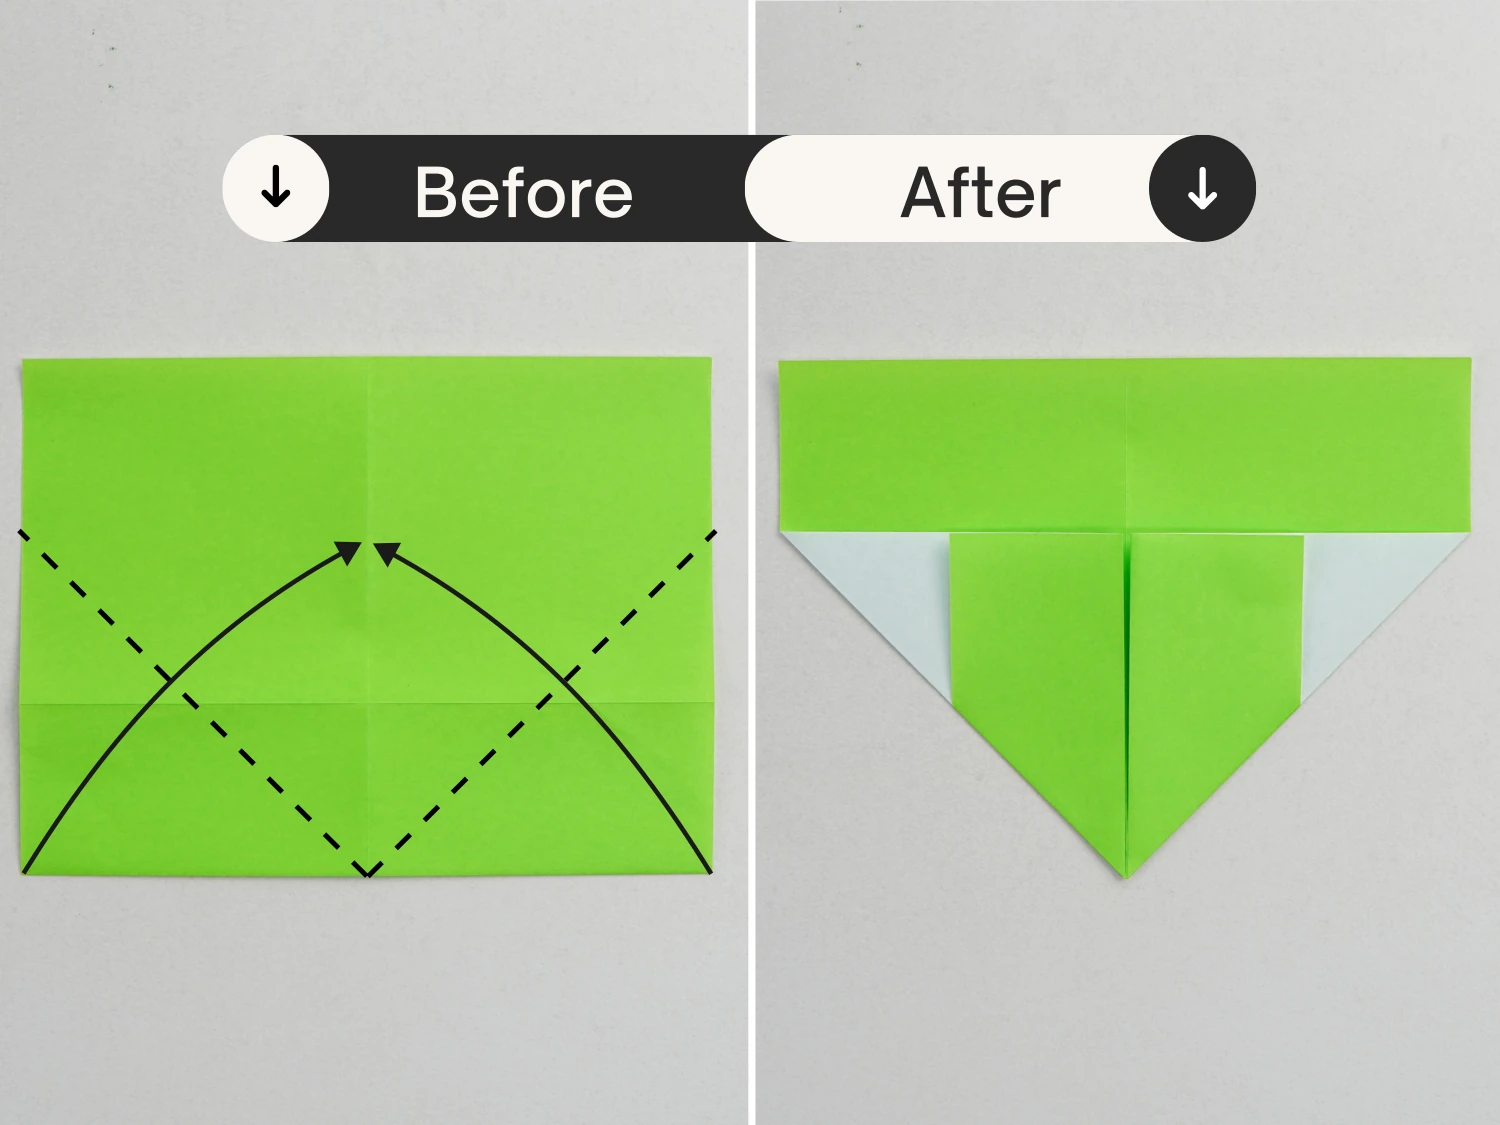
Fold the bottom right and bottom left corners diagonally to meet the vertical crease.
Step 9
Flip the paper over.
Step 10
Fold the bottom corner up to meet the midpoint of the top edge.
Step 11
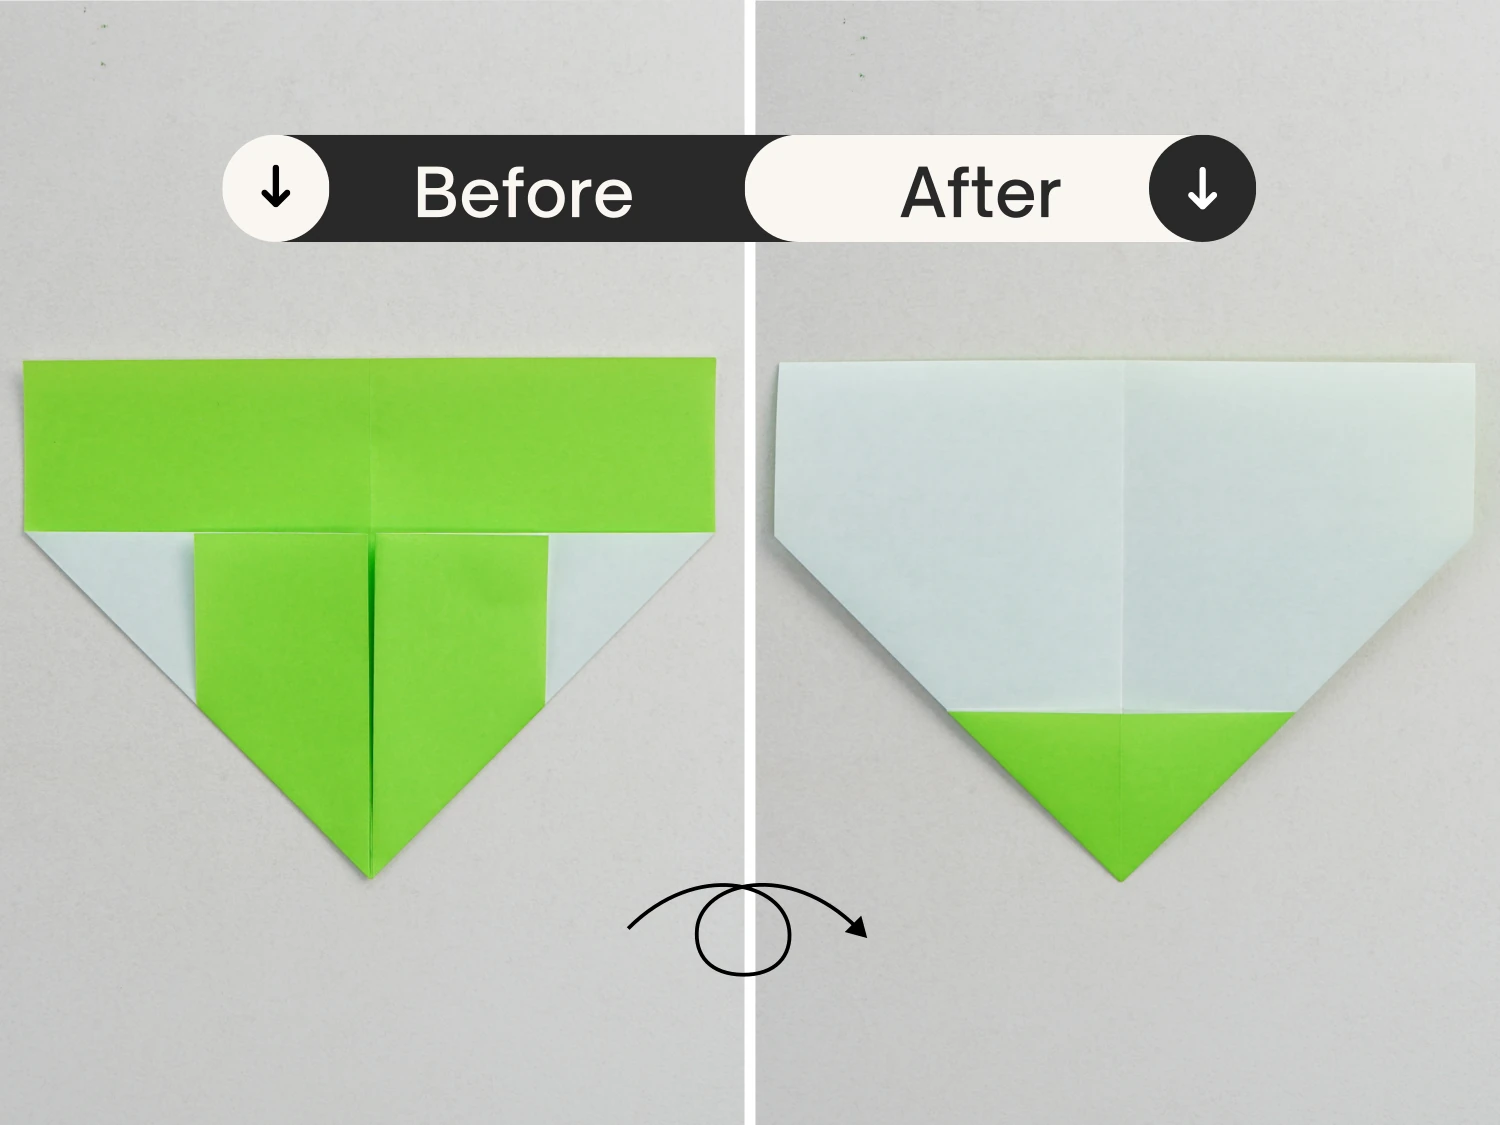
Flip it over again.
Step 12
Bring up the lower two flaps, open the corners then squash them, getting two triangles.
Step 13
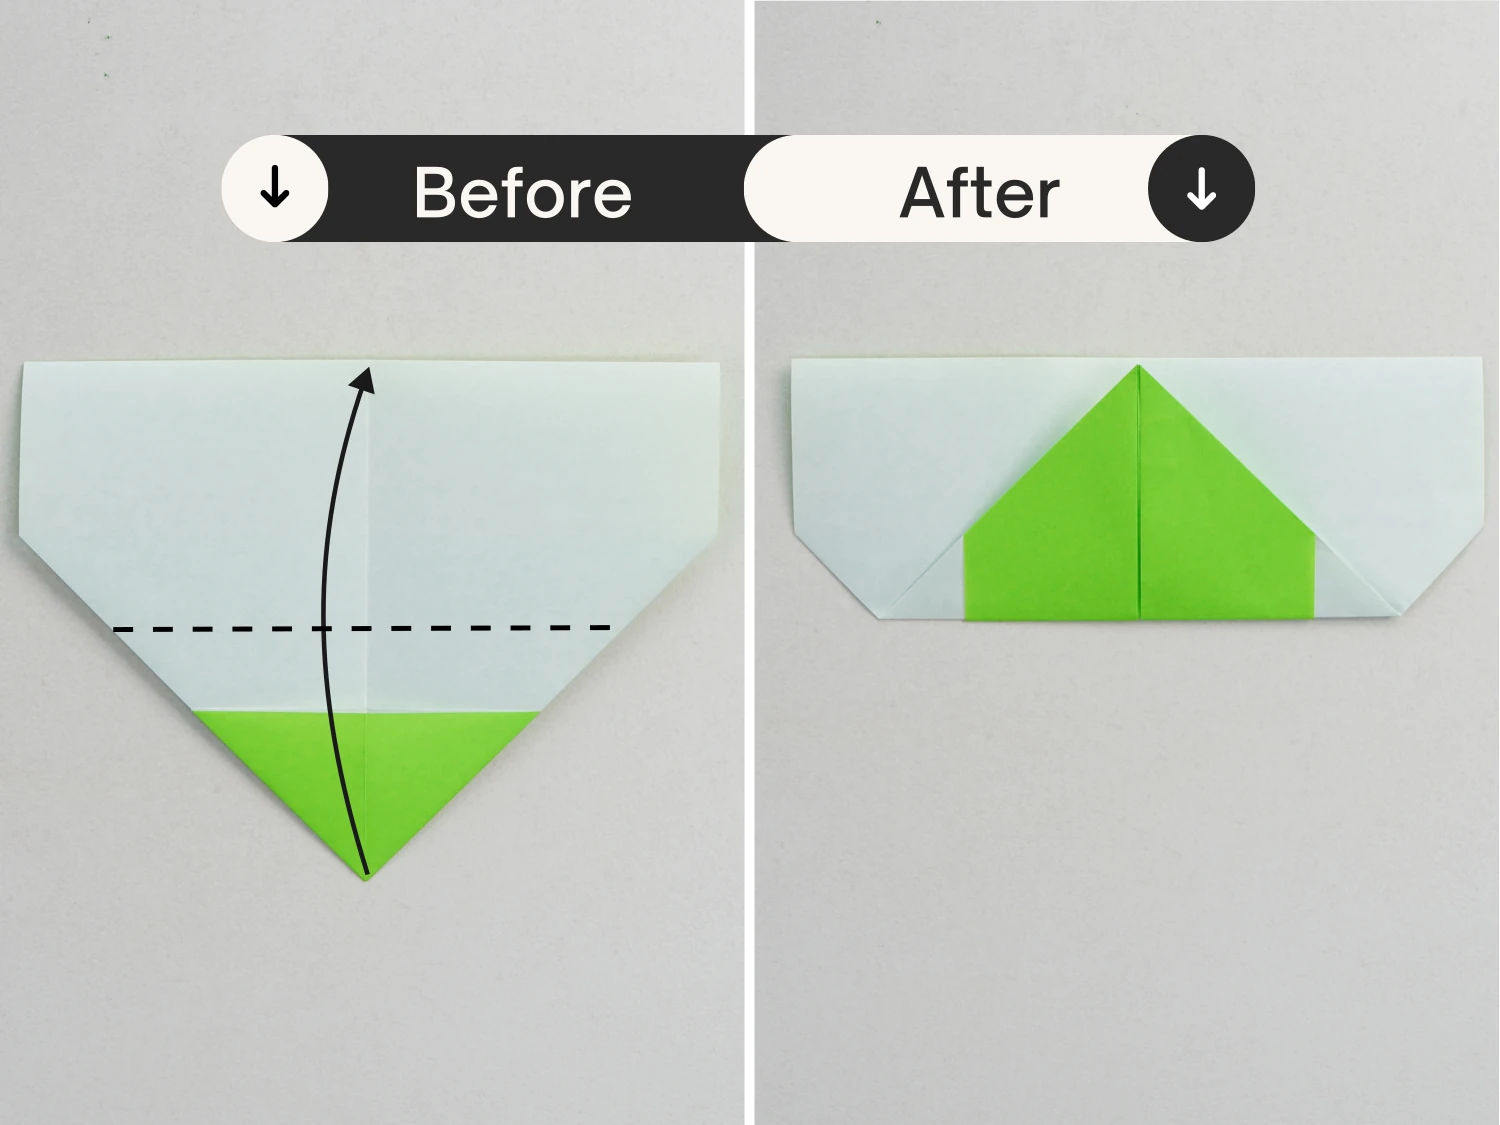
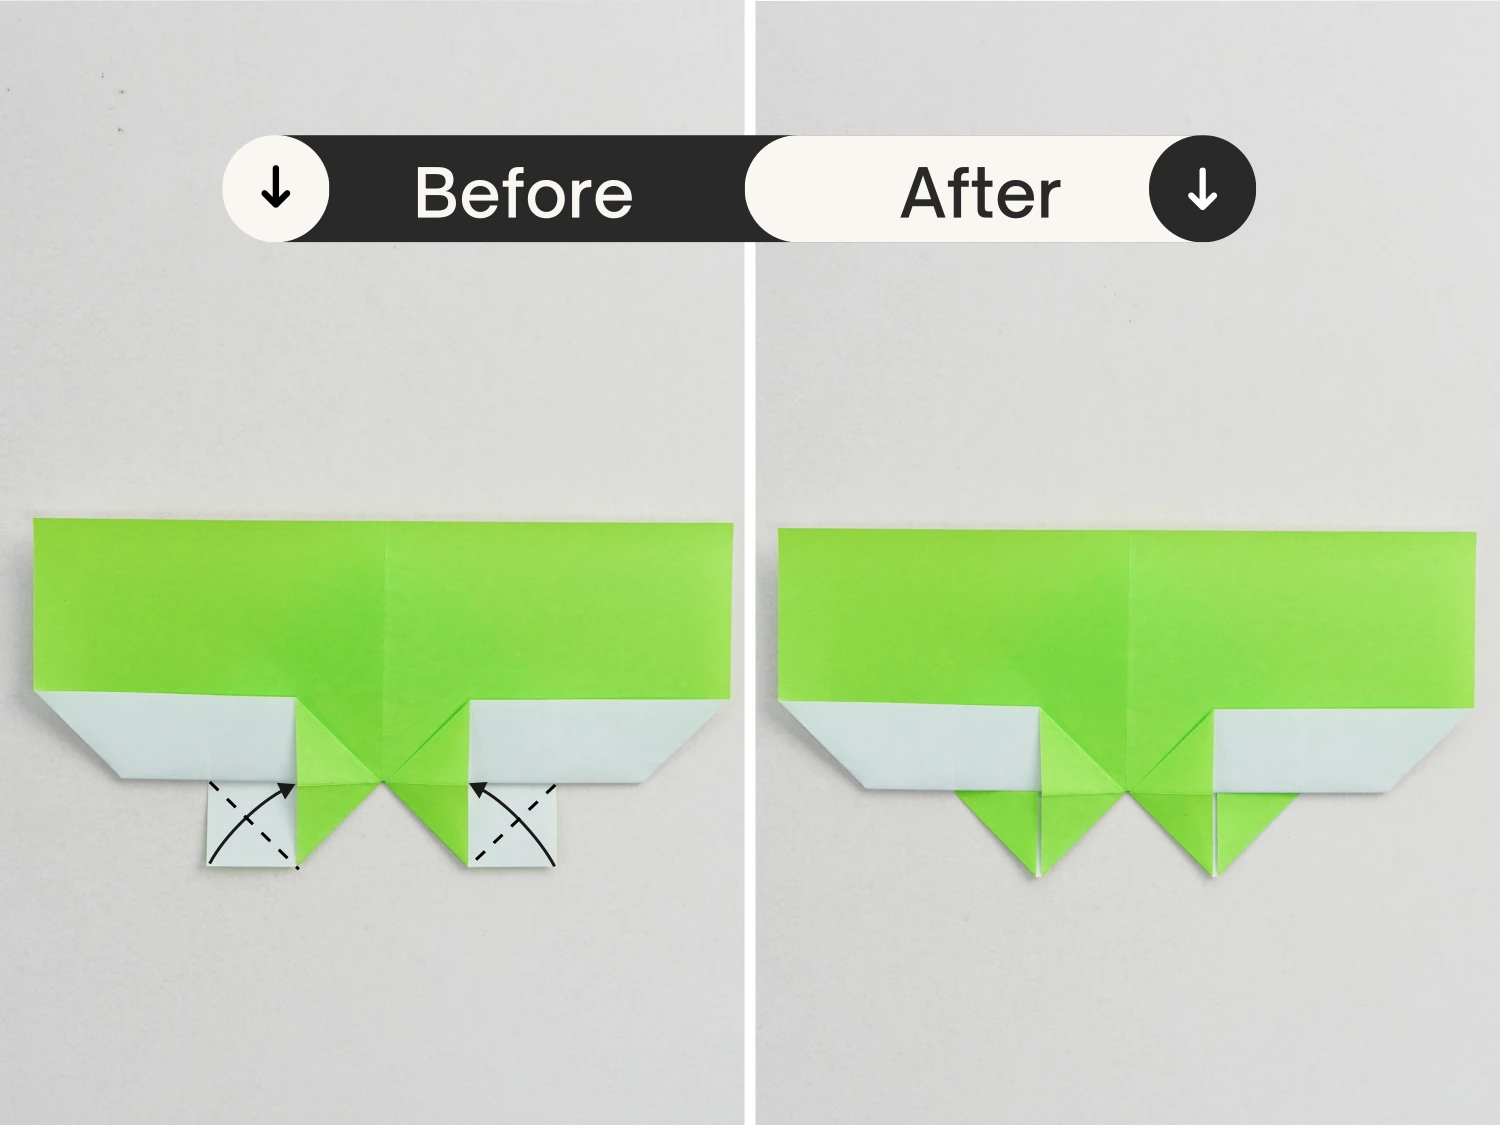
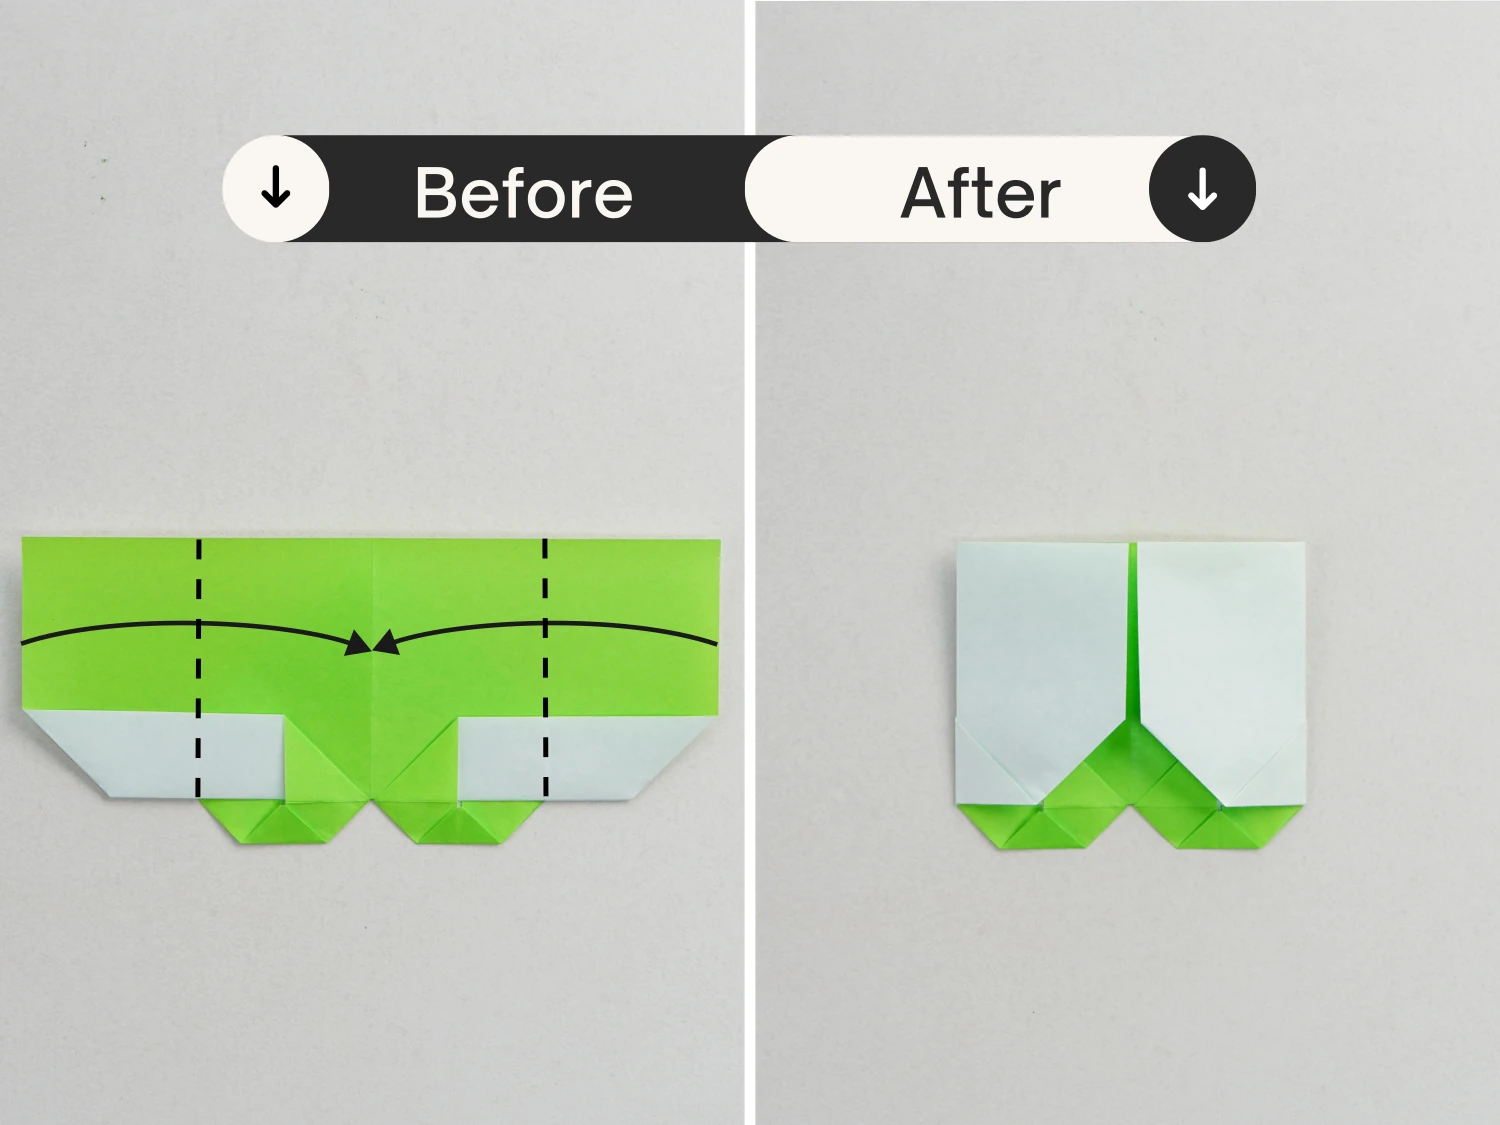
Fold the bottom left and bottom right corners diagonally.
Step 14
Fold these two bottom corners up a little.

Step 15
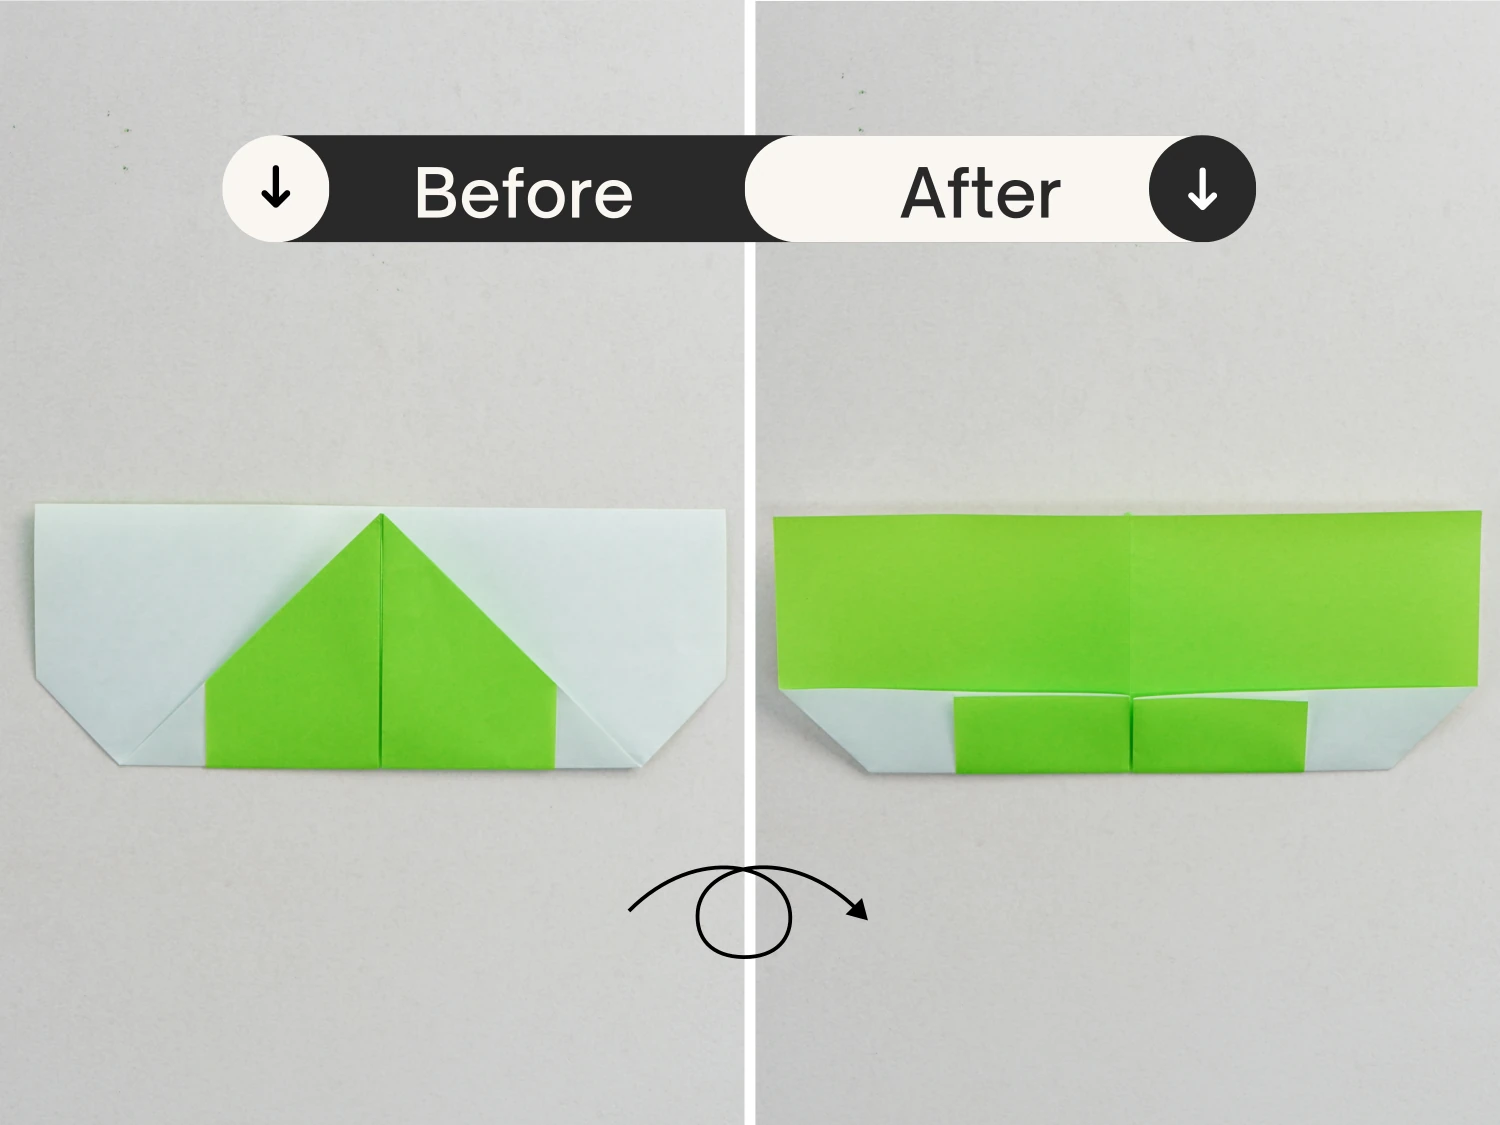
Fold the left and right edges to align with the middle vertical crease.
Step 16
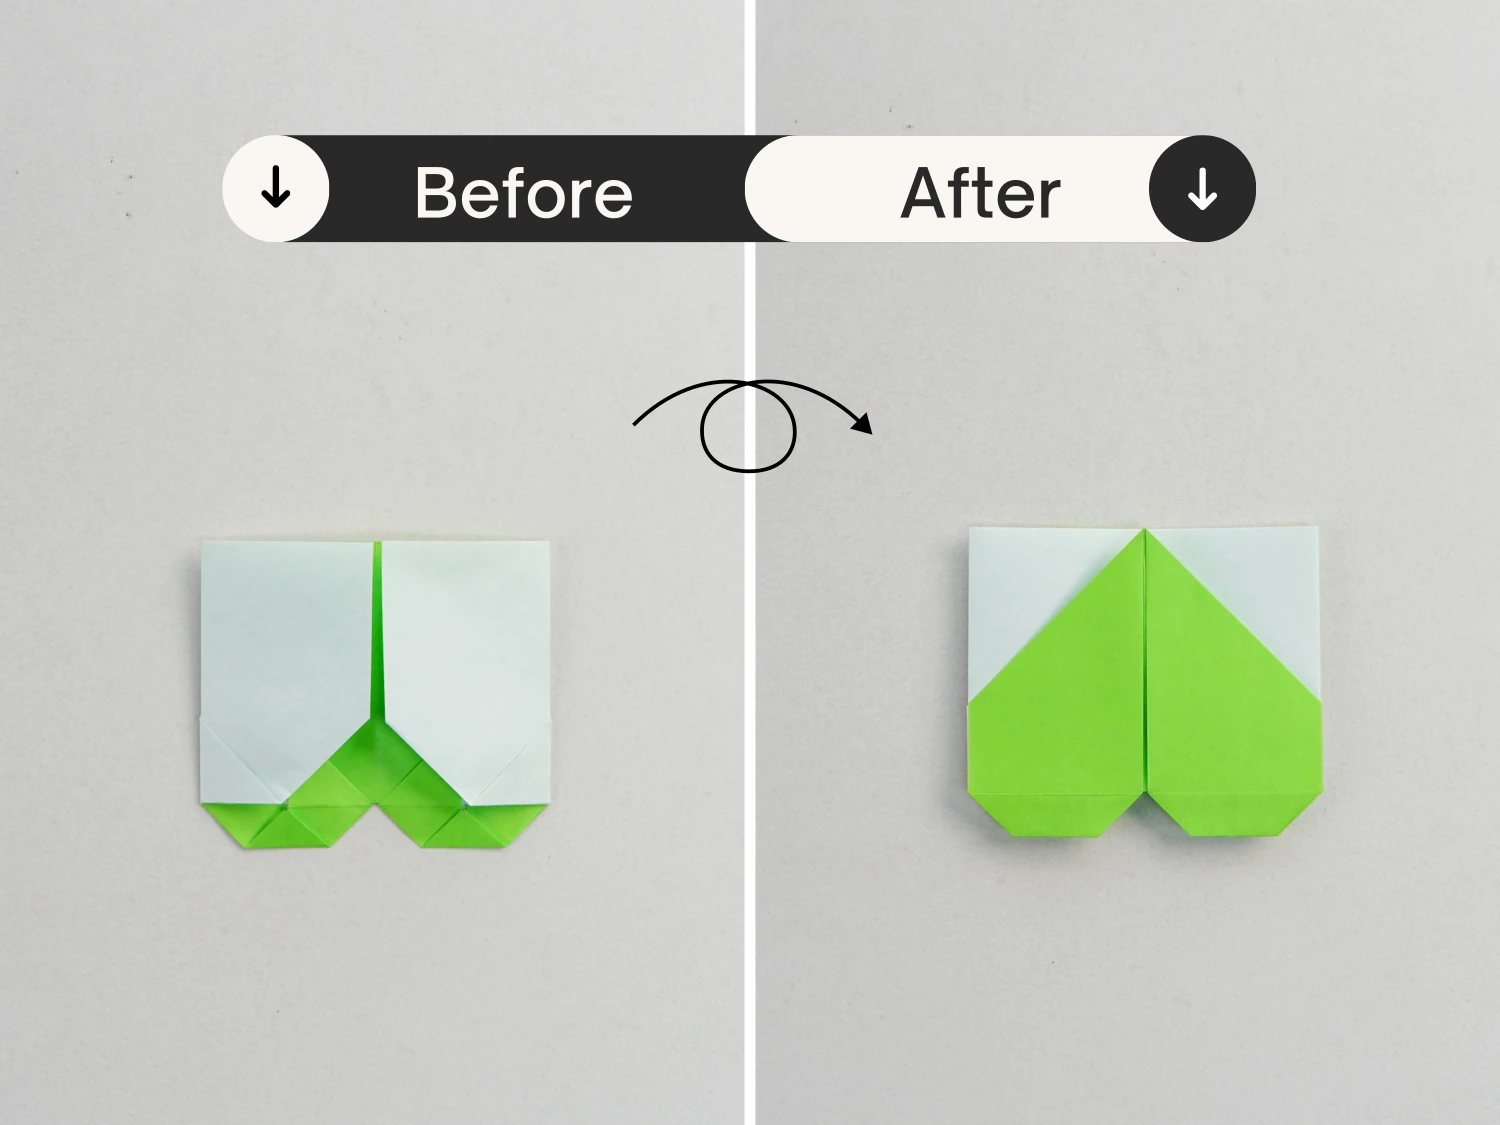
Flip the model over, one of the leaves of the four leaf clover is ready.
Step 17
Follow the same steps above to finish the remaining three small square papers, getting four leaves.
Step 18
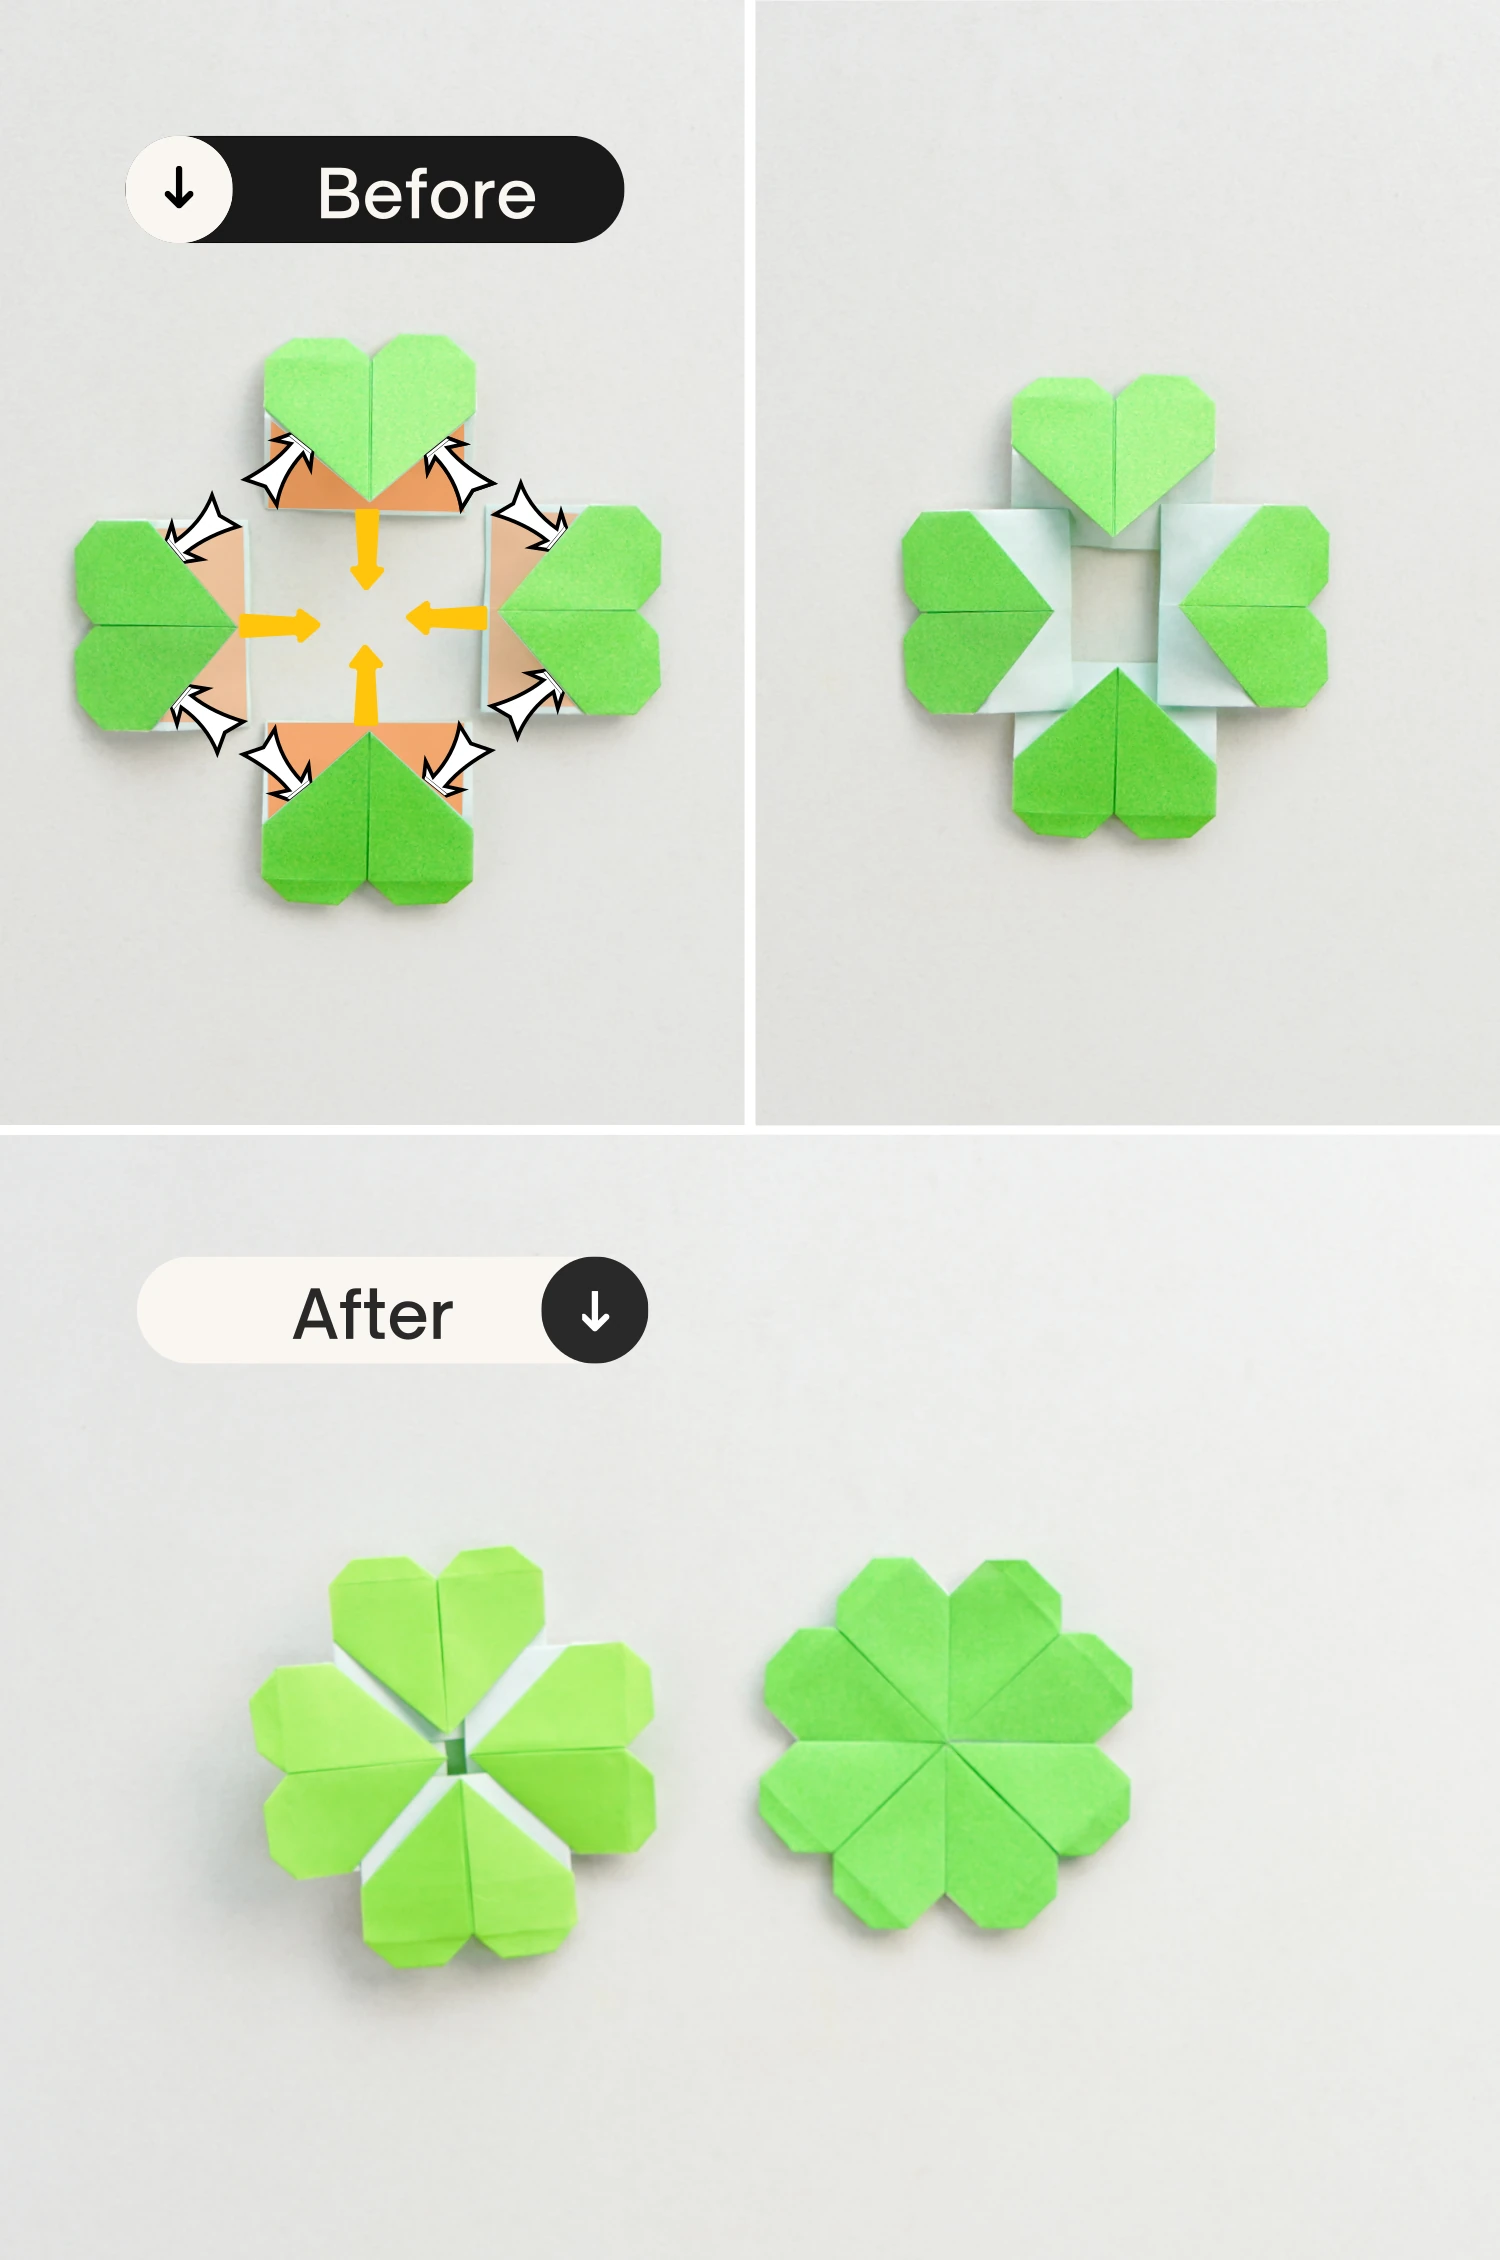
Apply glue to the white part under each leaf’s green part.

Step 19
Tuck them as the picture shows, and we are done! a lovely four leaf clover.
What’s Next
Now you can check our other easy origami instructions, they are very beginner-friendly. Enjoy folding!
Other easy origami ideas