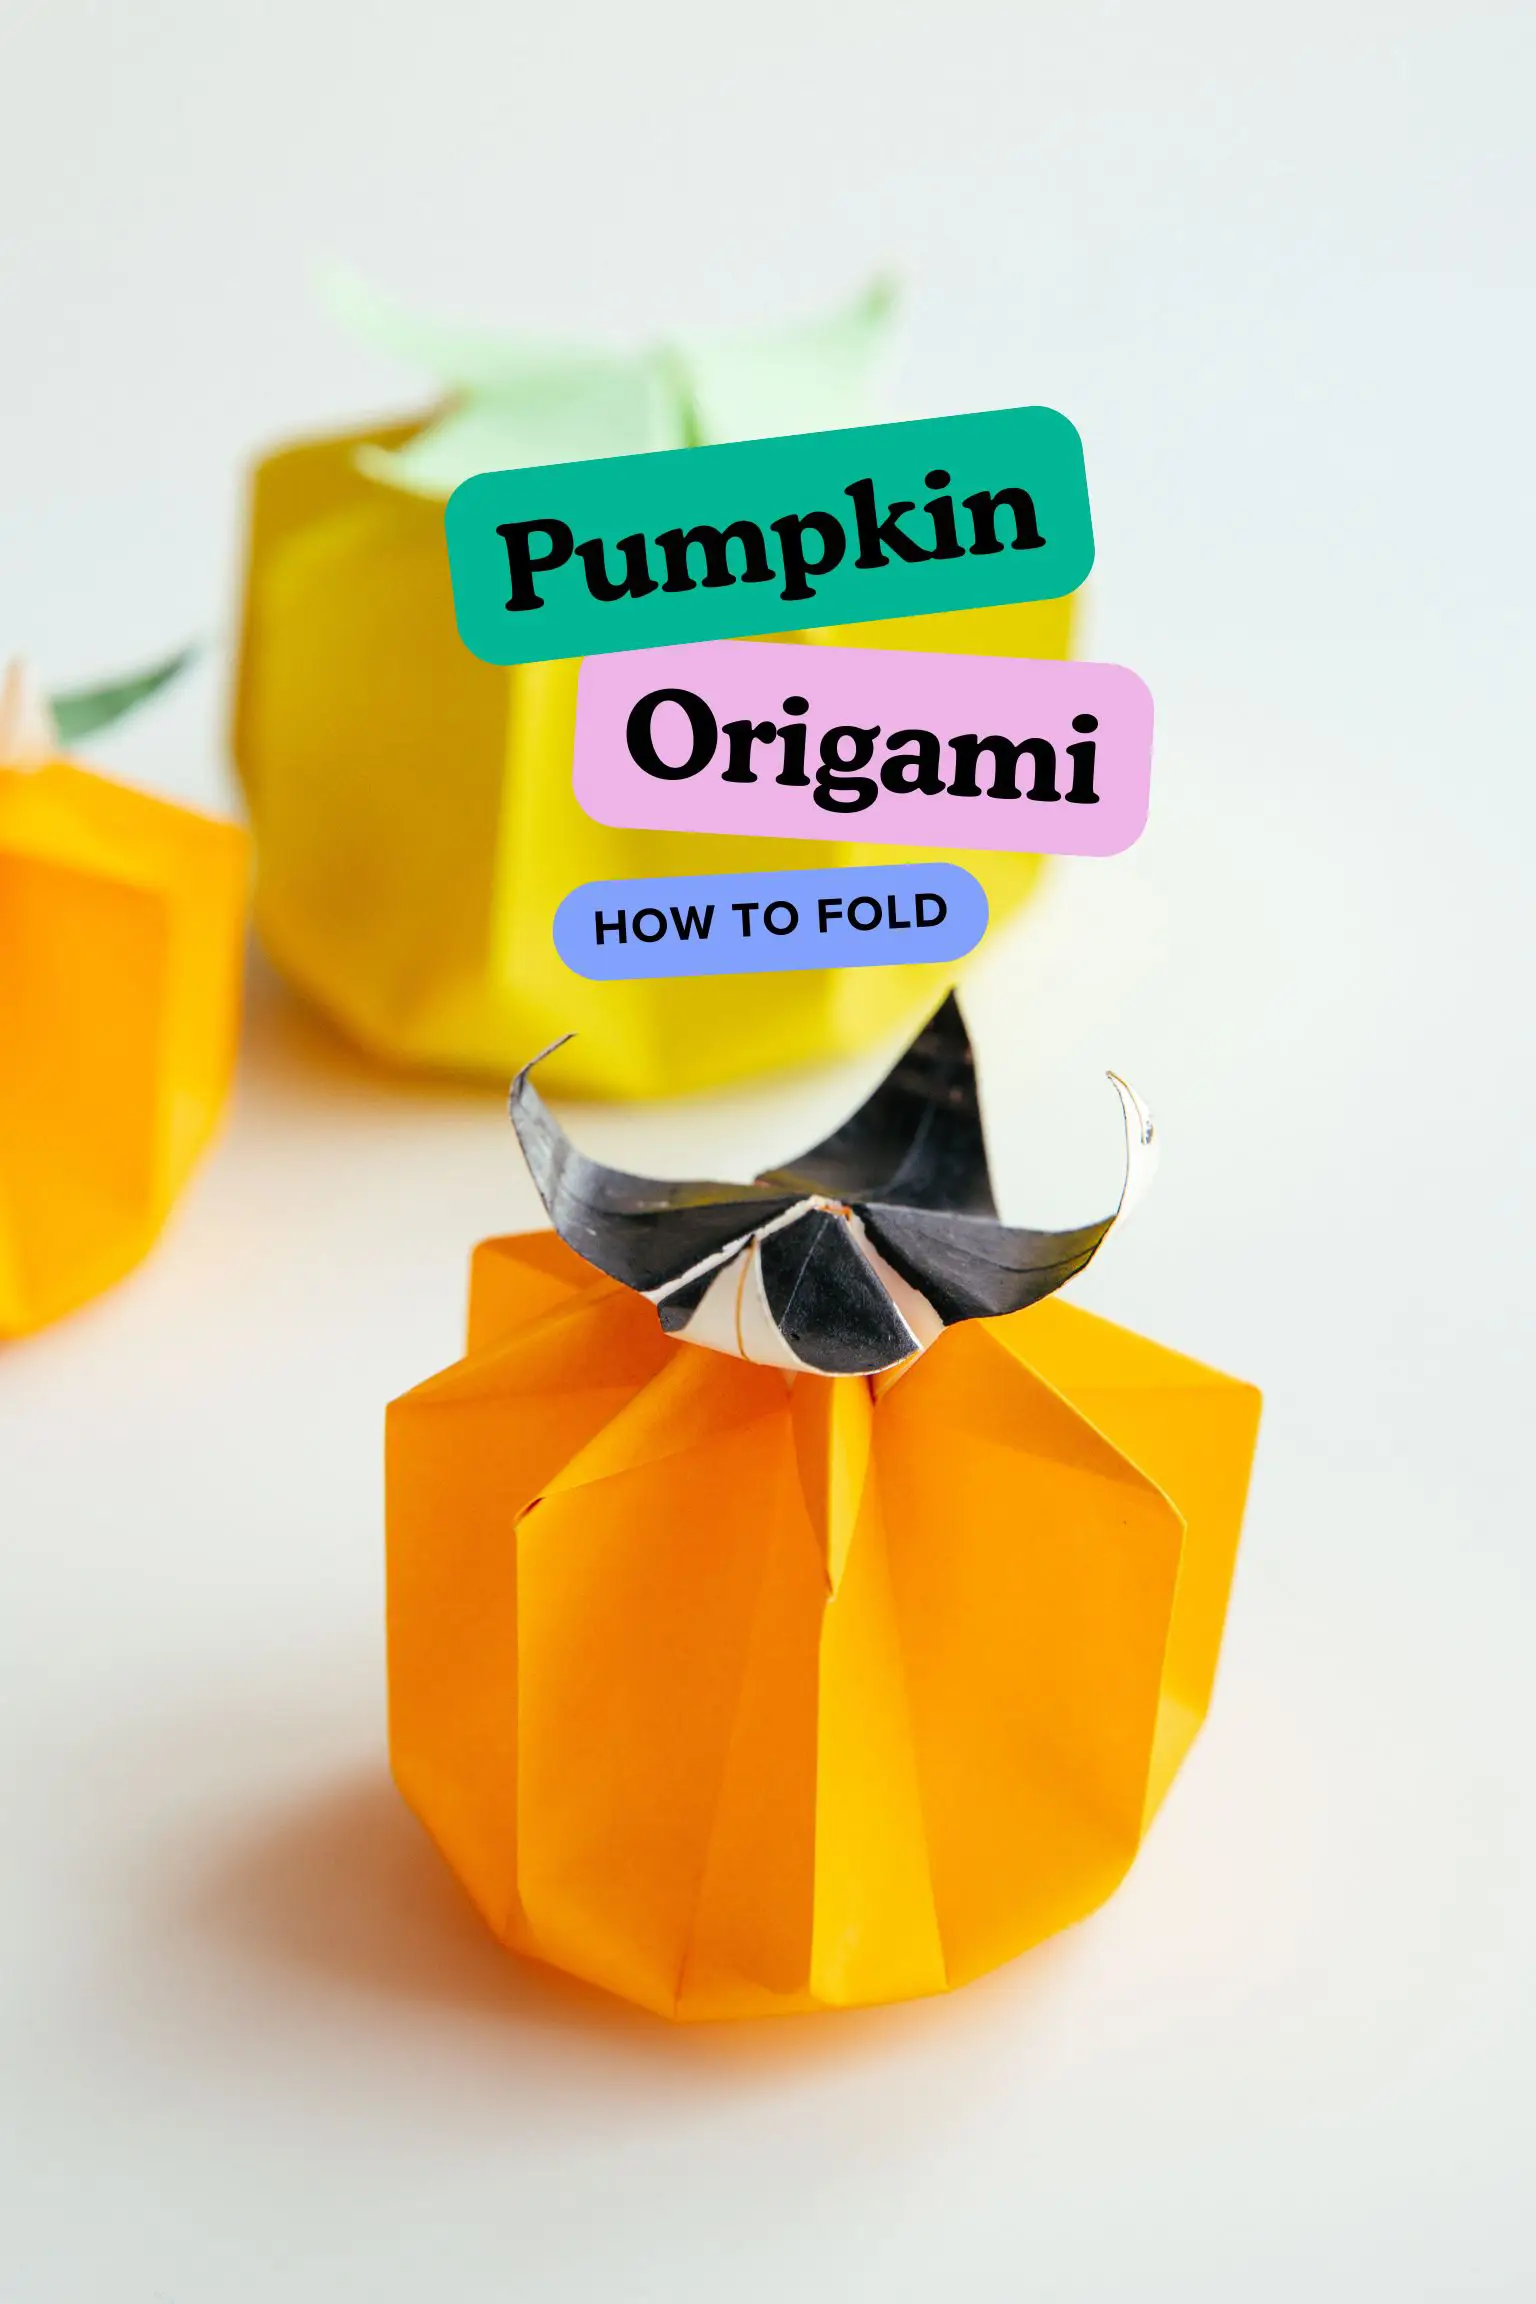
Autumn is here and one of the most essential elements of the season is pumpkin. Let’s create a cute and round origami pumpkin with our easy-to-follow instructions. It starts with a Square Base and features four lovely leaves, and it only takes one sheet of paper to make it. No special skills are required, and it’s great fun for adults and children alike.
This is a perfect paper product to decorate your home. The process of making it is easy and fun for you and your children to have an enjoyable time.
It is perfect for fall, Thanksgiving and Halloween. String them up to decorate your windows or make a different size “pumpkin family” and place them on your table, that would be fun too.
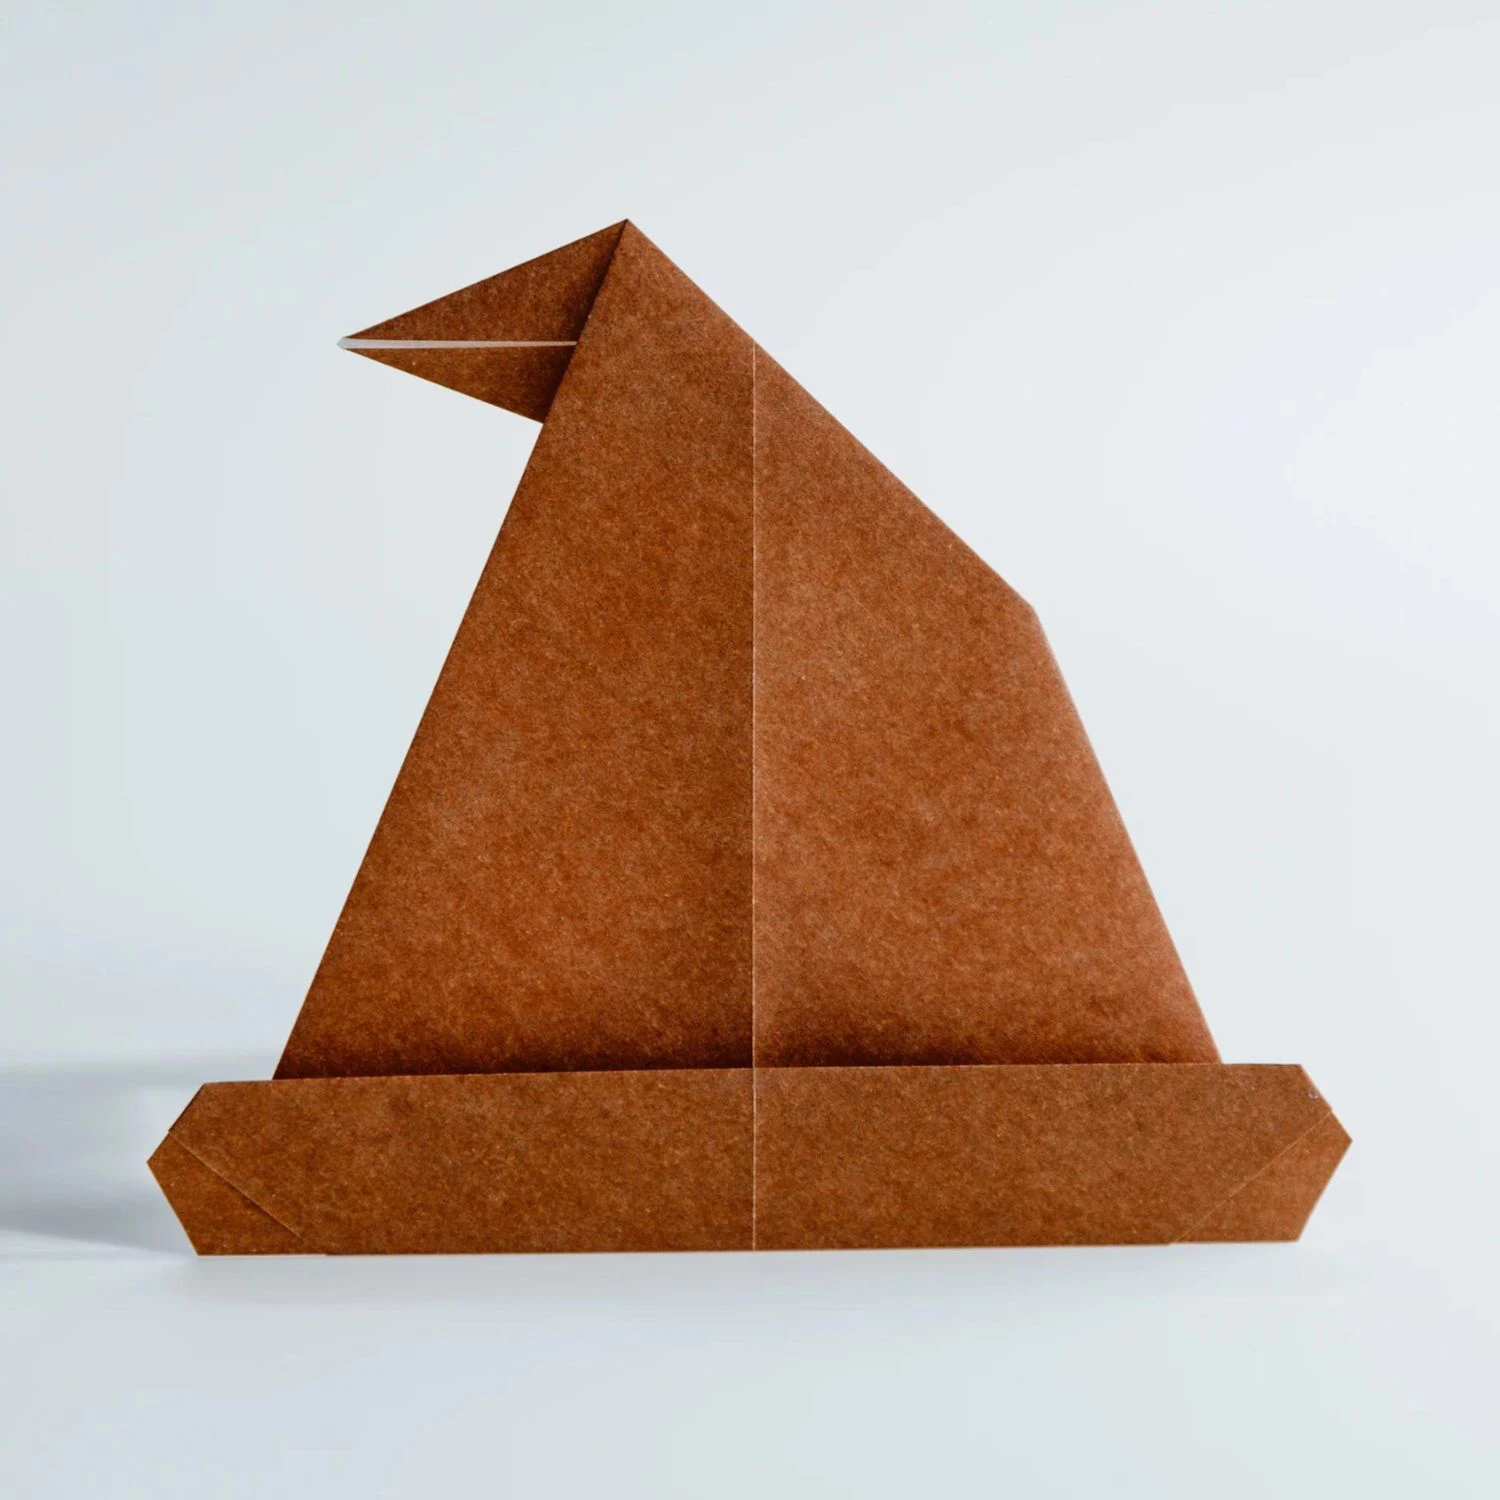
We offer a cool Origami Witch Hat for you if you want to make some paper crafts with Halloween elements, this would further enhance the festive atmosphere.
In addition, if you want to fold some craft related to vegetables, then check our Easy Origami Eggplant.
If you are new to origami, start here from our beginner guide to know the basics and how to read the step-by-step instructions.
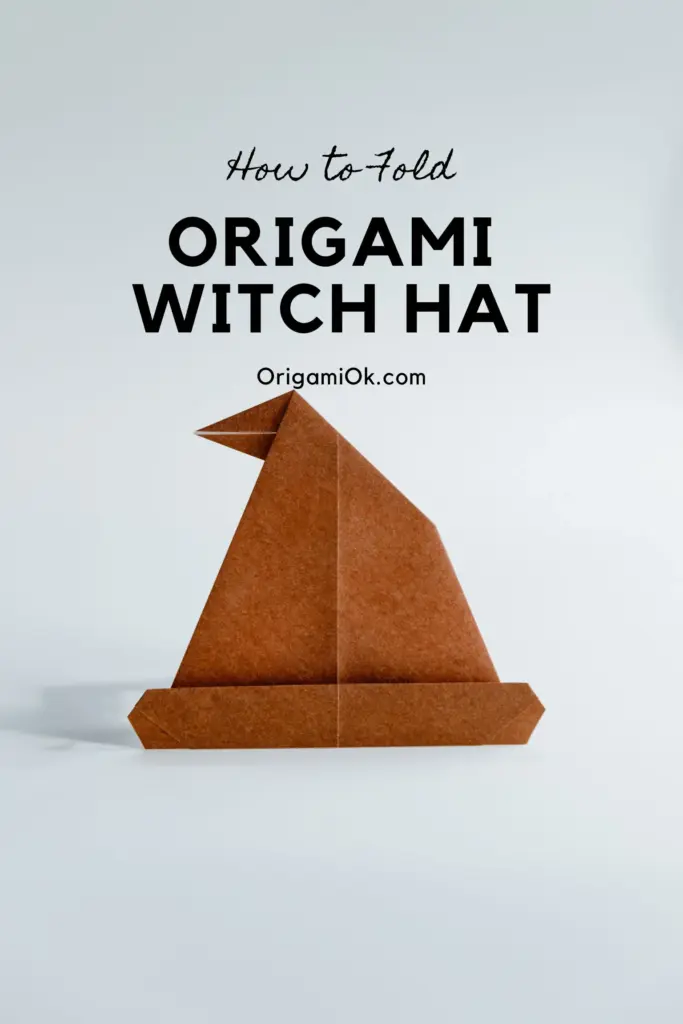
Origami Witch Hat
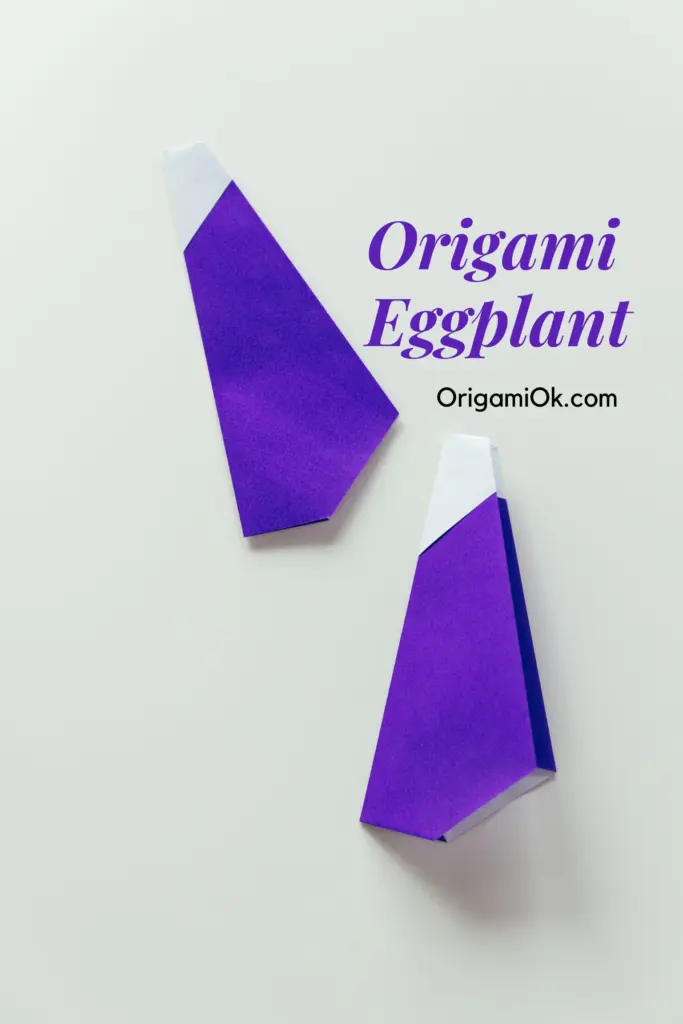
Origami Eggplant
- Folding time: 15 minutes
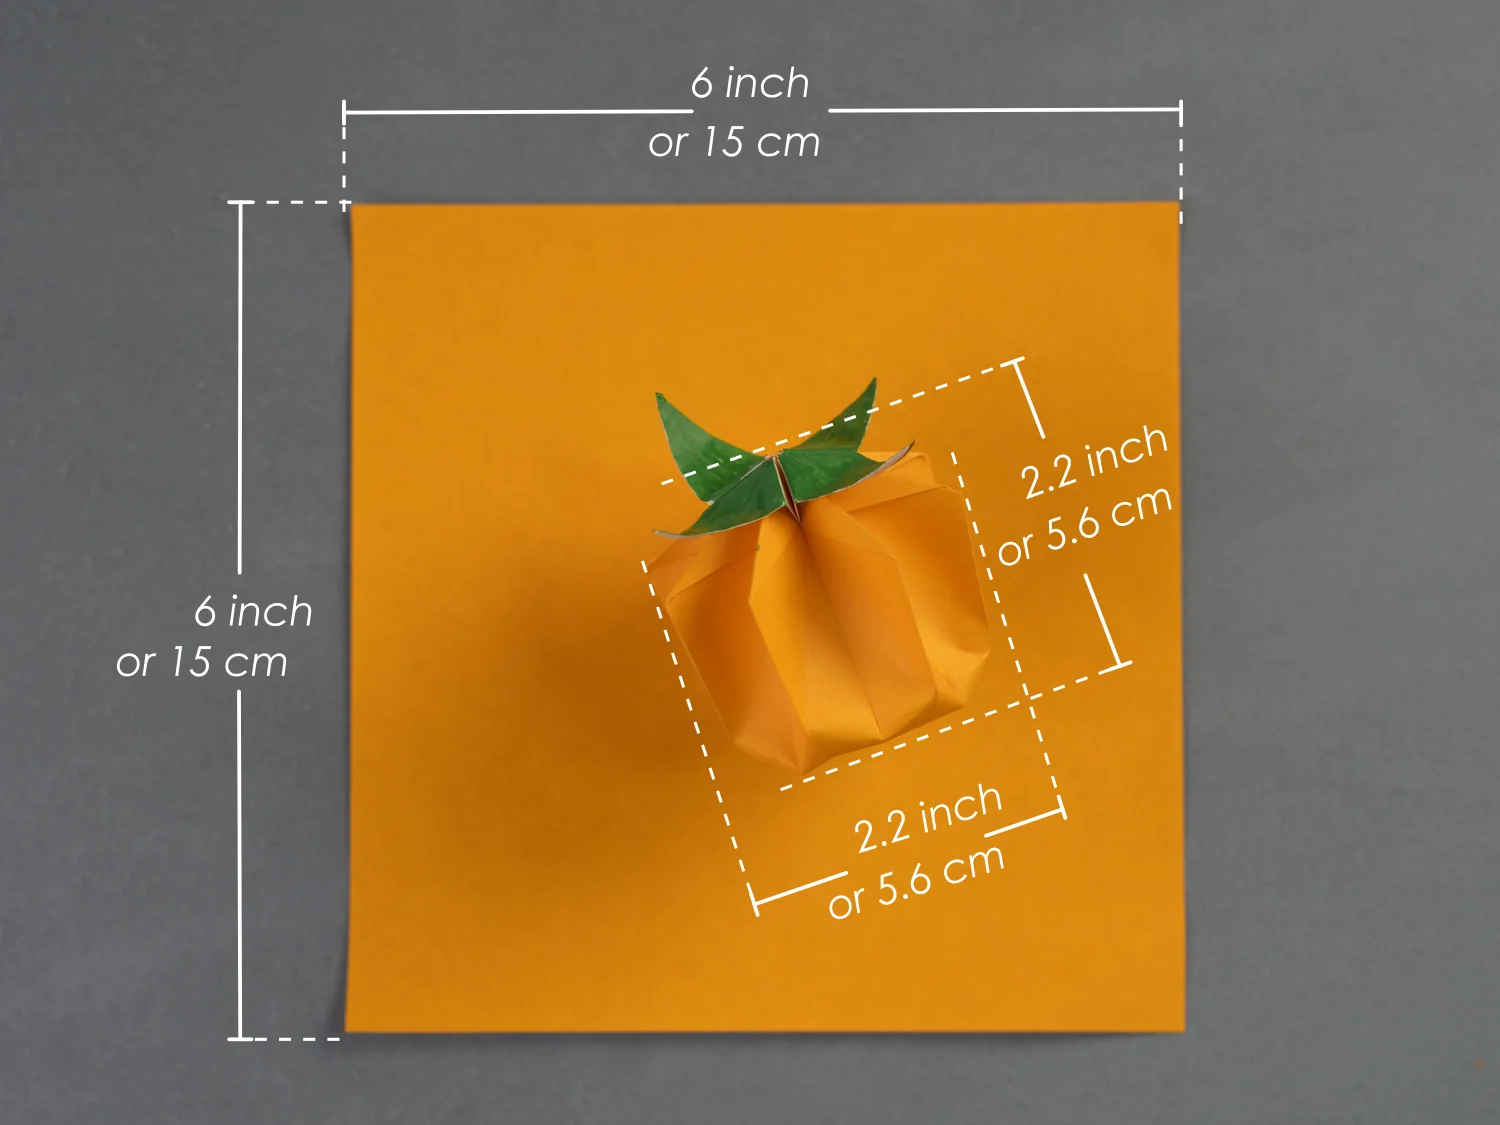
- Paper: 15×15 cm
- Difficulty: Middle
Material
Get a piece of 15×15 cm origami square paper, to create a 5.6×5.6 cm origami pumpkin. Other sizes of the square paper are also practicable.
Step by Step Instructions
Step 1
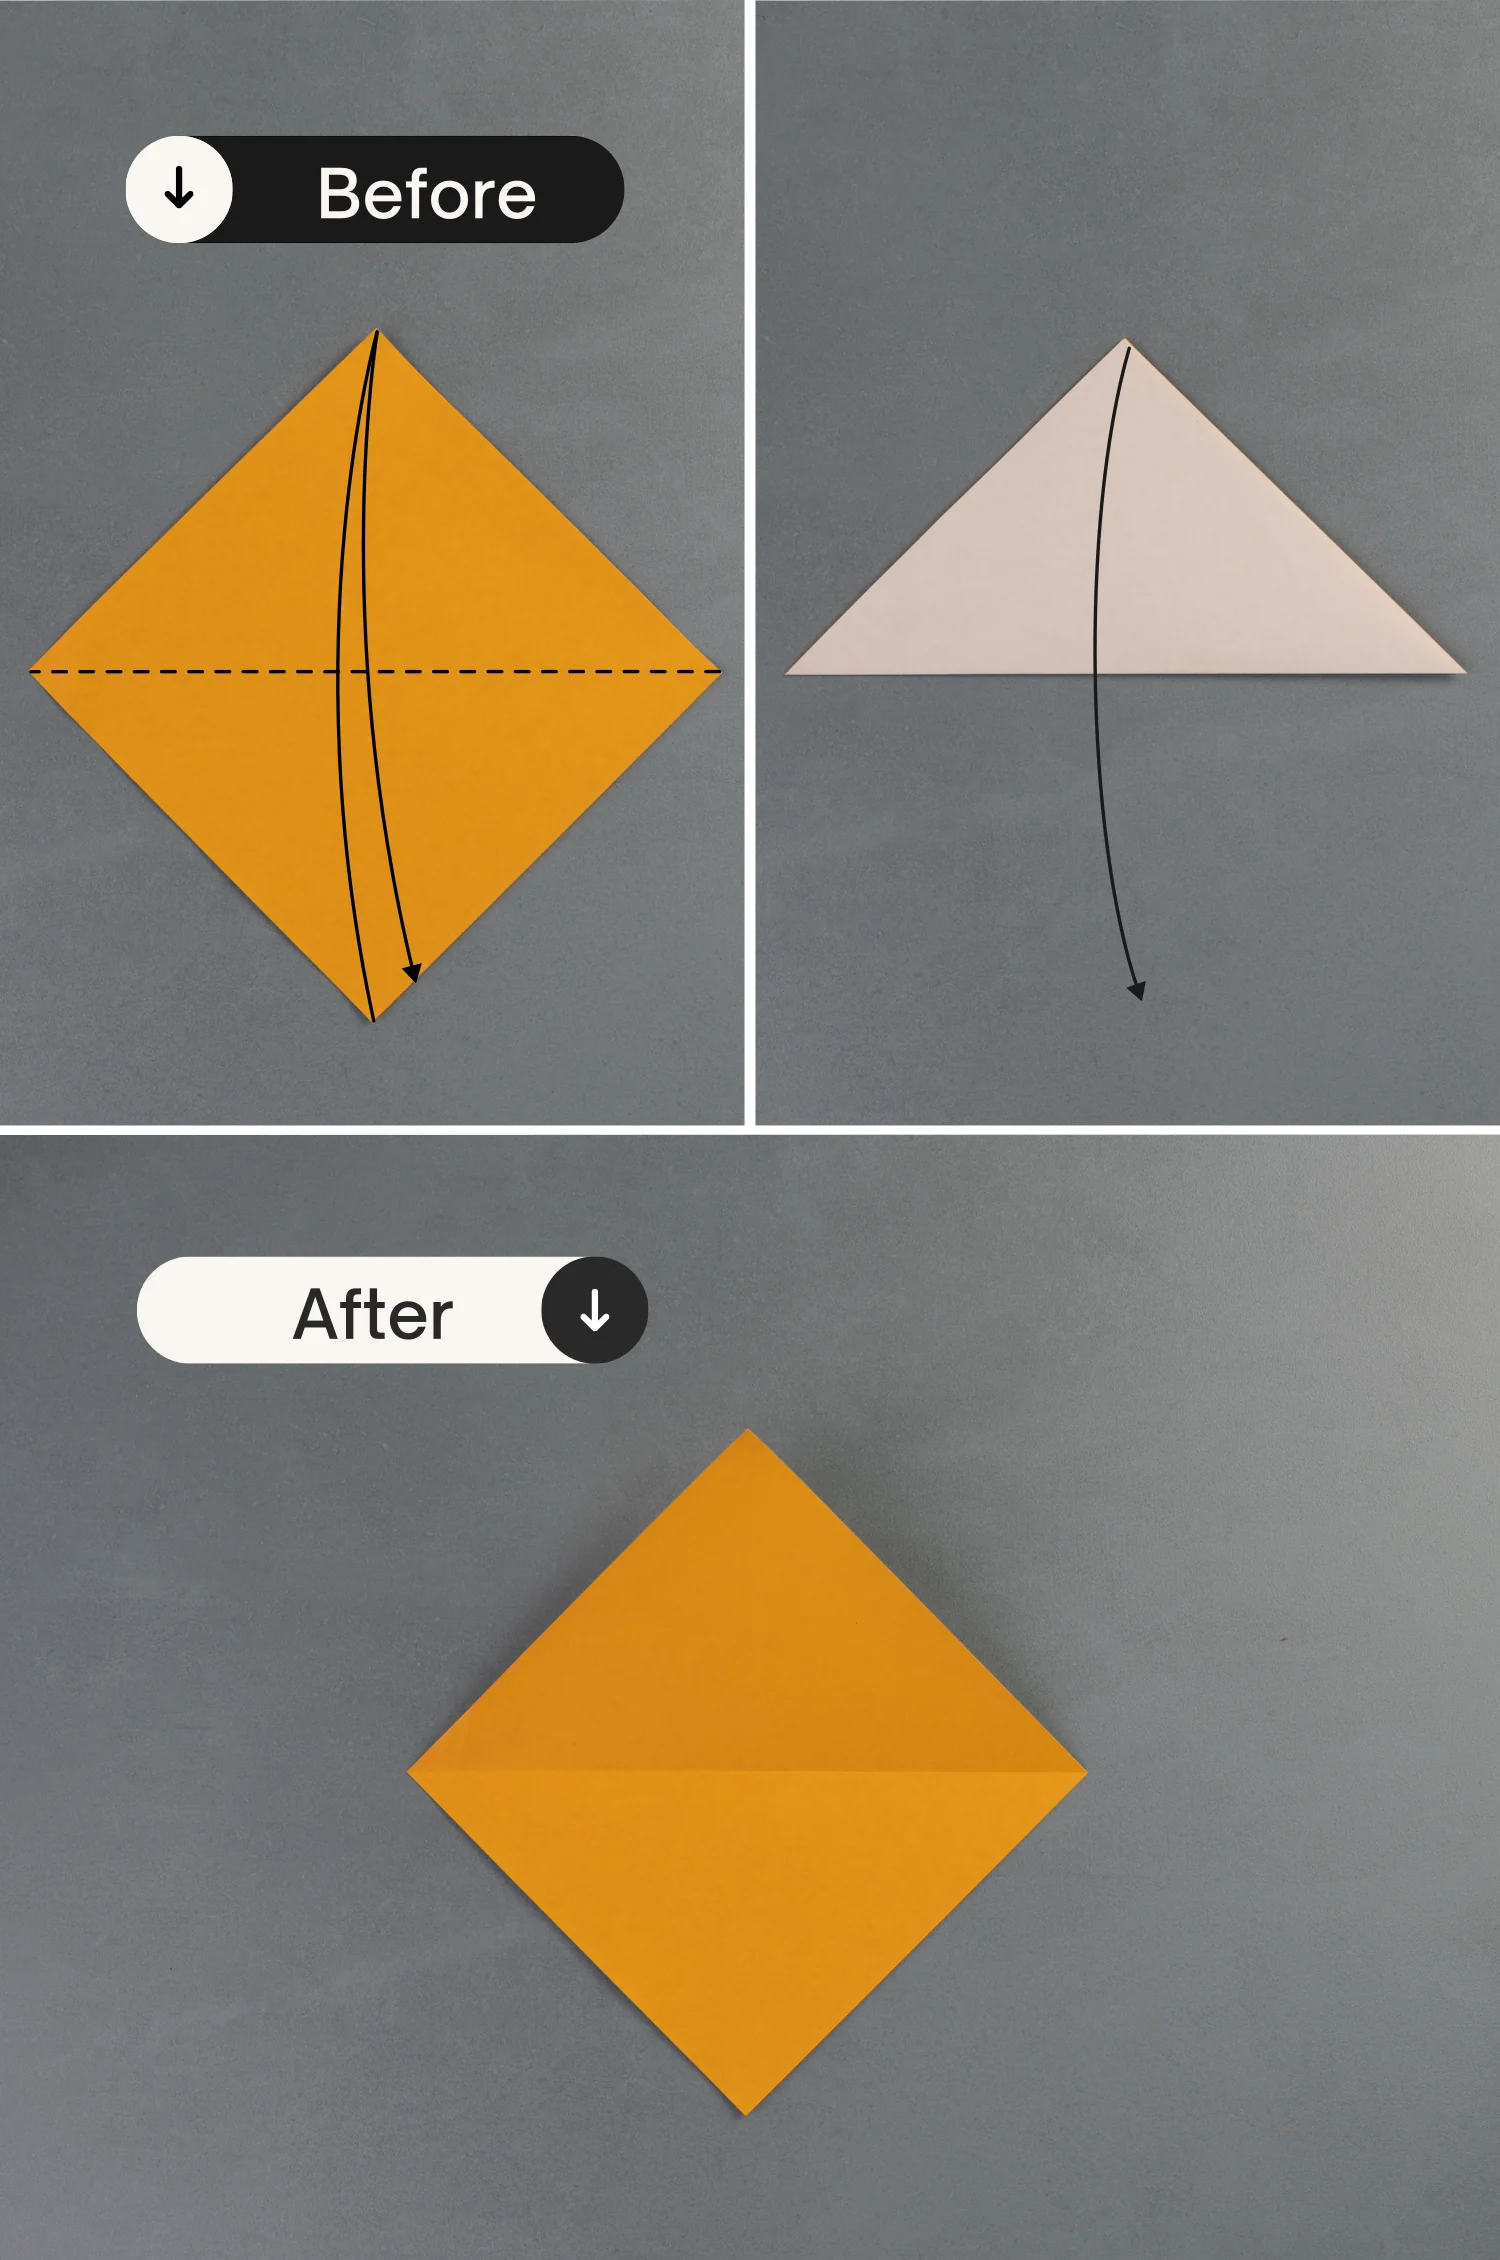
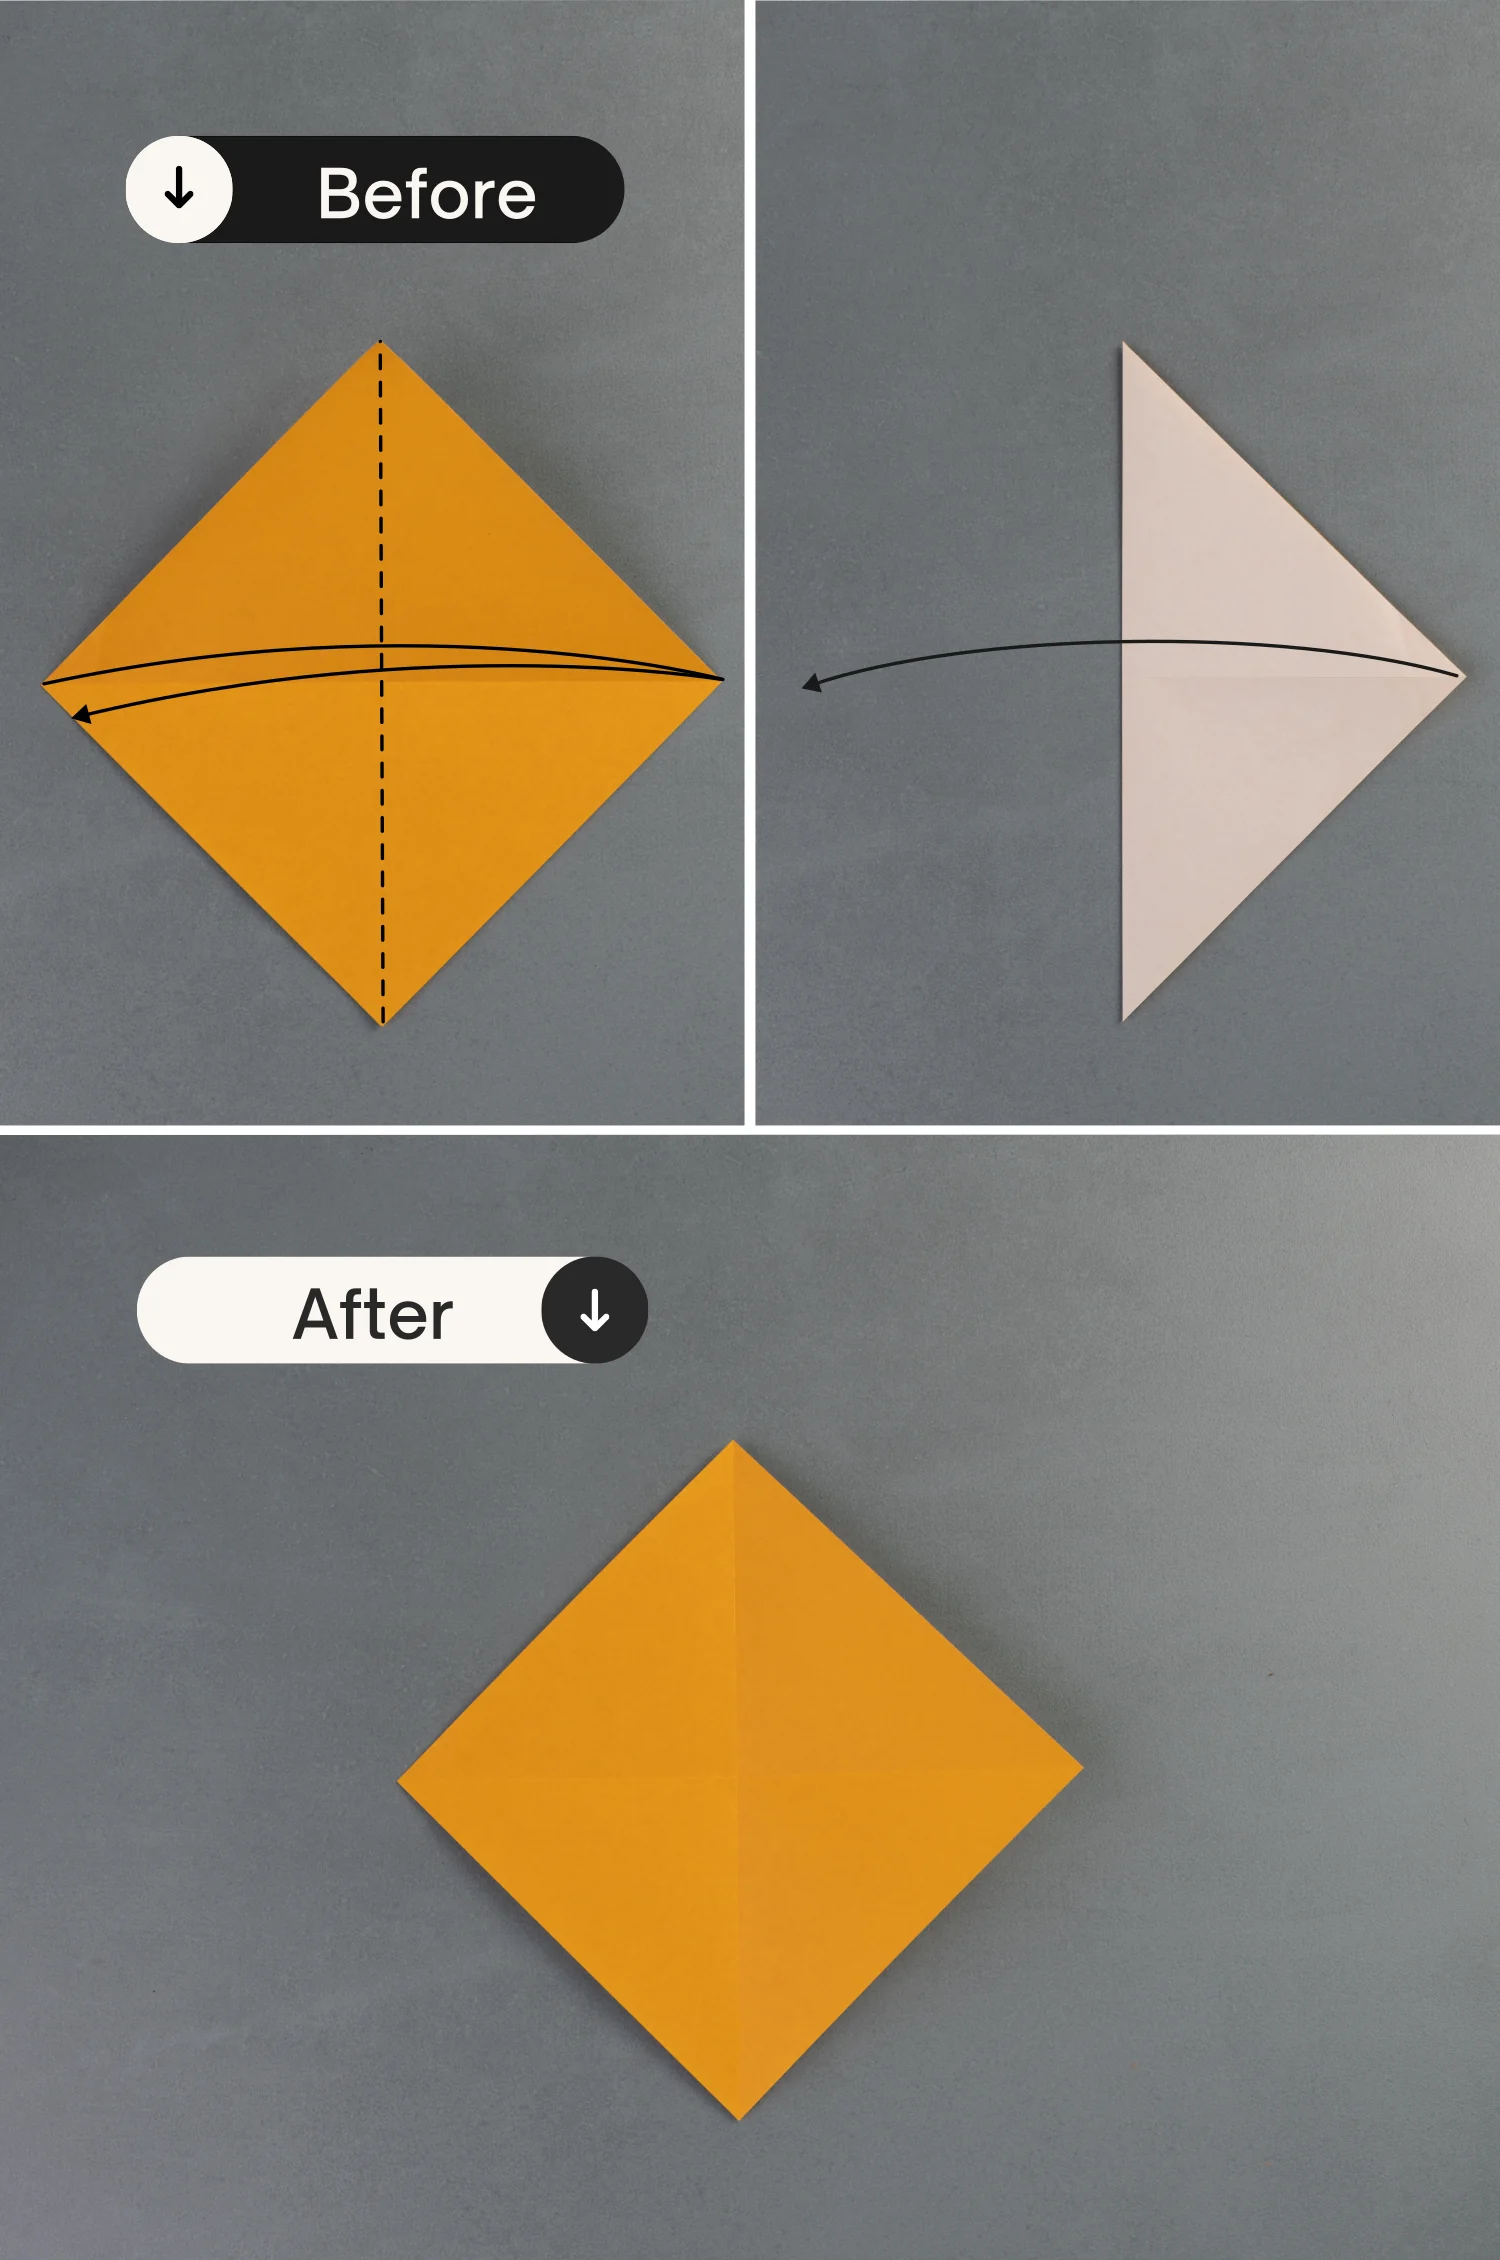
Place the paper with the yellow side up to begin folding, fold it in half horizontally, leaving a crease then unfold it.
Step 2
Fold it in half vertically, leaving a crease, and unfold it.
Step 3
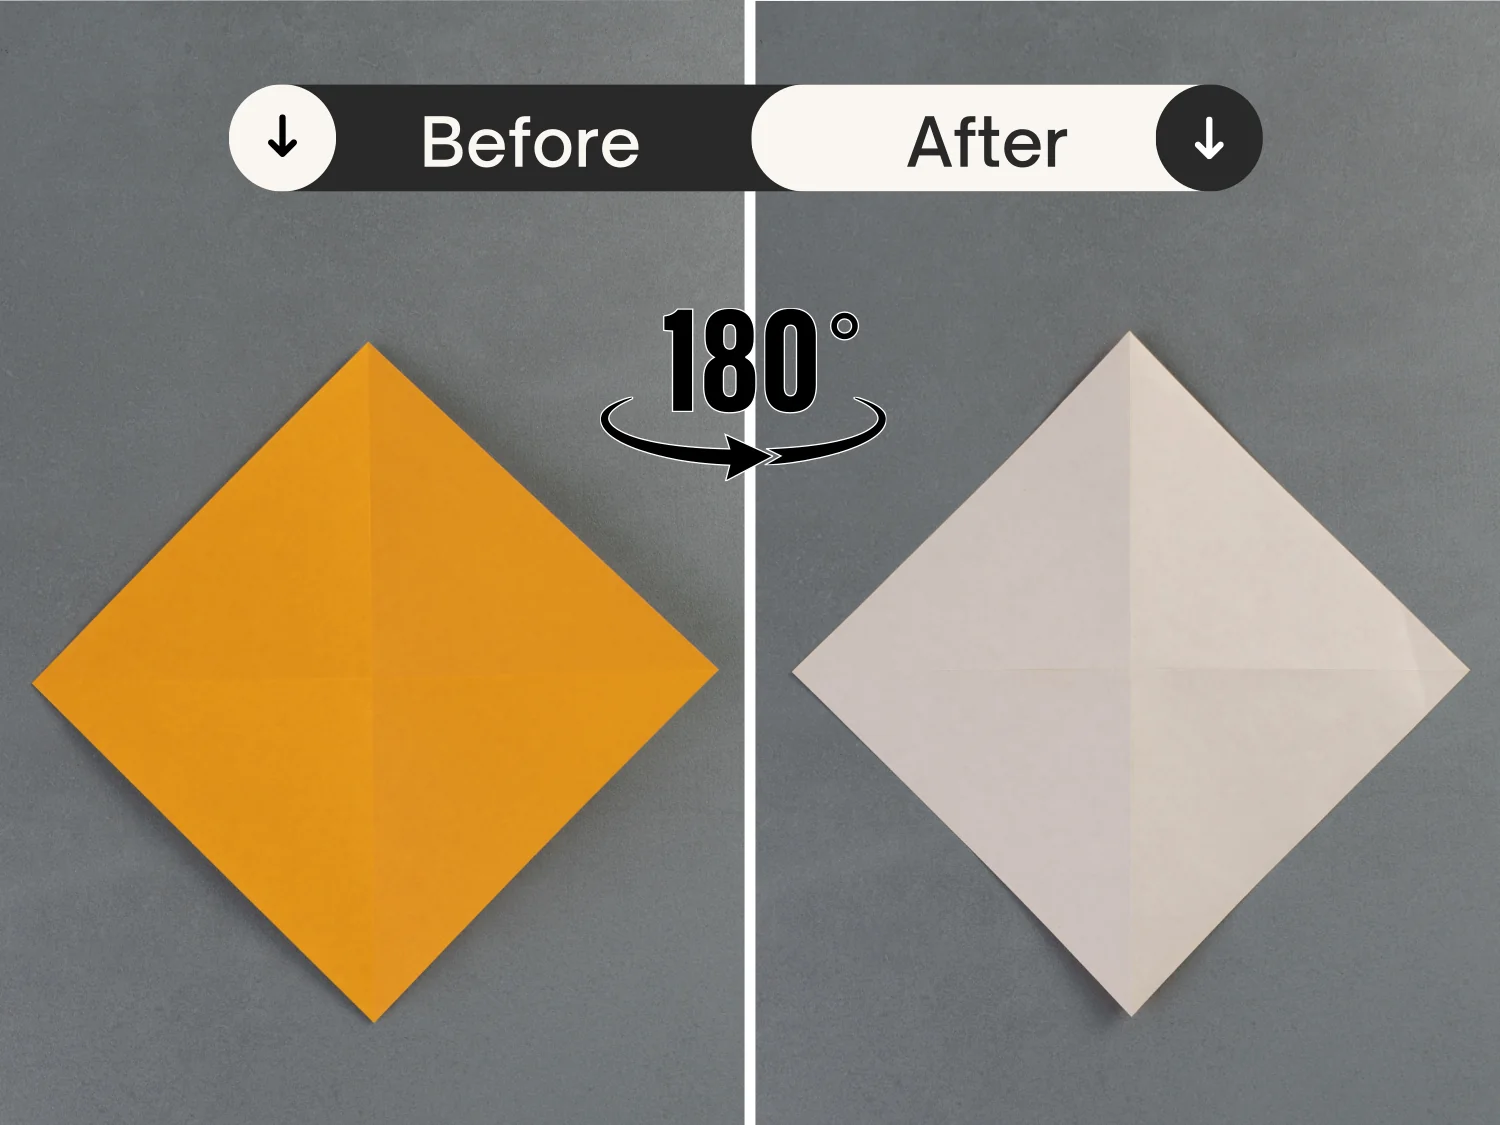
Flip the paper over from left to right.
Step 4
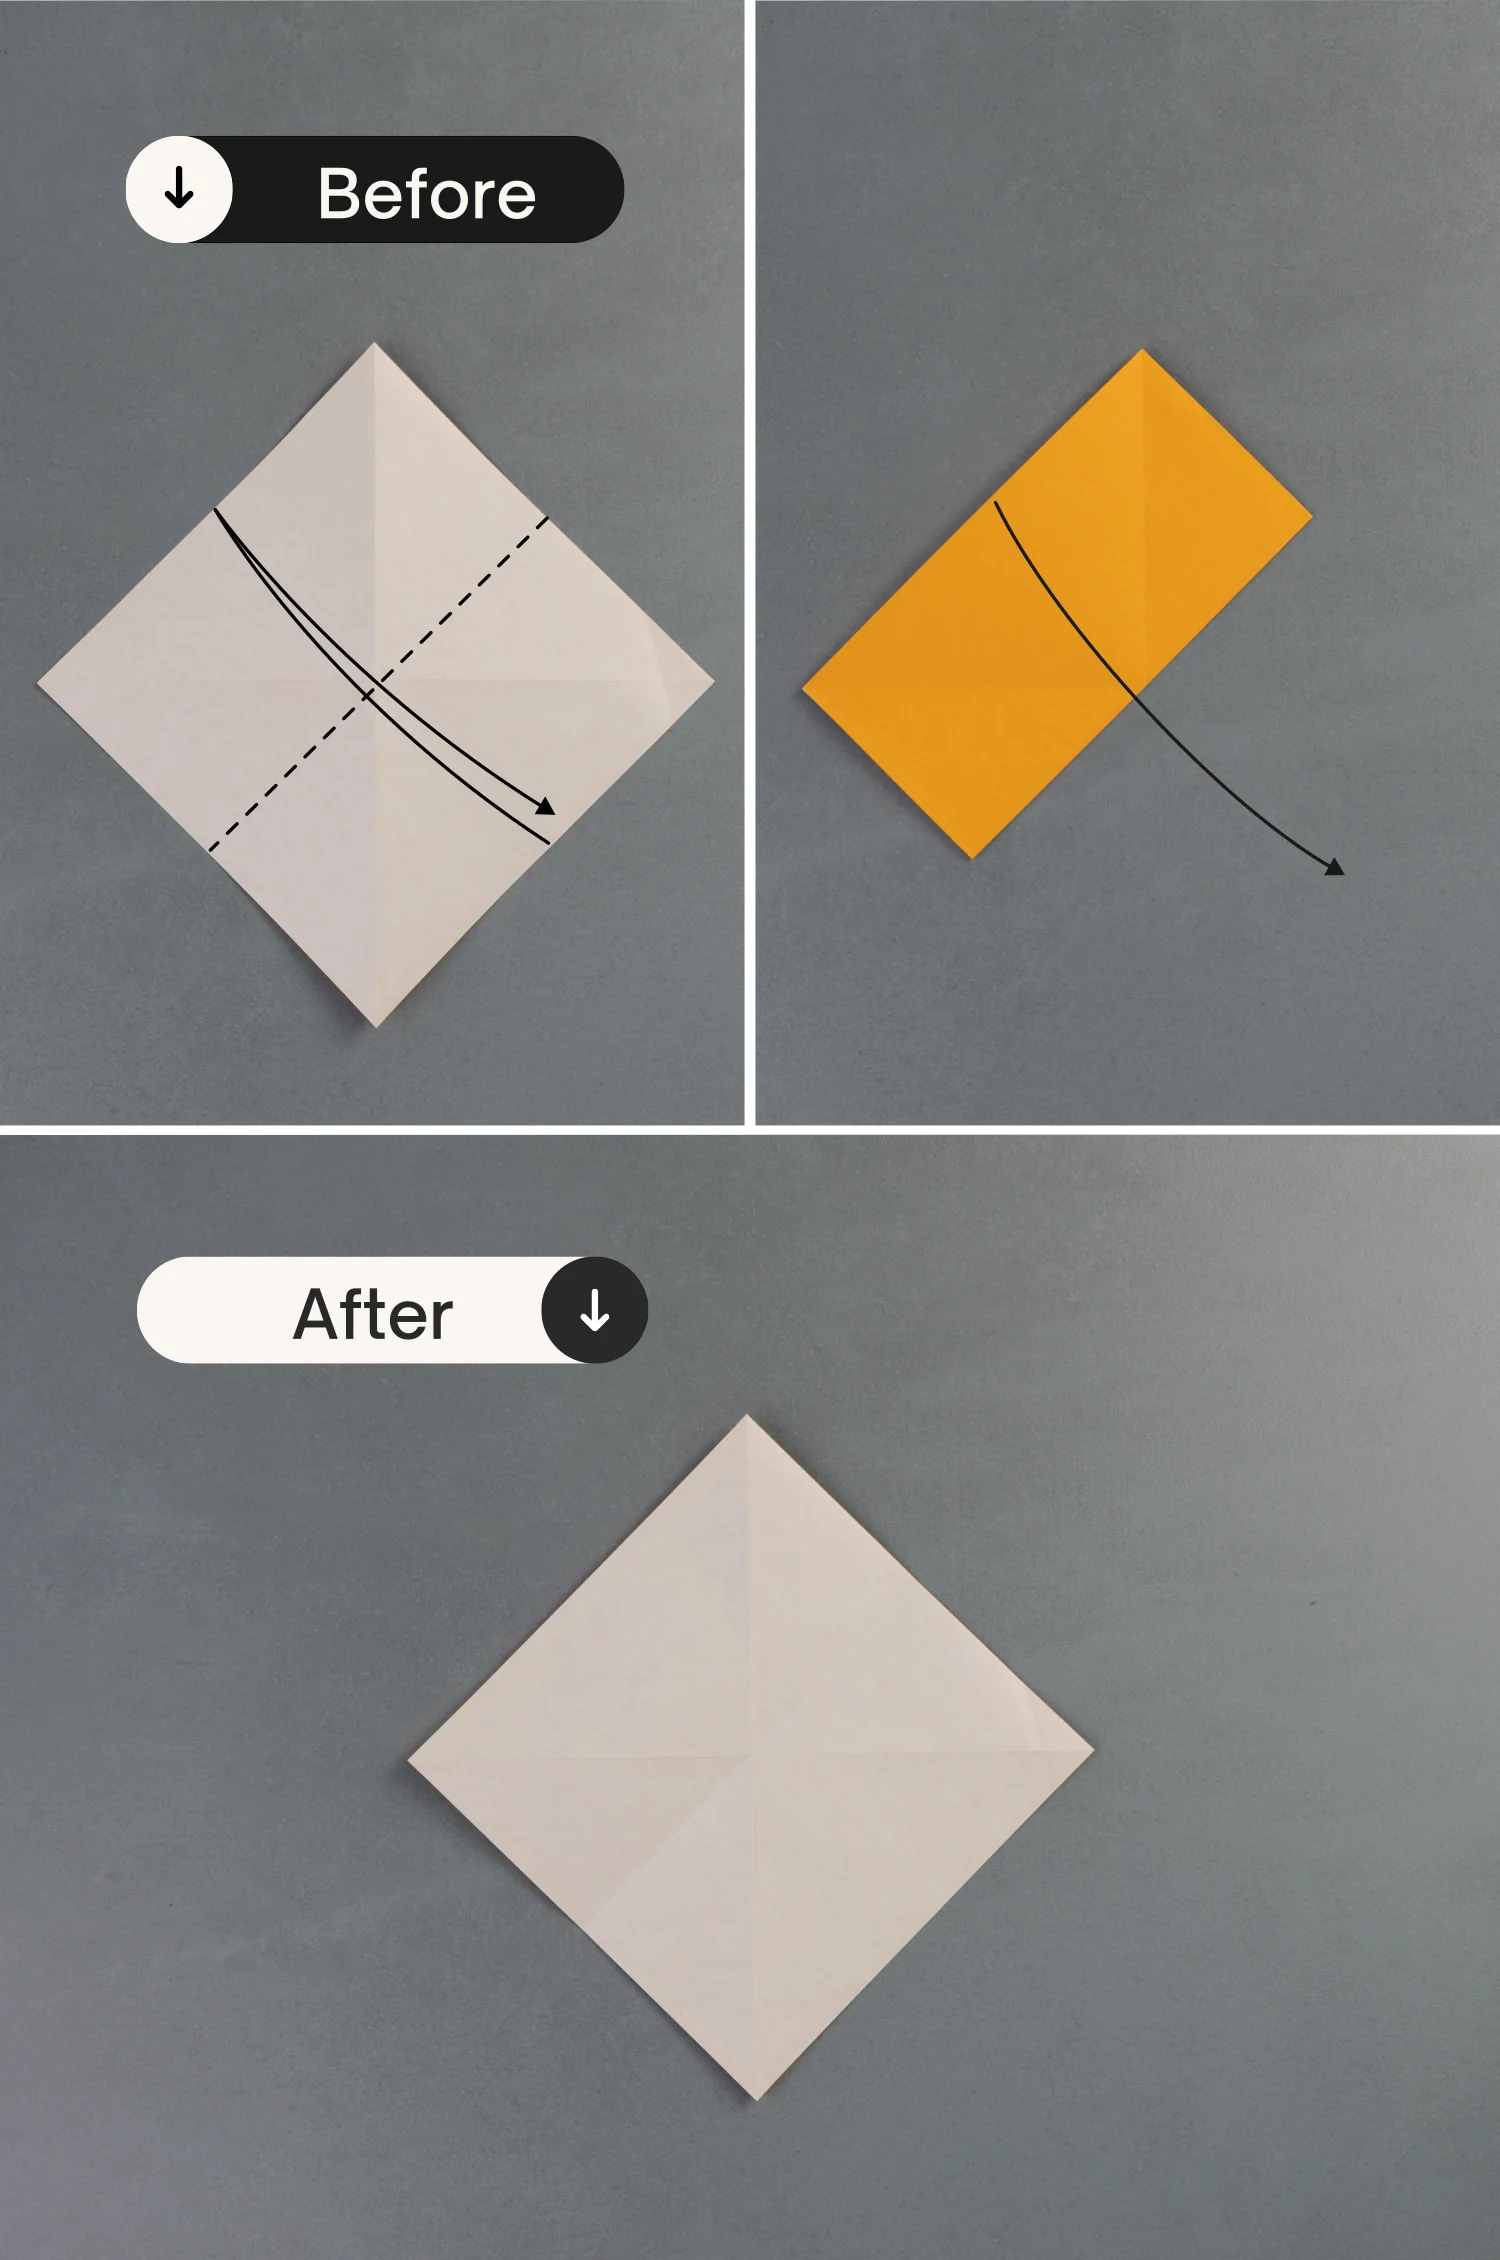
Fold the bottom right edge to align with the top left edge, and unfold it.
Step 5
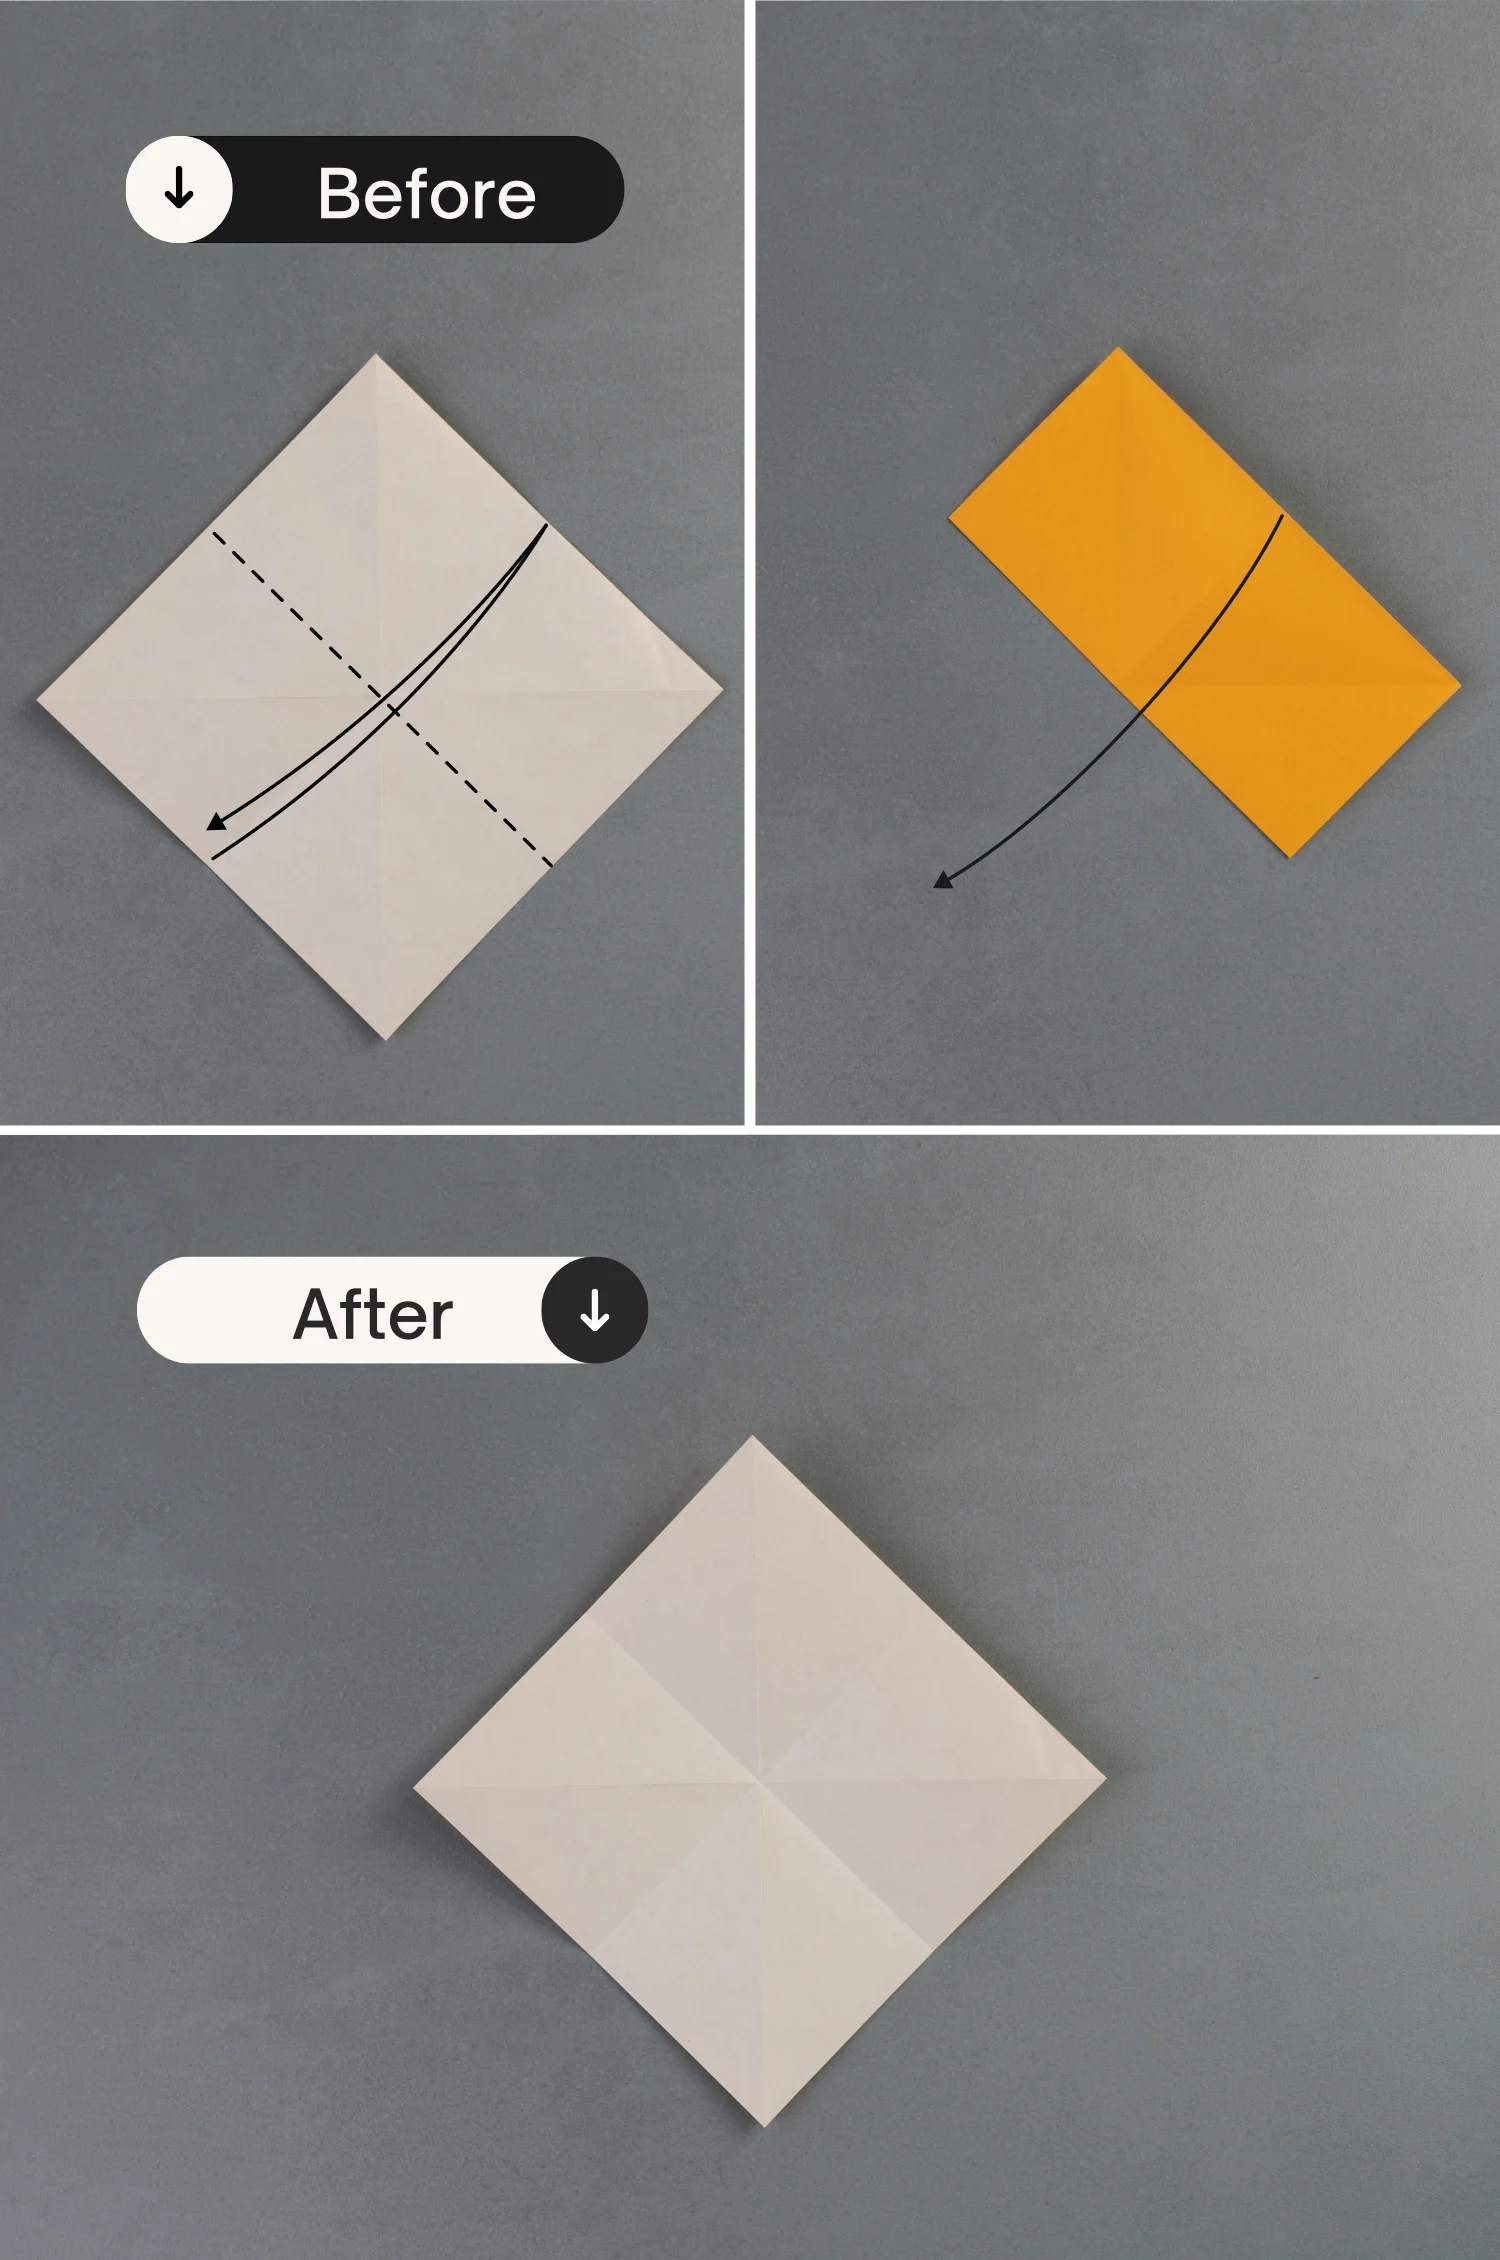
Fold the bottom left edge to align with the top right edge, and unfold it.
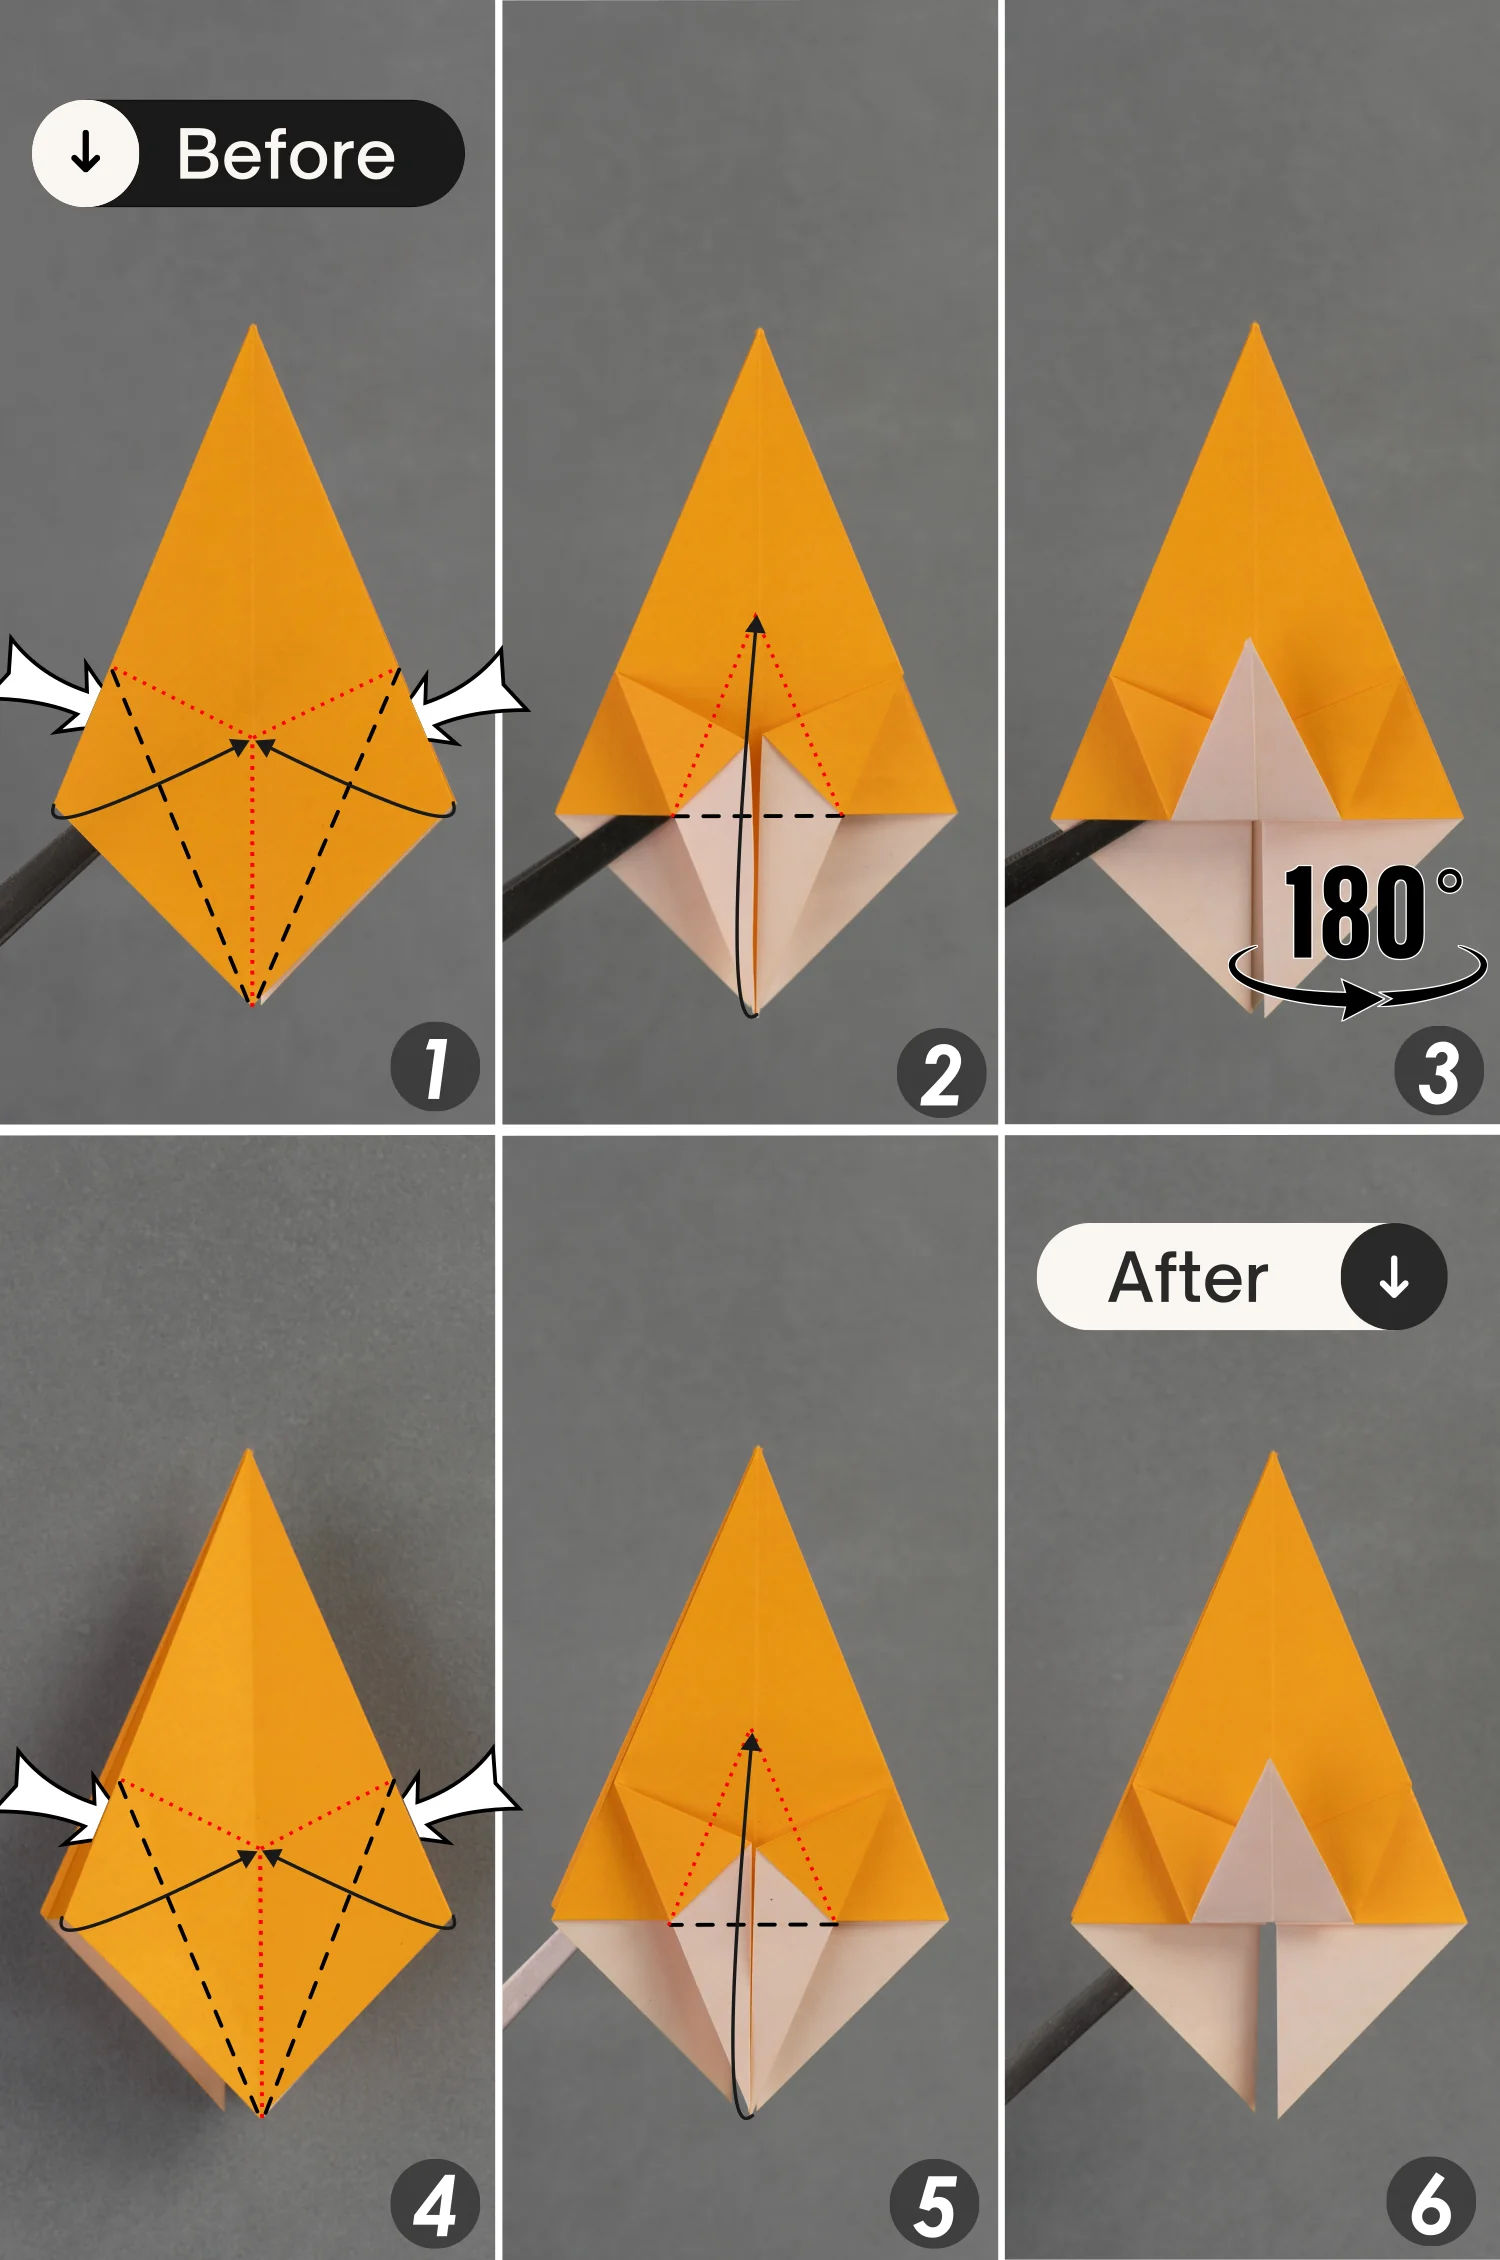
Step 6
Mountain fold the left and right creases and bring up the left, right, and top points to meet the bottom point. Flatten the fold to create a small square.

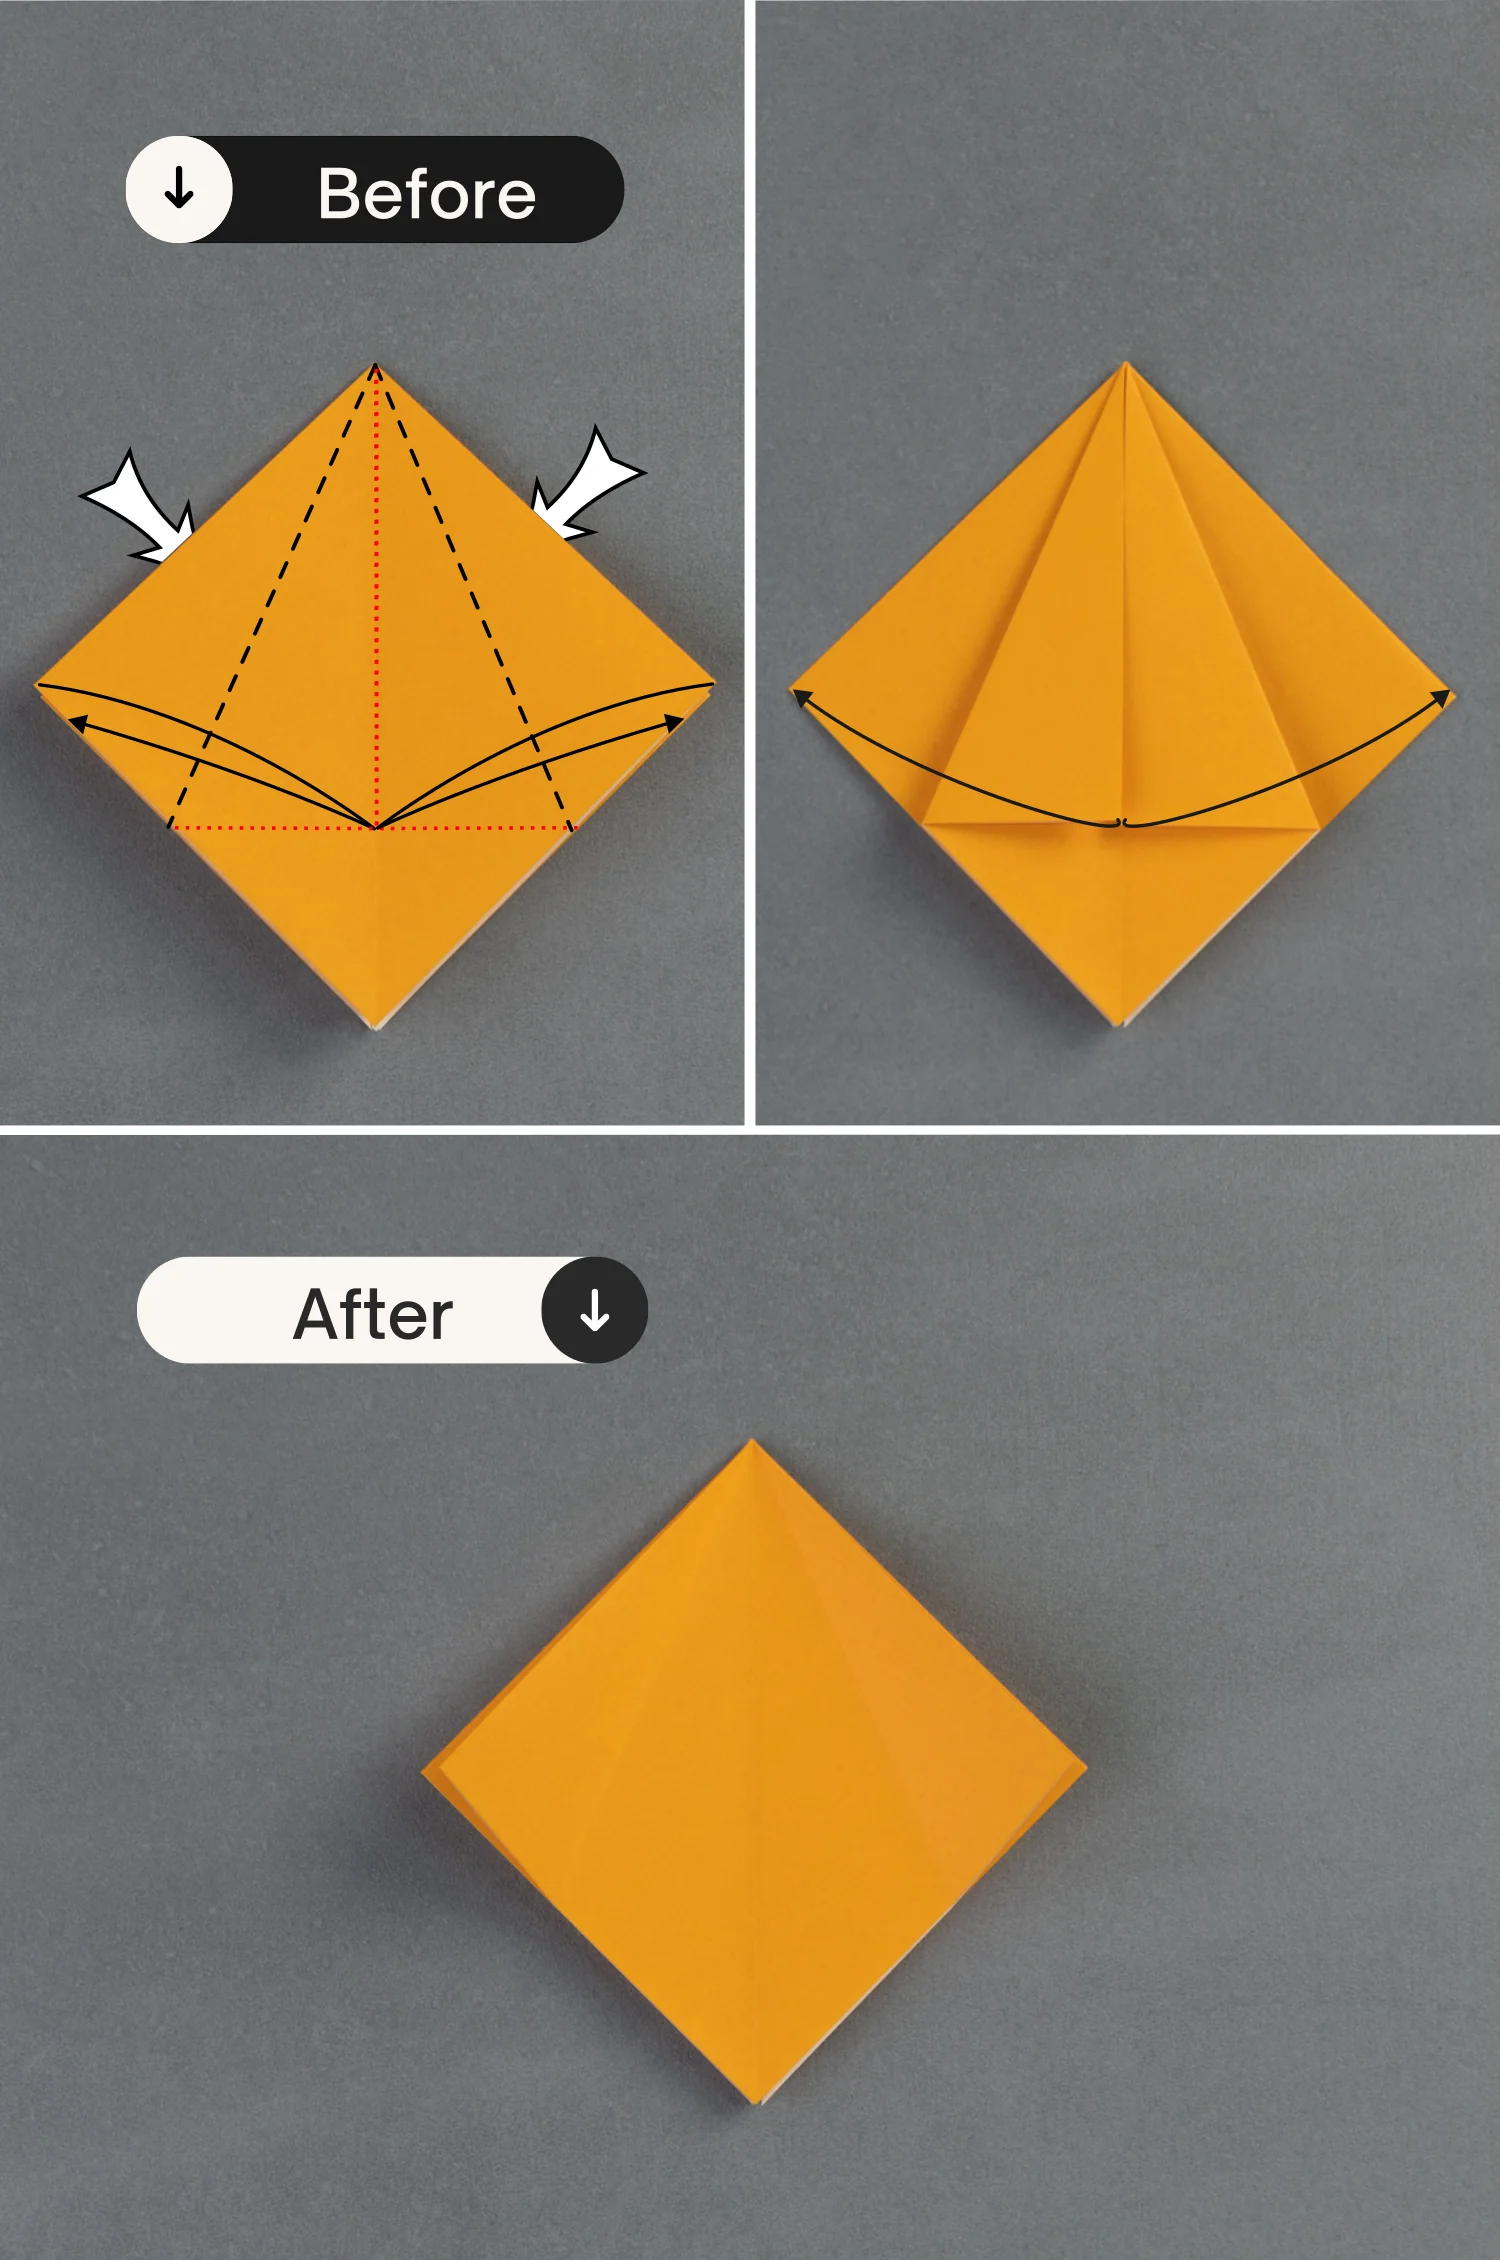
Step 7
Fold the top left and right edges to align with the middle vertical crease, and unfold them.
Step 8
Bring up the top layer on the left side, open it, and squash it. Then, fold the right layer to the left side along the vertical crease.
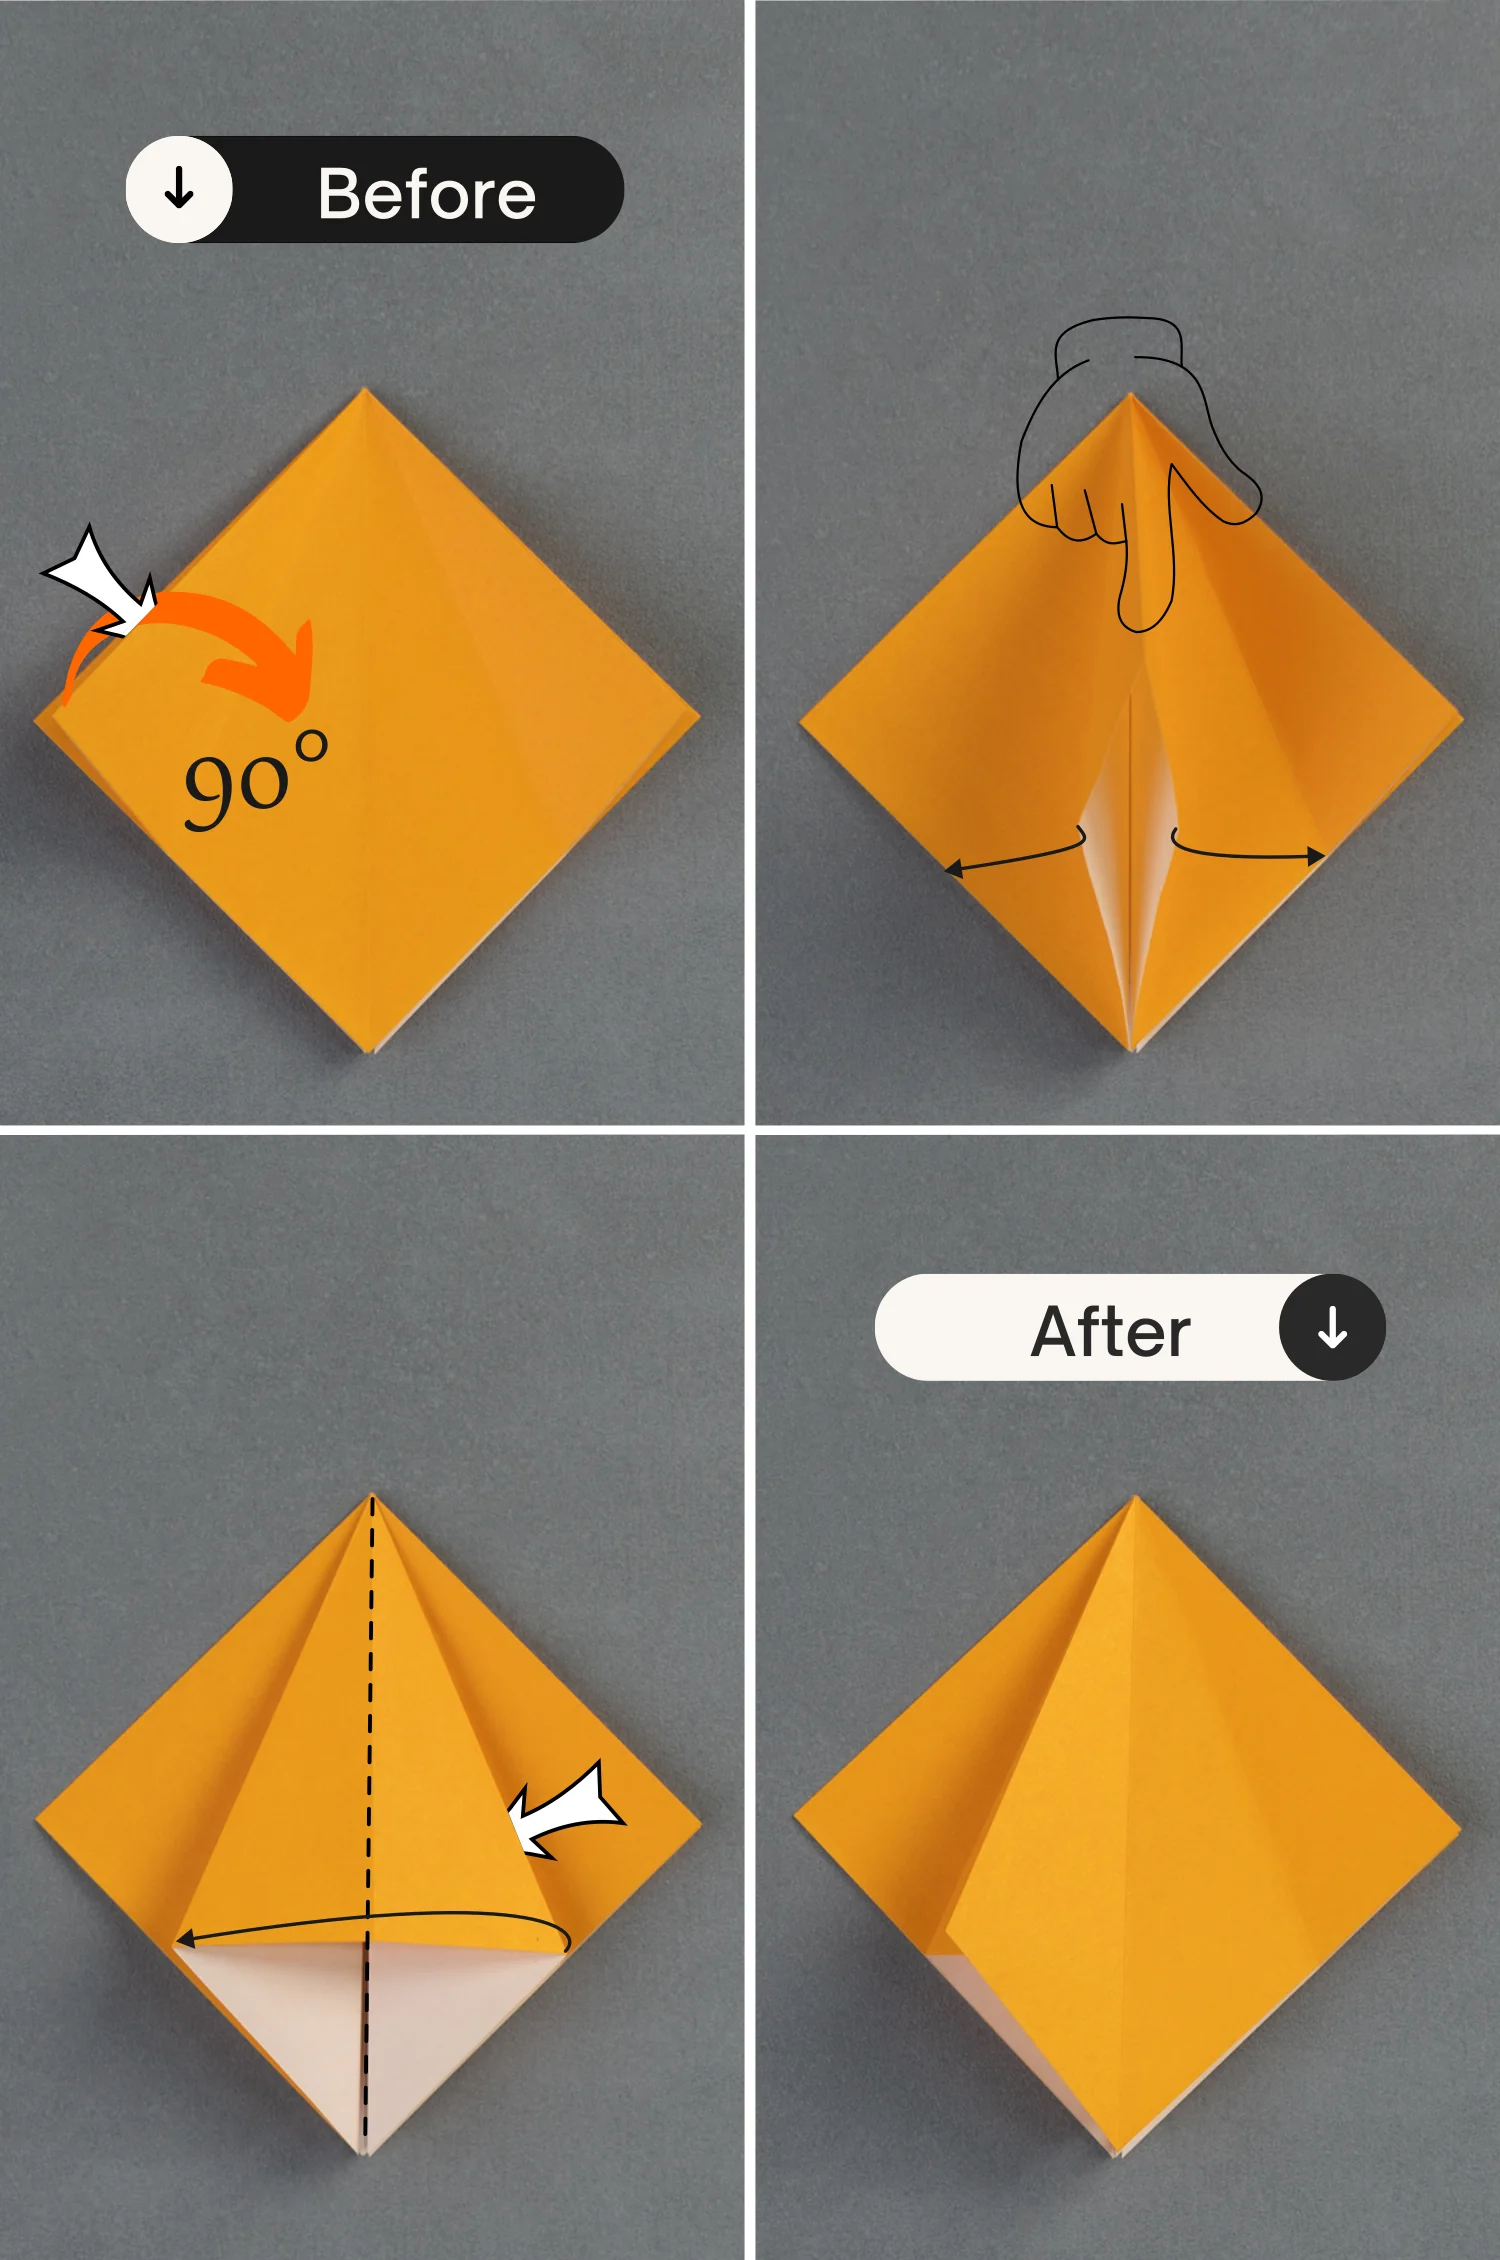
Step 9
Bring up the top layer on the right side, open it, and squash it.
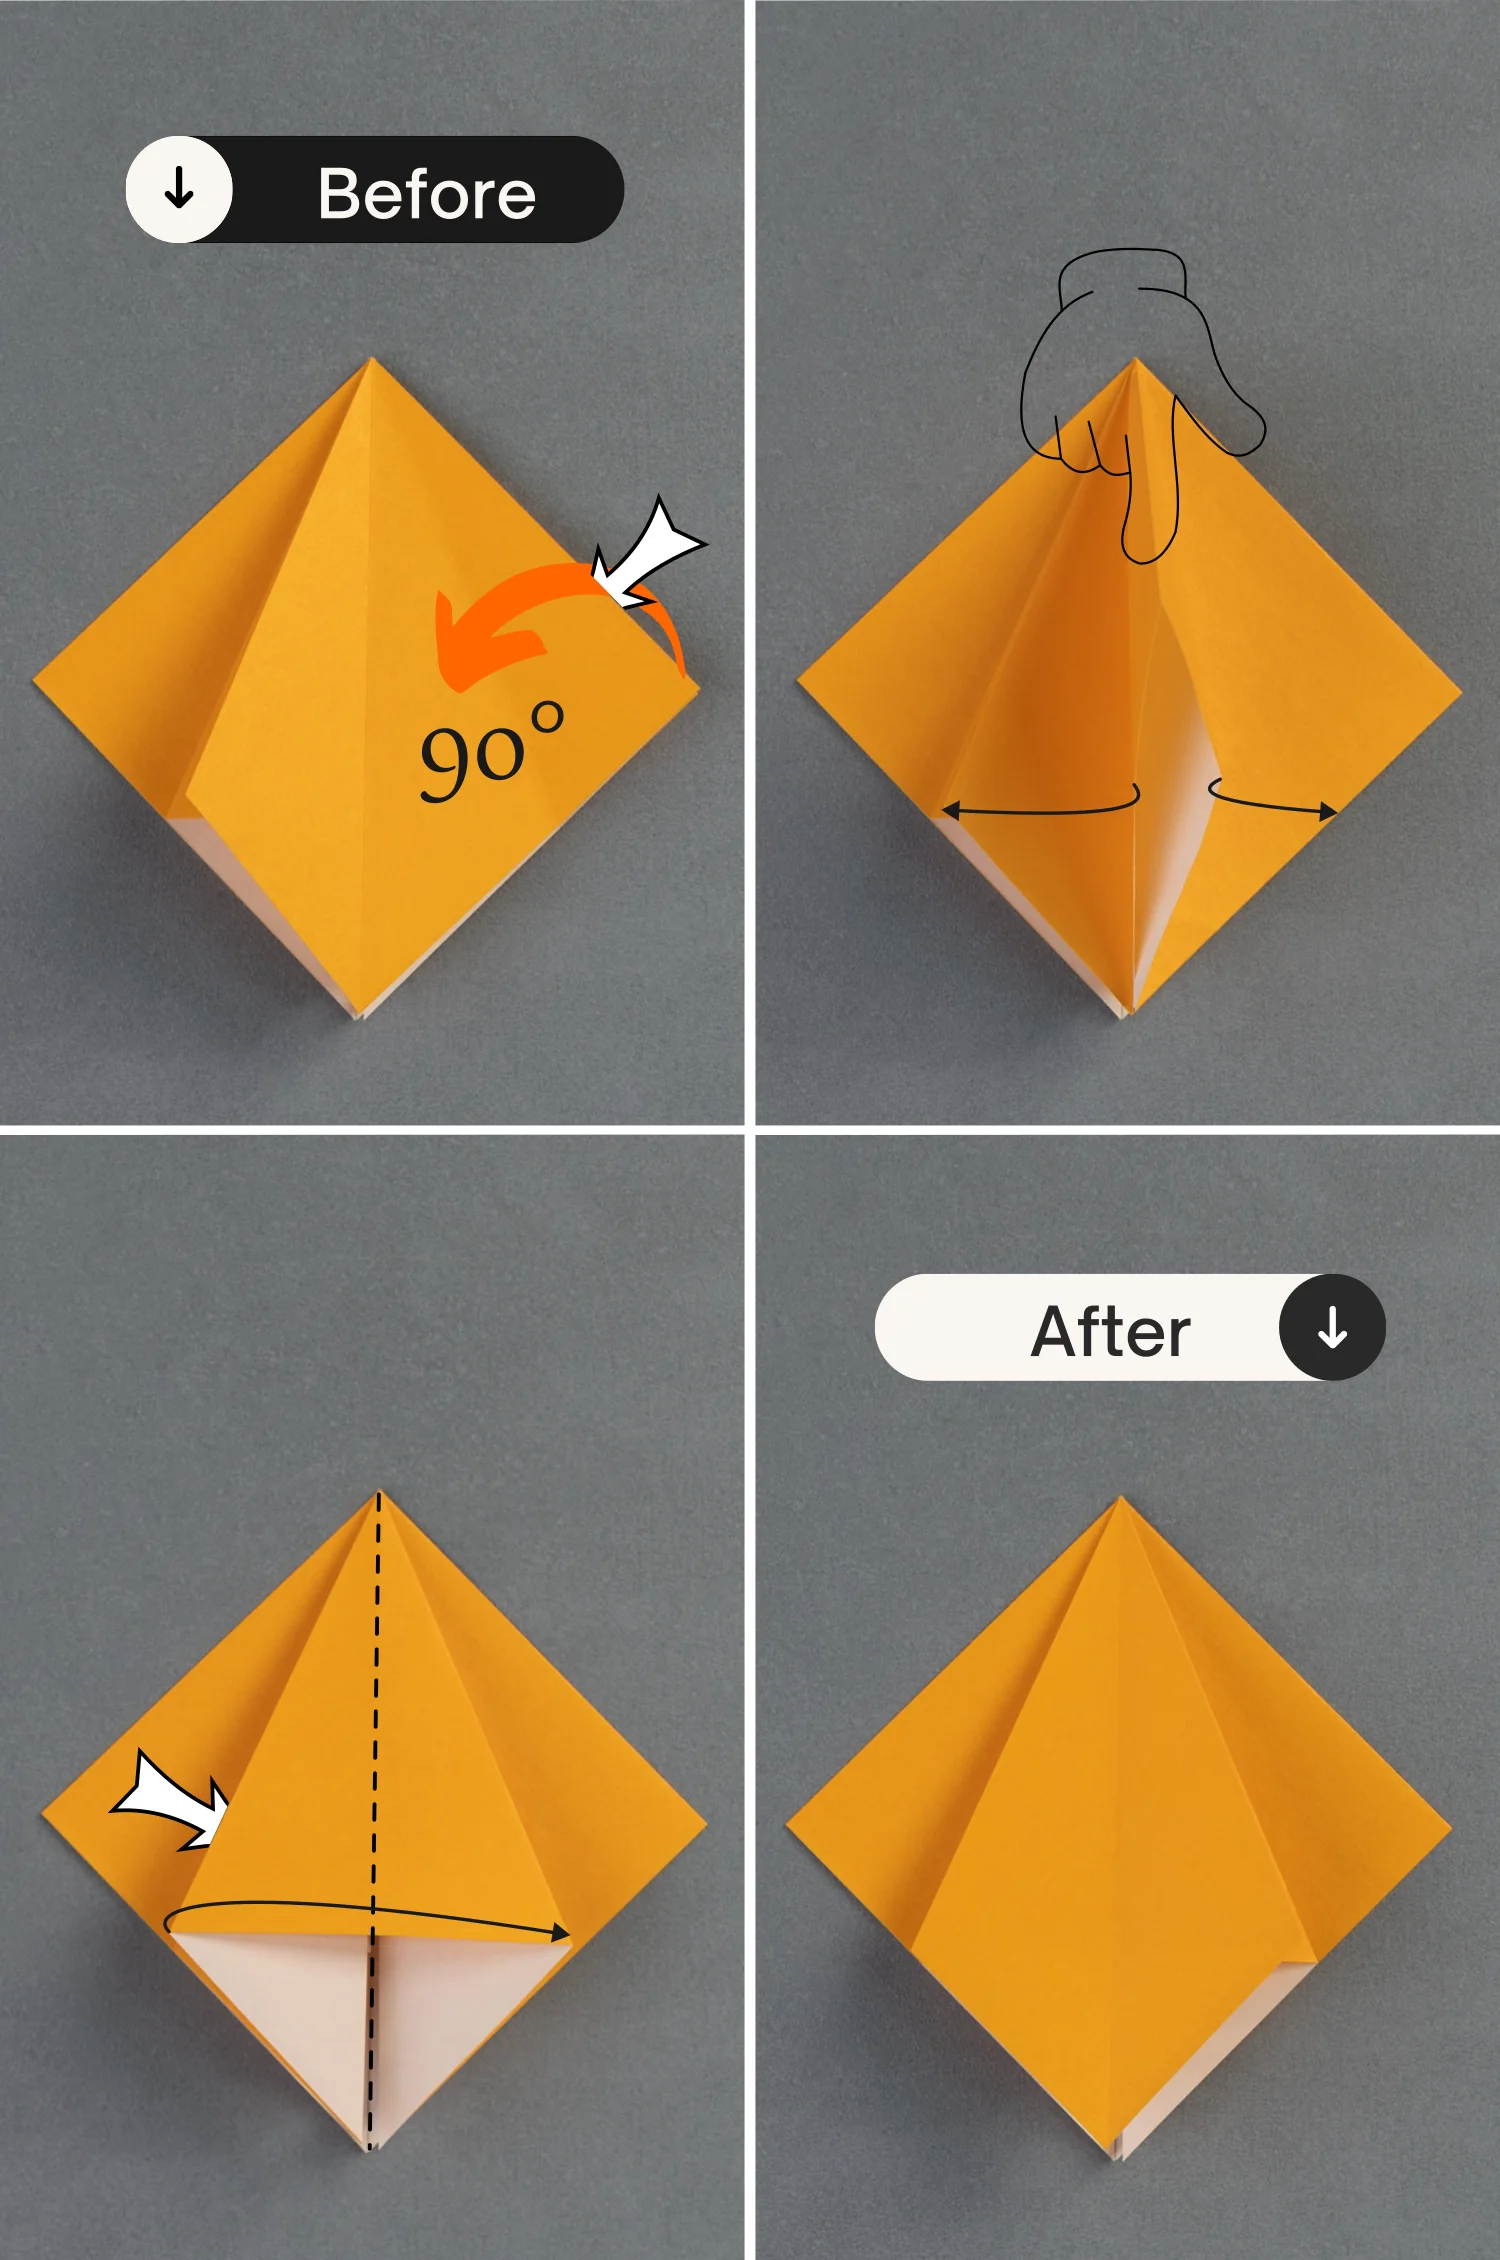
Step 10
Flip the paper over from left to right, then repeat steps 7 to 9.
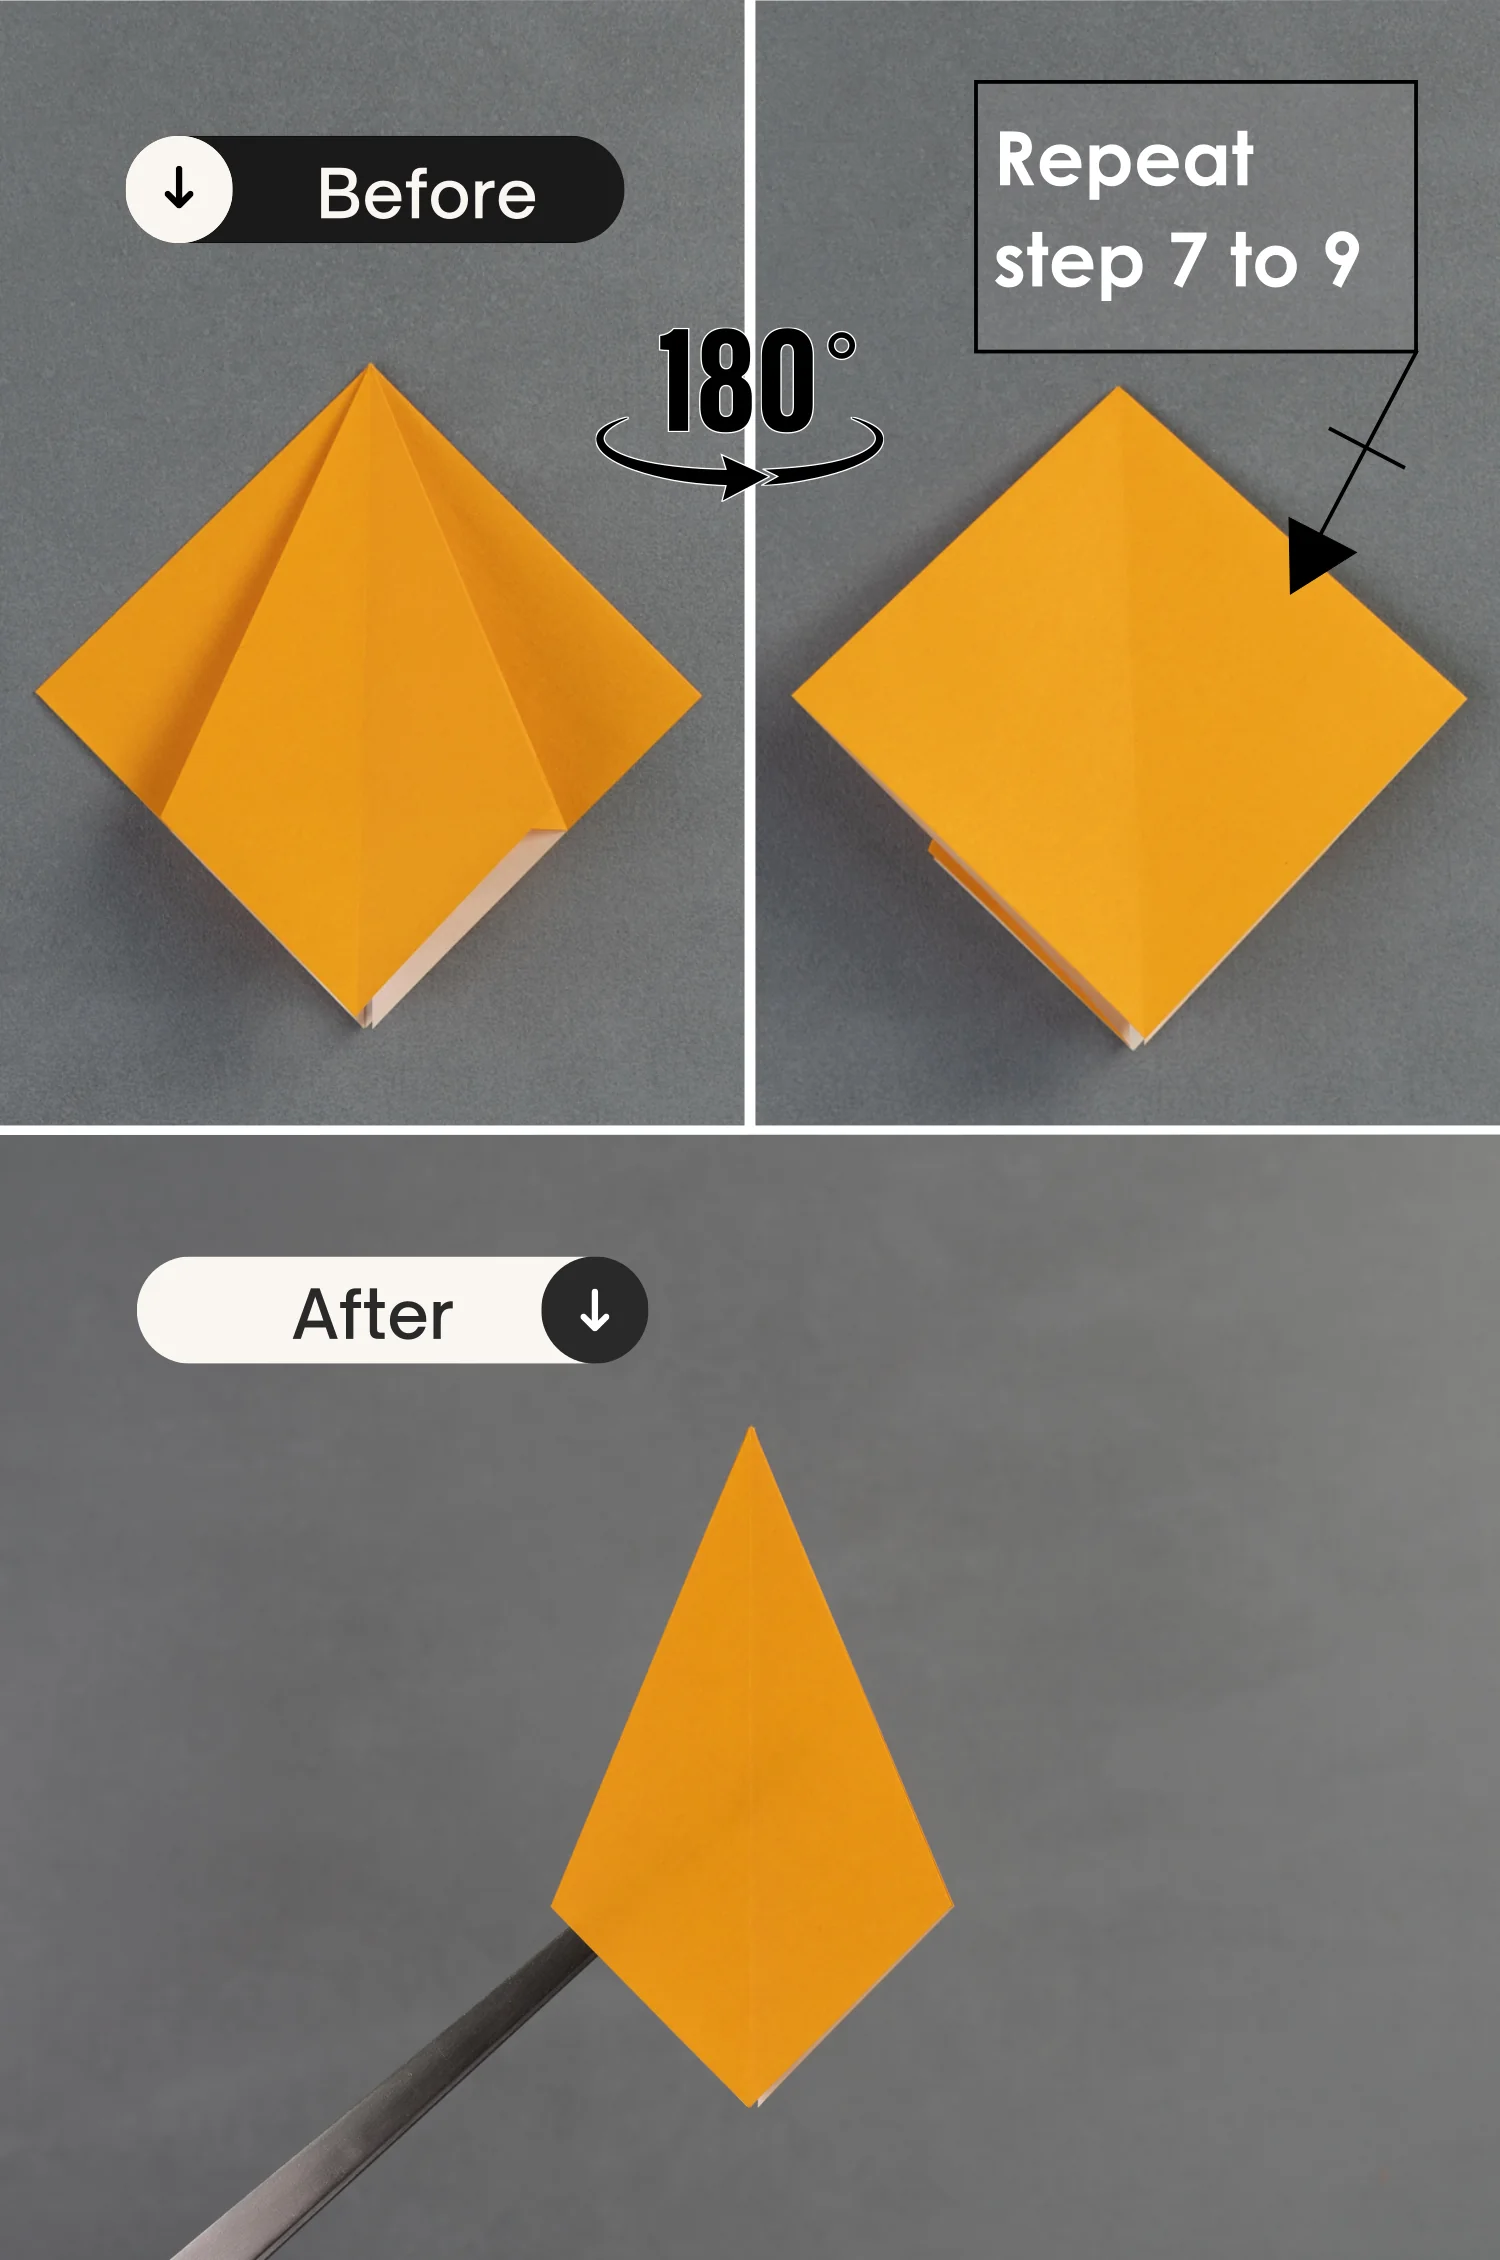
Step 11
Fold the top layer’s bottom left and right edges to align with the middle vertical crease, then fold up the bottom point. Next, flip the paper from left to right, and repeat the step you did.
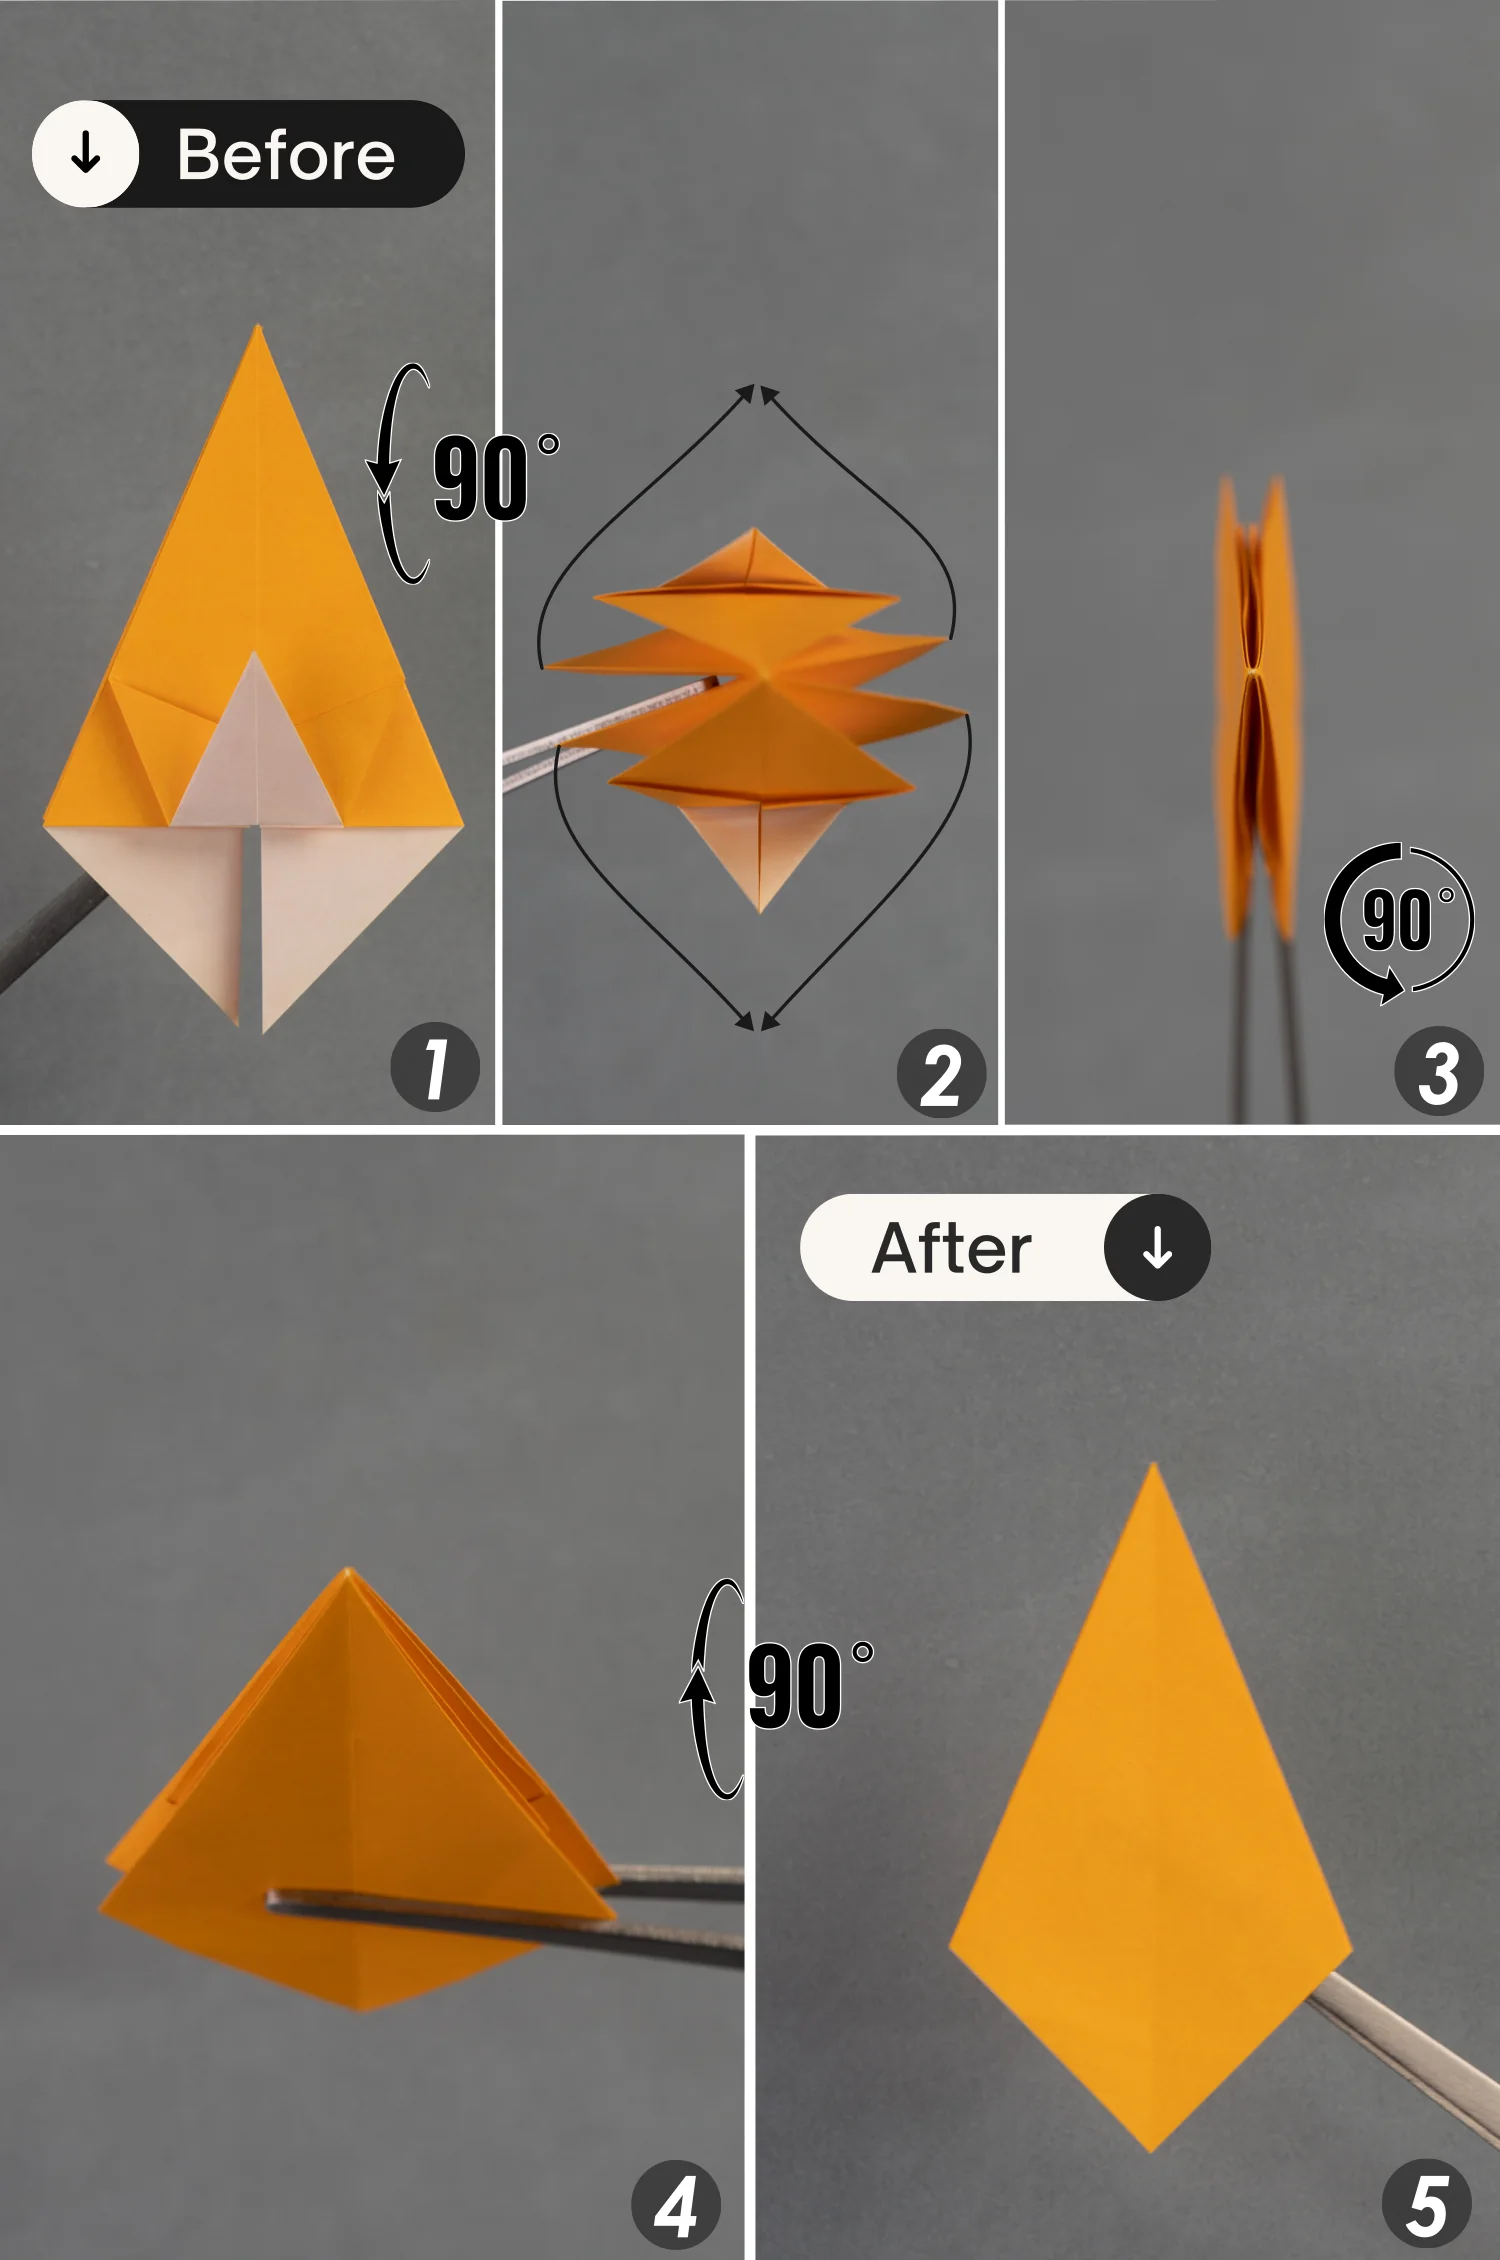
Step 12
Rotate the paper 90 degrees from front to back, then bring the four upper layers together on the top and the four lower layers together on the bottom. Next, rotate the paper 90 degrees counterclockwise and another 90 degrees from back to front.
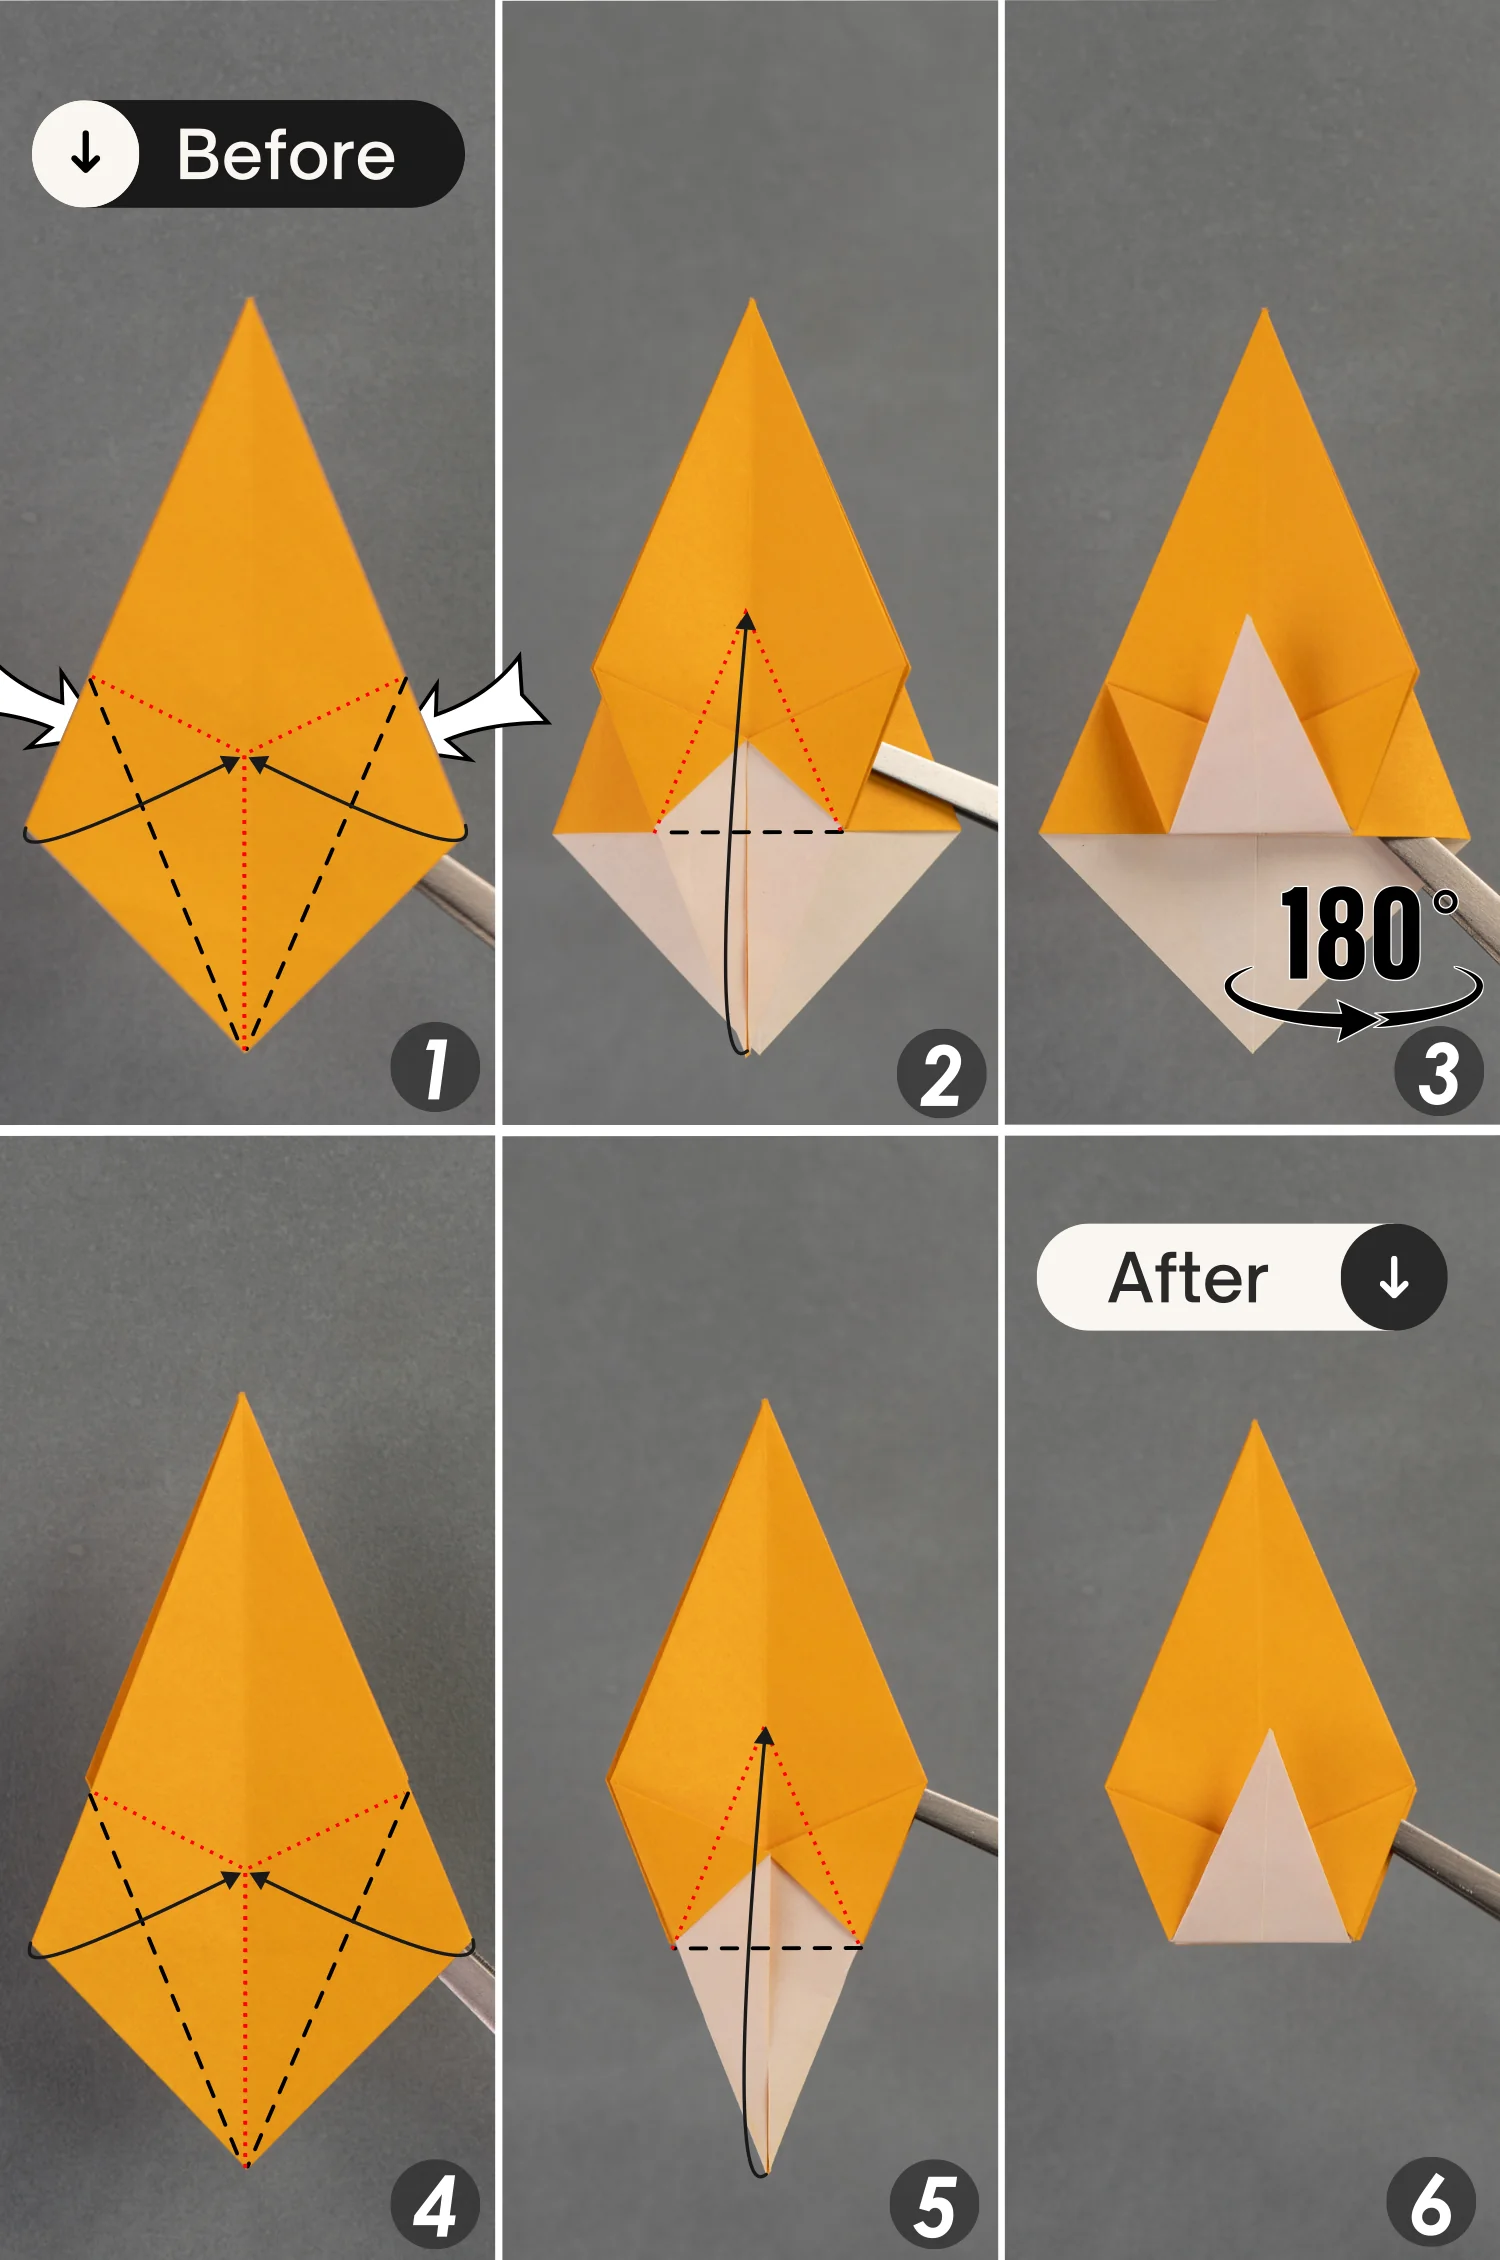
Step 13
As you did in step 11, fold the top layer’s bottom left and right edges to align with the middle vertical crease, then fold up the bottom point. Next, flip the paper from left to right, and repeat the step you did.
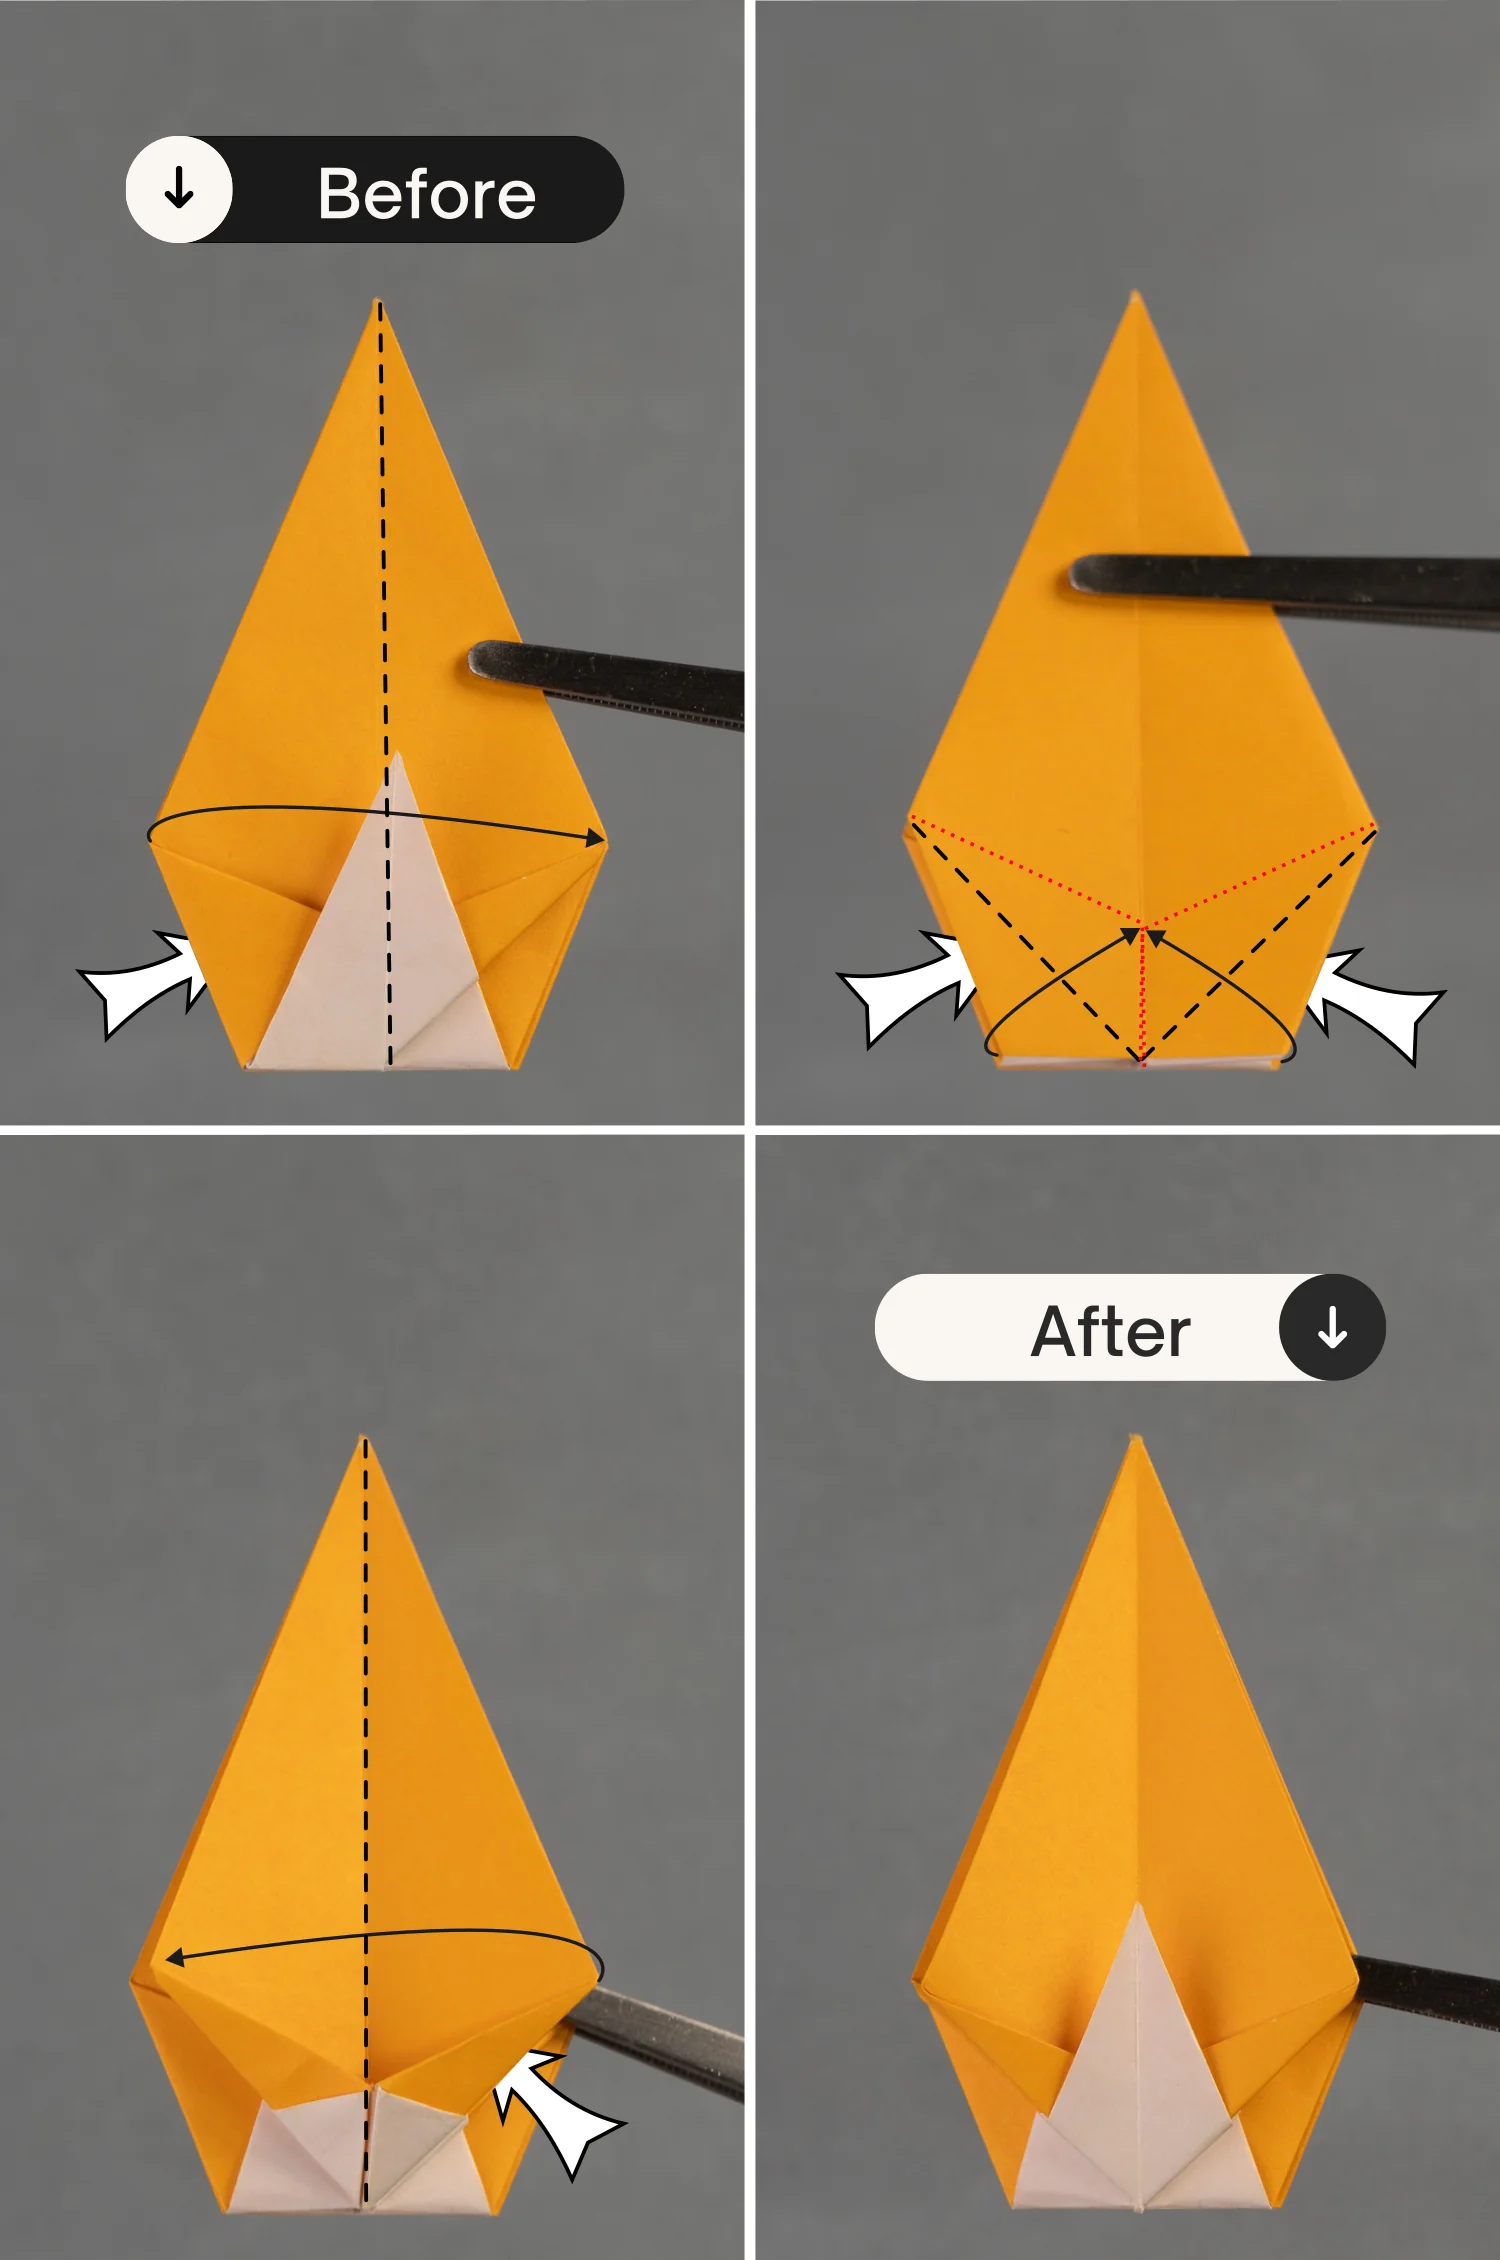
Step 14
Fold the top layer on the right side to the left along the middle vertical crease, then fold the left and right sections of the bottom edge to align with the middle vertical crease. Finally, fold the top layer on the left side to the right along the vertical crease.
Step 15
Fold the top layer on the left side to the right side along the middle vertical crease, then fold the left and right sections of the bottom edge to align with the middle vertical crease. Finally, fold the top layer on the right side to the left along the vertical crease.
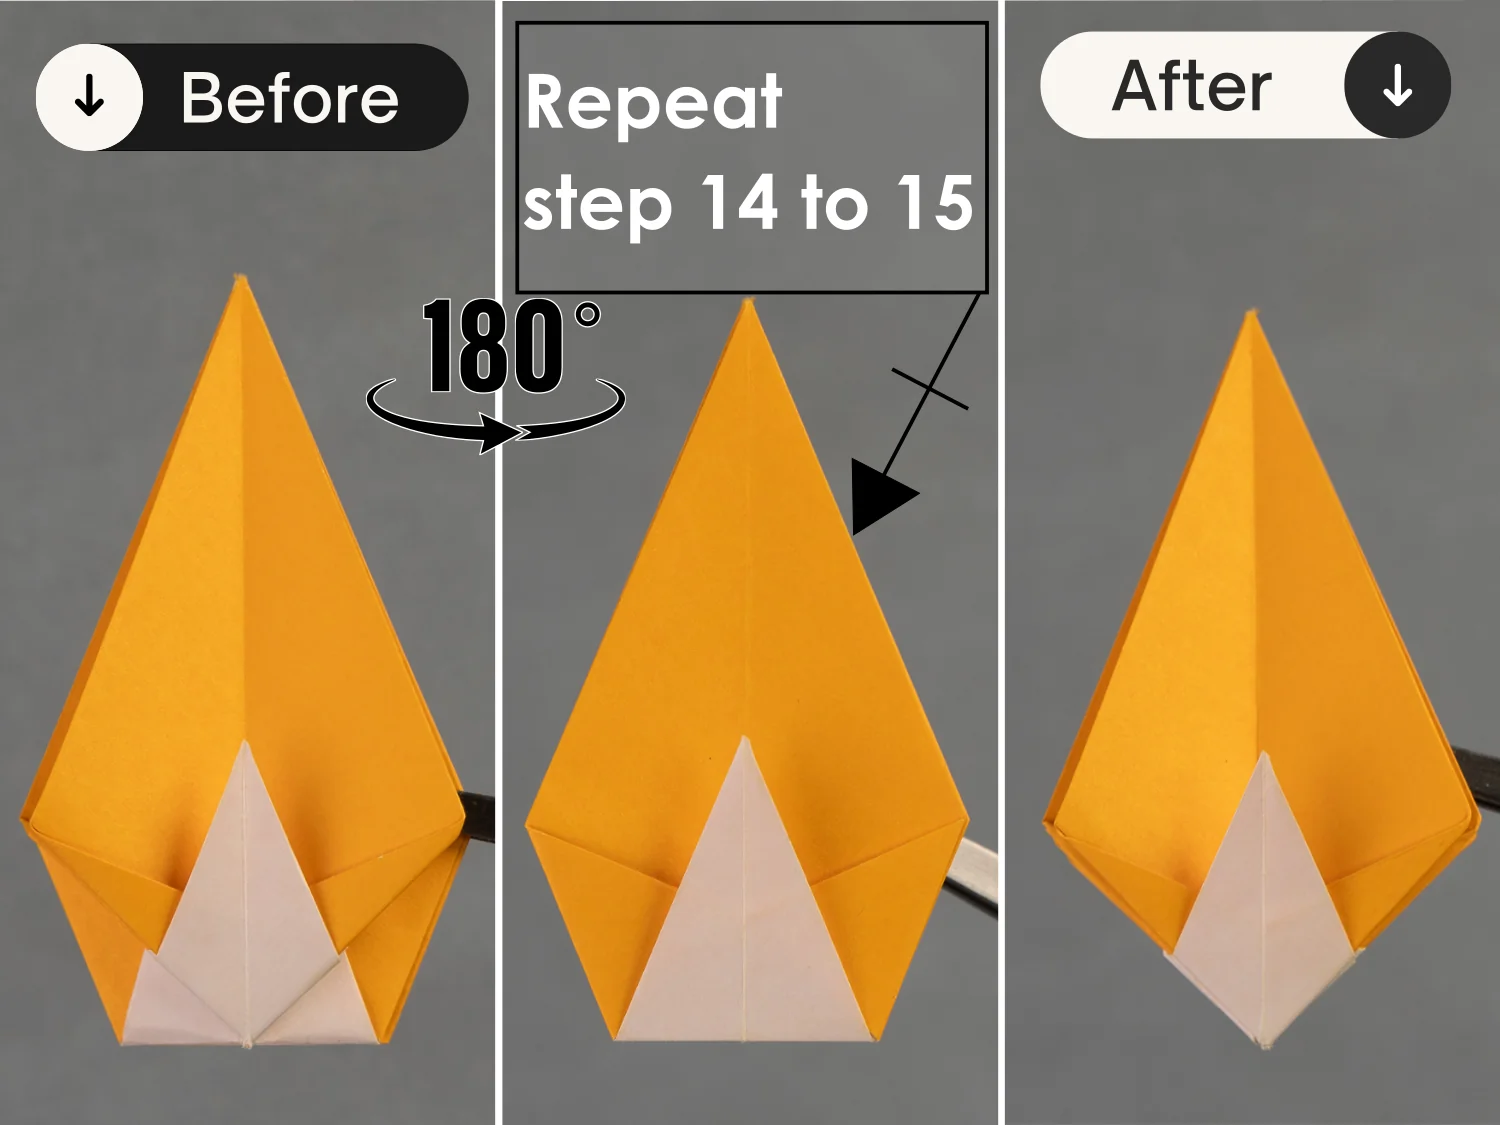
Step 16
Flip the paper over from left to right, then repeat steps 14 to 15.
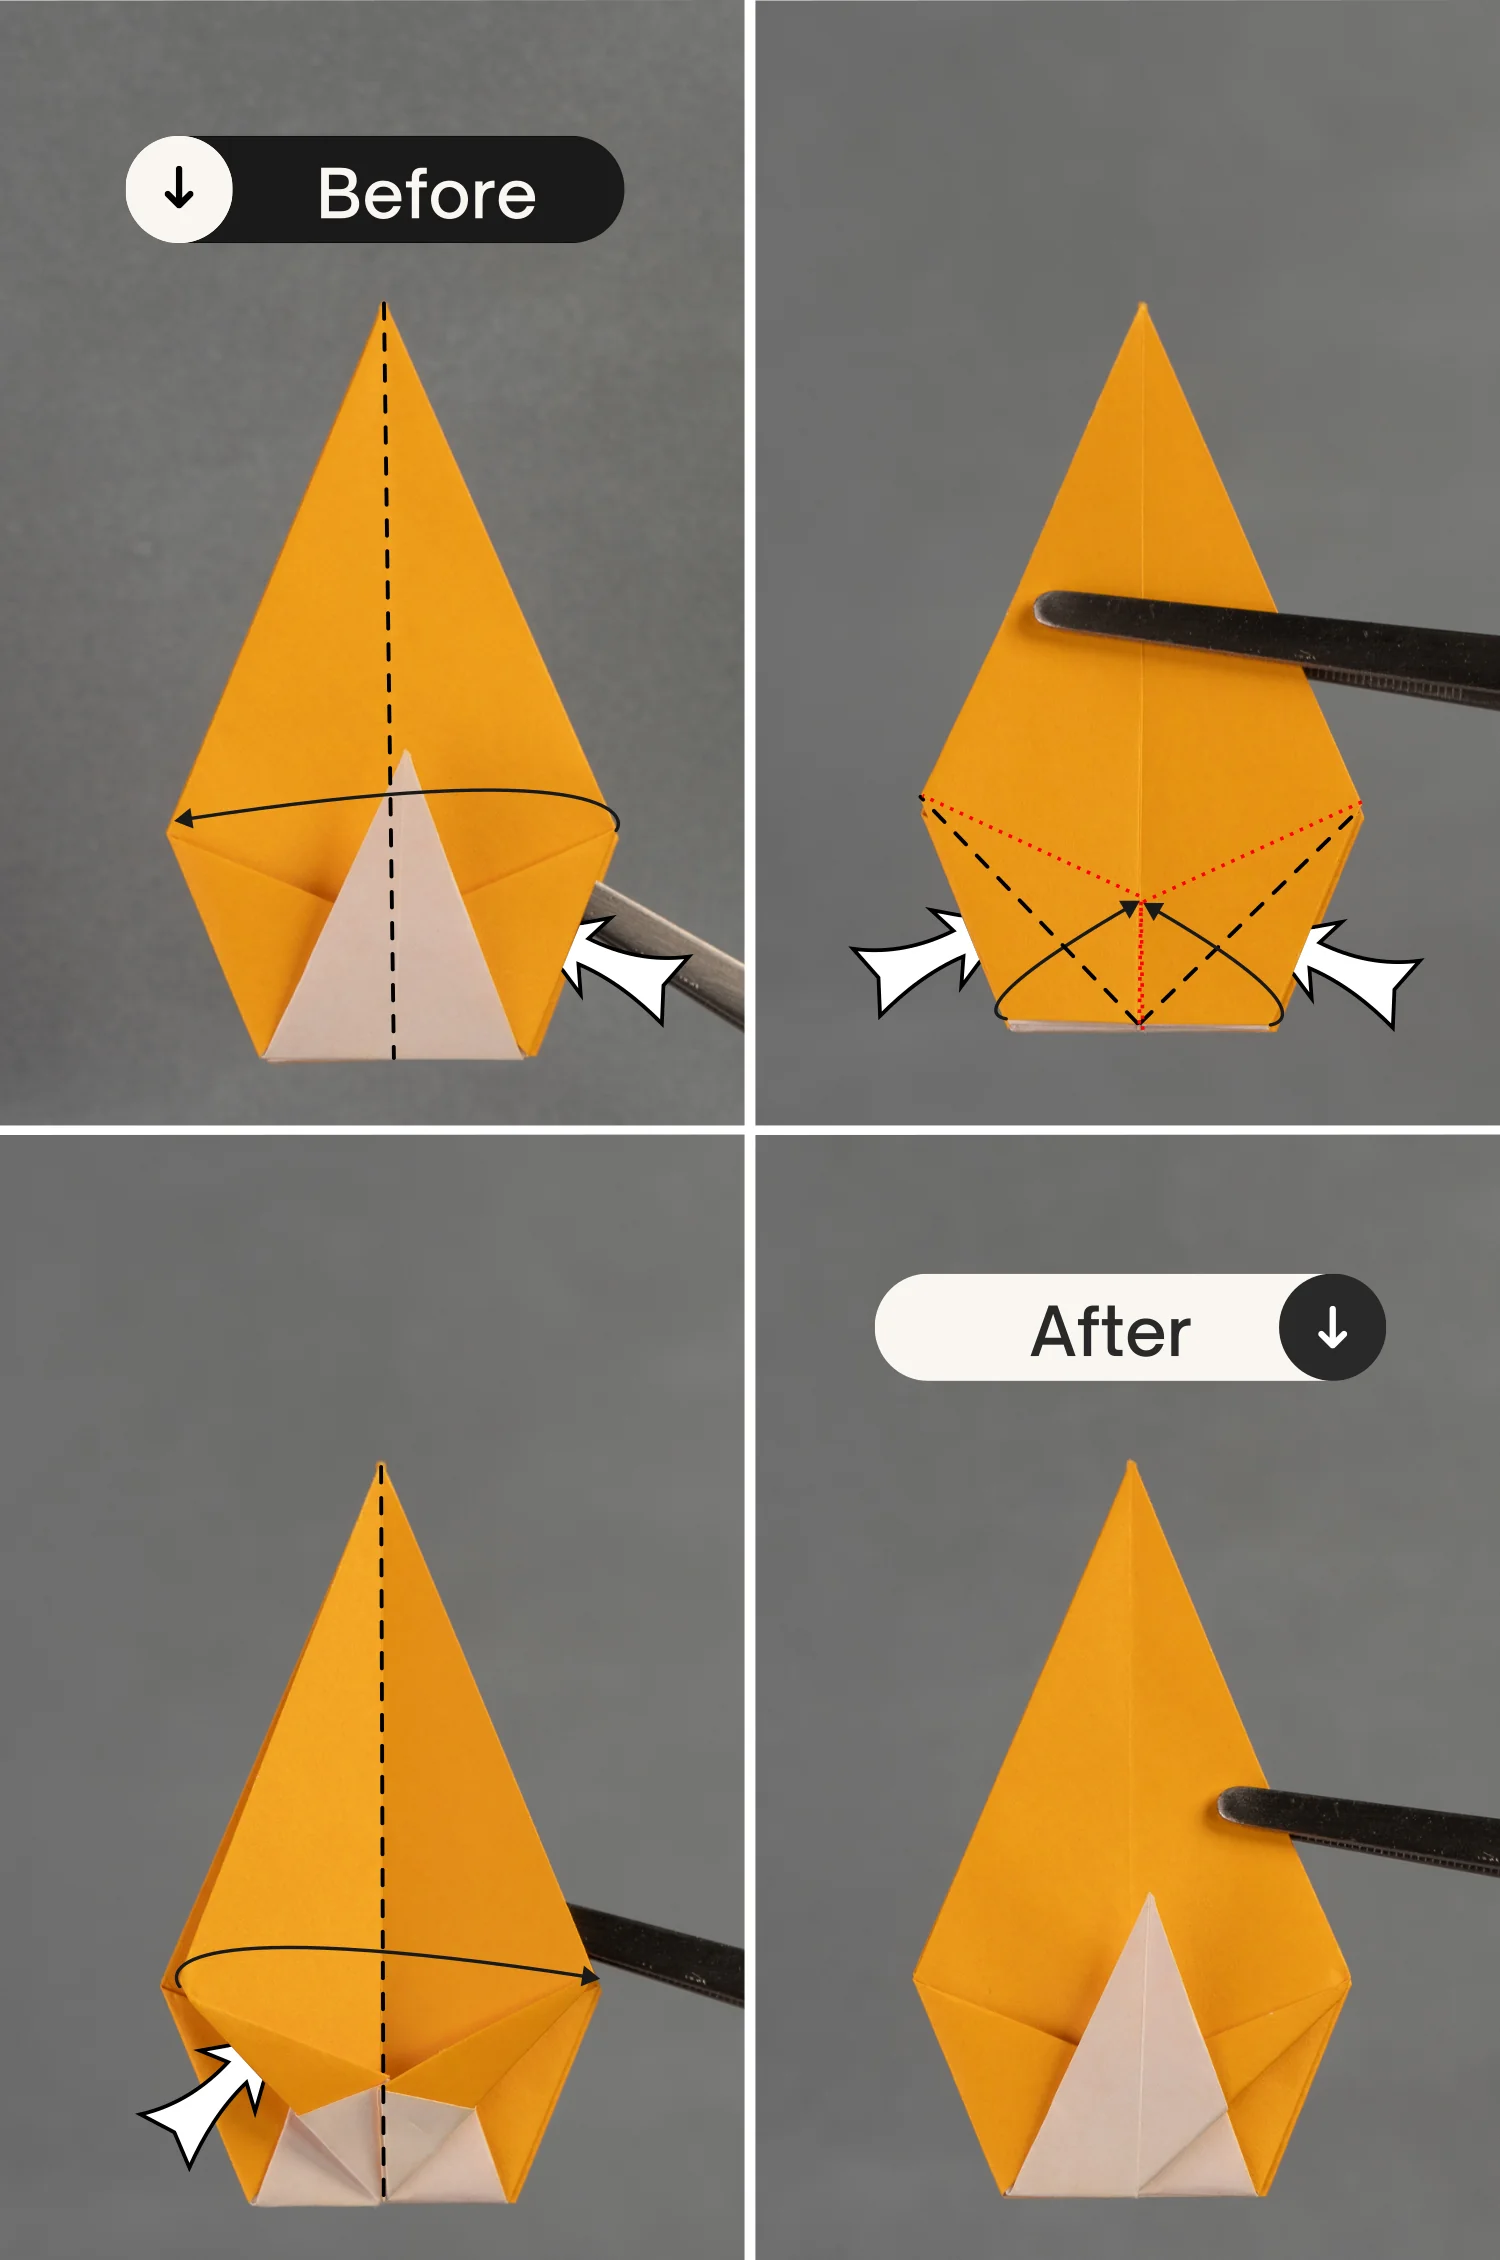
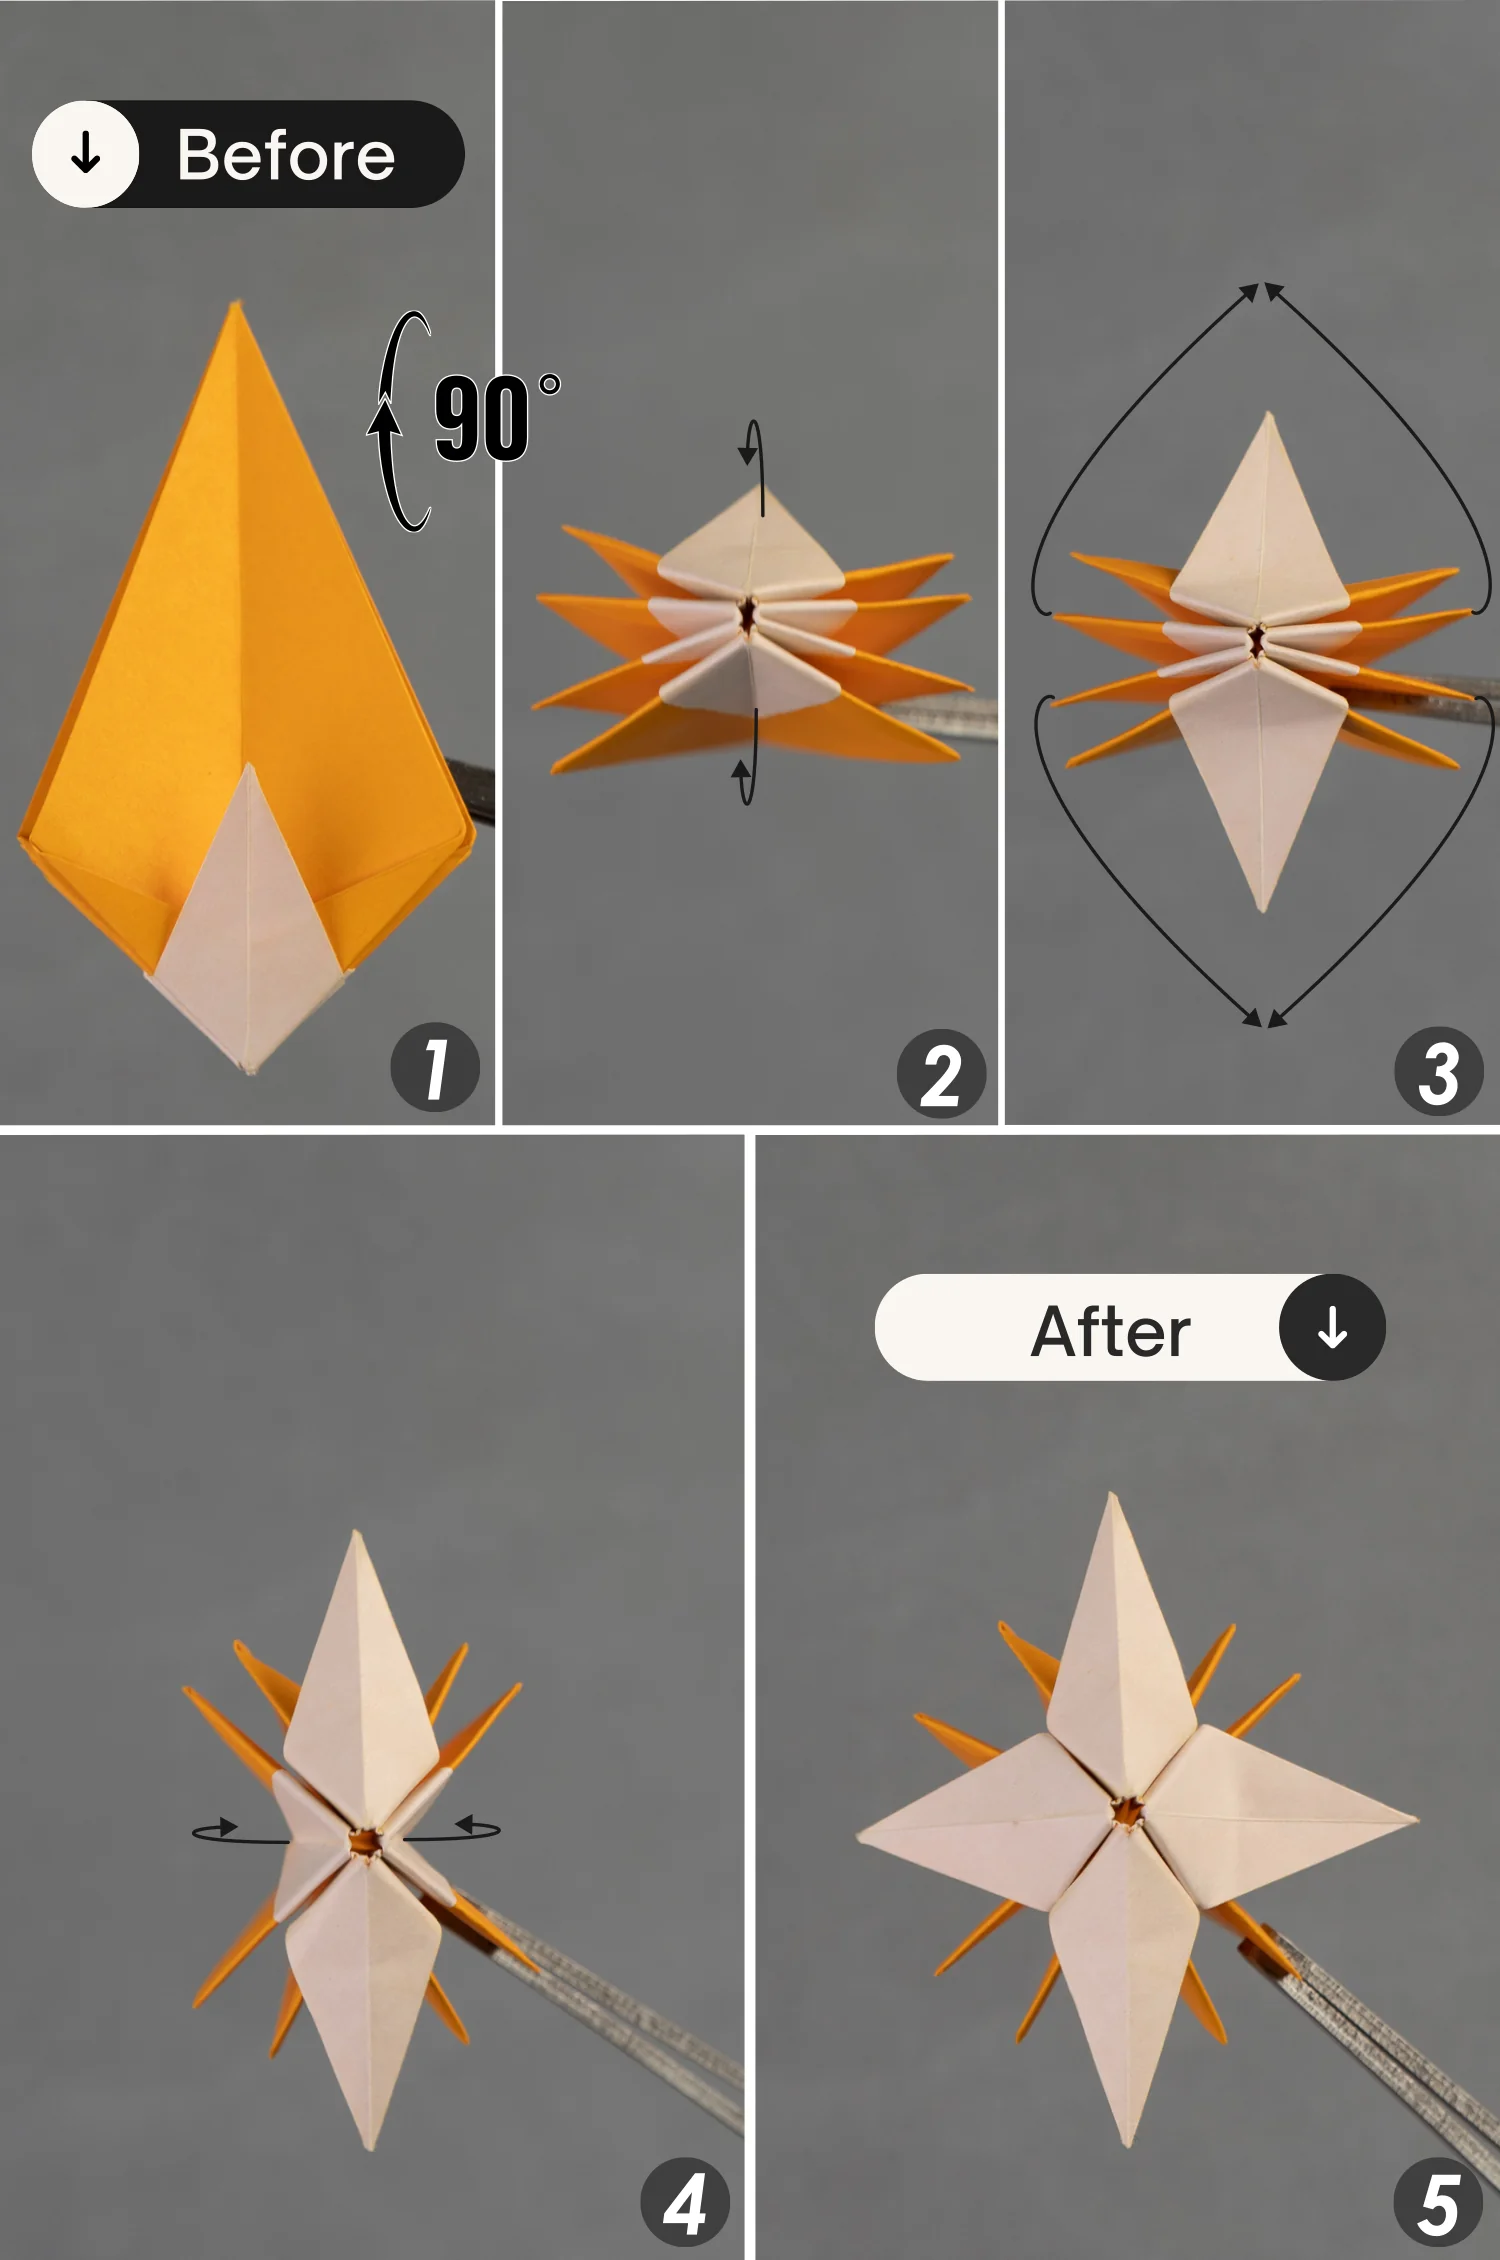
Step 17
Rotate the paper 90 degrees from back to front, then lift the top and bottom white small layers. Next, bring the four upper layers together on the top and the four lower layers together on the bottom, and lift the left and right small layers.
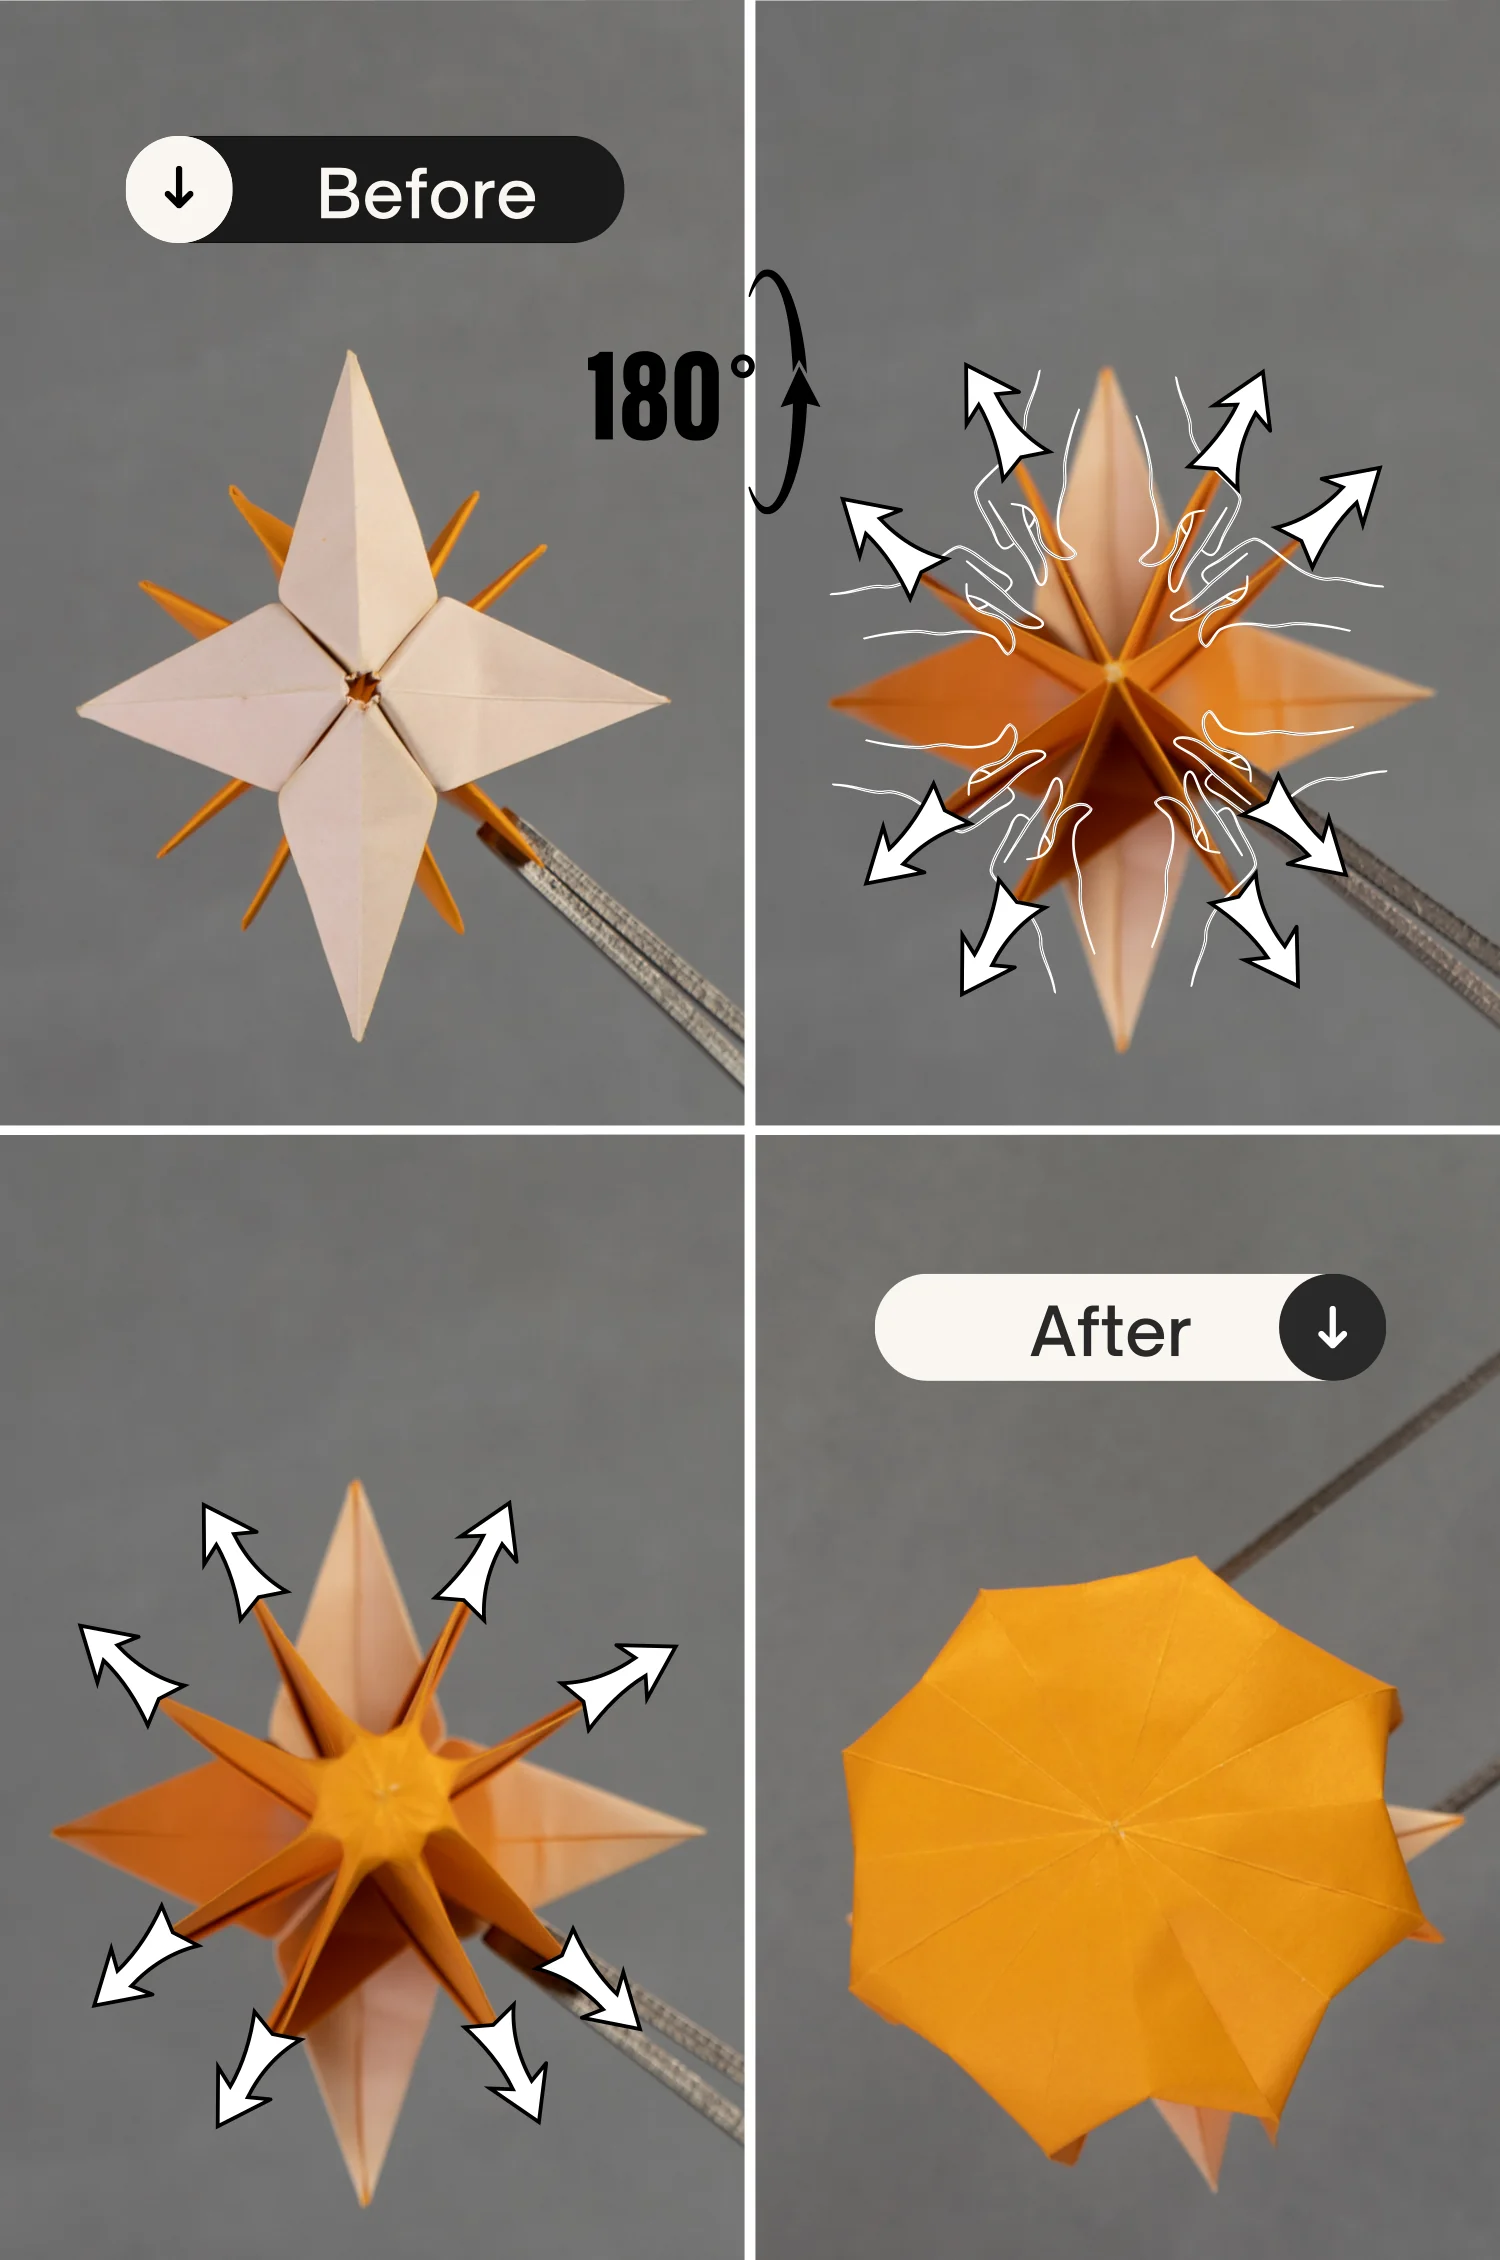
Step 18
Use both your hands to pinch two of these flaps and pull them toward the sides, pull each flap in this manner to bulge the model.
Step 19
Turn over the model from front to back and slightly bend the tips upward of these four top layers.
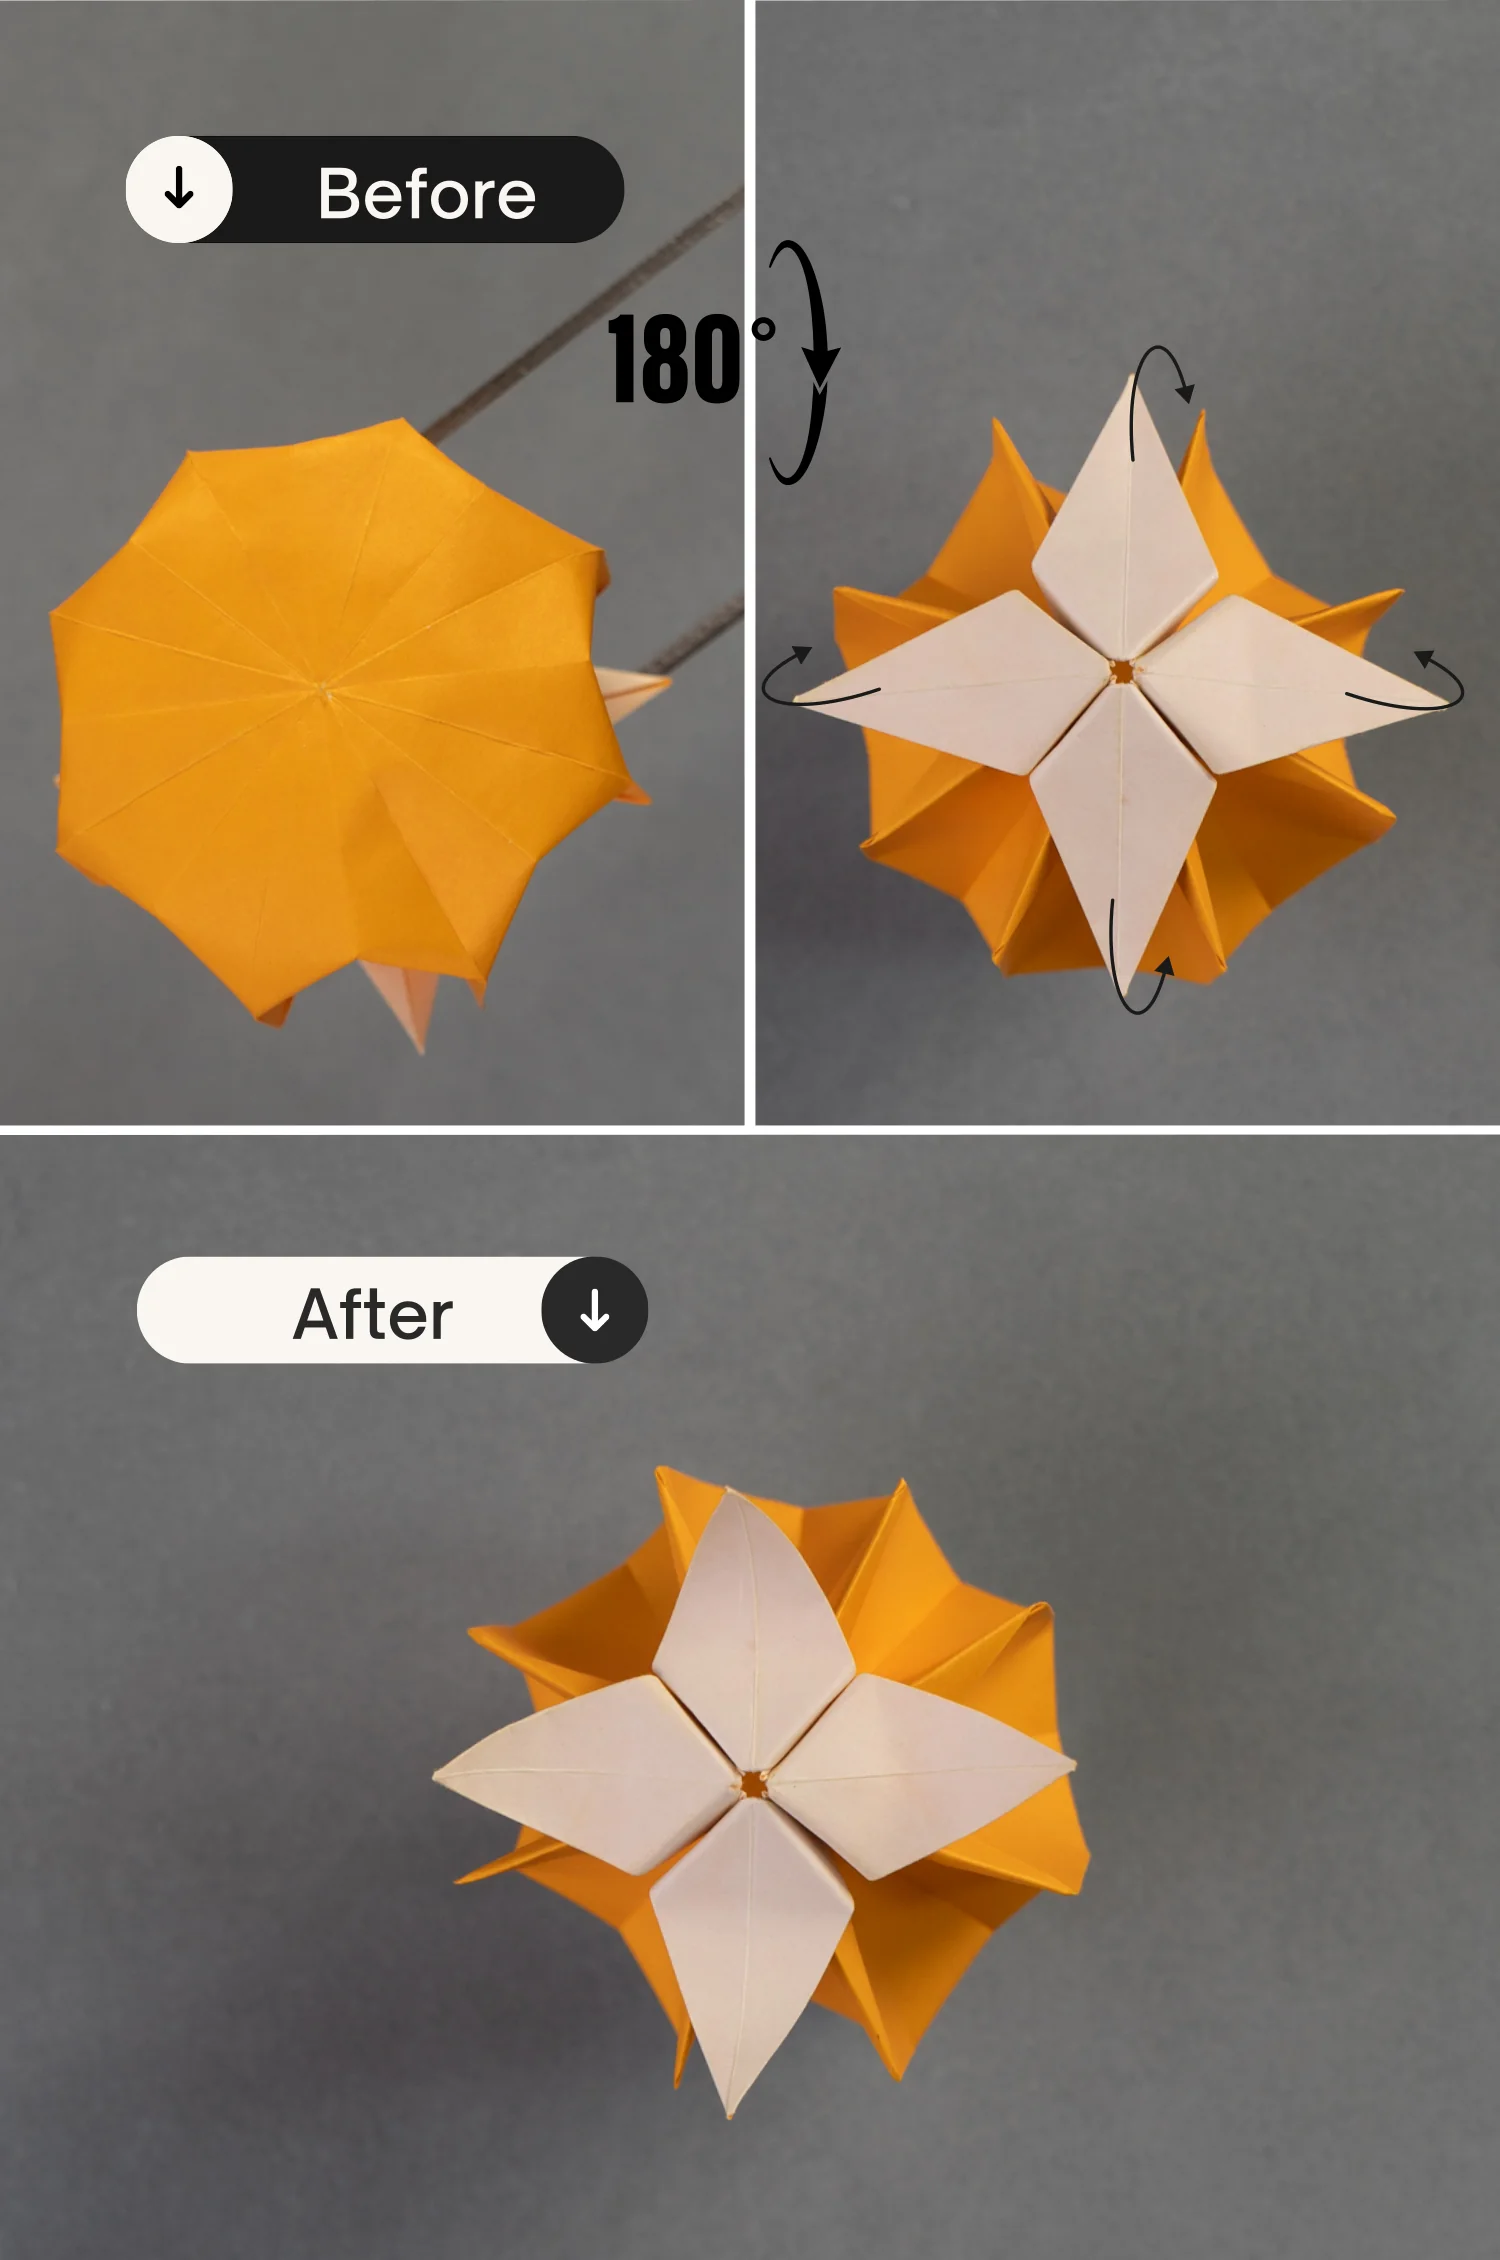
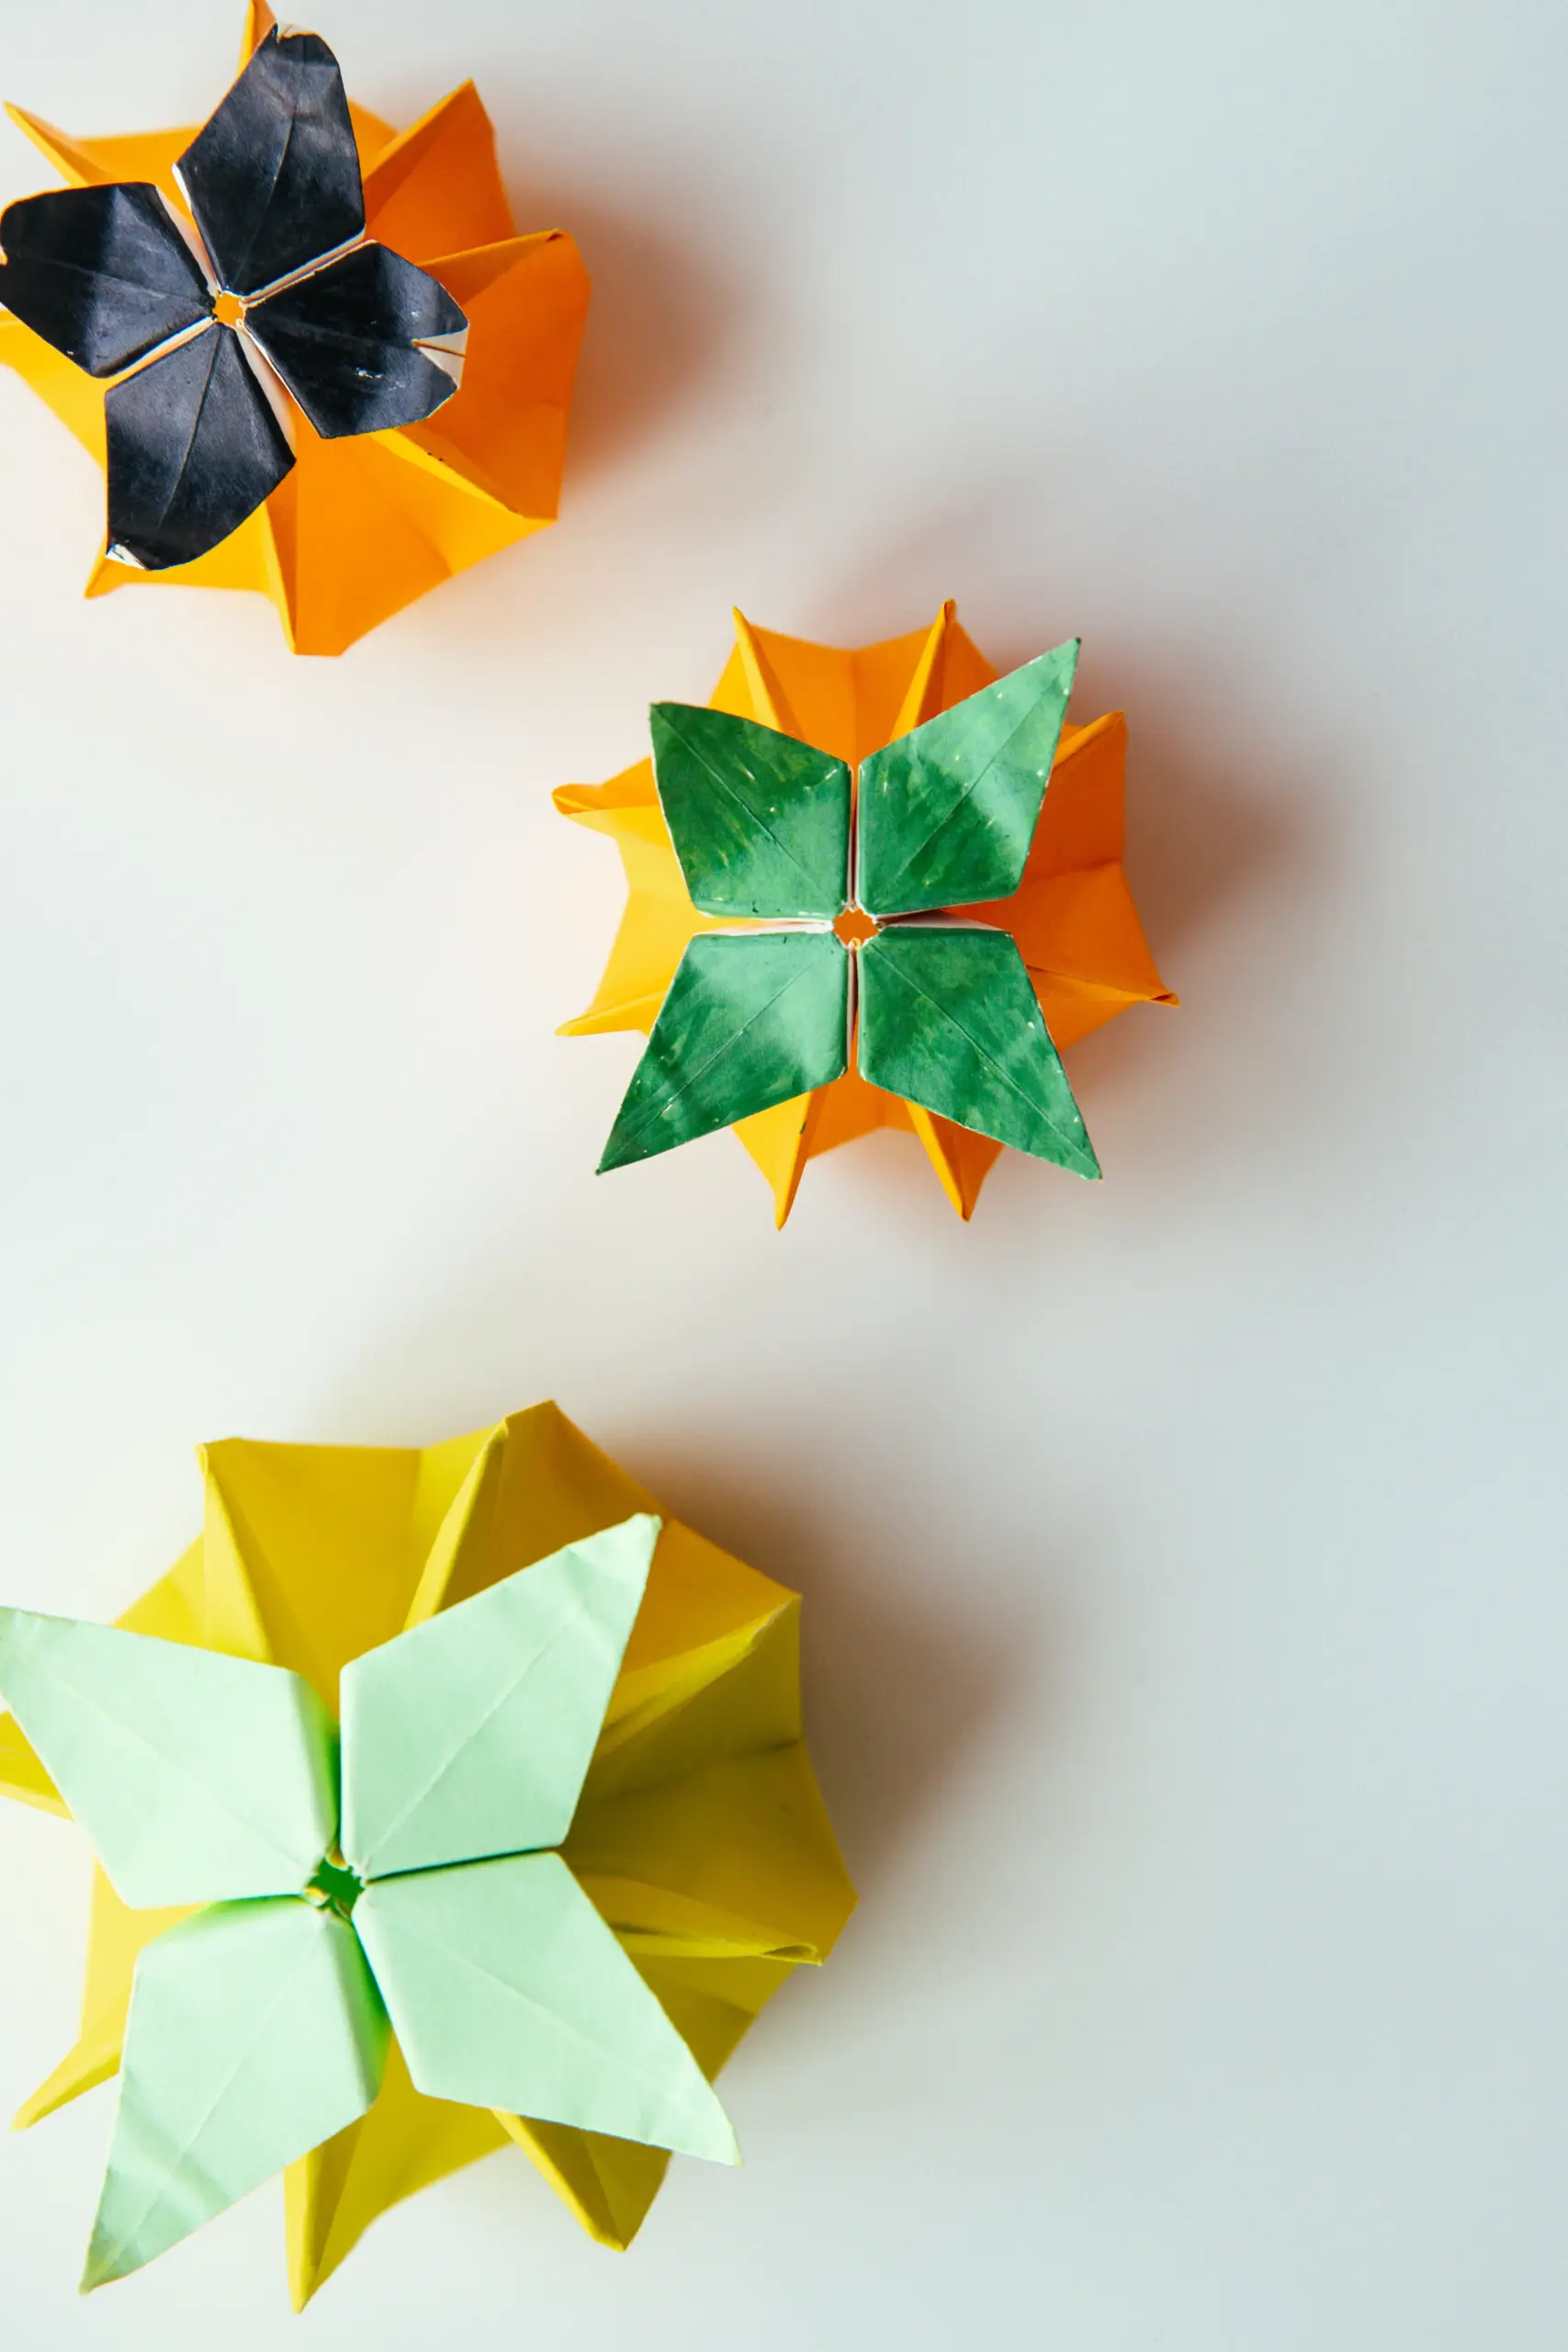
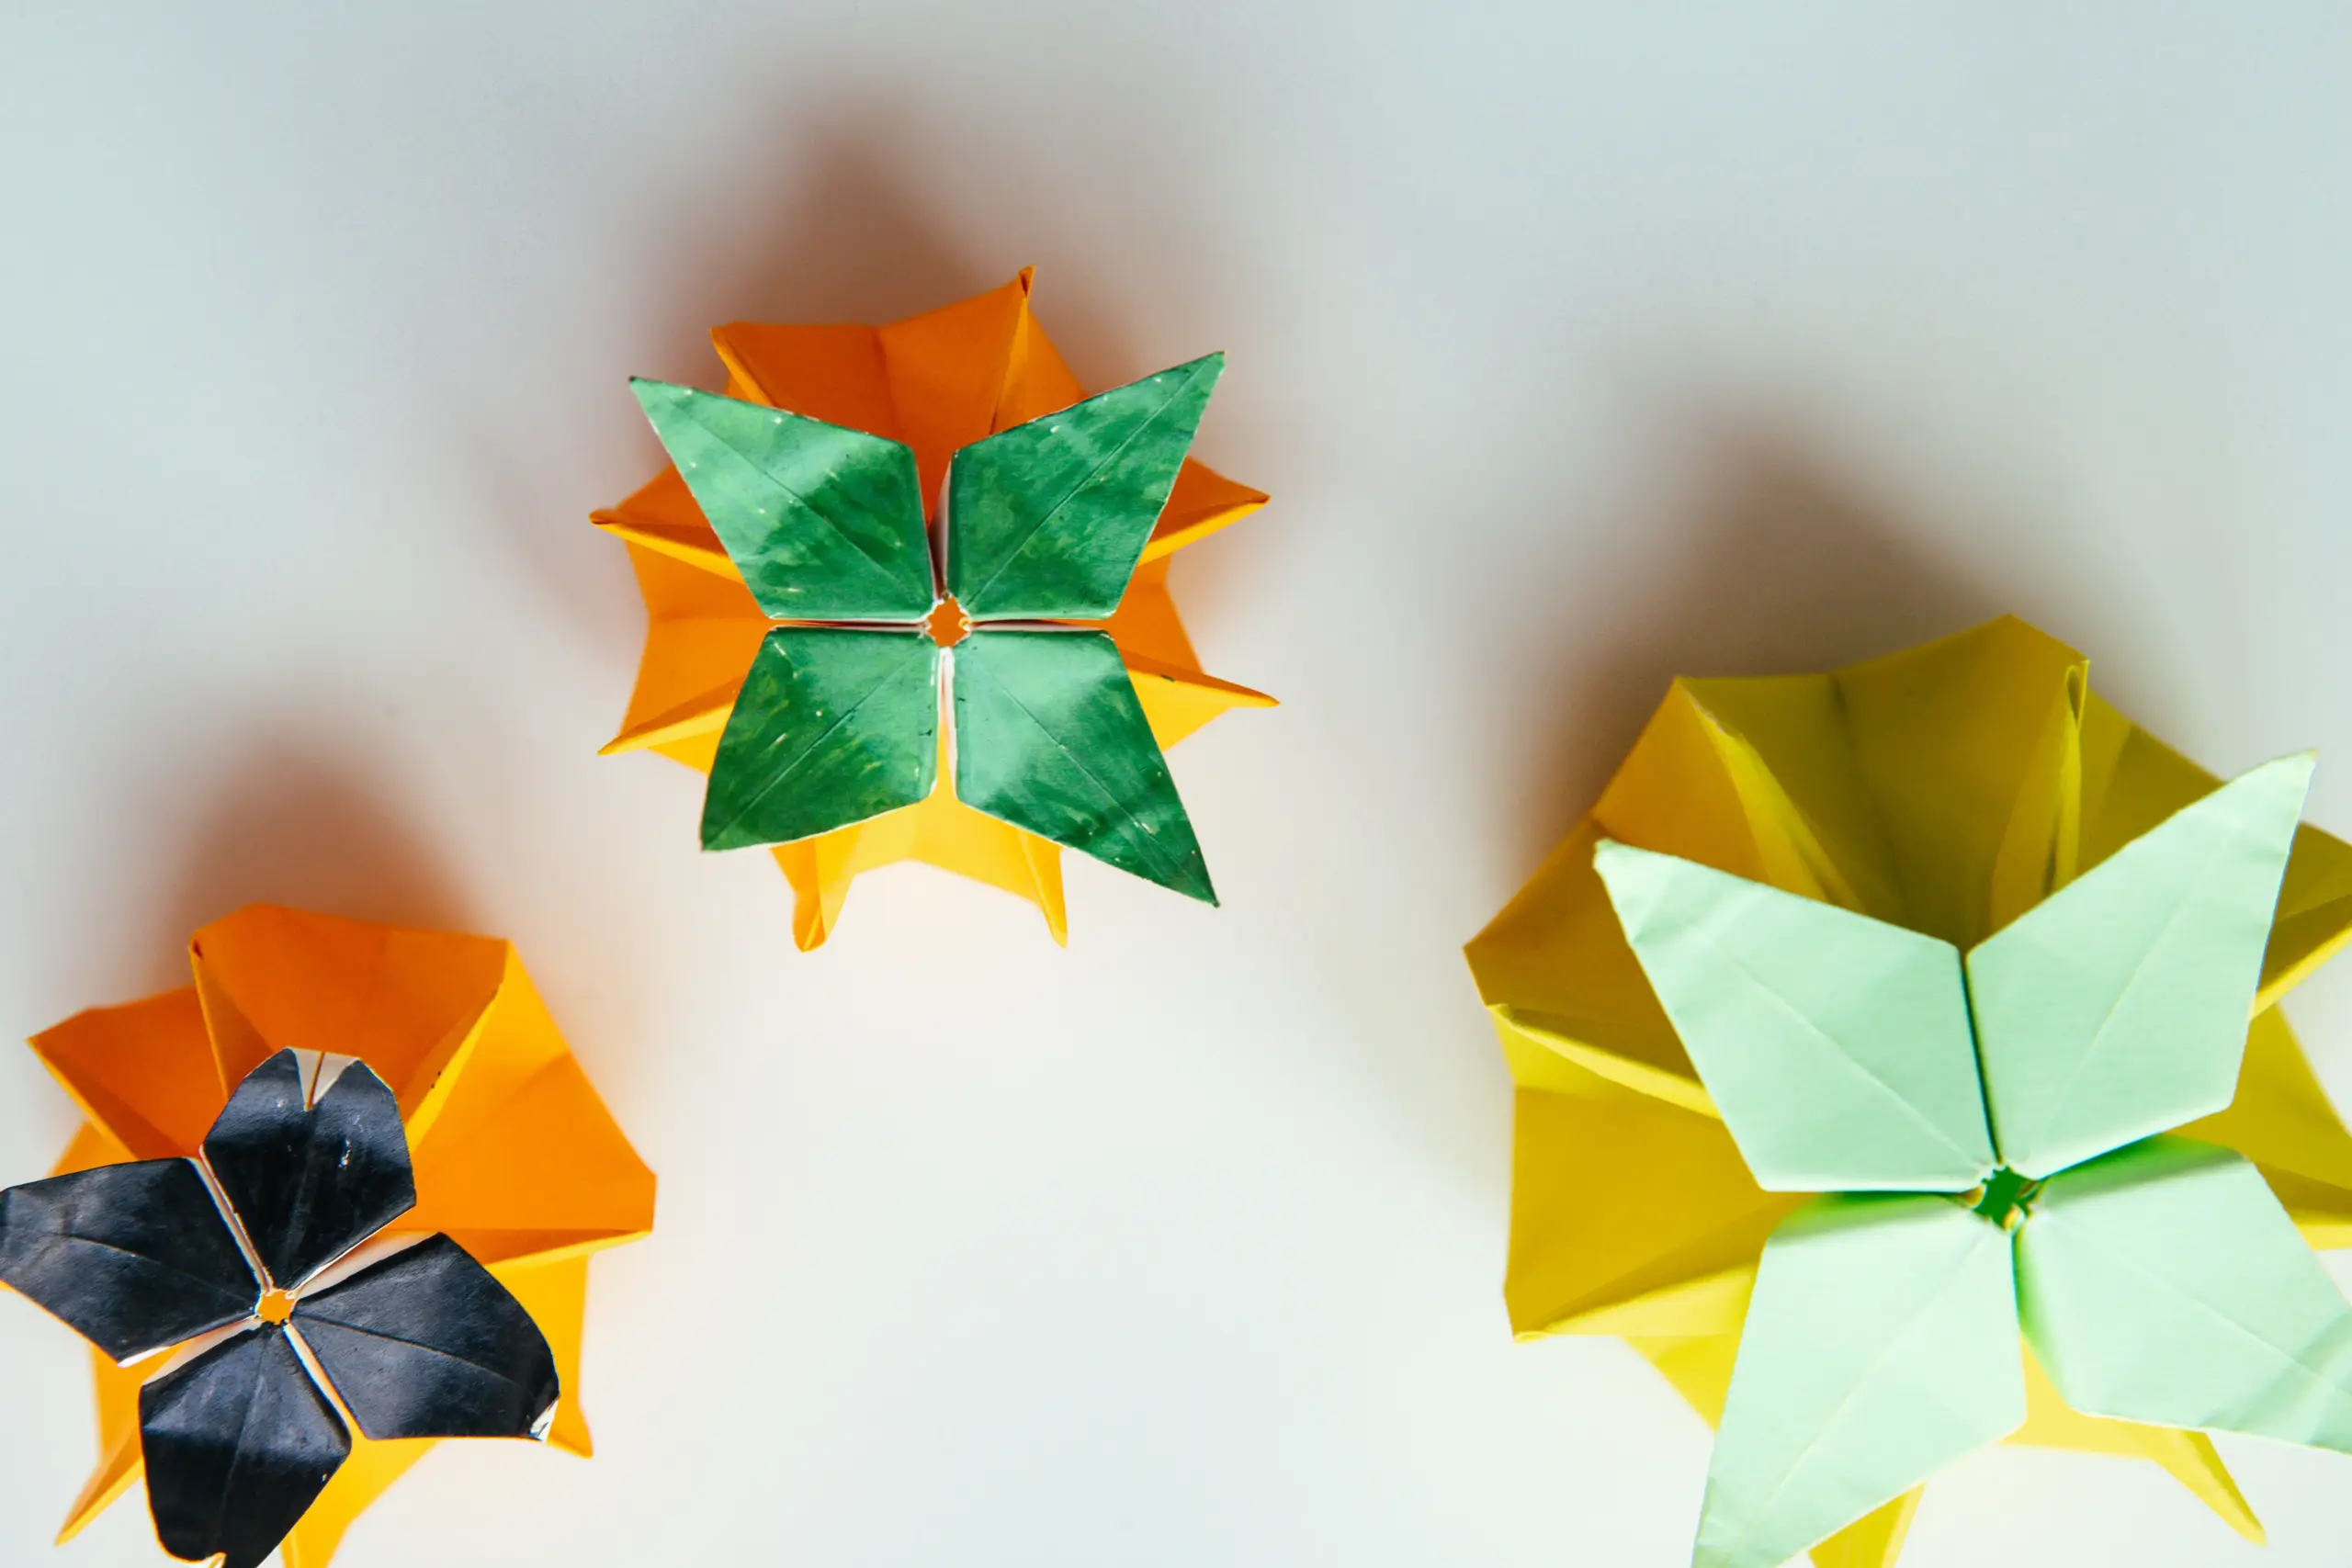
Step 20
Paint these four layers with your favorite colors to create the leaves.

What’s Next
This is the final shape of an origami pumpkin. Next, you can explore our other interesting origami instructions for holiday. Happy folding!
Other Origami Ideas for Holiday