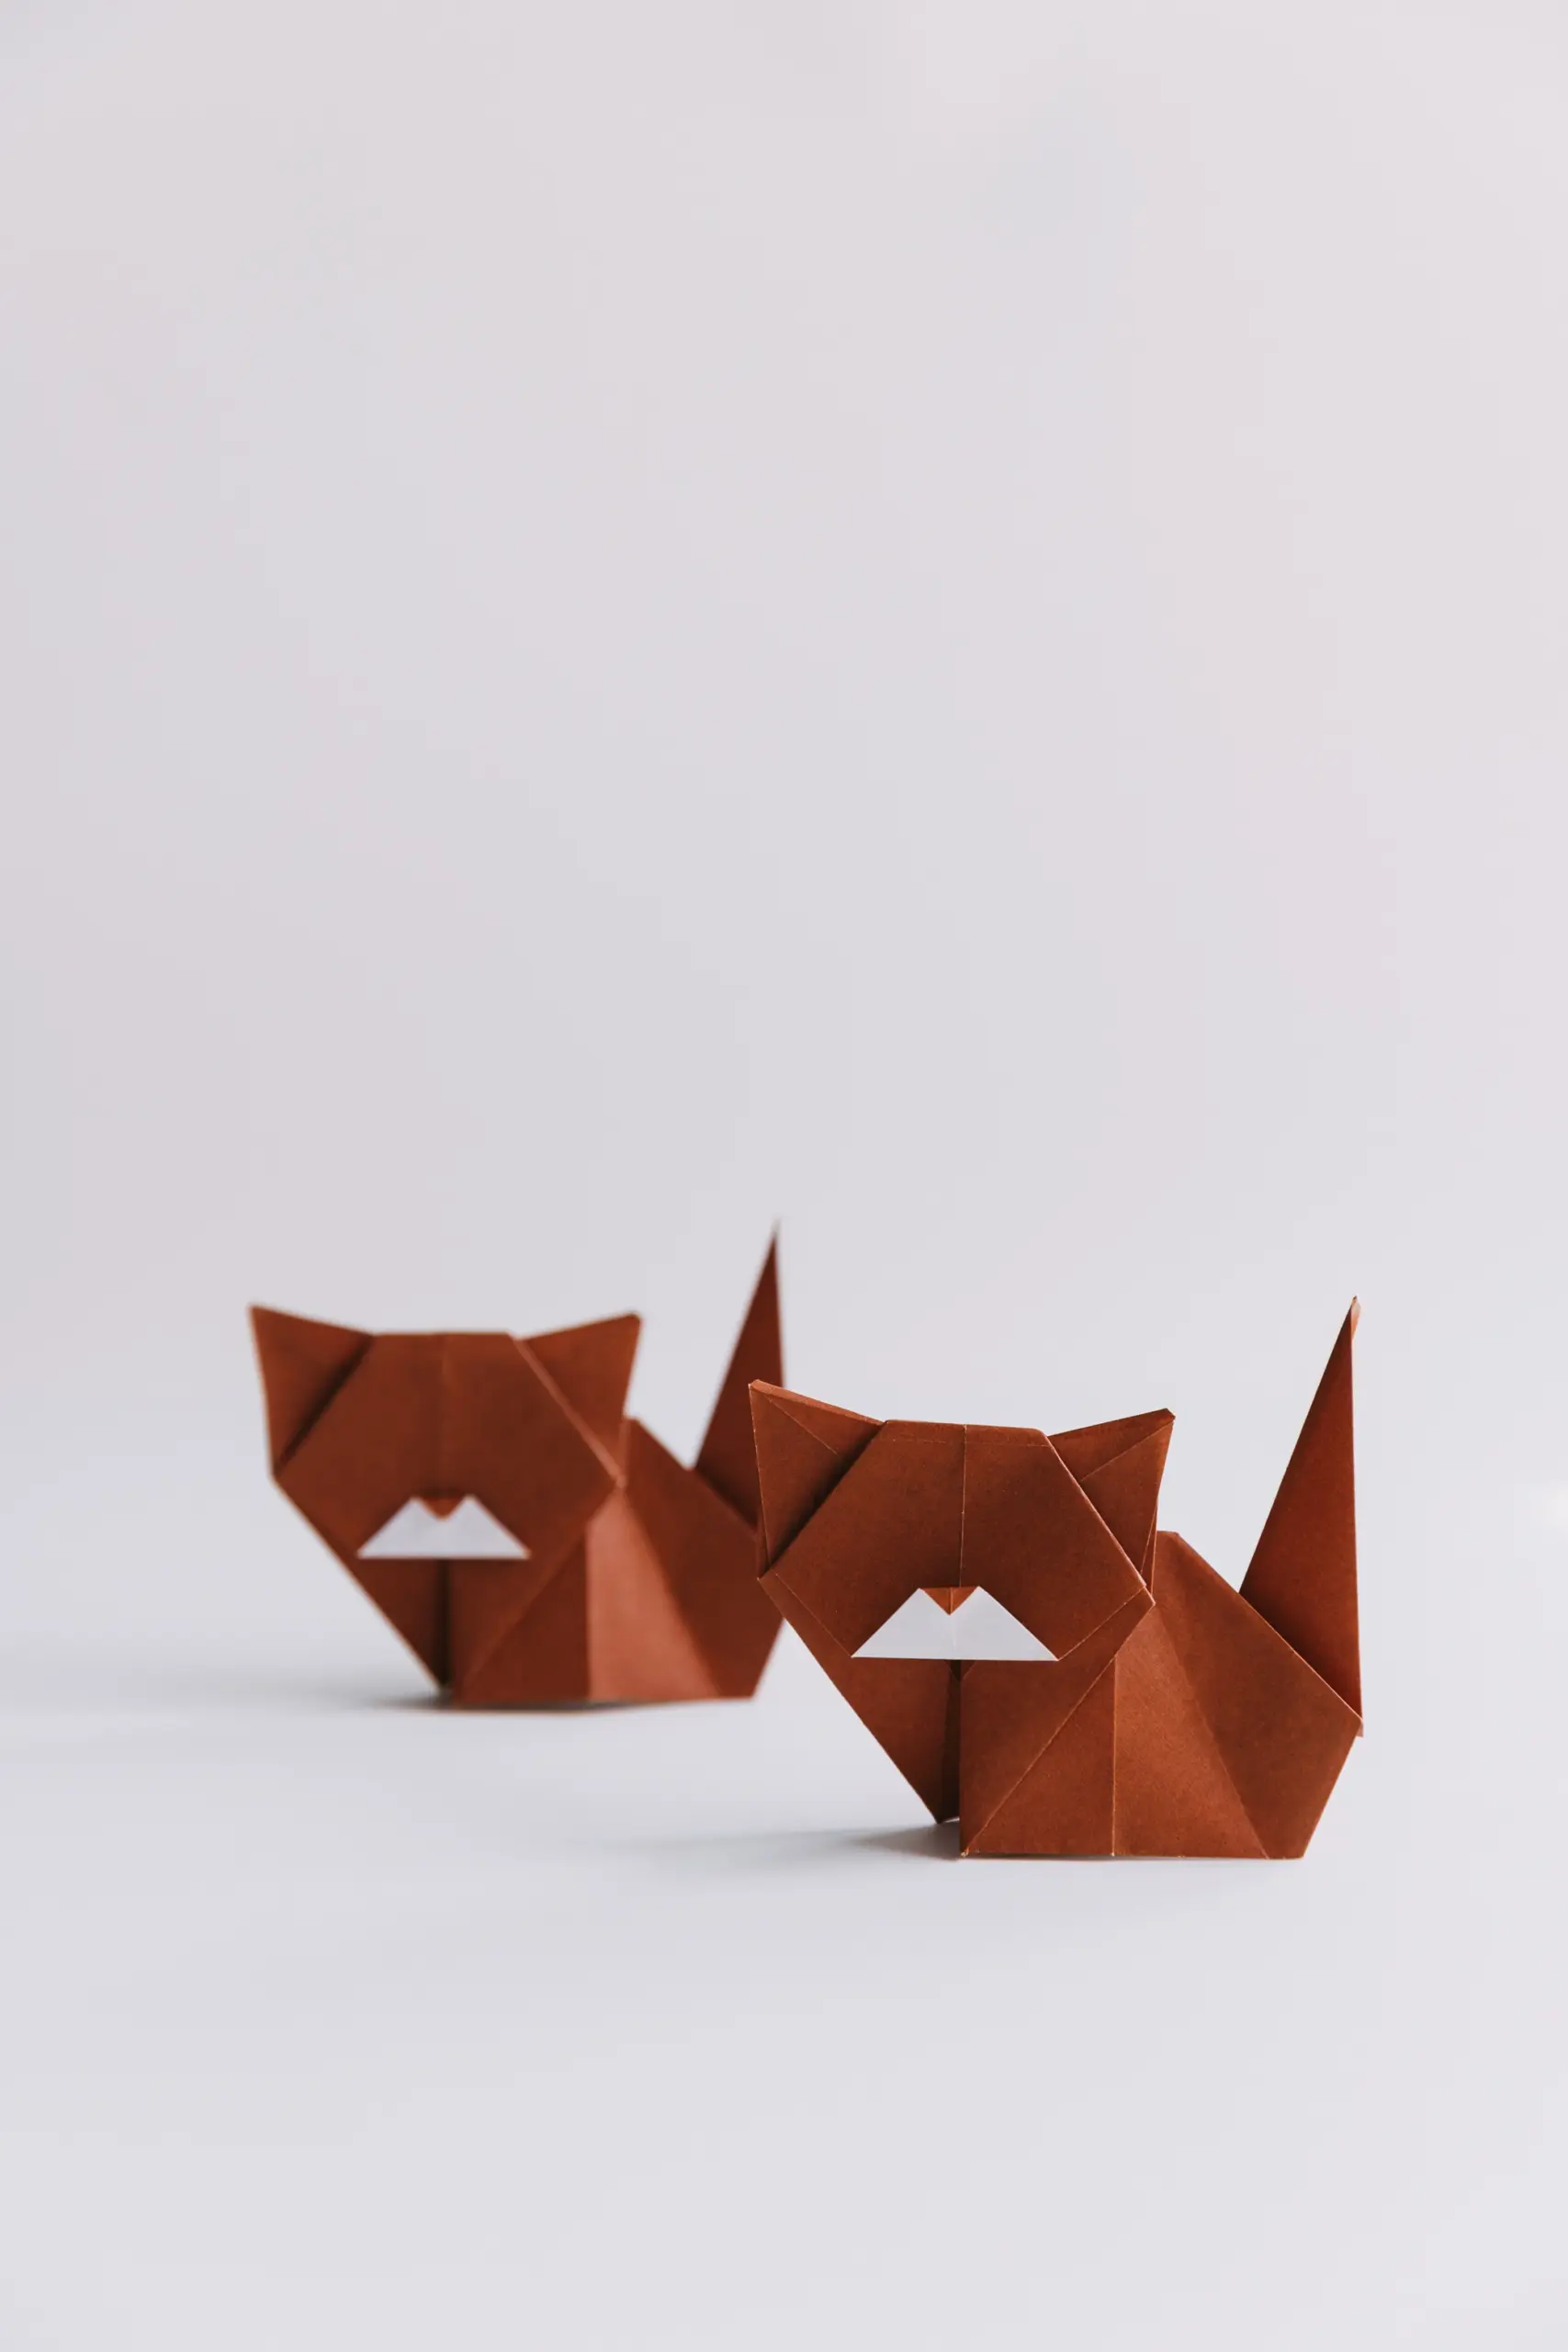
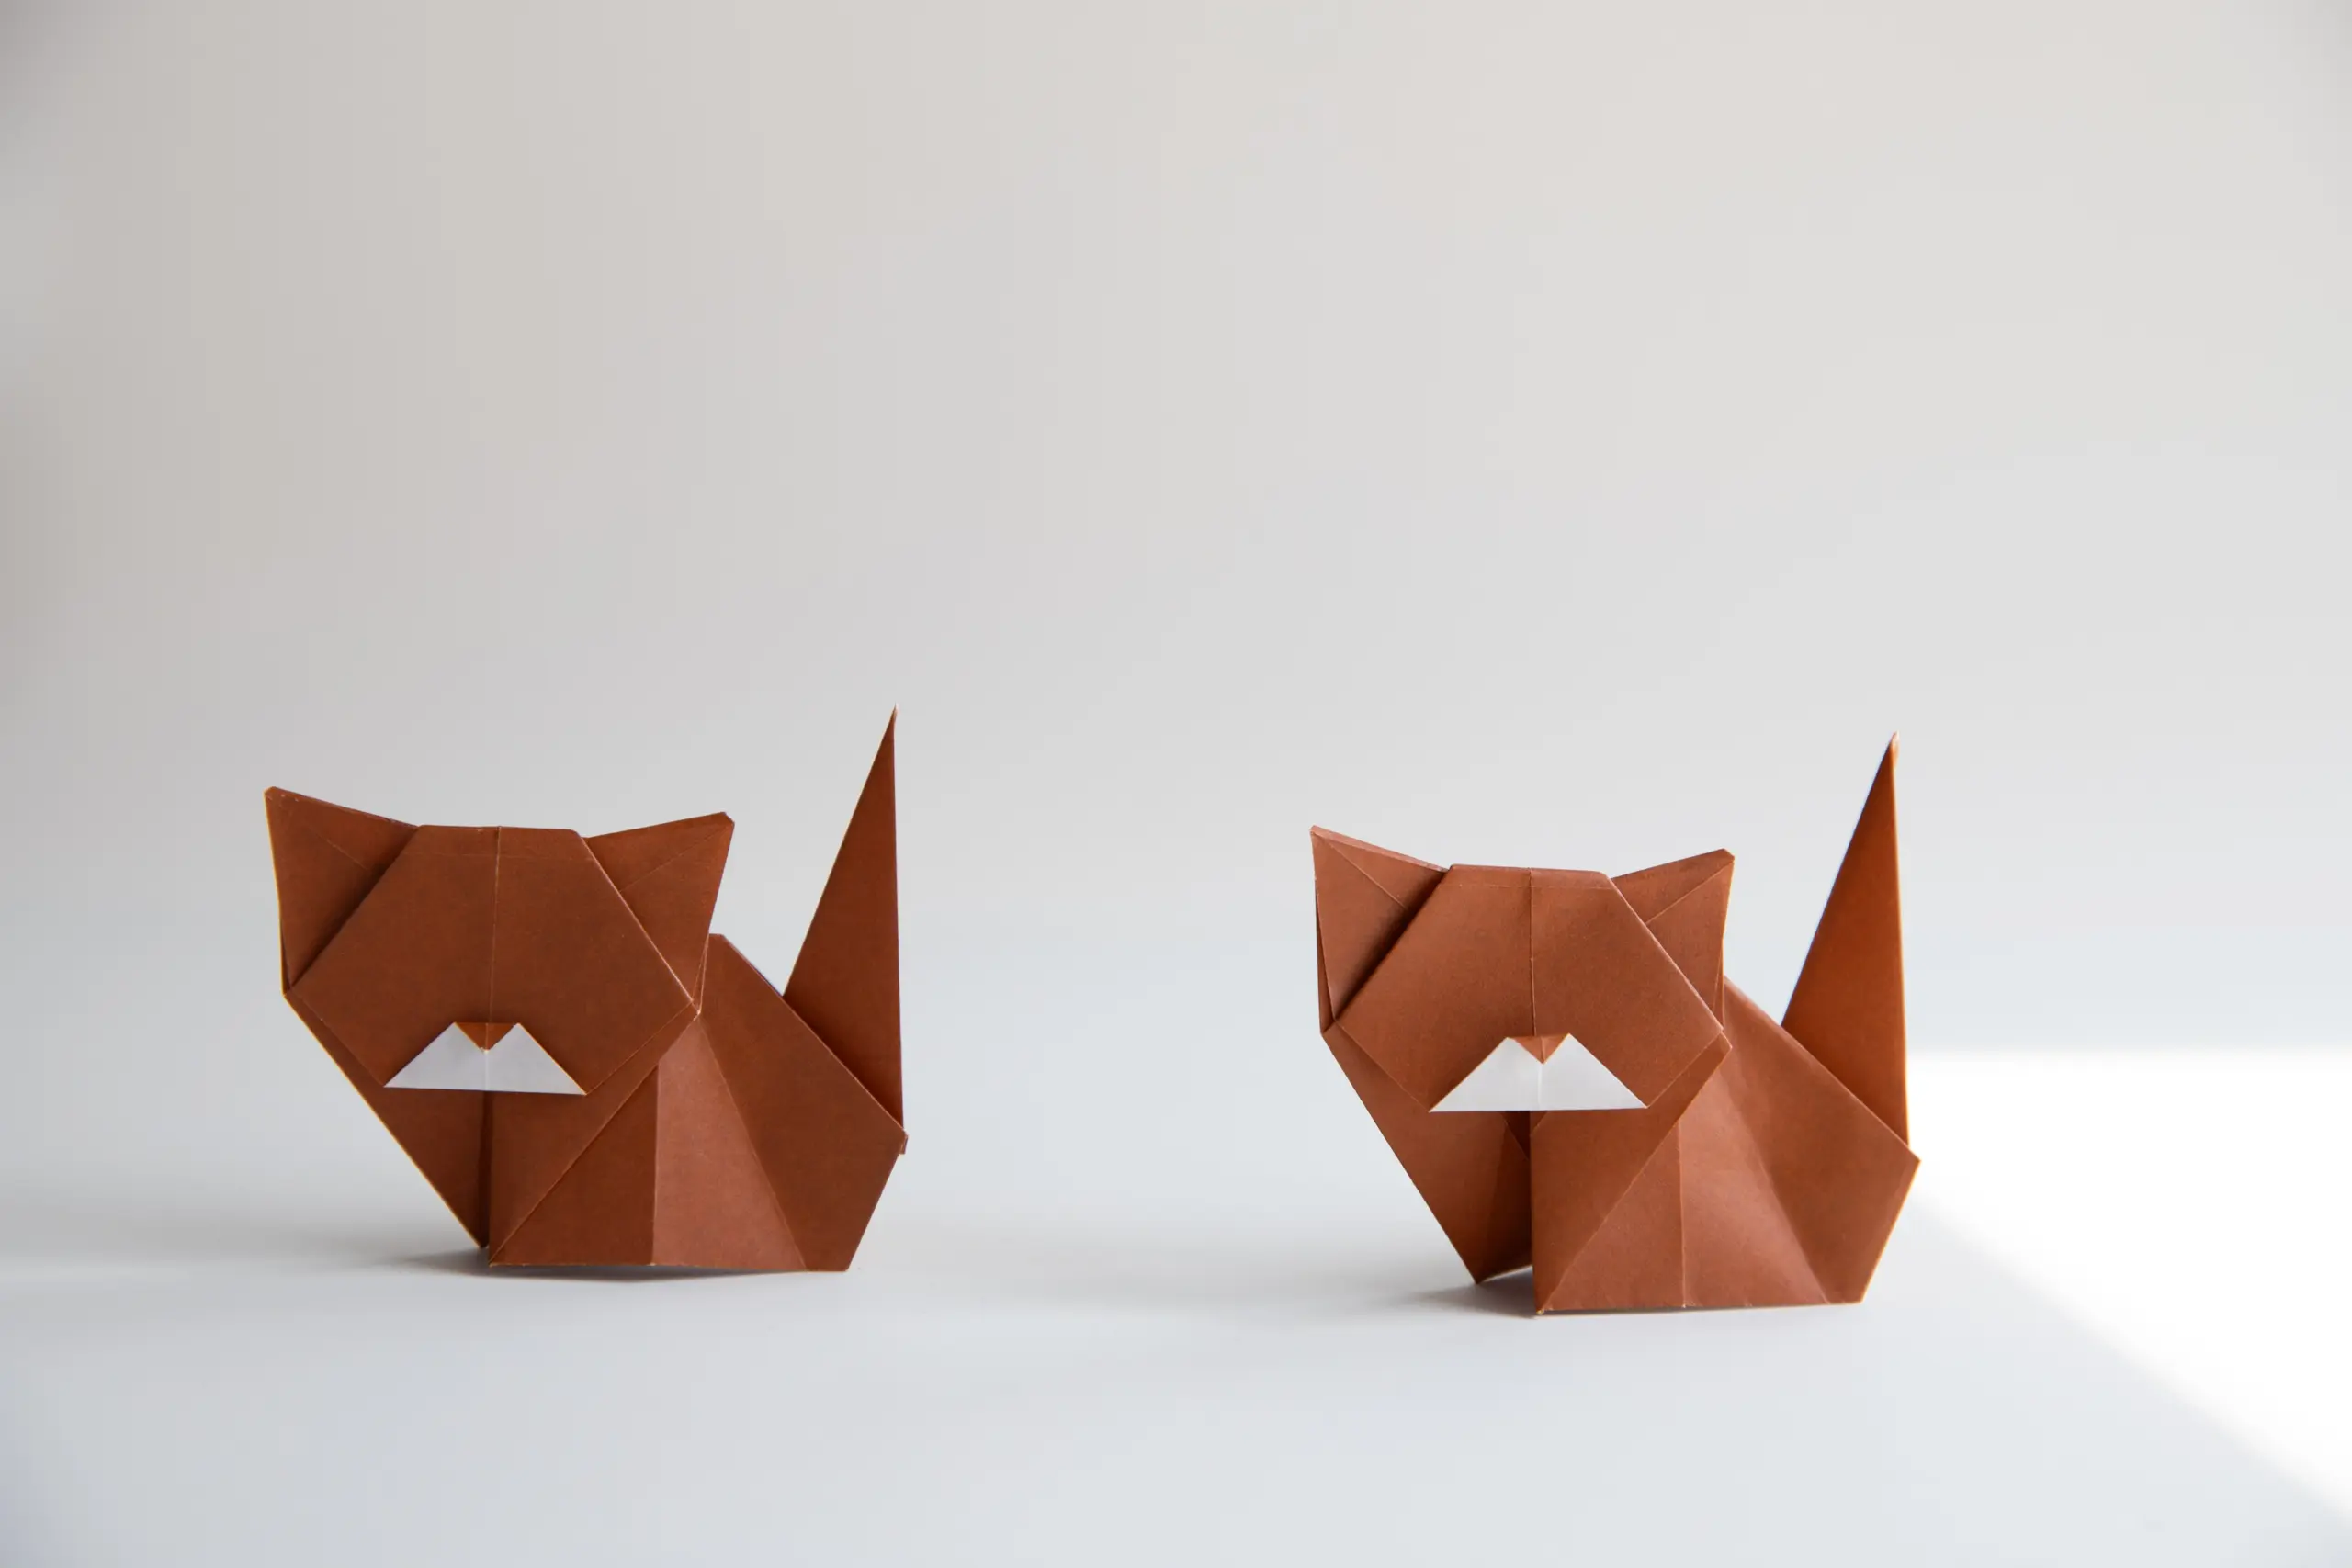
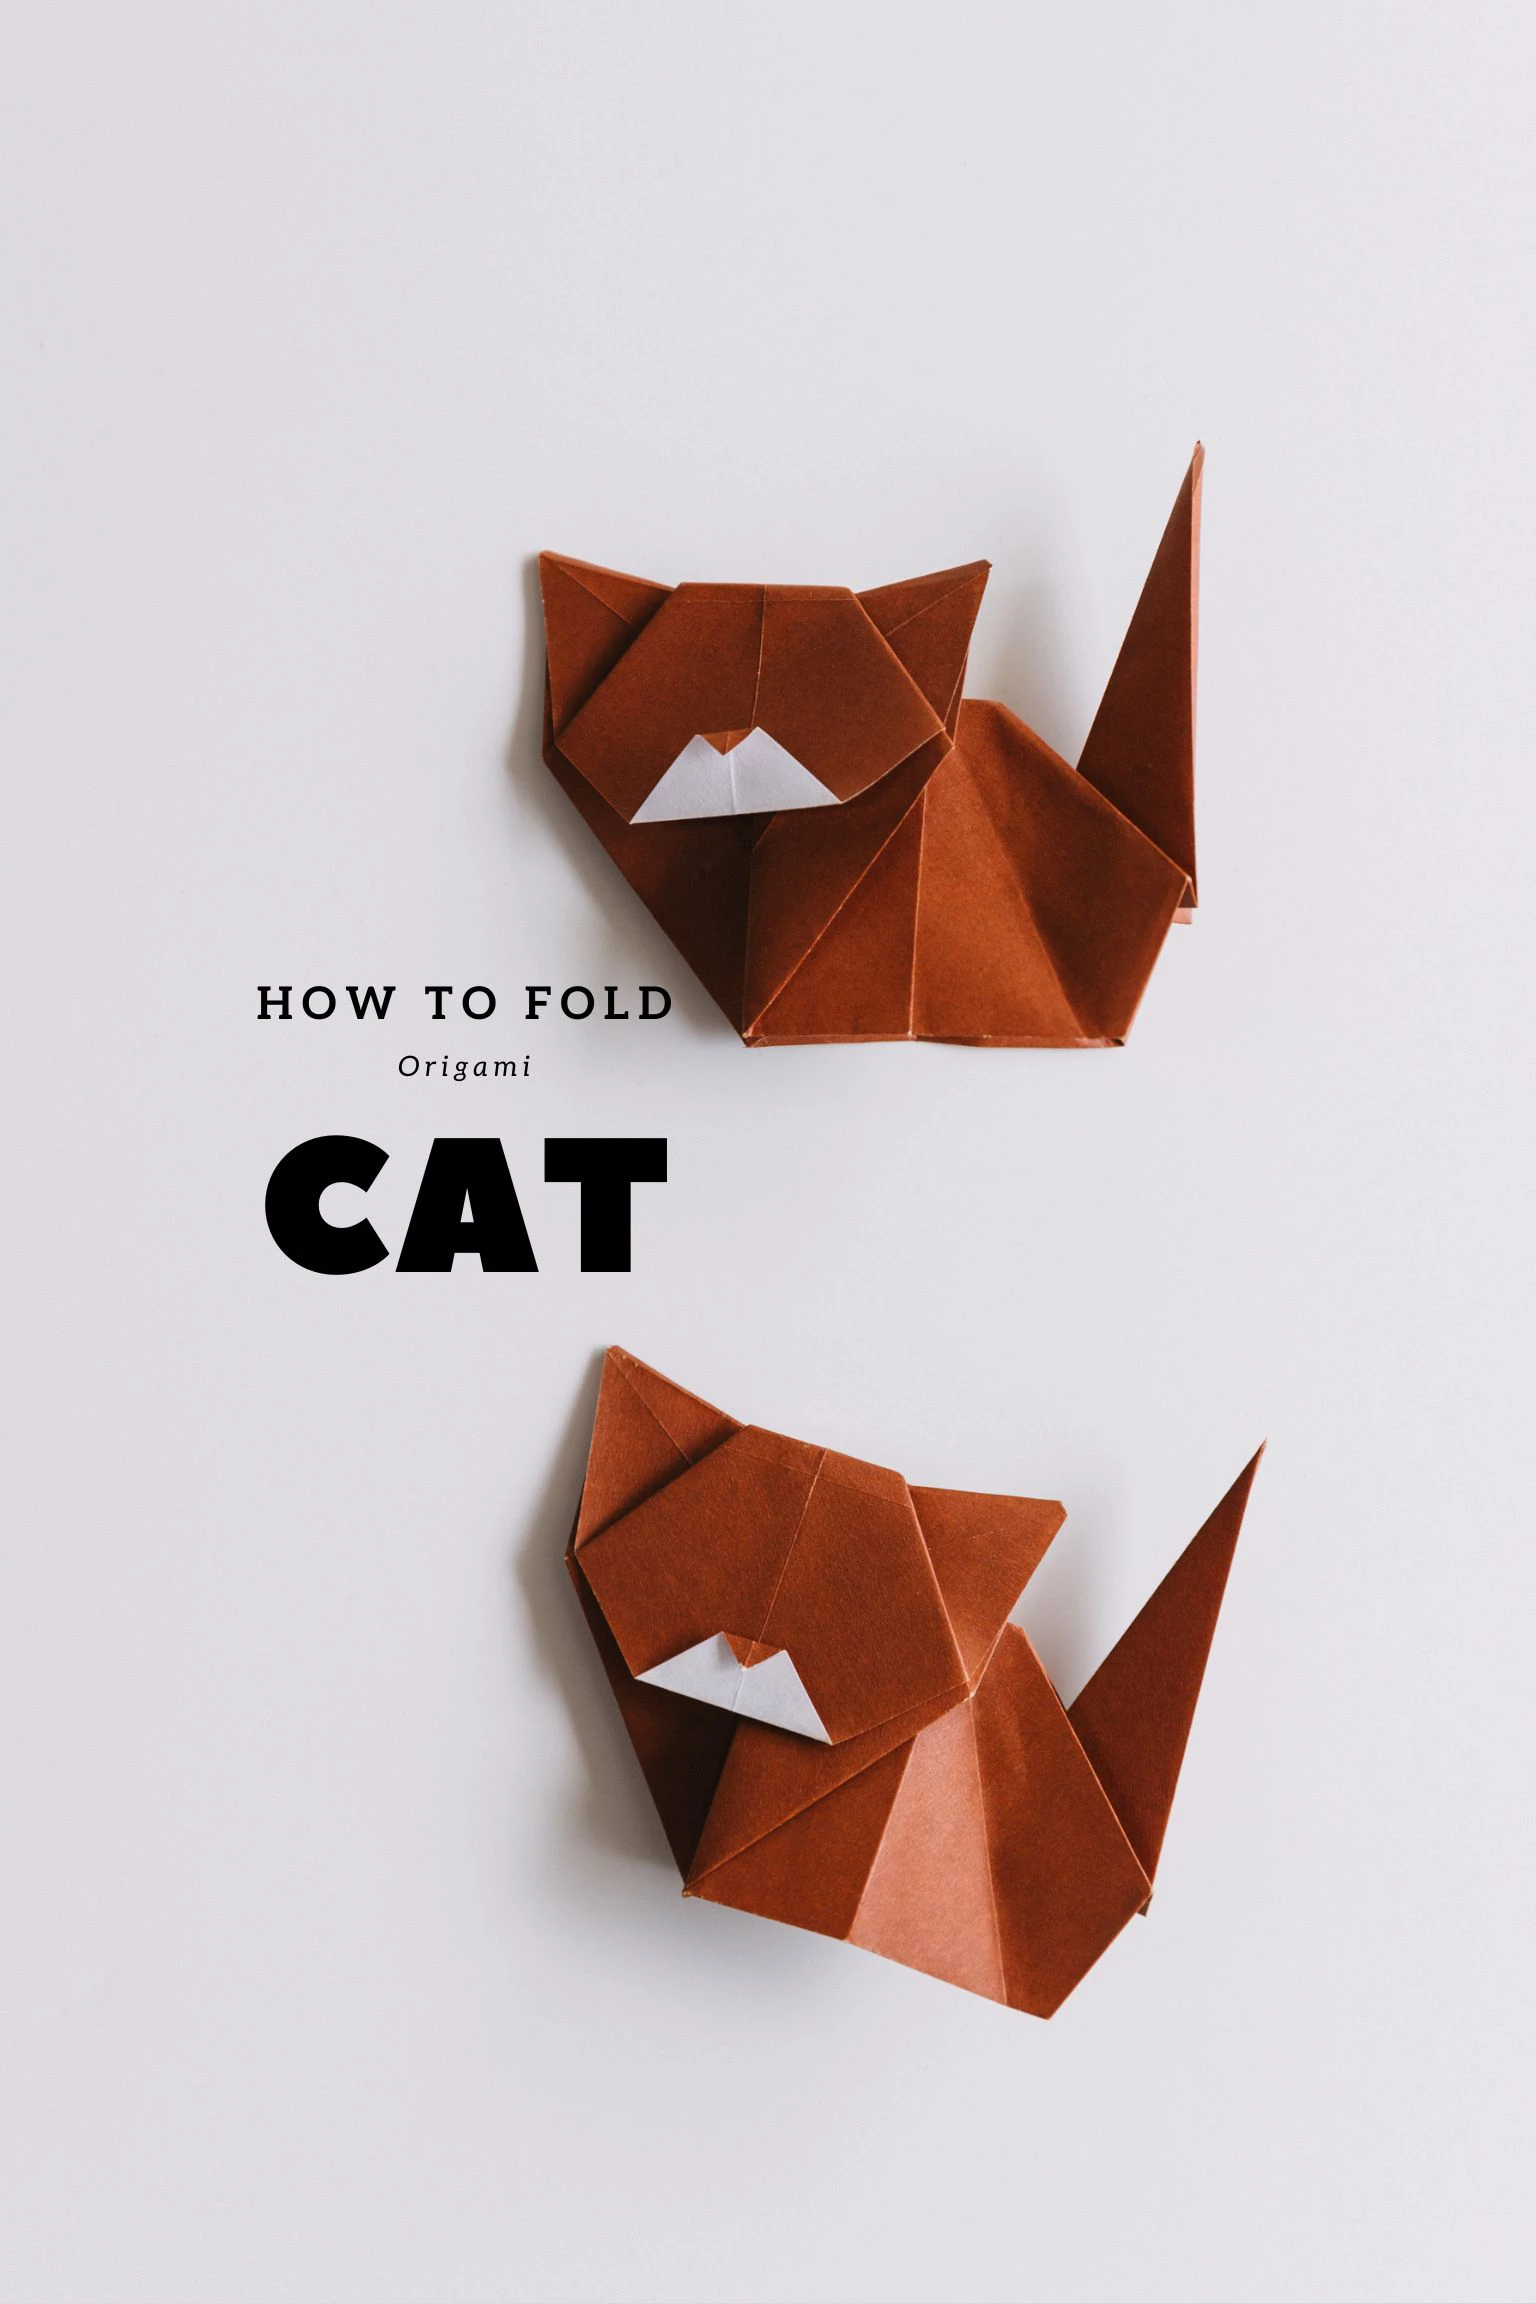
This adorable origami cat consists of a head, body, and tail. The finished product can stand upright, resembling a lifelike cat curiously looking at you. If you have a cat at home or if you’re a cat lover, you won’t want to miss this origami tutorial.
In addition to this cat, we offer an Origami Cat Face, which is easier to make but just as cute.
In this instruction, we use many Pleat Fold.
We provide step-by-step diagram instructions and beginner-friendly videos. Check both for quicker learning.
If you are new to origami, start here from our beginner guide to know the basics and how to read the step-by-step instructions.
- Folding time: 20 minutes
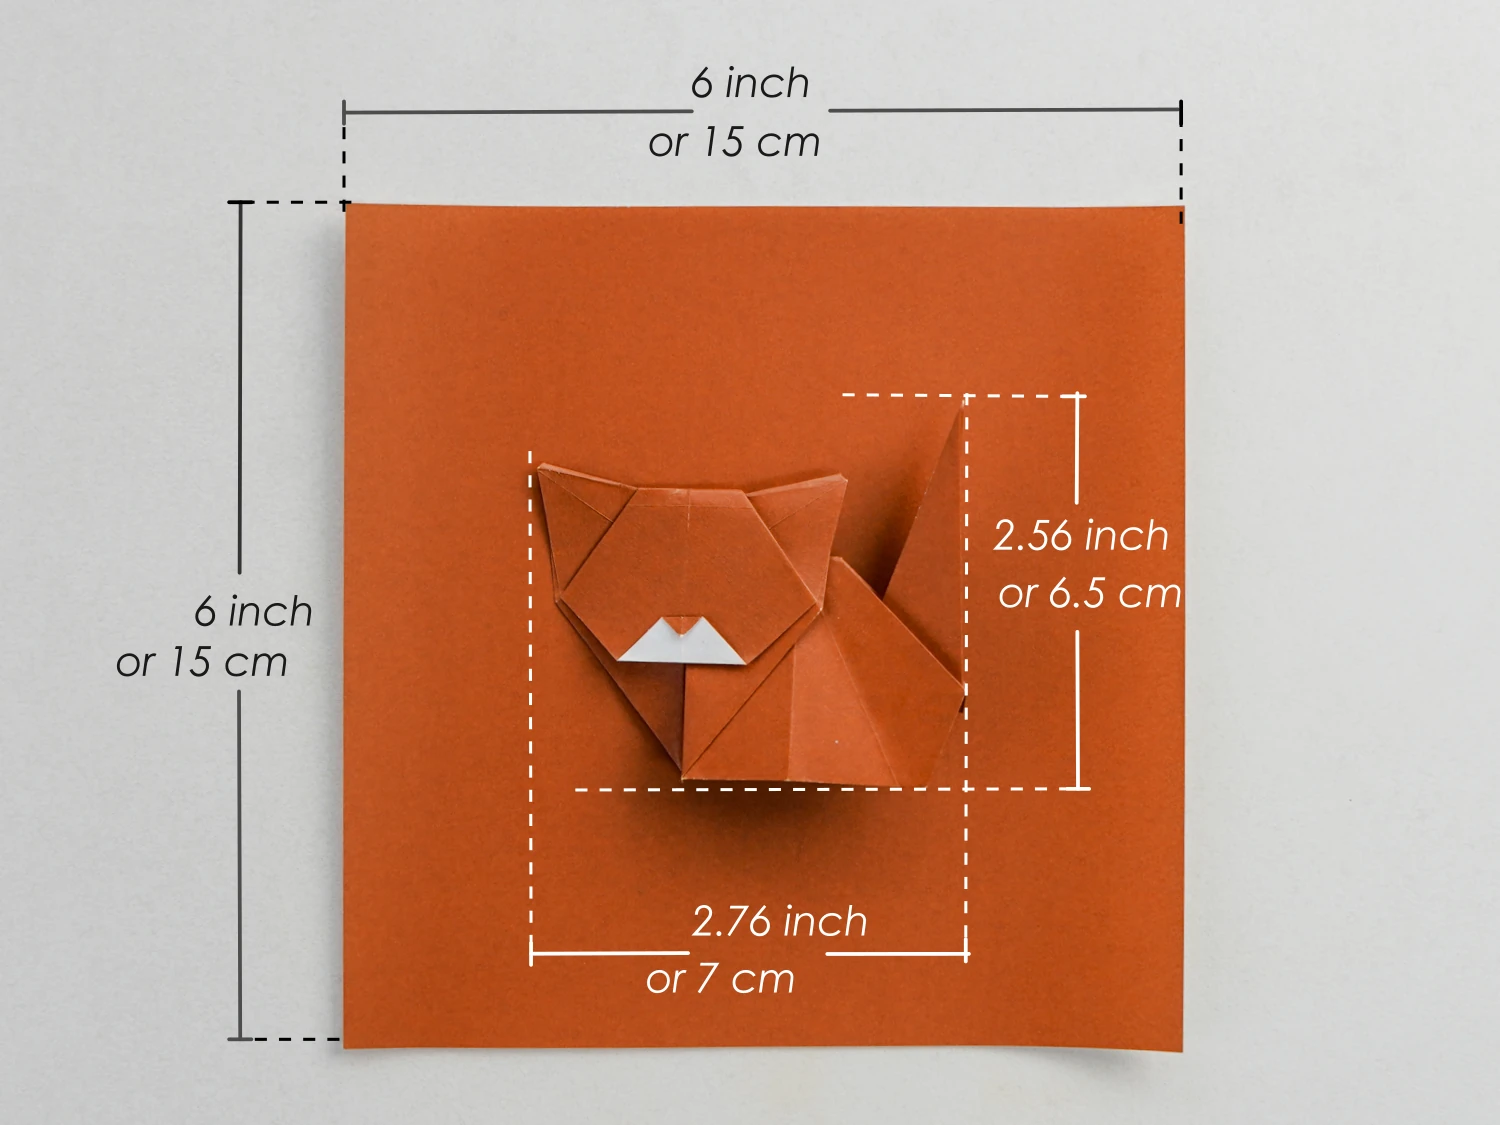
- Paper: 15×15 cm
- Difficulty: Middle
Material
Prepare a piece of 15×15 cm origami square paper, with different colors on each side, to create a 6.5×7 cm cute cat.
Origami Cat Video
Step by Step Instructions
Step 1
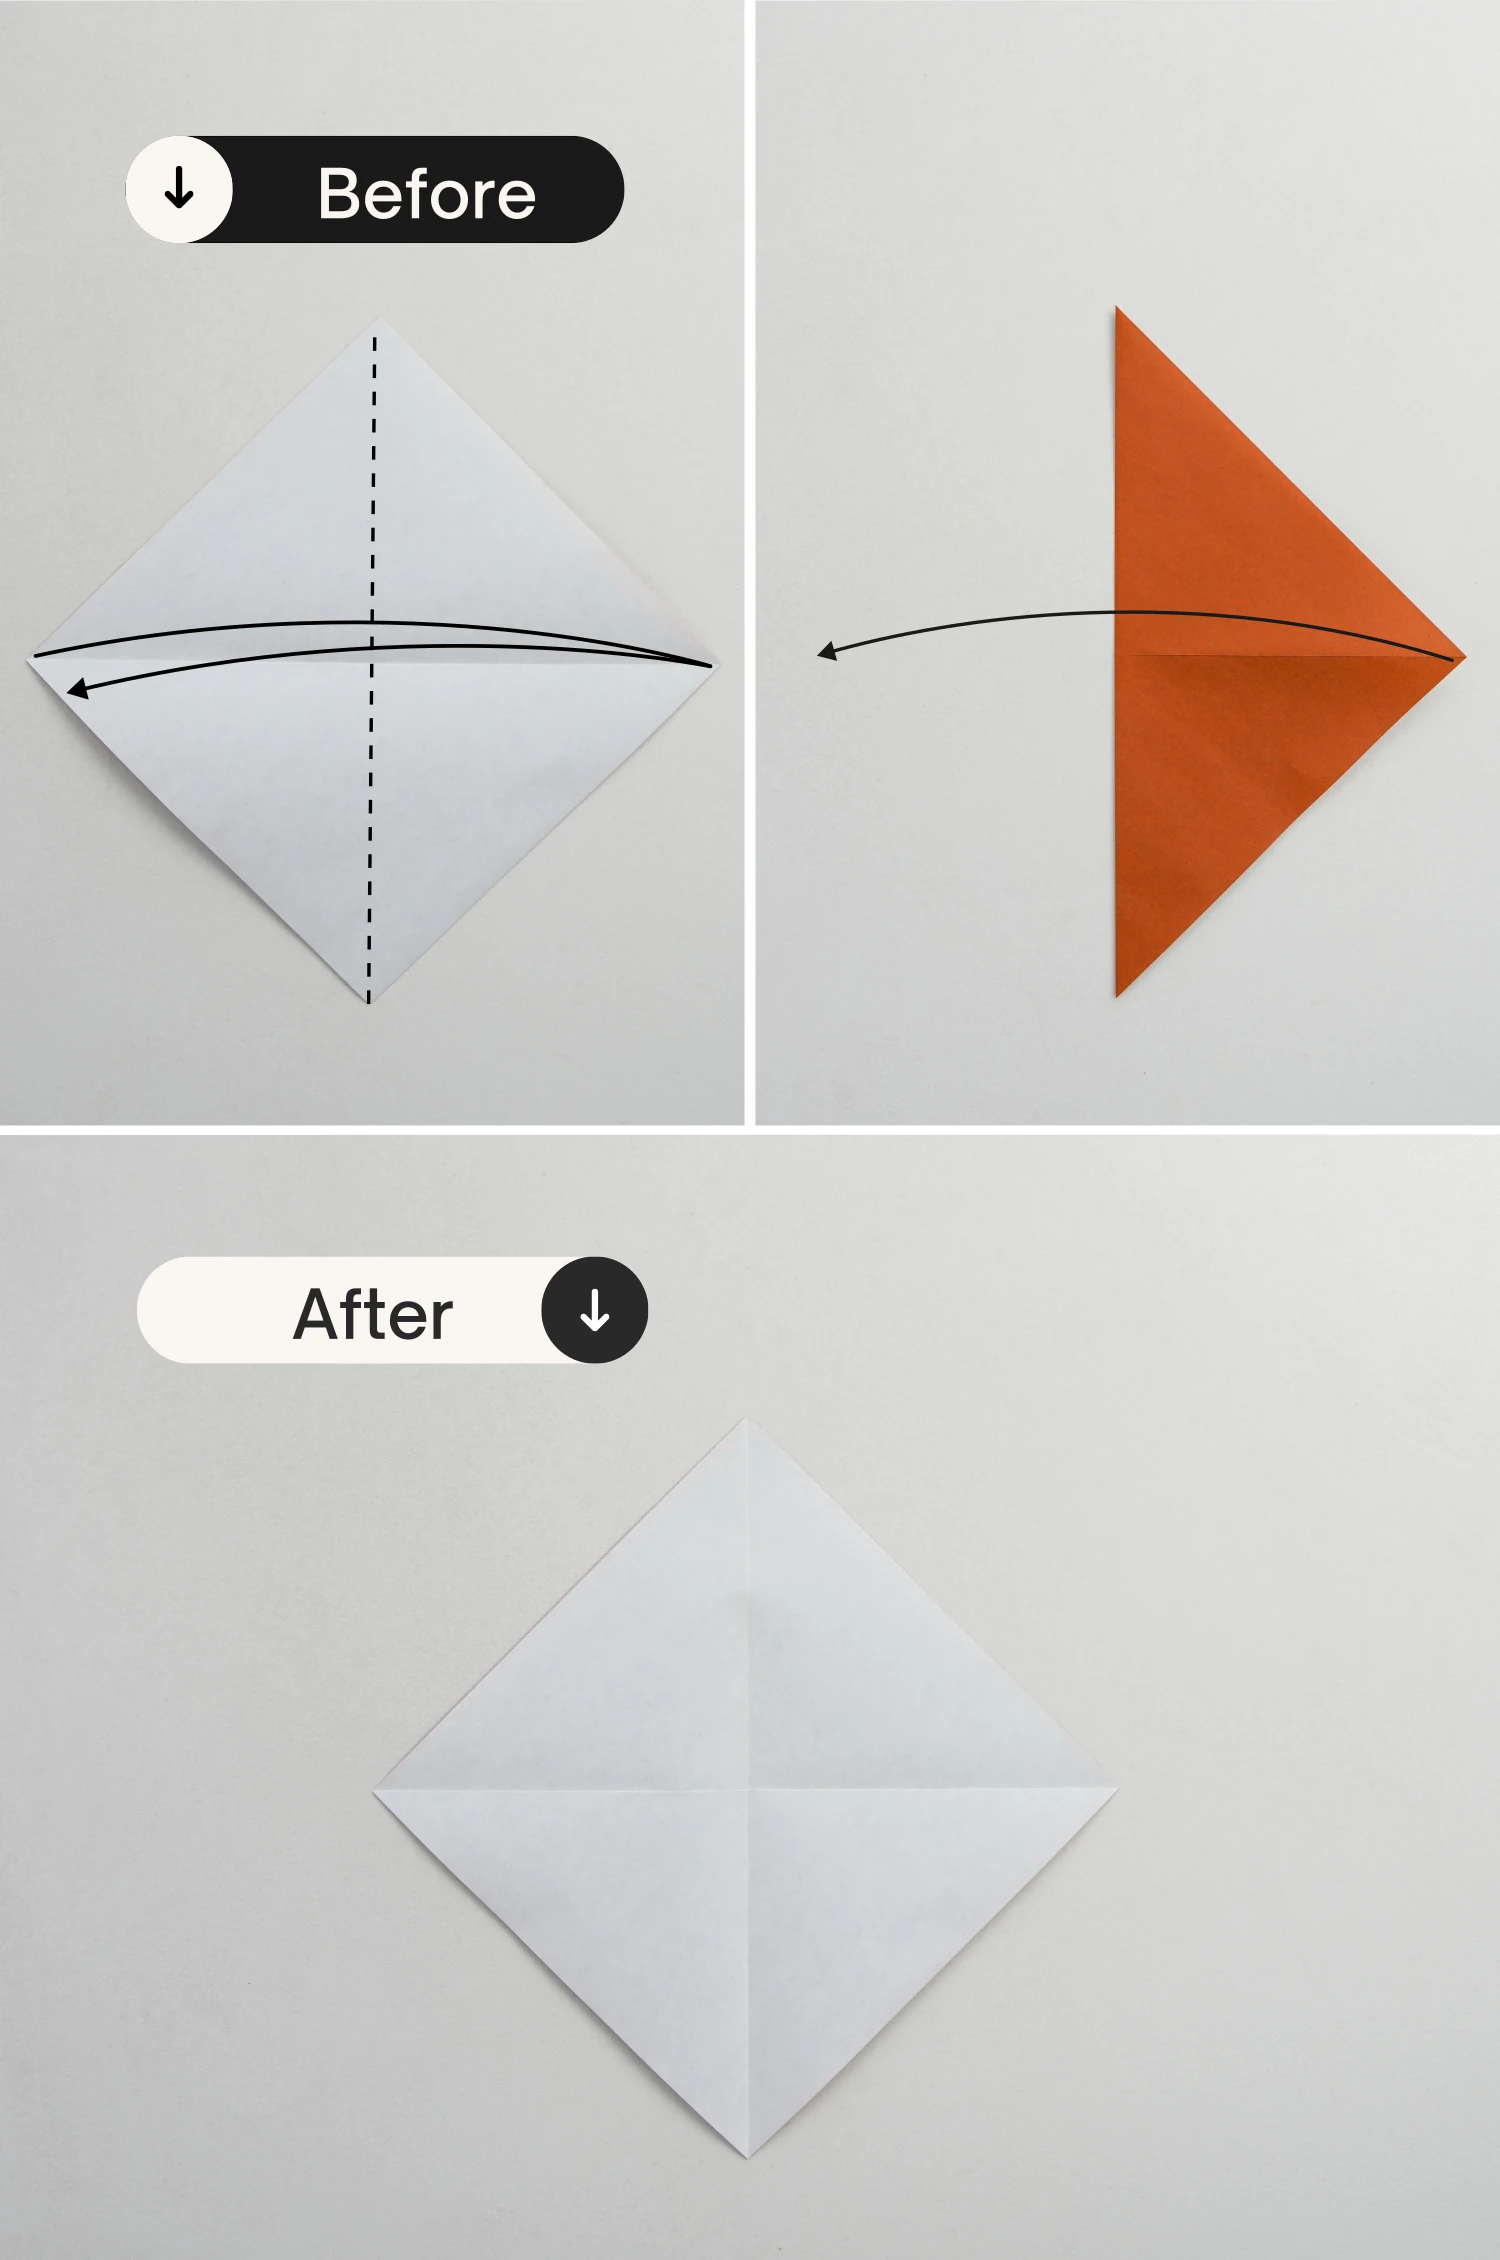
Start with the white side of the paper facing up, and fold the bottom point to the top diagonally, leaving a crease then unfold it.

Step 2
Fold the left point to the right diagonally, crease it well then unfold.
Step 3
Fold the left and right points to meet the center intersection point formed by the two creases you just made, crease them well, and unfold.
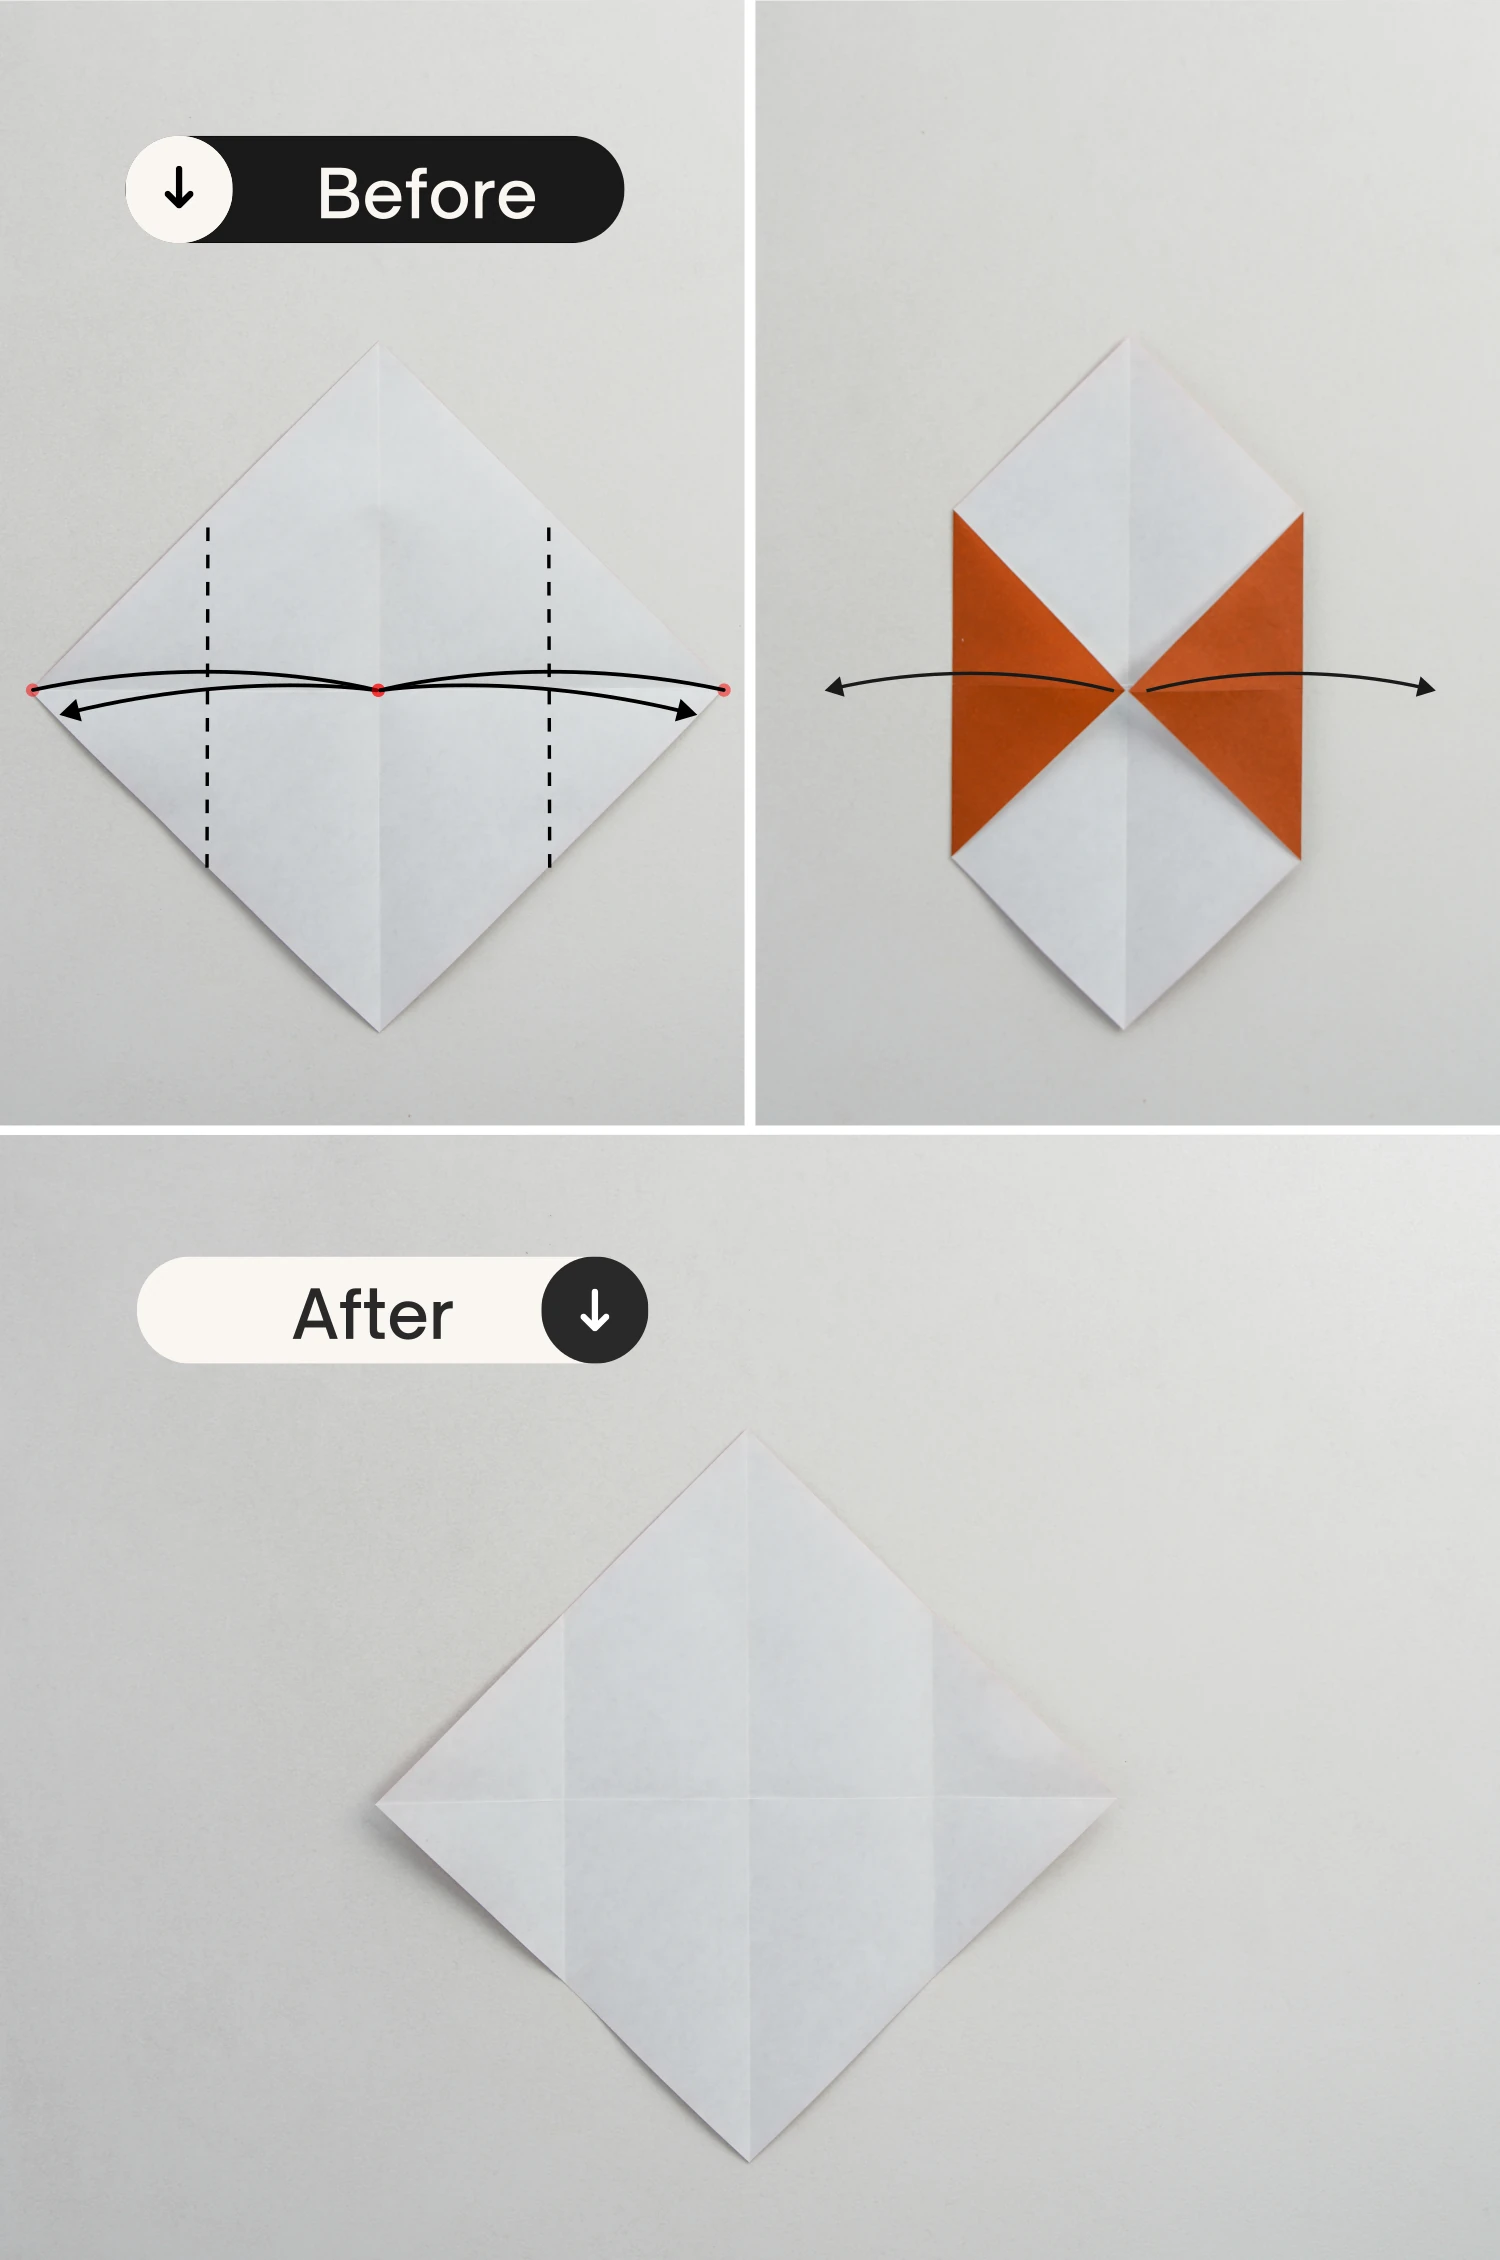
Step 4
Fold the left and right points to the intersection points formed by the creases you made in the previous step and the horizontal crease.
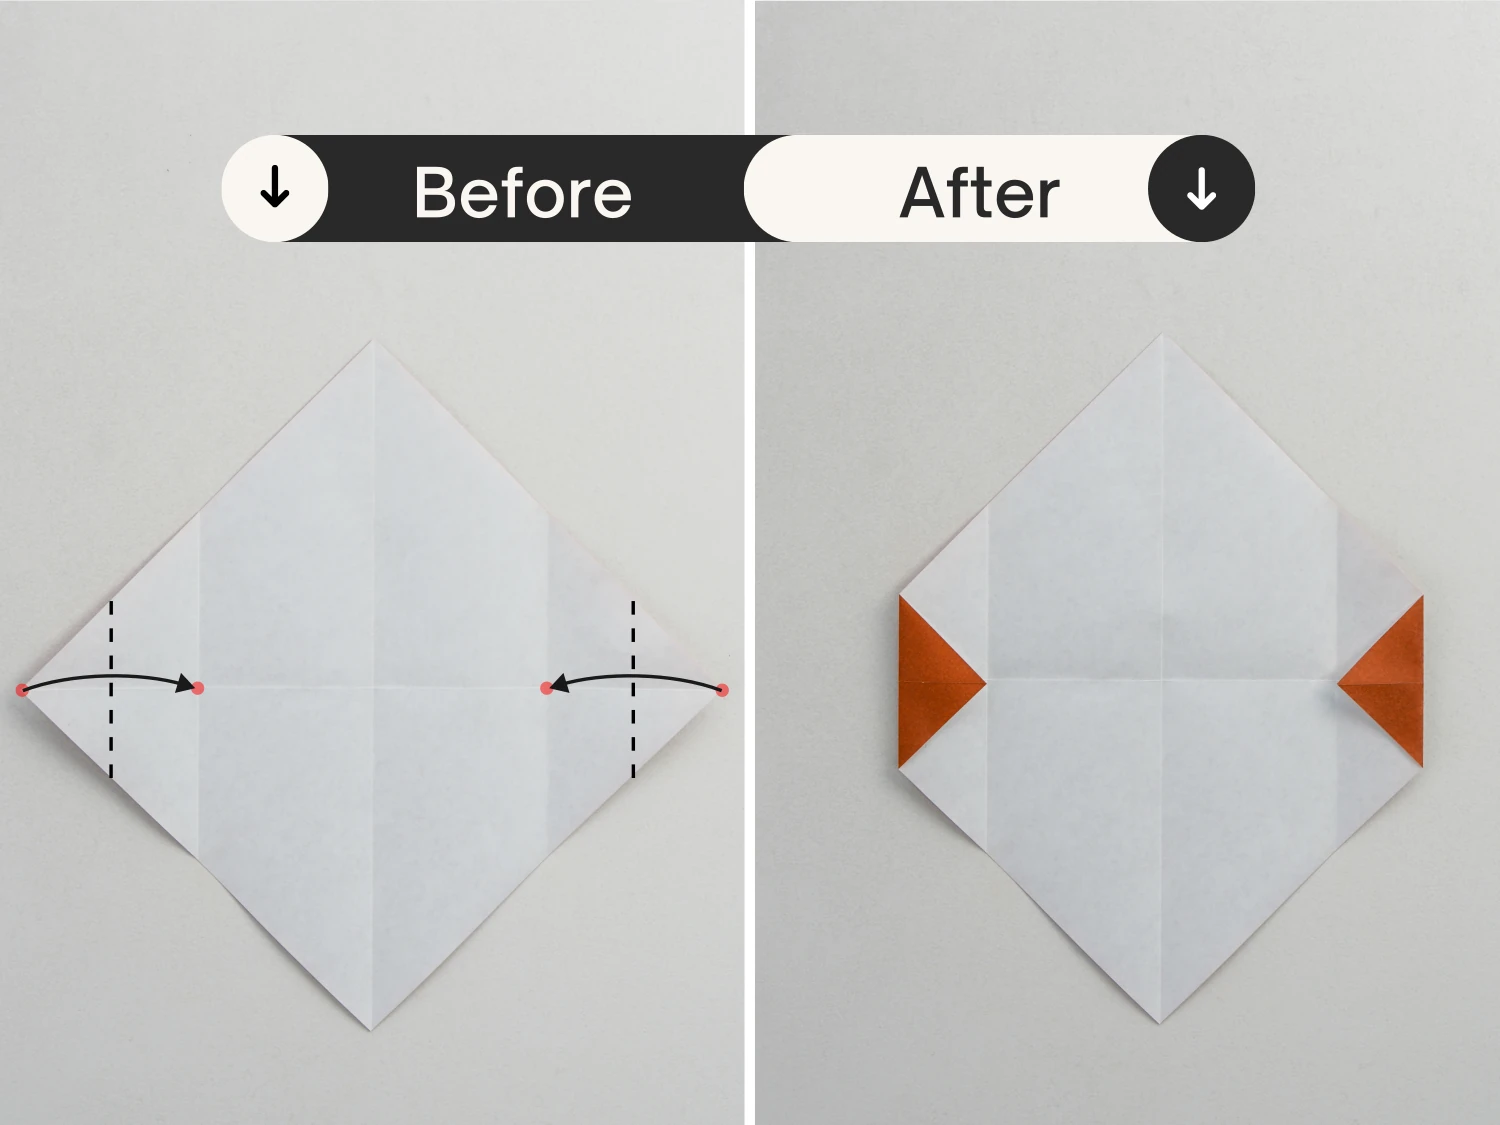
Step 5
Fold the left and right edges toward the center to align with the vertical crease.

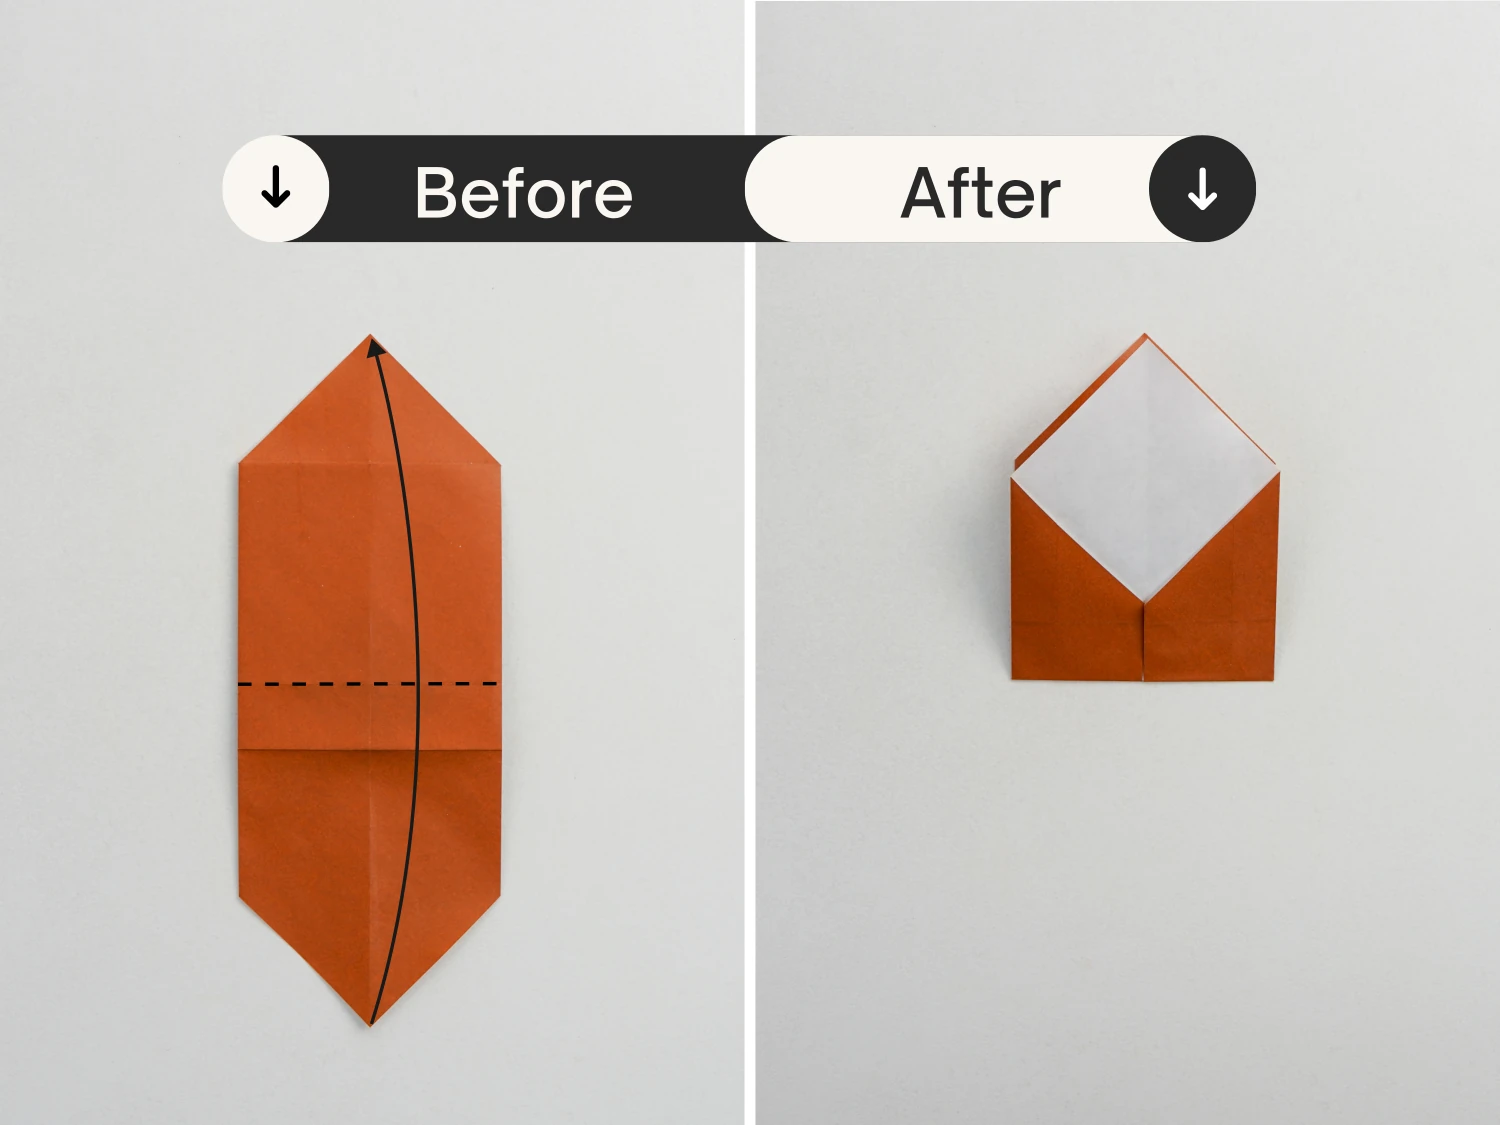
Step 6
Fold the top triangle down, and unfold.

Step 7
Fold the bottom point up to meet the intersection point formed by the vertical crease and the crease you made in the previous step, then unfold it.
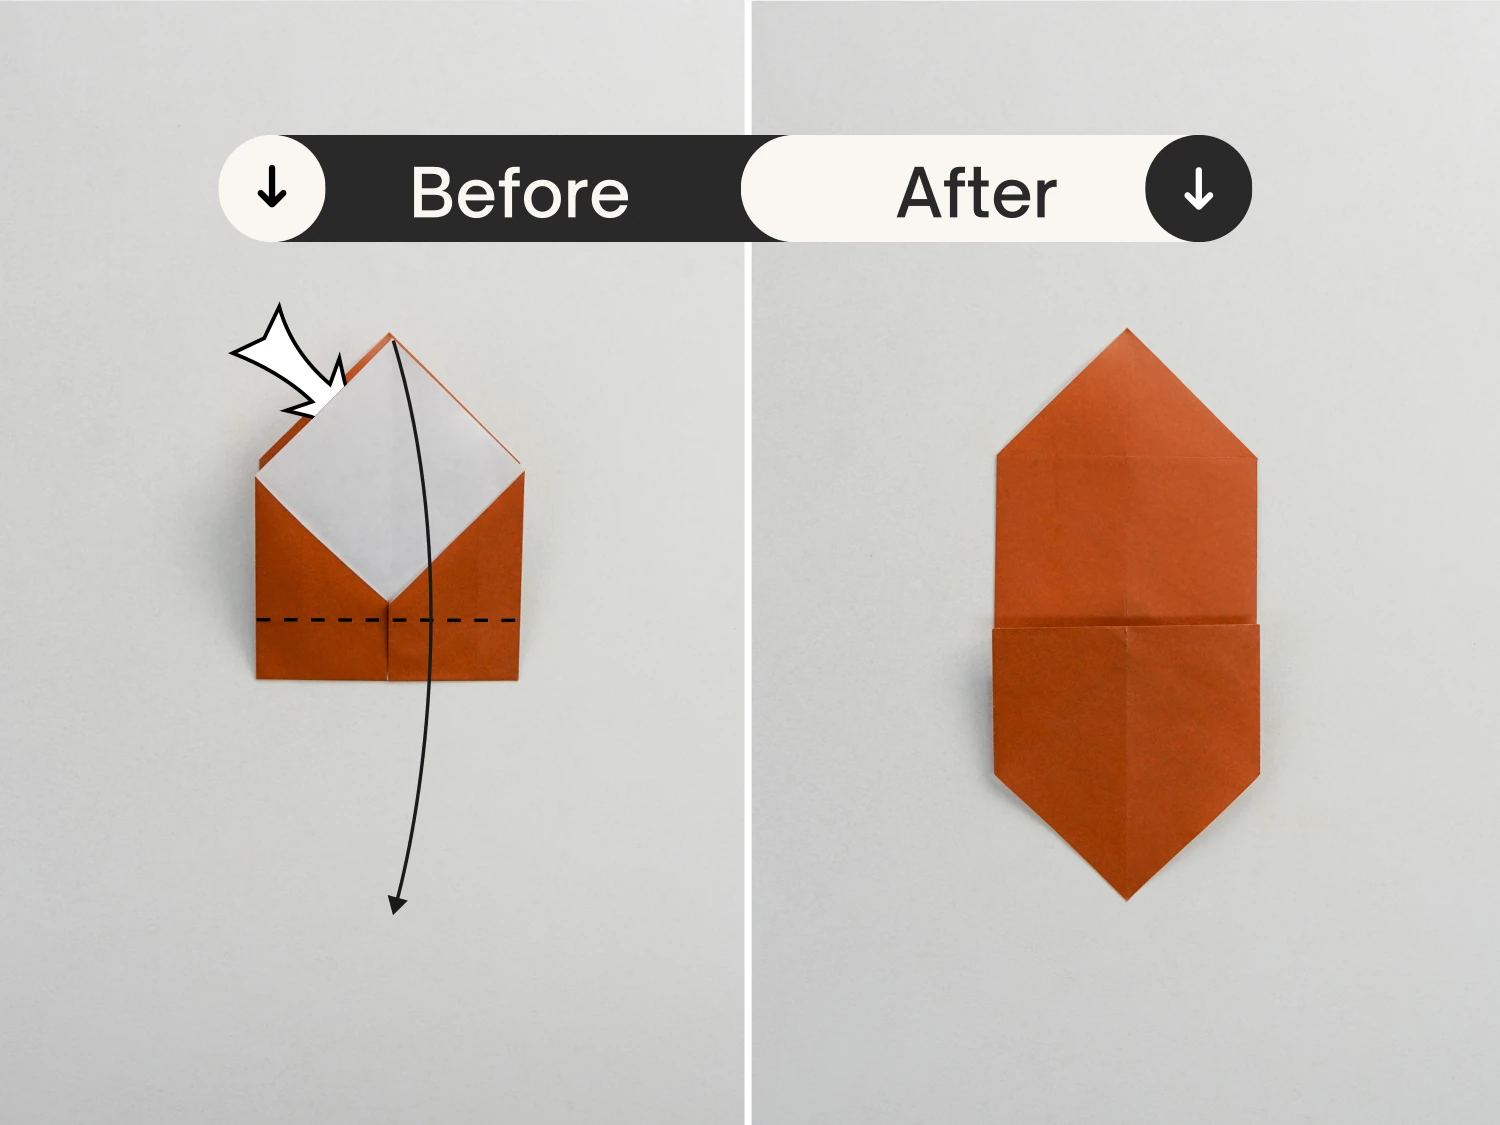
Step 8
Flip it over.
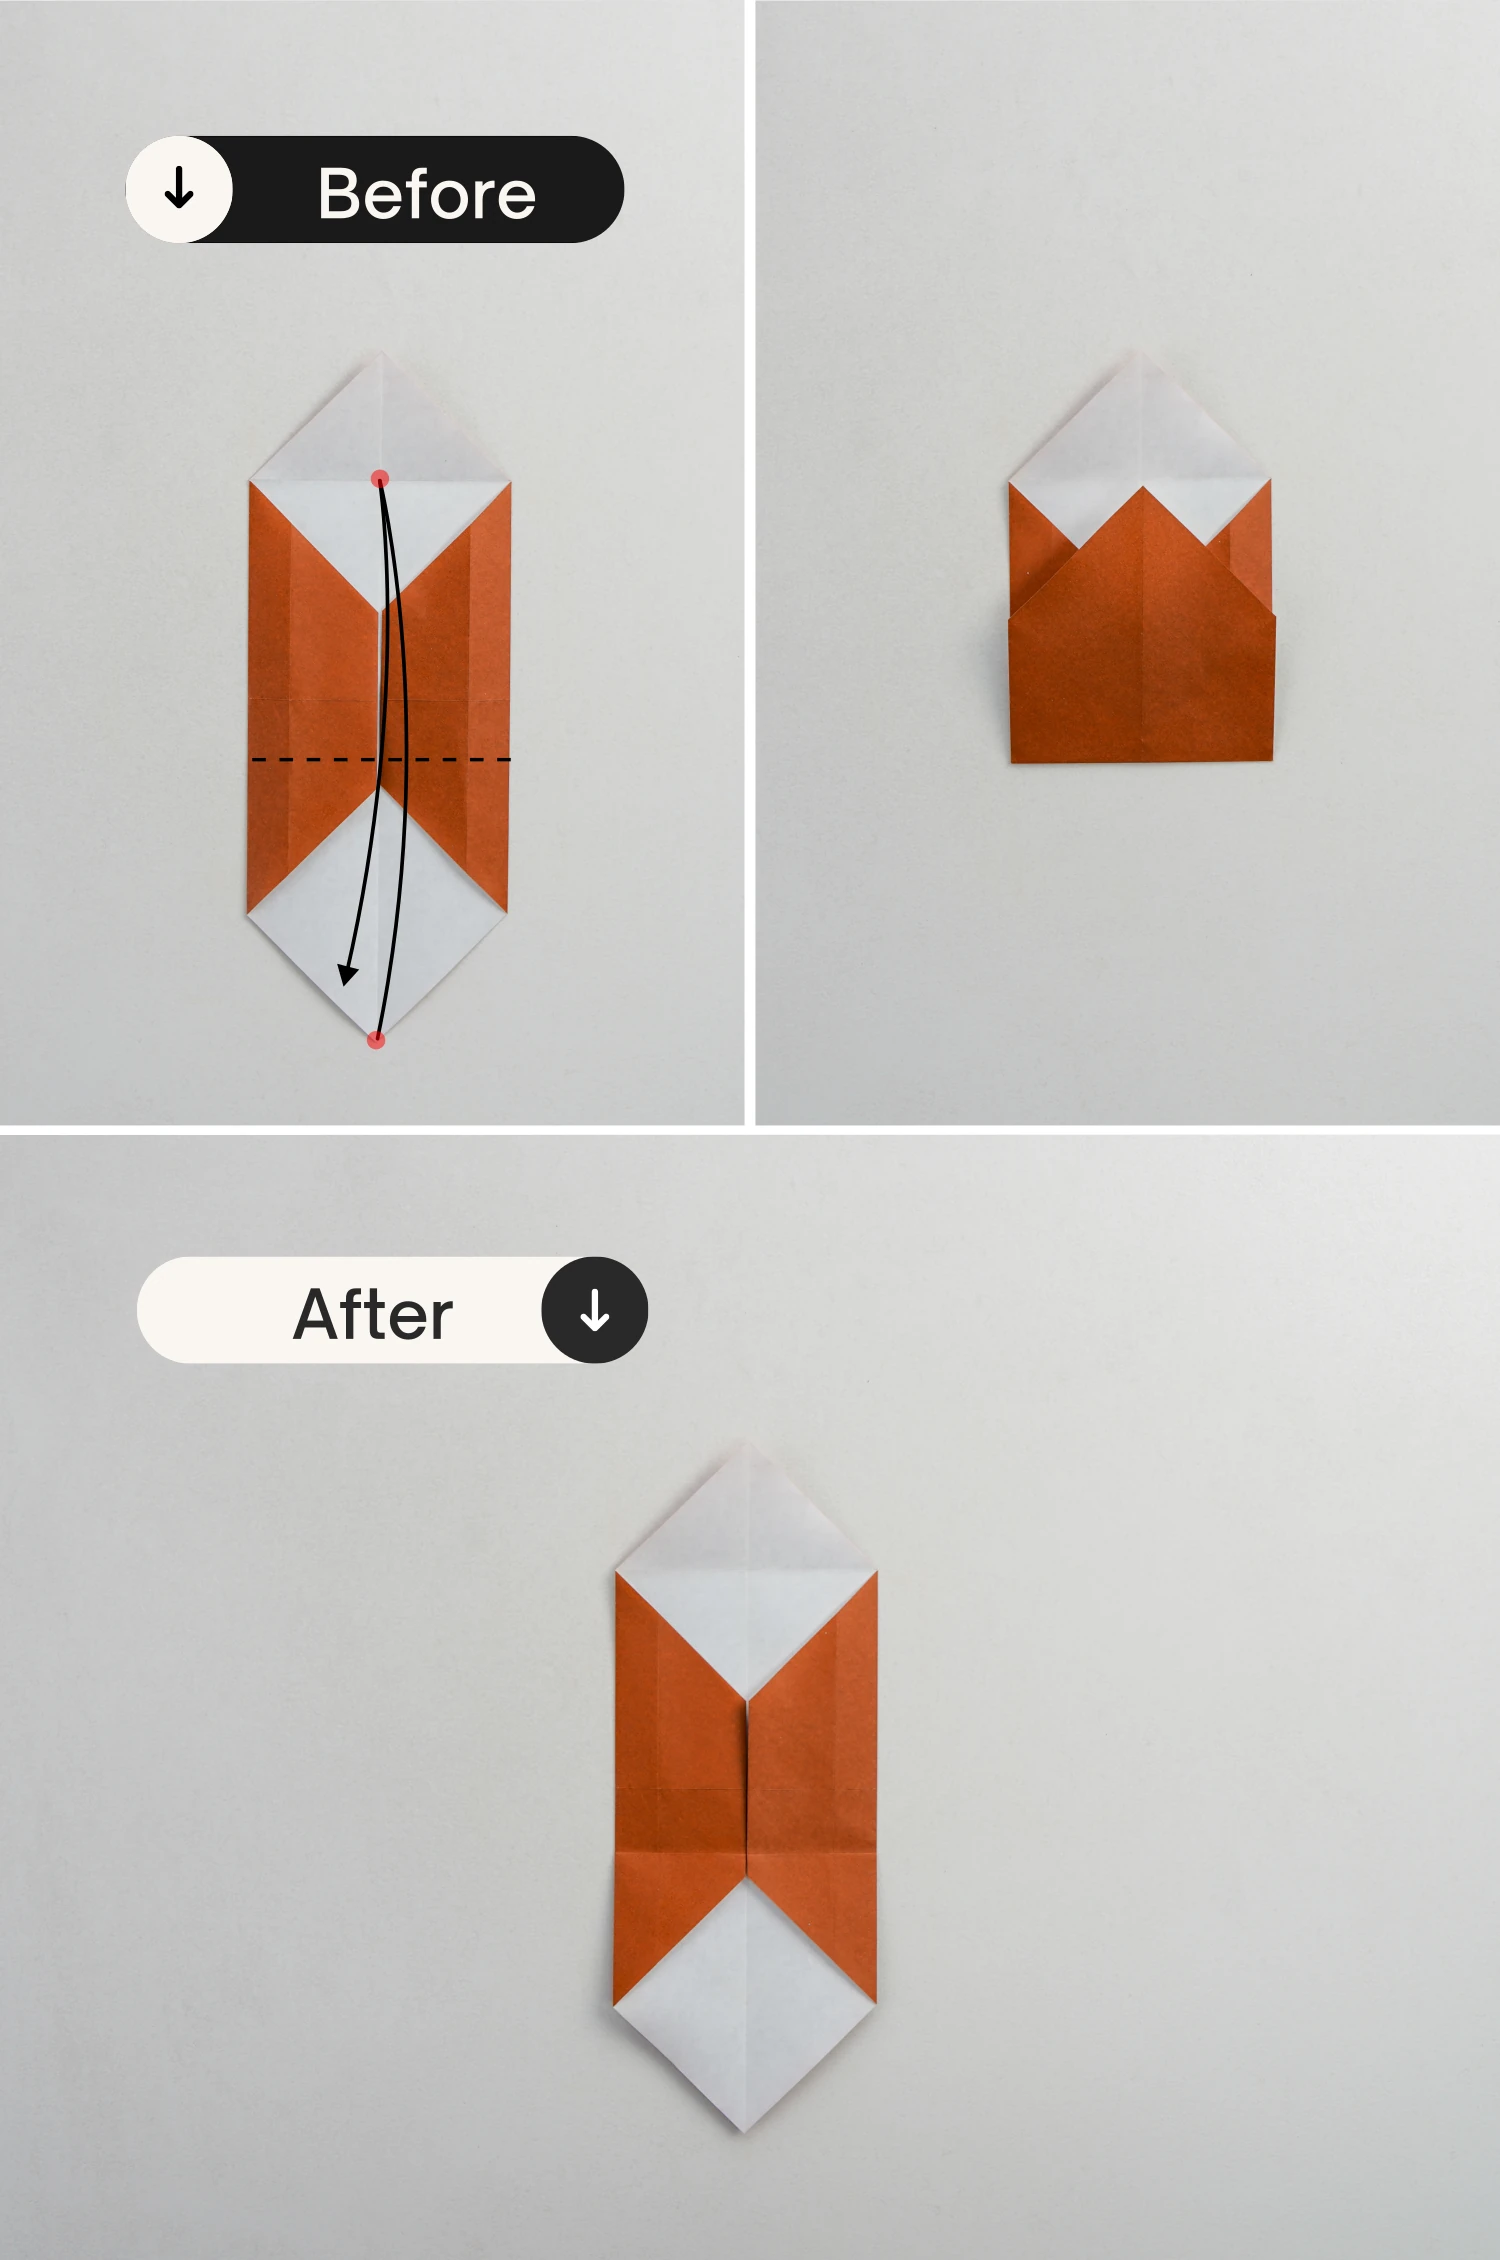
Step 9
Fold the bottom point to the top diagonally.
Step 10
Then fold it back to the bottom along the crease shown by the dotted line.
Step 11
Fold the top left and right corners of the lower layer down along the dotted lines, crease them well then unfold.
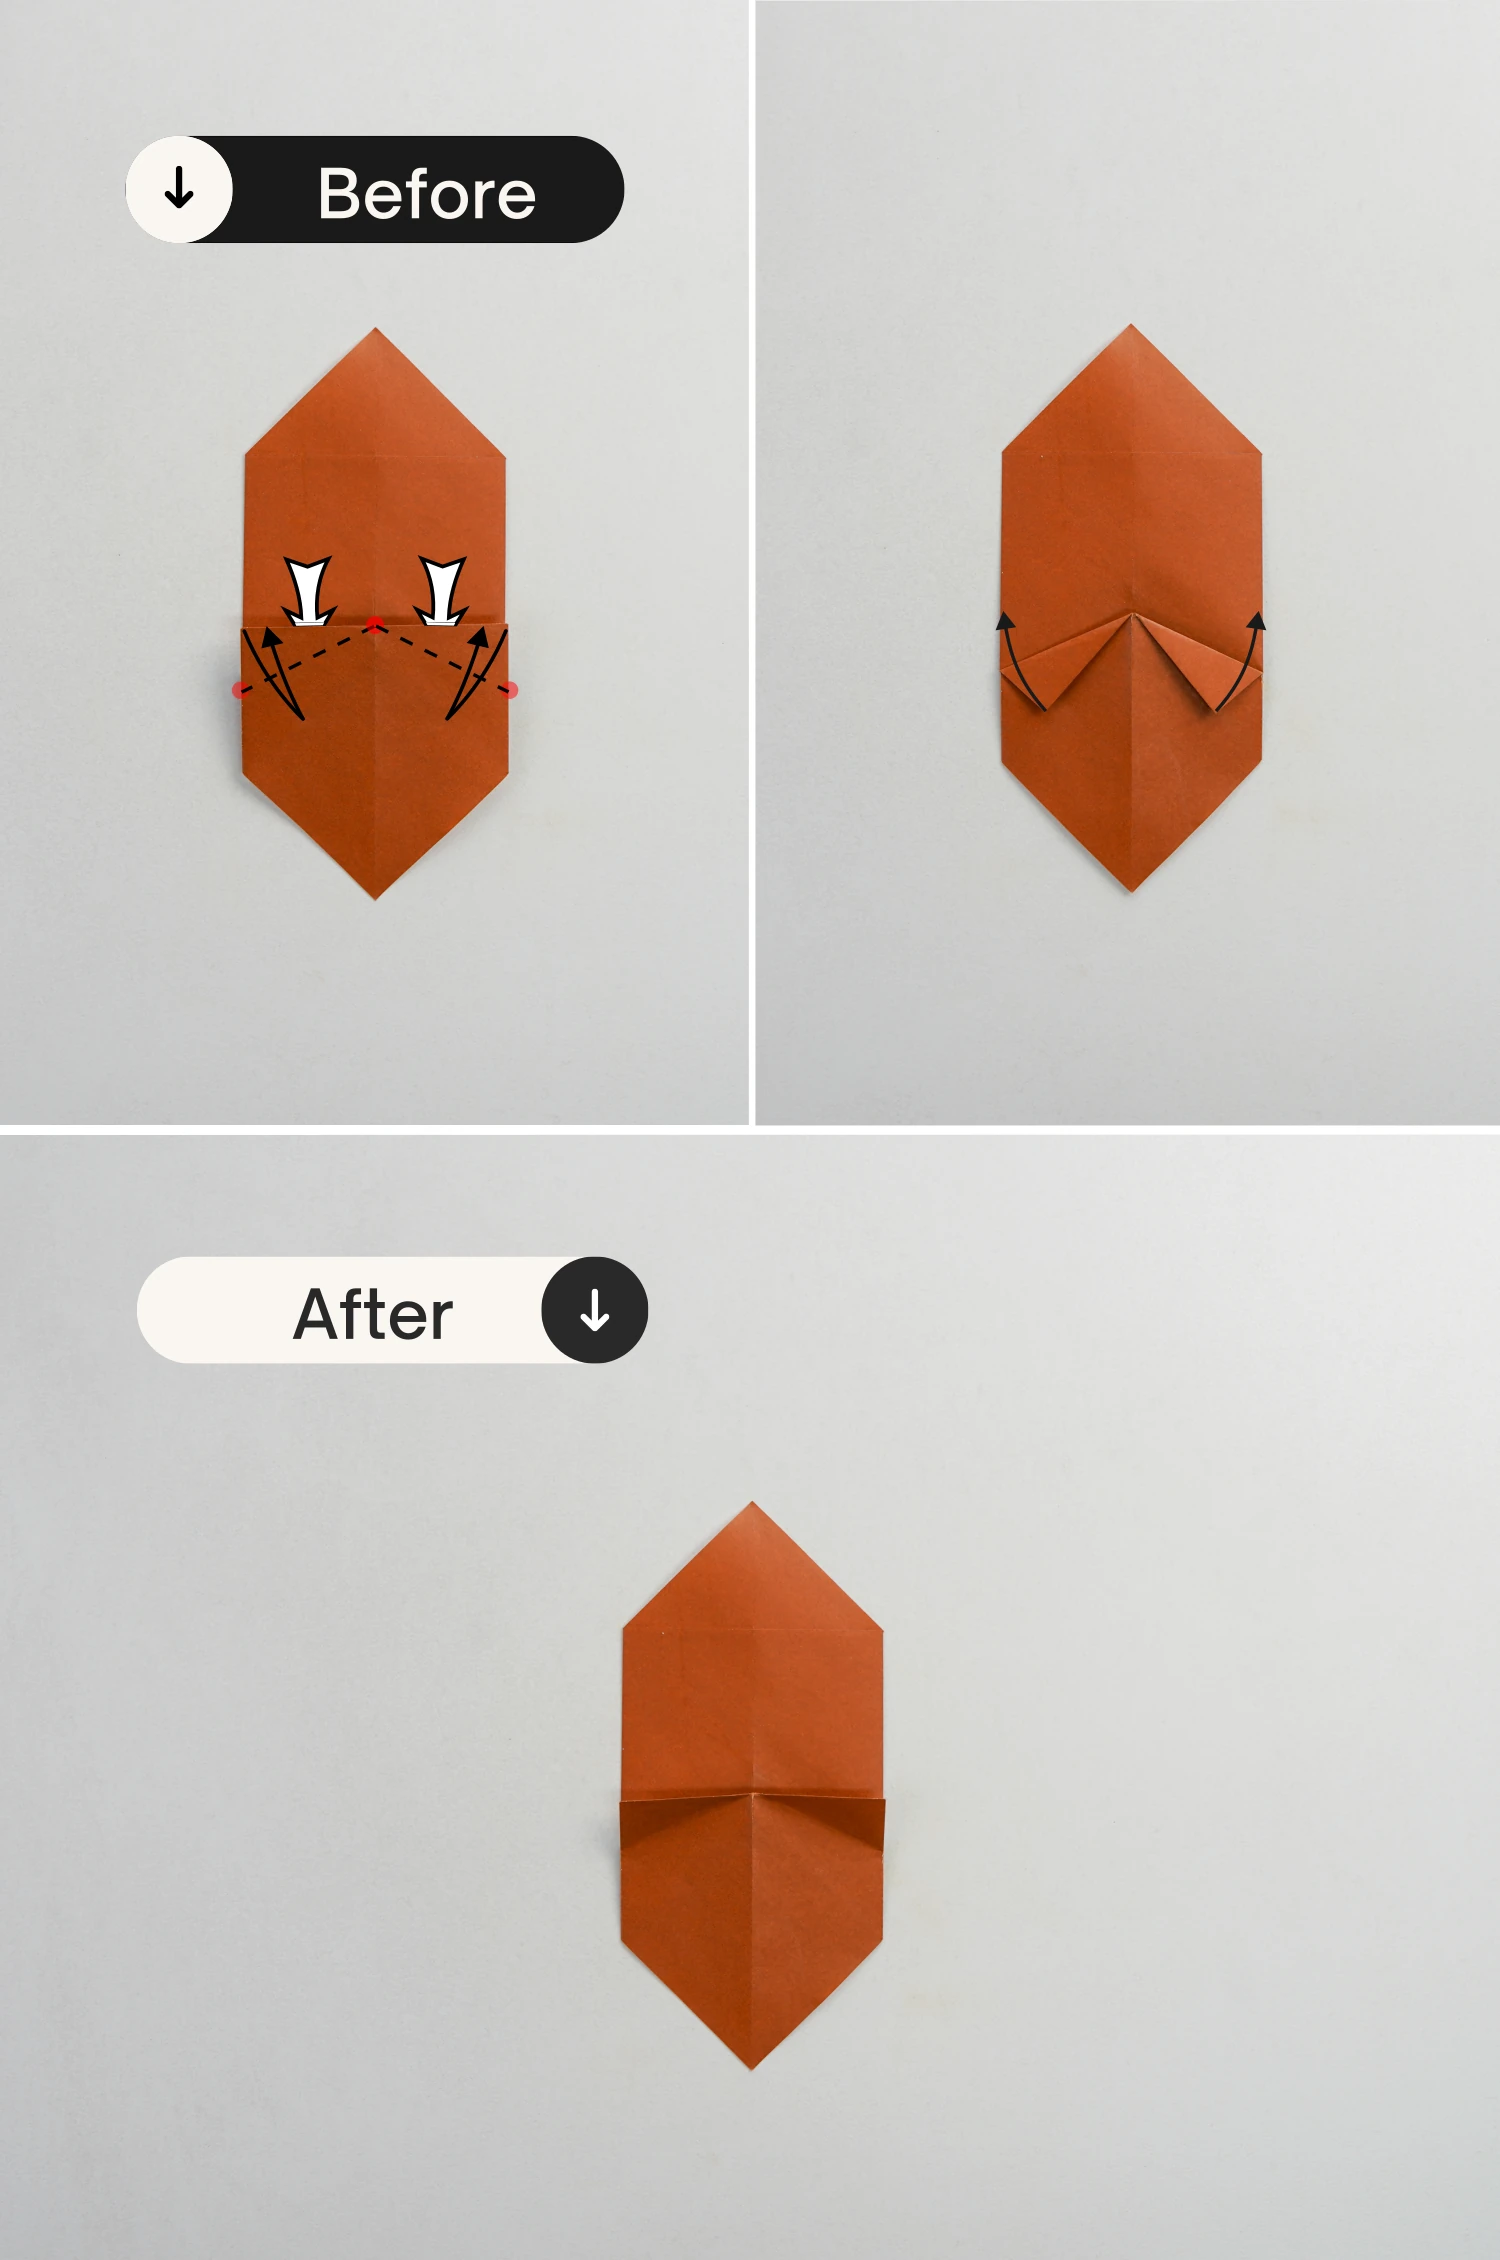
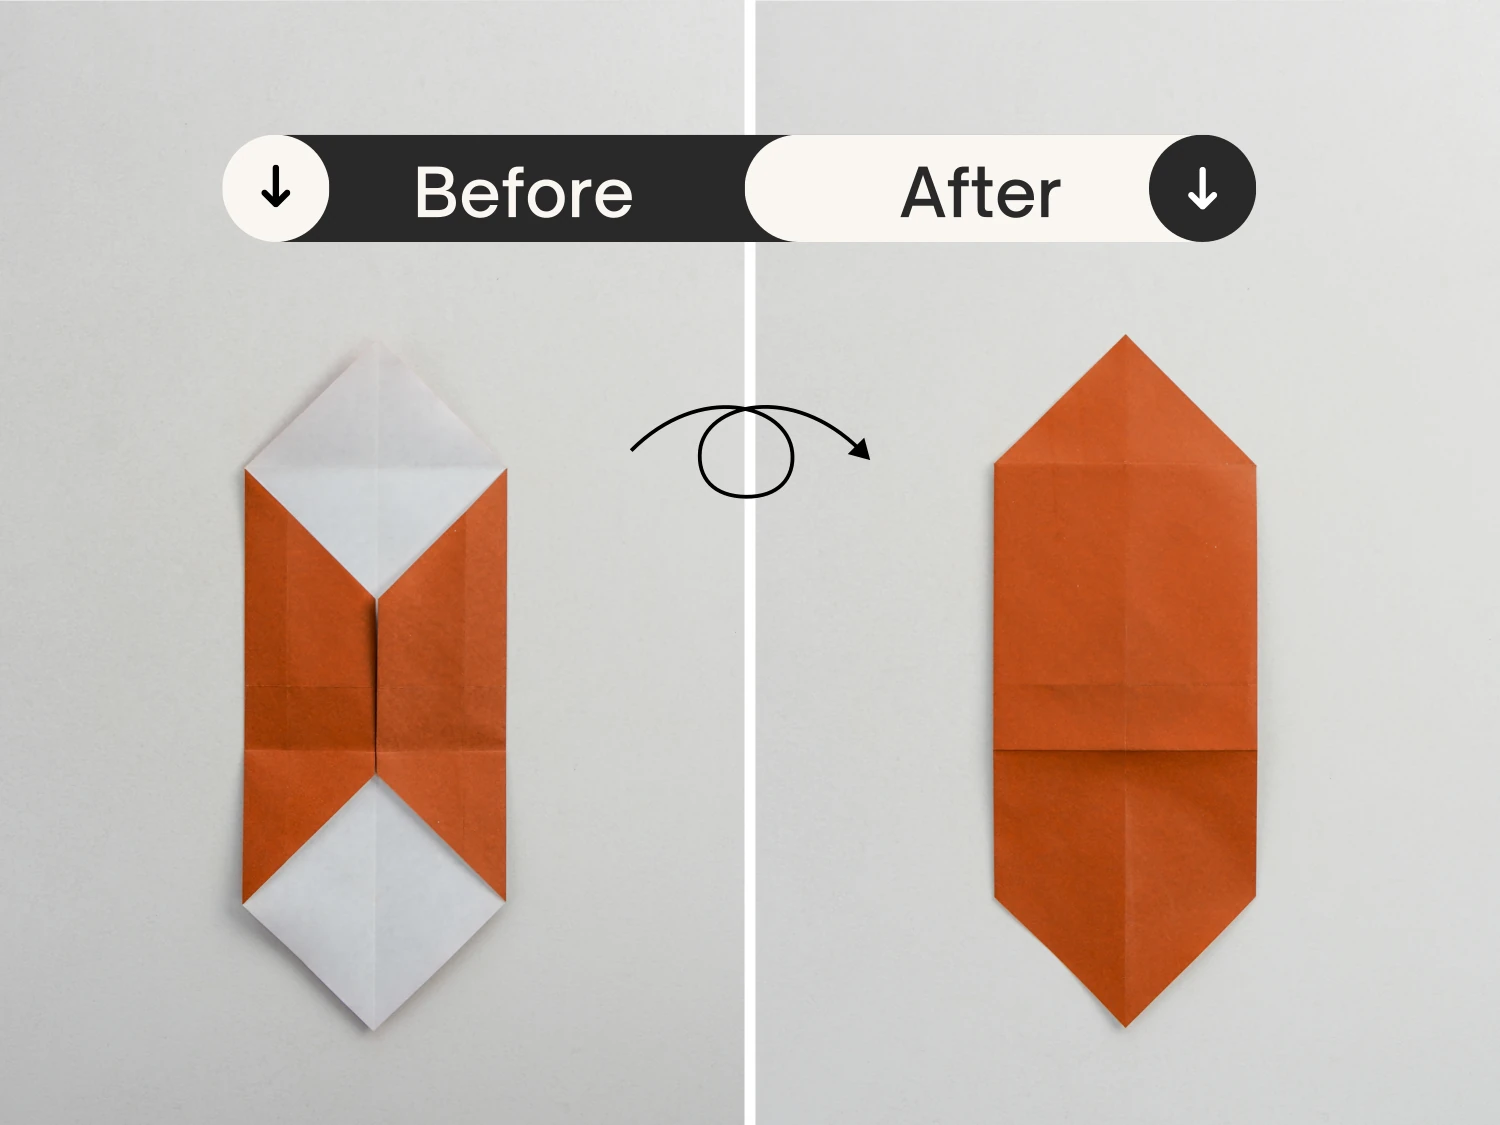
Step 12
Flip the paper over.

Step 13
Fold the right edge to the left along the middle vertical crease, then use your finger to press the top part to fix it, take the bottom part, and pull it up.
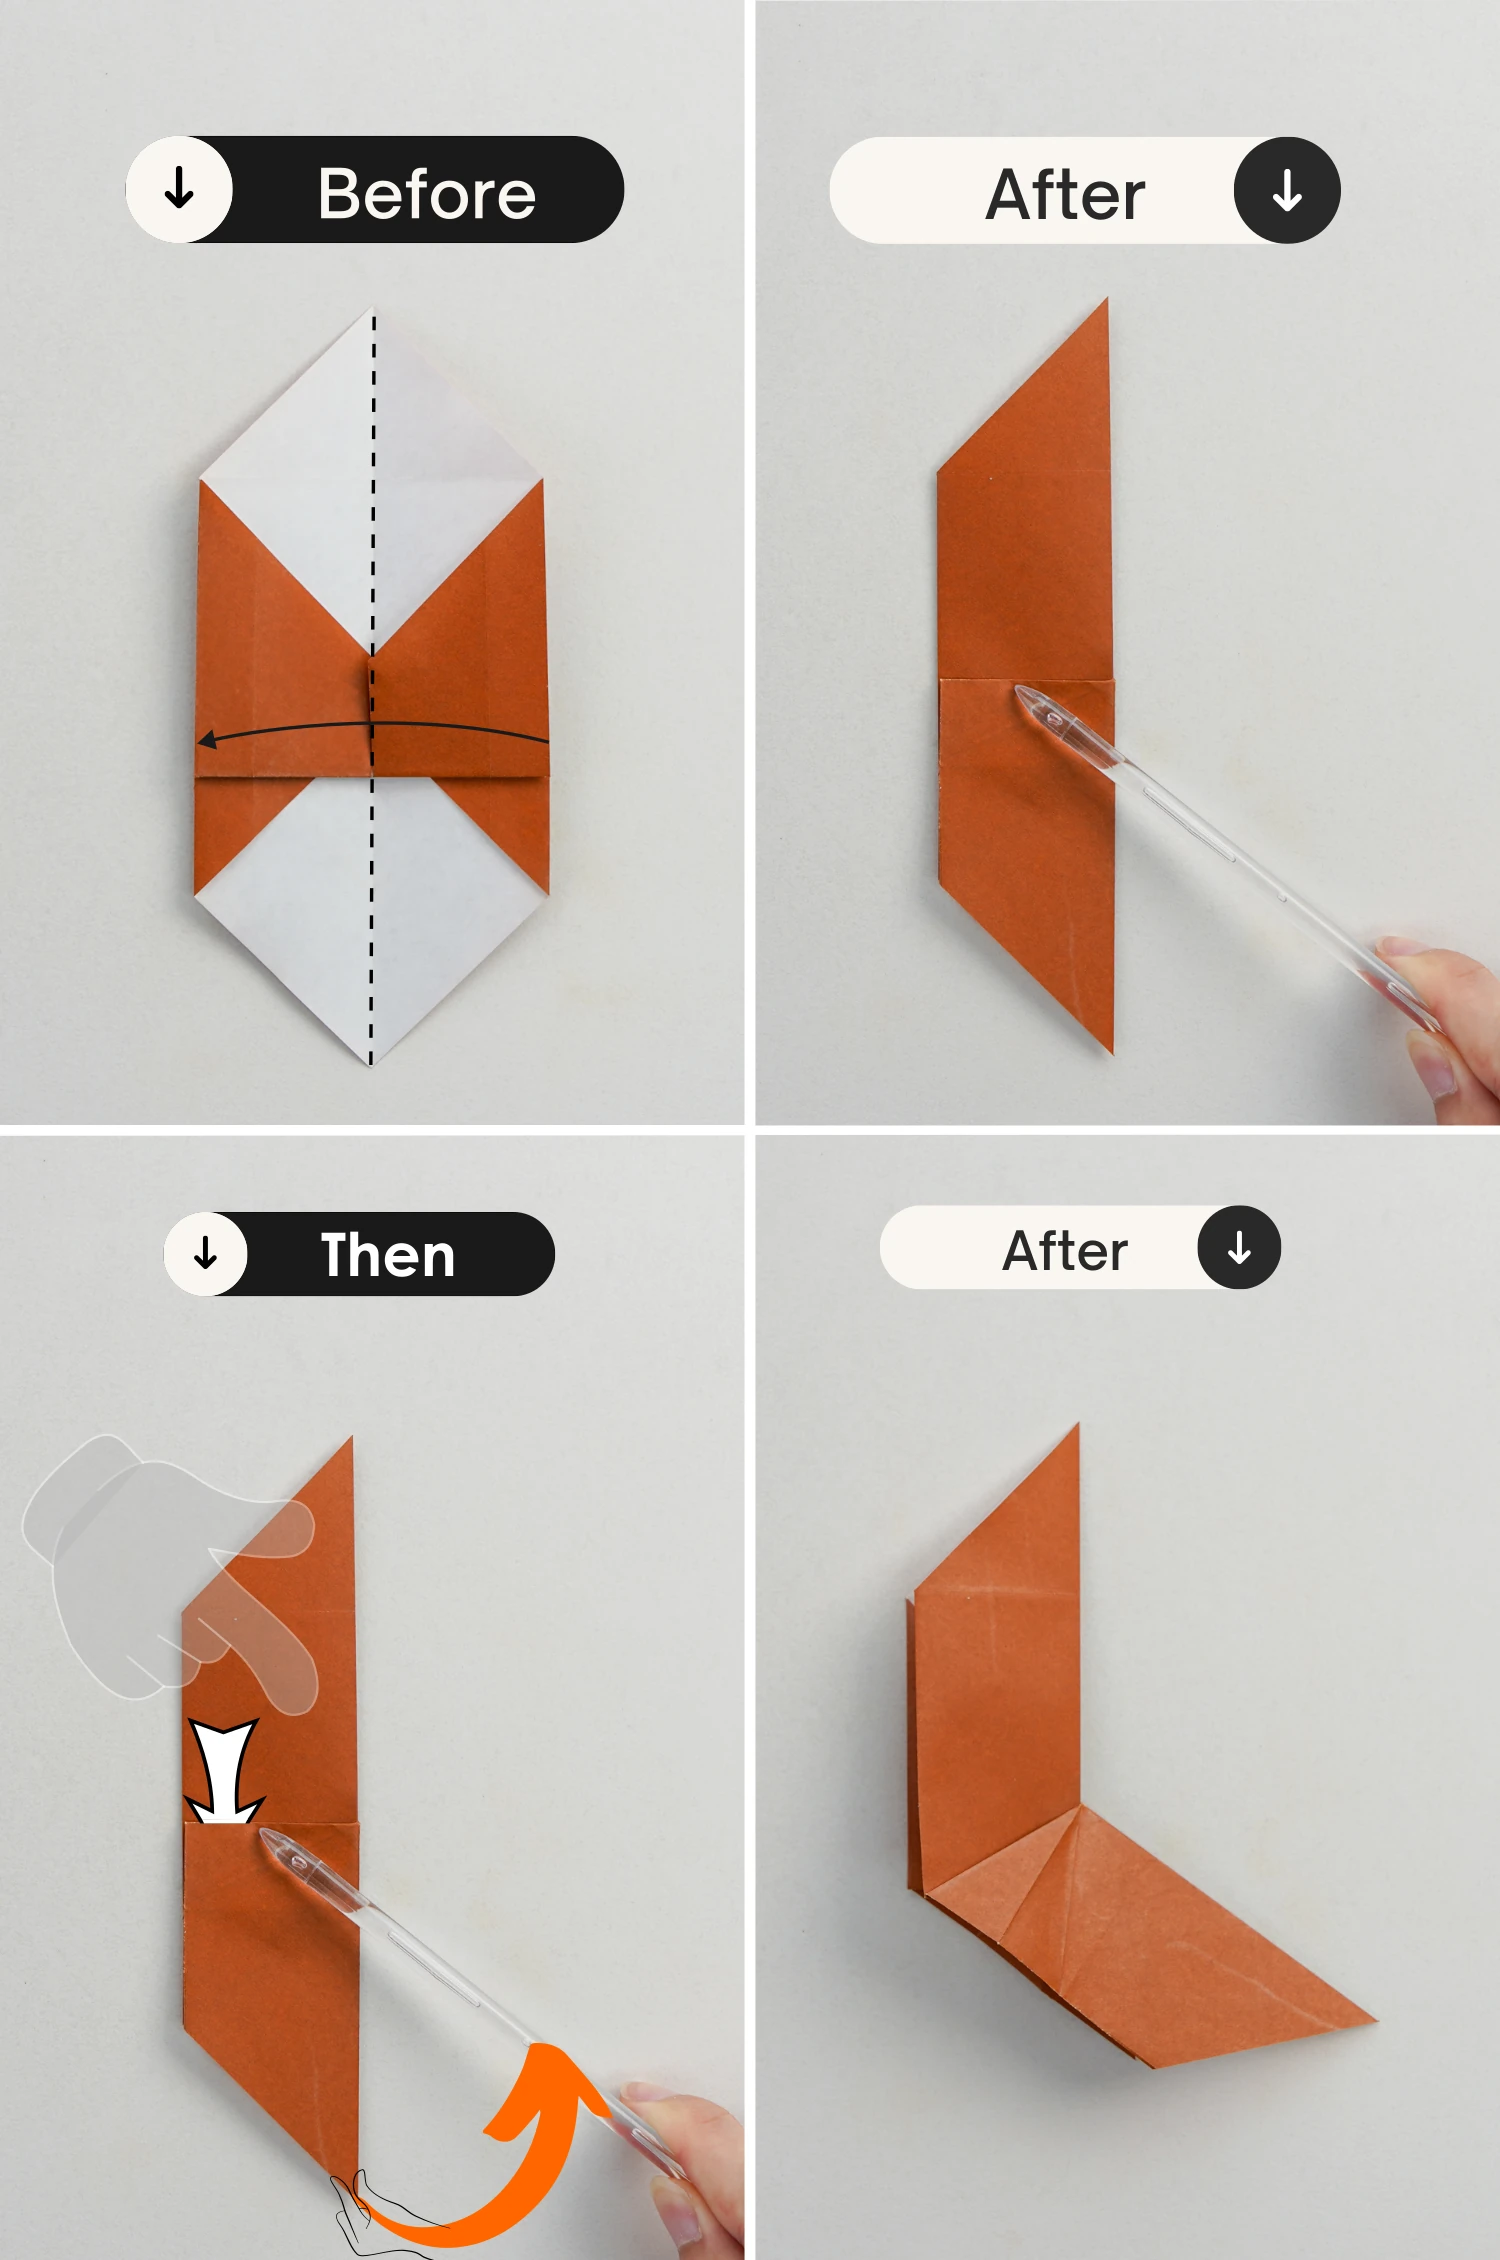
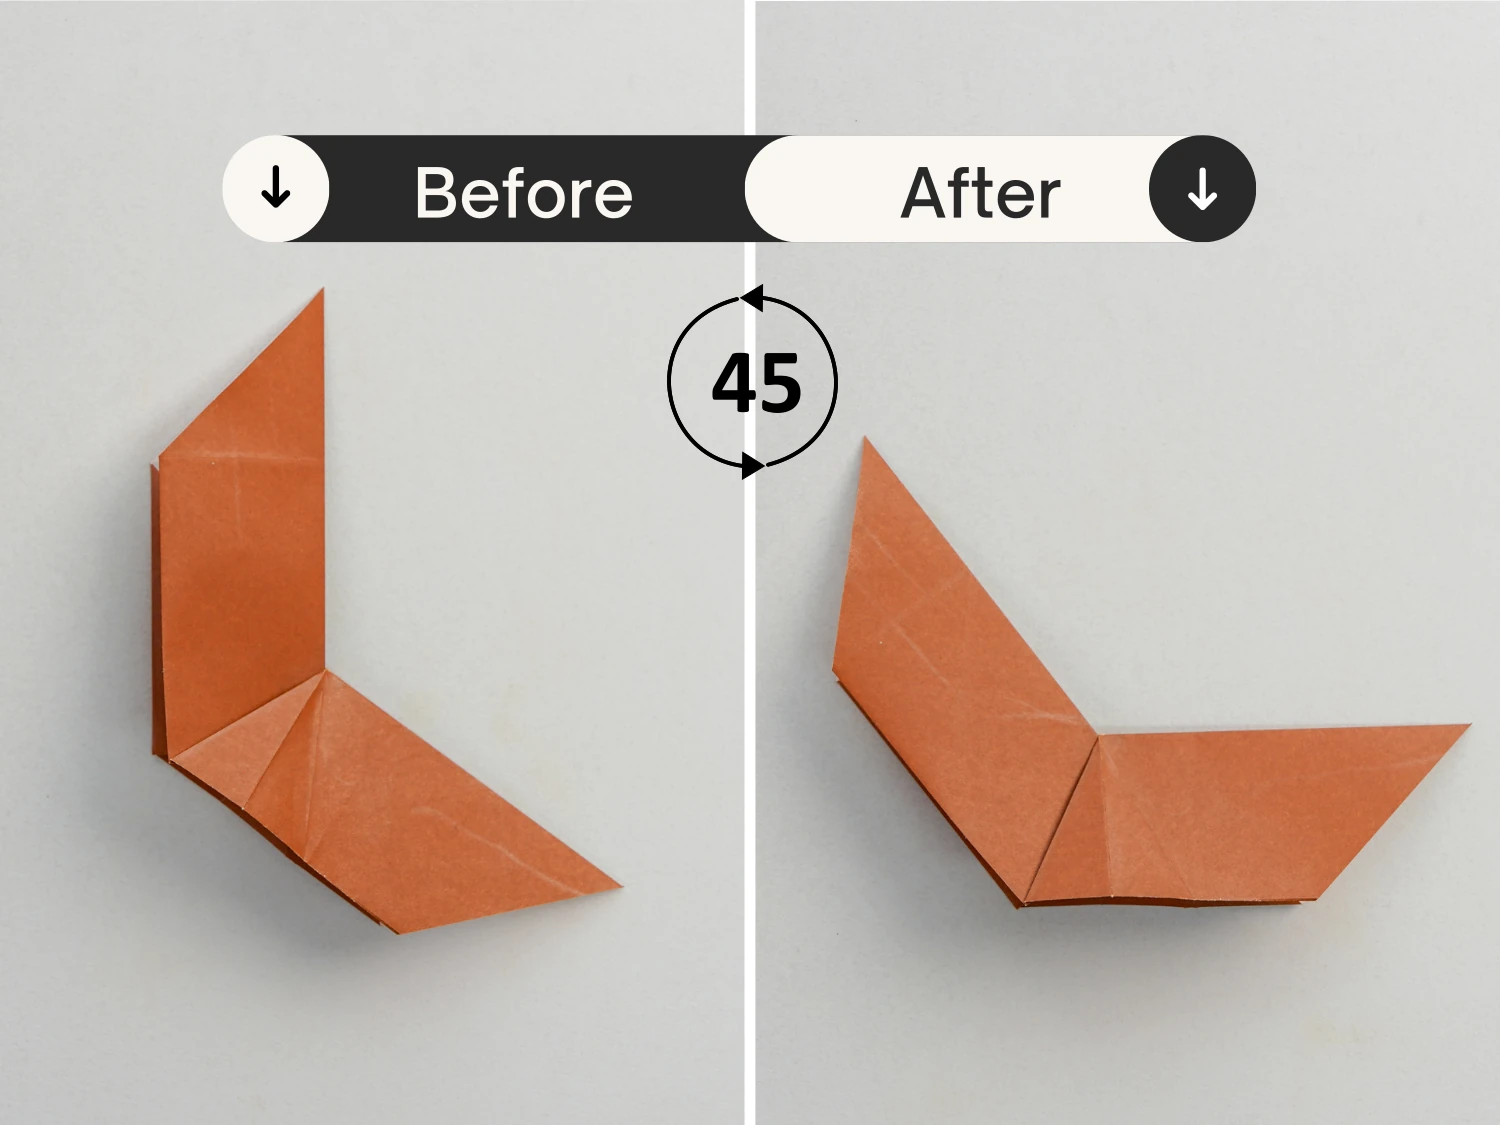
Step 14
Rotate it 45 degrees counterclockwise.
Step 15
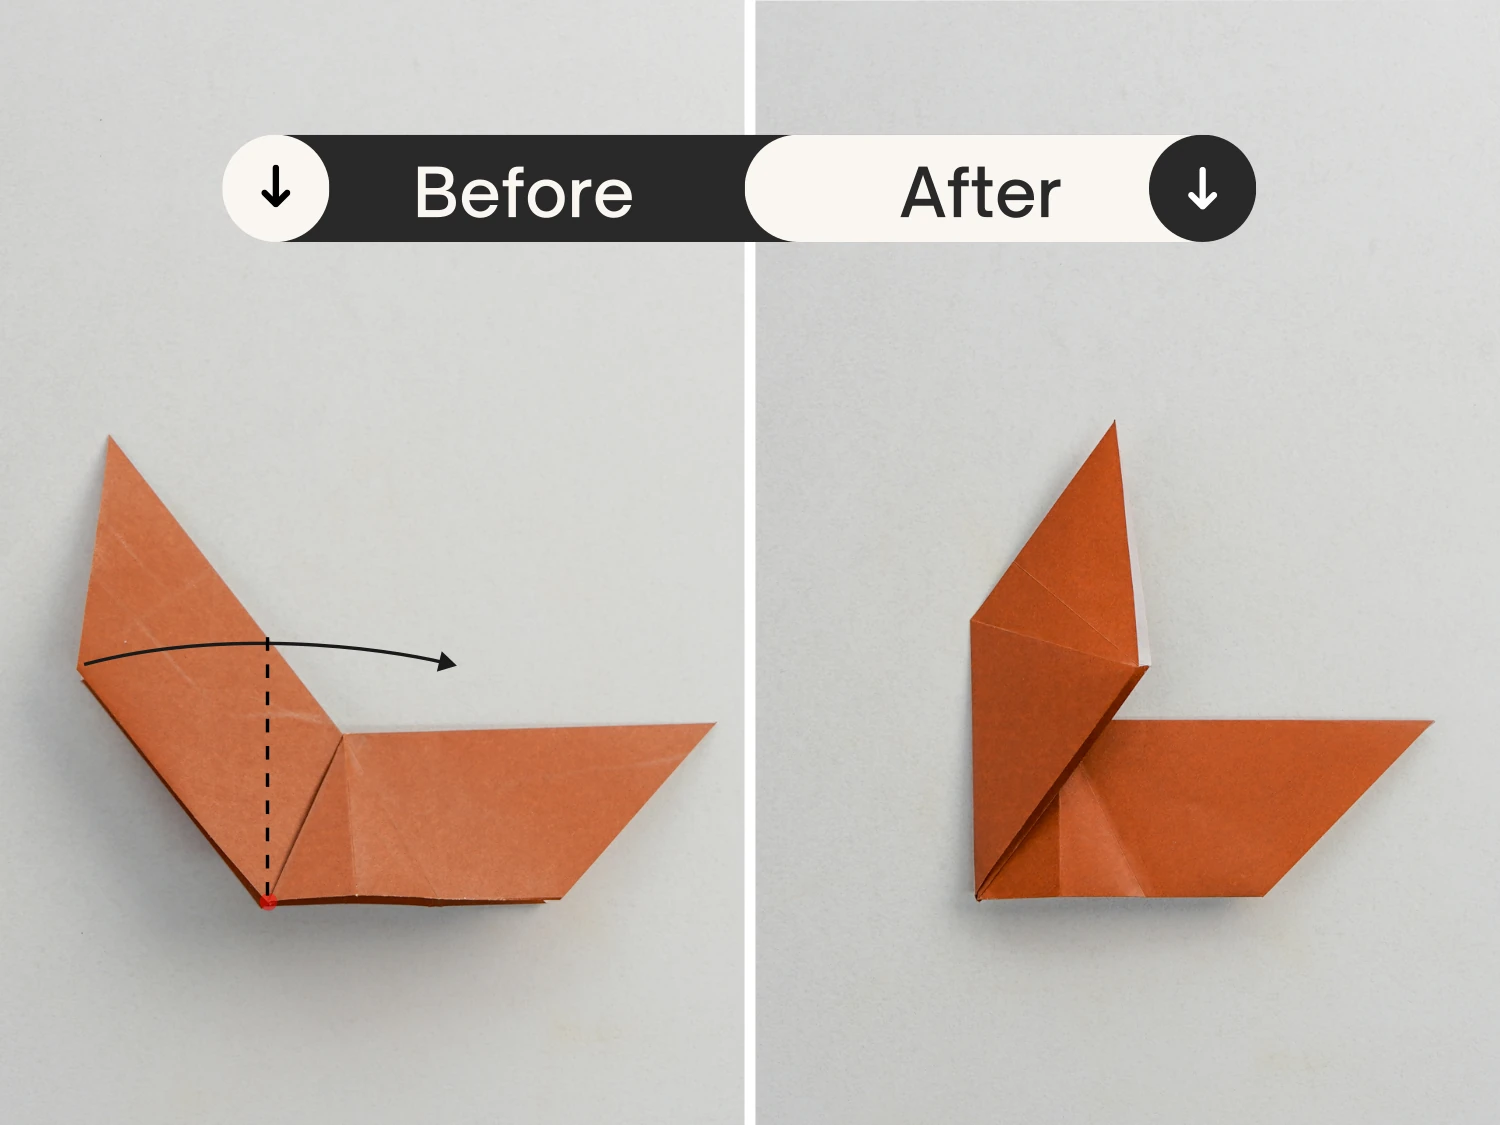
Fold the left flap to the right along the dotted line which is perpendicular to the bottom edge.
Step 16
Take the top layer of the left flap, fold it to the left, then press the top point down.
Step 17
Flip the paper over.
Step 18
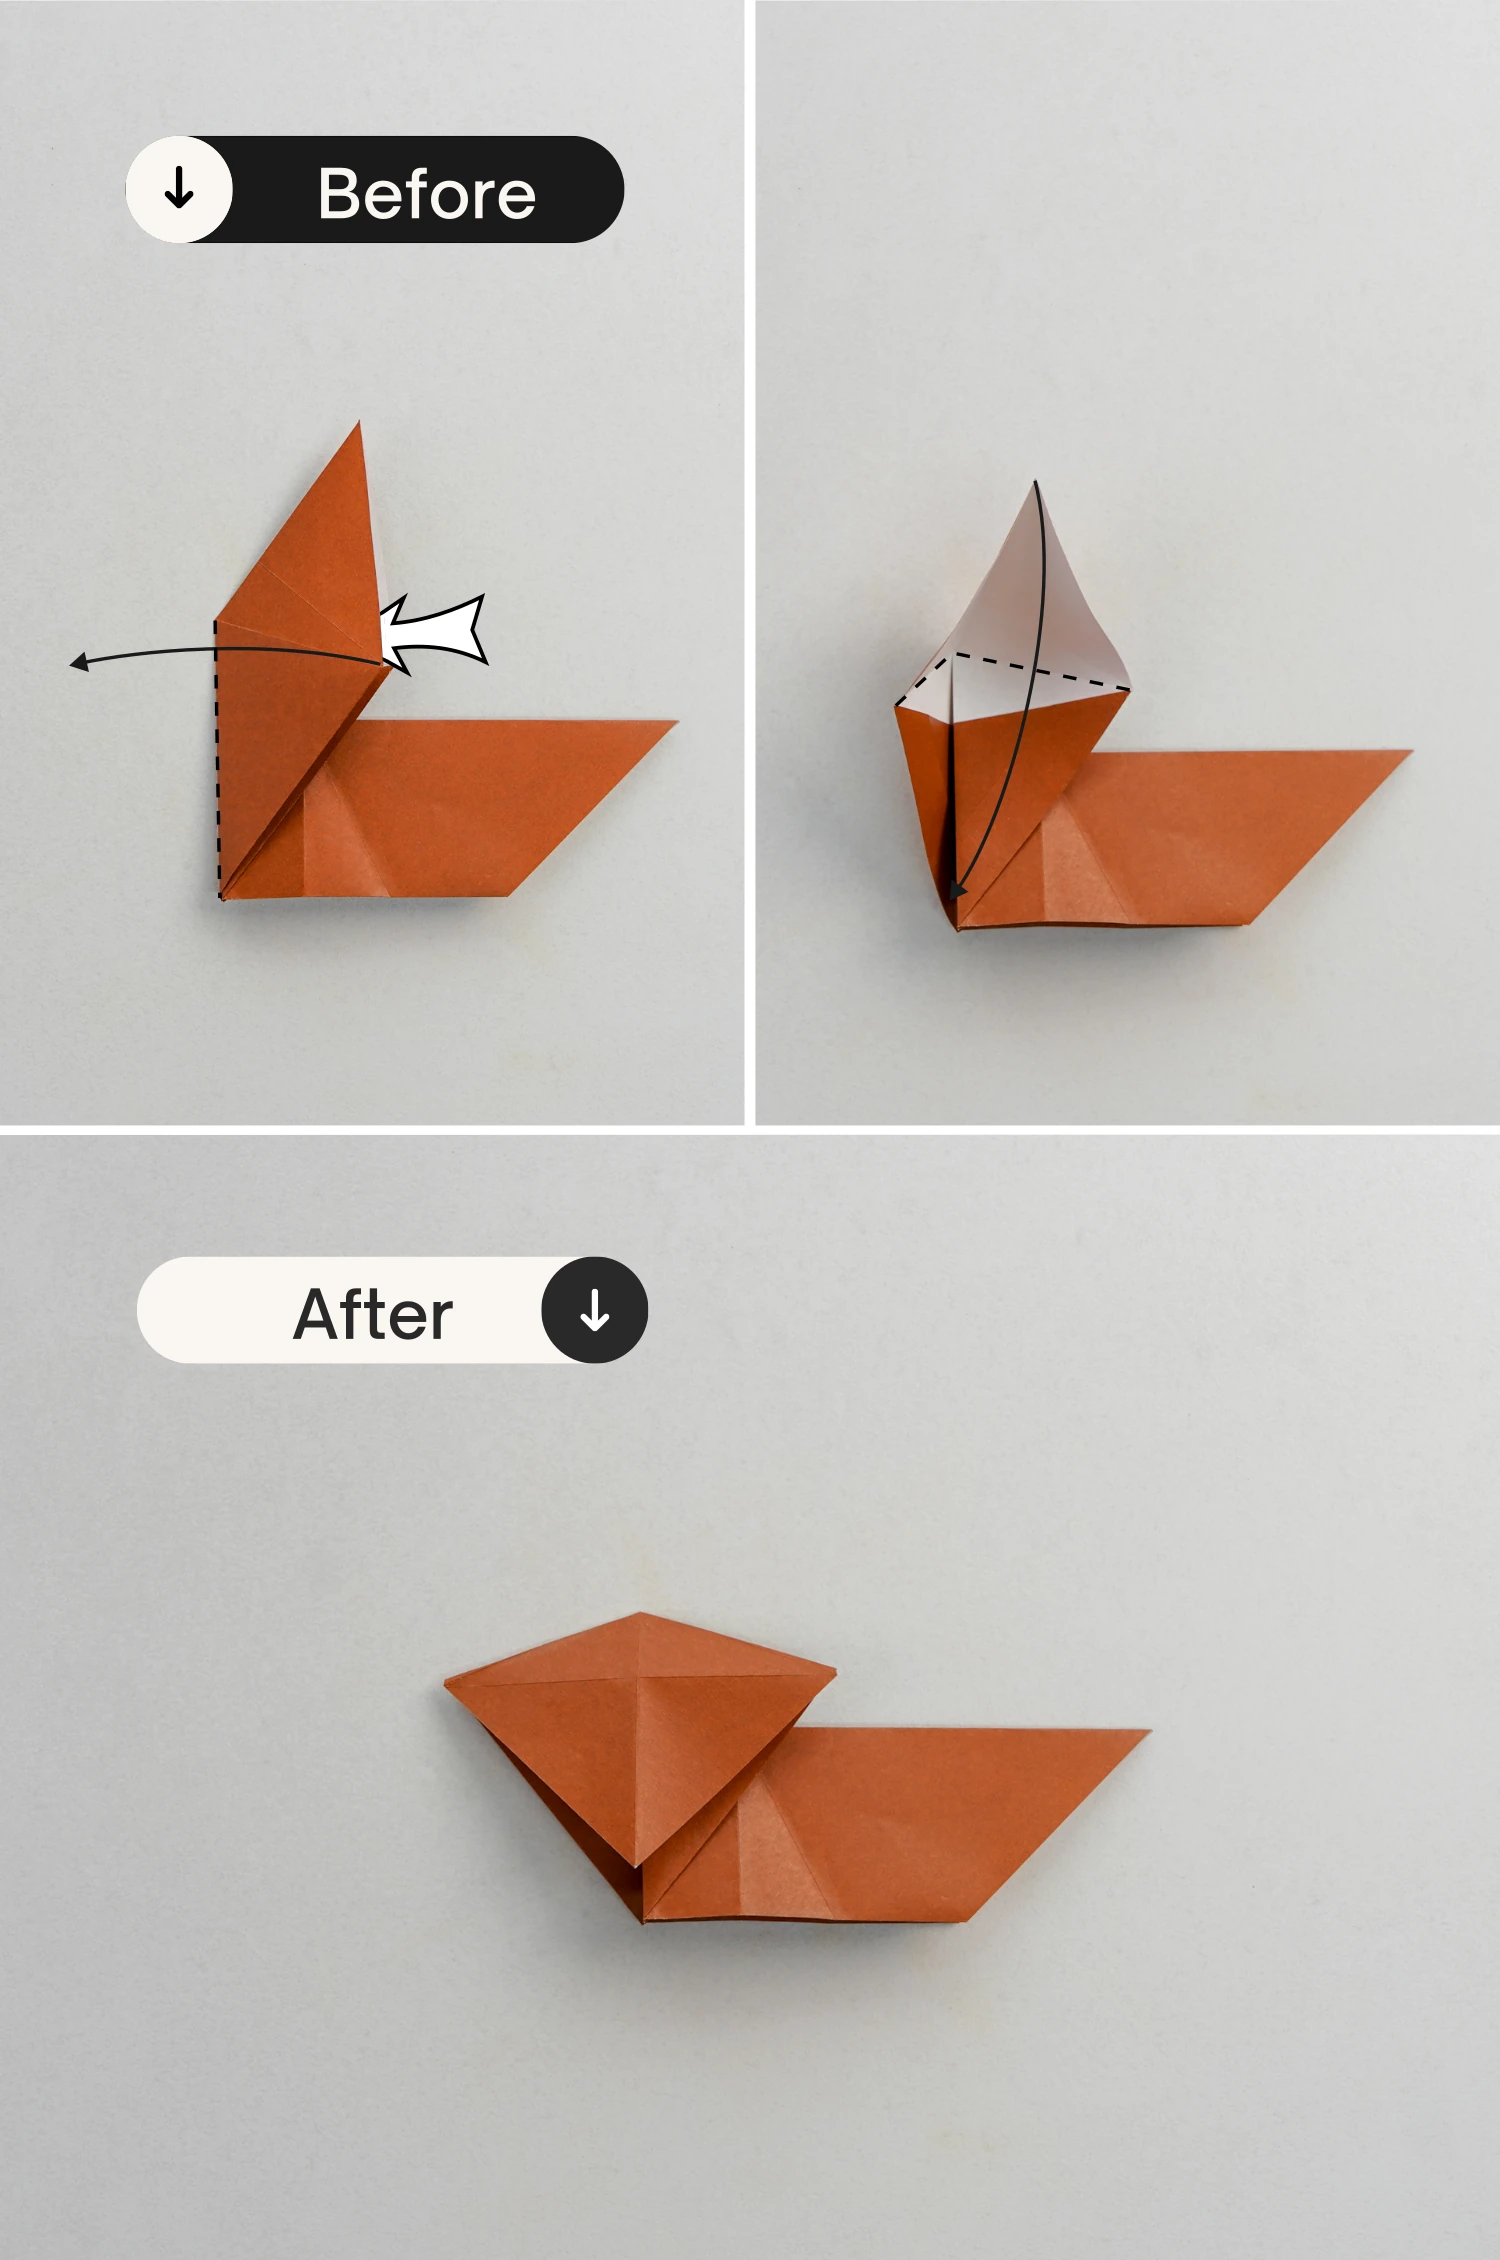
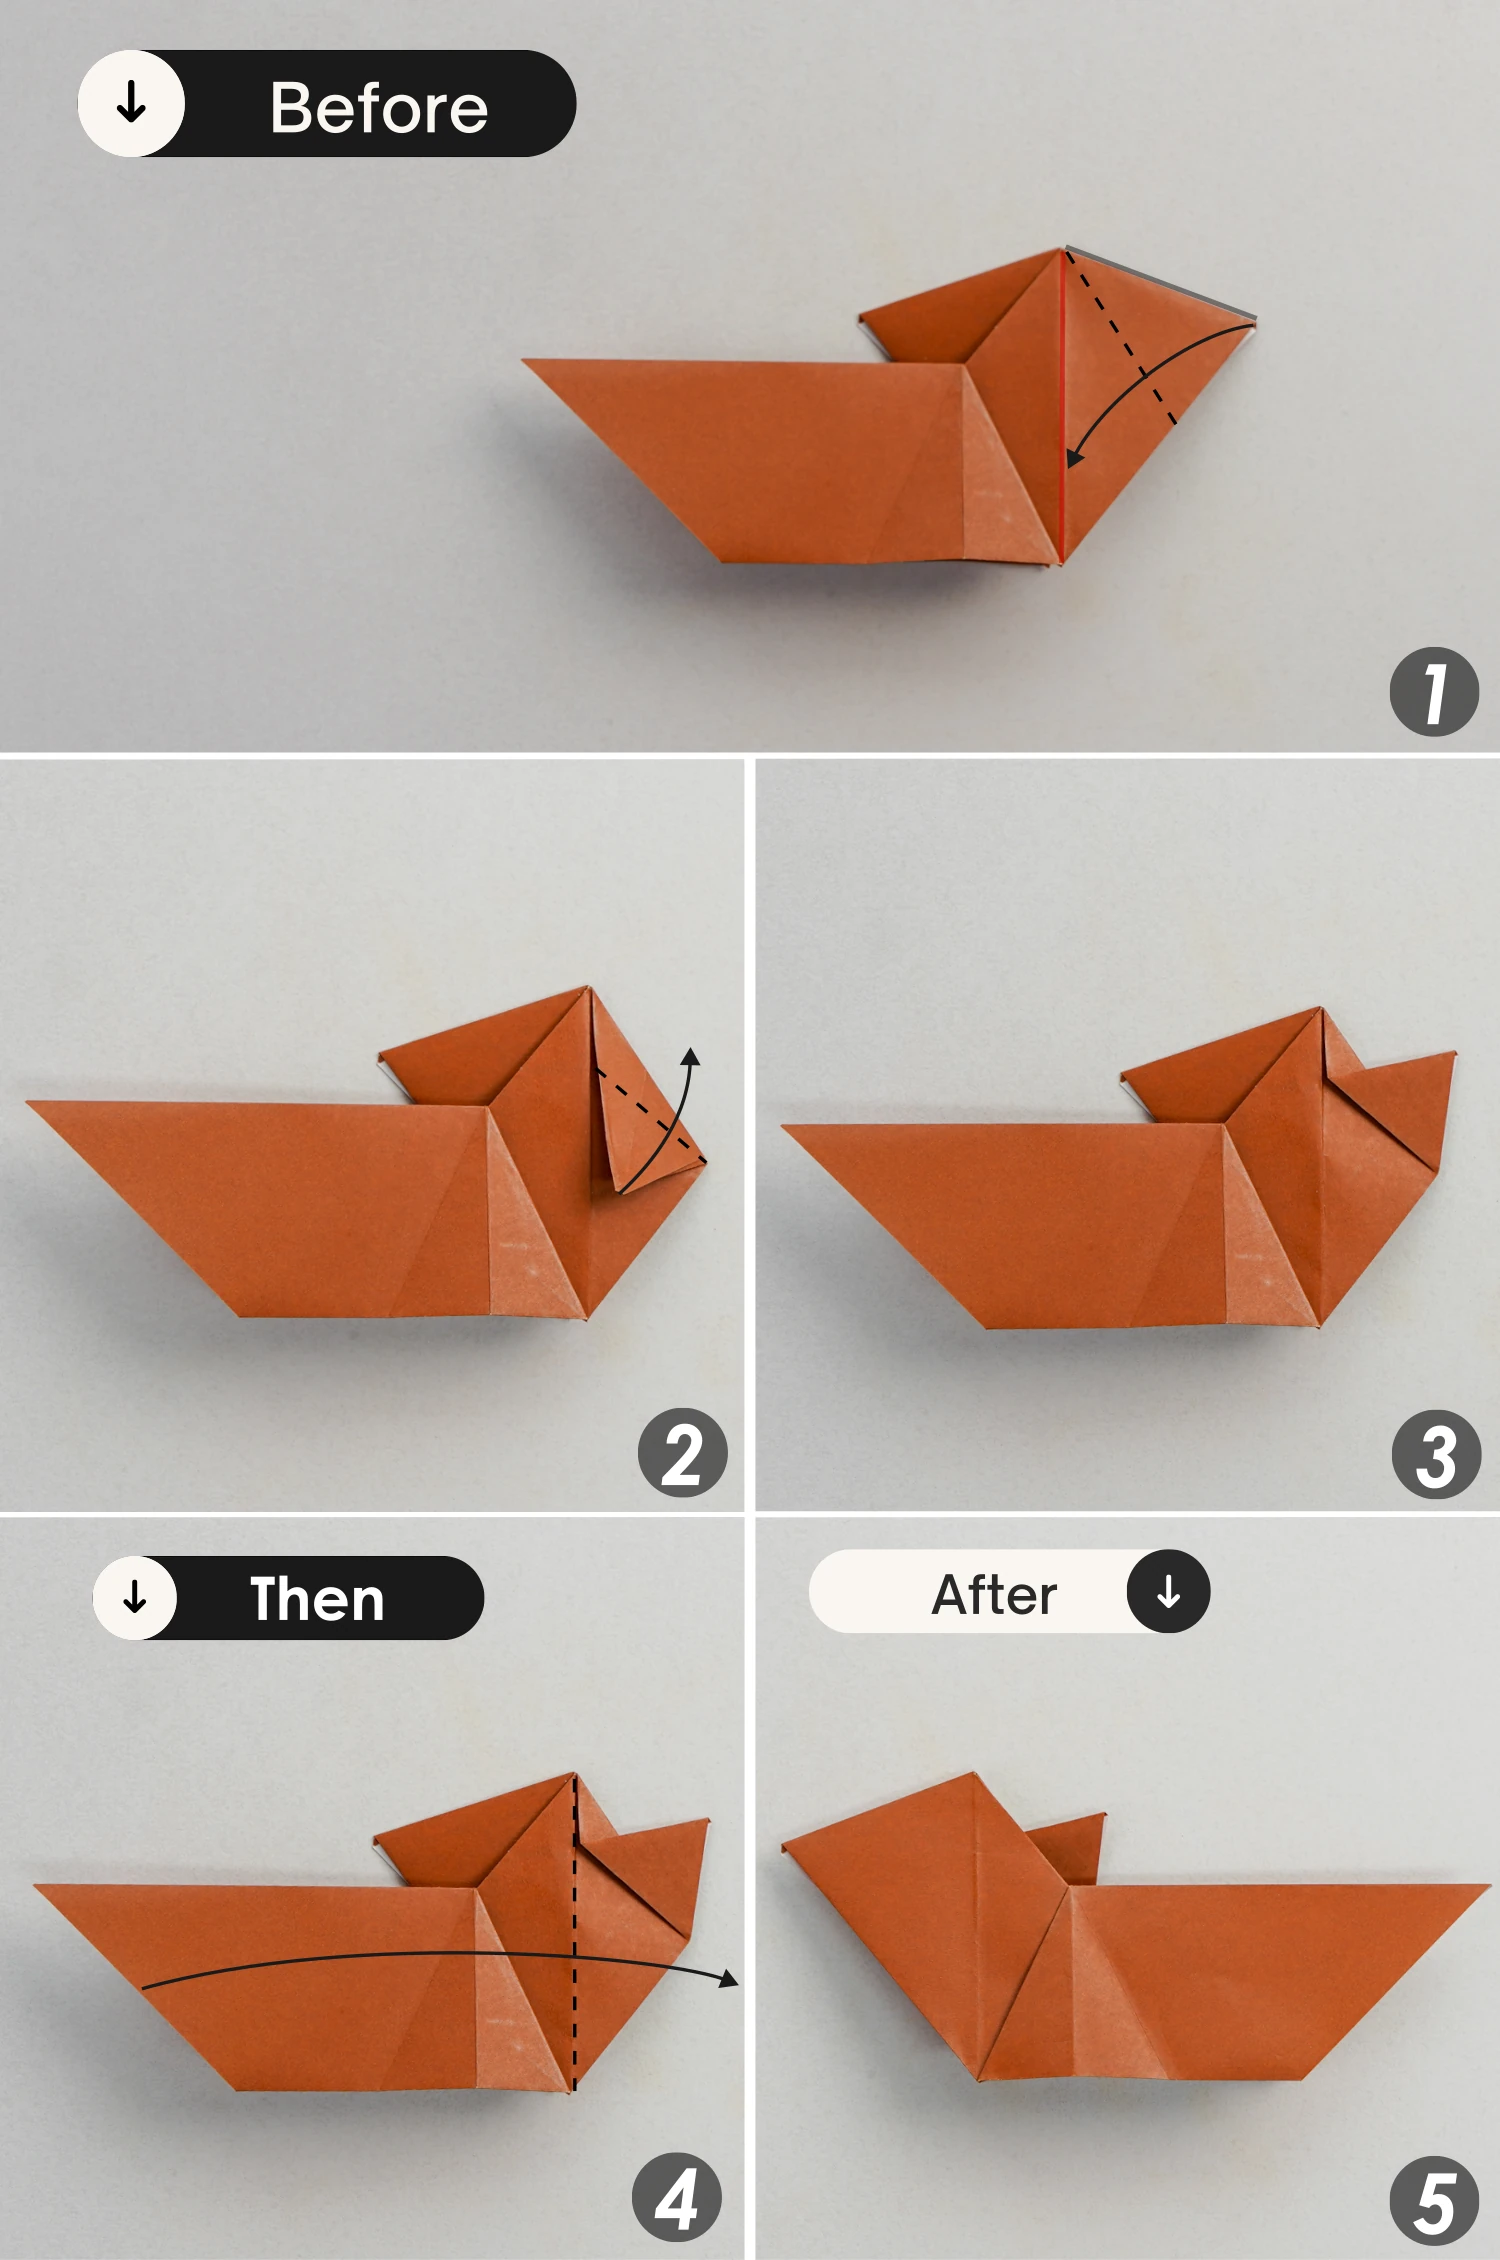
Firstly, fold the top right edge down to align with the vertical crease, then fold the bottom corner of the flap you just made up along the dotted line, as the second and third pictures show.
Then fold the left part to the right along the crease shown by the dotted line as the last two pictures show.
Step 19
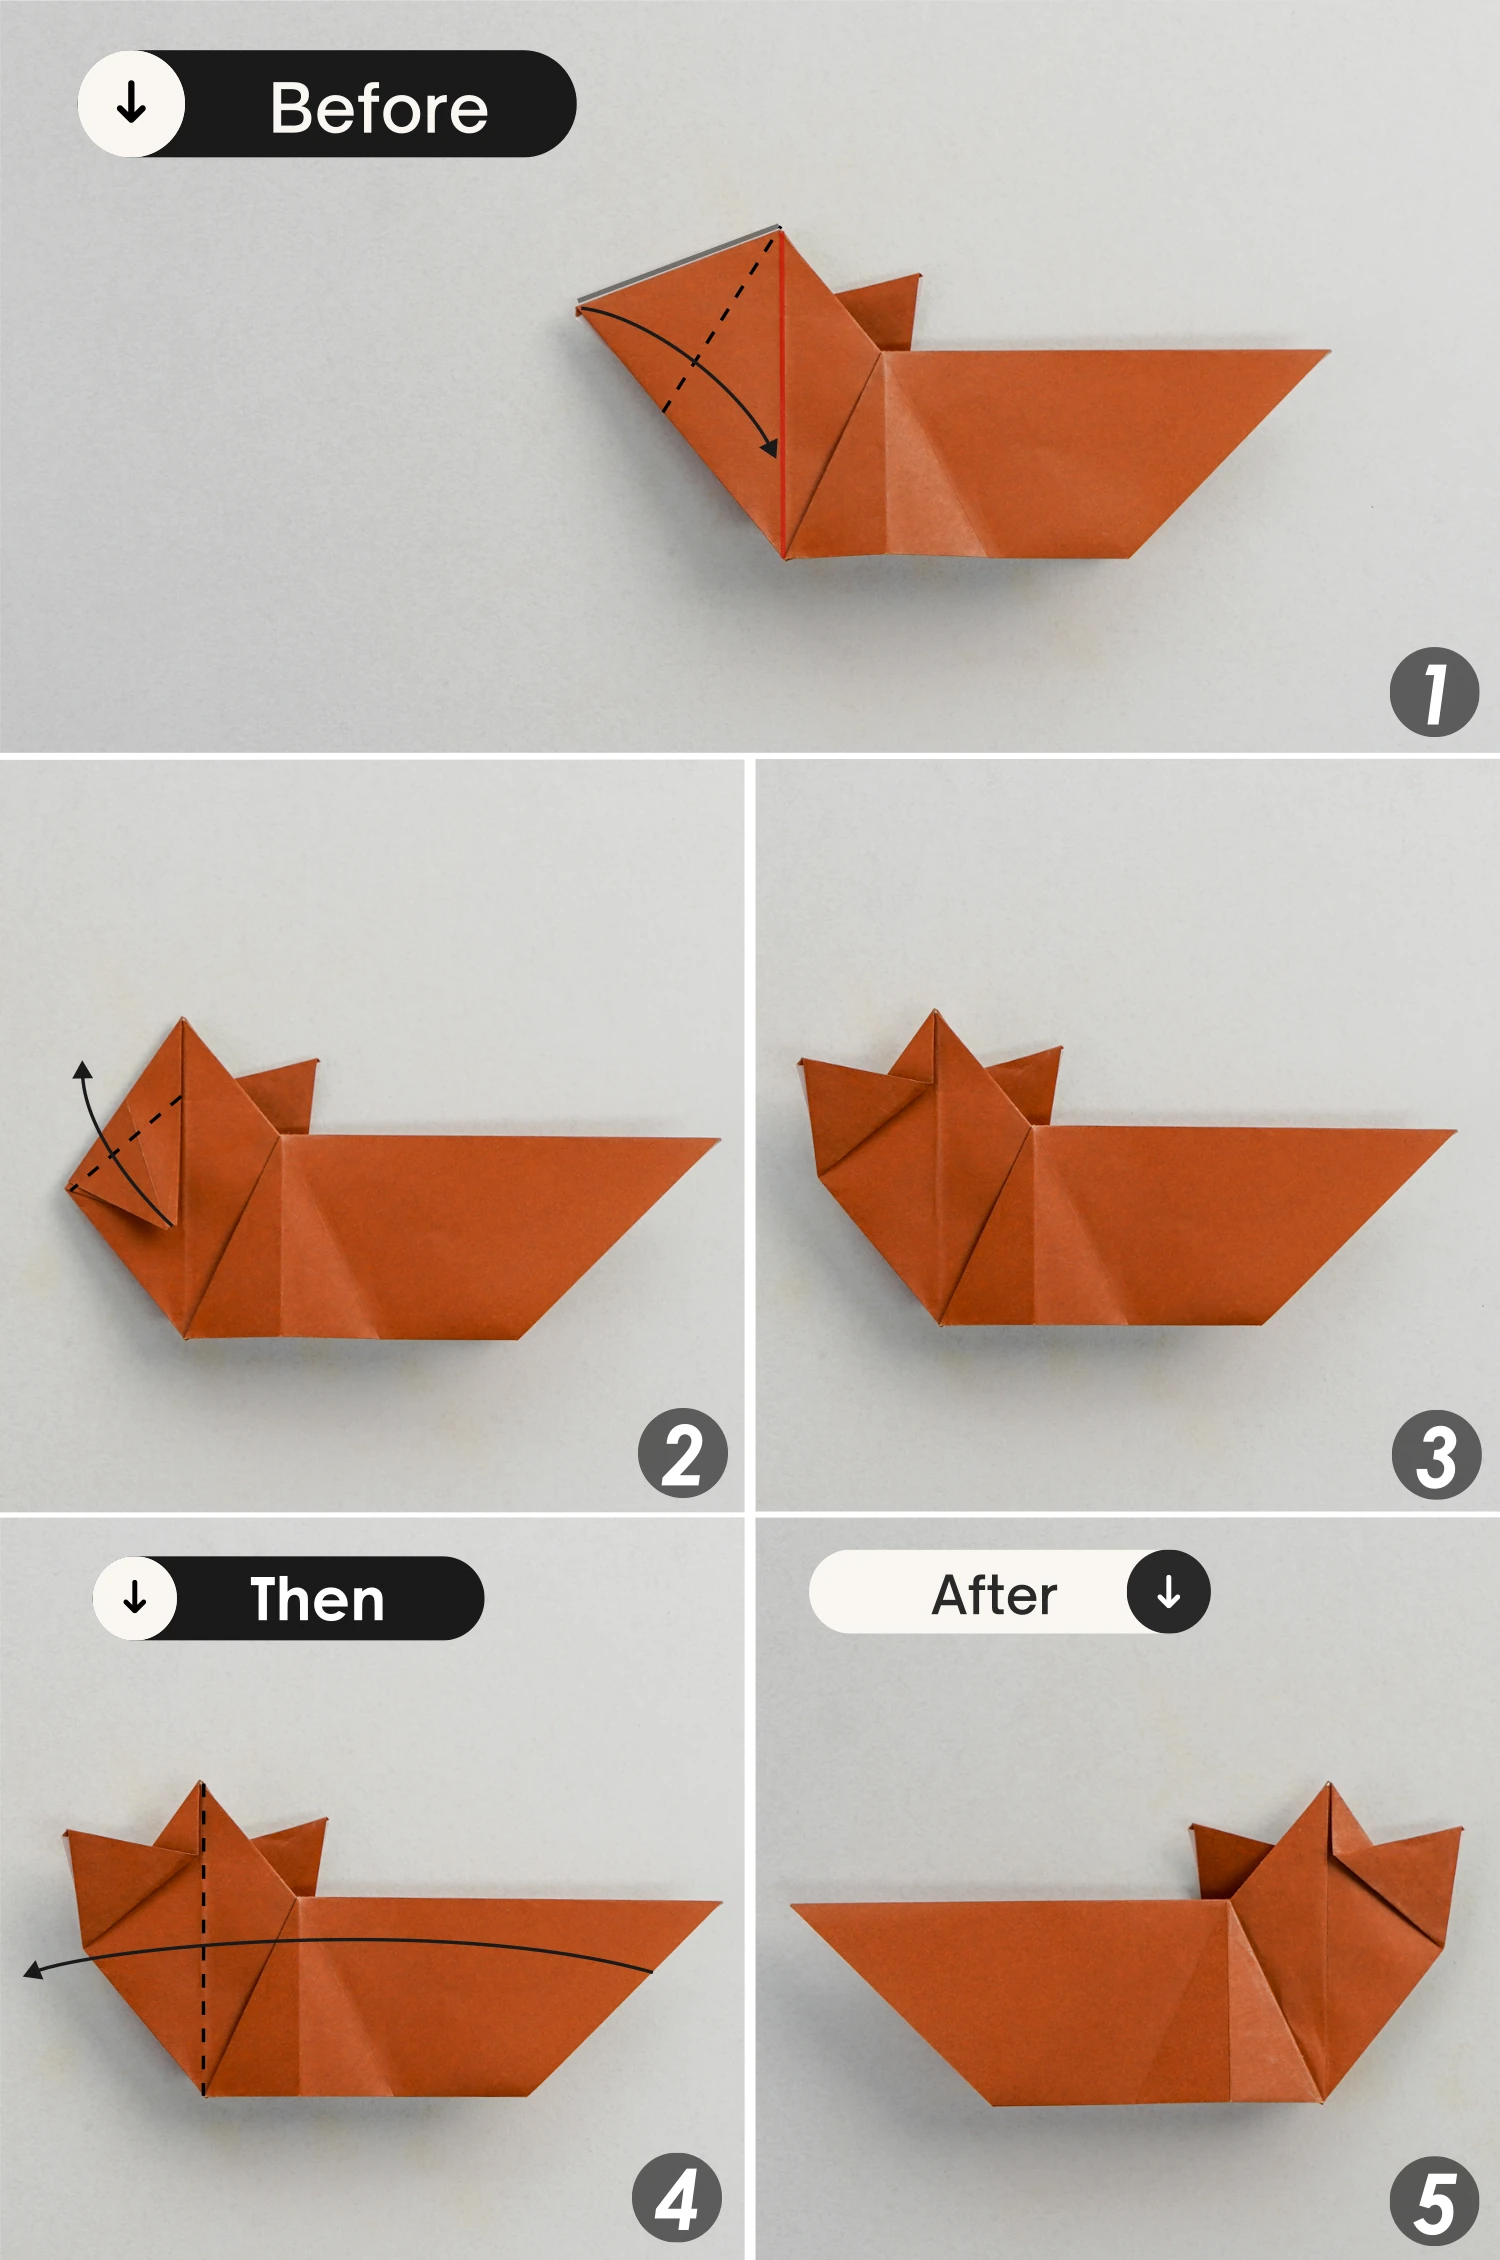
Now focus on the left flap, fold the top edge down to align with the vertical crease shown by the red line, then fold the bottom corner of the flap you just made up along the dotted line.
Then fold the right part to the left along the dotted line as the last two pictures show.
Step 20
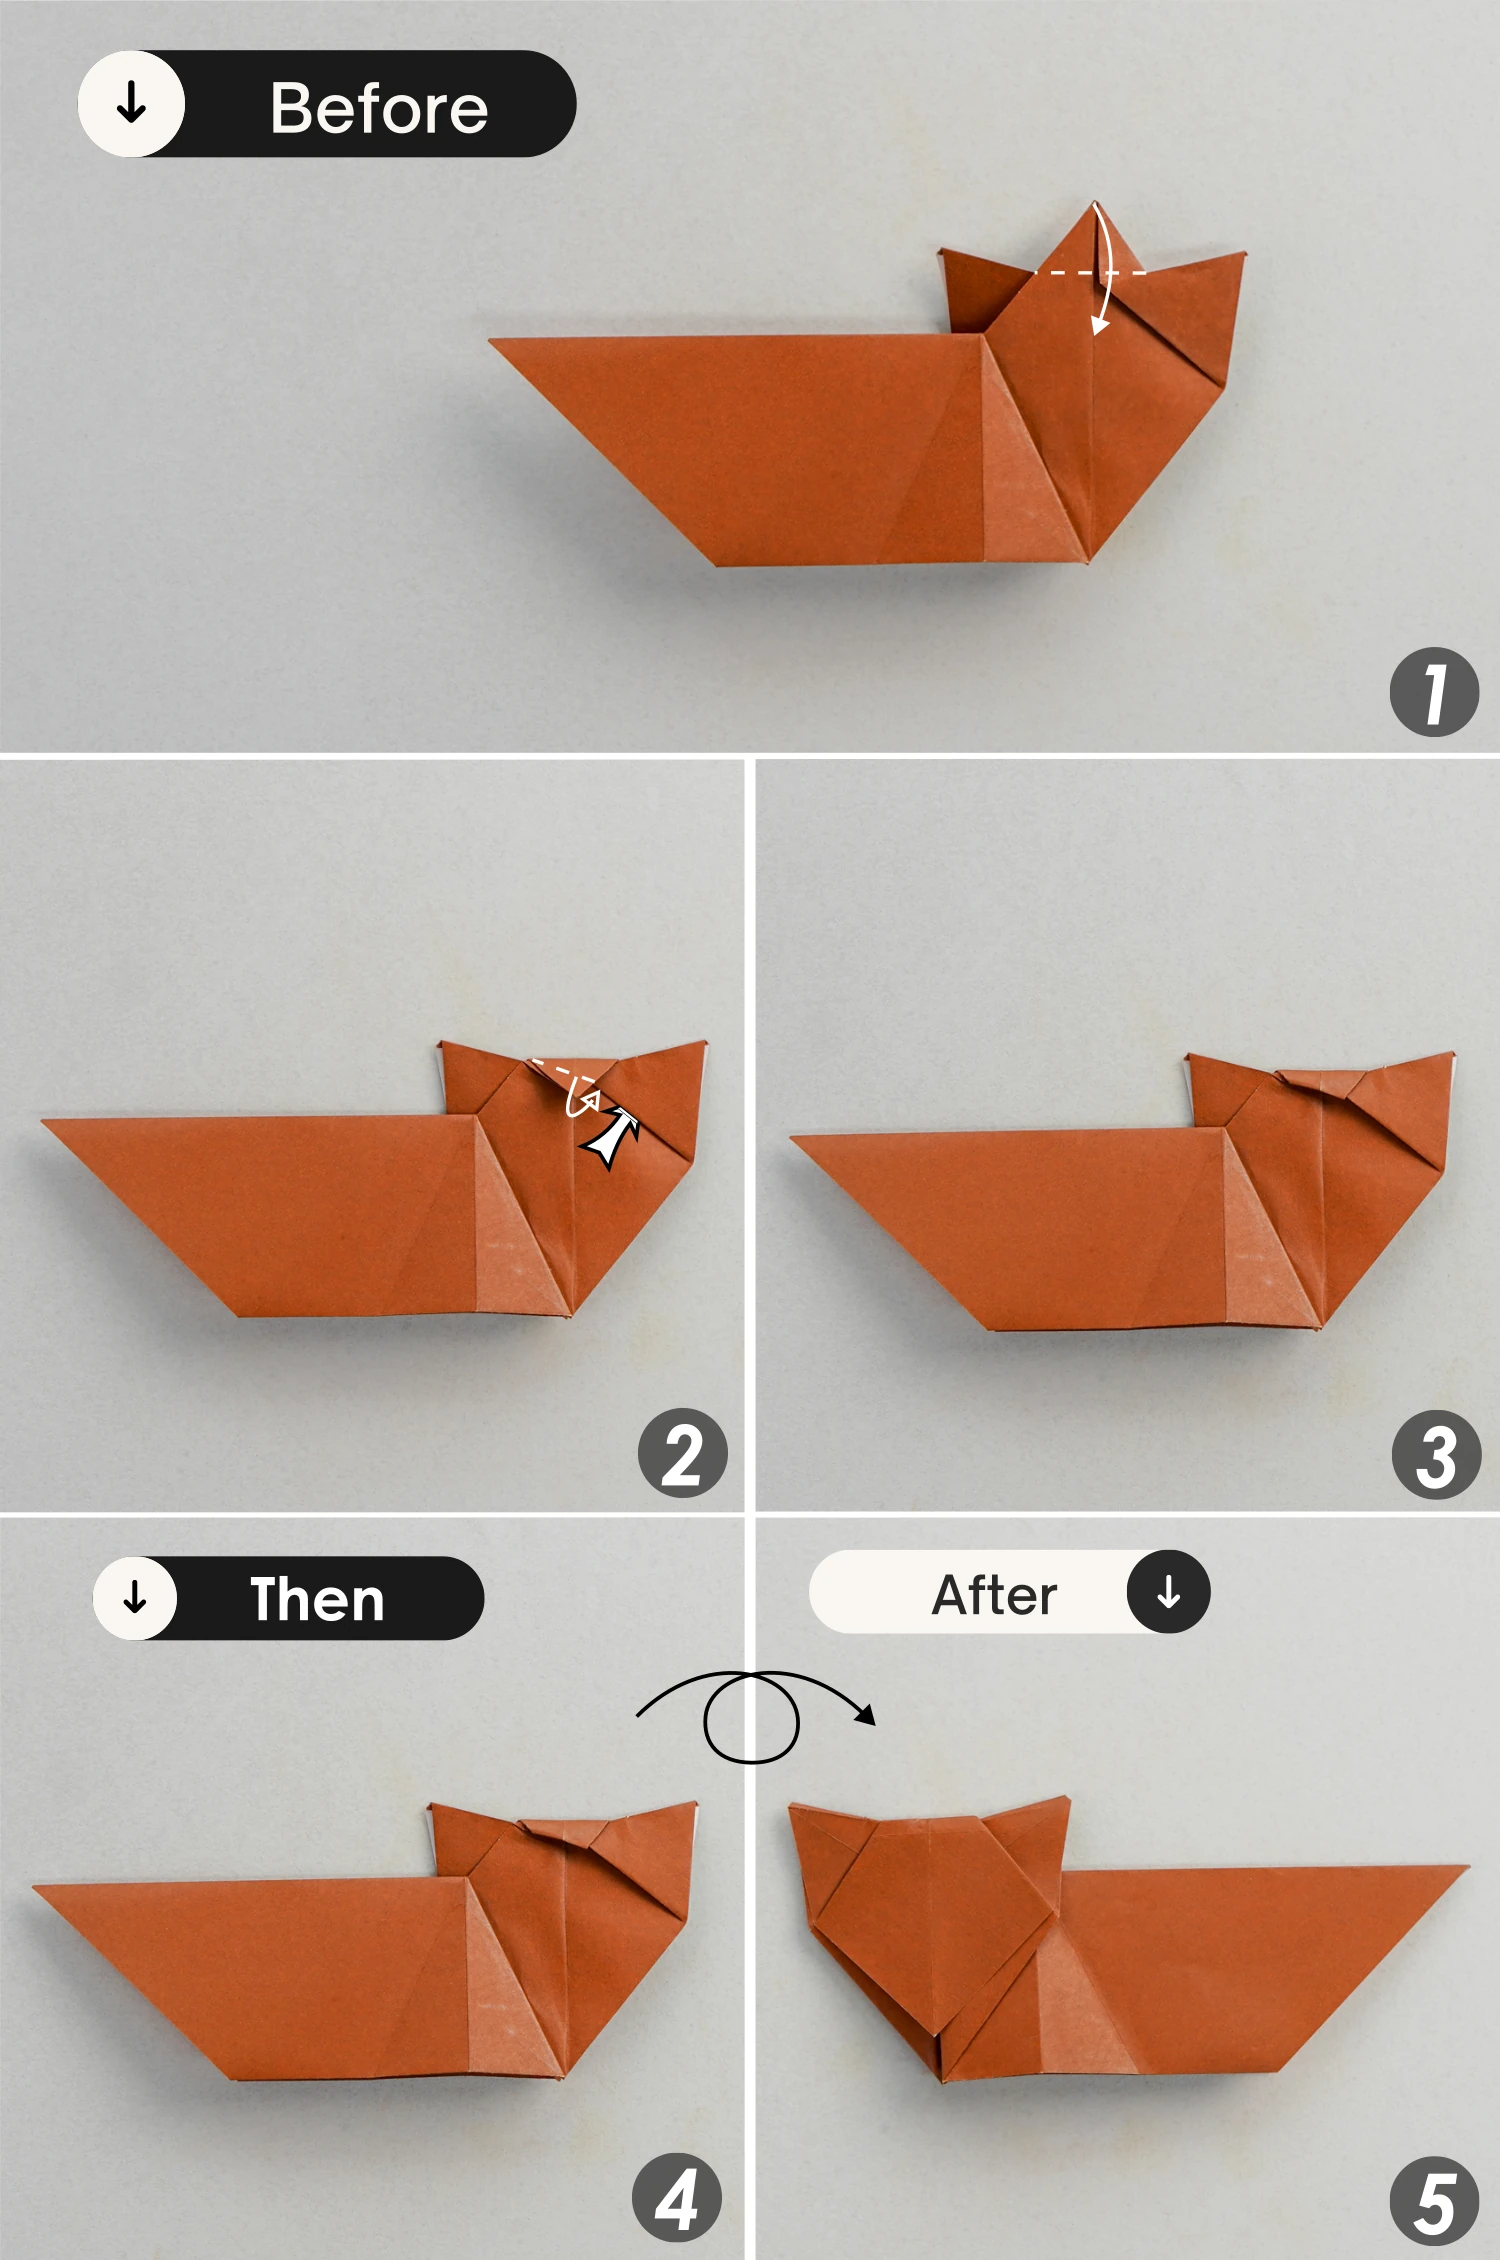
Fold the top corner of the head down along the dotted line, then fold the corner up backward to wrap the right ear. Finally, flip it over.
Step 21
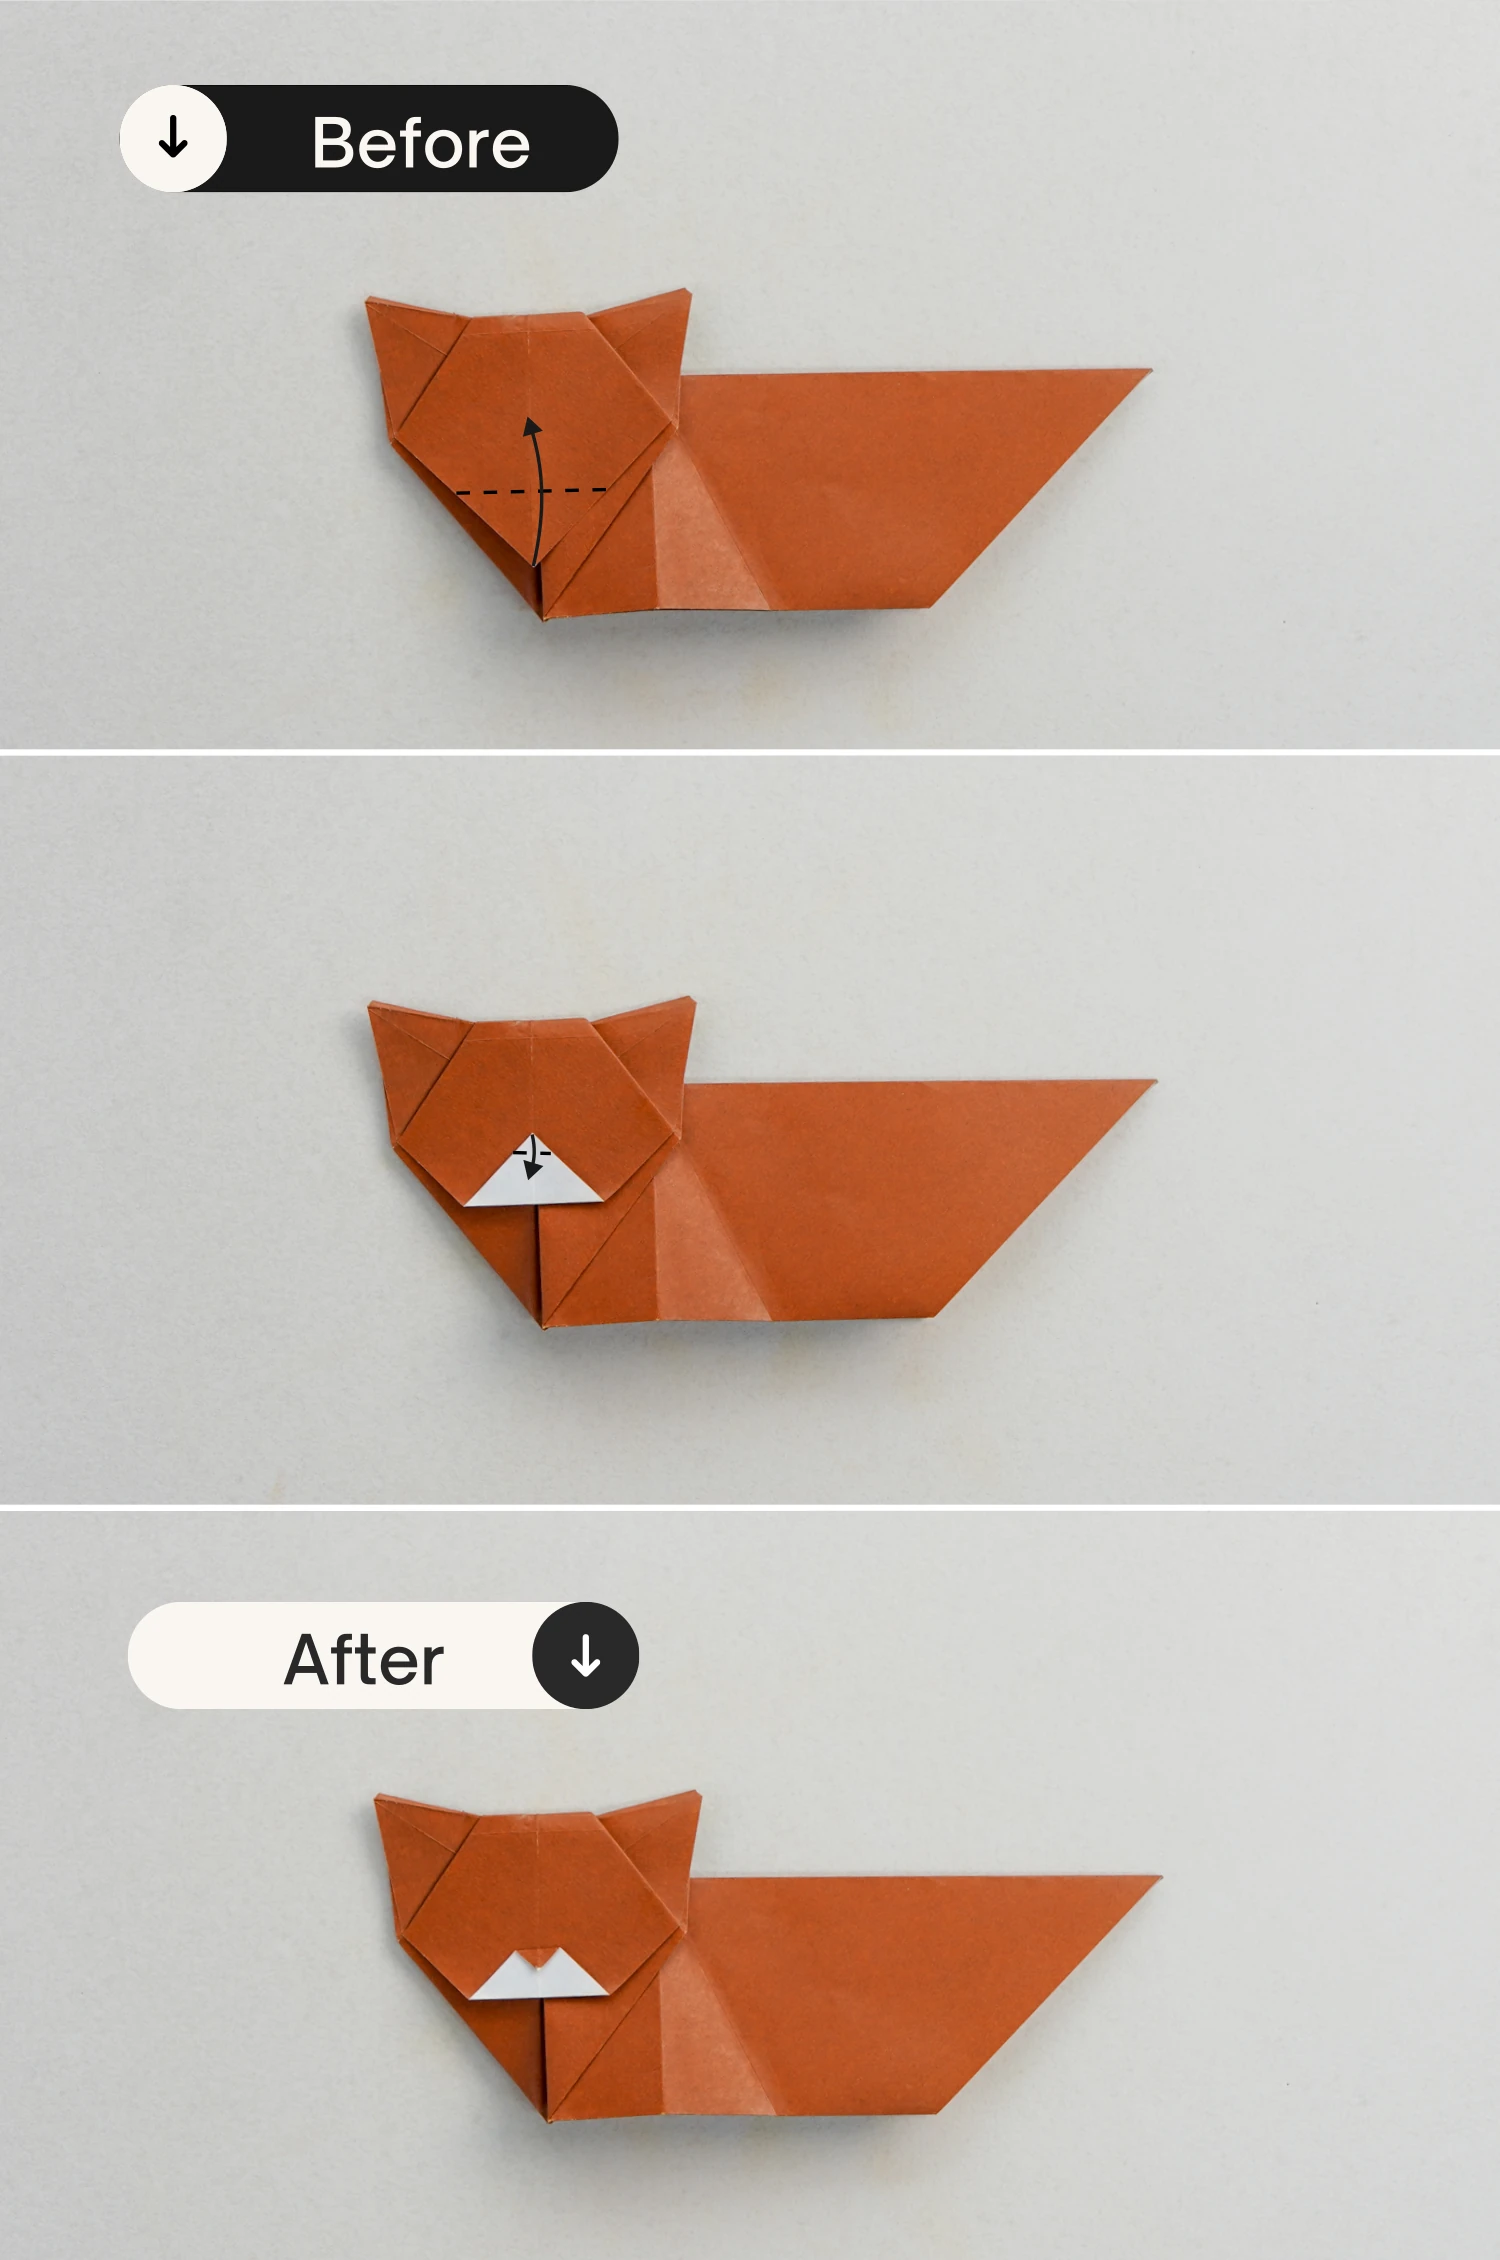
Fold the bottom point up, and then fold it down a little to form the cat’s nose.
Step 22
Fold the top edge of the right part down along the dotted line, leaving a crease then unfold it.
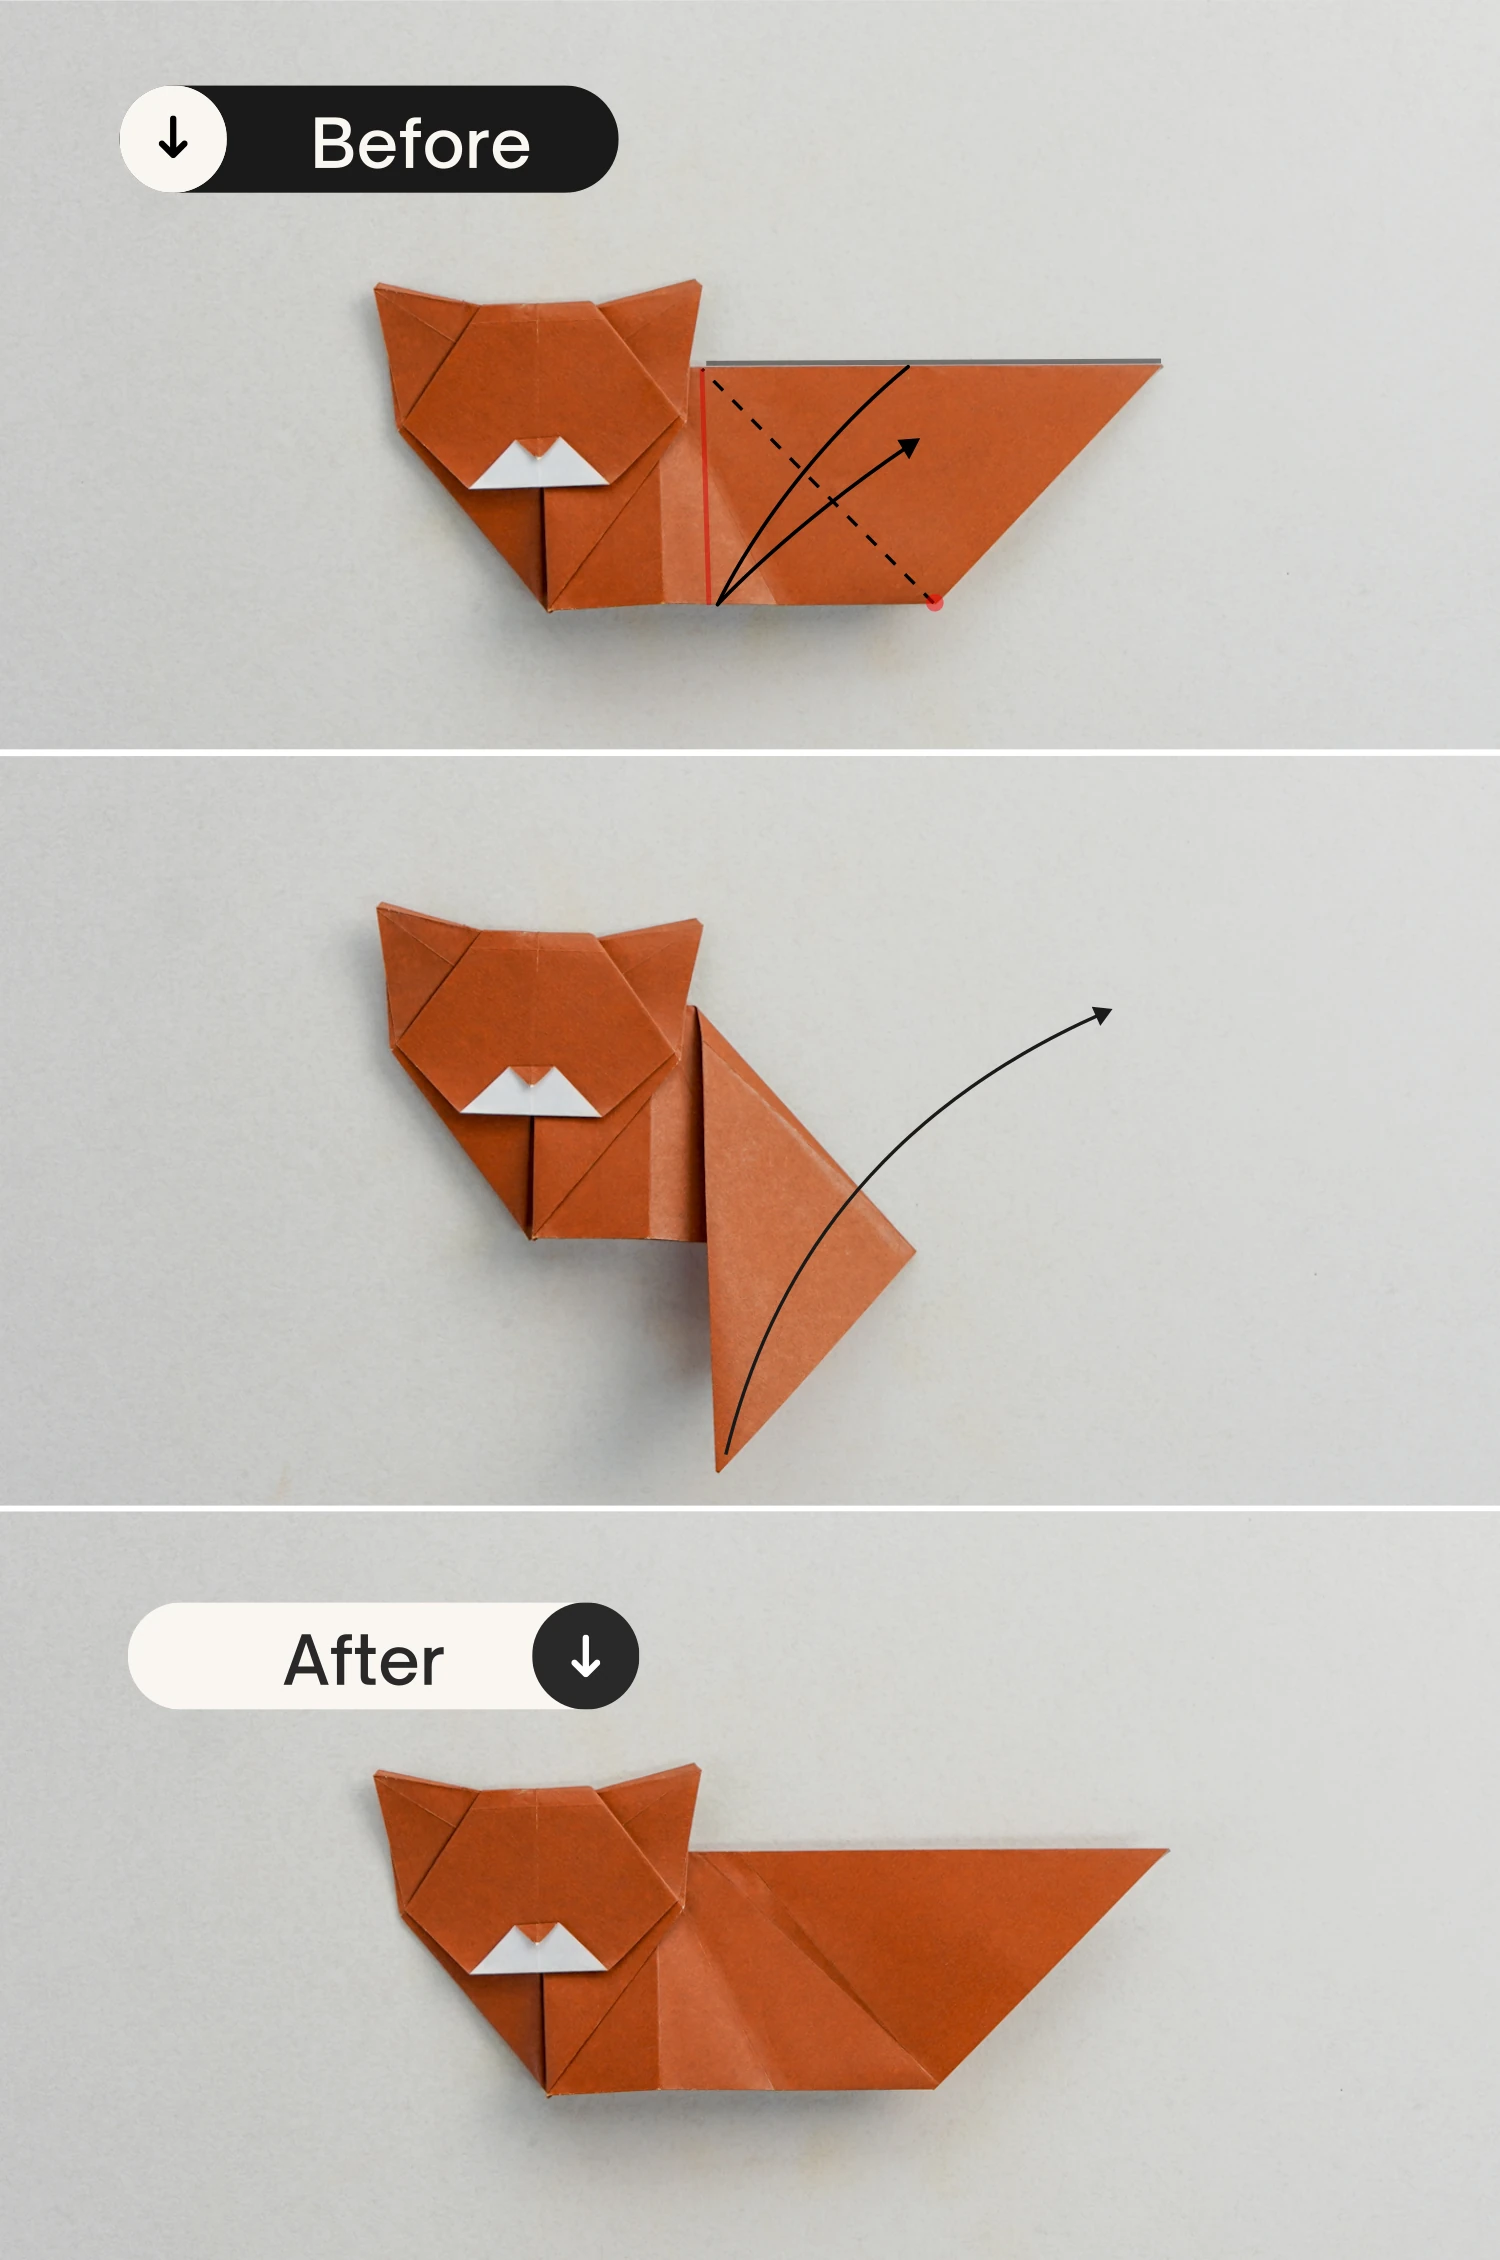
Step 23
Open the top right corner and press down the top center crease, to make it tuck between the layers of the corner, then close it.
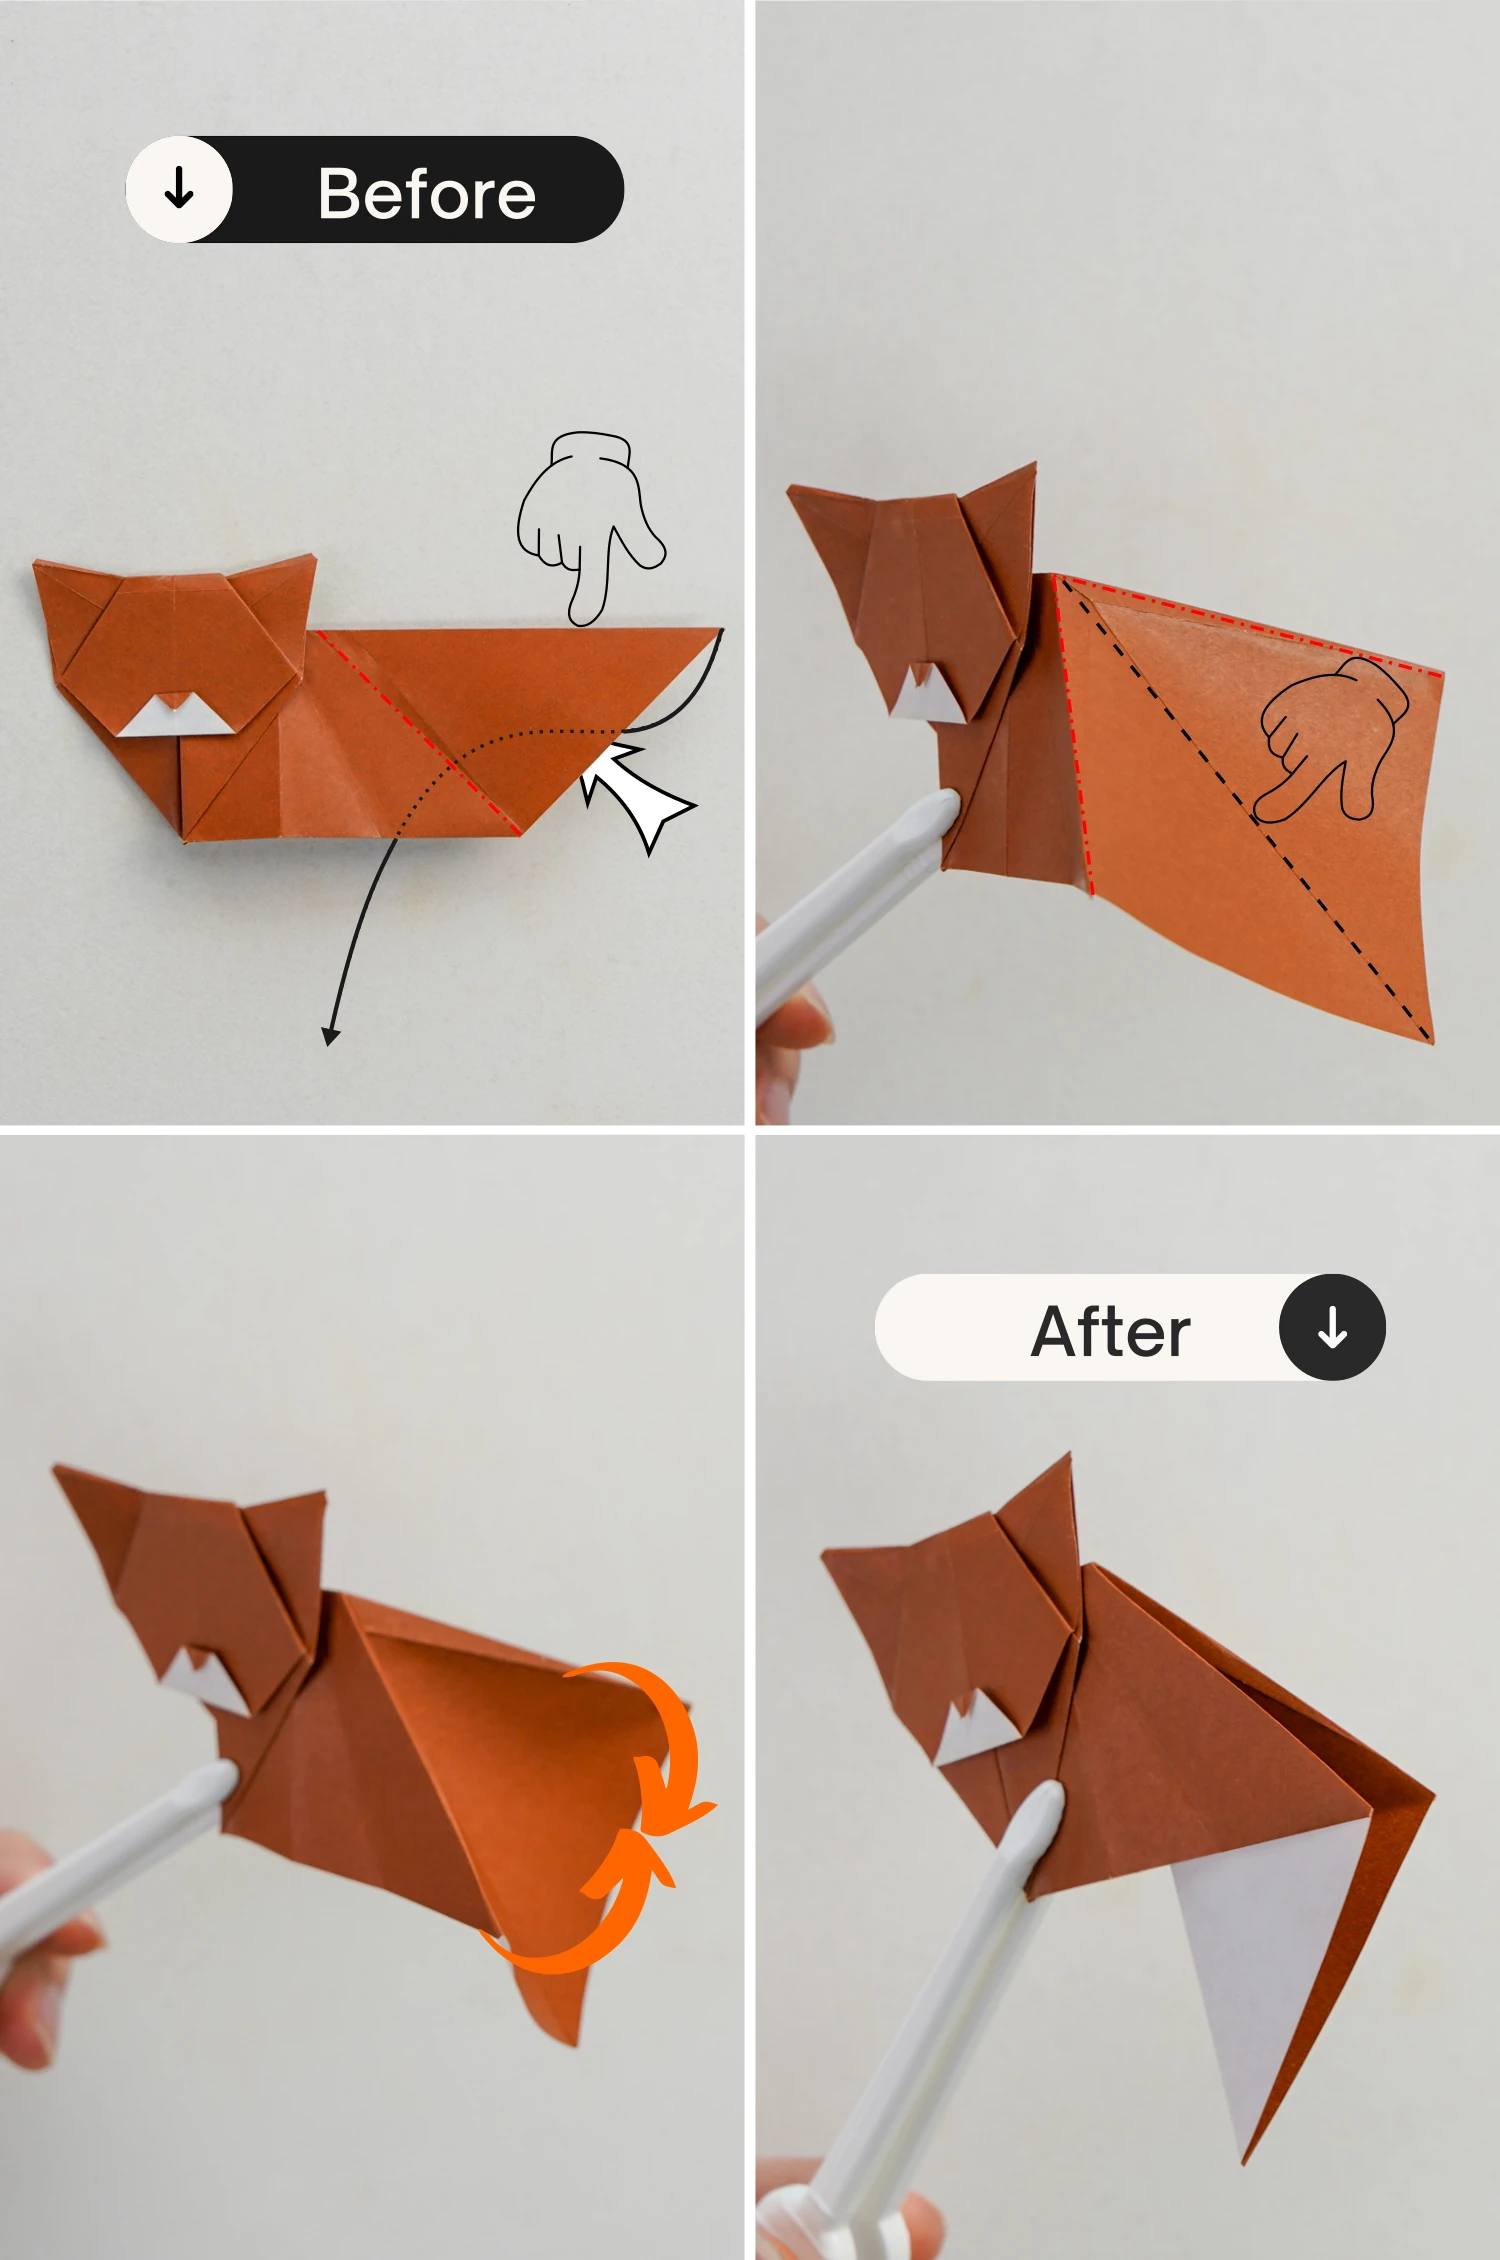
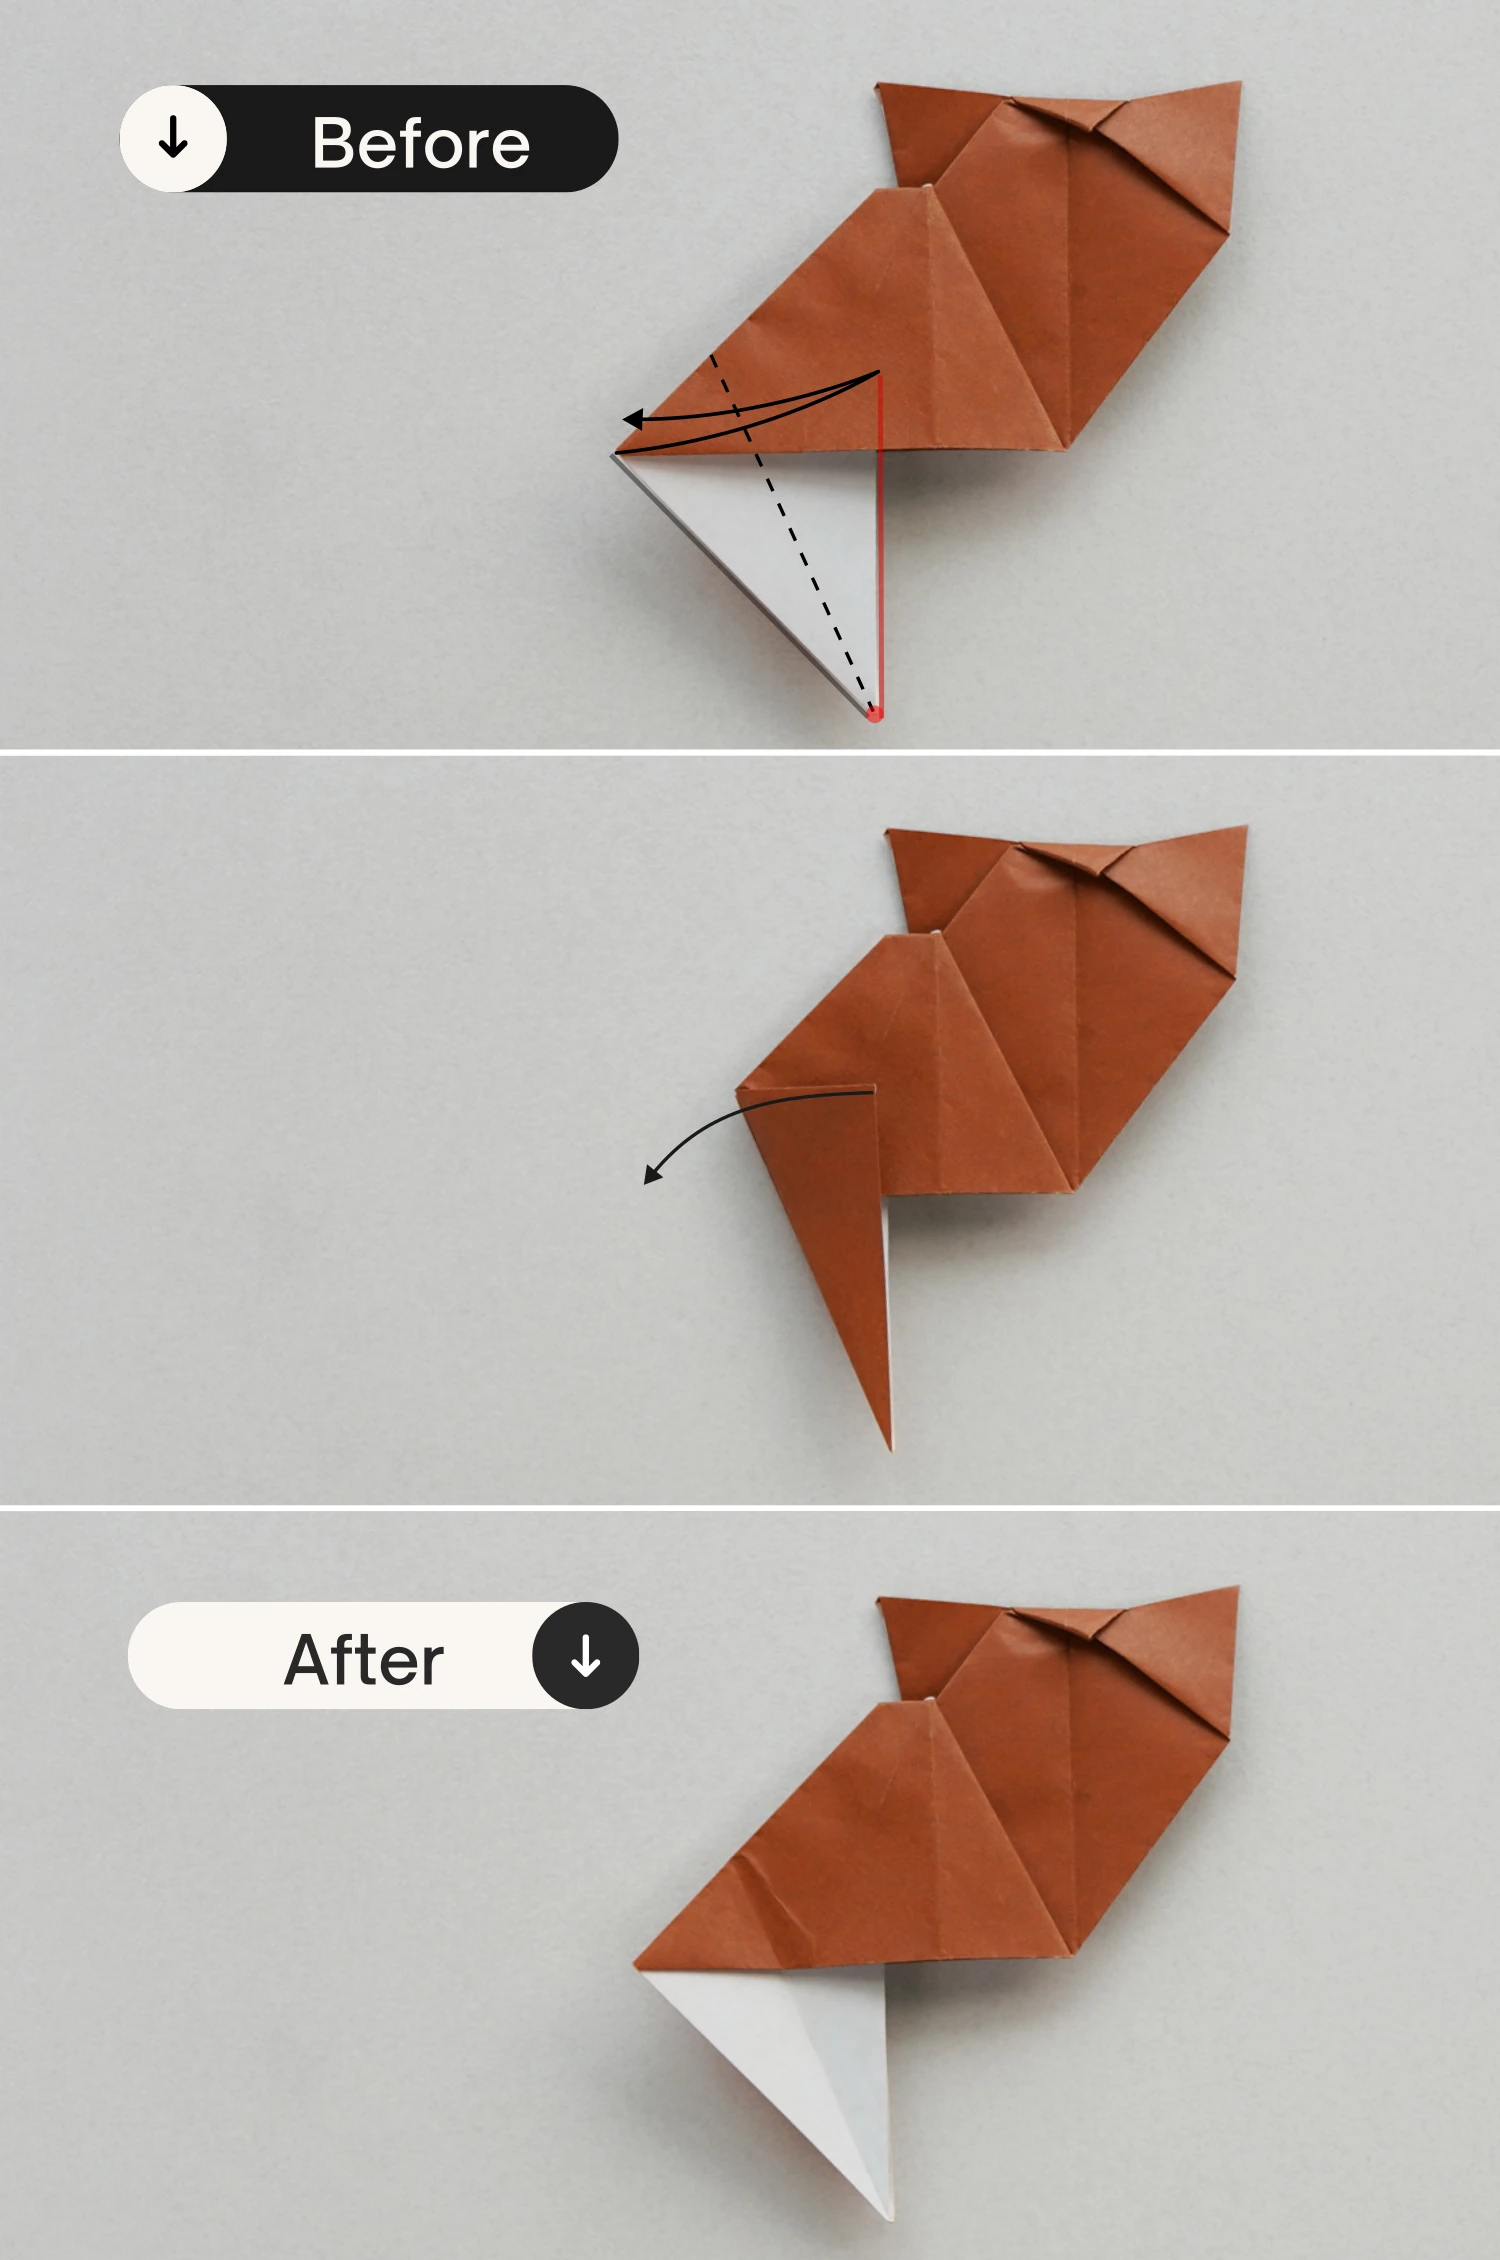
Step 24
Take the bottom right edge of the top layer, and fold it to the left along the dotted line, making it align with the edge shown by the red line, leaving a crease and unfold.
Step 25
Slightly open this corner, and push the right point to the left making it tuck between the layers, then flatten it along the creases you made in the previous step.

Step 26
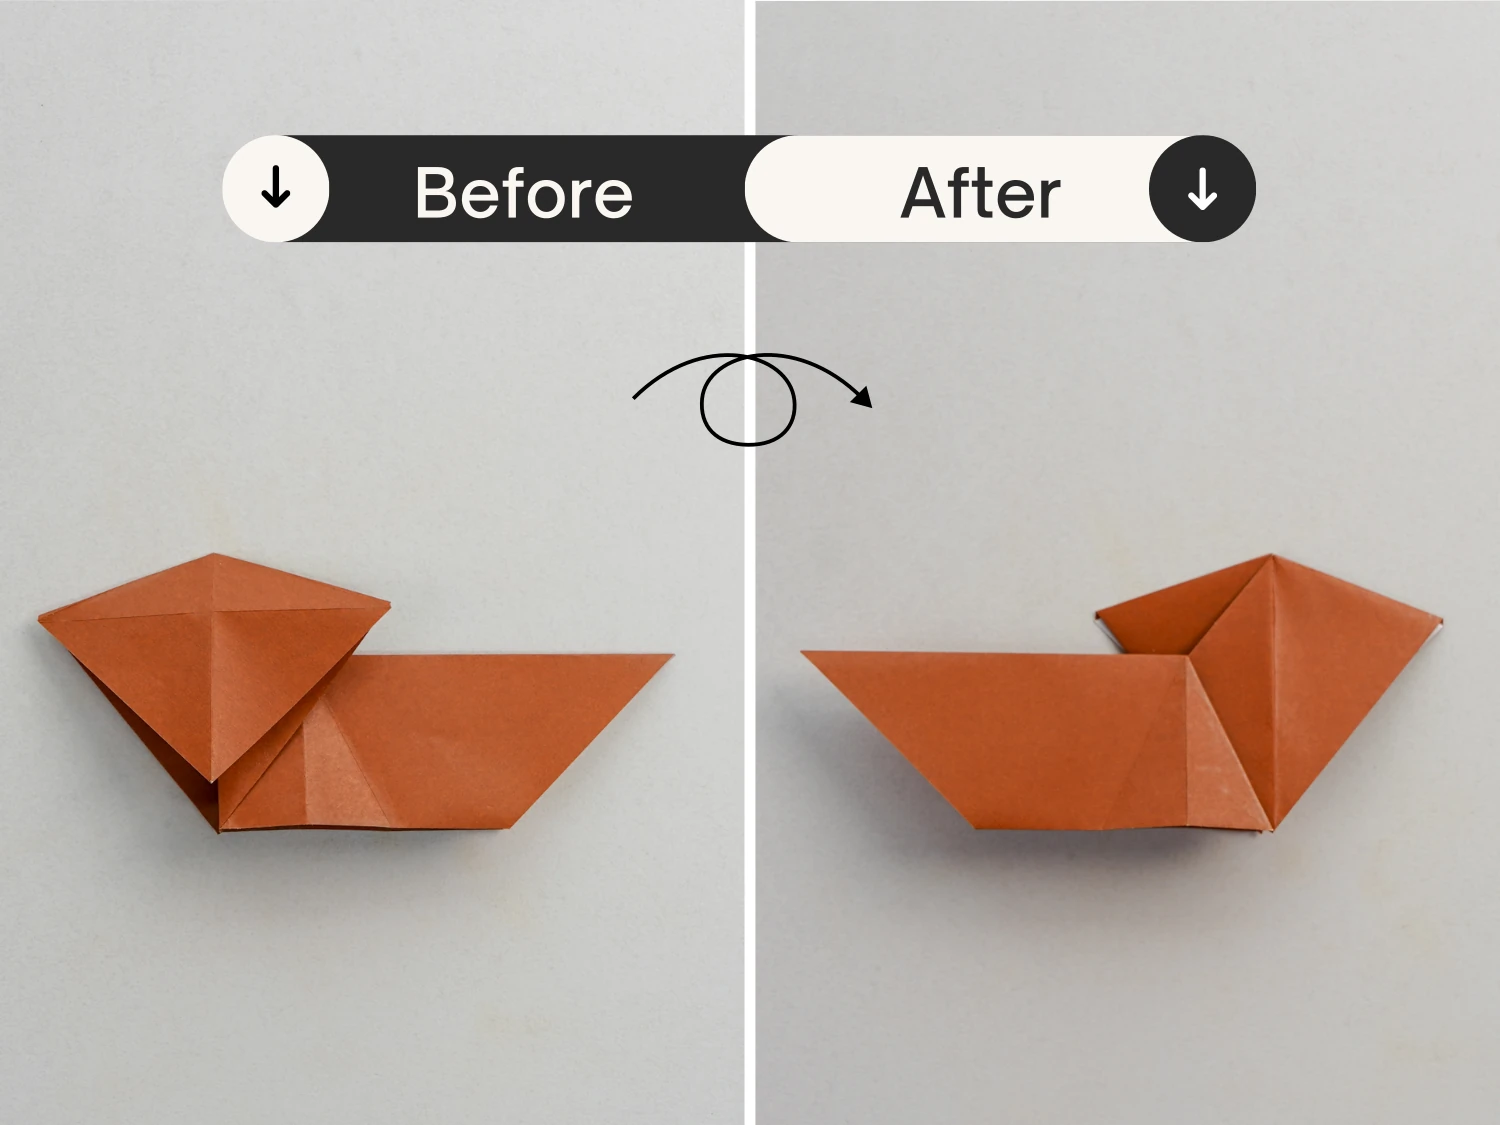
Flip it over.
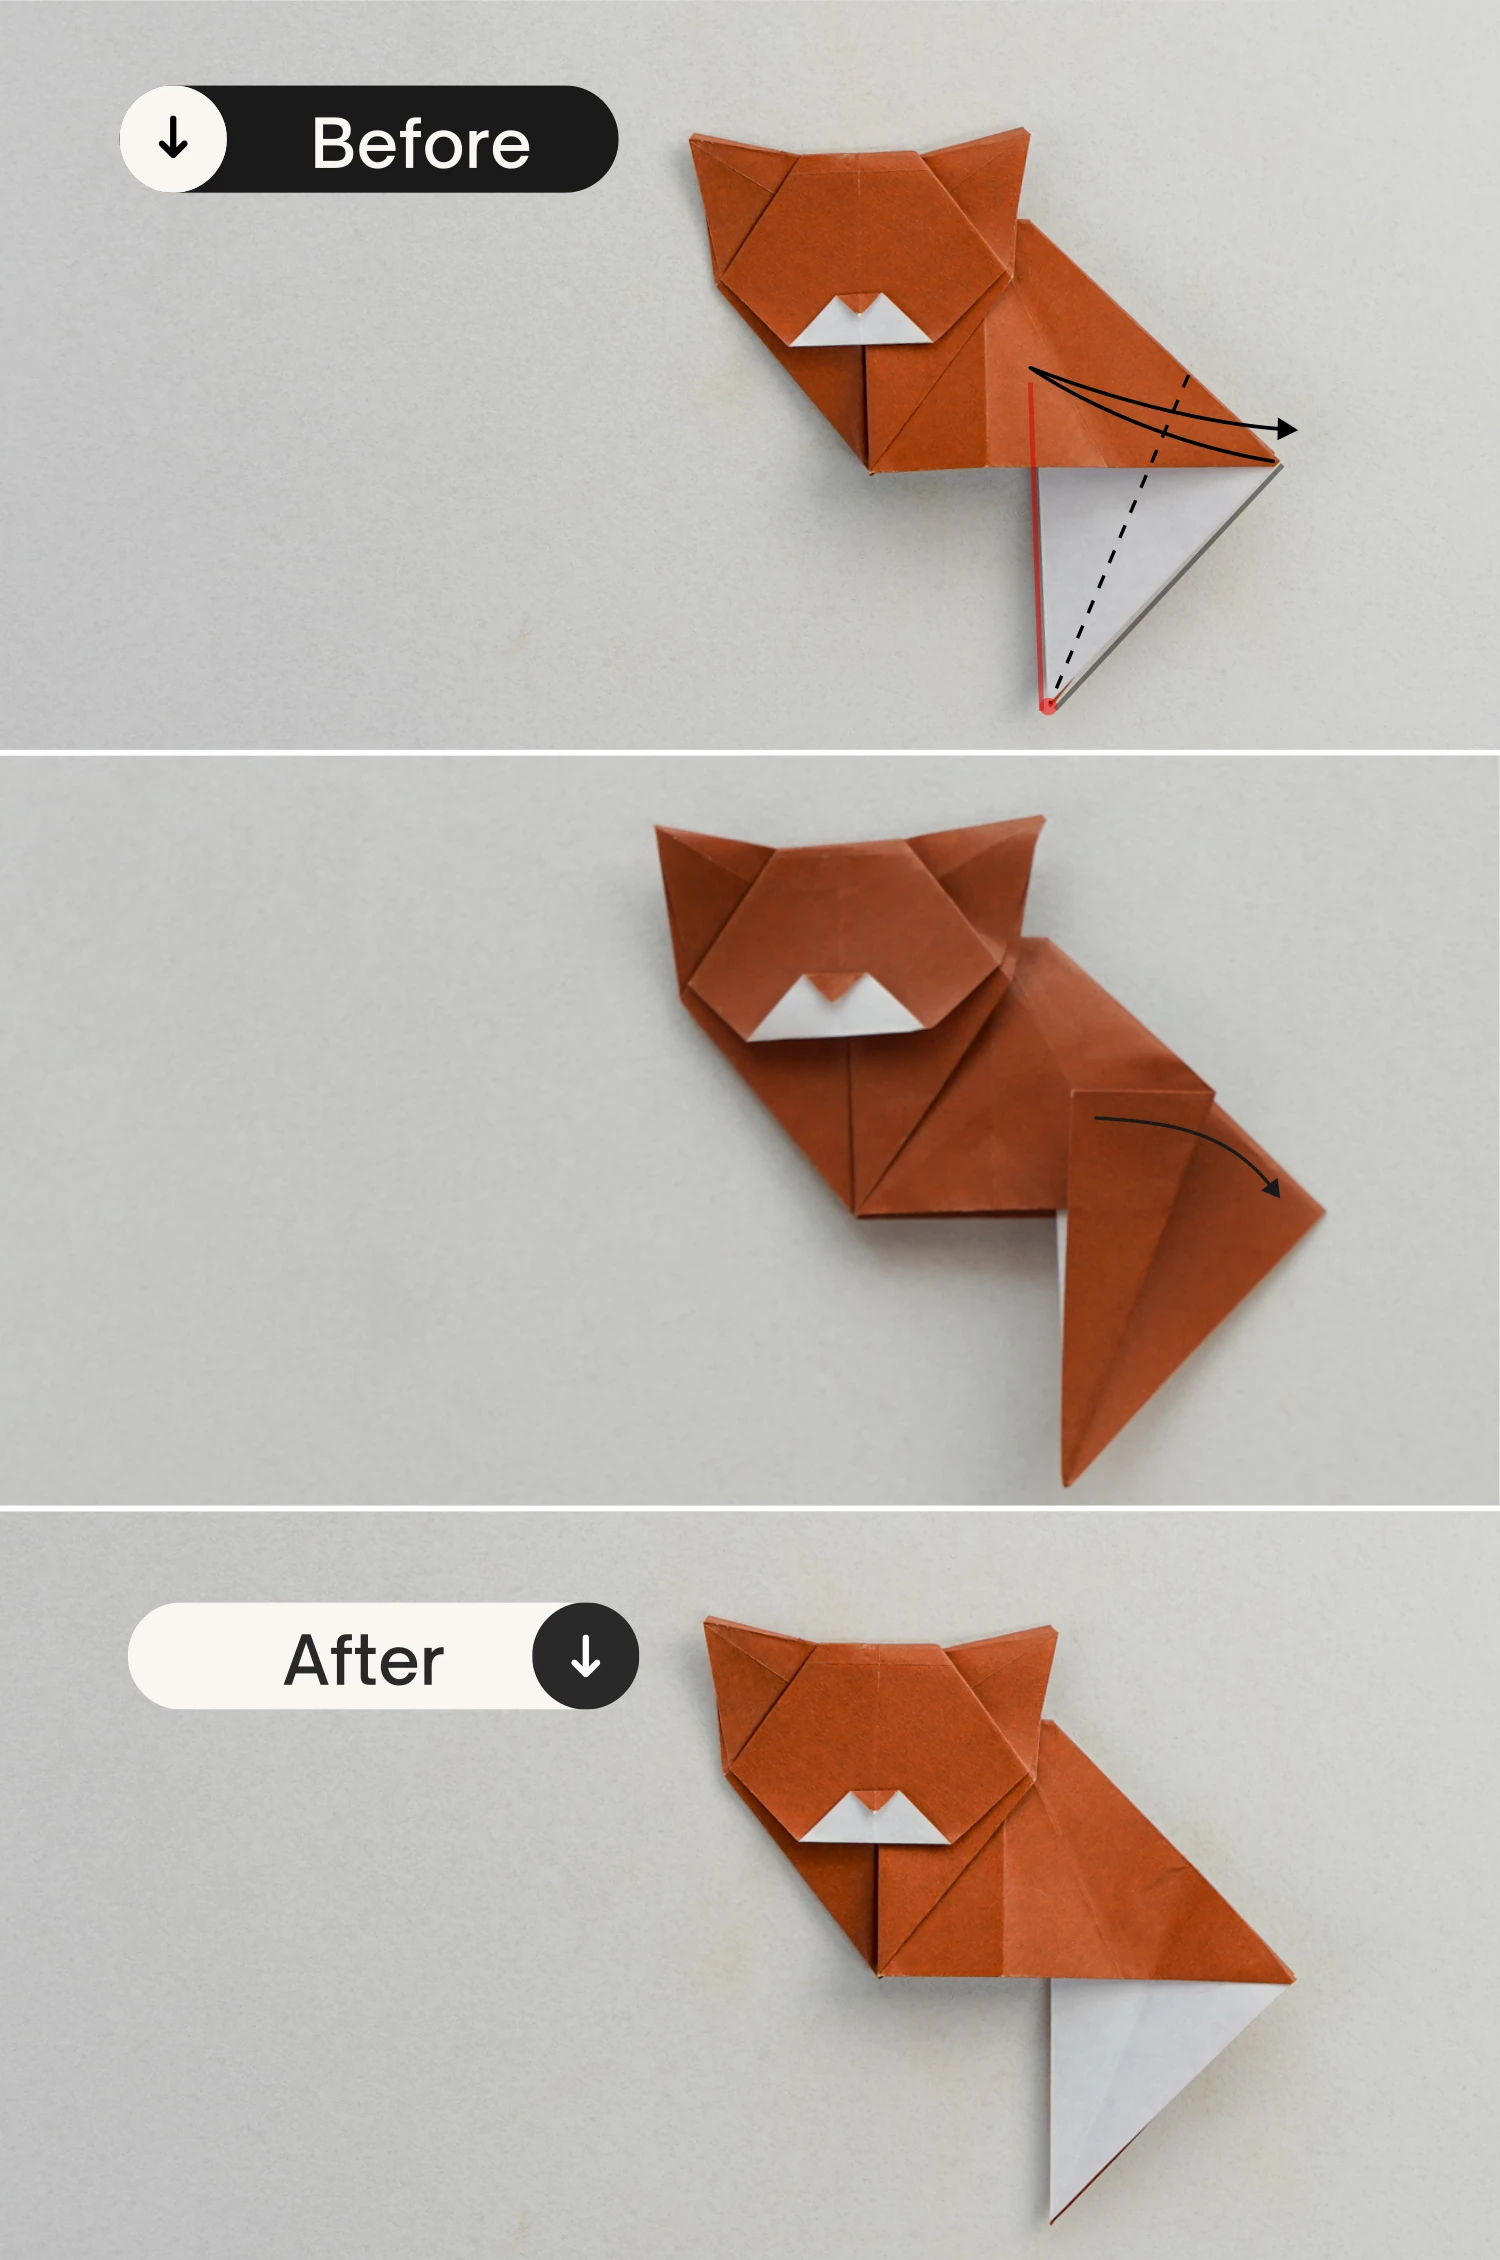
Step 27
Fold the bottom left edge to the right along the dotted line to align with the edge shown by the red line, leaving a crease then unfold.
Step 28
Like before, slightly open this left corner, then push it to the right, making it tuck between the layers, and finally flatten it along the creases you just made.
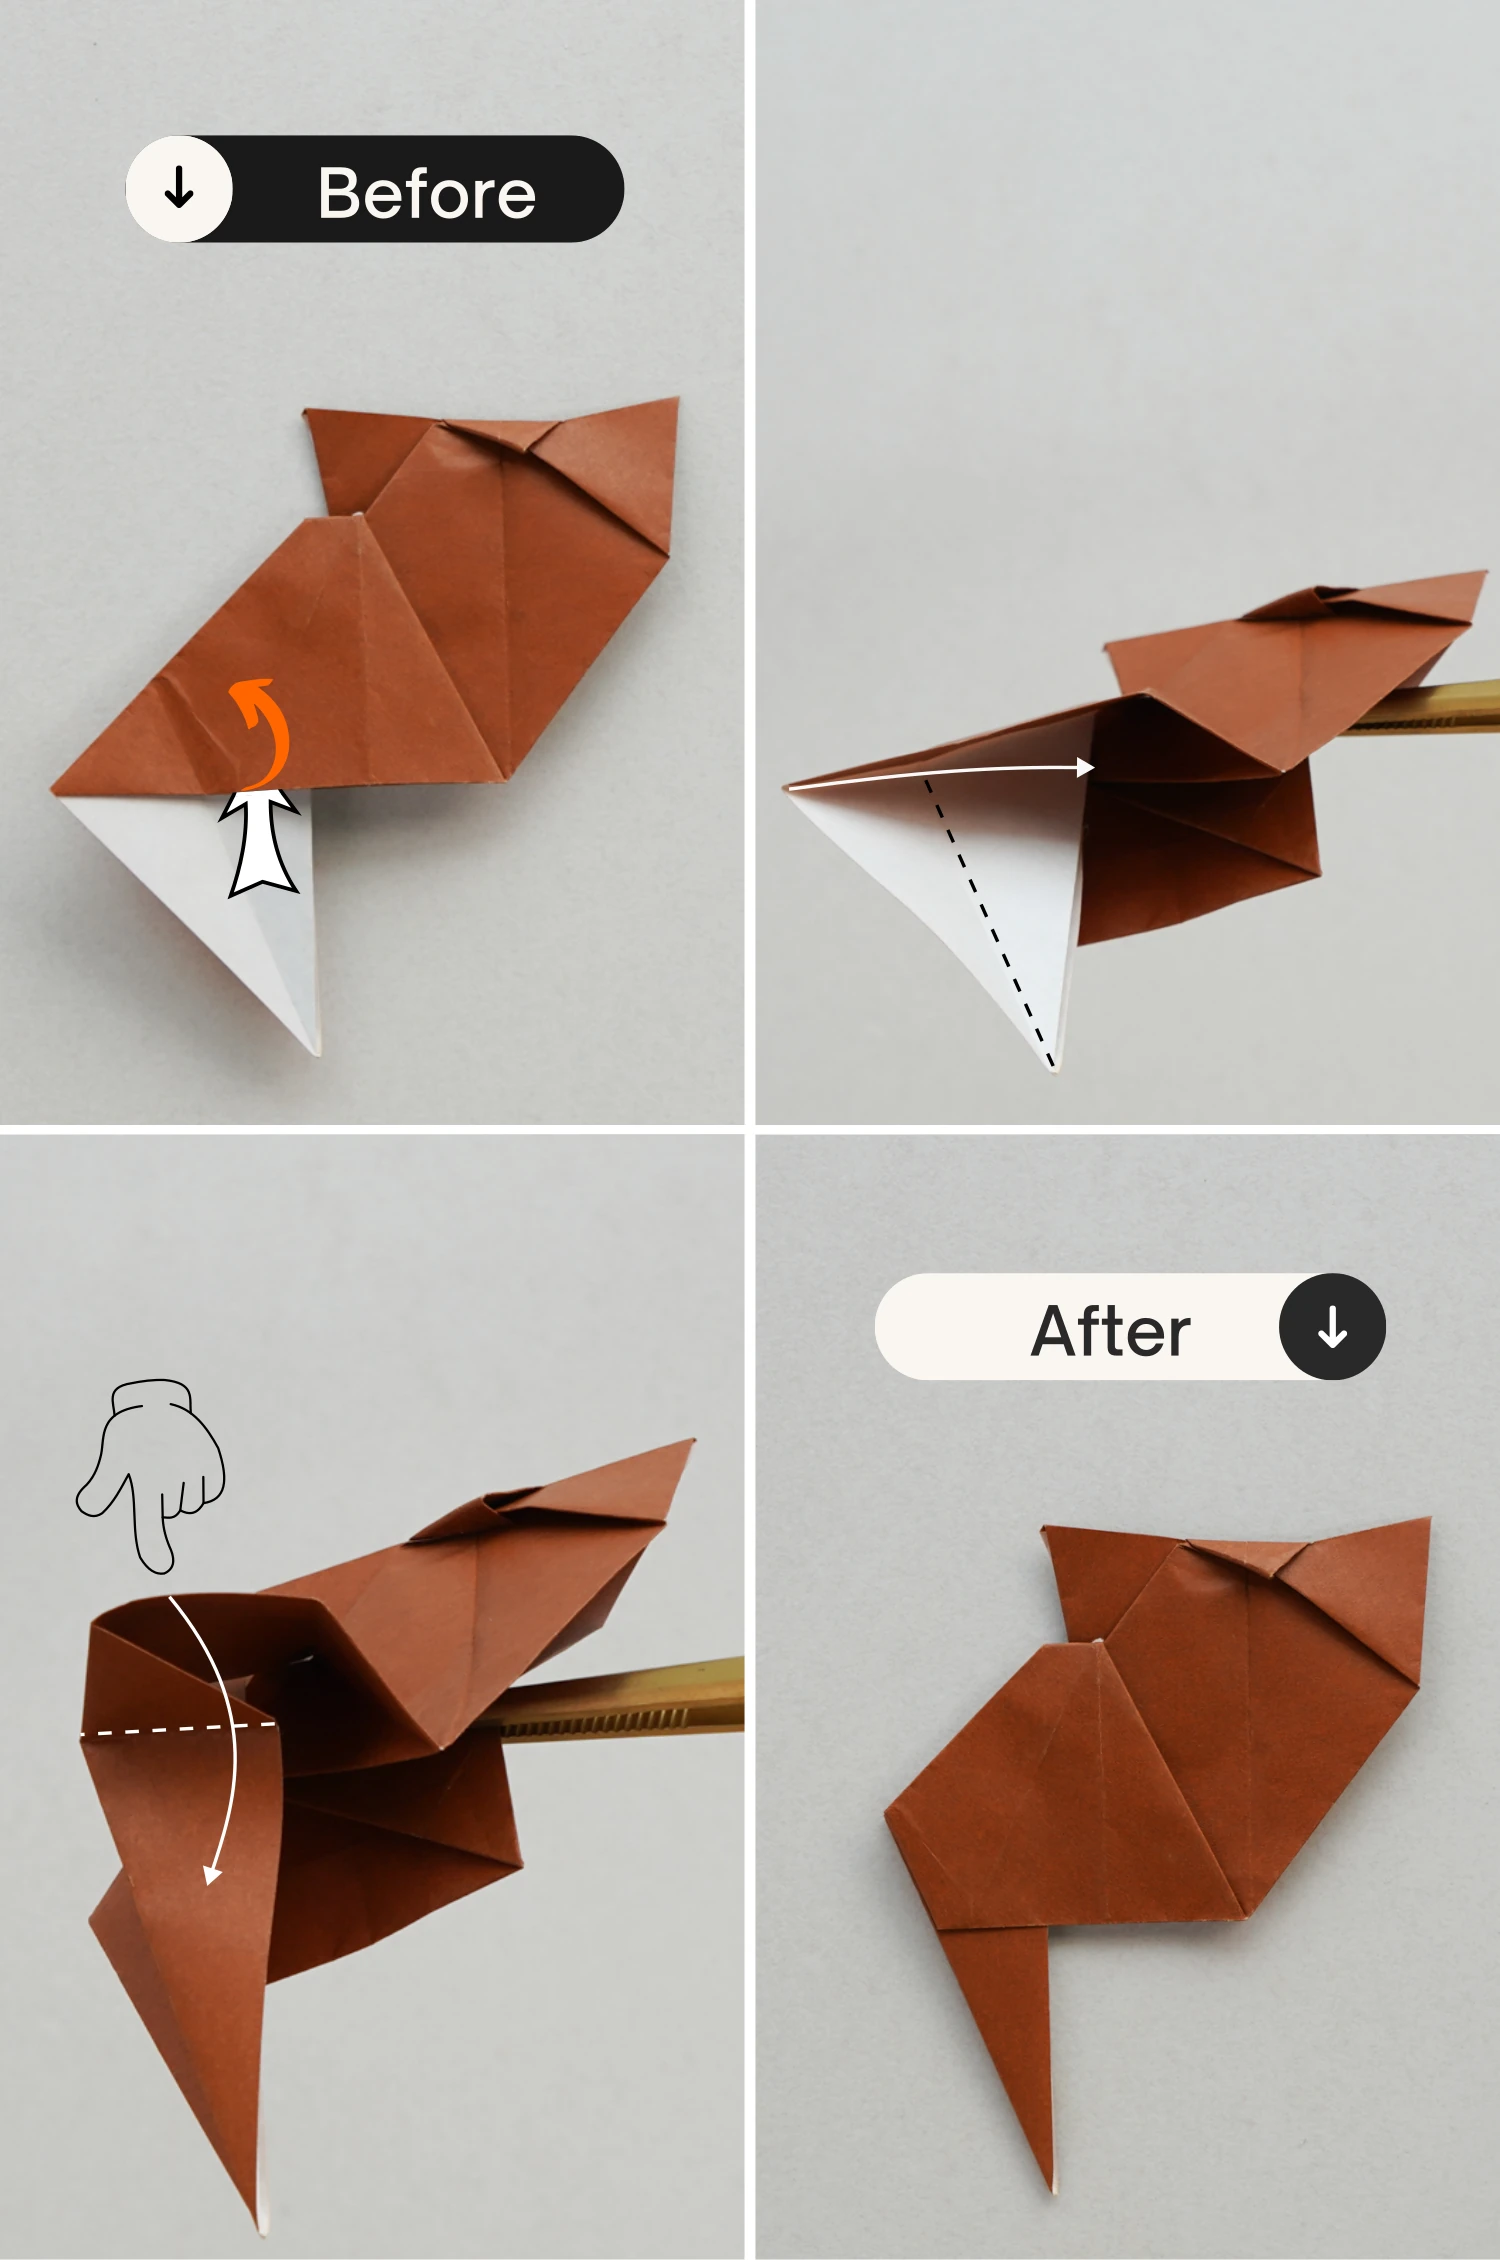
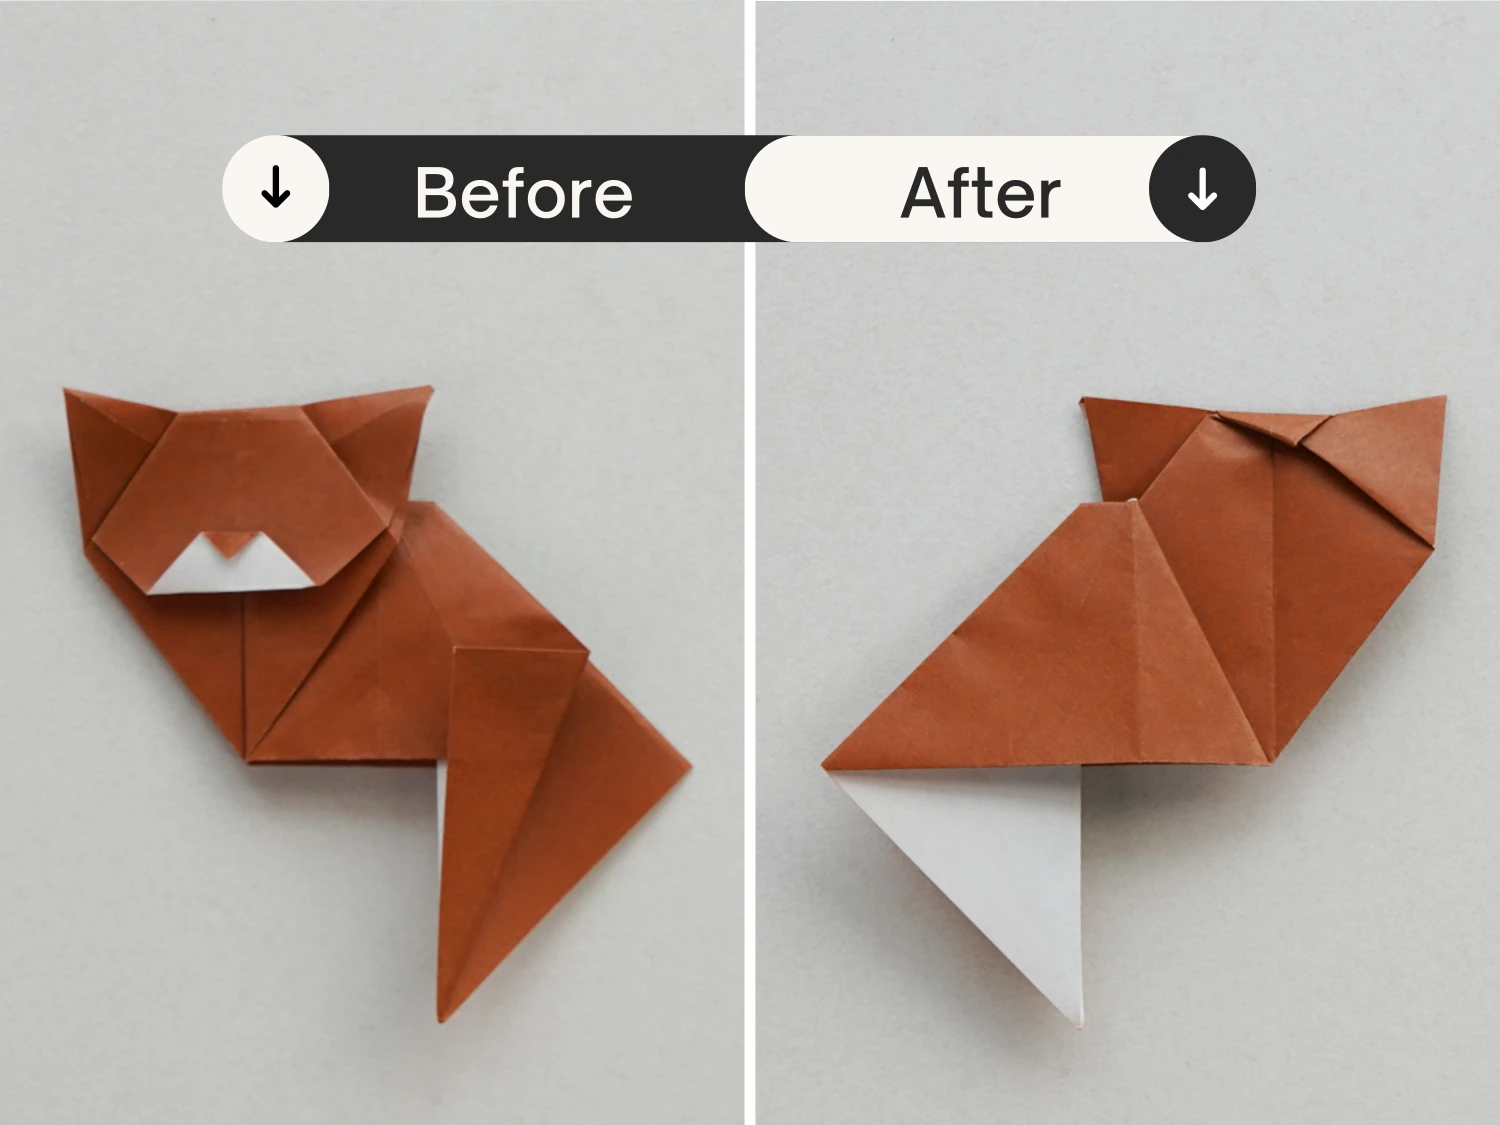
Step 29
Fold the top layer of the tail to the right along the dotted line.
Next, fold the bottom point to the top, then close the tail.
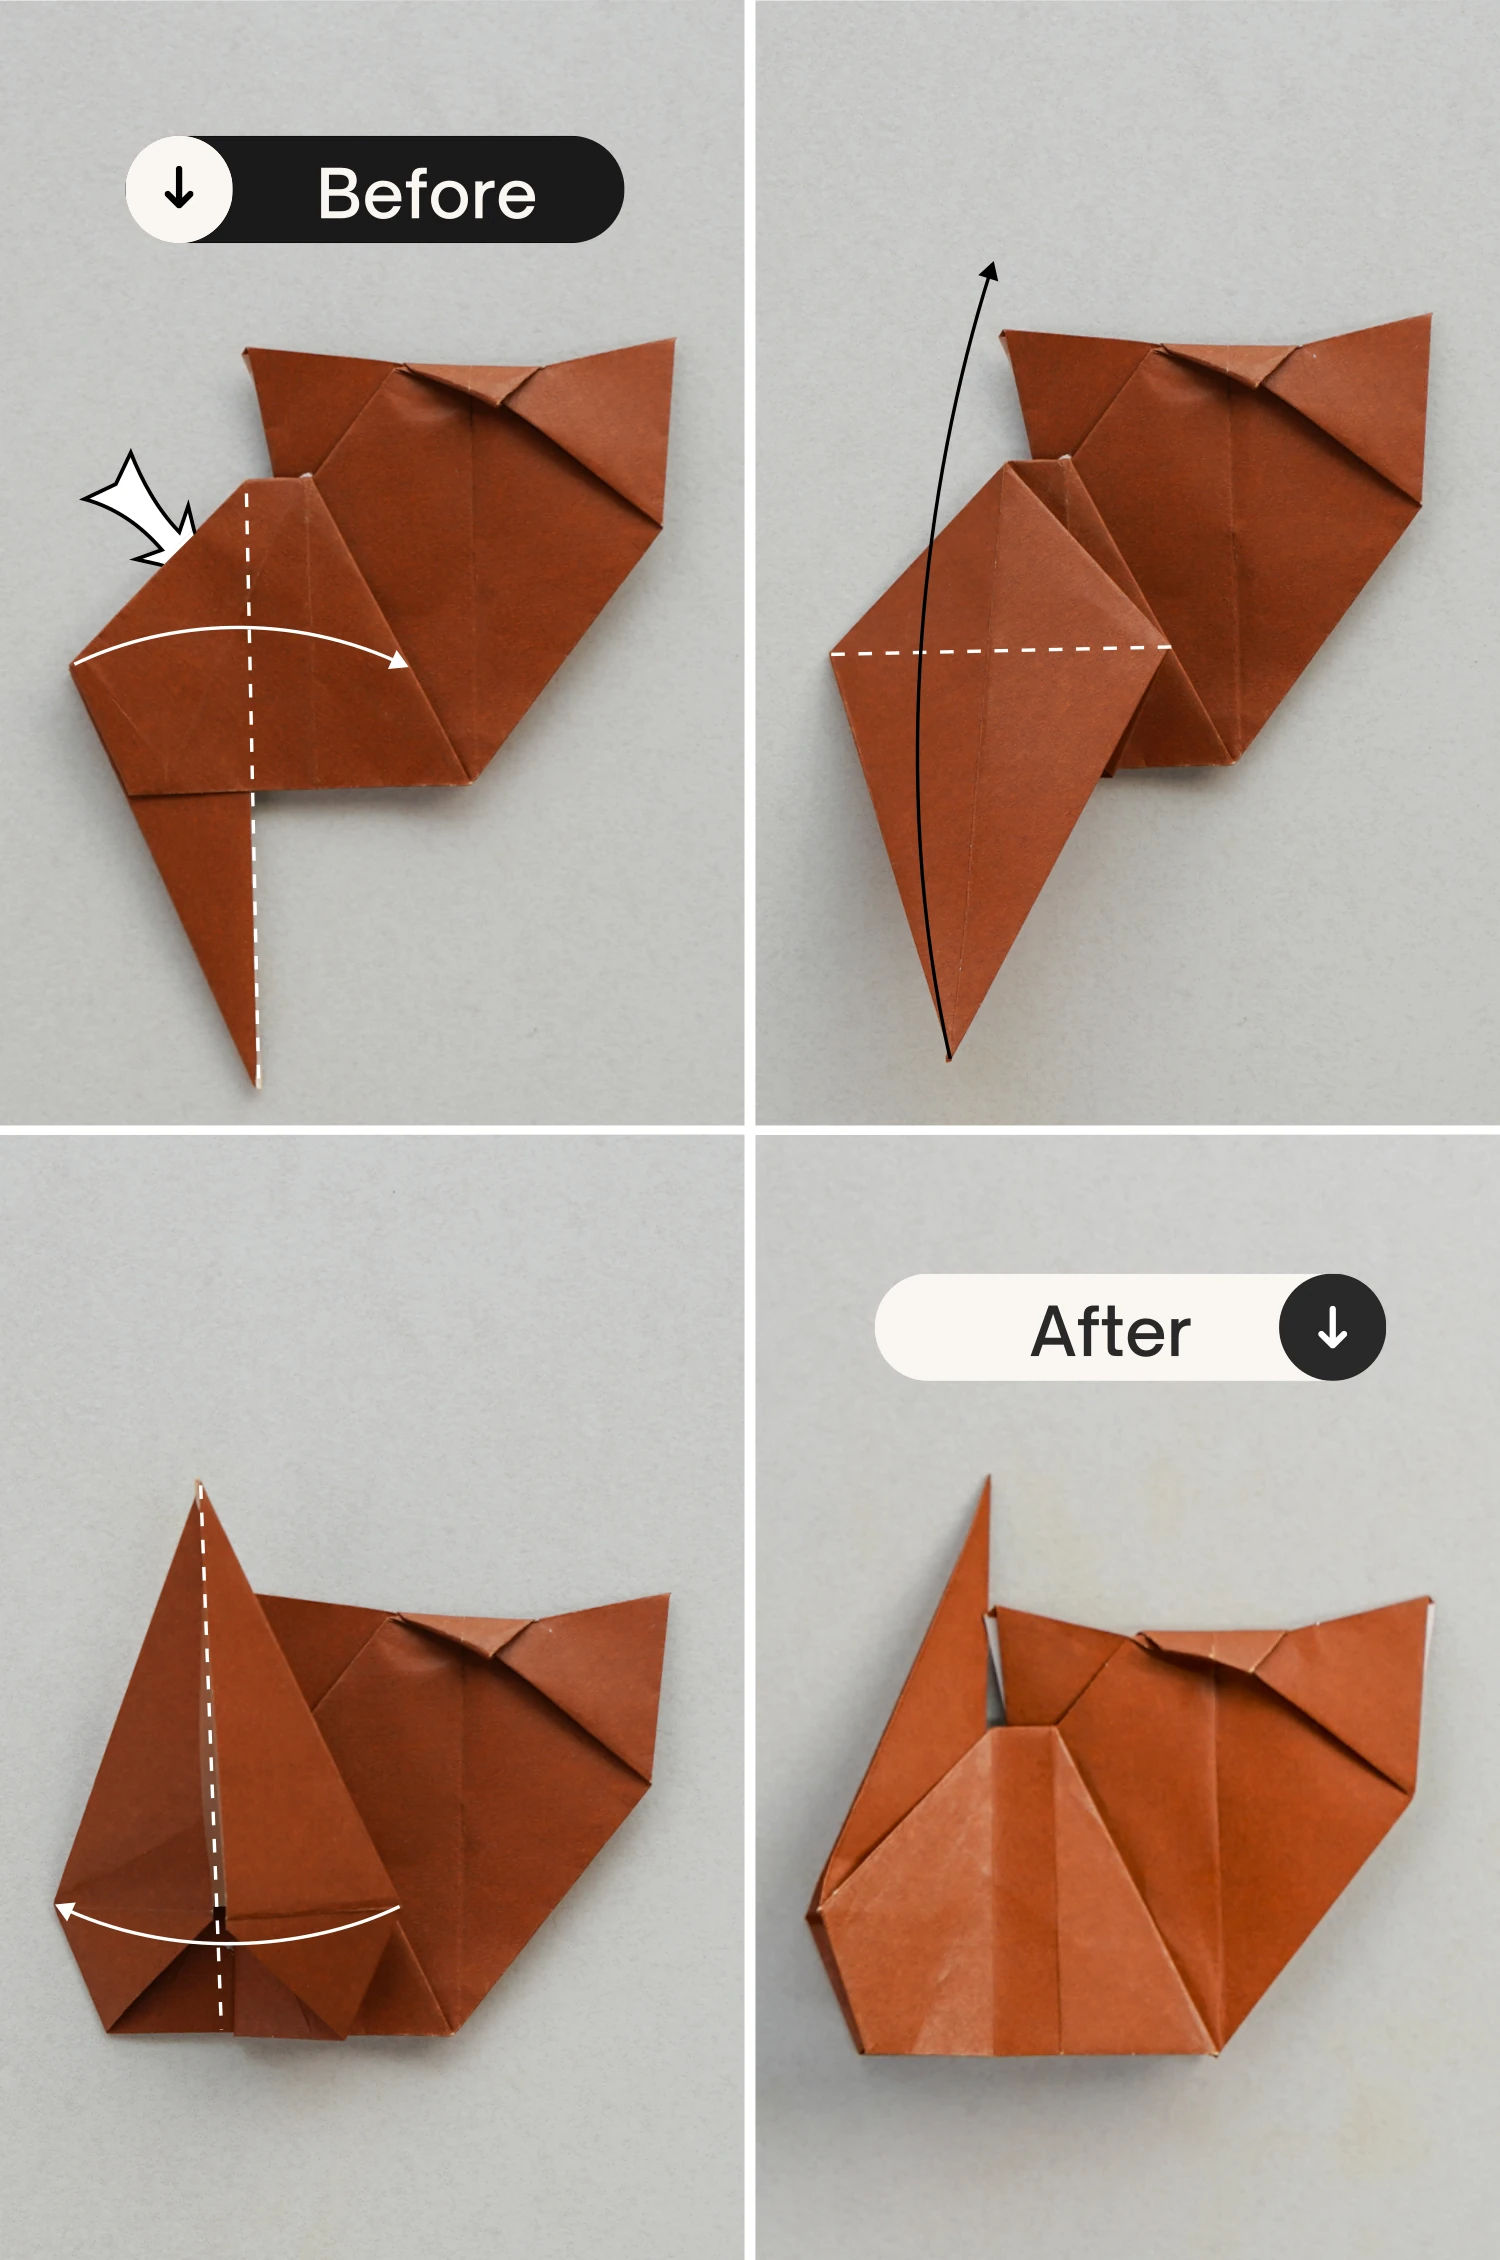
Step 30
Flip the model over, and pull the tail down a little, that’s your cute cat.
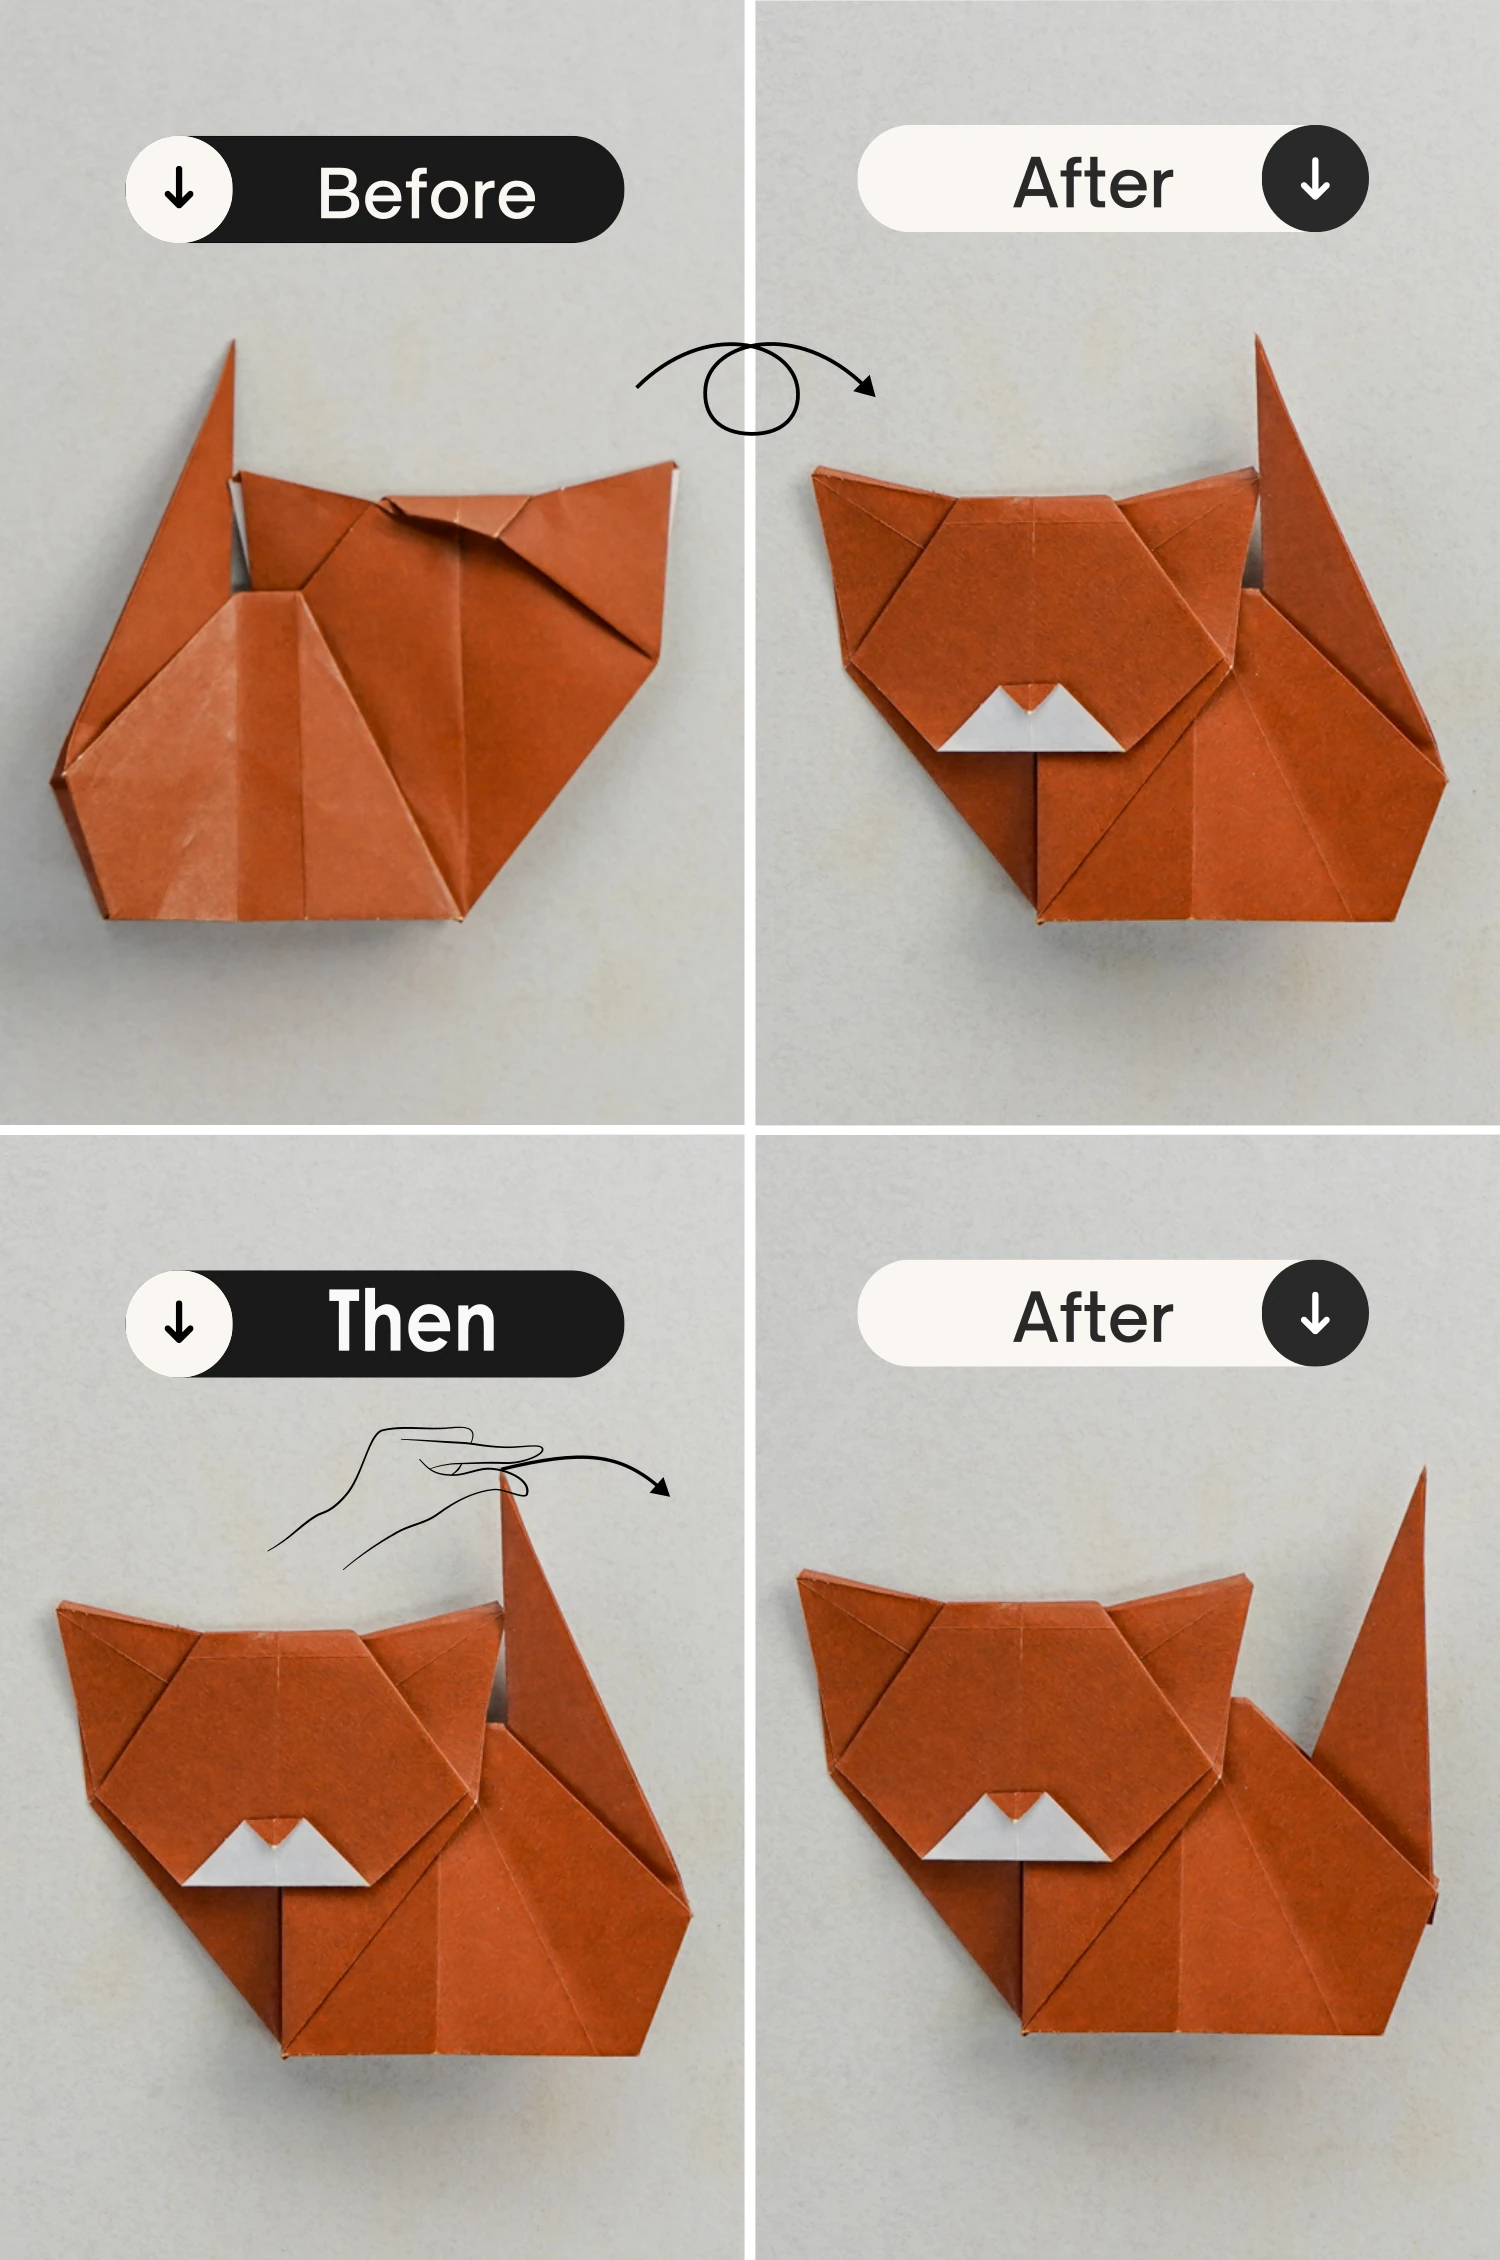
What’s Next
That’s your lovely origami cat, now you can explore our other origami animal instructions, we have many other kinds of animals for you to choose from, so enjoy the travel of folding!
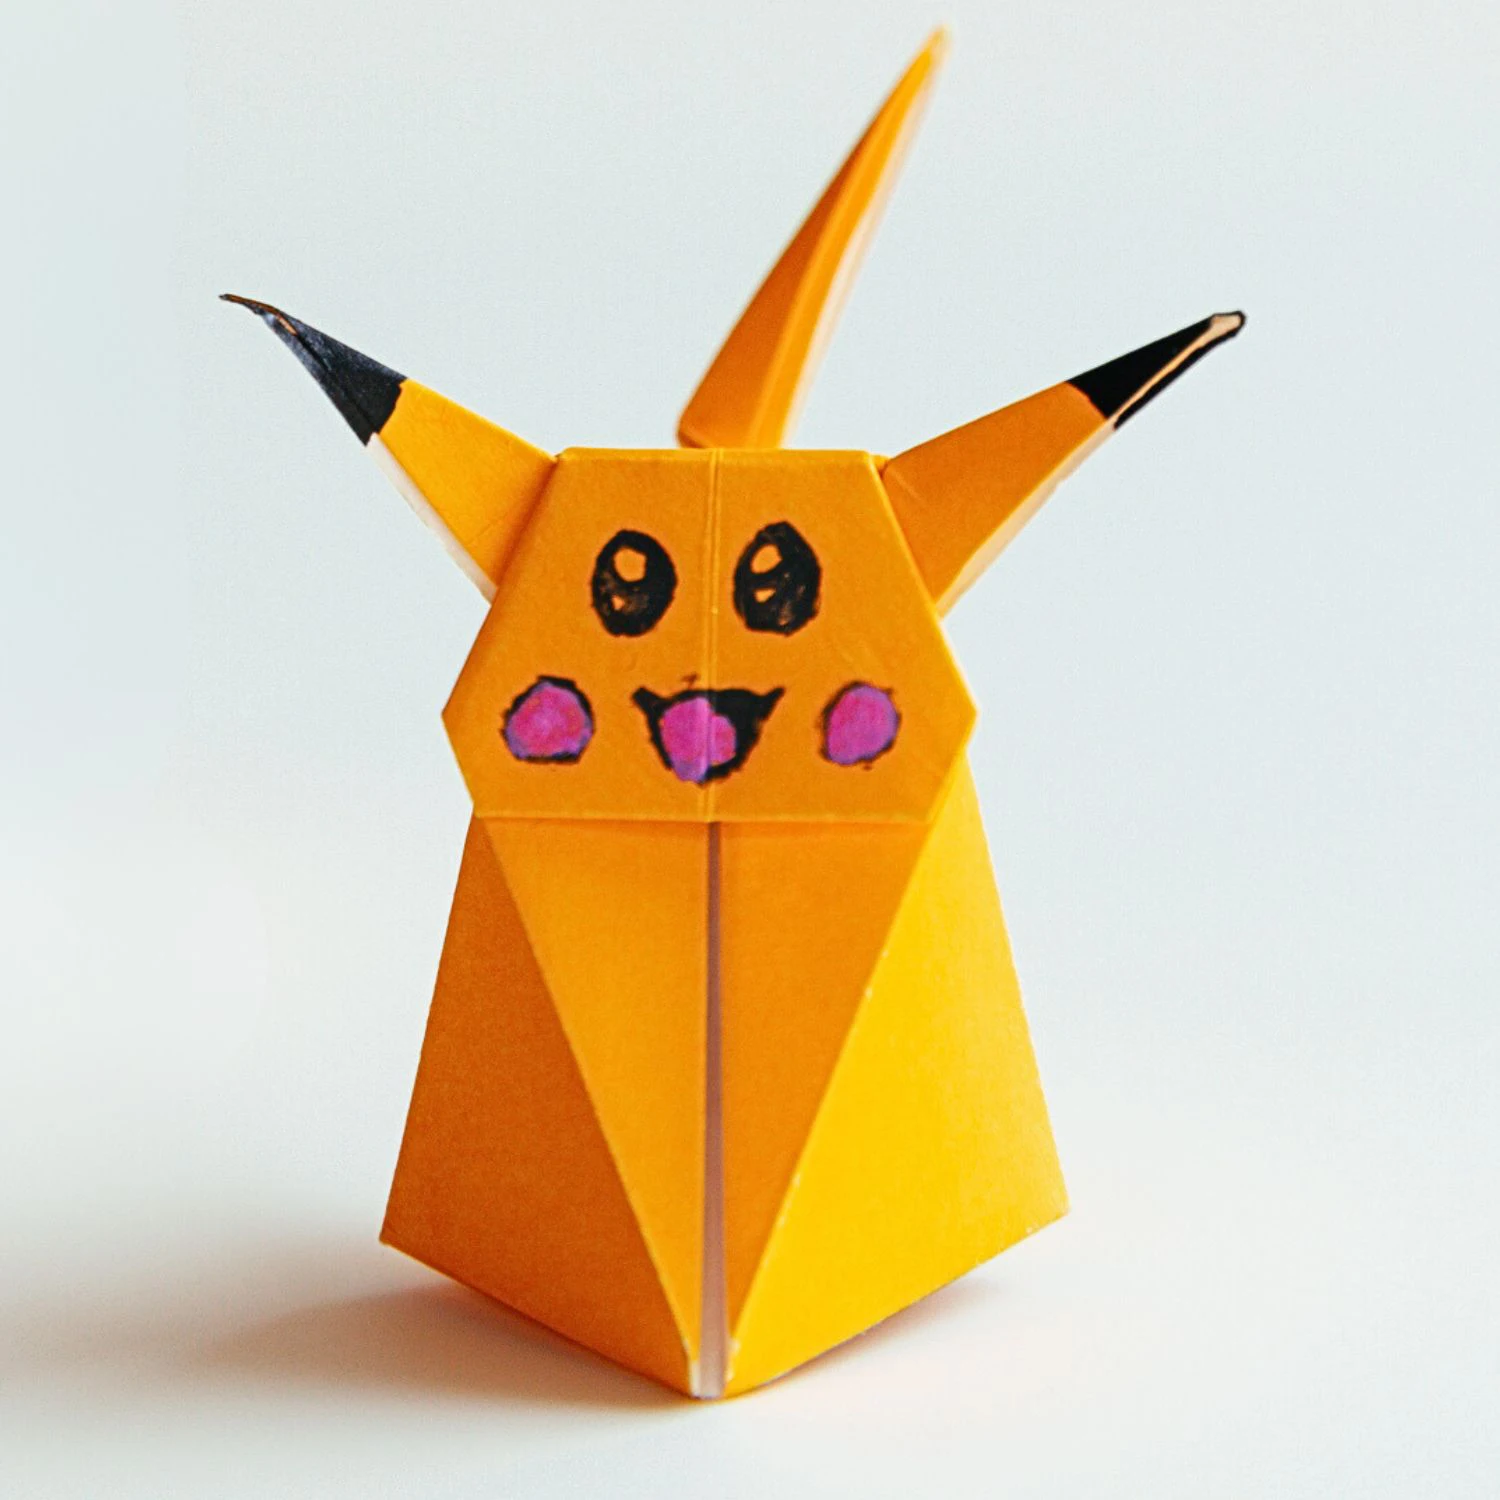
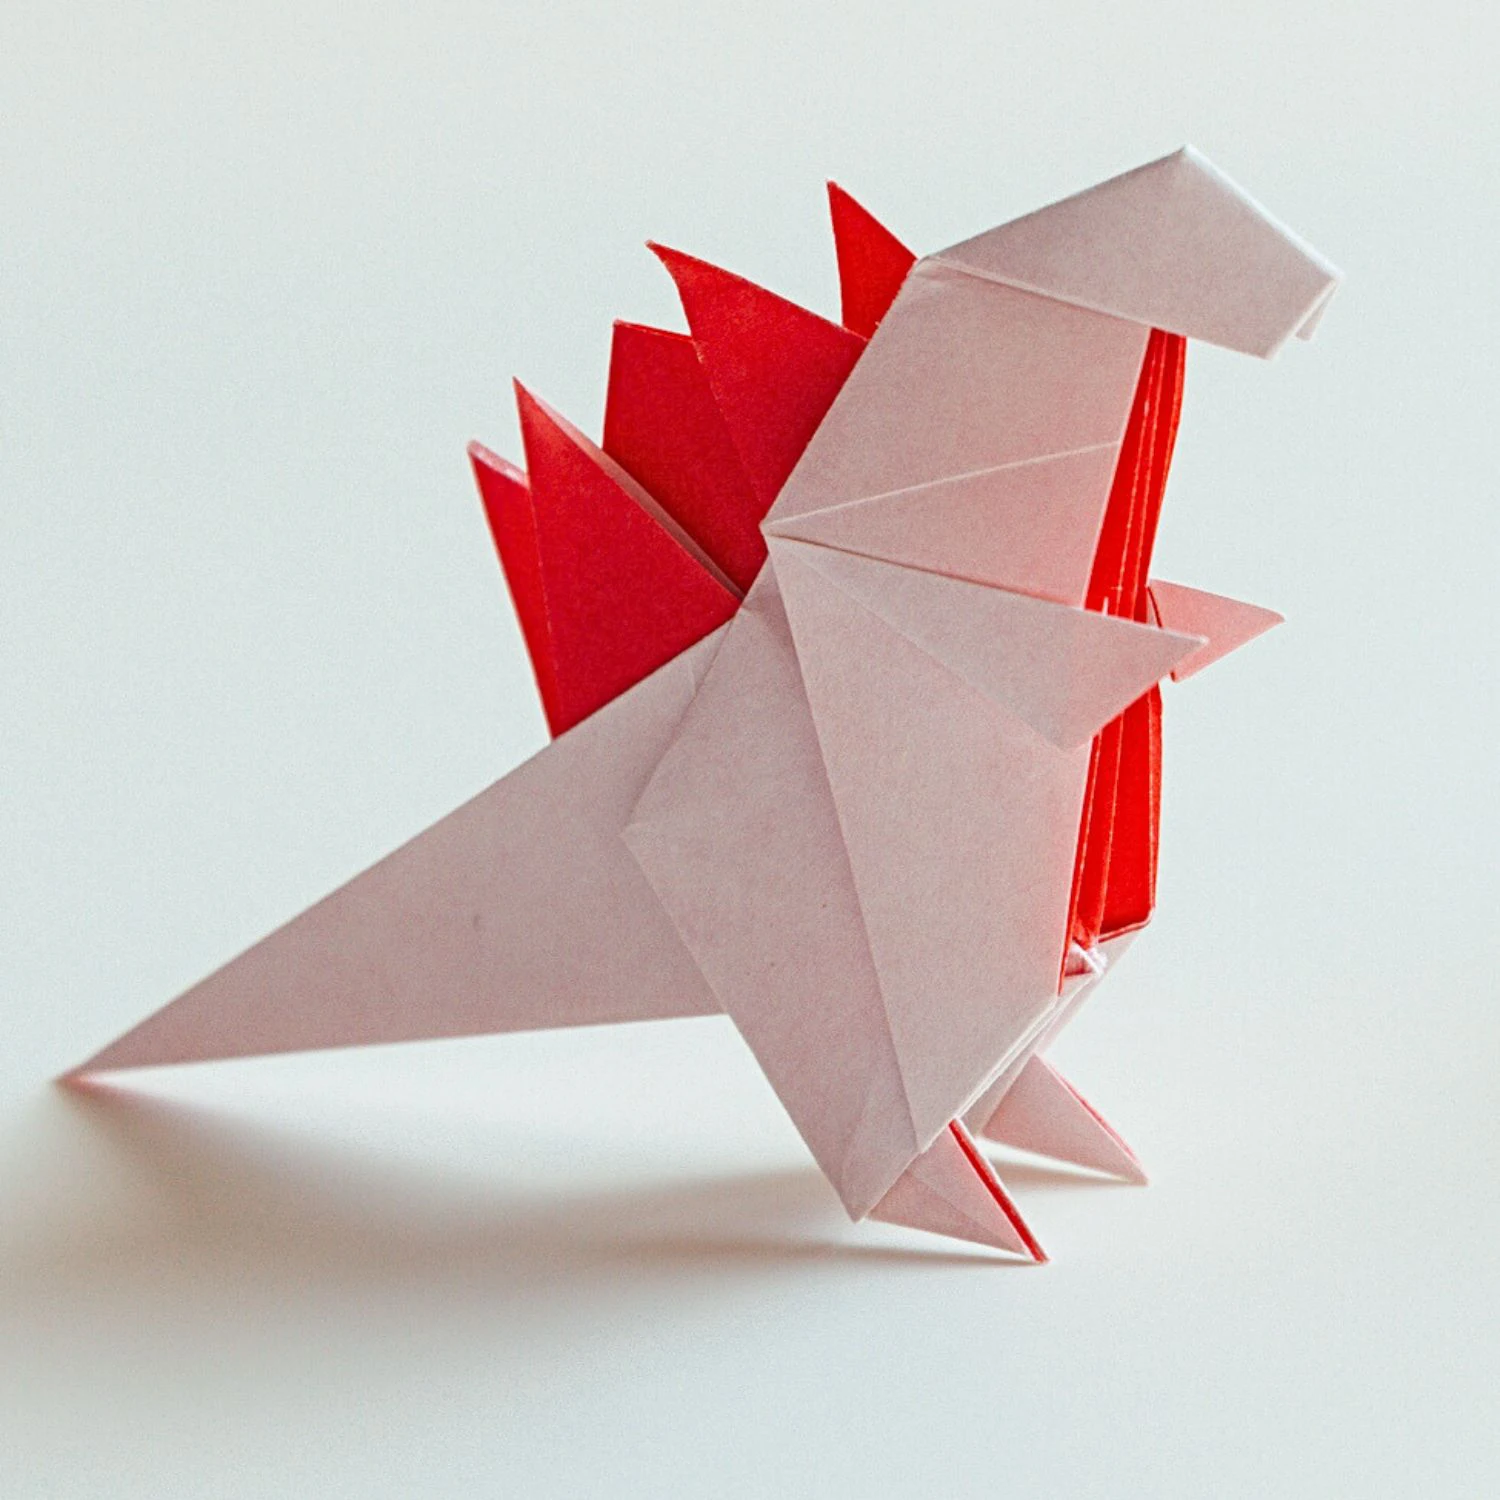
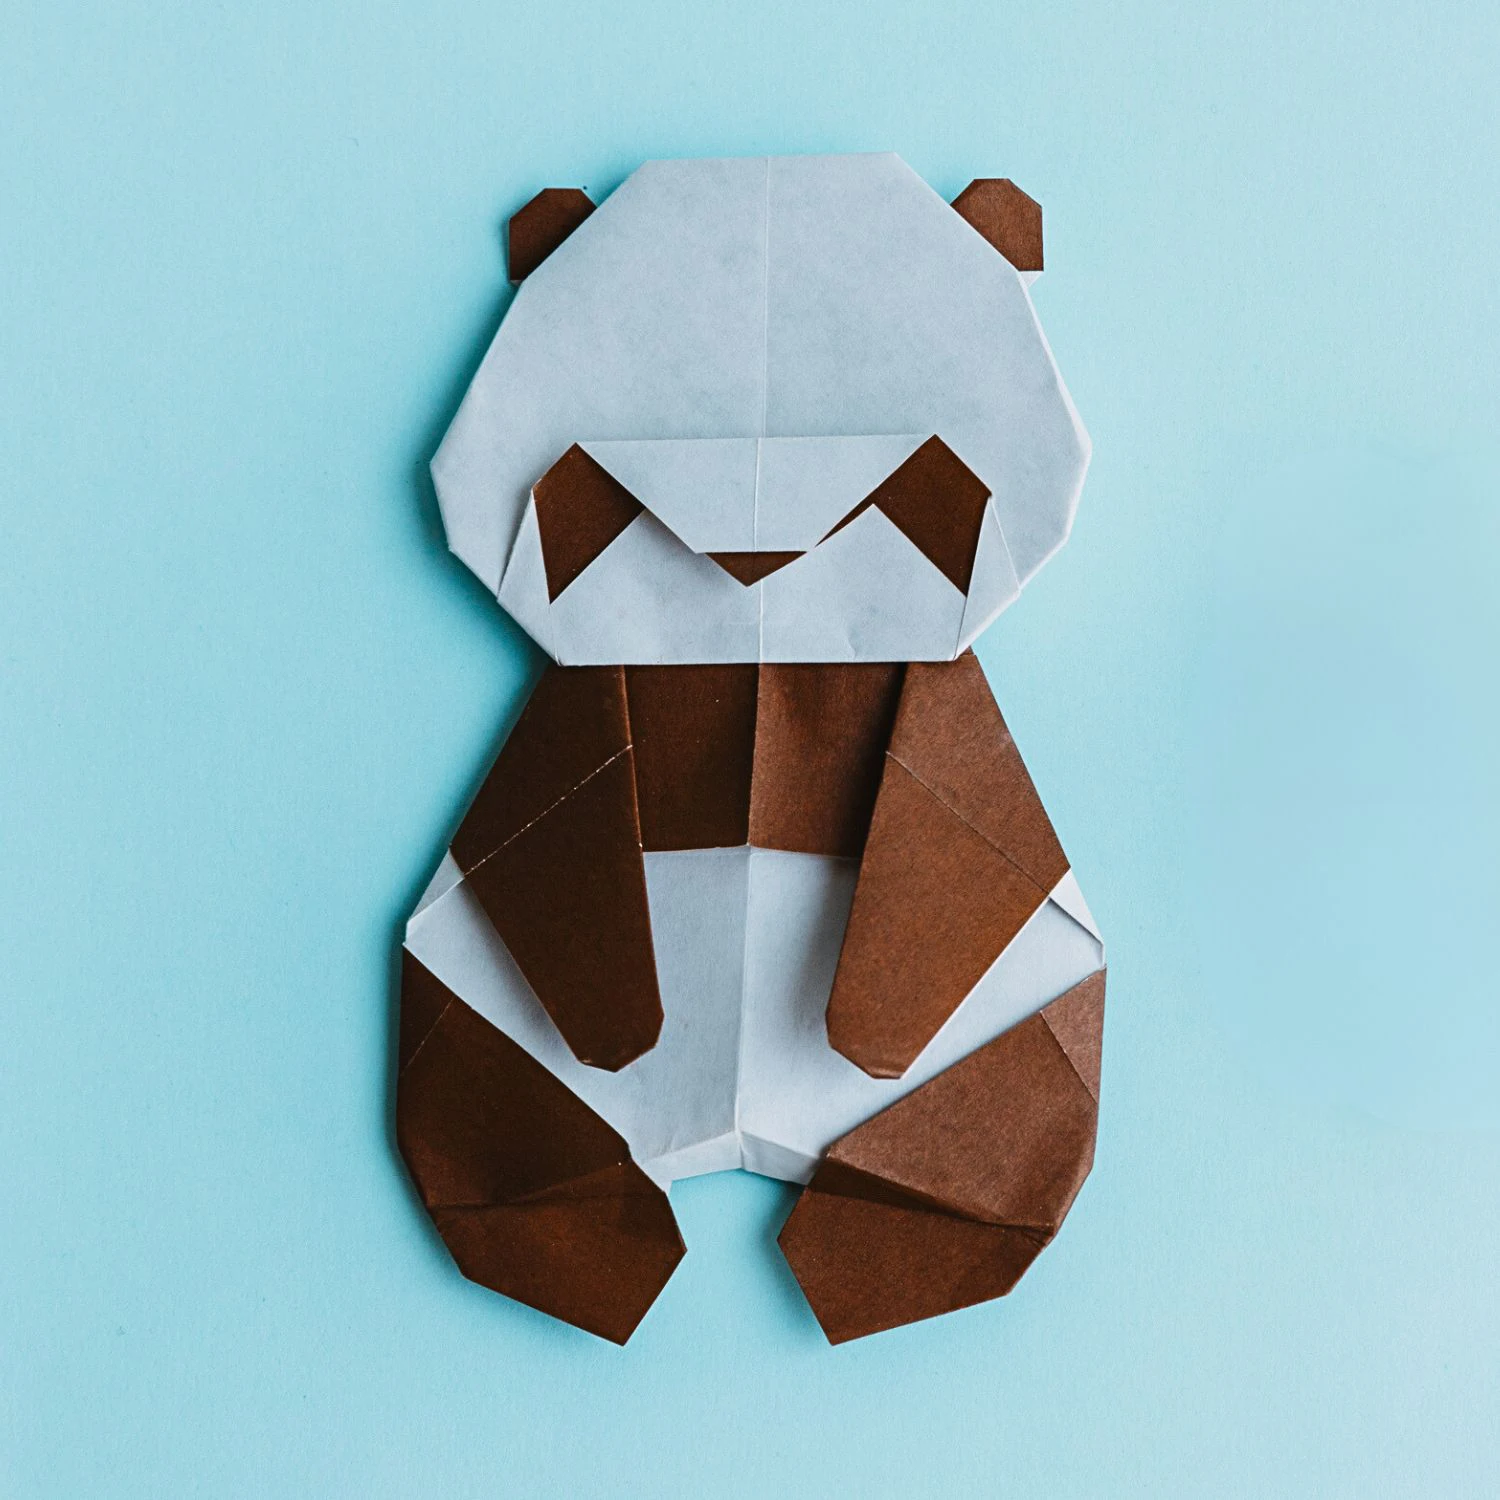
Other Origami Animal Ideas