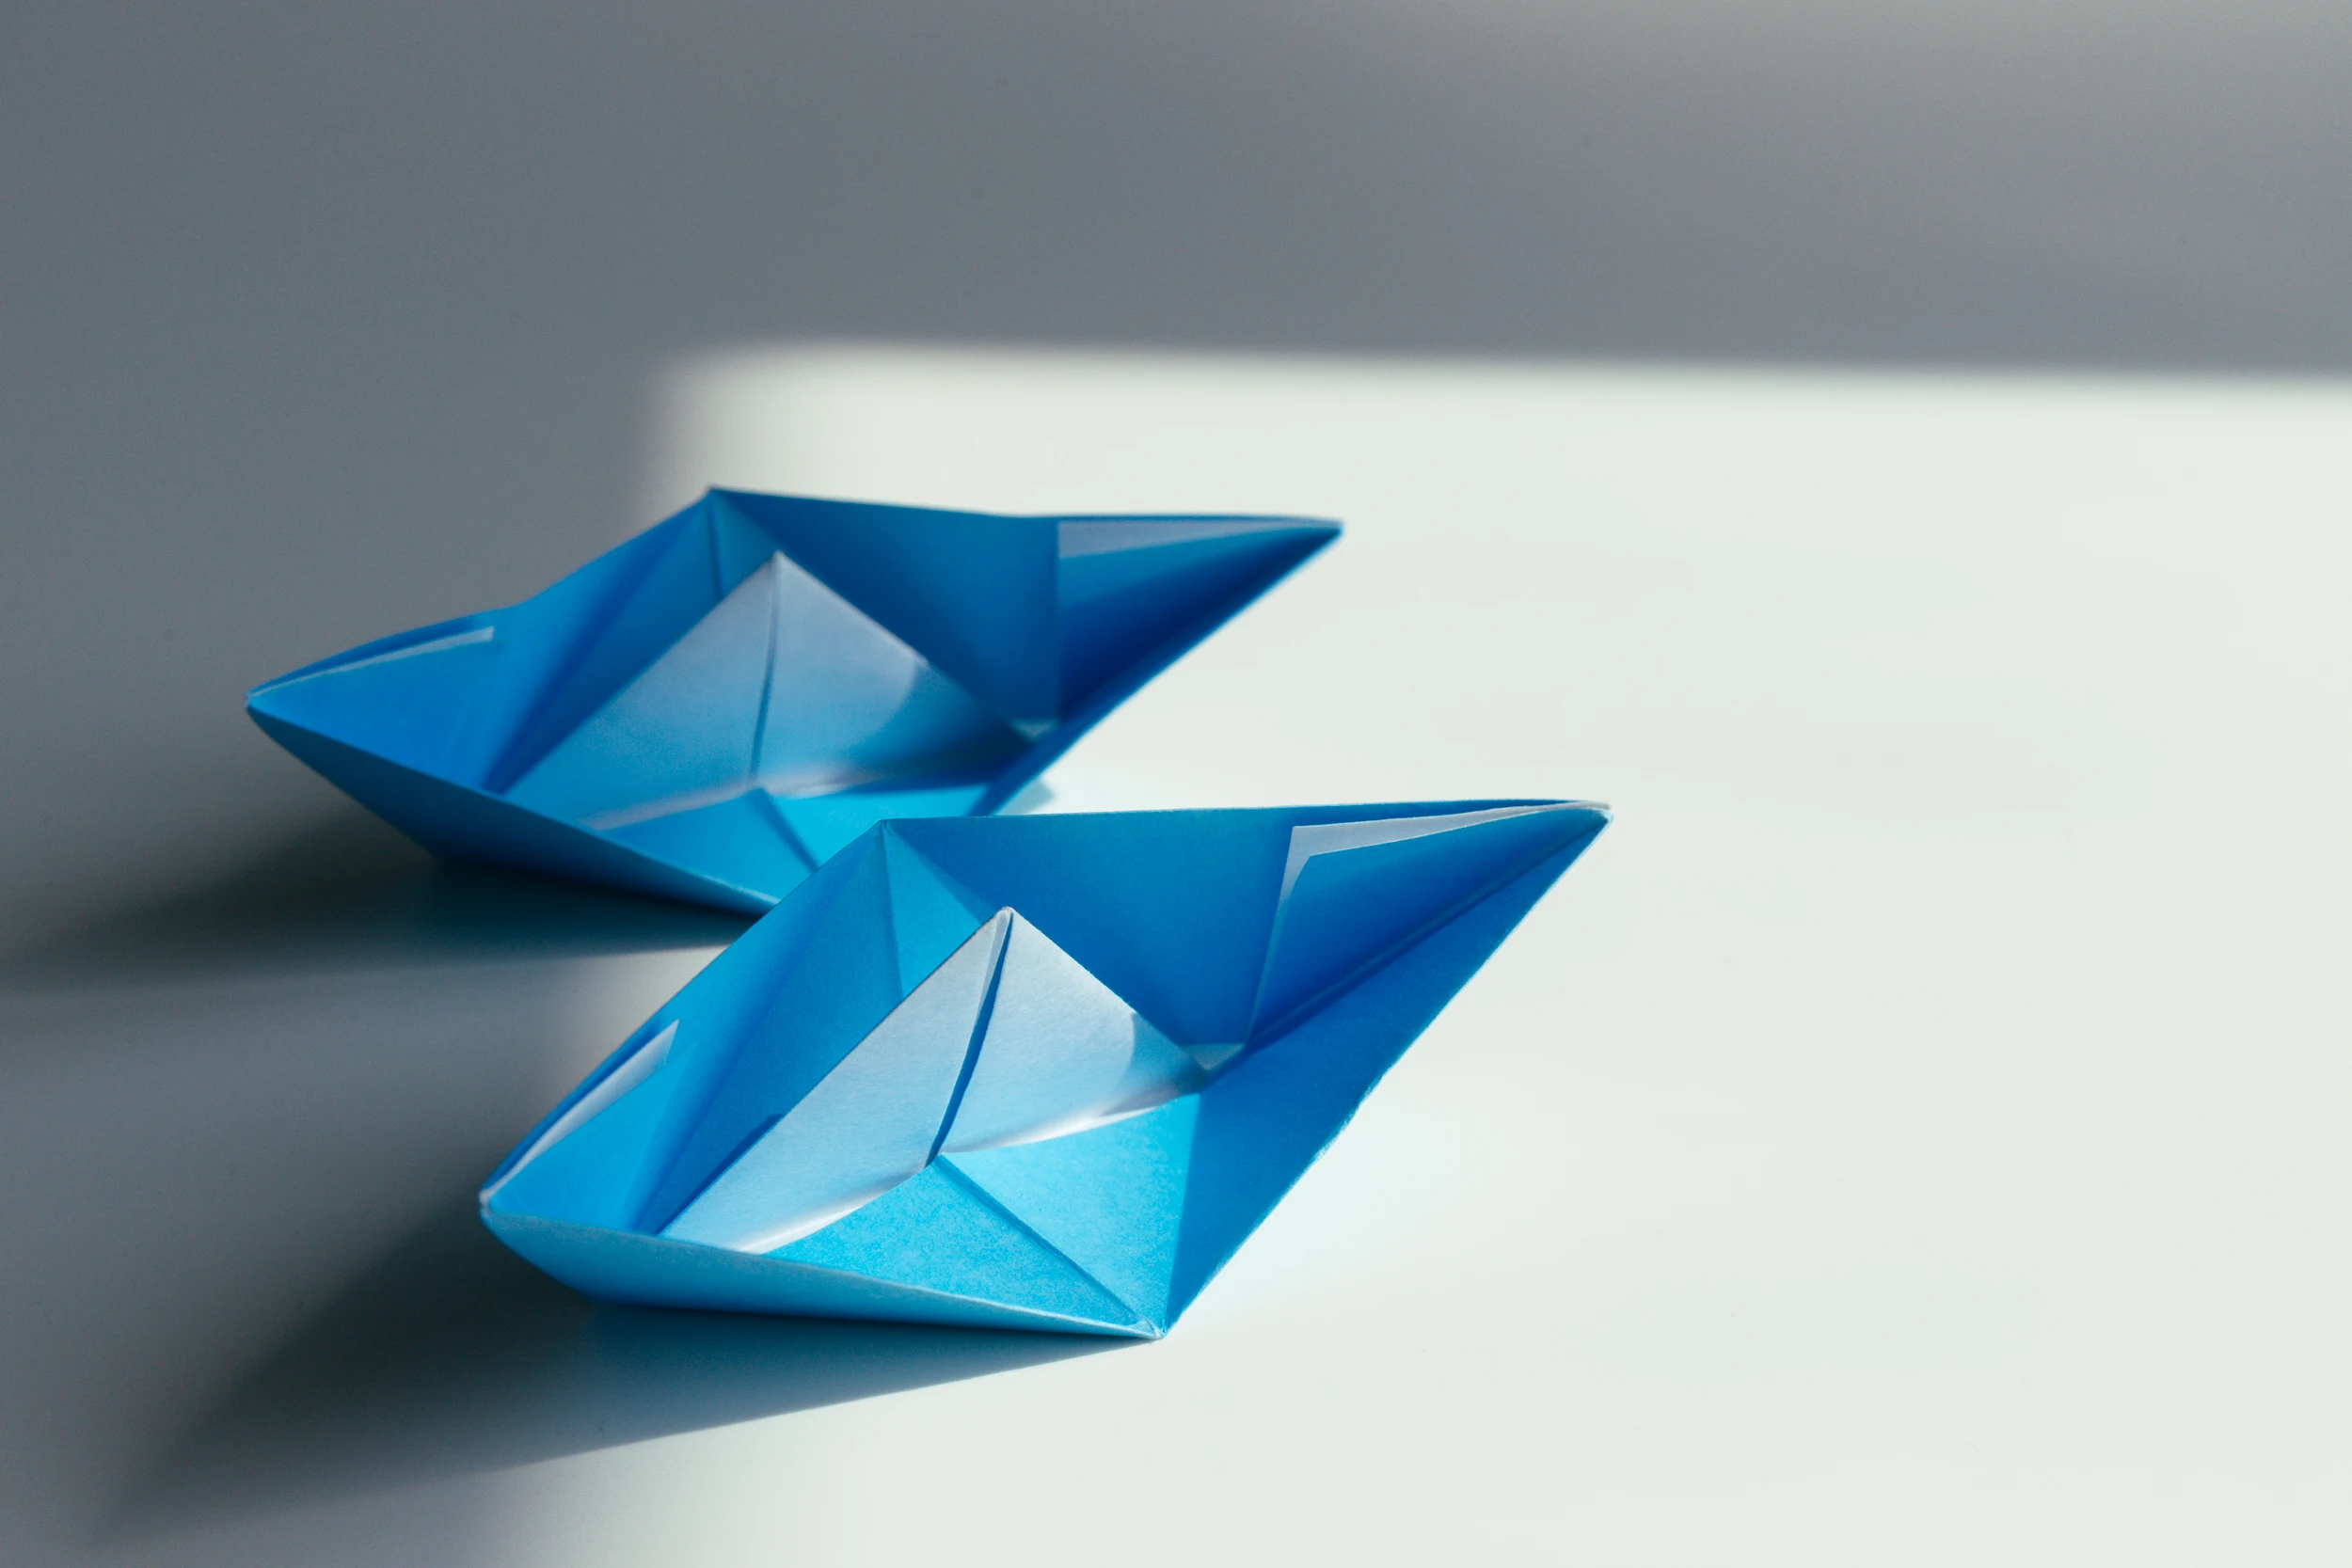
How to Make an Easy Origami Boat
This is another origami that carries many people’s childhood memories, an easy and lovely origami boat, will always remind you of the beauty and simplicity of the past.
We provide step-by-step diagram instructions and beginner-friendly videos. Check both for quicker learning.
If you are new to origami, start here from our beginner guide to know the basics and how to read the step-by-step instructions.
- Folding time: 8 minutes
- Paper: 15×15 cm
- Difficulty: Easy, Beginner friendly
Material
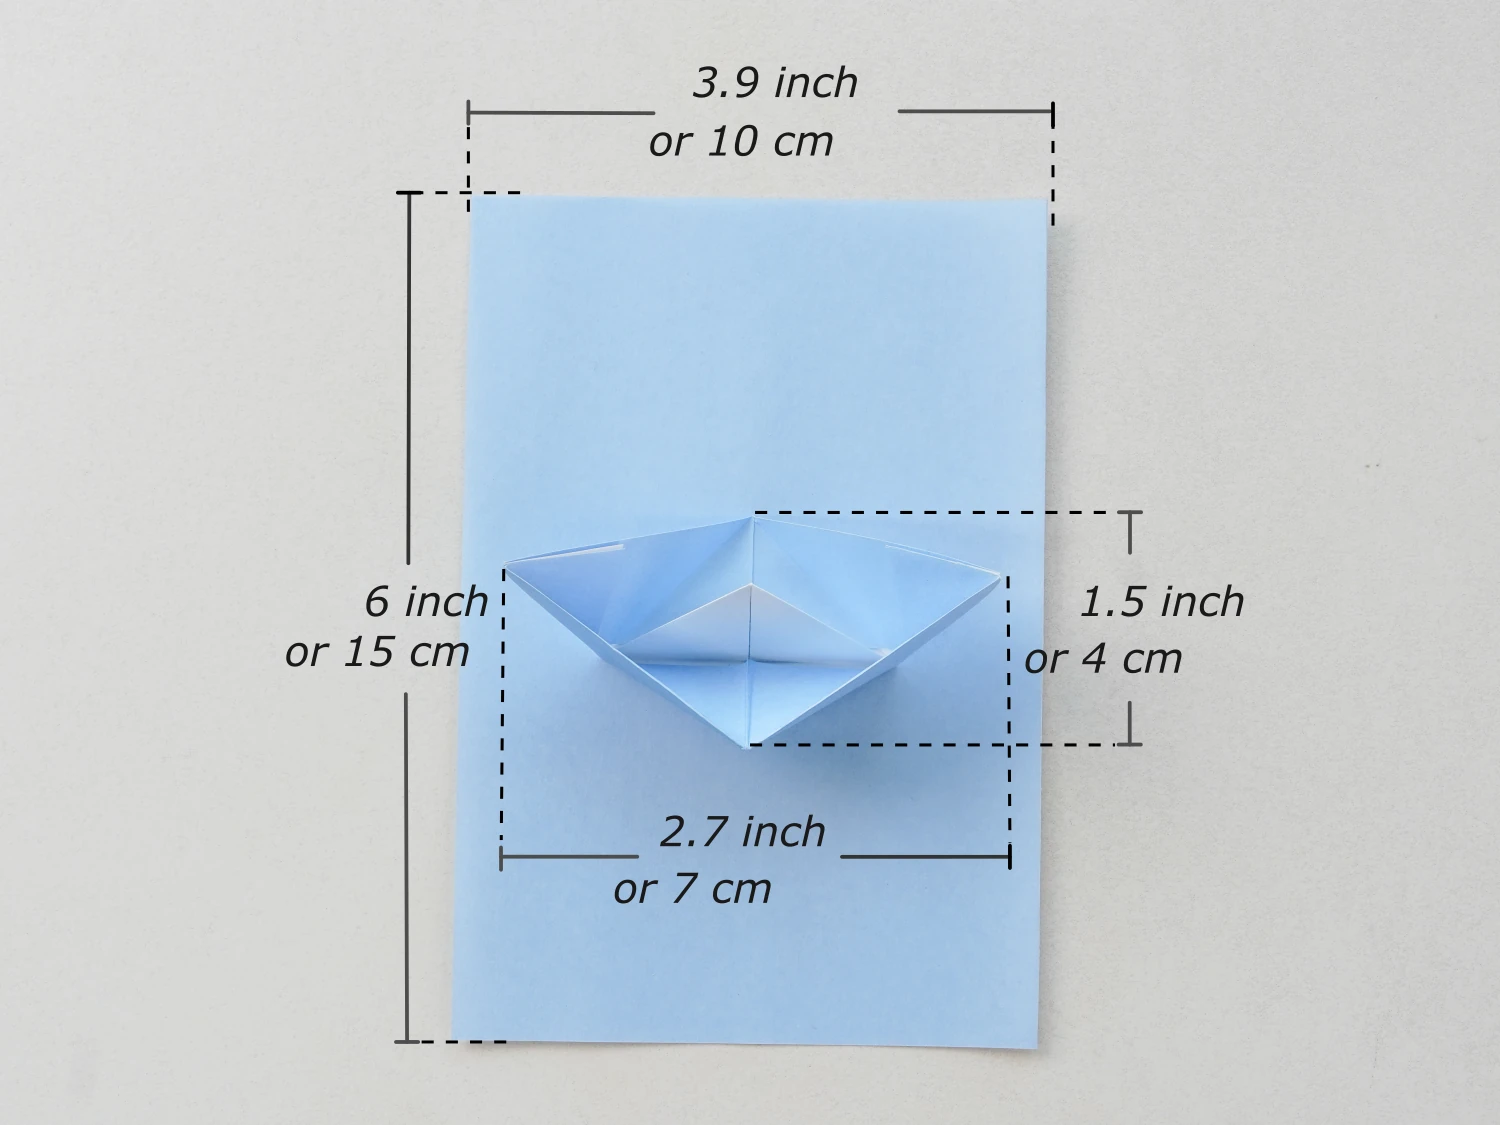
Get a 10*15 cm origami paper, one blue and one white side, and you will get a 4*7 cm boat, you can choose other colors of paper to create different boats.
Easy Origami Boat Video
Step by Step Instructions
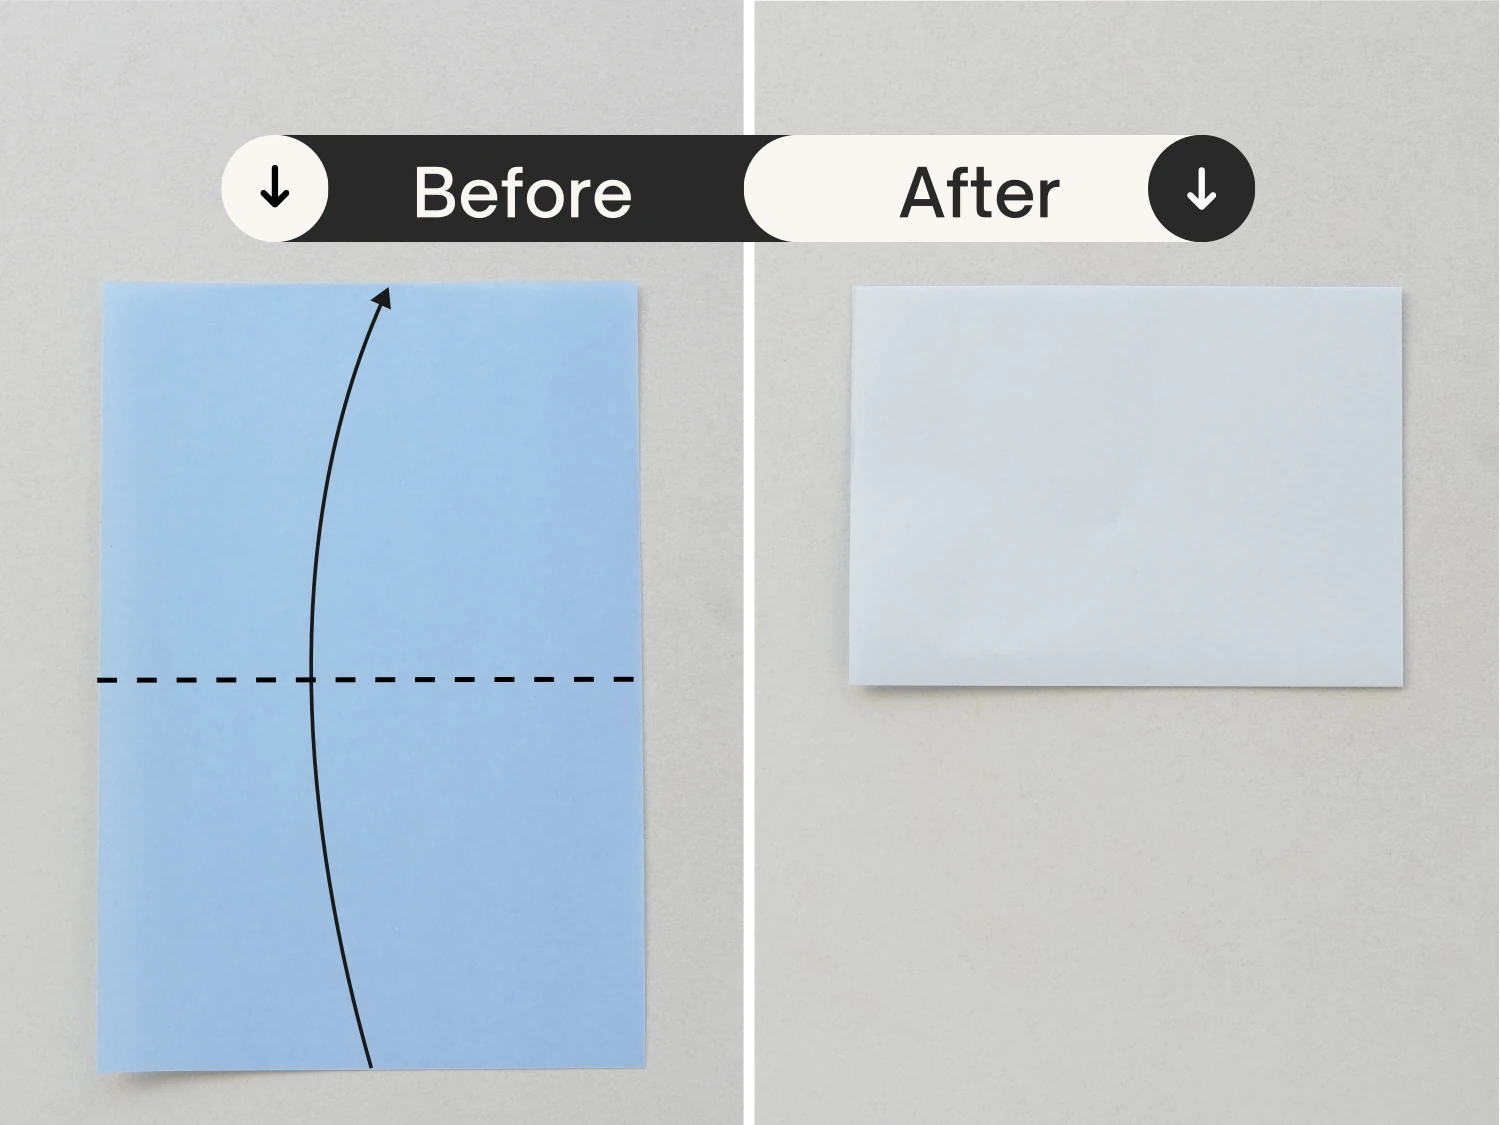
Step 1
Start with the blue side of the paper facing up, and fold it in half horizontally.
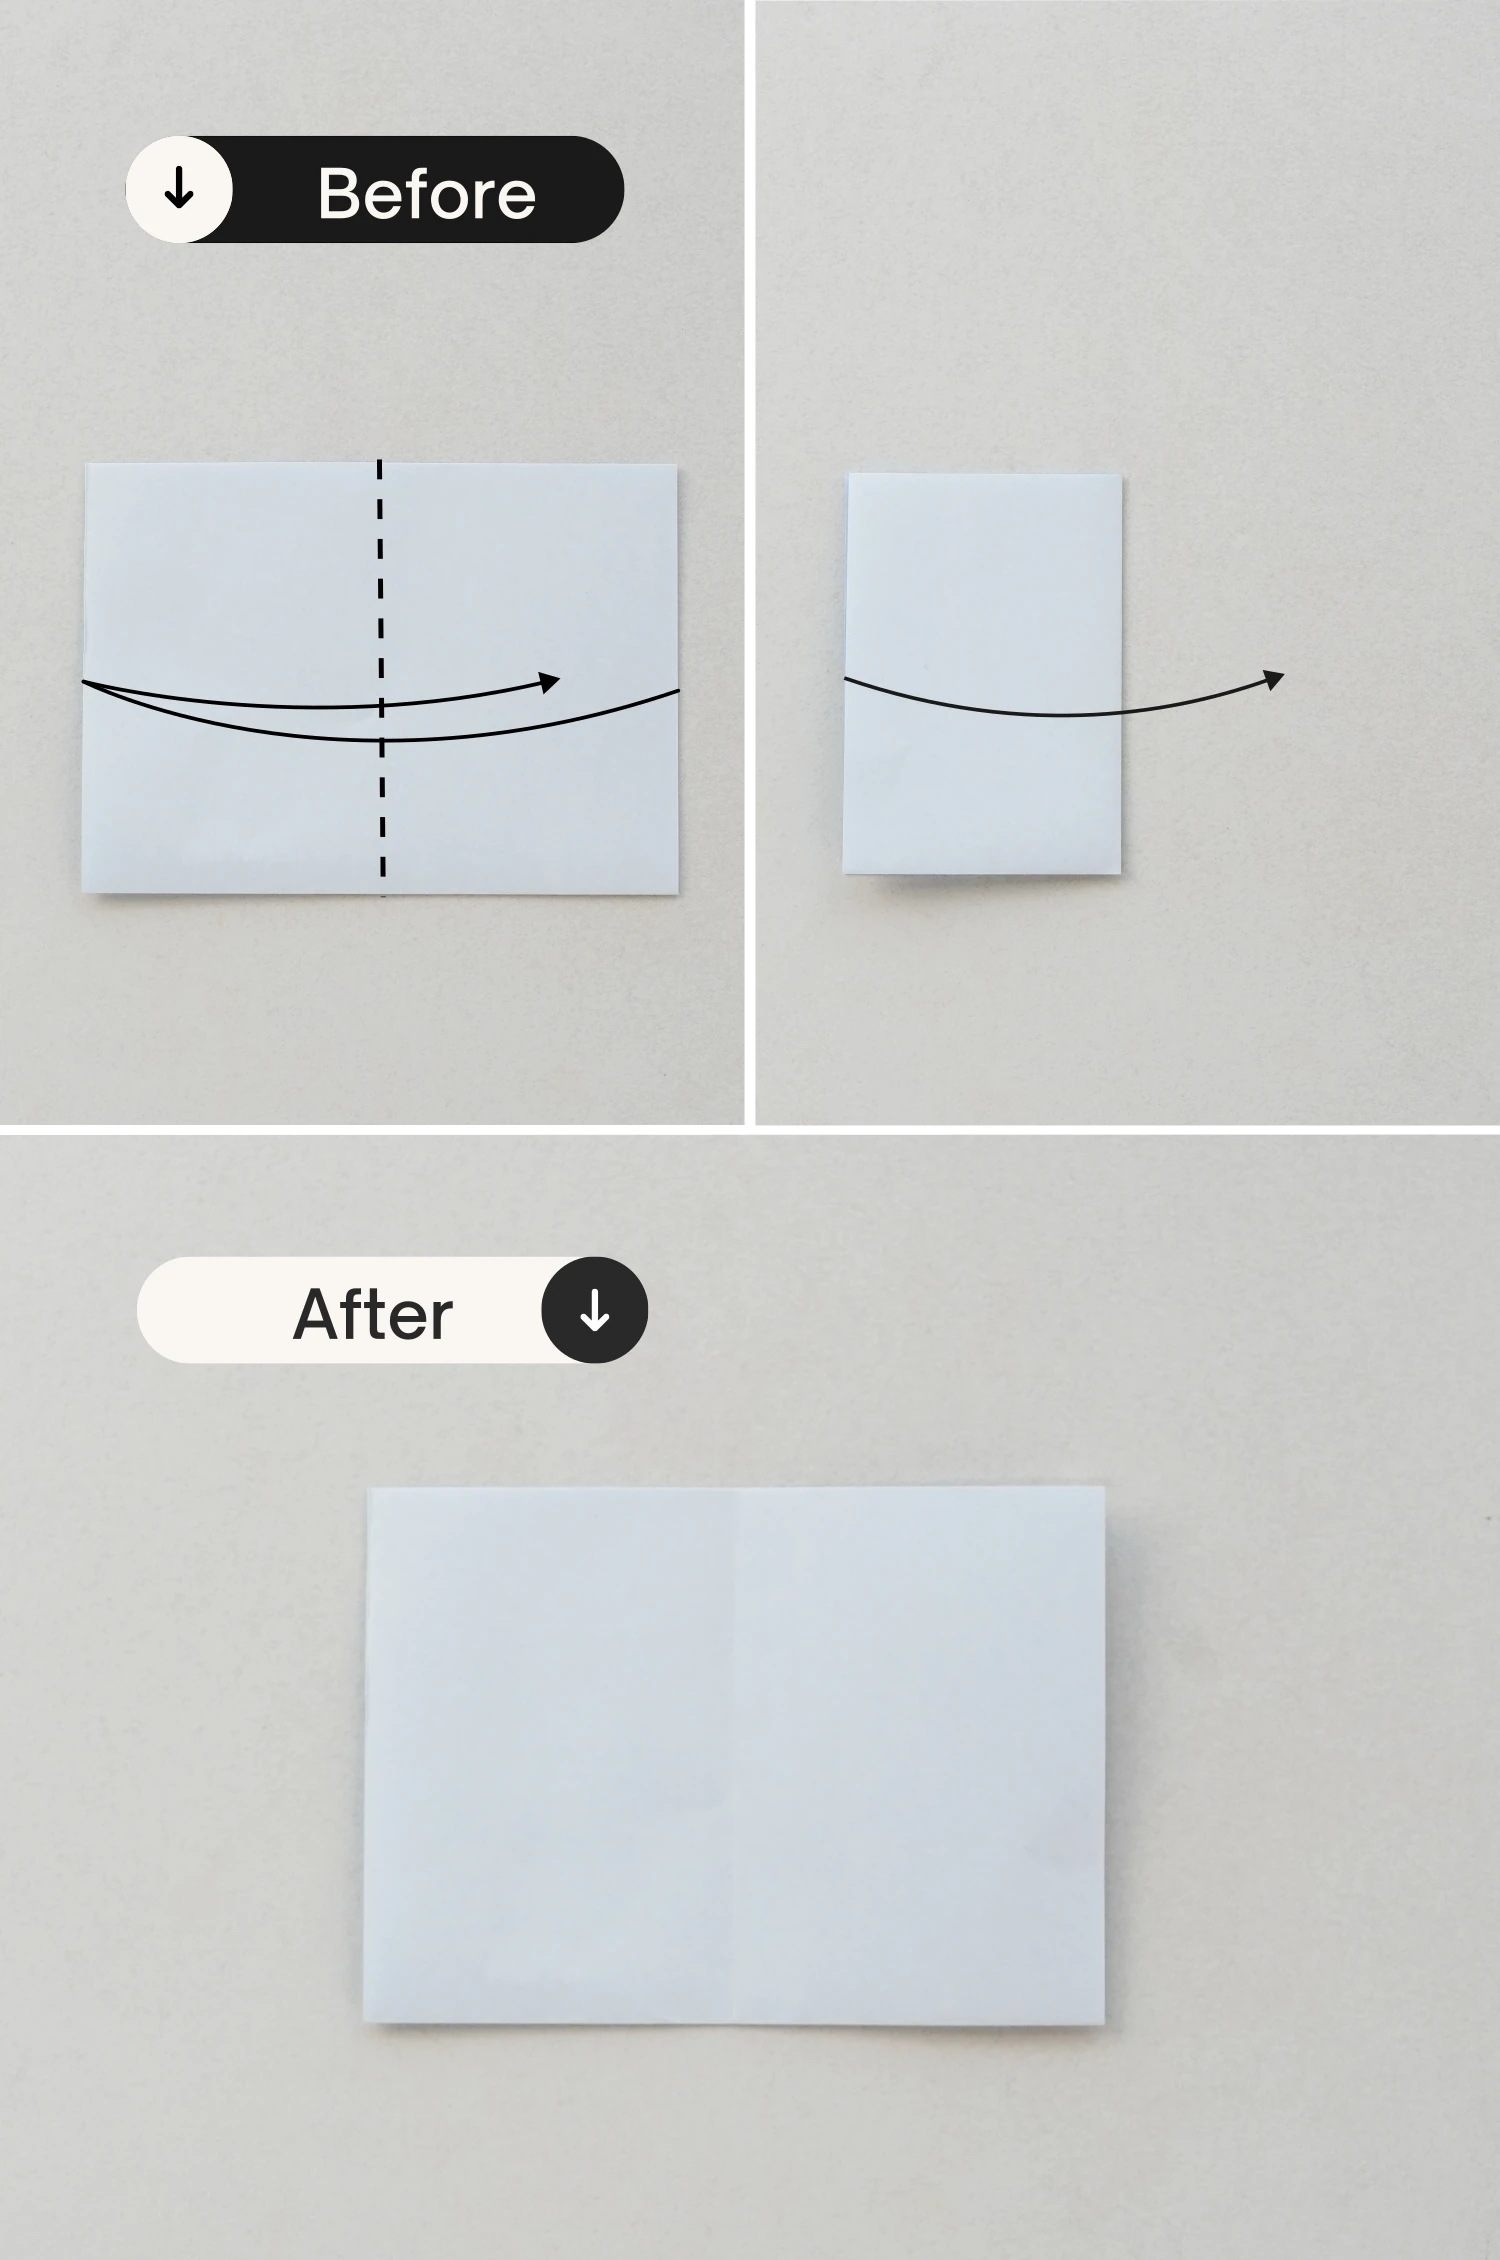
Step 2
Fold it in half vertically, crease it well then unfold.
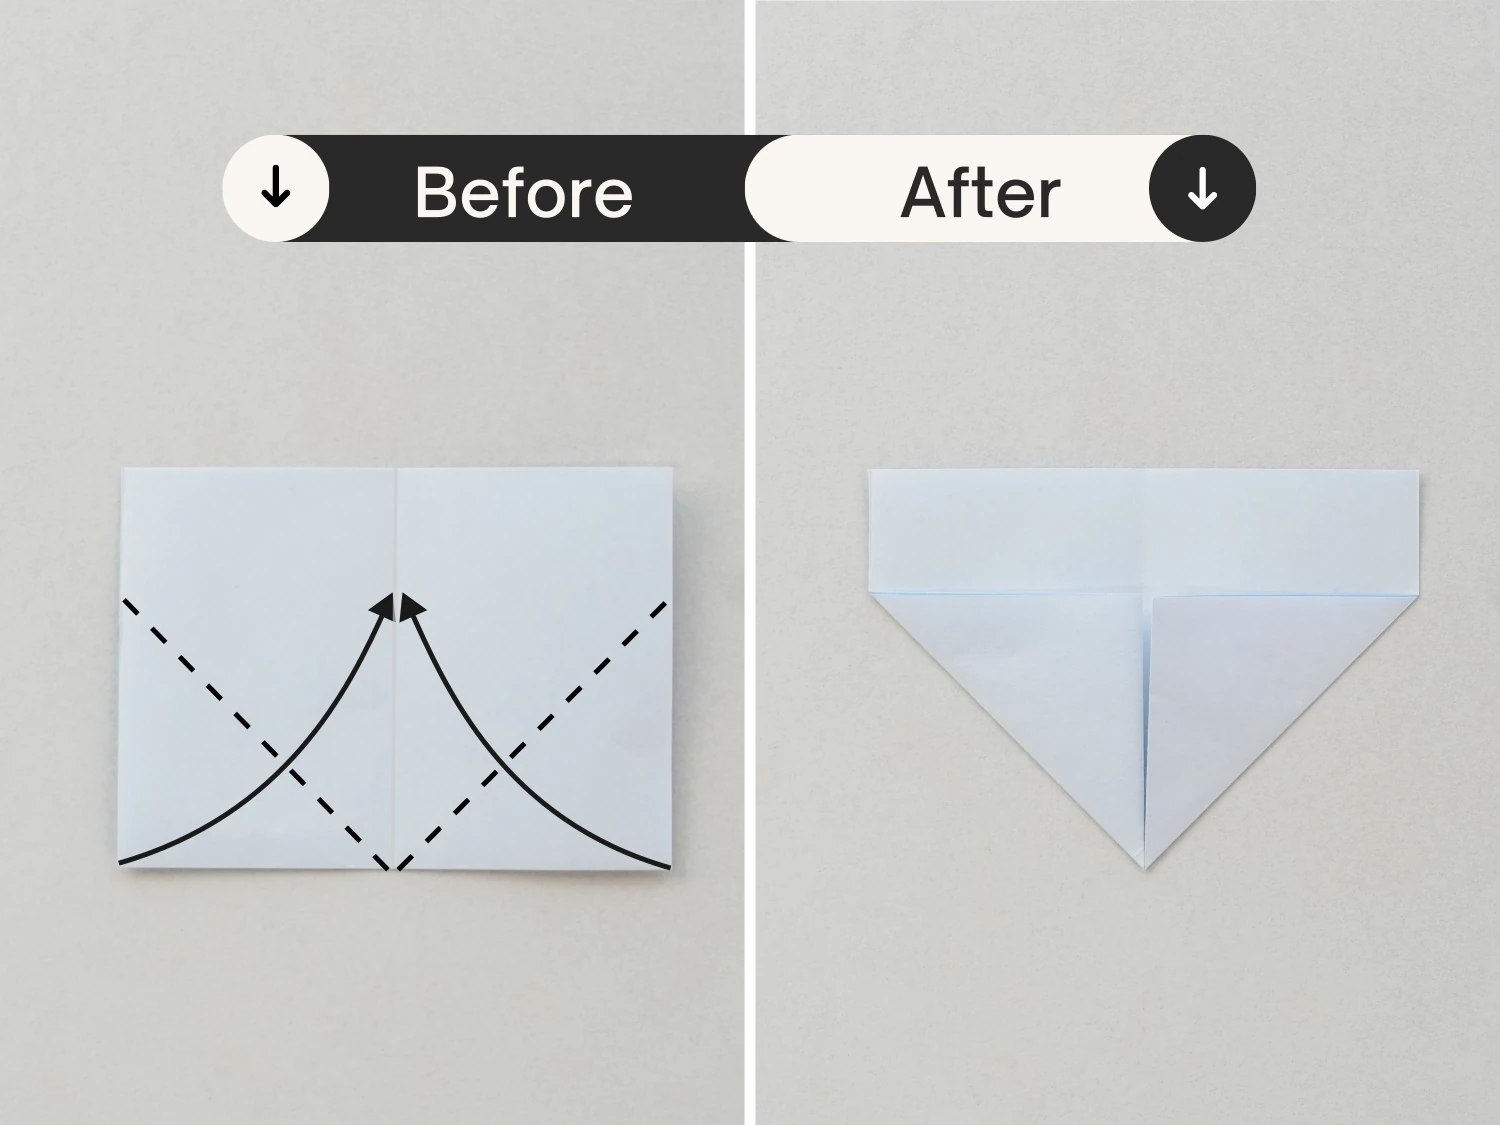
Step 3
Fold the two bottom edges divided by the vertical crease to align the middle vertical crease.
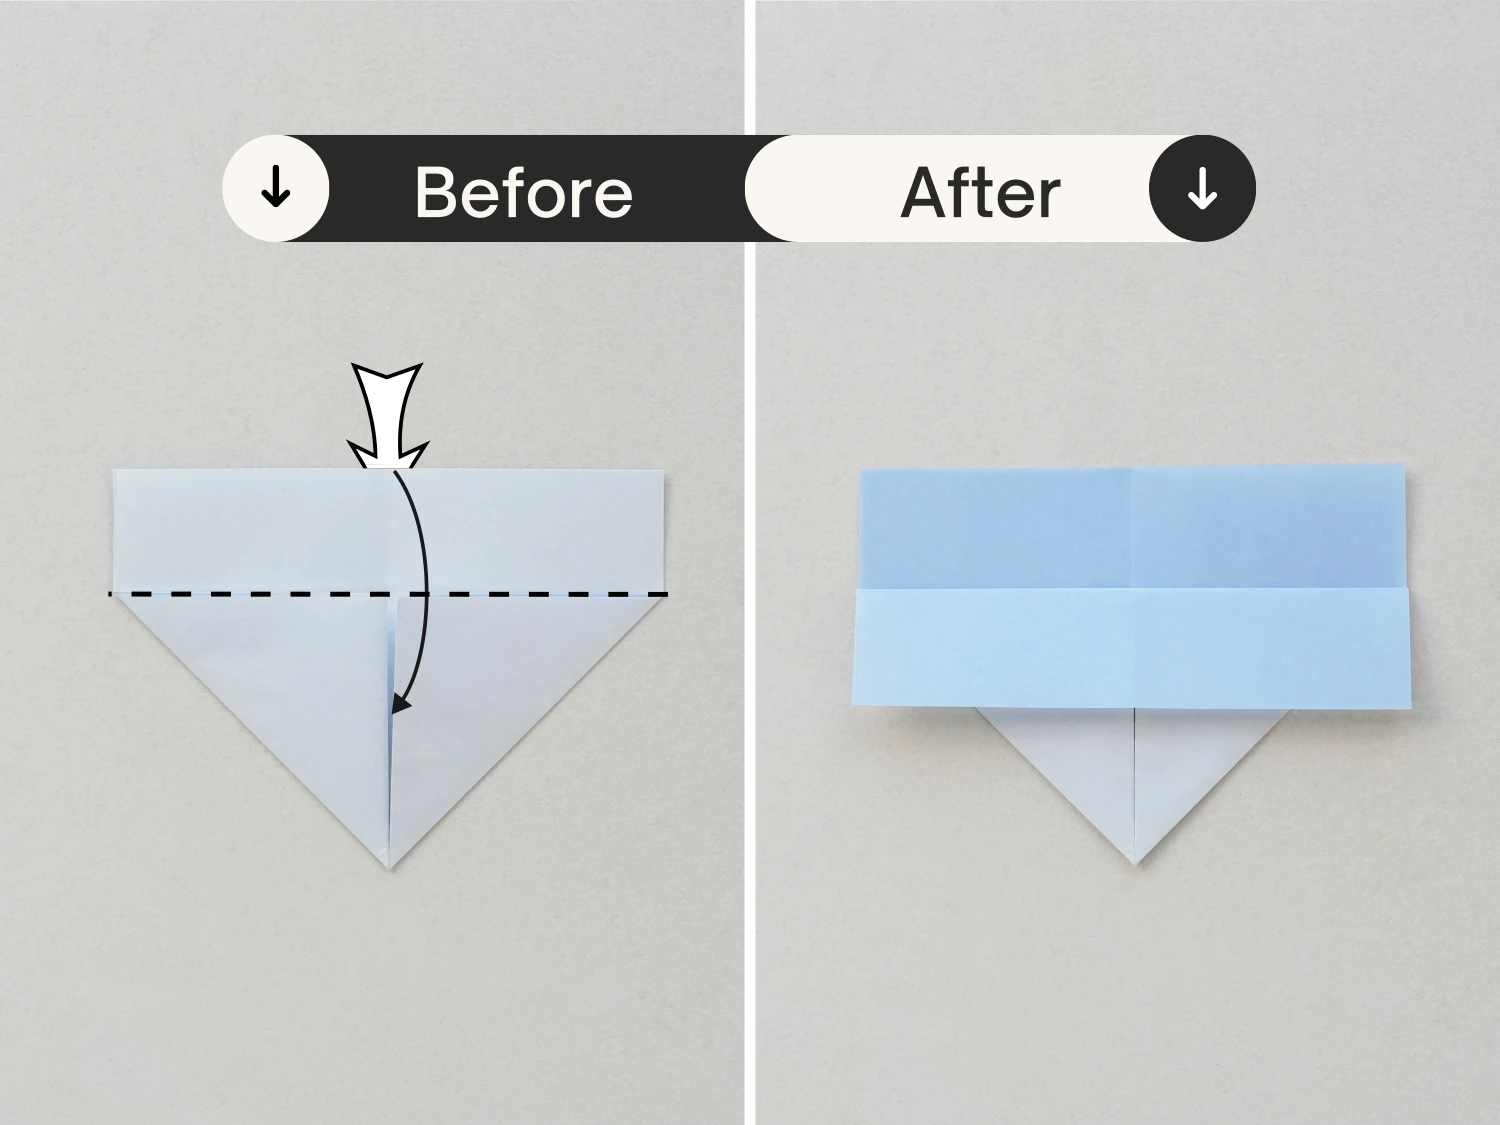
Step 4
Fold the top edge of the top layer down along the edges you just folded in the previous step.
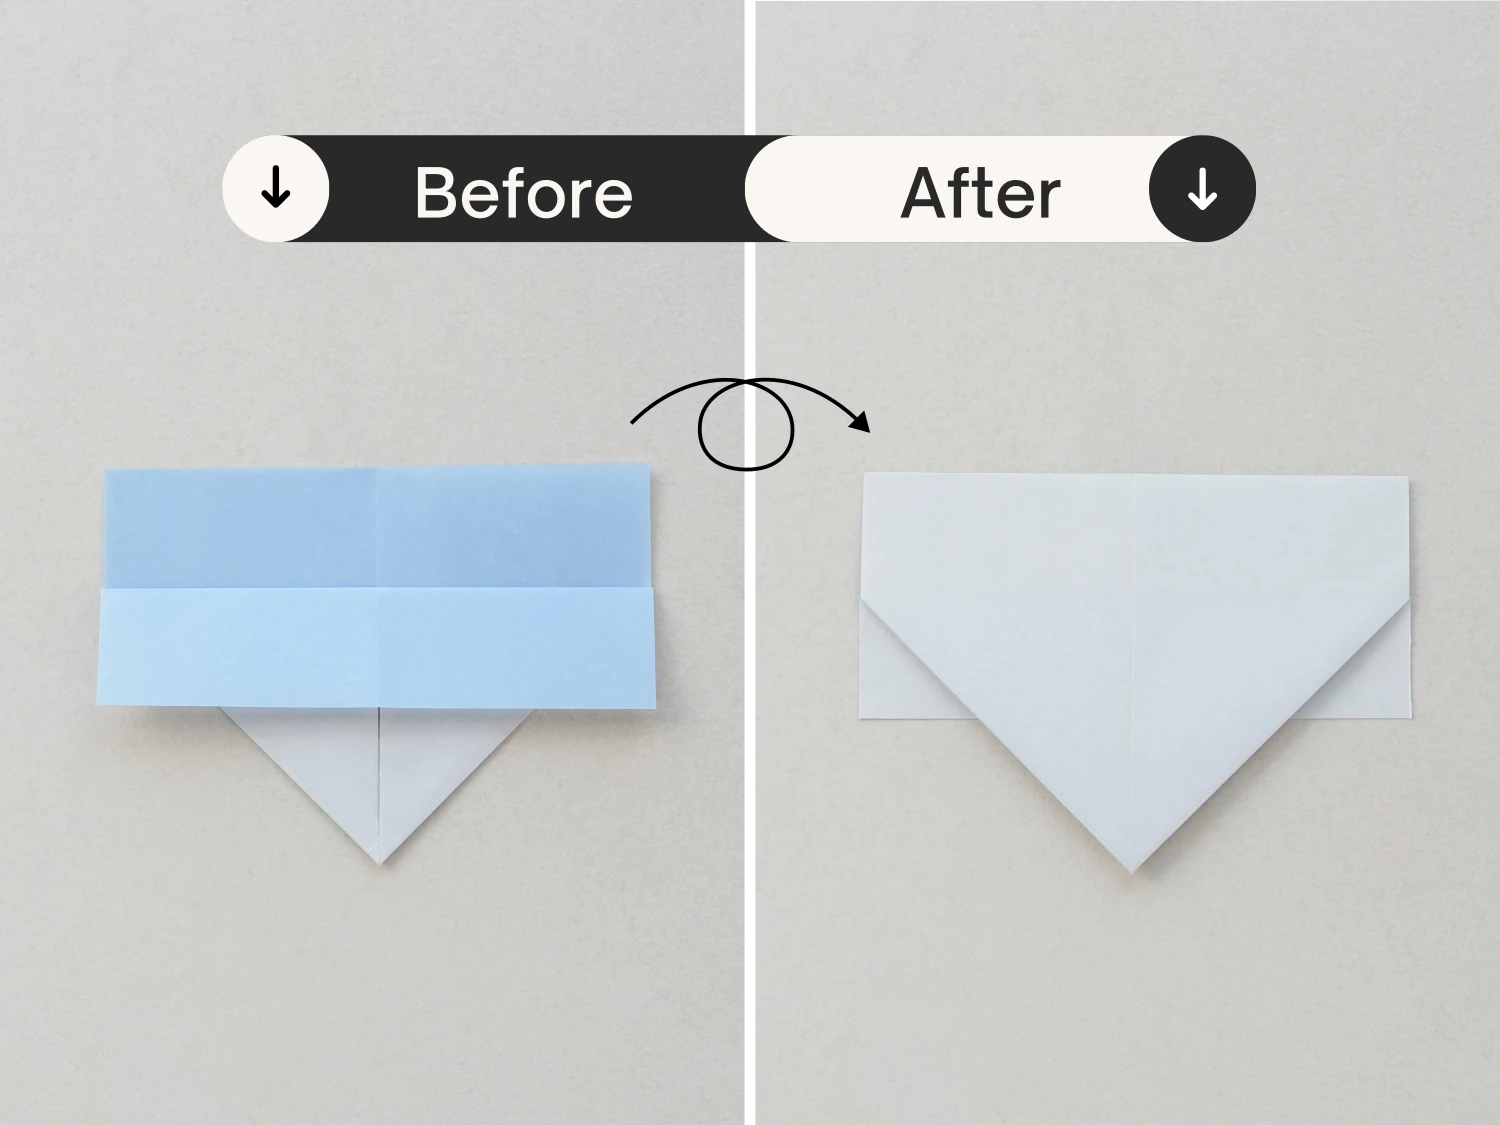
Step 5
Flip it over.
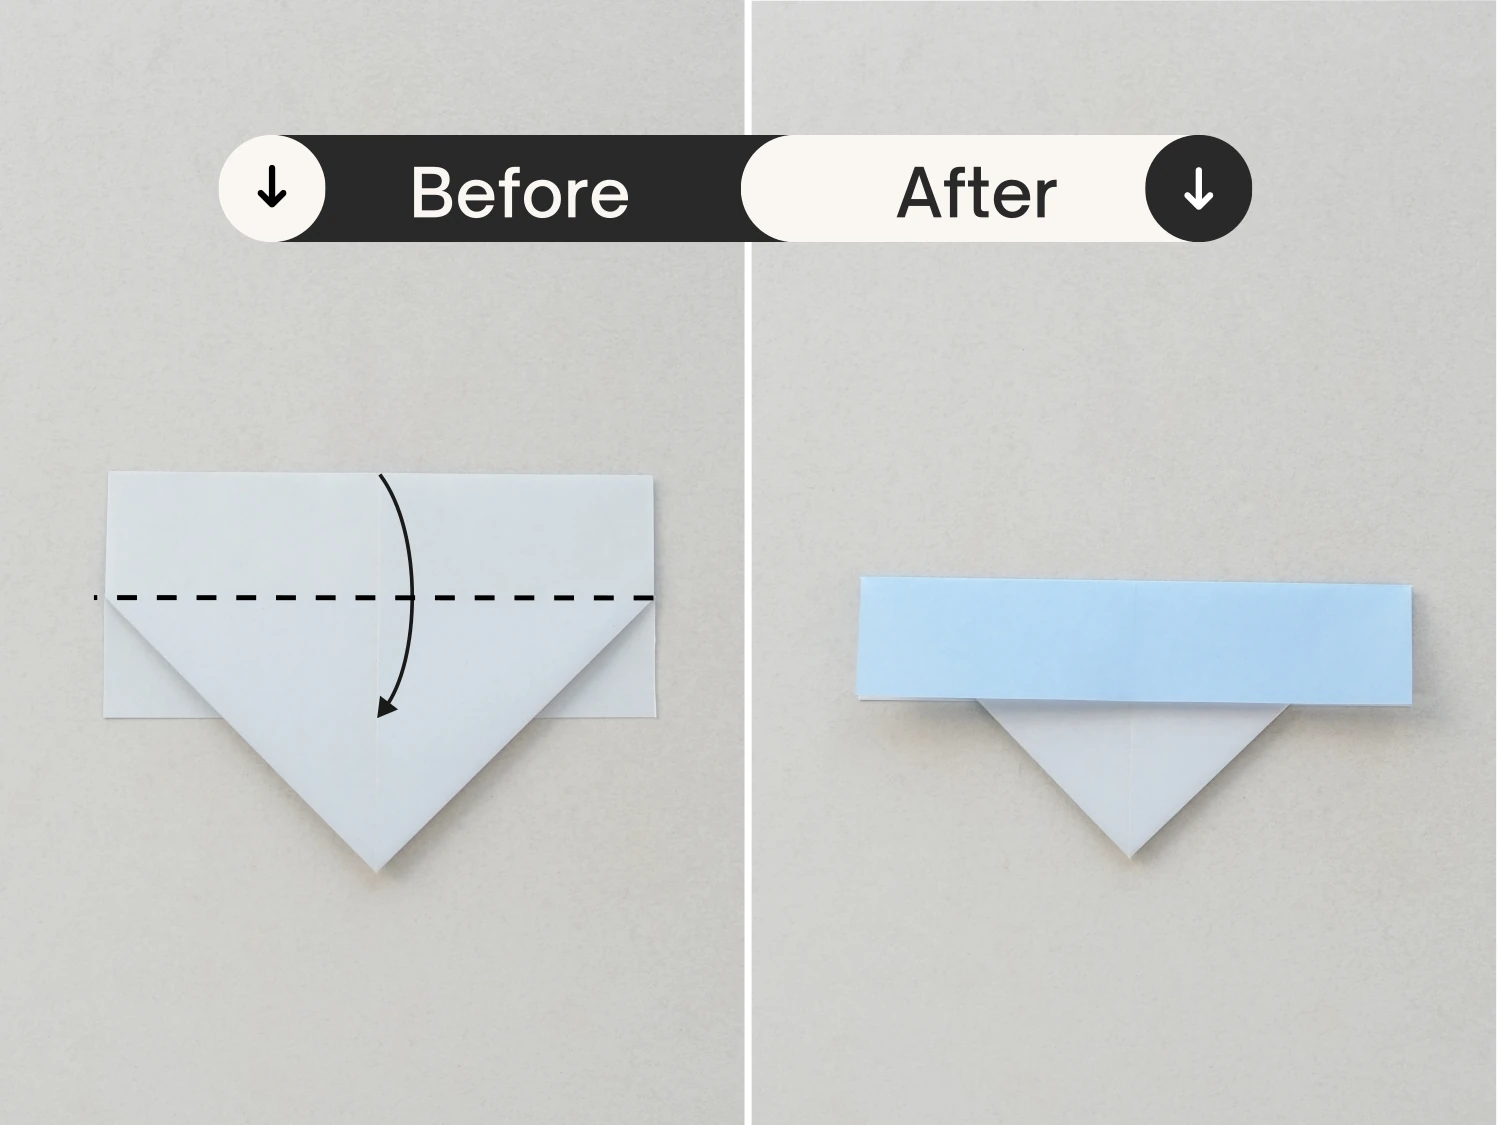
Step 6
Repeat this for the top edge, make the folded part align with the part you made in step 4.
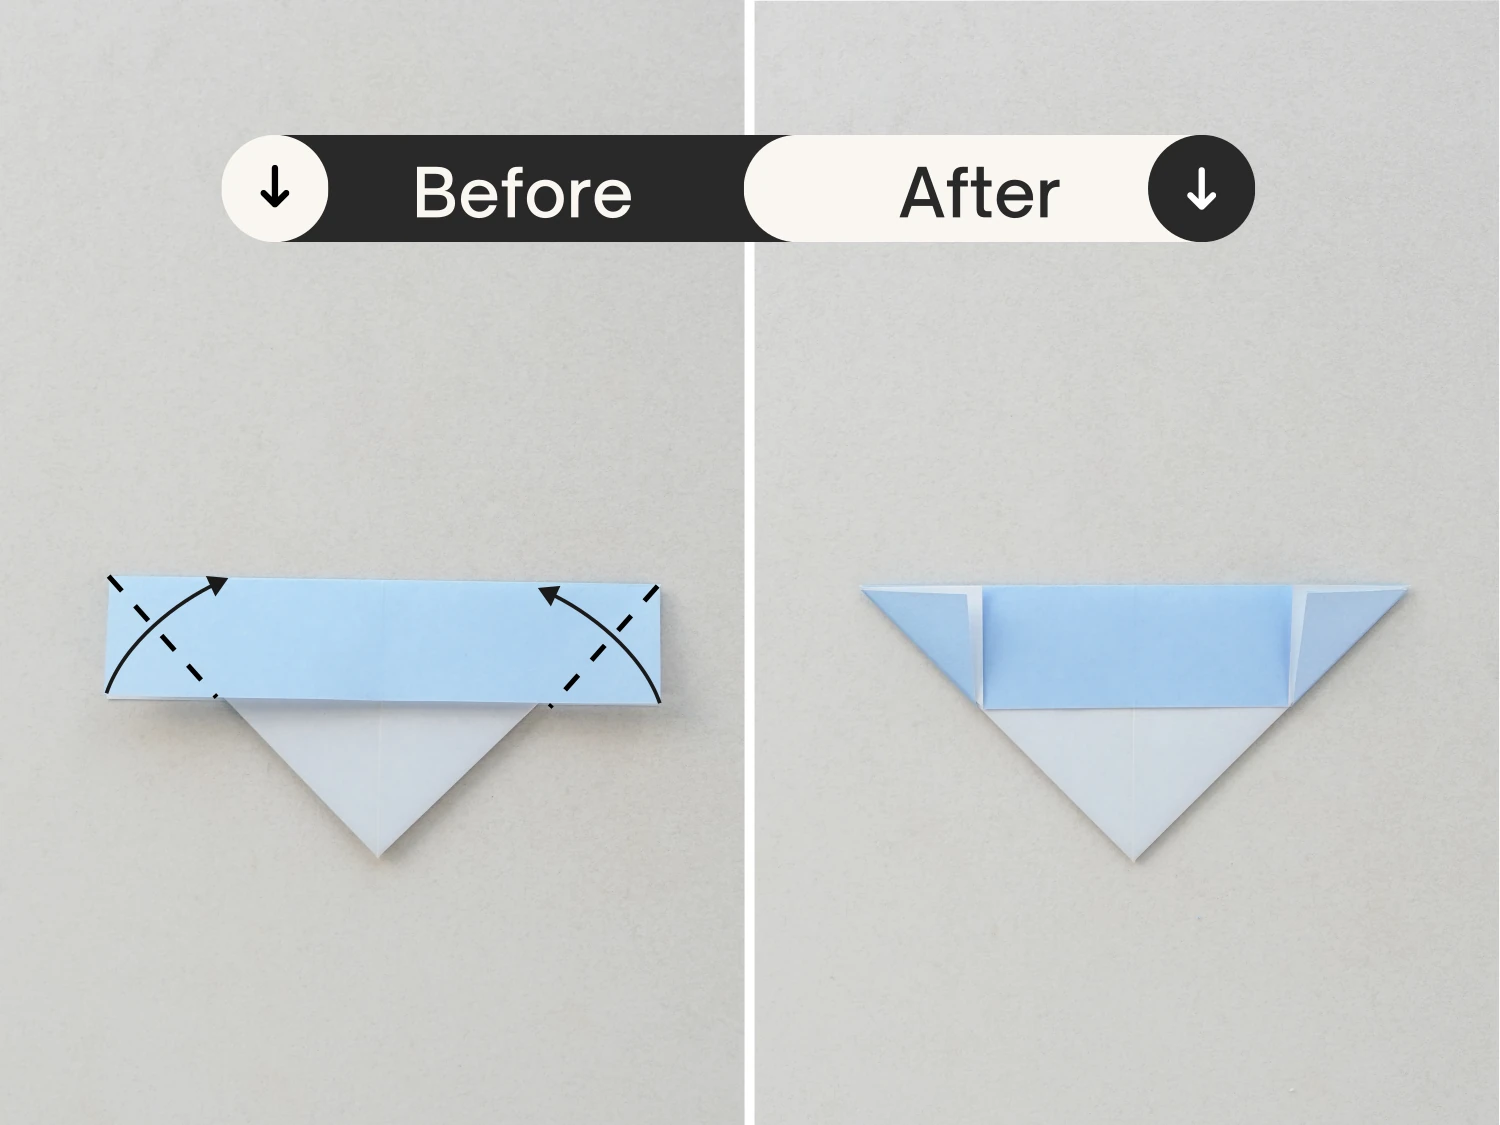
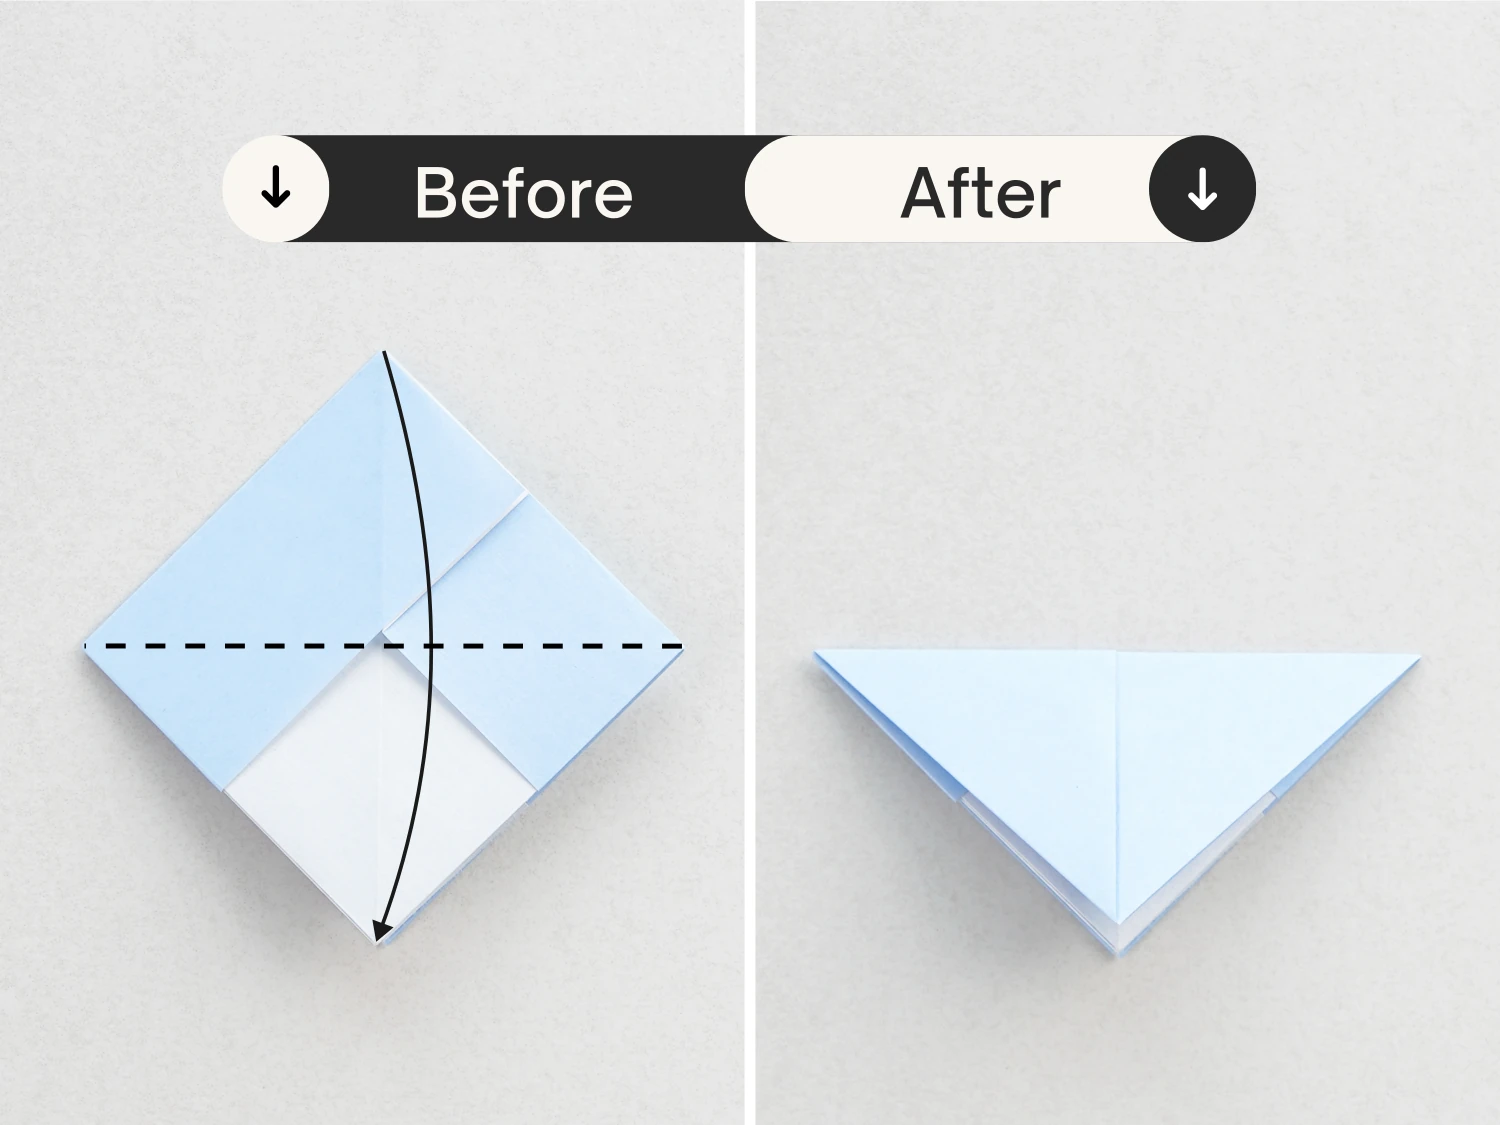
Step 7
Fold the bottom left and bottom right corners of the blue rectangle up along the dotted lines diagonally.
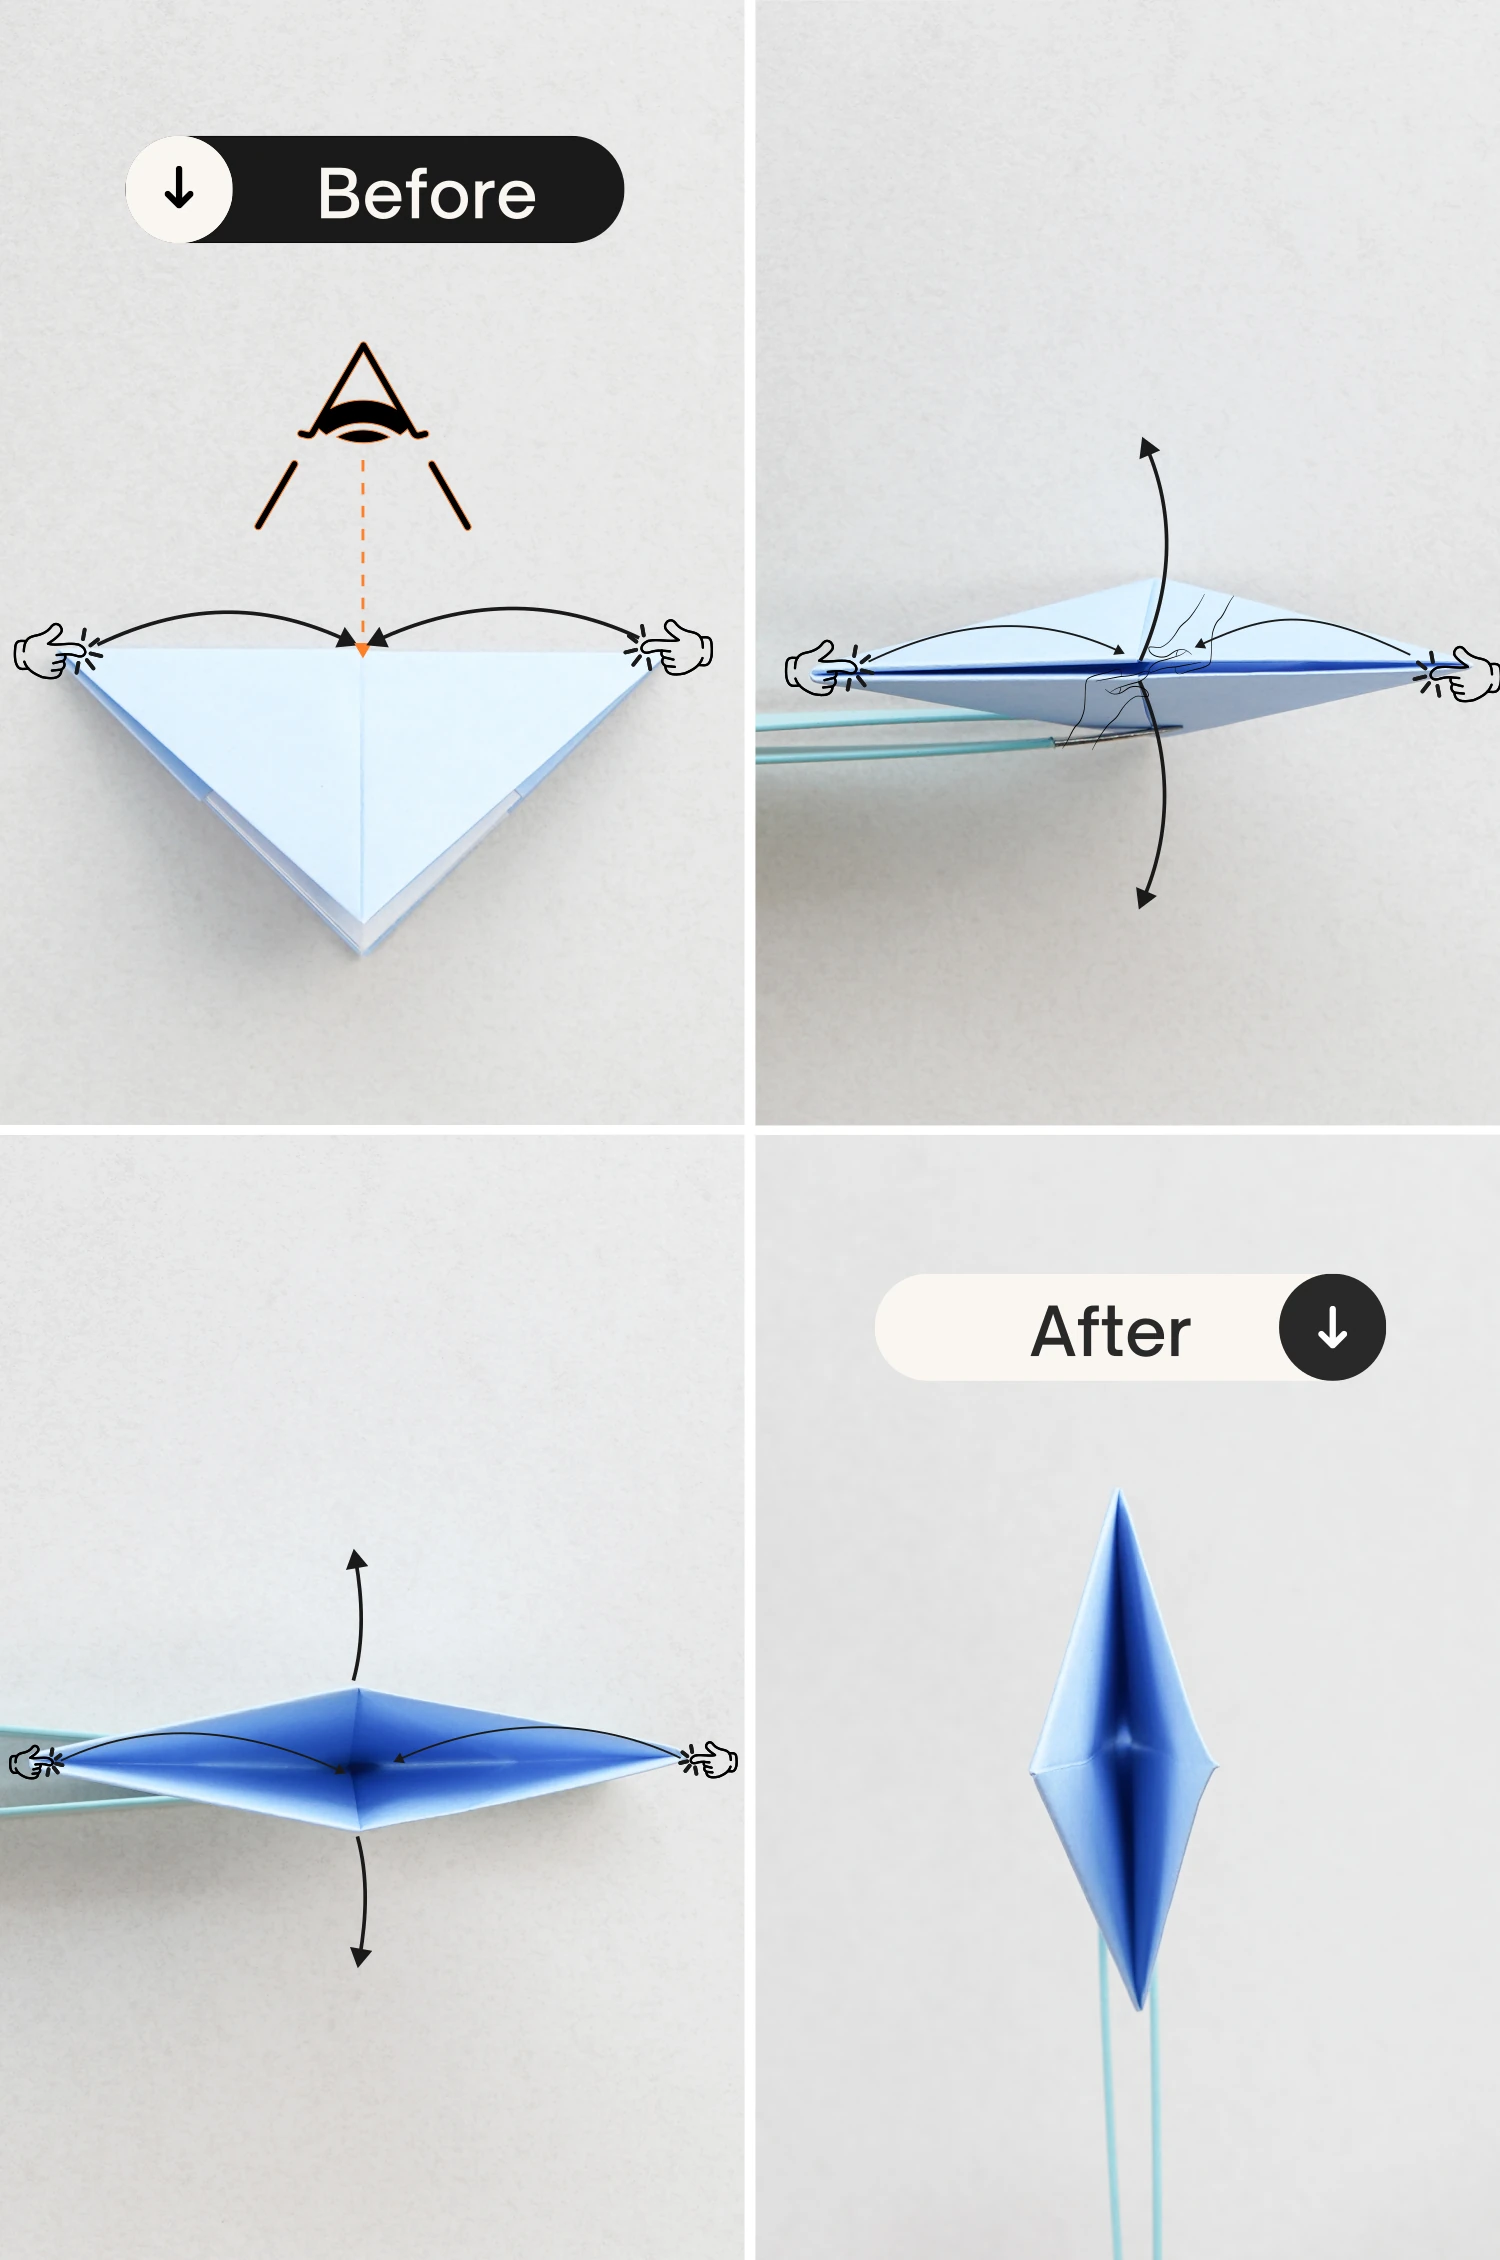
Step 8
View it from the top, pull the top and bottom edges to open the pocket, and push the left and right corners toward the center until they meet, getting a pocket with a vertical opening.
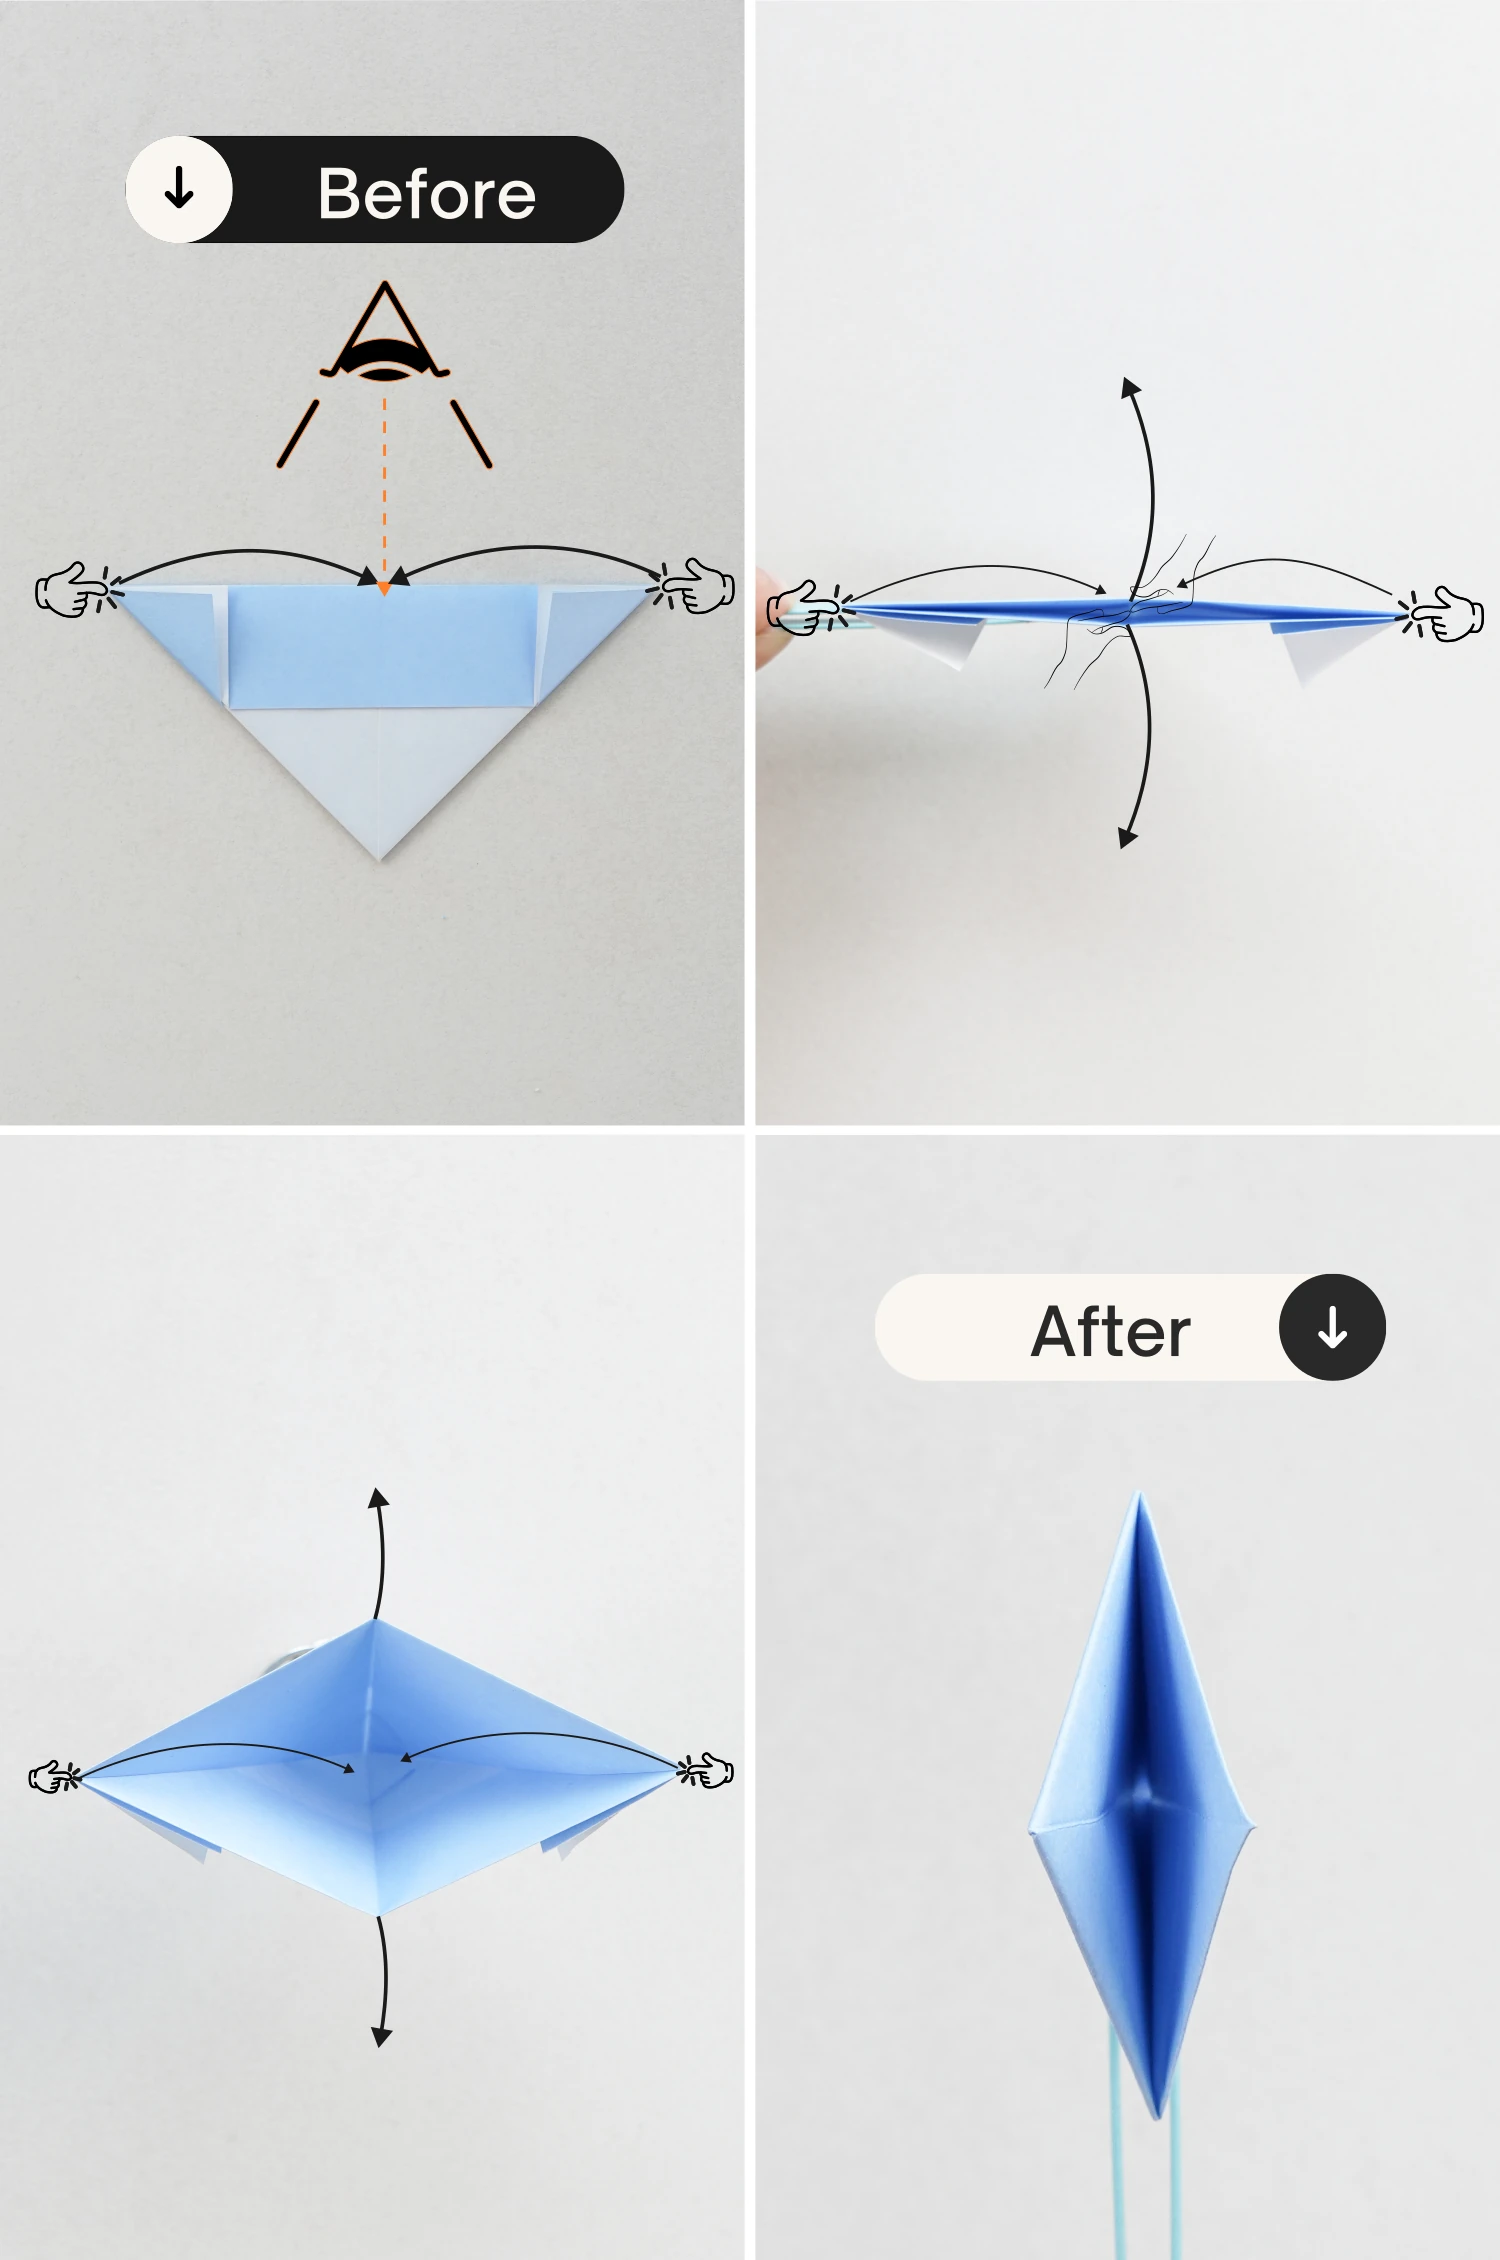
Step 9
View it from the left side and place it flat.
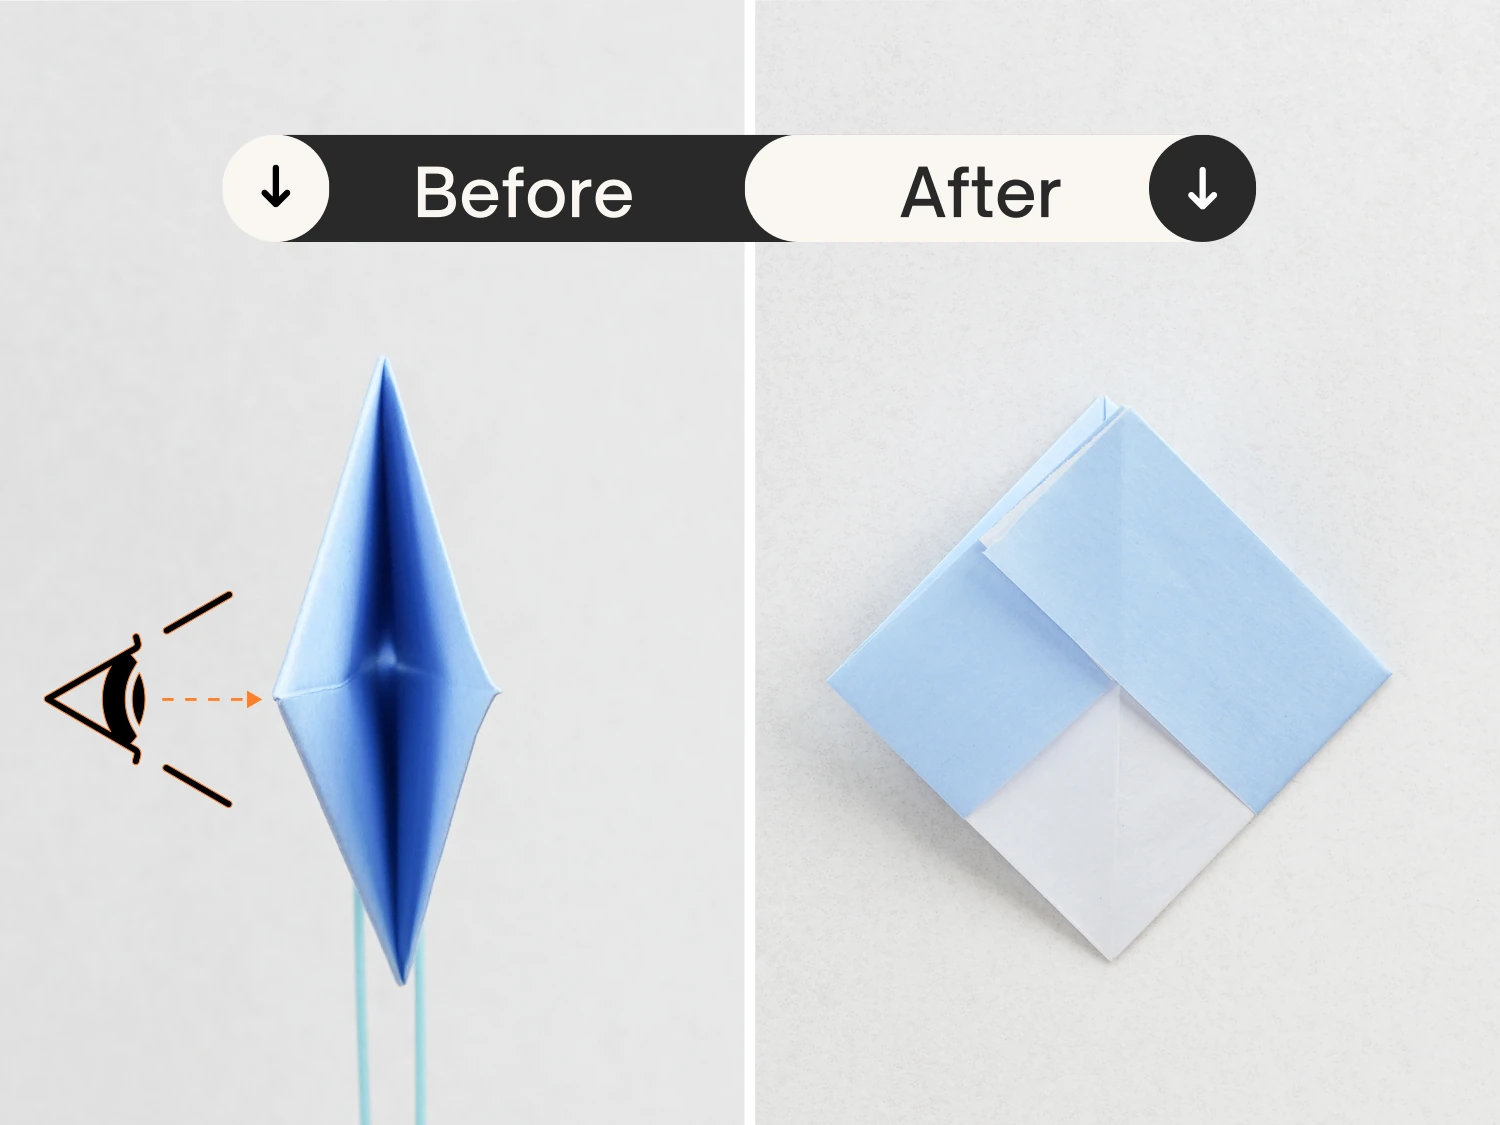
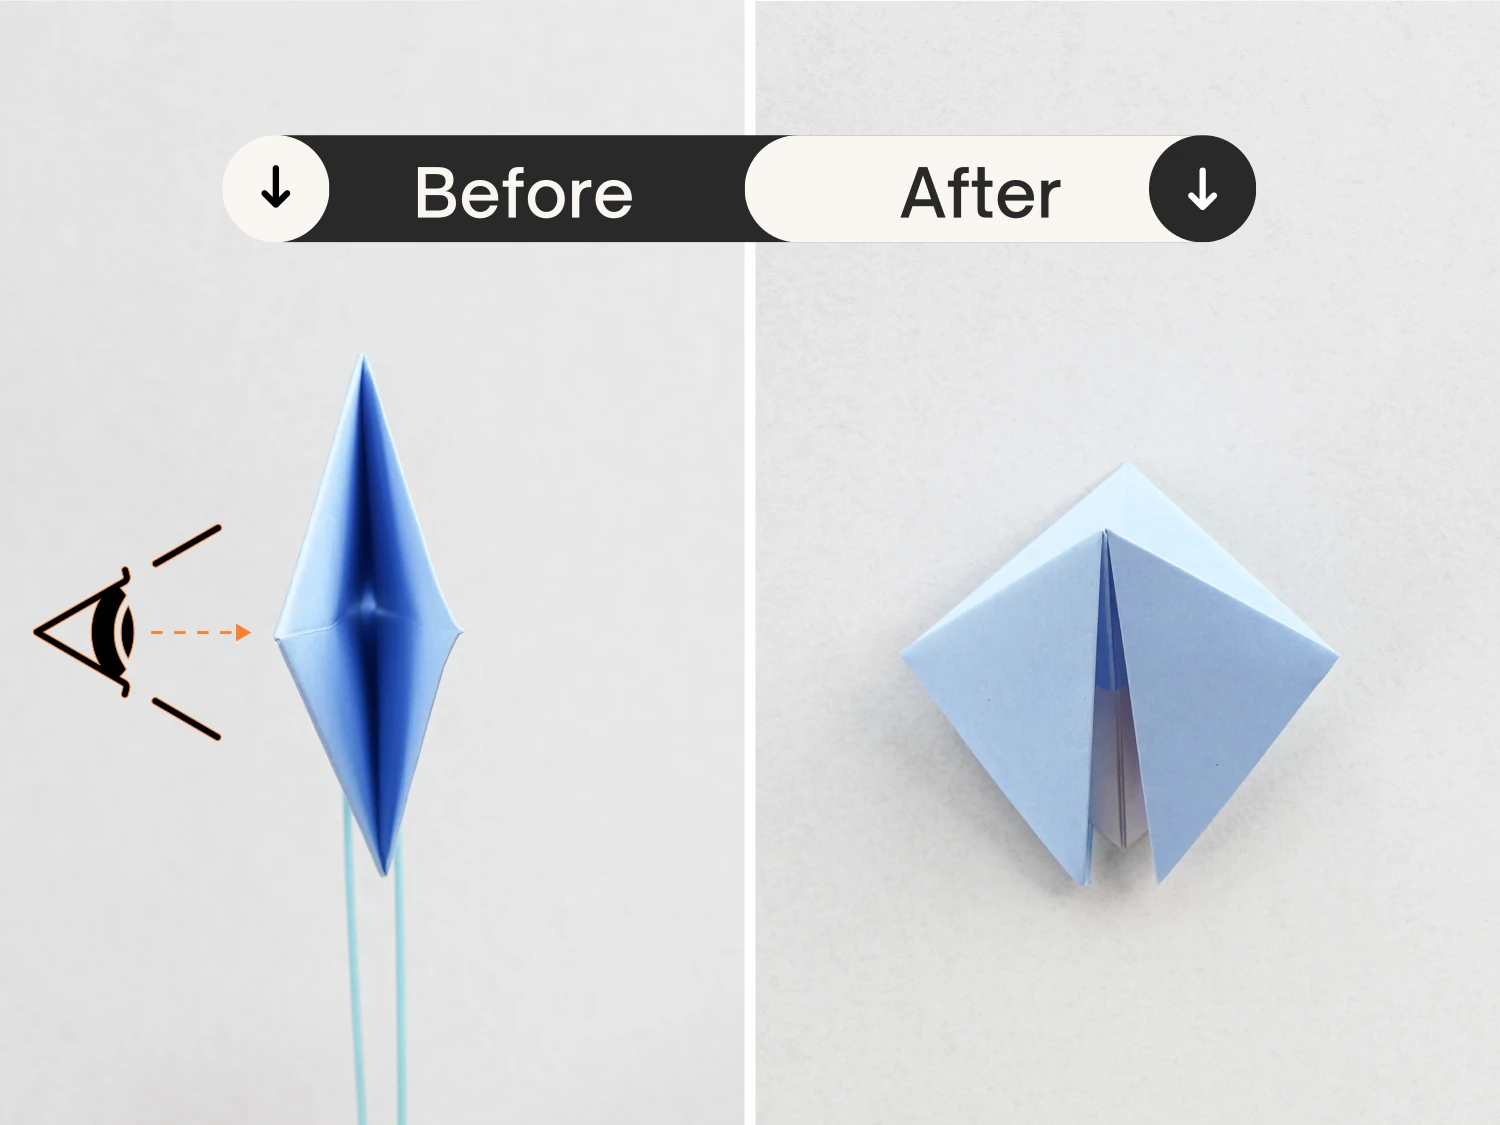
Step 10
Take the top corner of the top layer, and fold it down to the bottom diagonally.

Step 11
Flip the paper over.
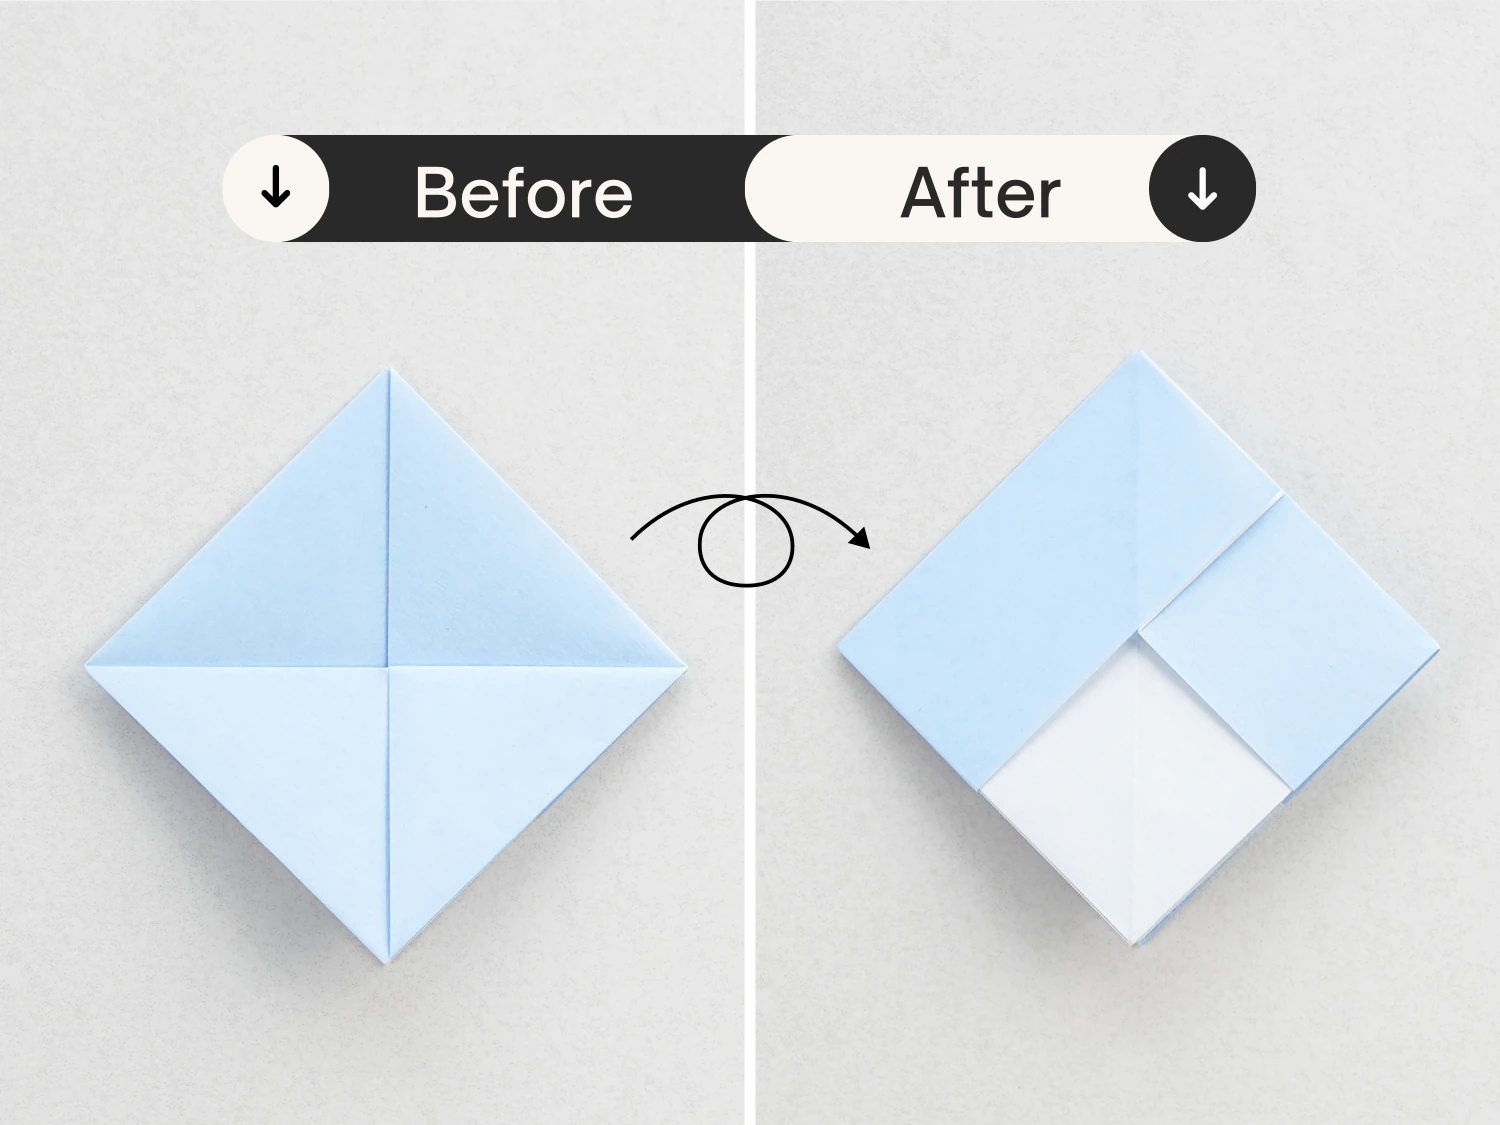
Step 12
Fold the top corner down diagonally.
Step 13
Now view it from the top, repeat step 9.
Step 14
View it from the left side and place it flat.
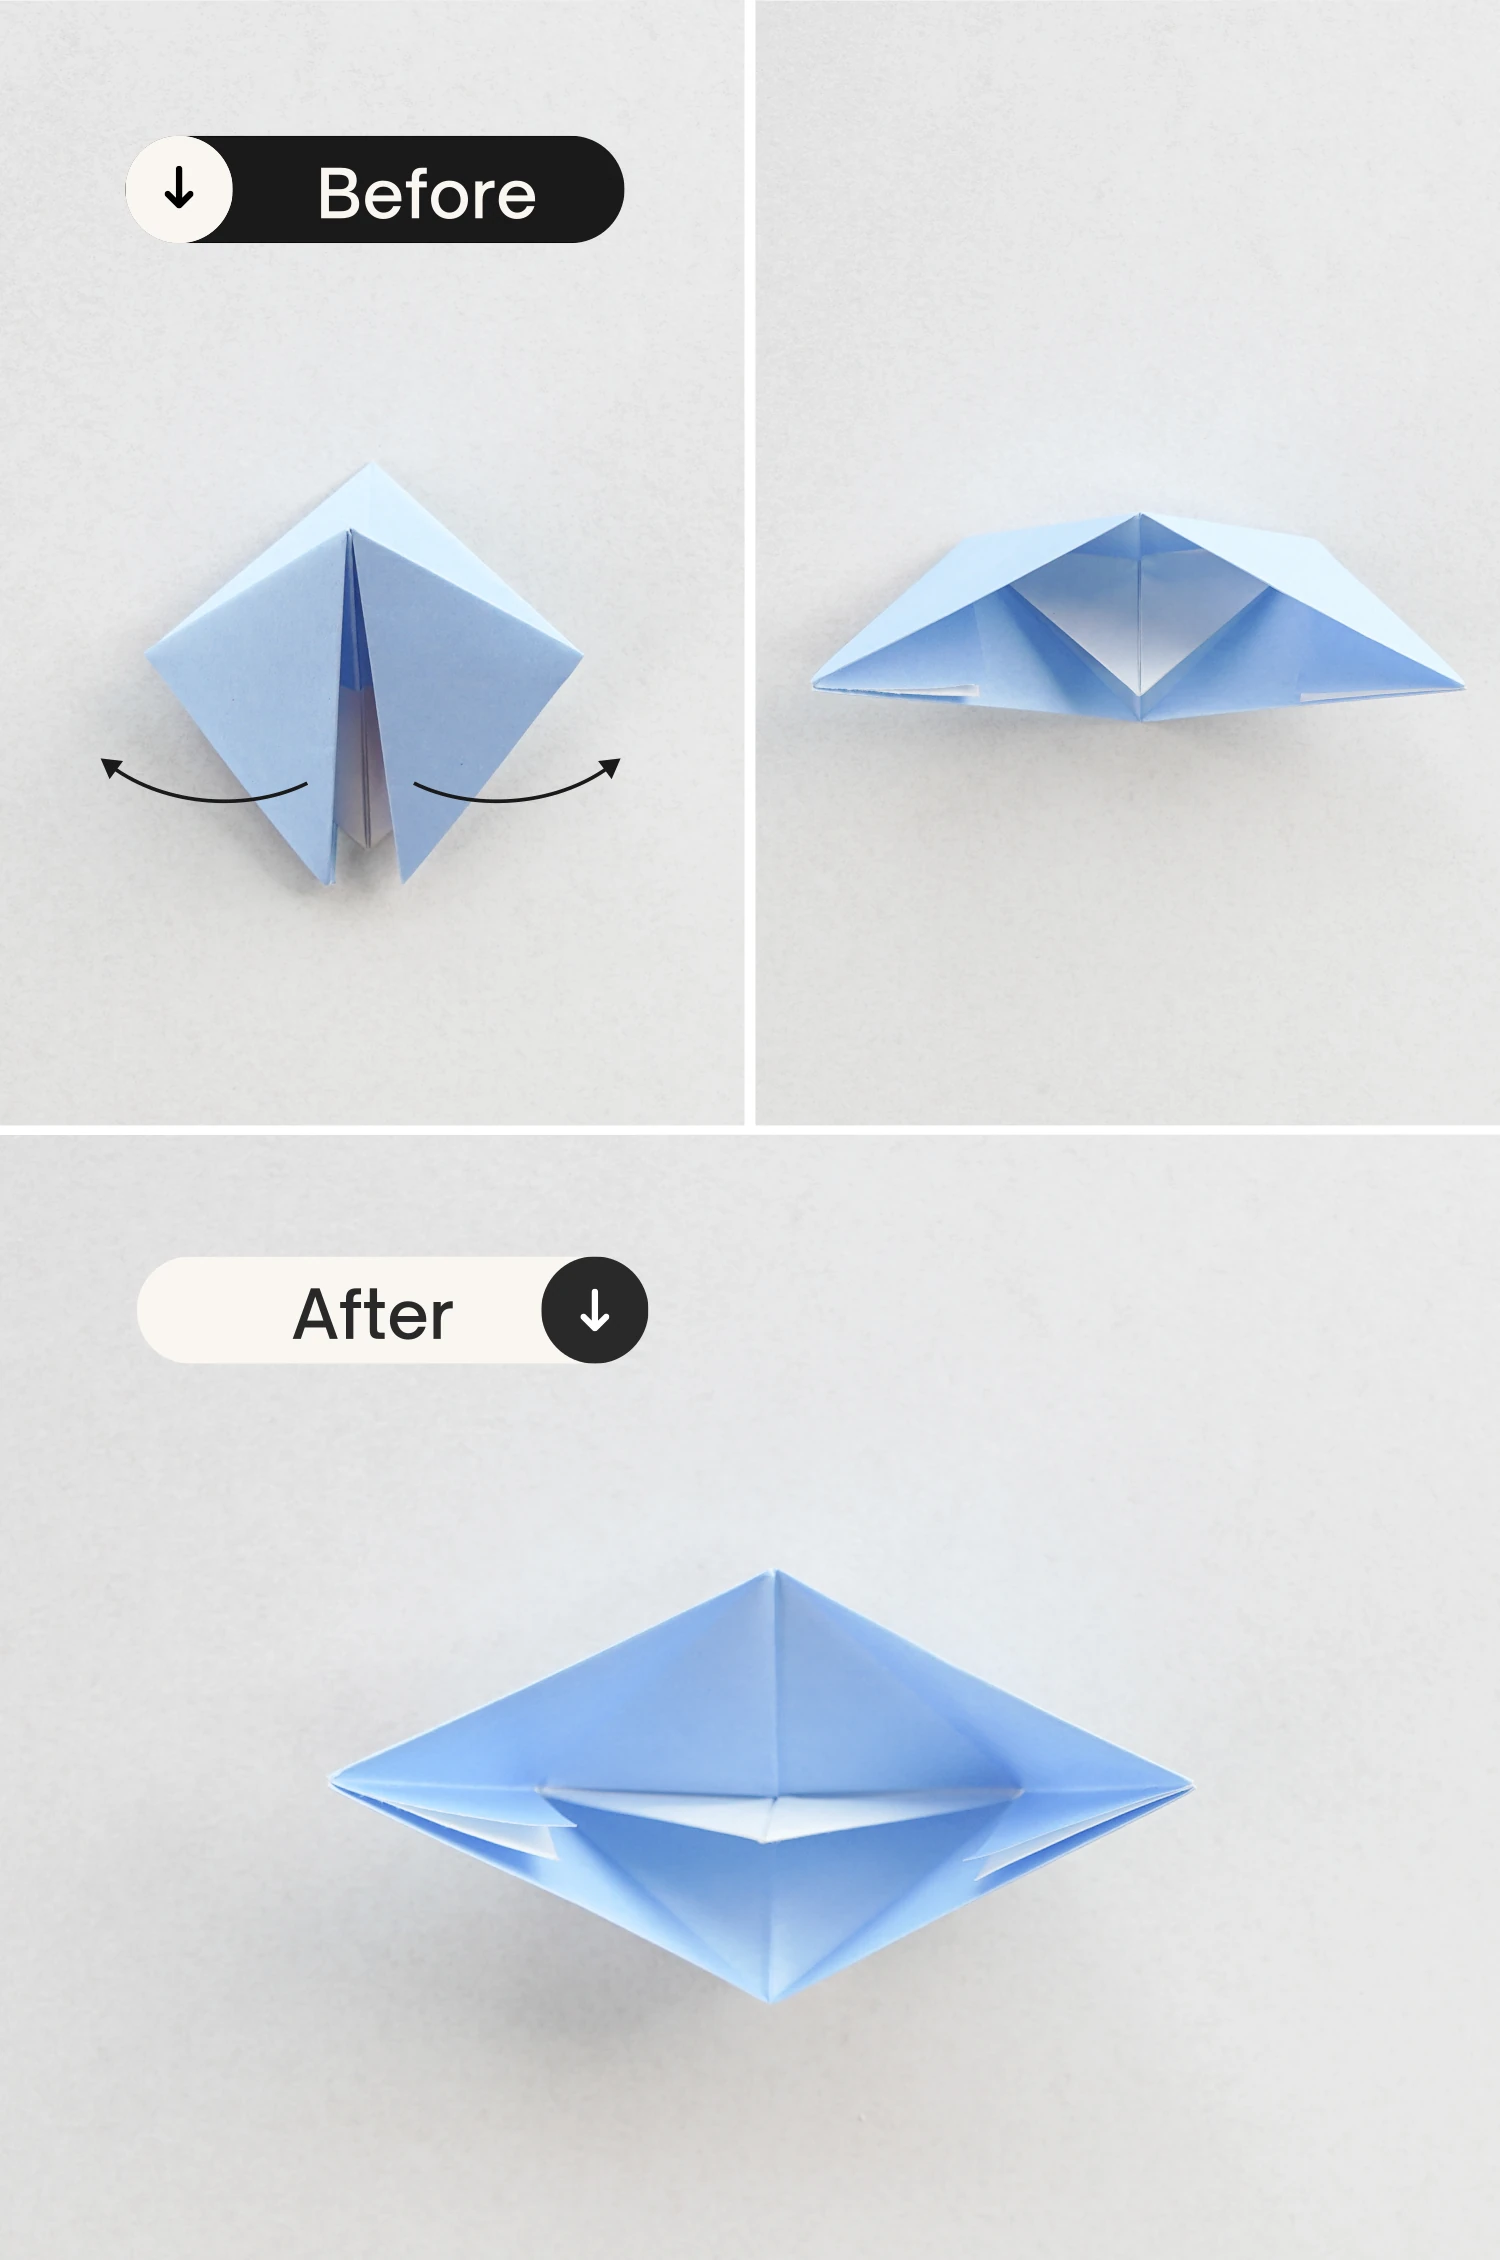
Step 15
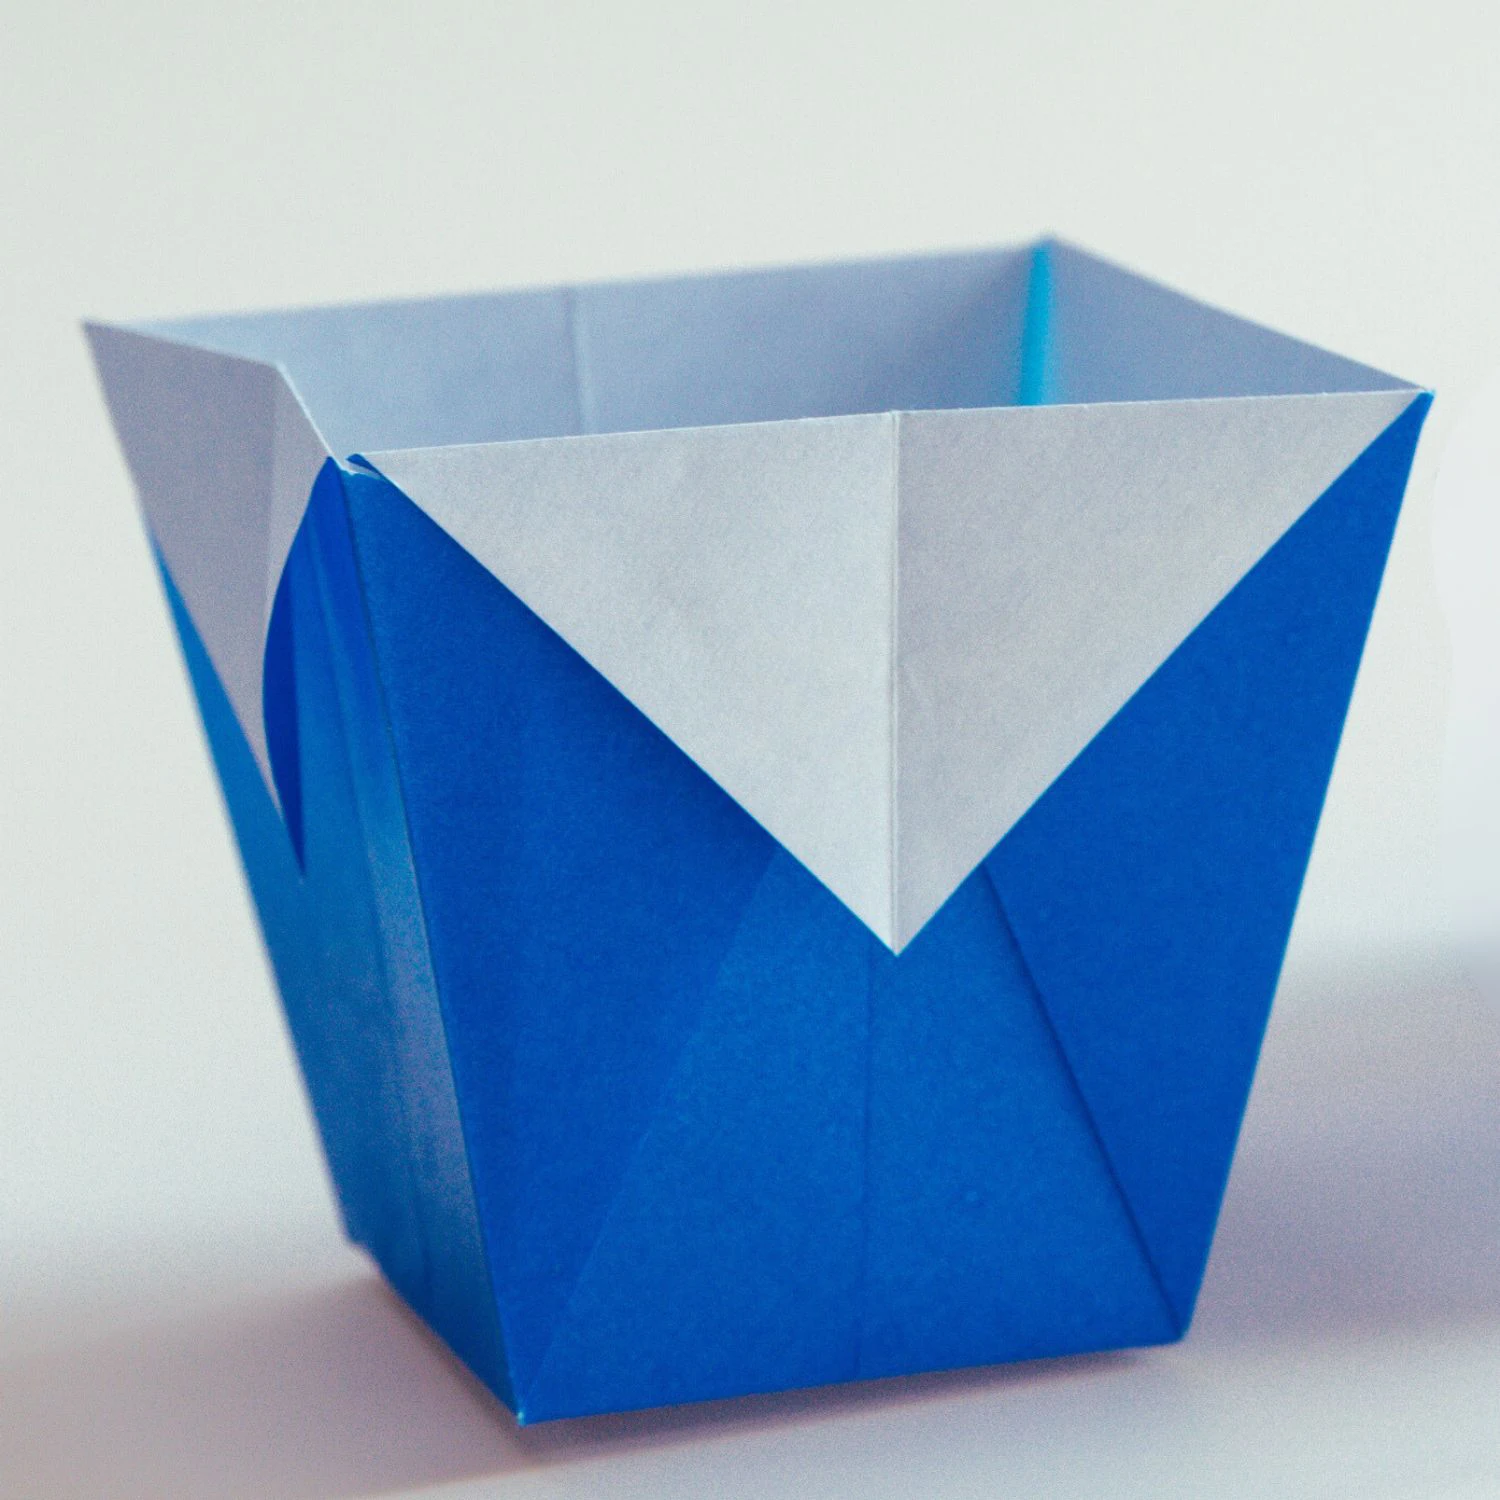
Take the left and right corners on the bottom, and pull them to open the model, place it to make the opening up, and you get a lovely boat.
What’s Next
This is the final shape of the origami boat, there is another origami boat: origami sailboat, which is easier, check if you like.
We also offer other easy origami tutorials, you can explore freely. Enjoy folding!
Other Easy Origami Ideas