This mini origami Santa boot is very suitable for decorating your gift box or hanging on your Christmas tree or your fireplace. We love this because it is great for enhancing the festive atmosphere of Christmas.
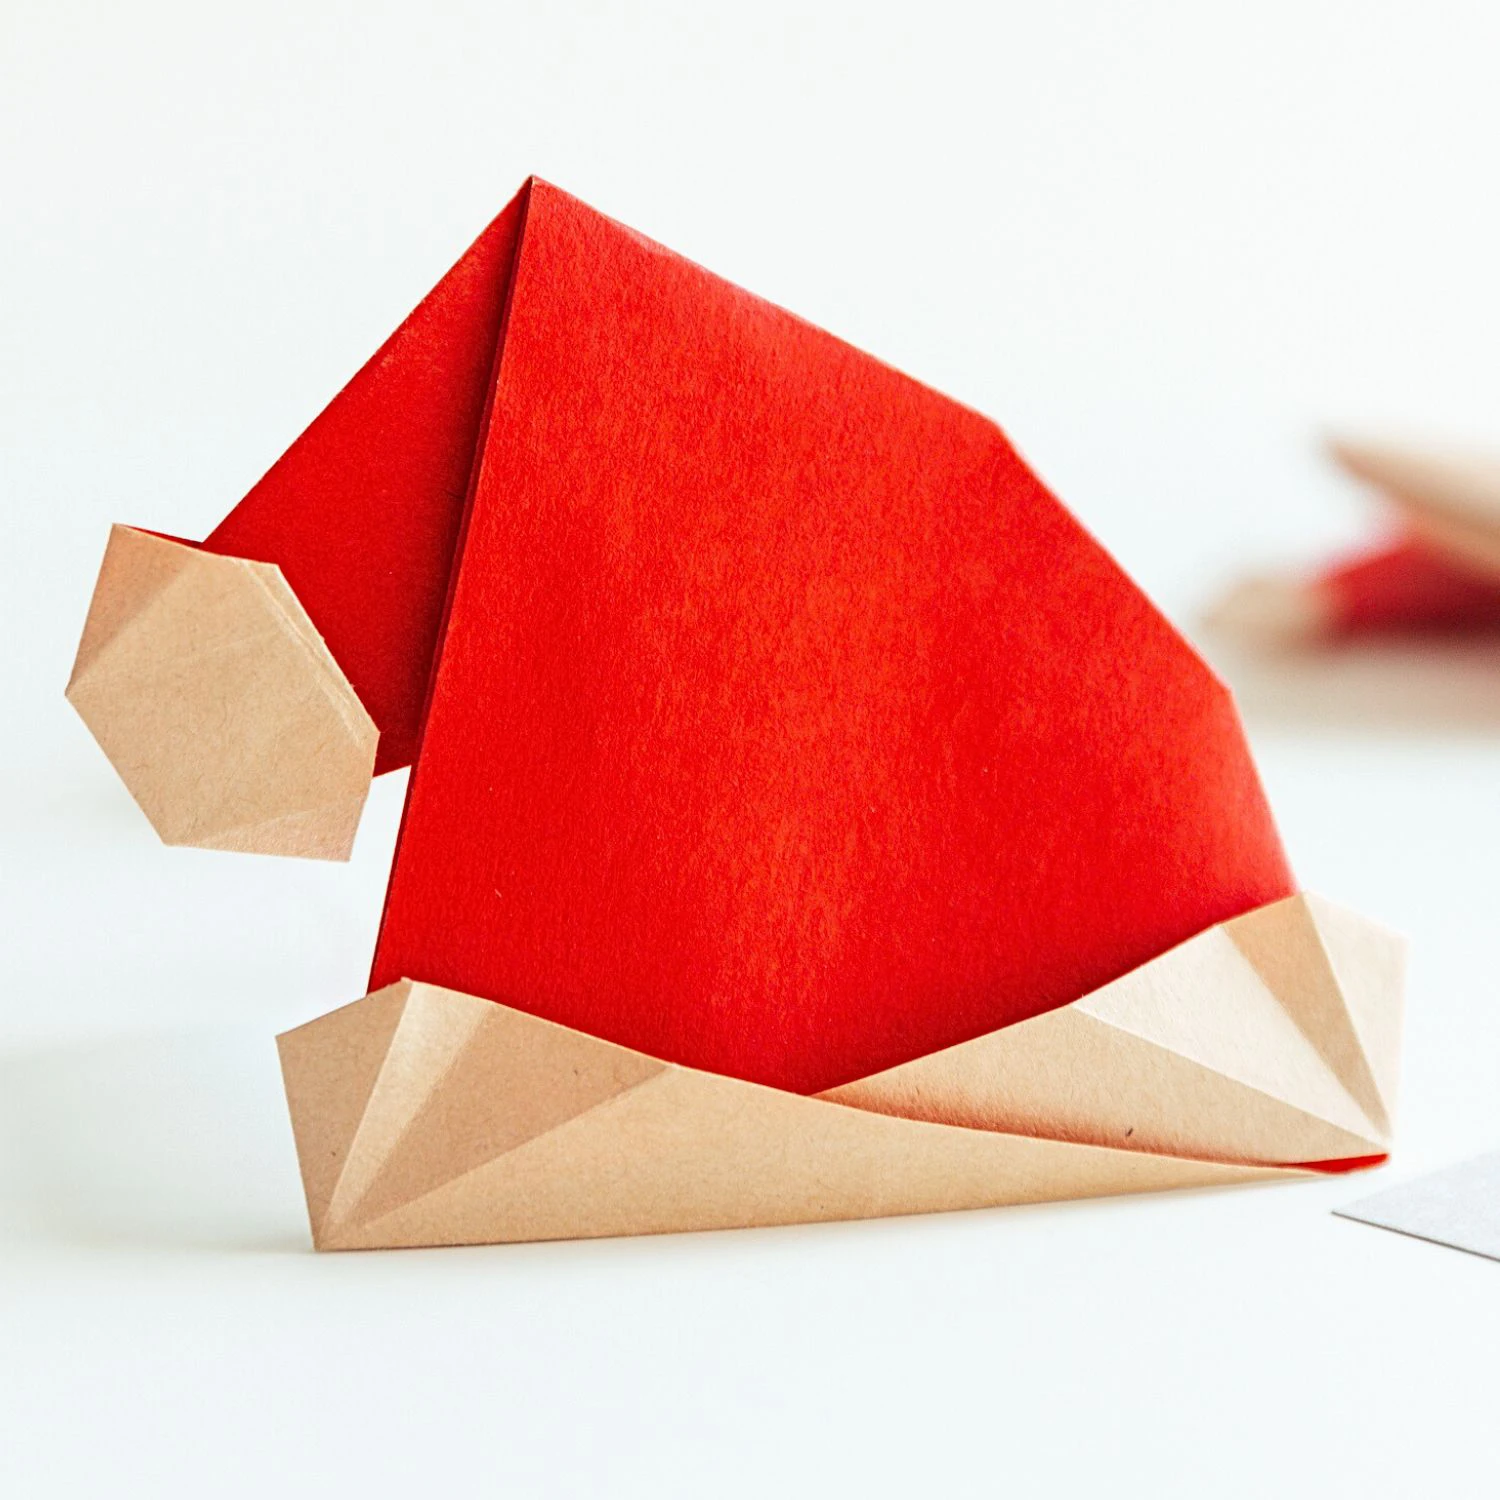
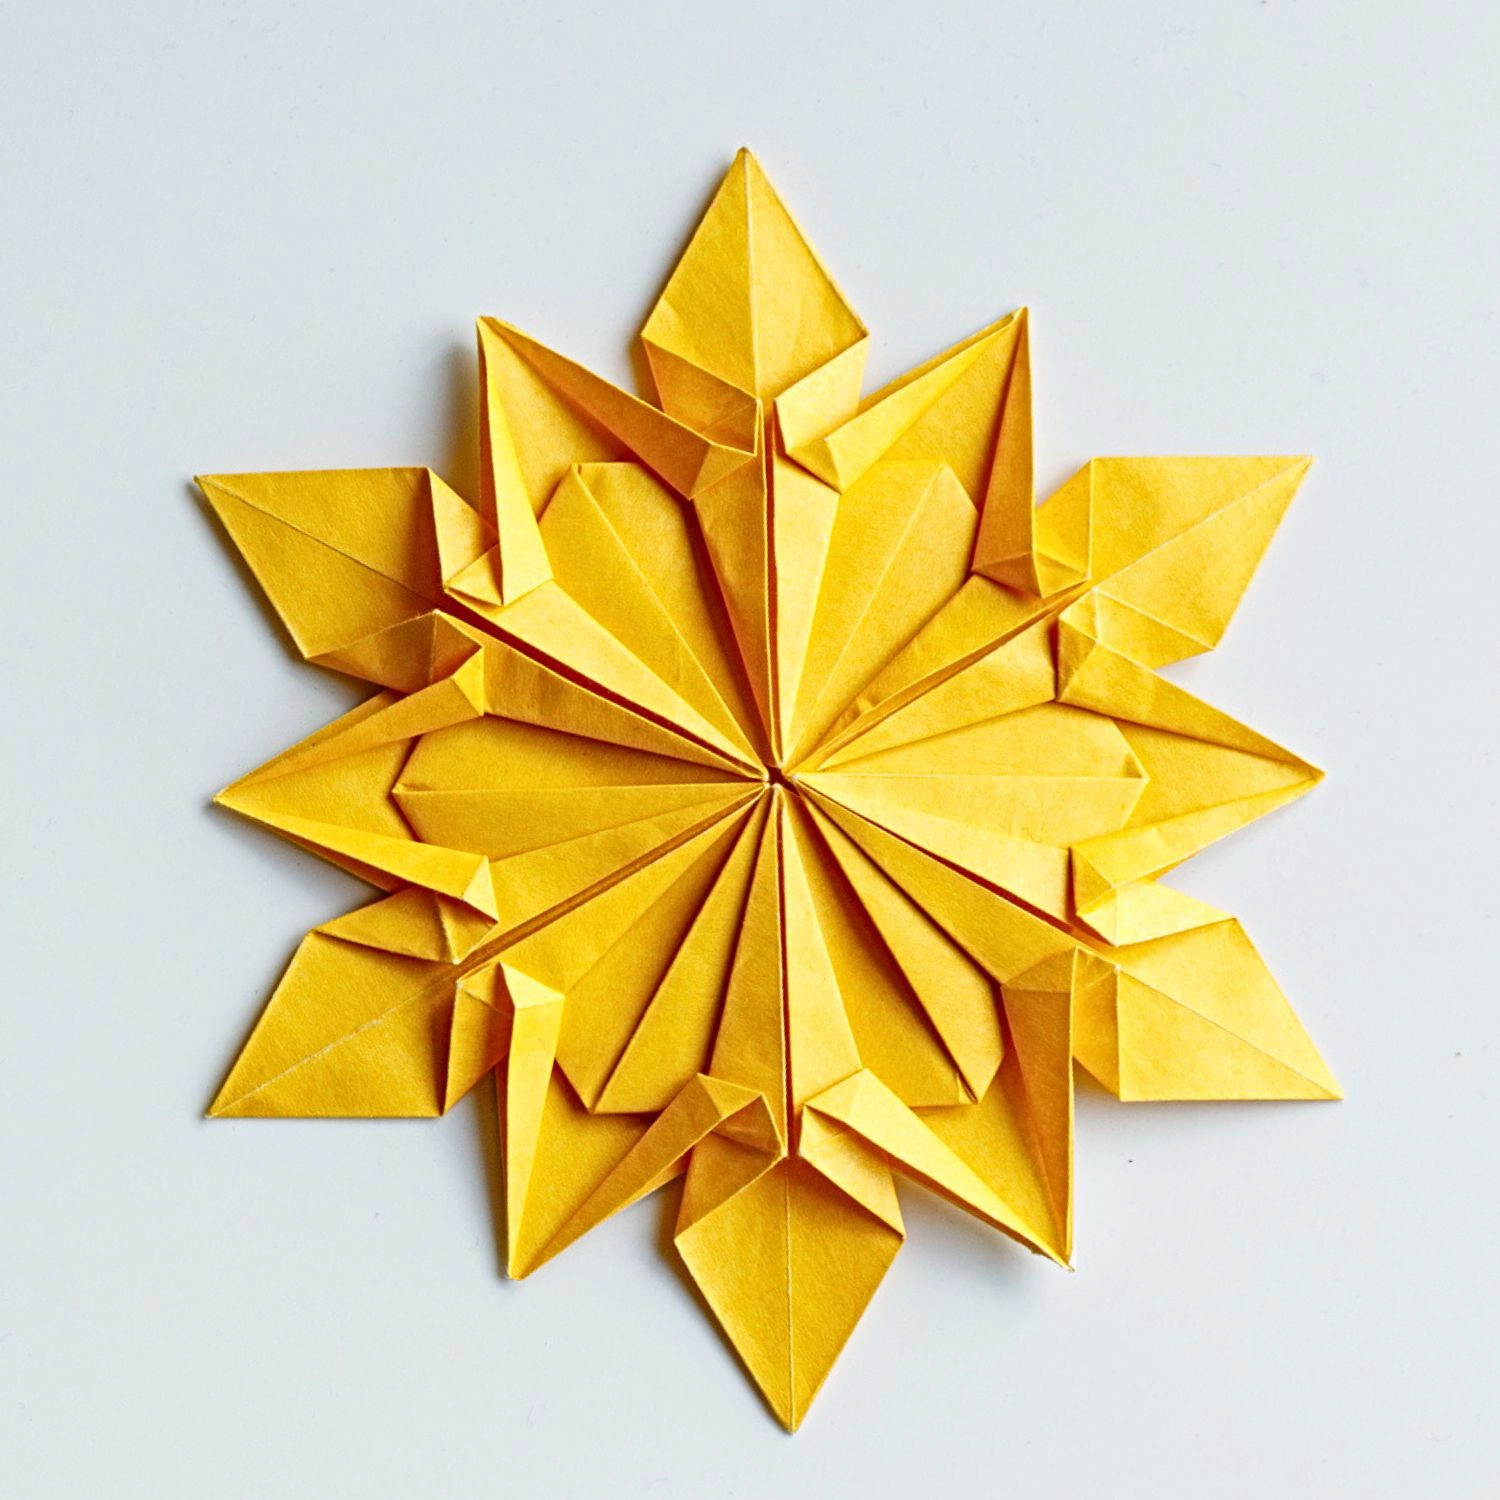
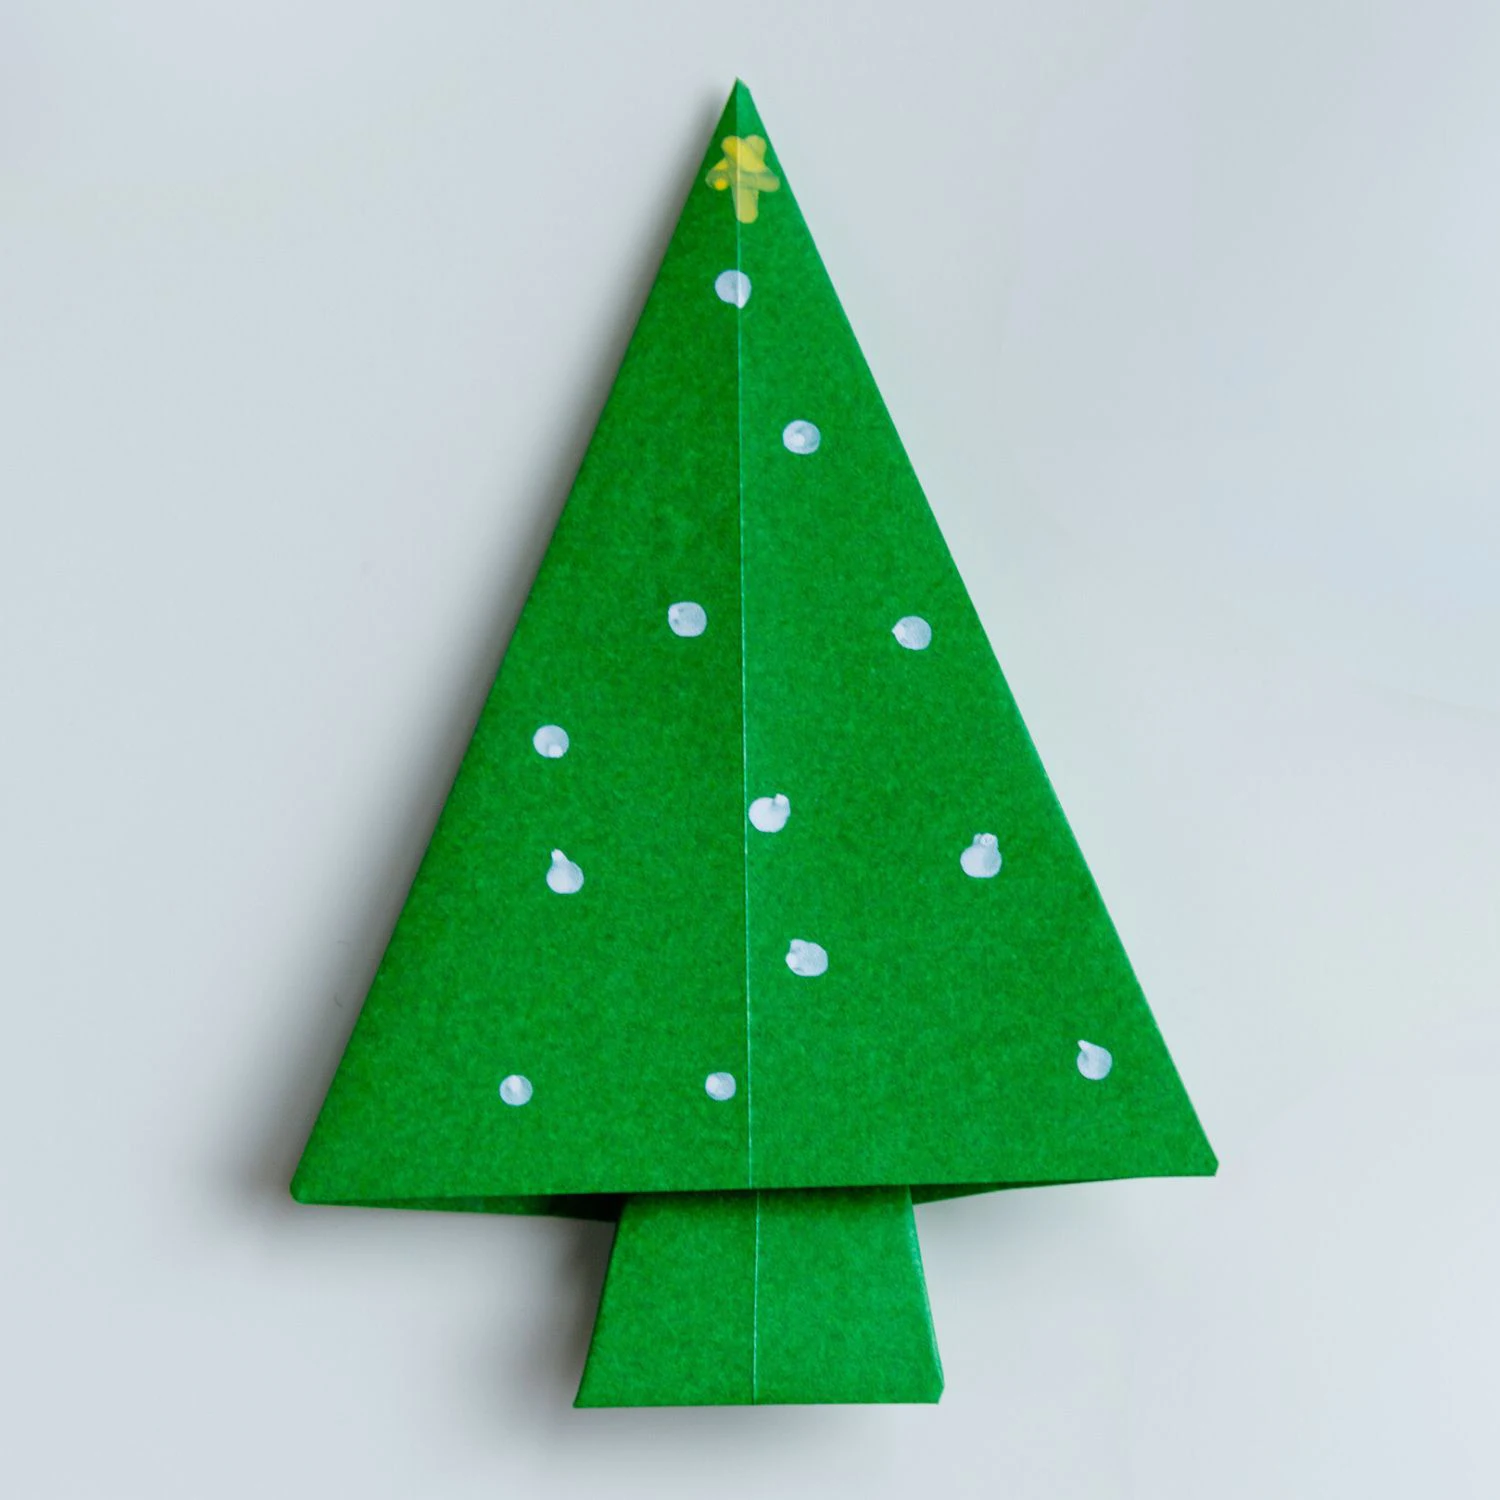
By the way, we also offer other origami for Christmas, like the Origami Santa, and we will keep updating.
You can add some stickers or other decorative objects like gold powder to personalize your origami boots. Writing names on each one is also a cute idea.

If you are new to origami, start here from our beginner guide to know the basics and how to read the step-by-step instructions.
- Folding time: 5 minutes
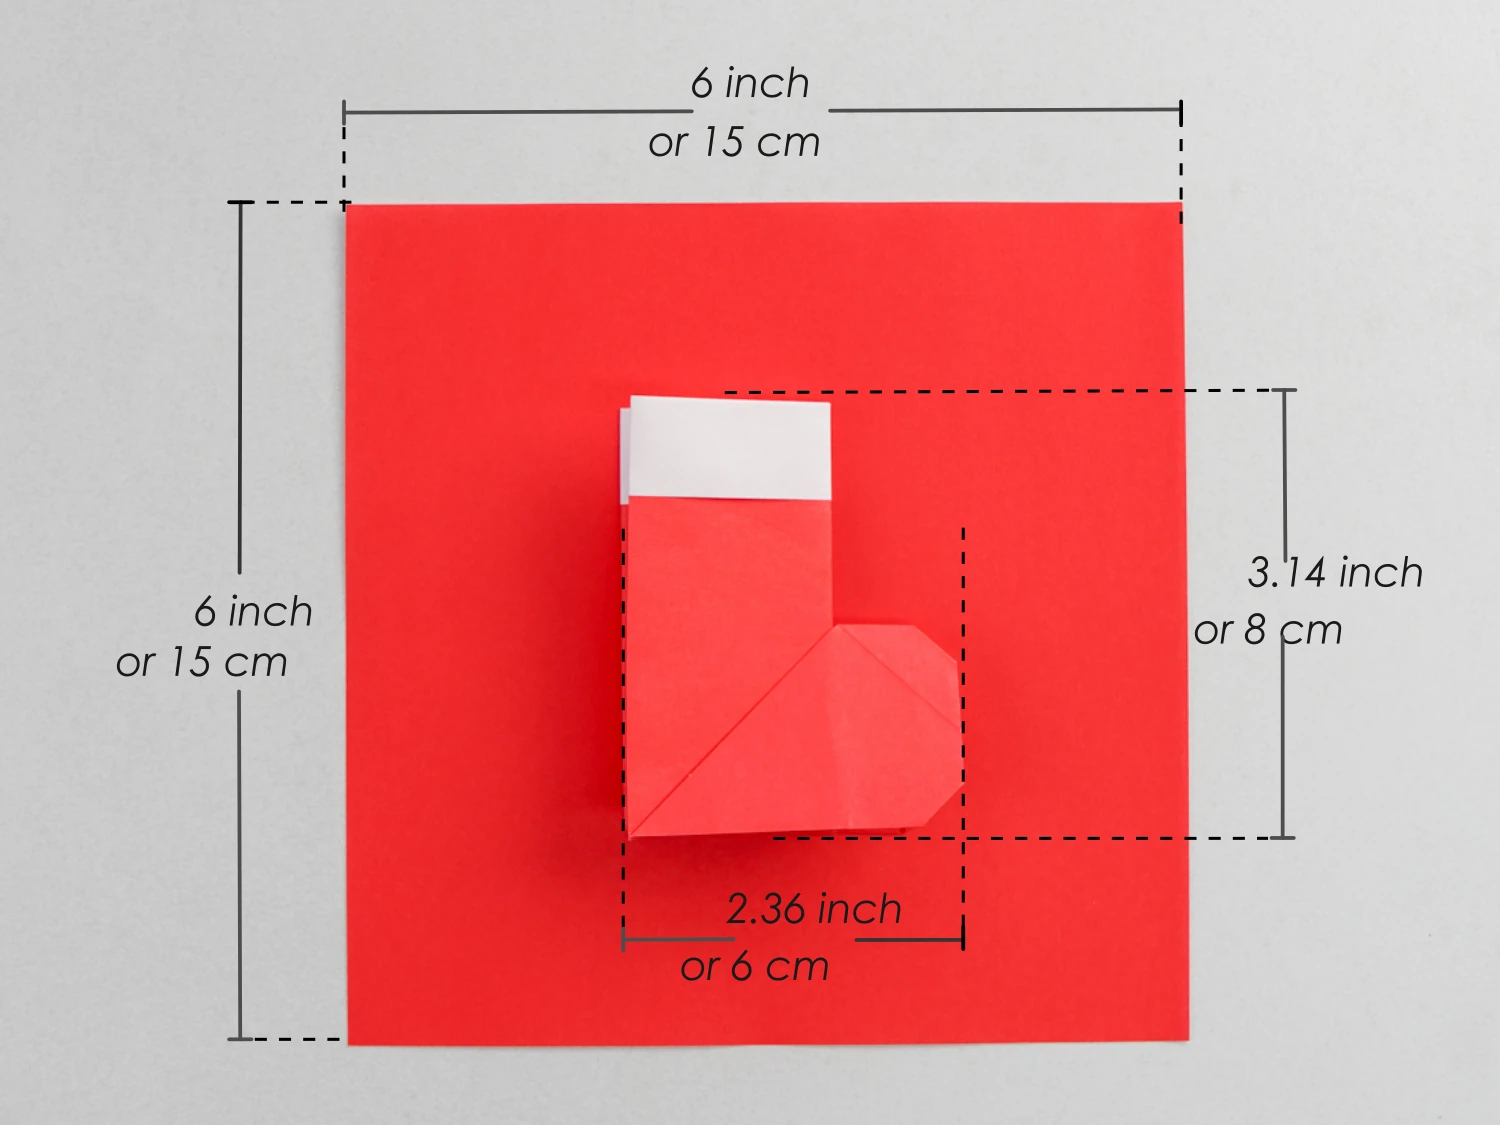
- Paper: 15×15 cm
- Difficulty: Easy, Beginner friendly
Material
Get 15*15 cm origami paper, one red and one white side, and you will get 8.6 cm classic Santa boots. Other sizes of square paper will be available.
Easy Origami Santa Boots Video
Step by Step Instructions
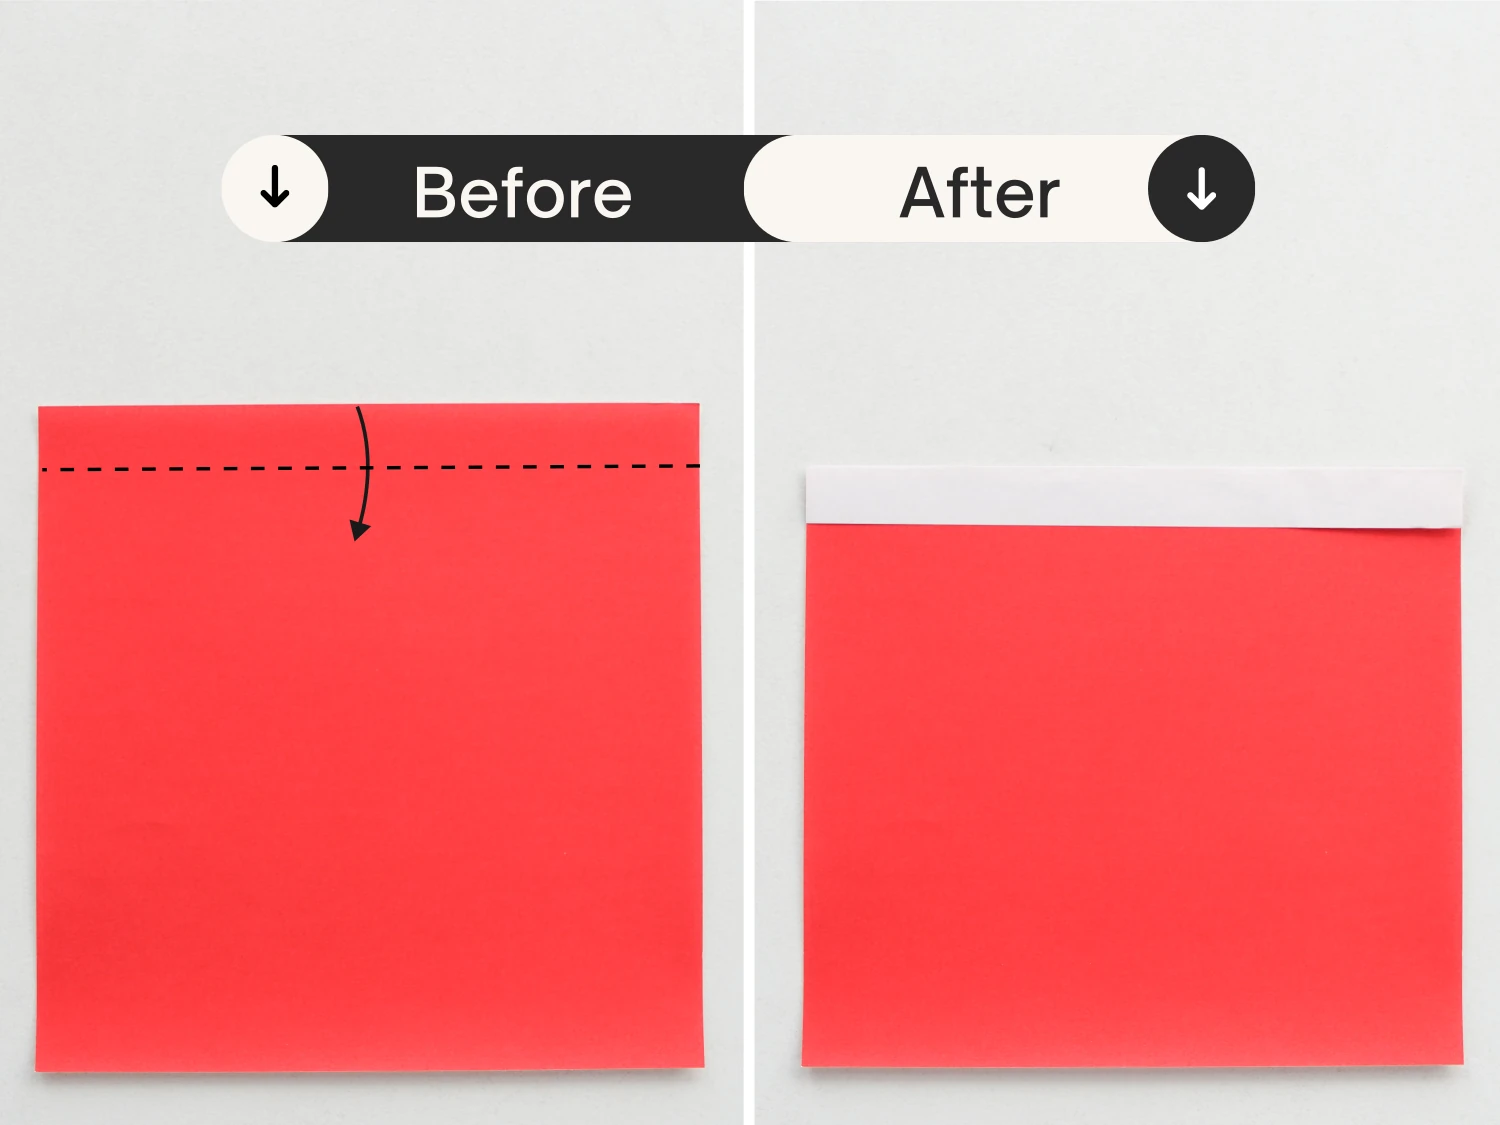
Step 1
Start with the red side of the paper facing up, and fold the top edge down a little.
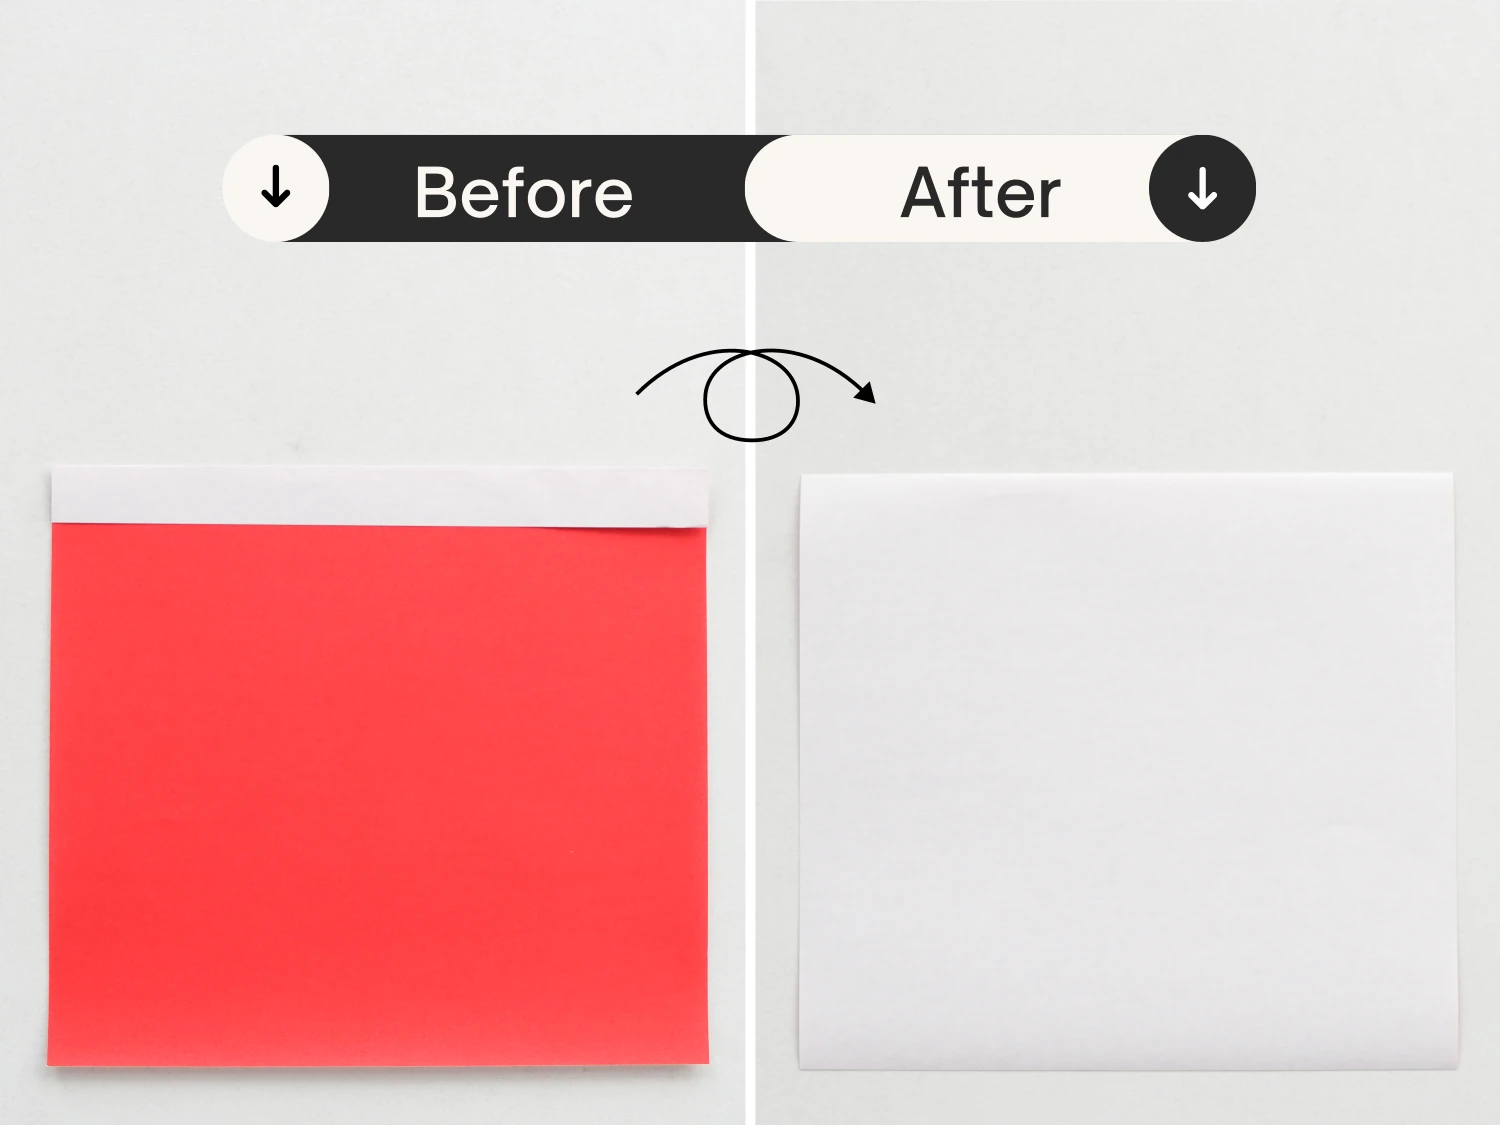
Step 2
Flip it over.
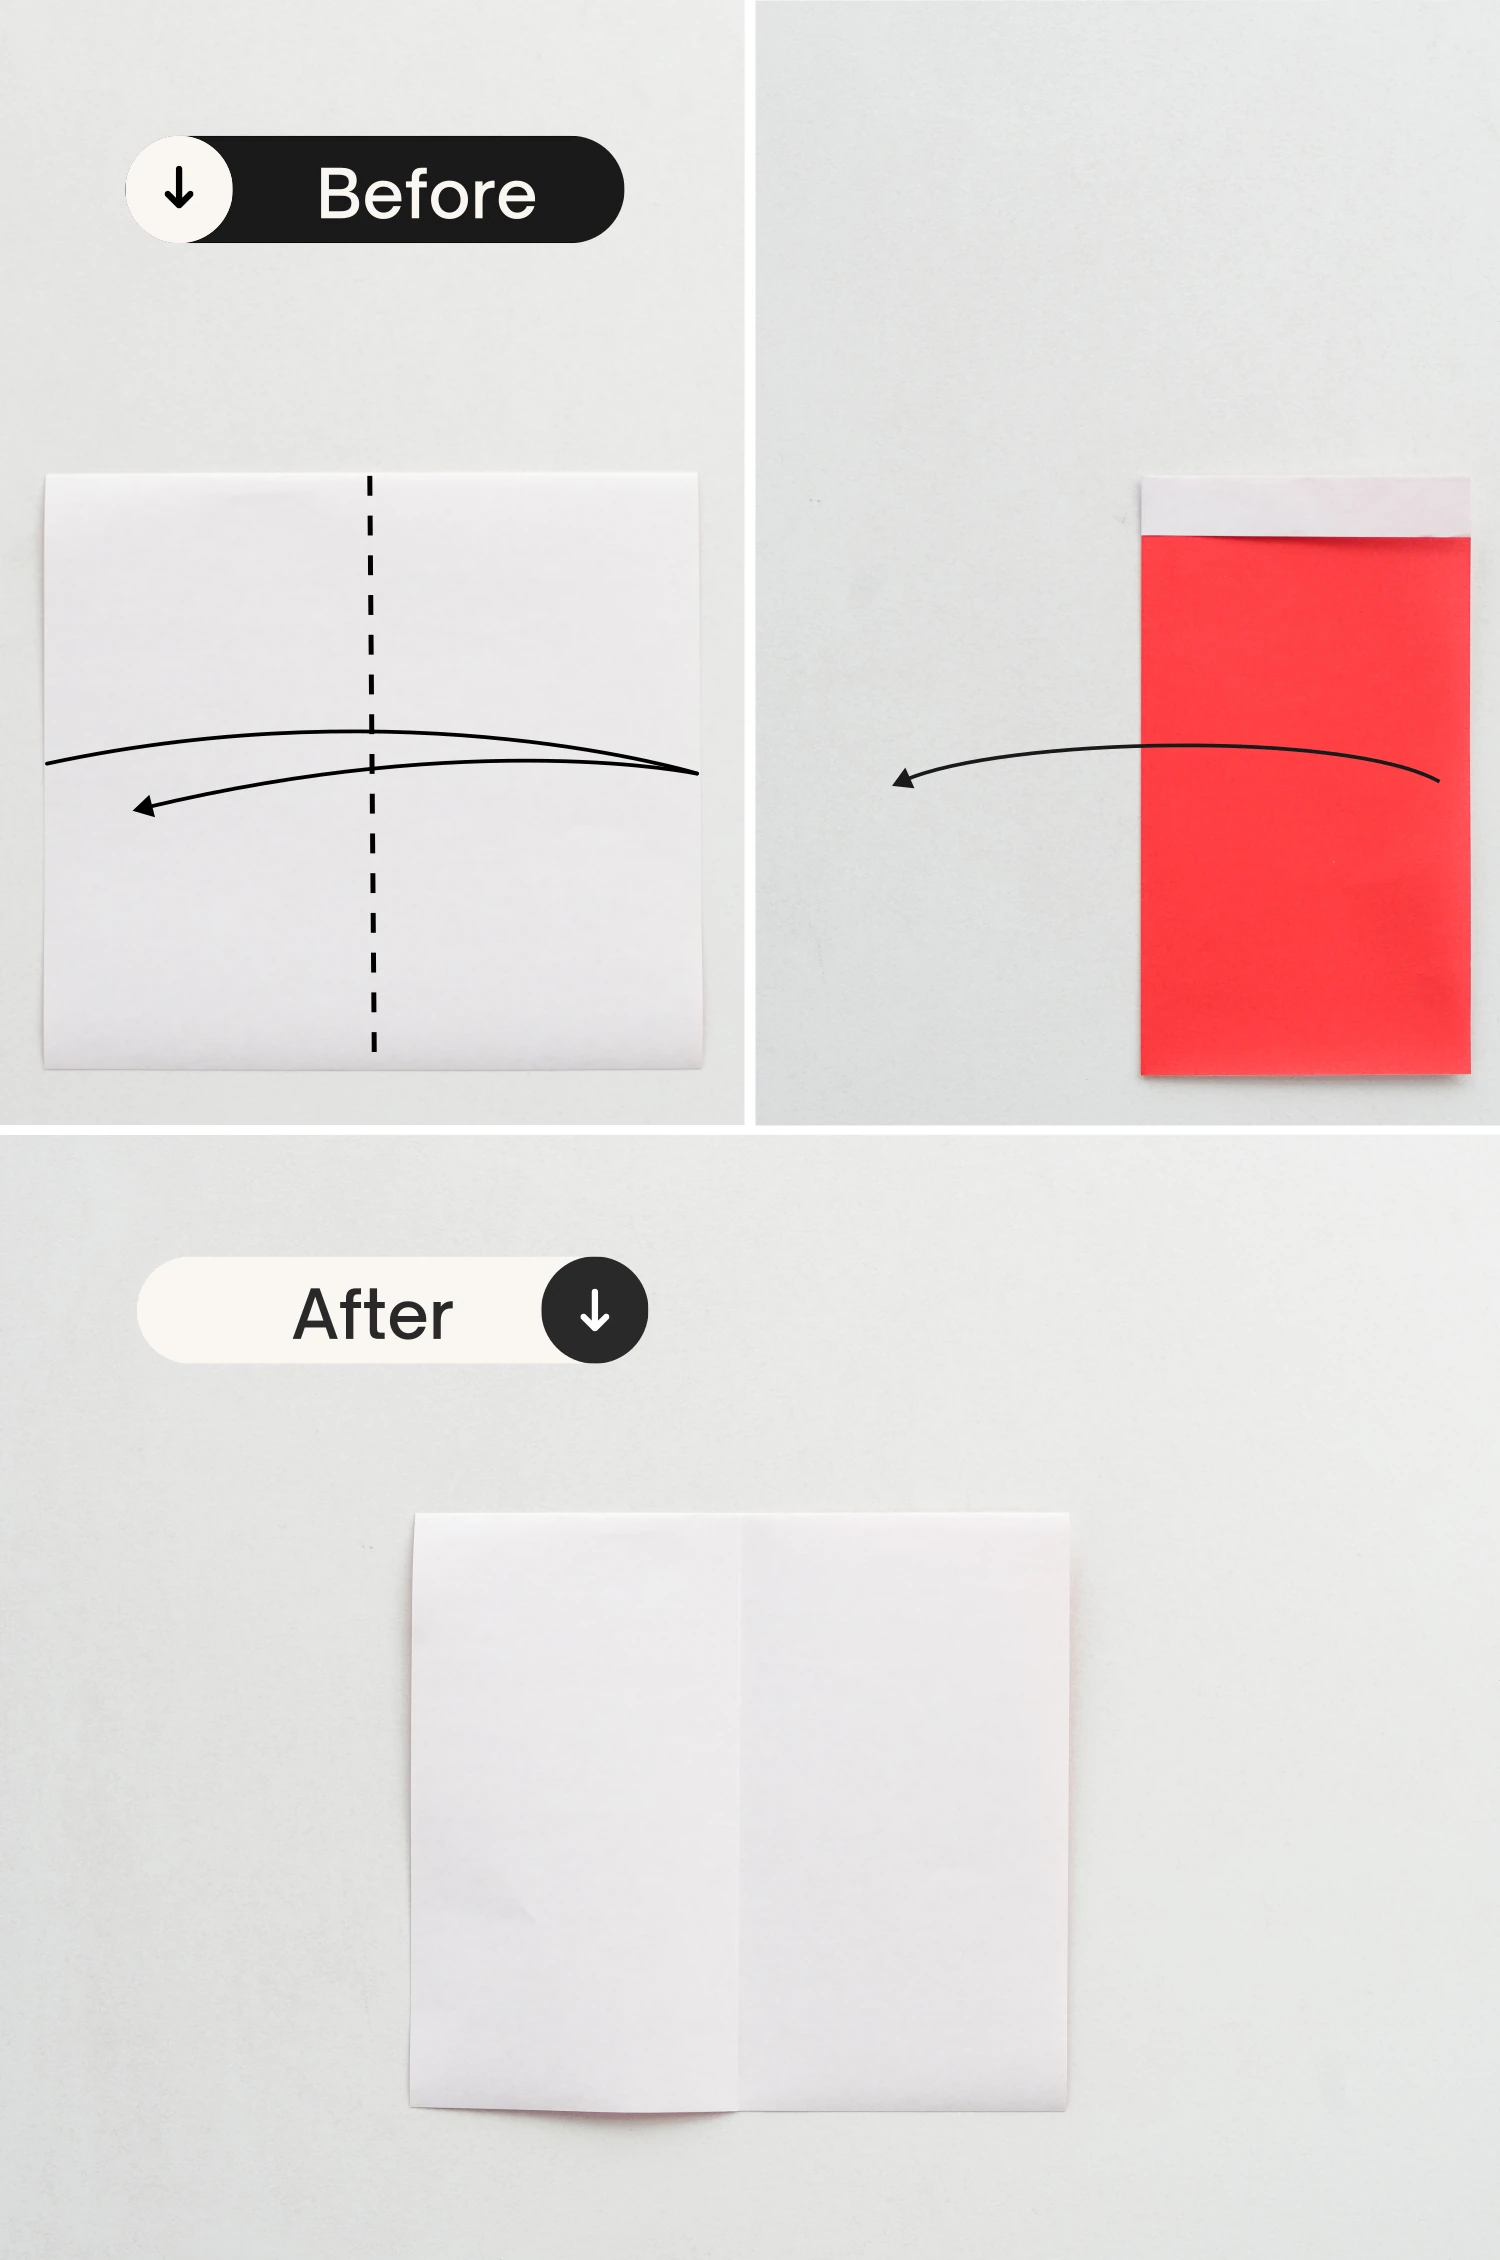
Step 3
Fold this paper in half vertically to get a crease and fold back.
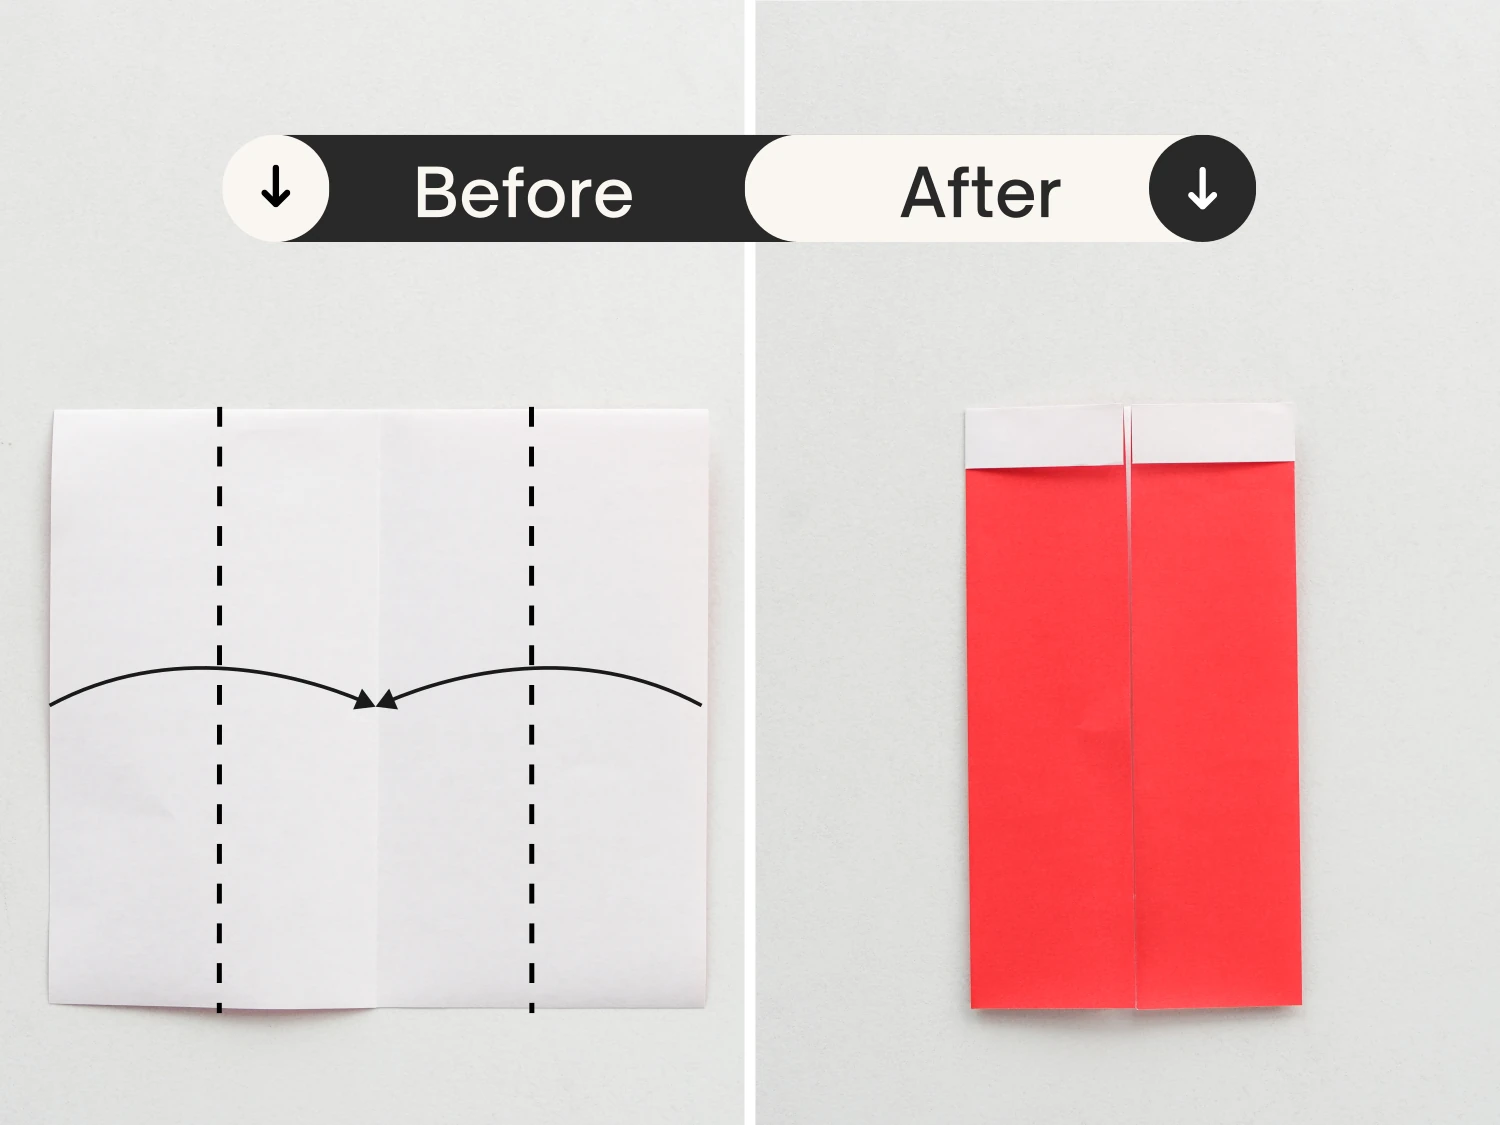
Step 4
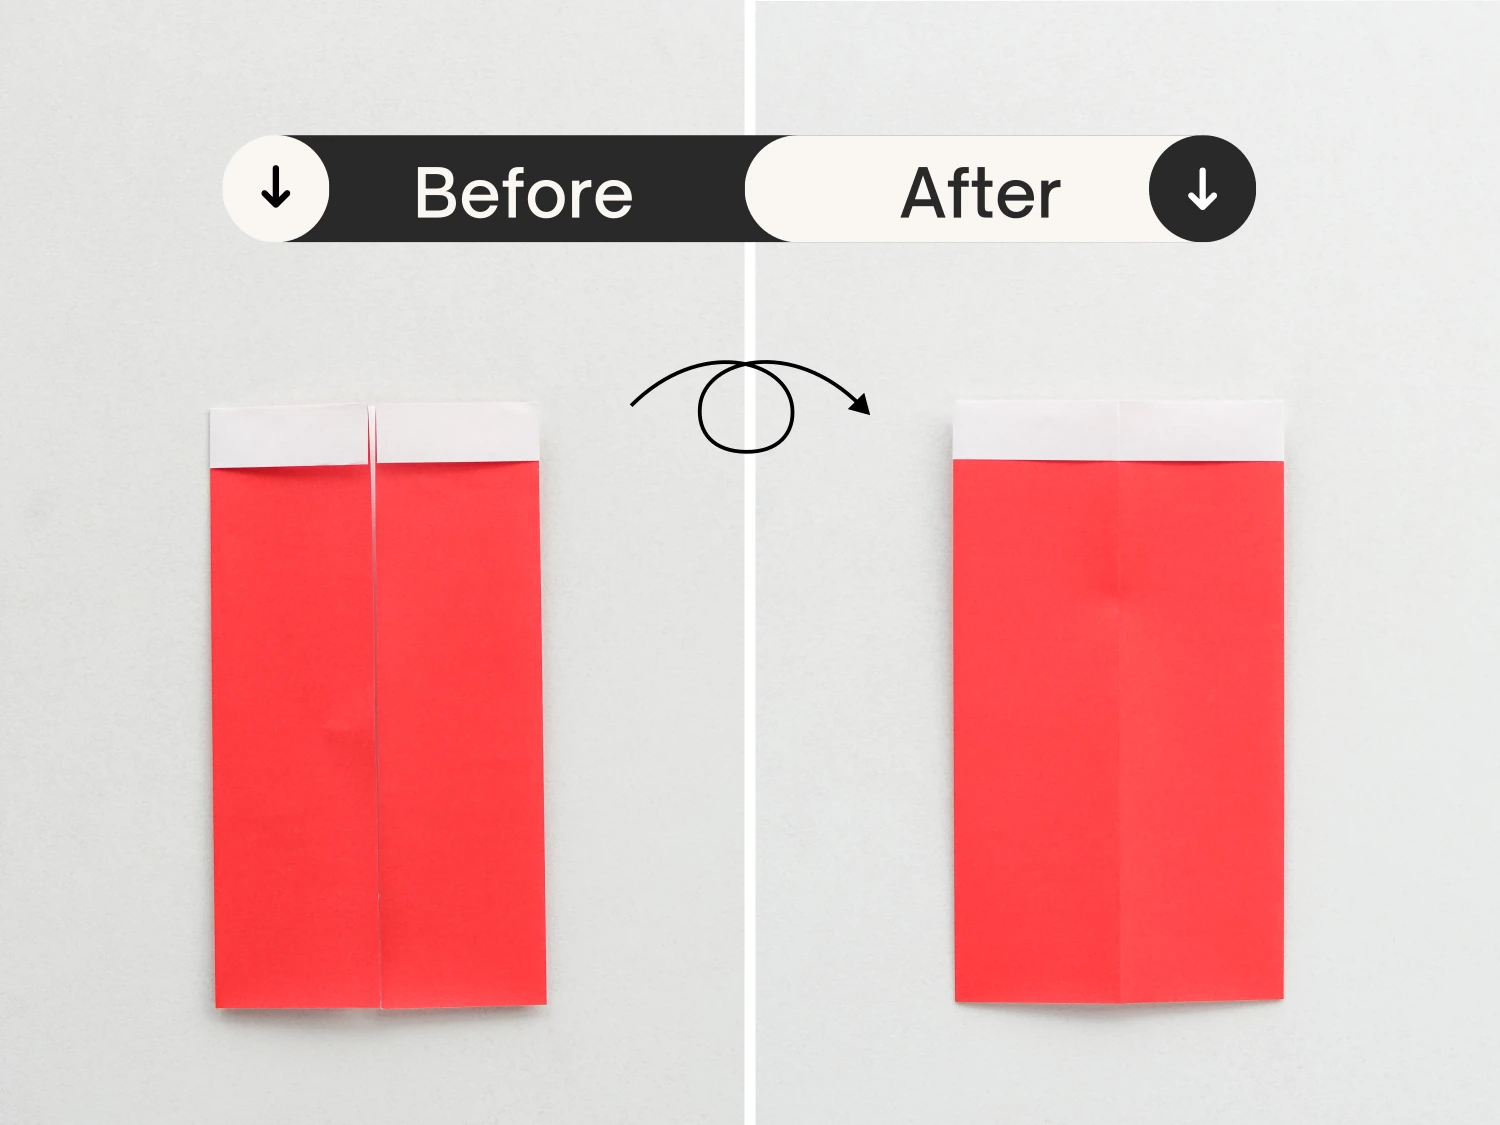
Fold the left and right edges to align with the vertical crease.
Step 5
Then flip the paper over.
Step 6
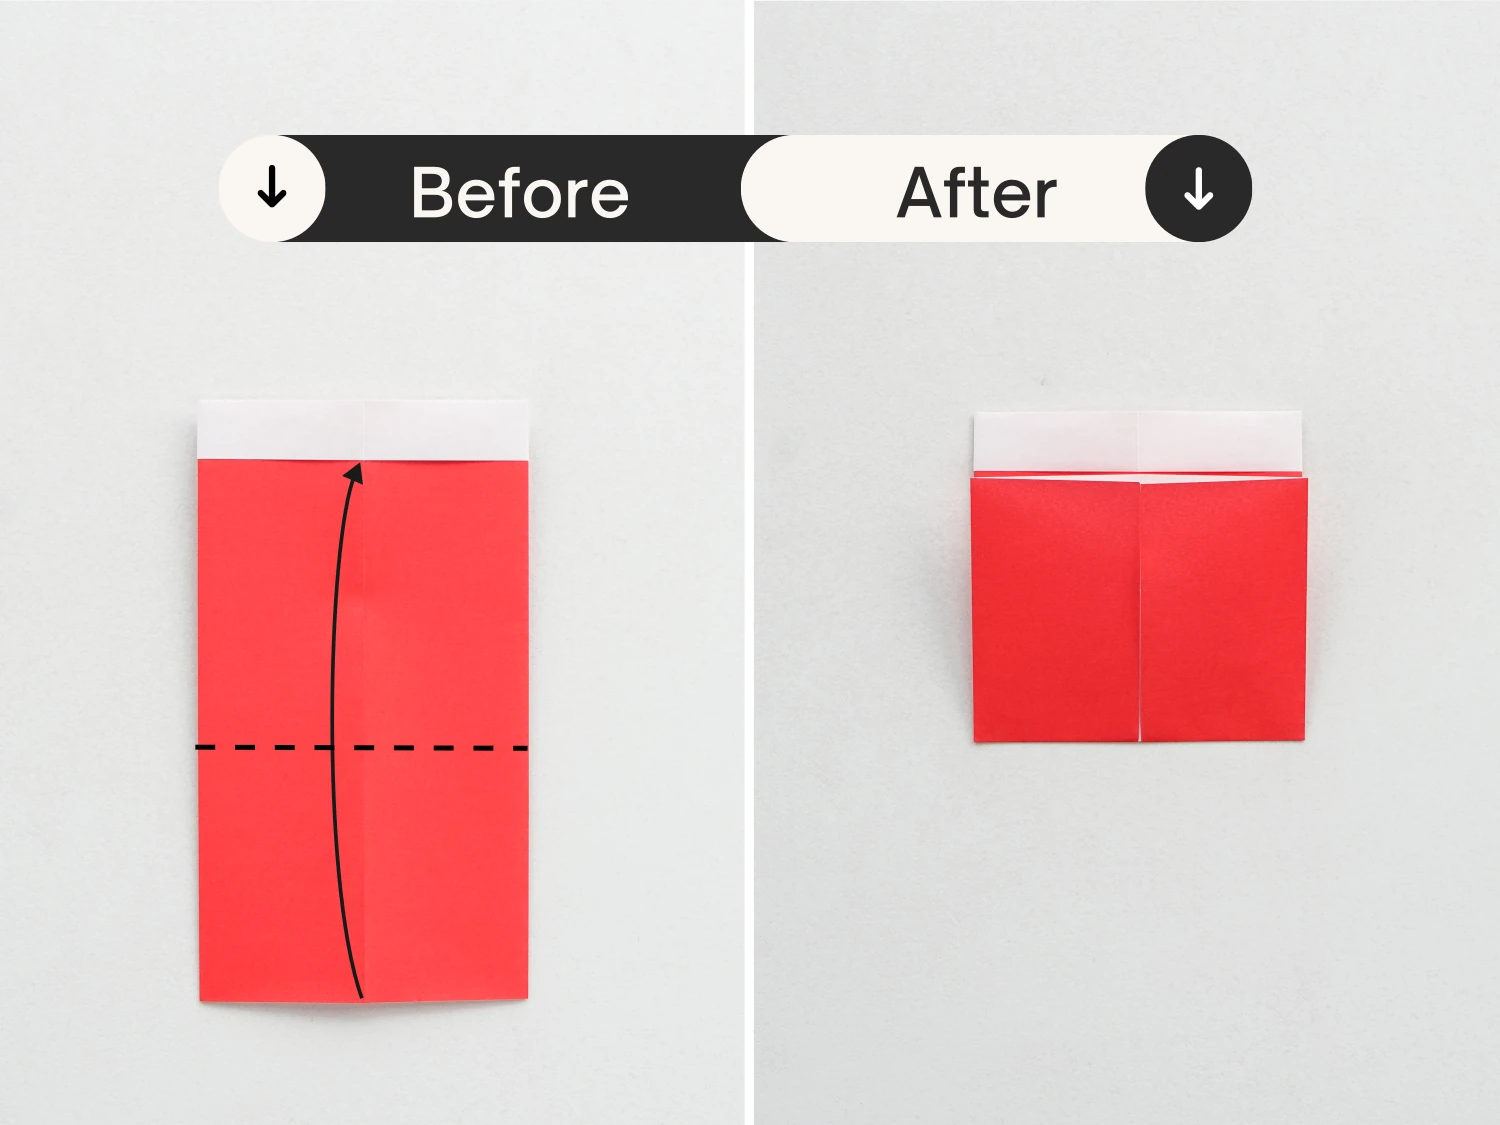
Fold the bottom edge up along the dotted line to align with the bottom edge of the top rectangle.
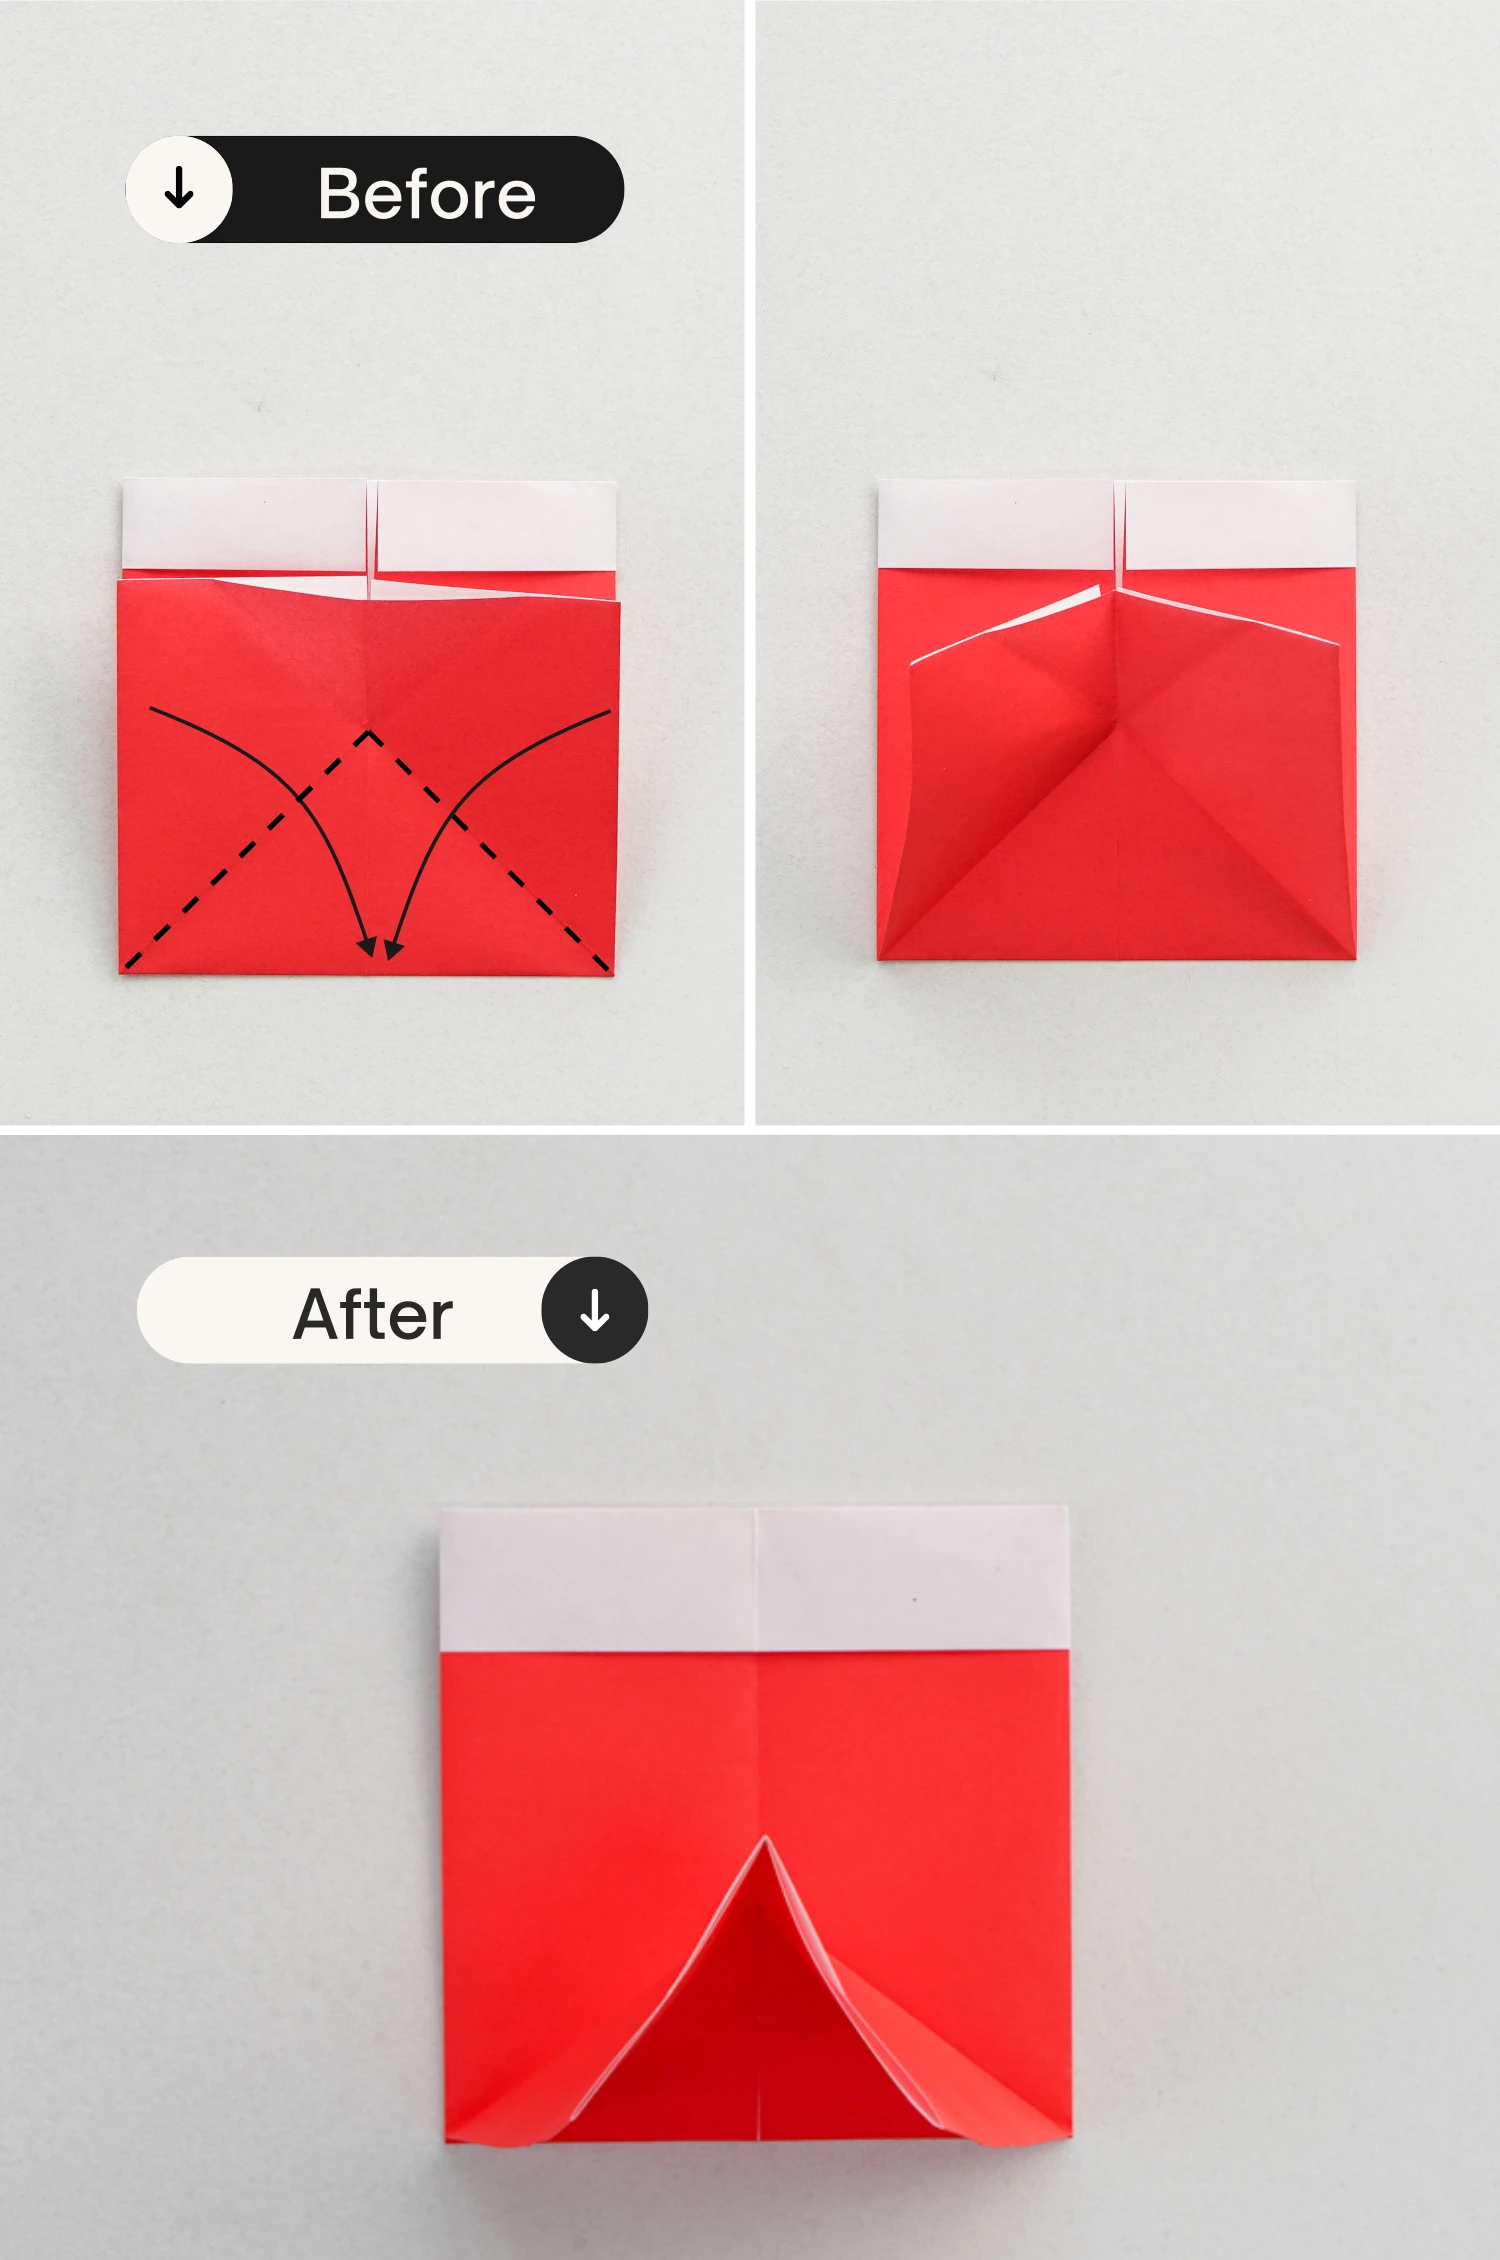
Step 7
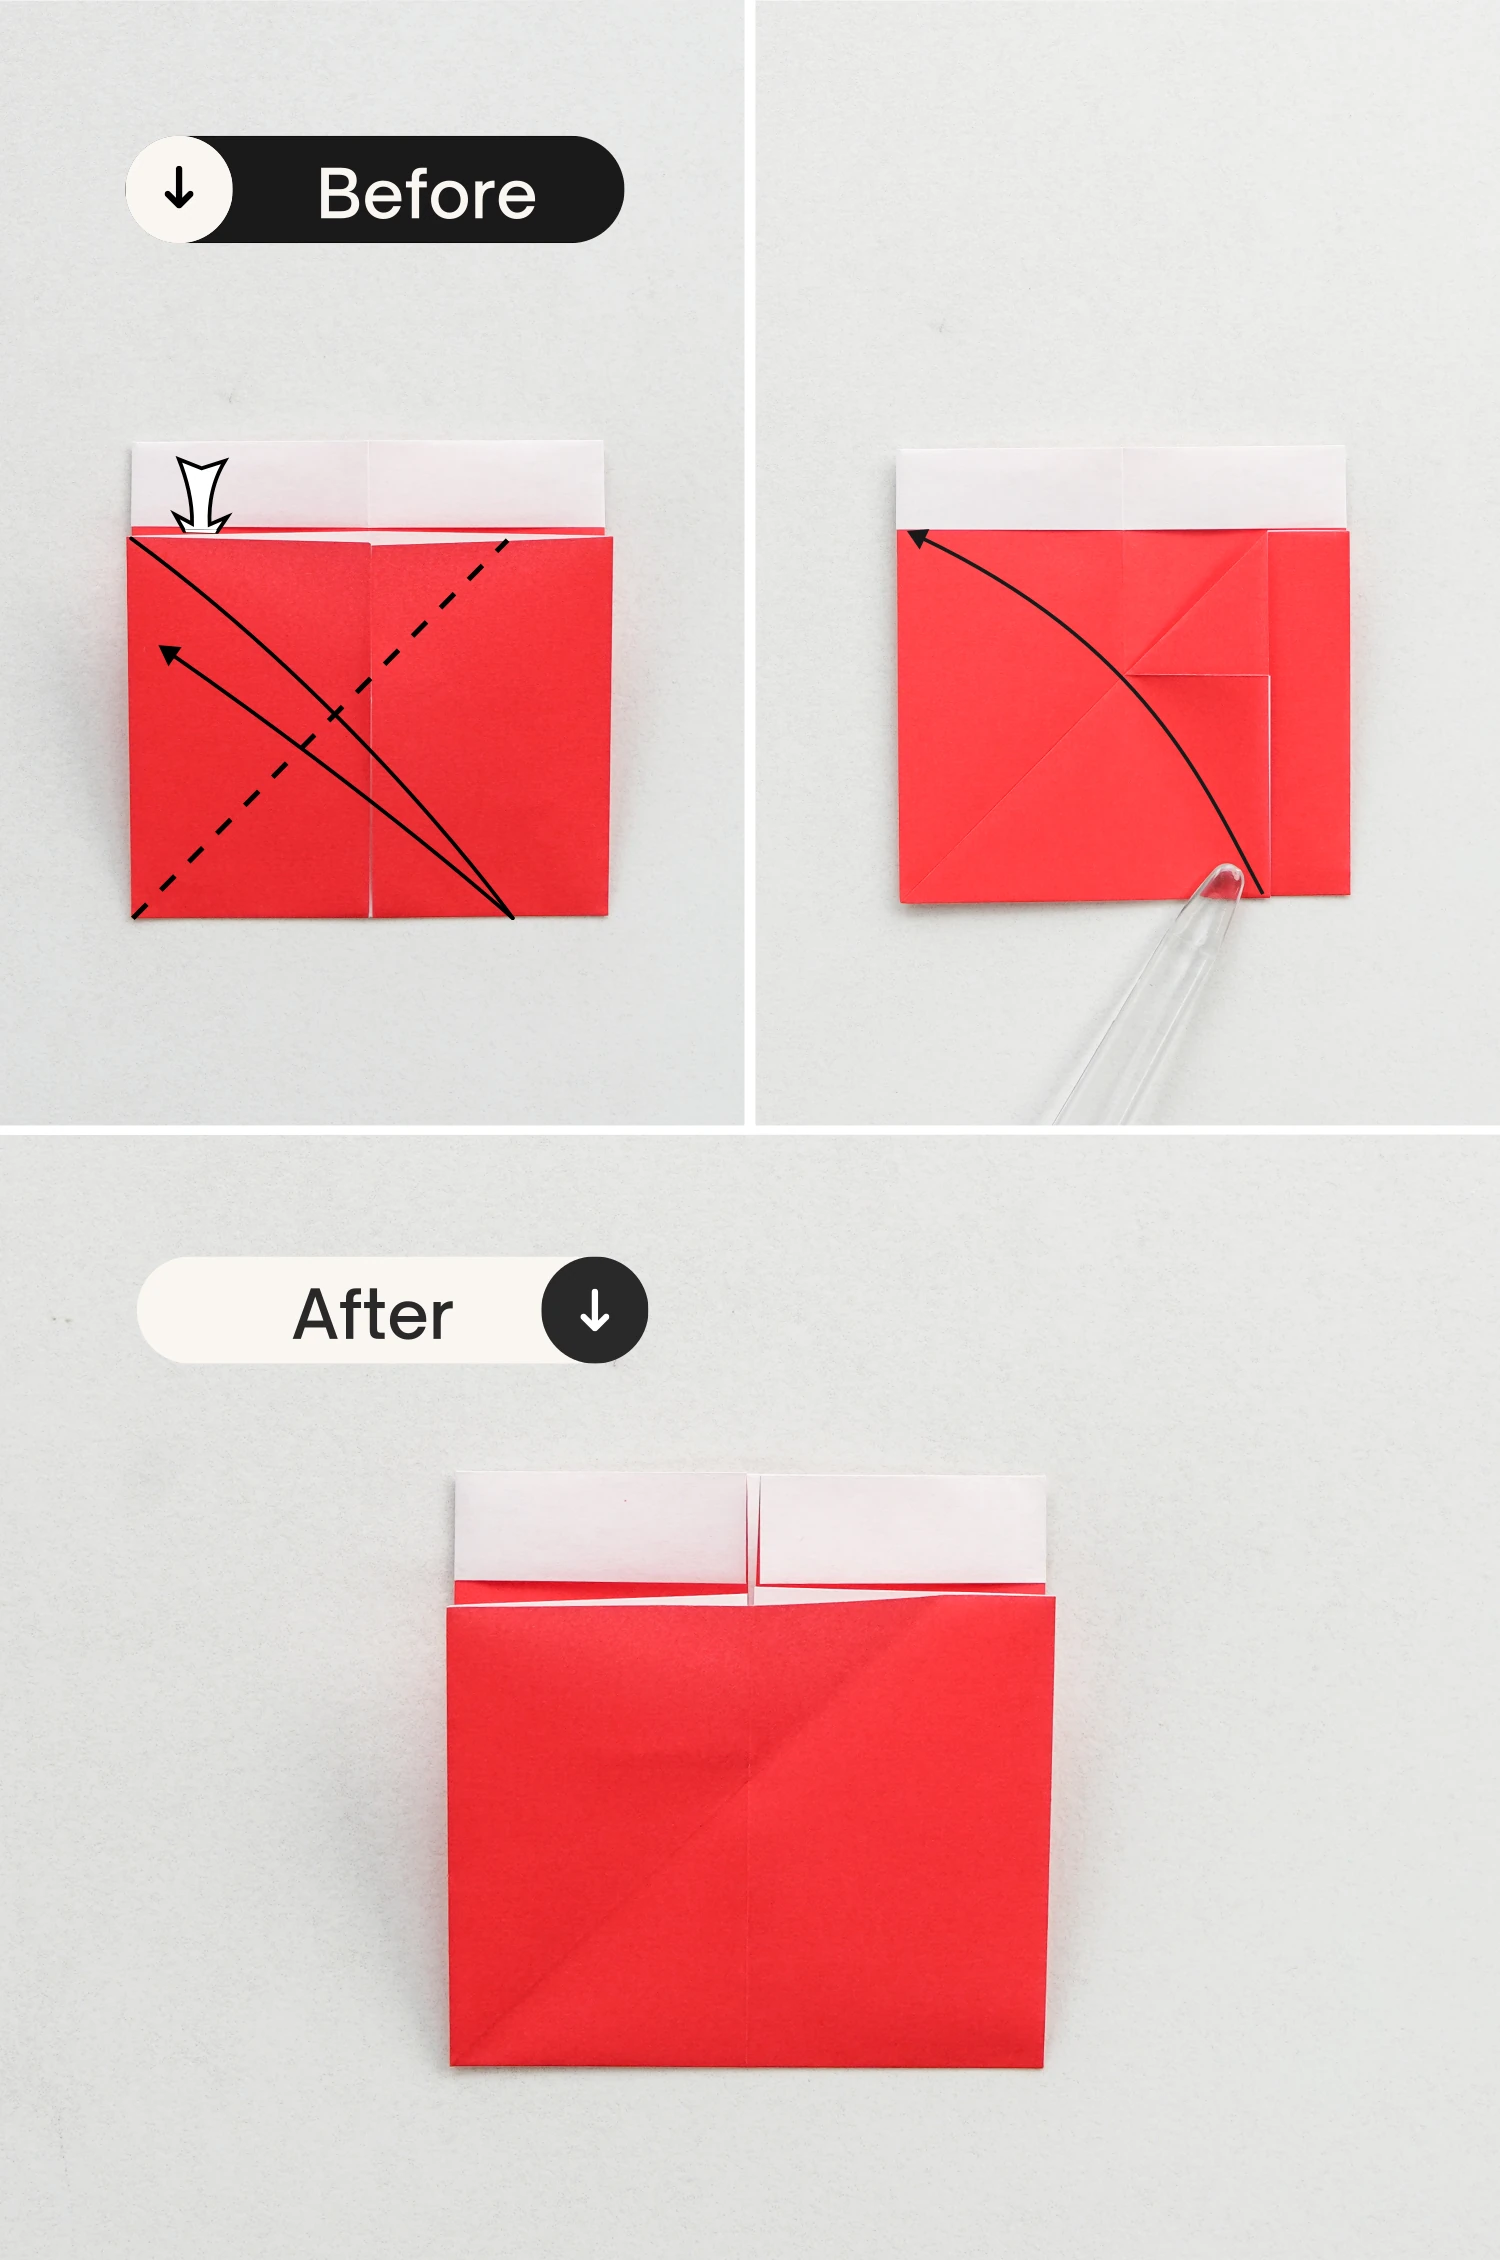
Take the left edge of the top layer, and fold it to align with the bottom edge, cease it well then unfold.
Step 8
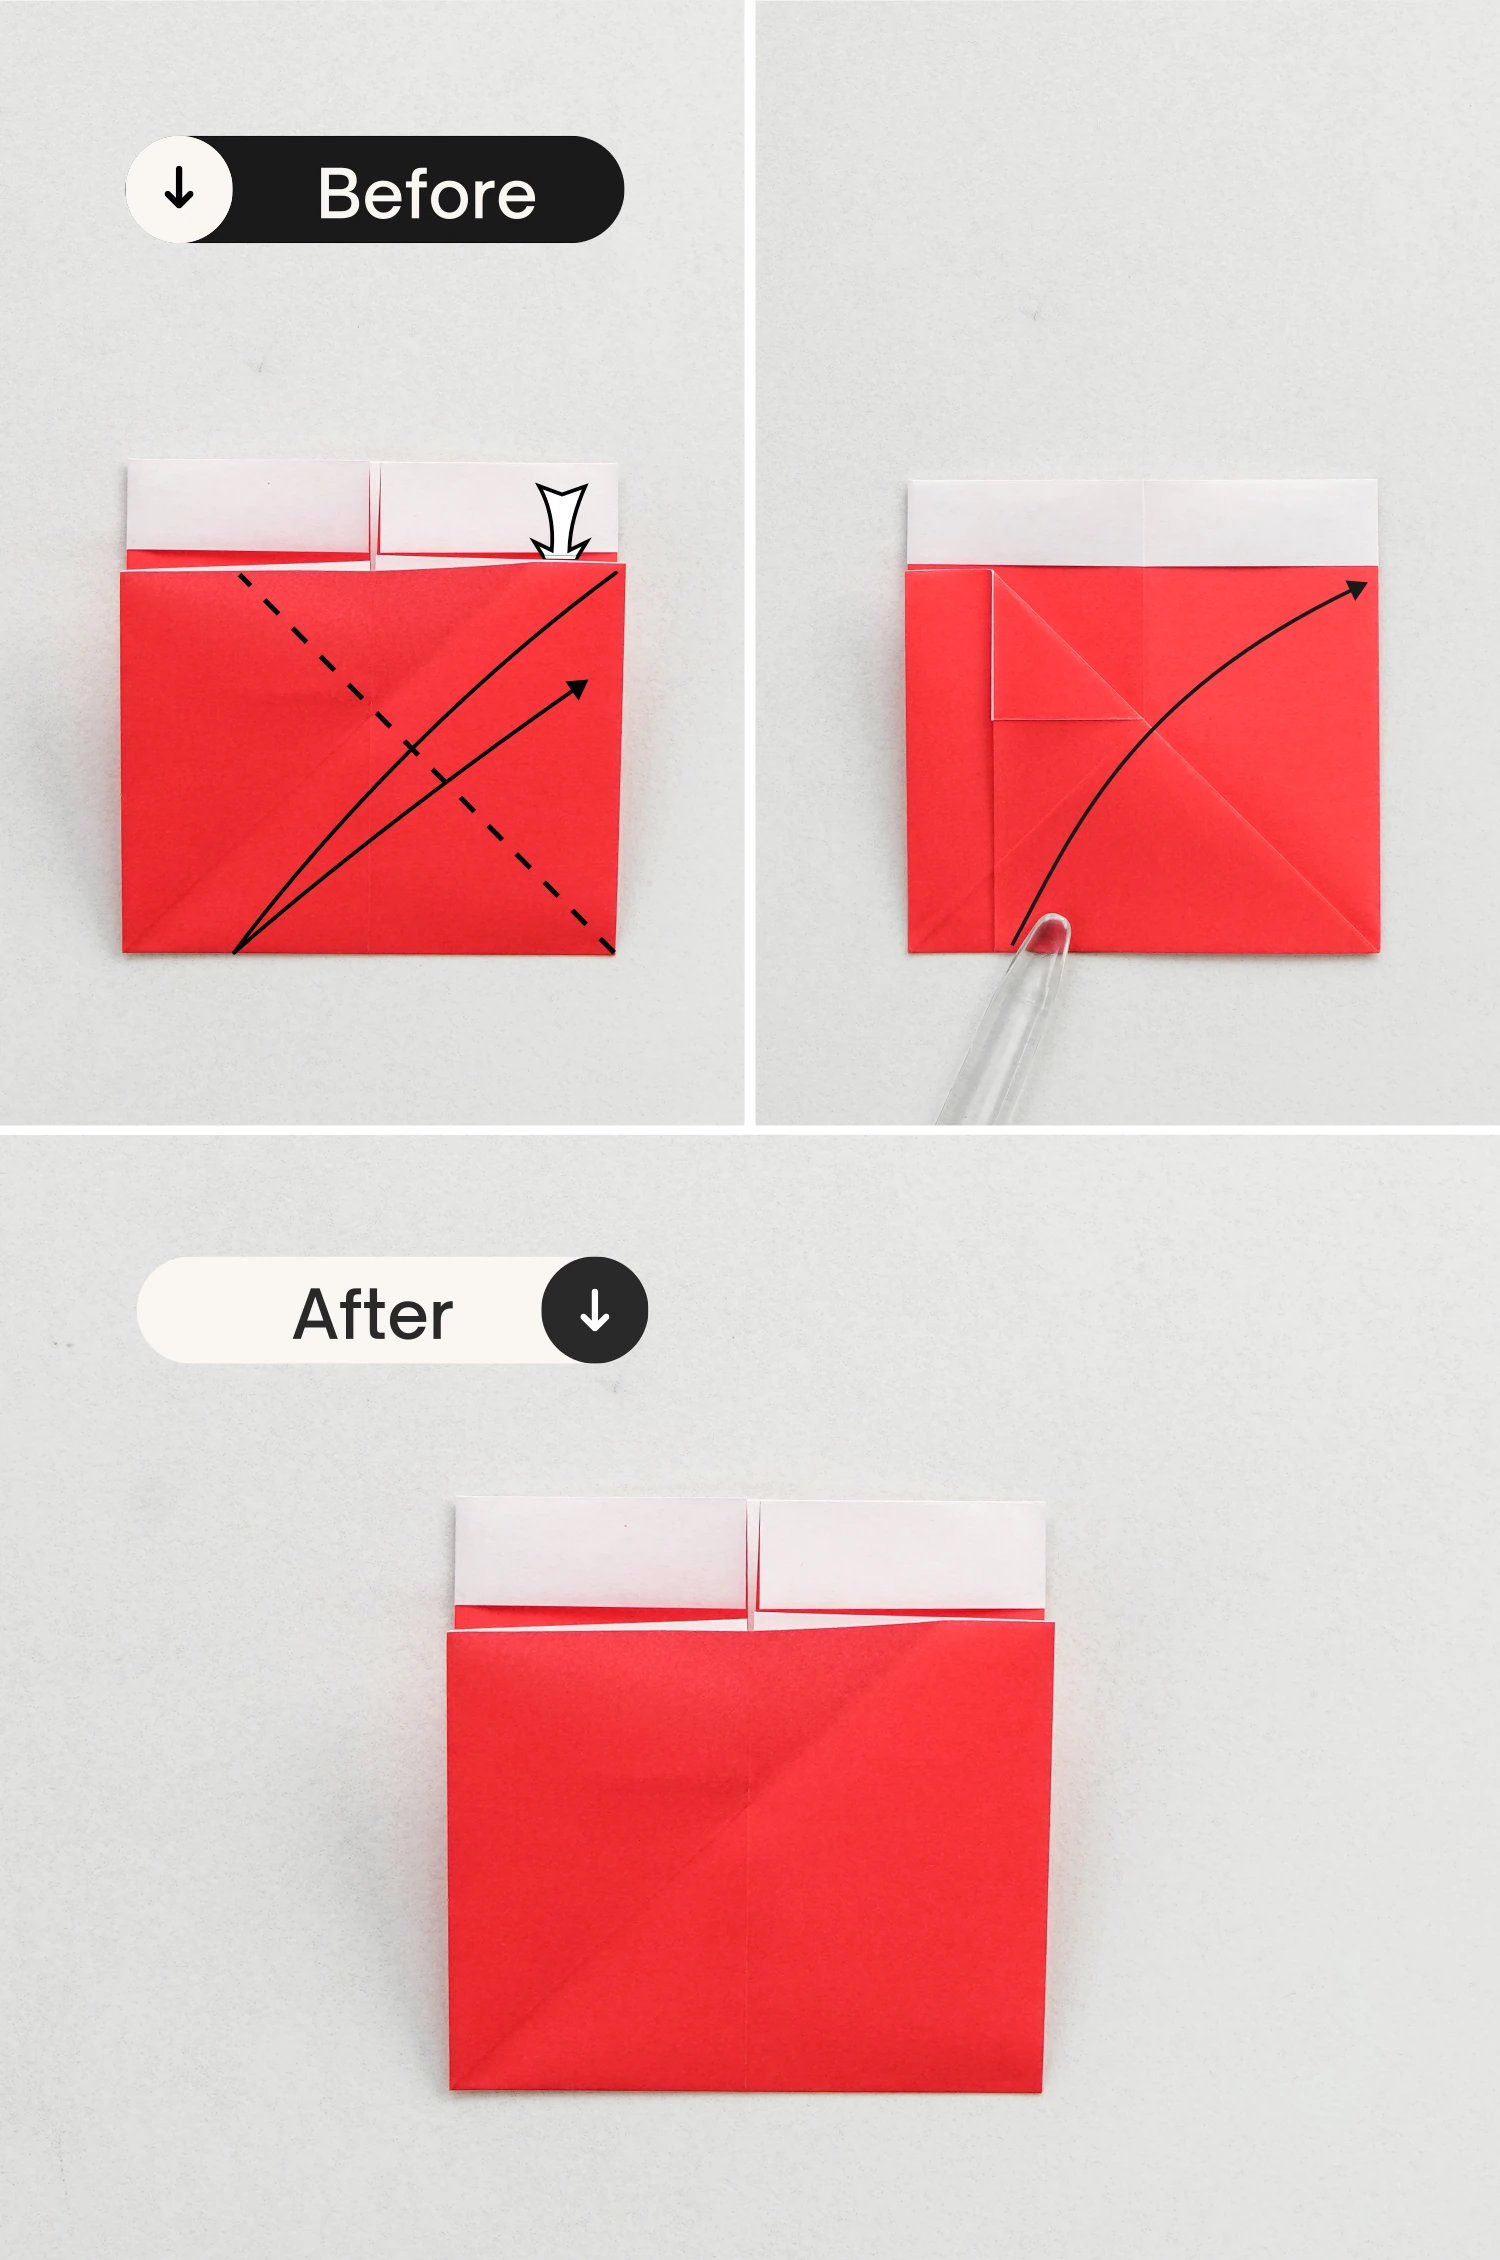
Similarly, fold the right edge of the top layer to align with the bottom edge and unfold it.
Step 9
Lift the left and right edges to form a corner along the creases you made in the previous step.
Step 10
View it from the top, fold the top edge in half backward, then view it from the left and lay it flat.
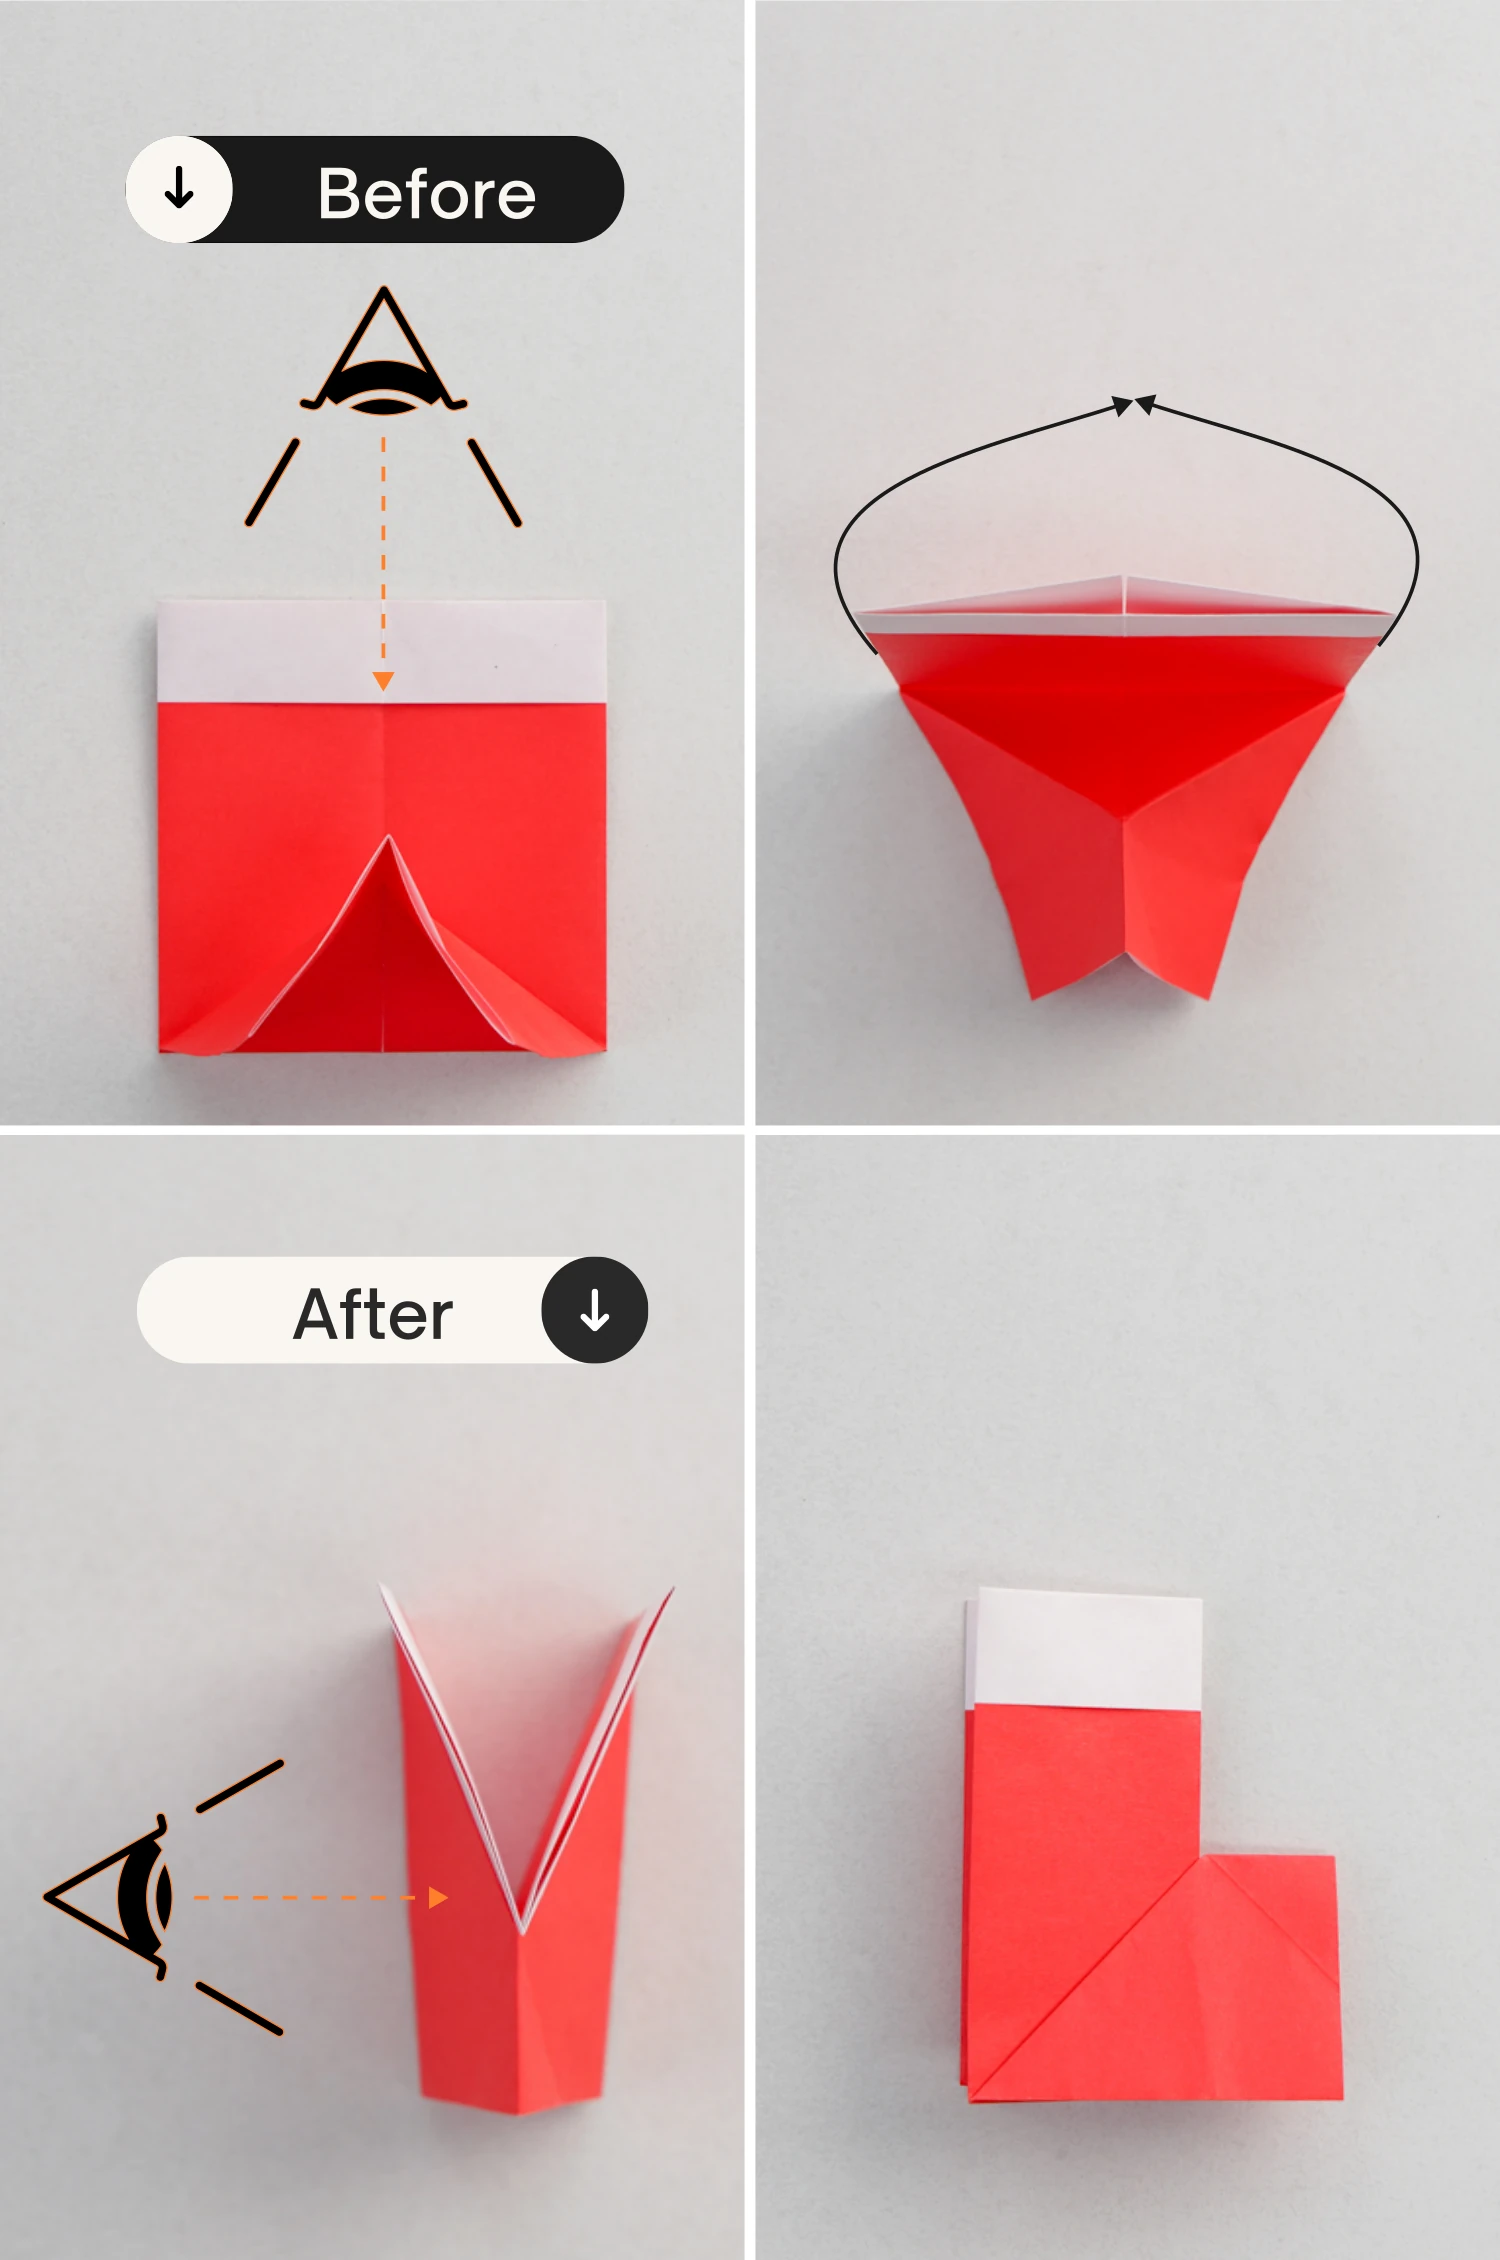
Step 11
Fold the top toe part down a little to form a small triangle, and unfold it.
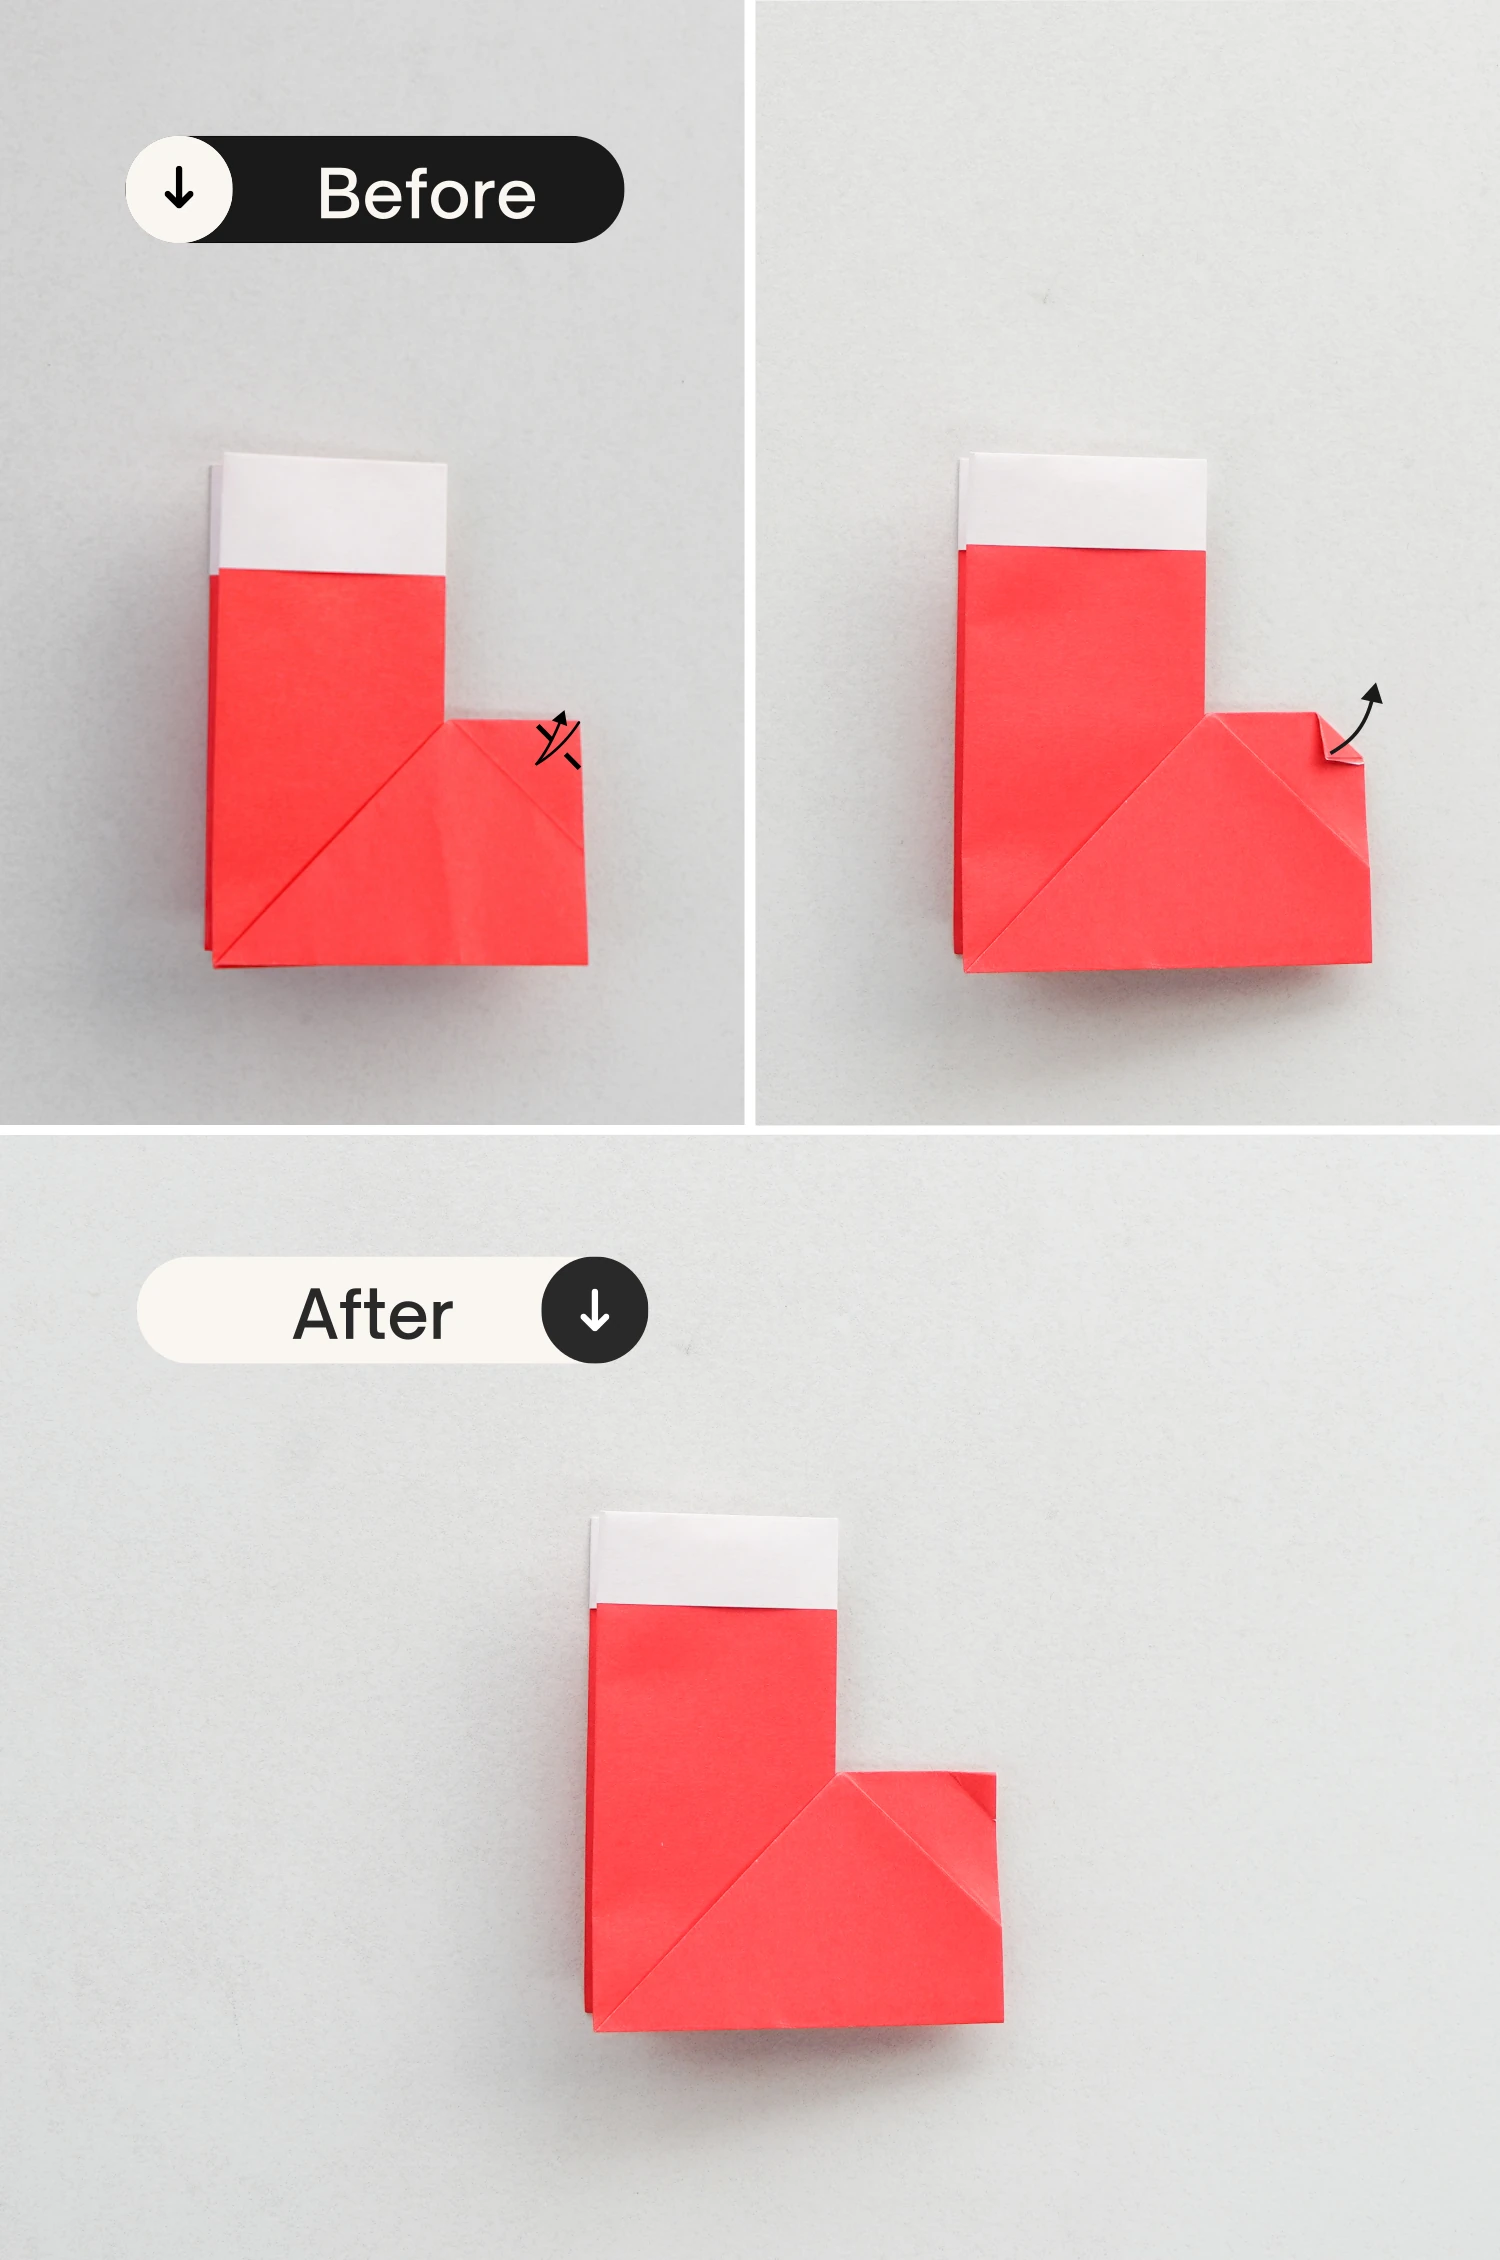
Step 12
View it from the top, slightly press the tip and use your finger to shape the creases on both sides, push the corner you just folded inwards, tucking it between the two layers of paper.
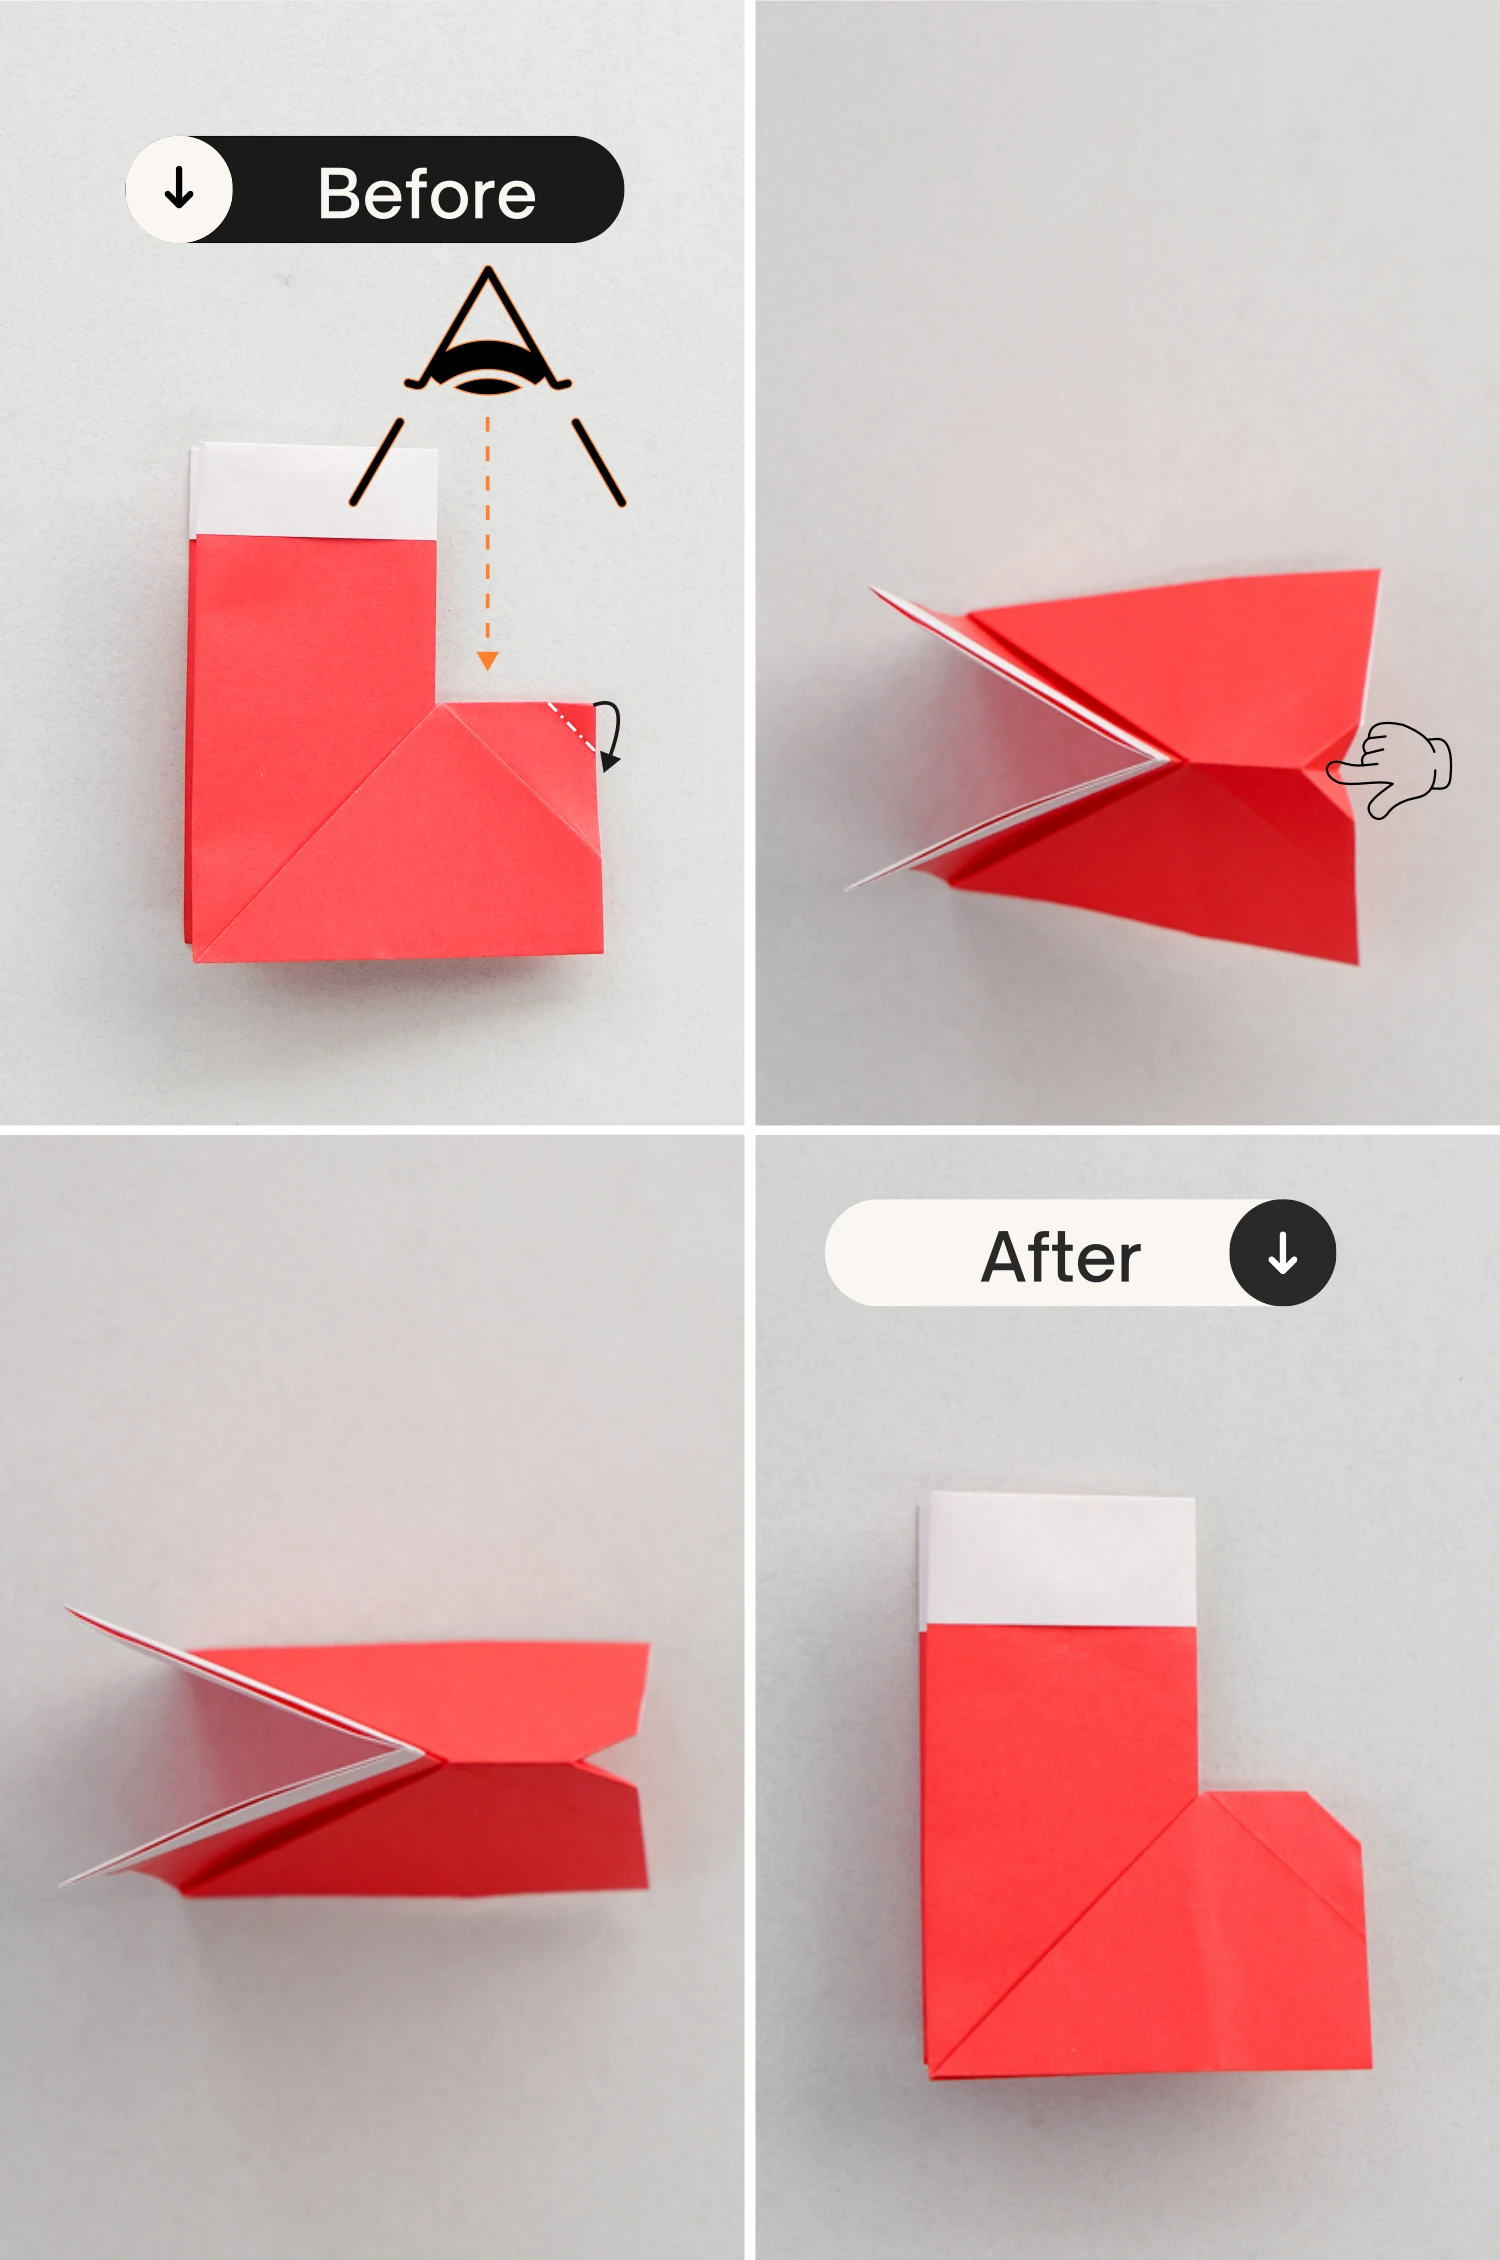
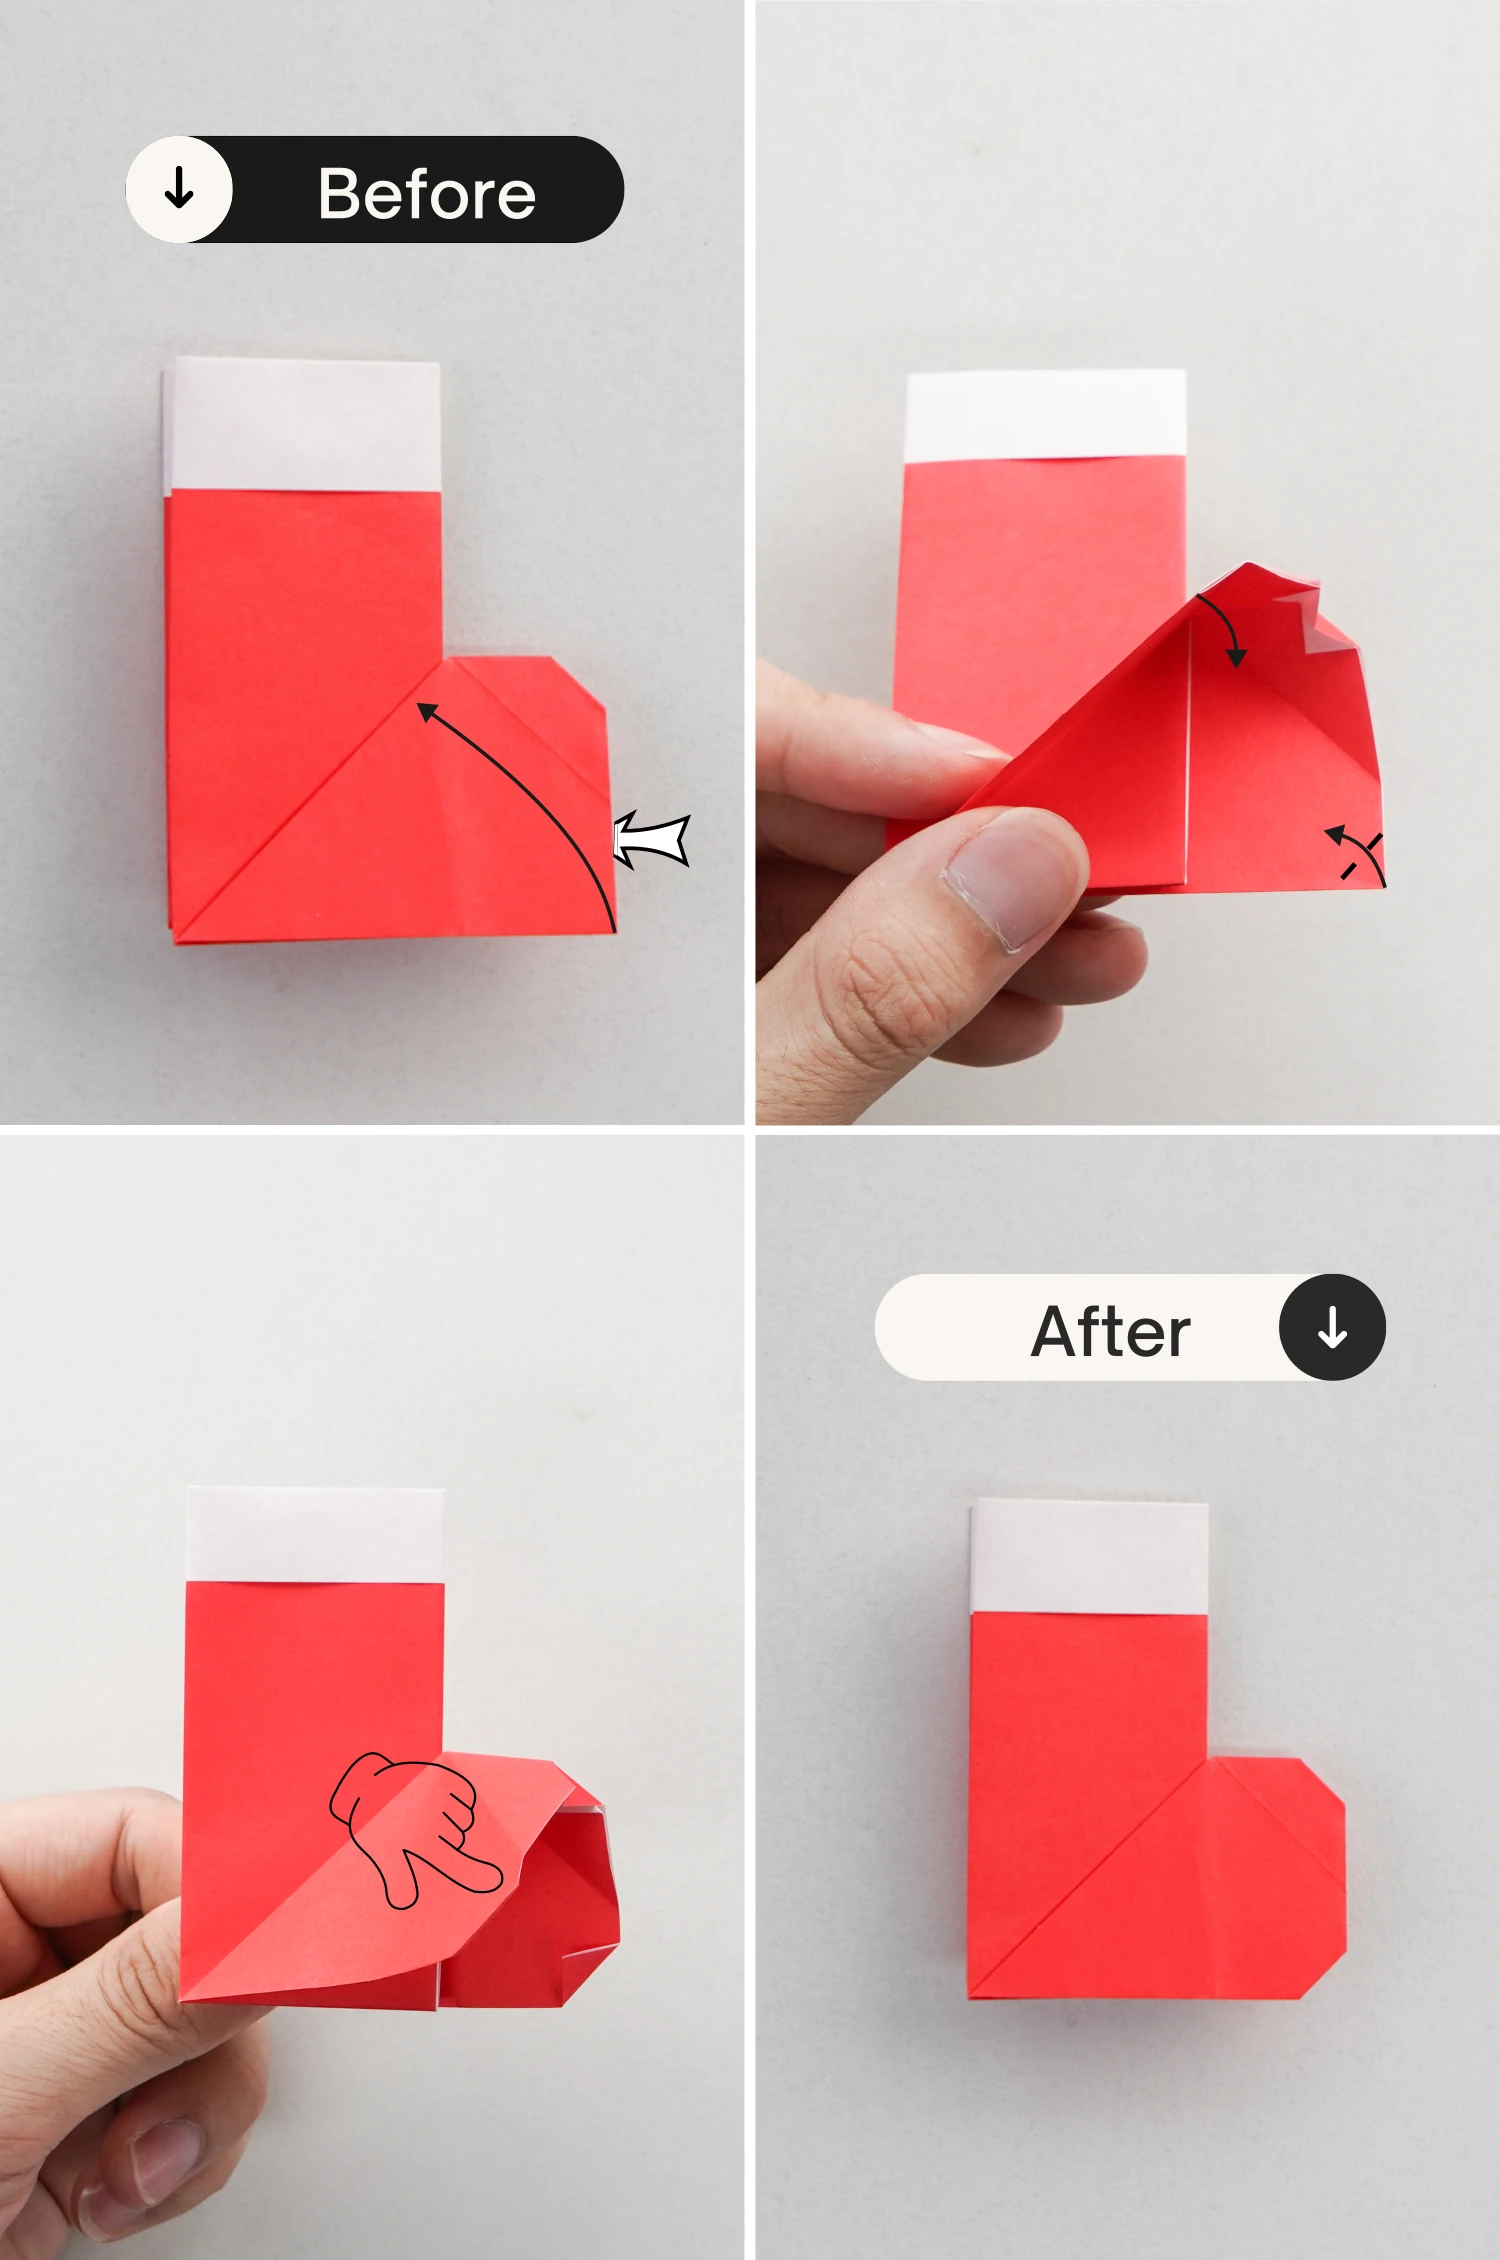
Step 13
Lift the top layer, fold the bottom right corner a little backward, as well as the bottom right corner of the bottom layer, fold it up a little. Finally, flatten it.
What’s Next
Next, you can check our other origami for Christmas. Happy folding!
Other Origami Ideas for Christmas