How to Make an Origami Corner Bookmark
This cute and simple origami bookmark makes reading more interesting, and perfectly exercises the hands-on skills. It would be a great choice to make one and give it to your friends as a gift.
Then during the shooting process, we found it can be used as a small house.

If you are new to origami, start here from our beginner guide to know the basics and how to read the step-by-step instructions.
- Folding time: 5 minutes
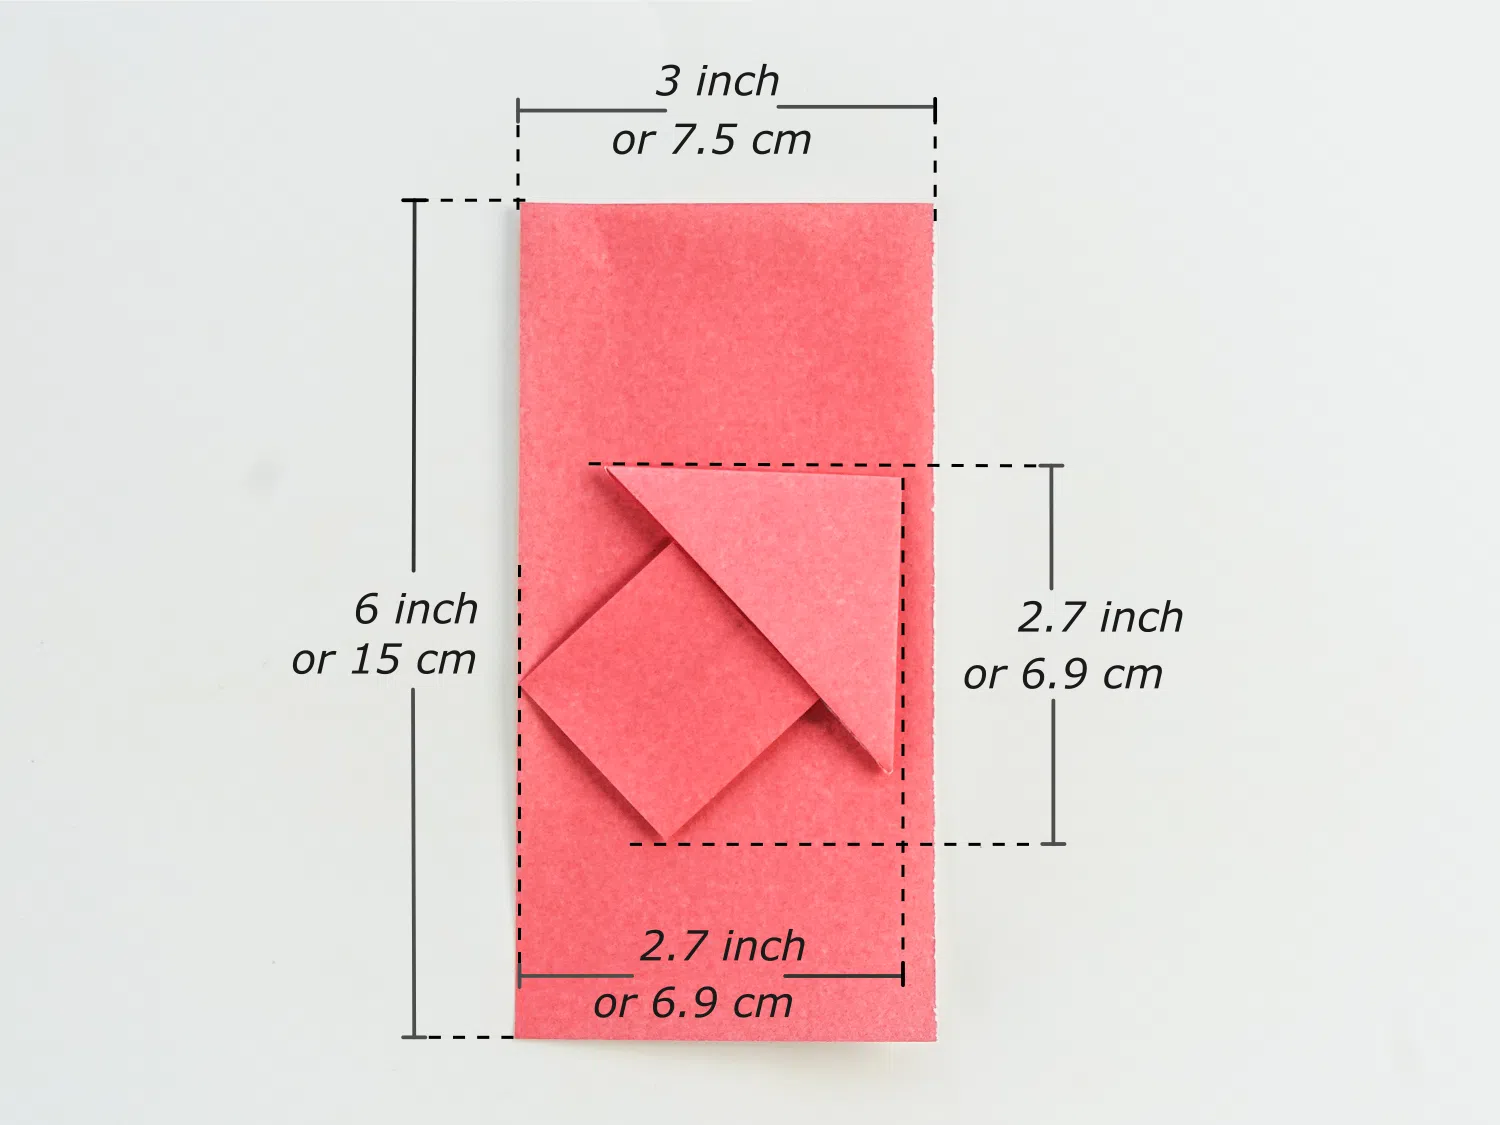
- Paper: 7.5×15 cm
- Difficulty: Easy, Beginner friendly
Material
Use a 7.5*15 cm origami paper, with different colors on each side, and you will get a 6.9*6.9 cm lovely corner bookmark.
Easy Origami Corner Bookmark Video
Step by Step Instructions
Step 1
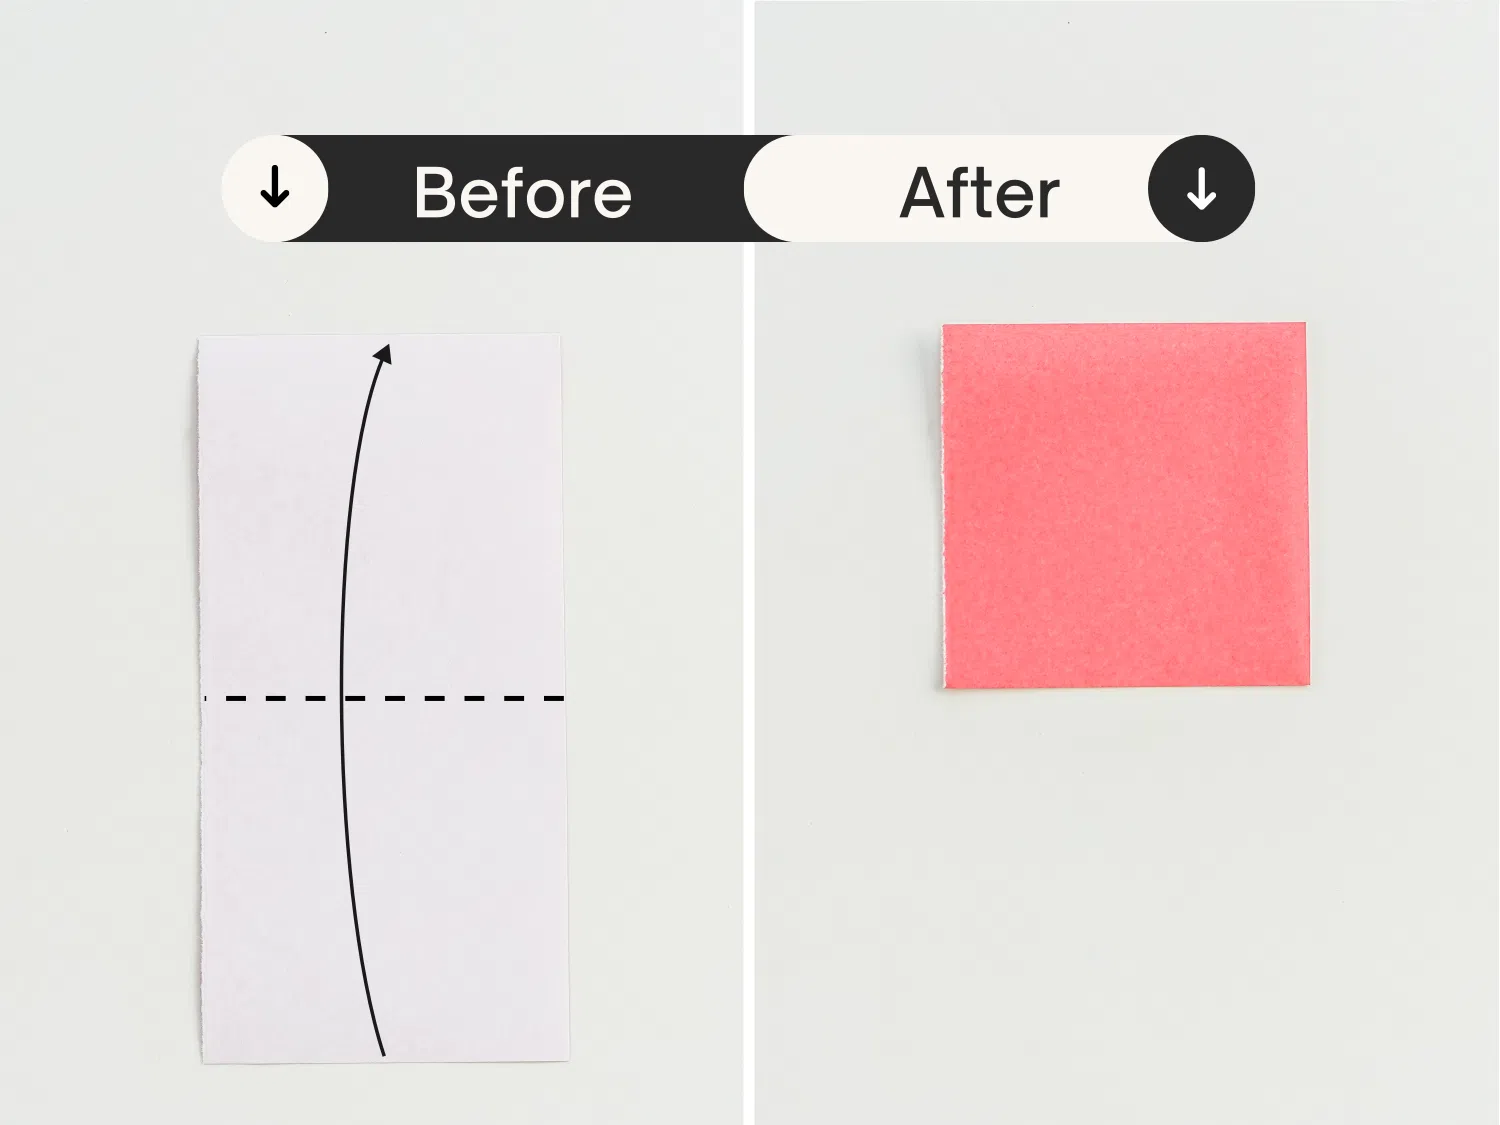
Start with the white side of the paper facing up and fold it in half.
Step 2
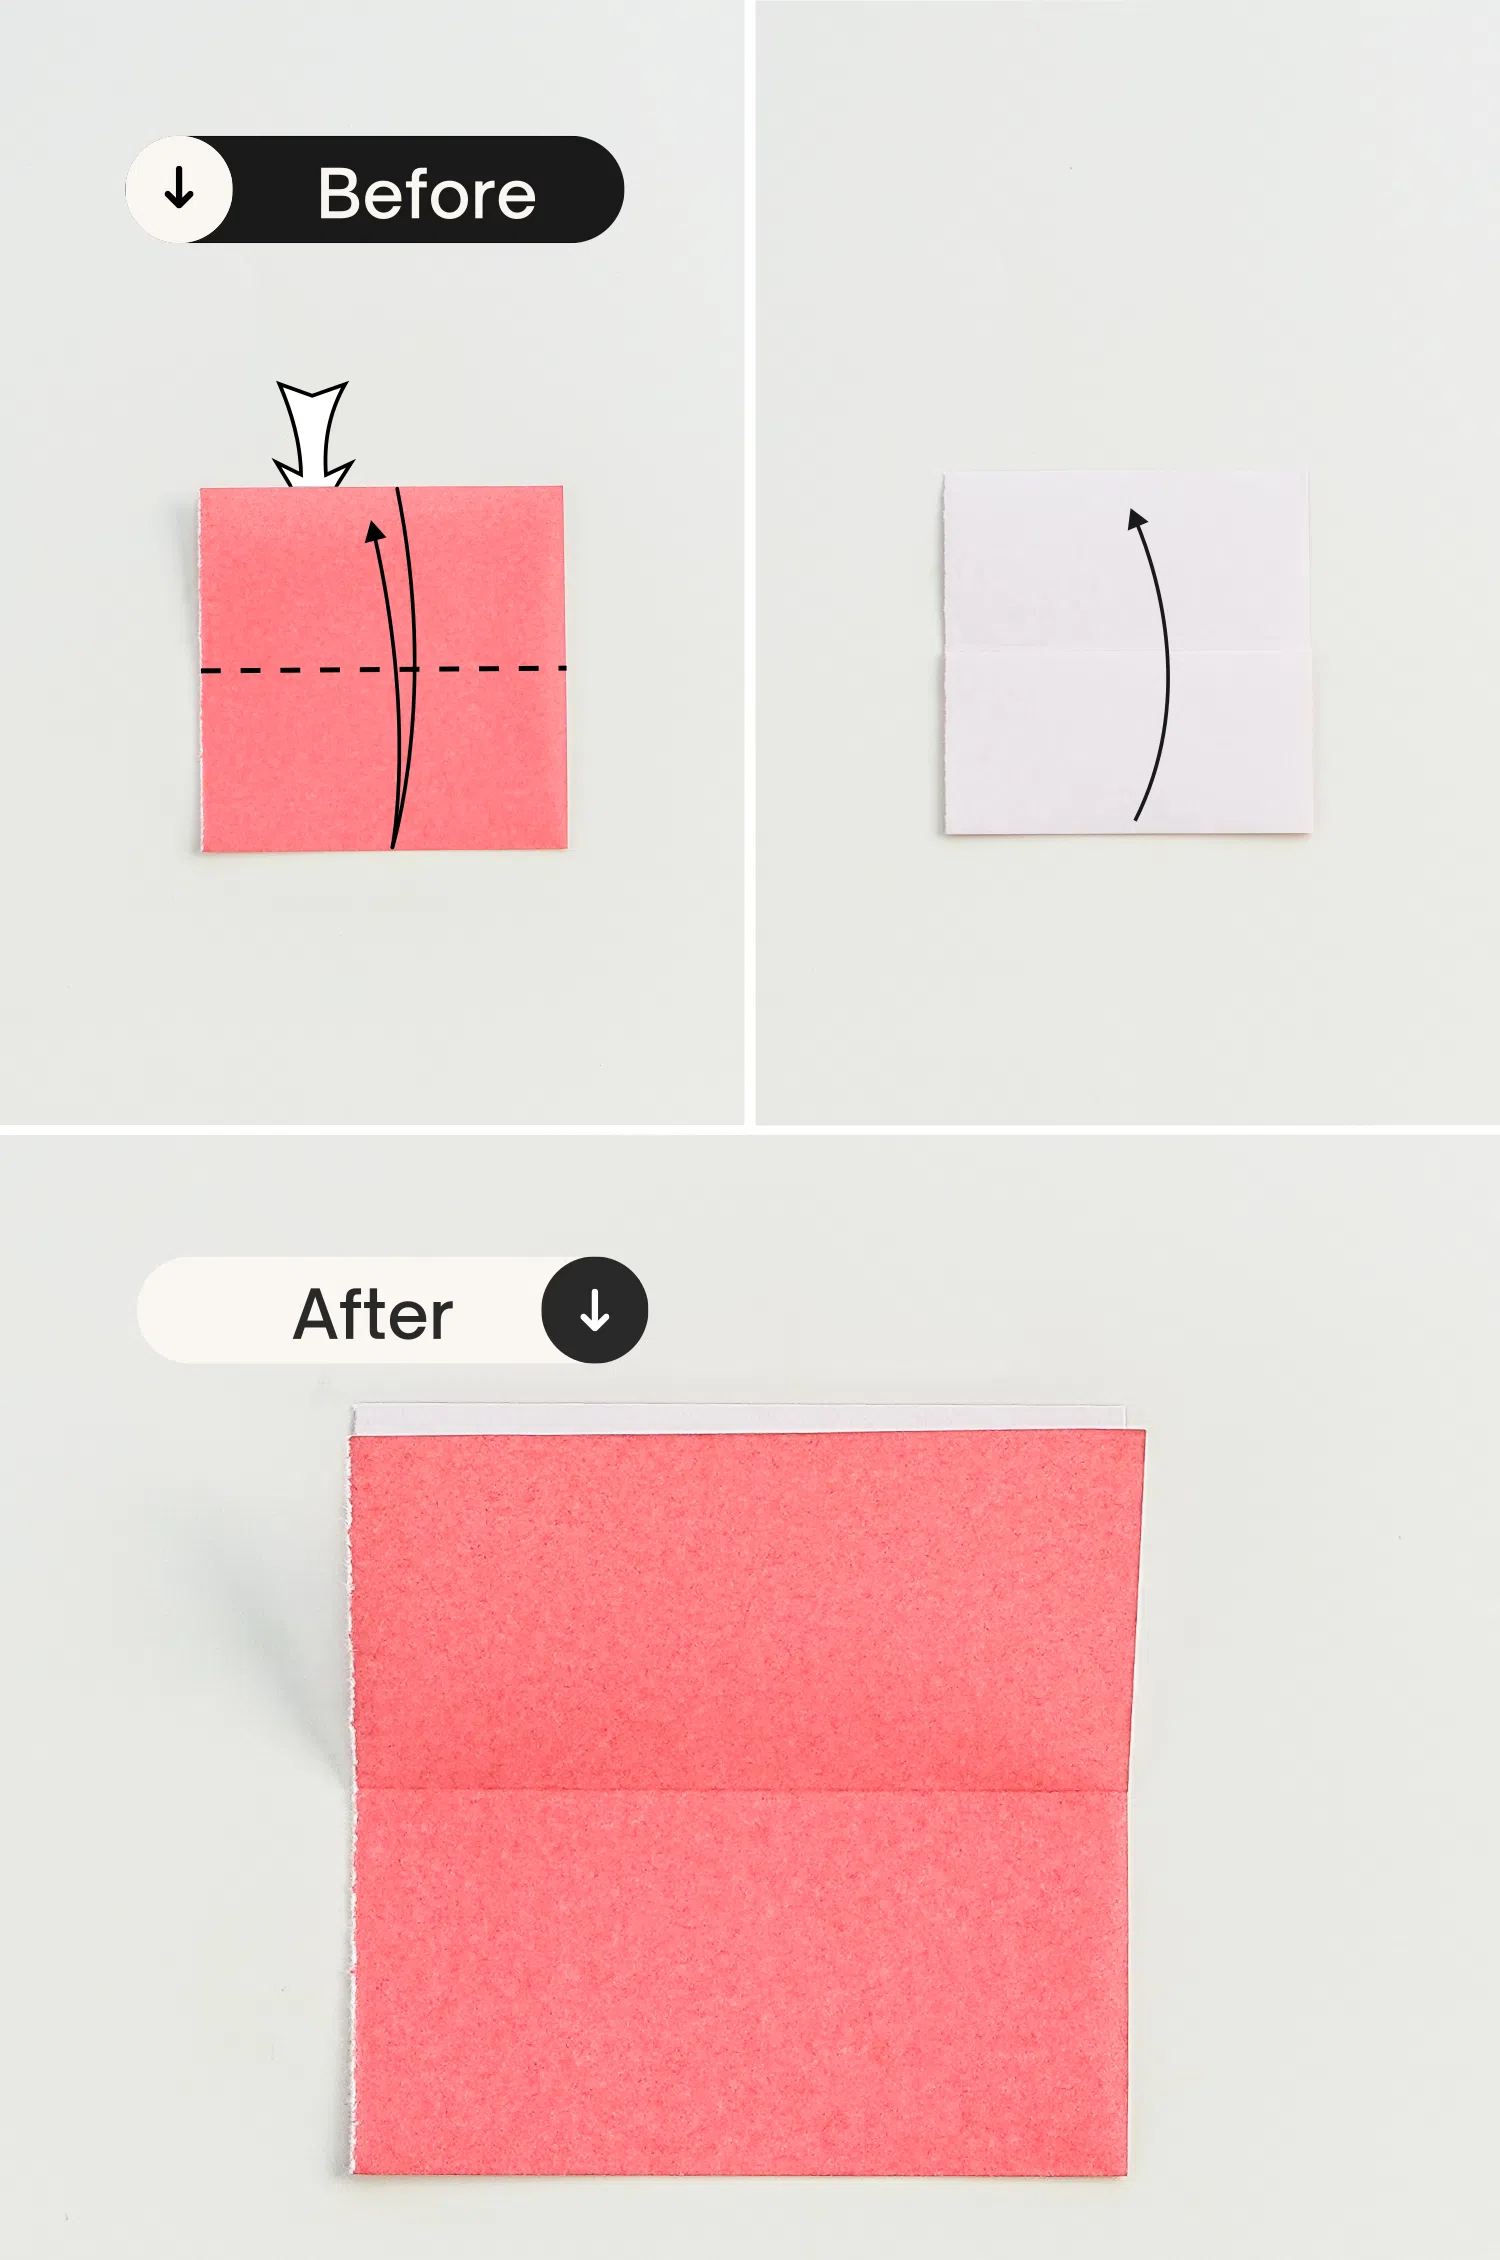
Take the top layer, fold it in half and crease it well then unfold it.
Step 3
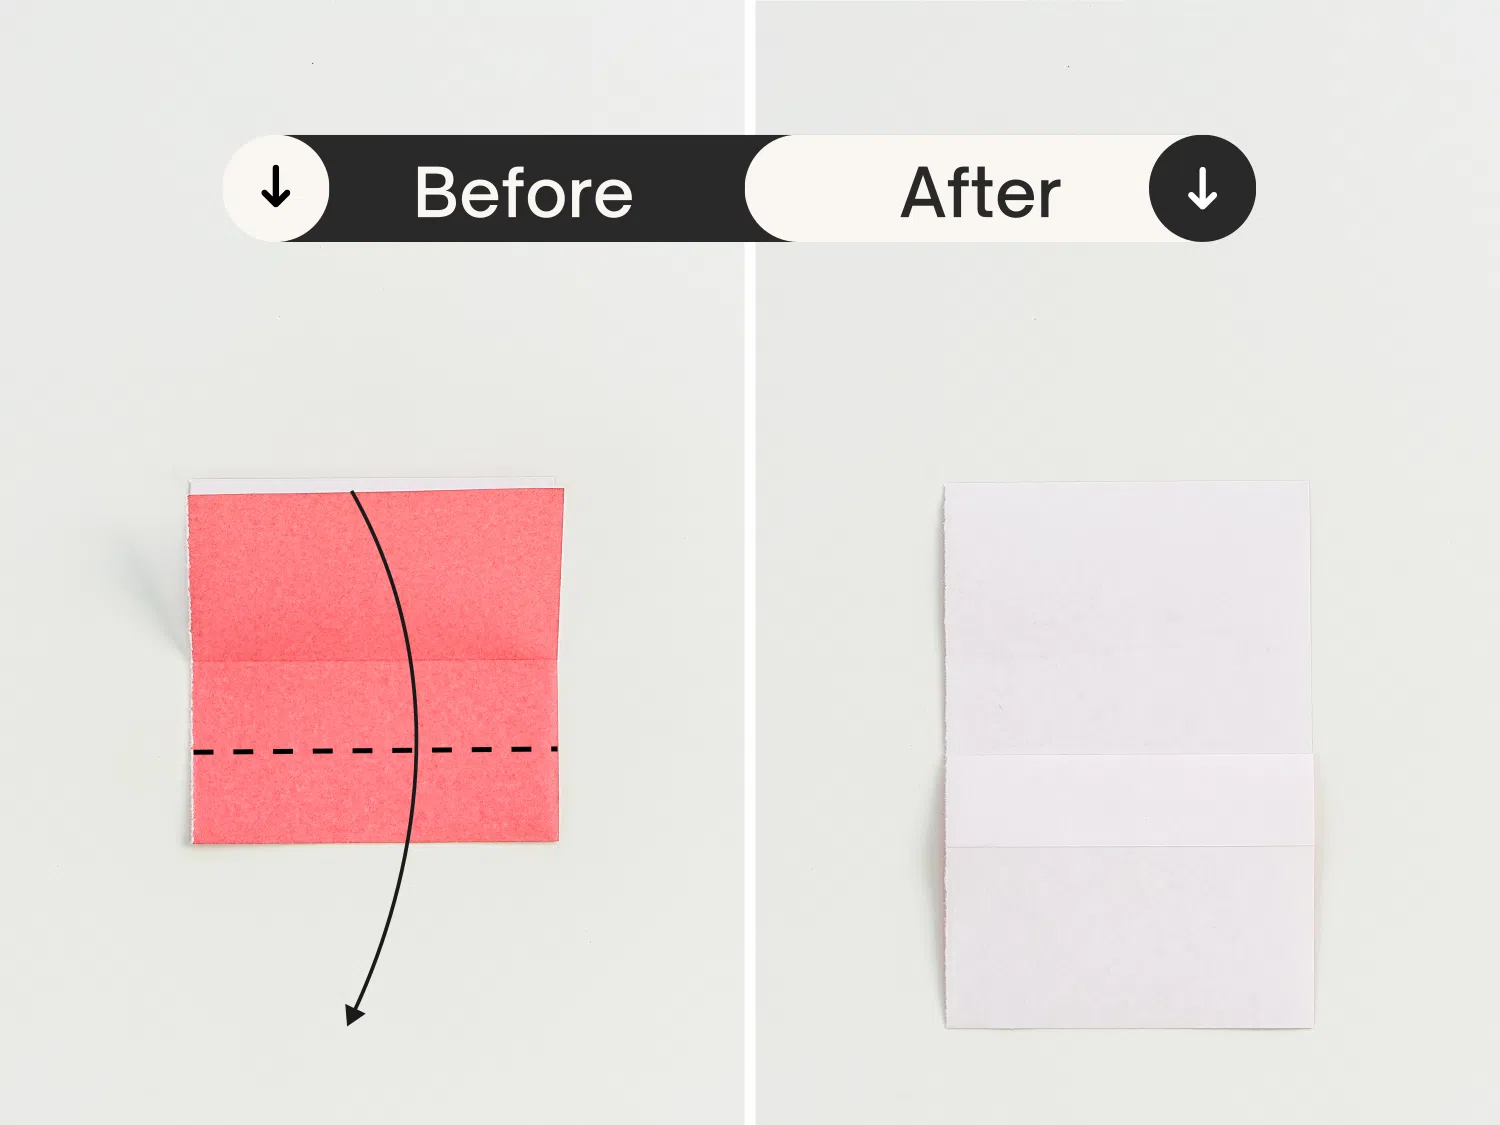
Fold it down again along the dotted line.
Step 4
Fold the left and right corners on the middle of the paper down diagonally, crease it well then unfold.
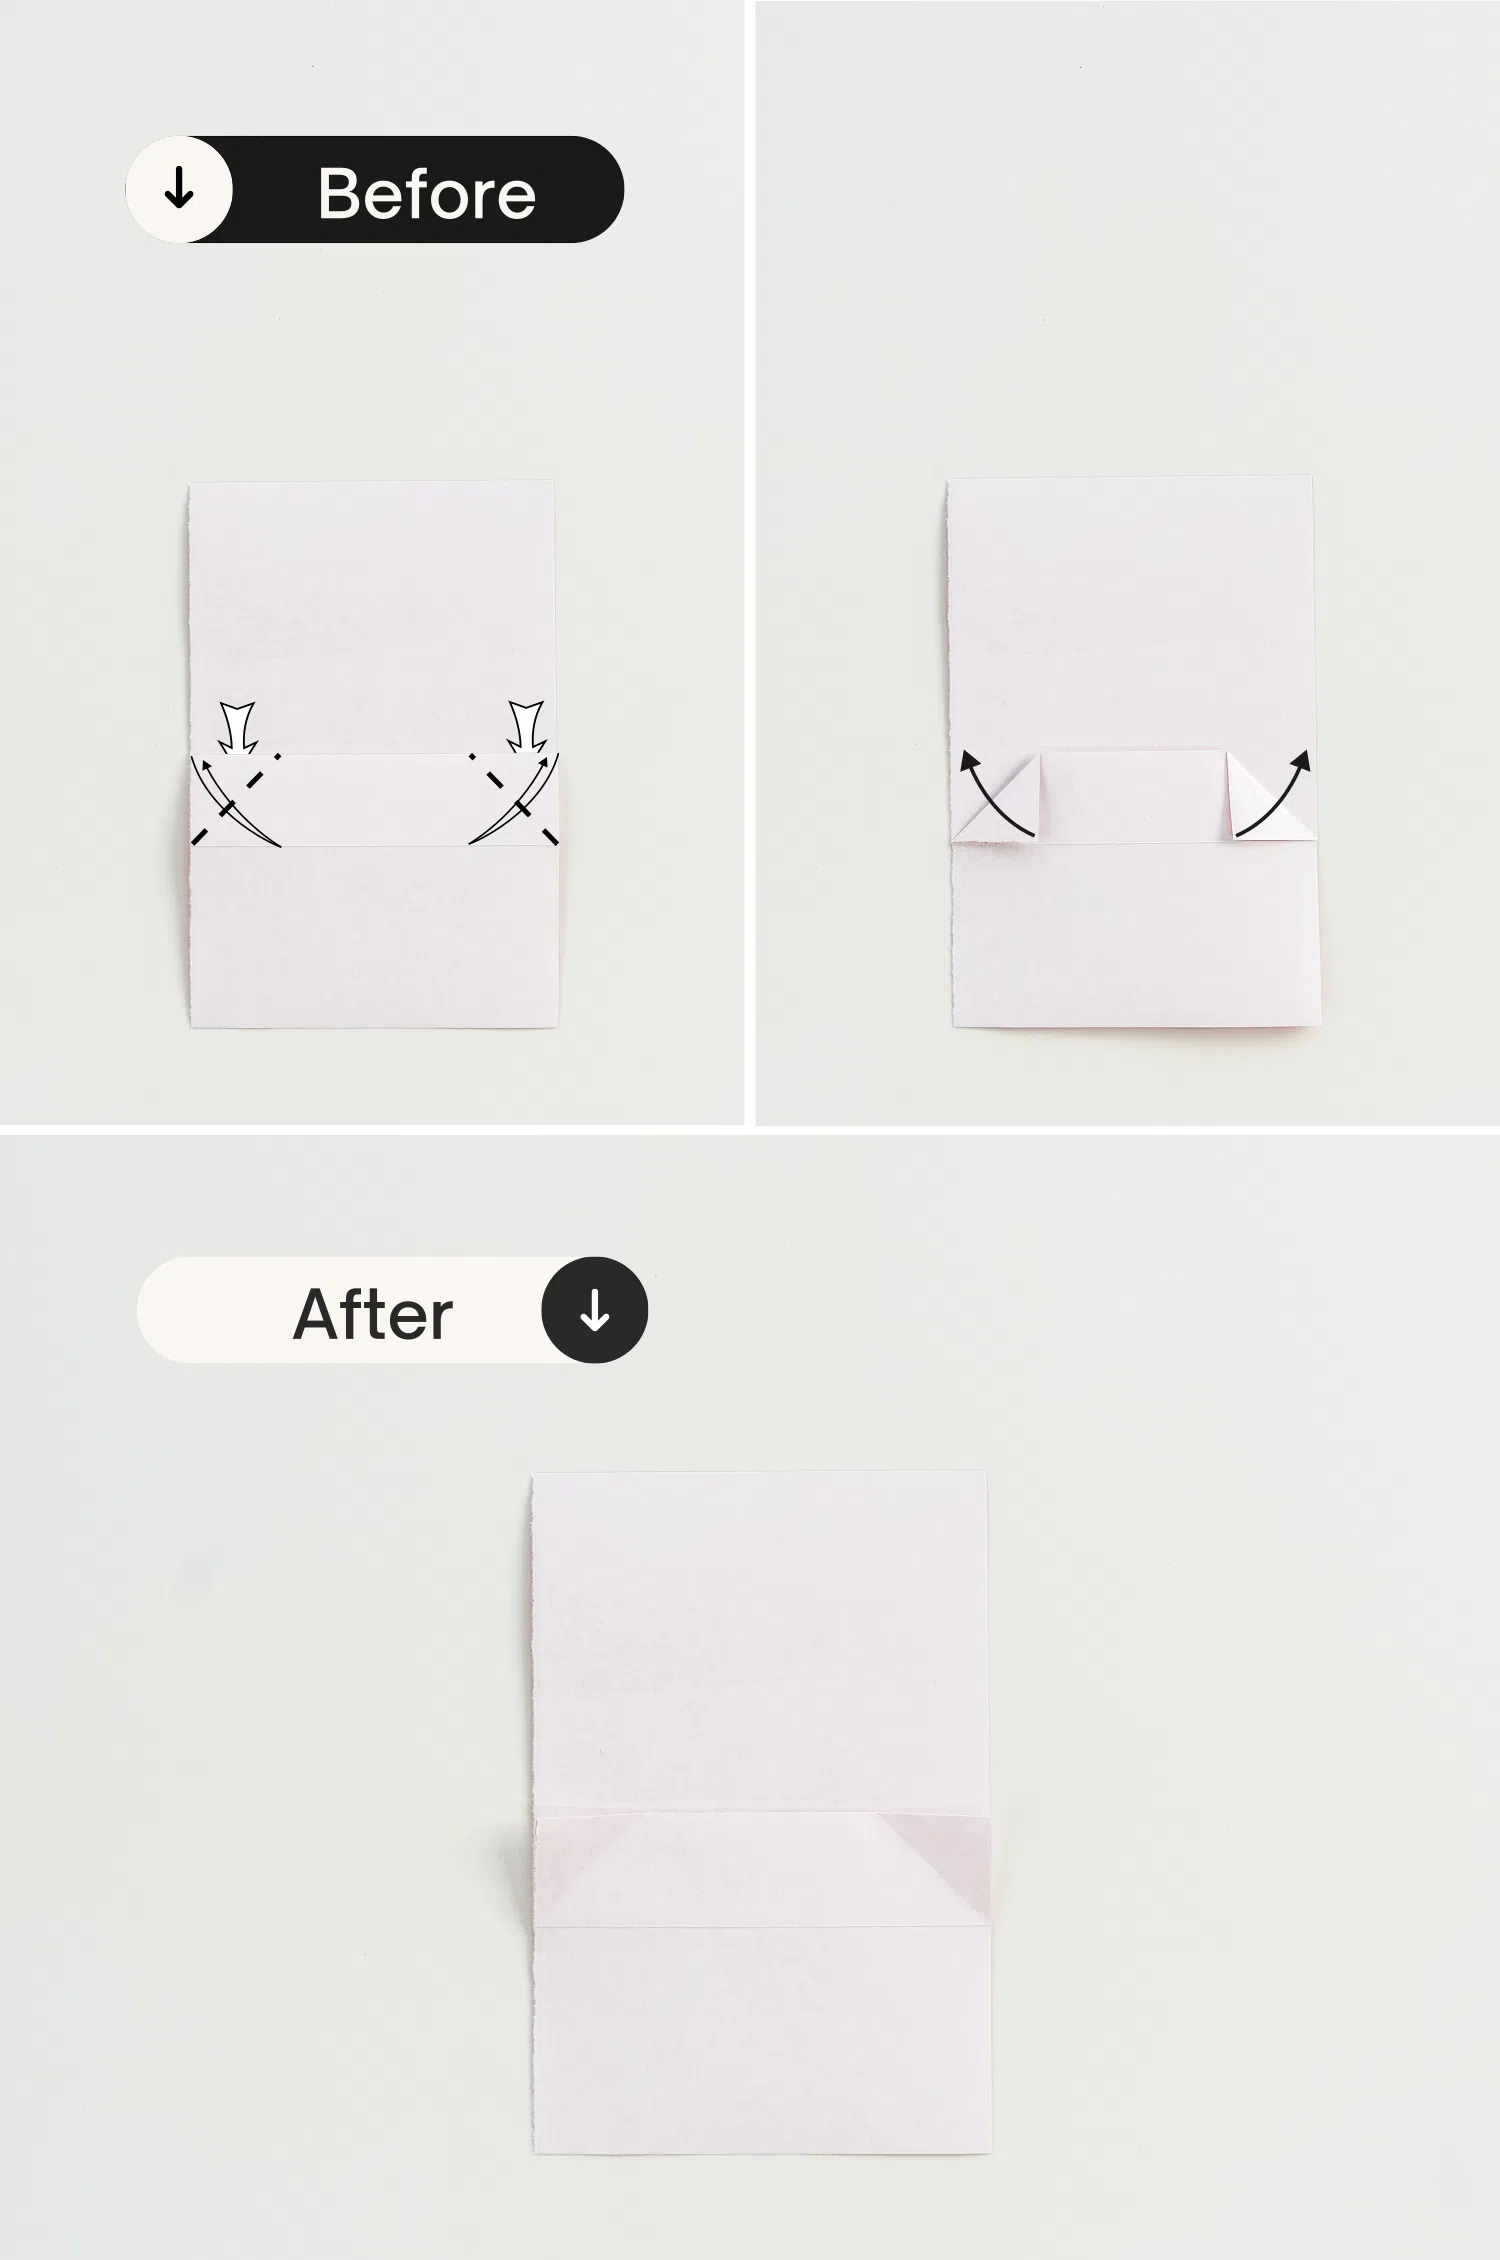
Step 5
Open the right corner from the right, gently press it along the crease you just made in the previous step, and flatten it.
Step 6
Repeat this for the left corner.

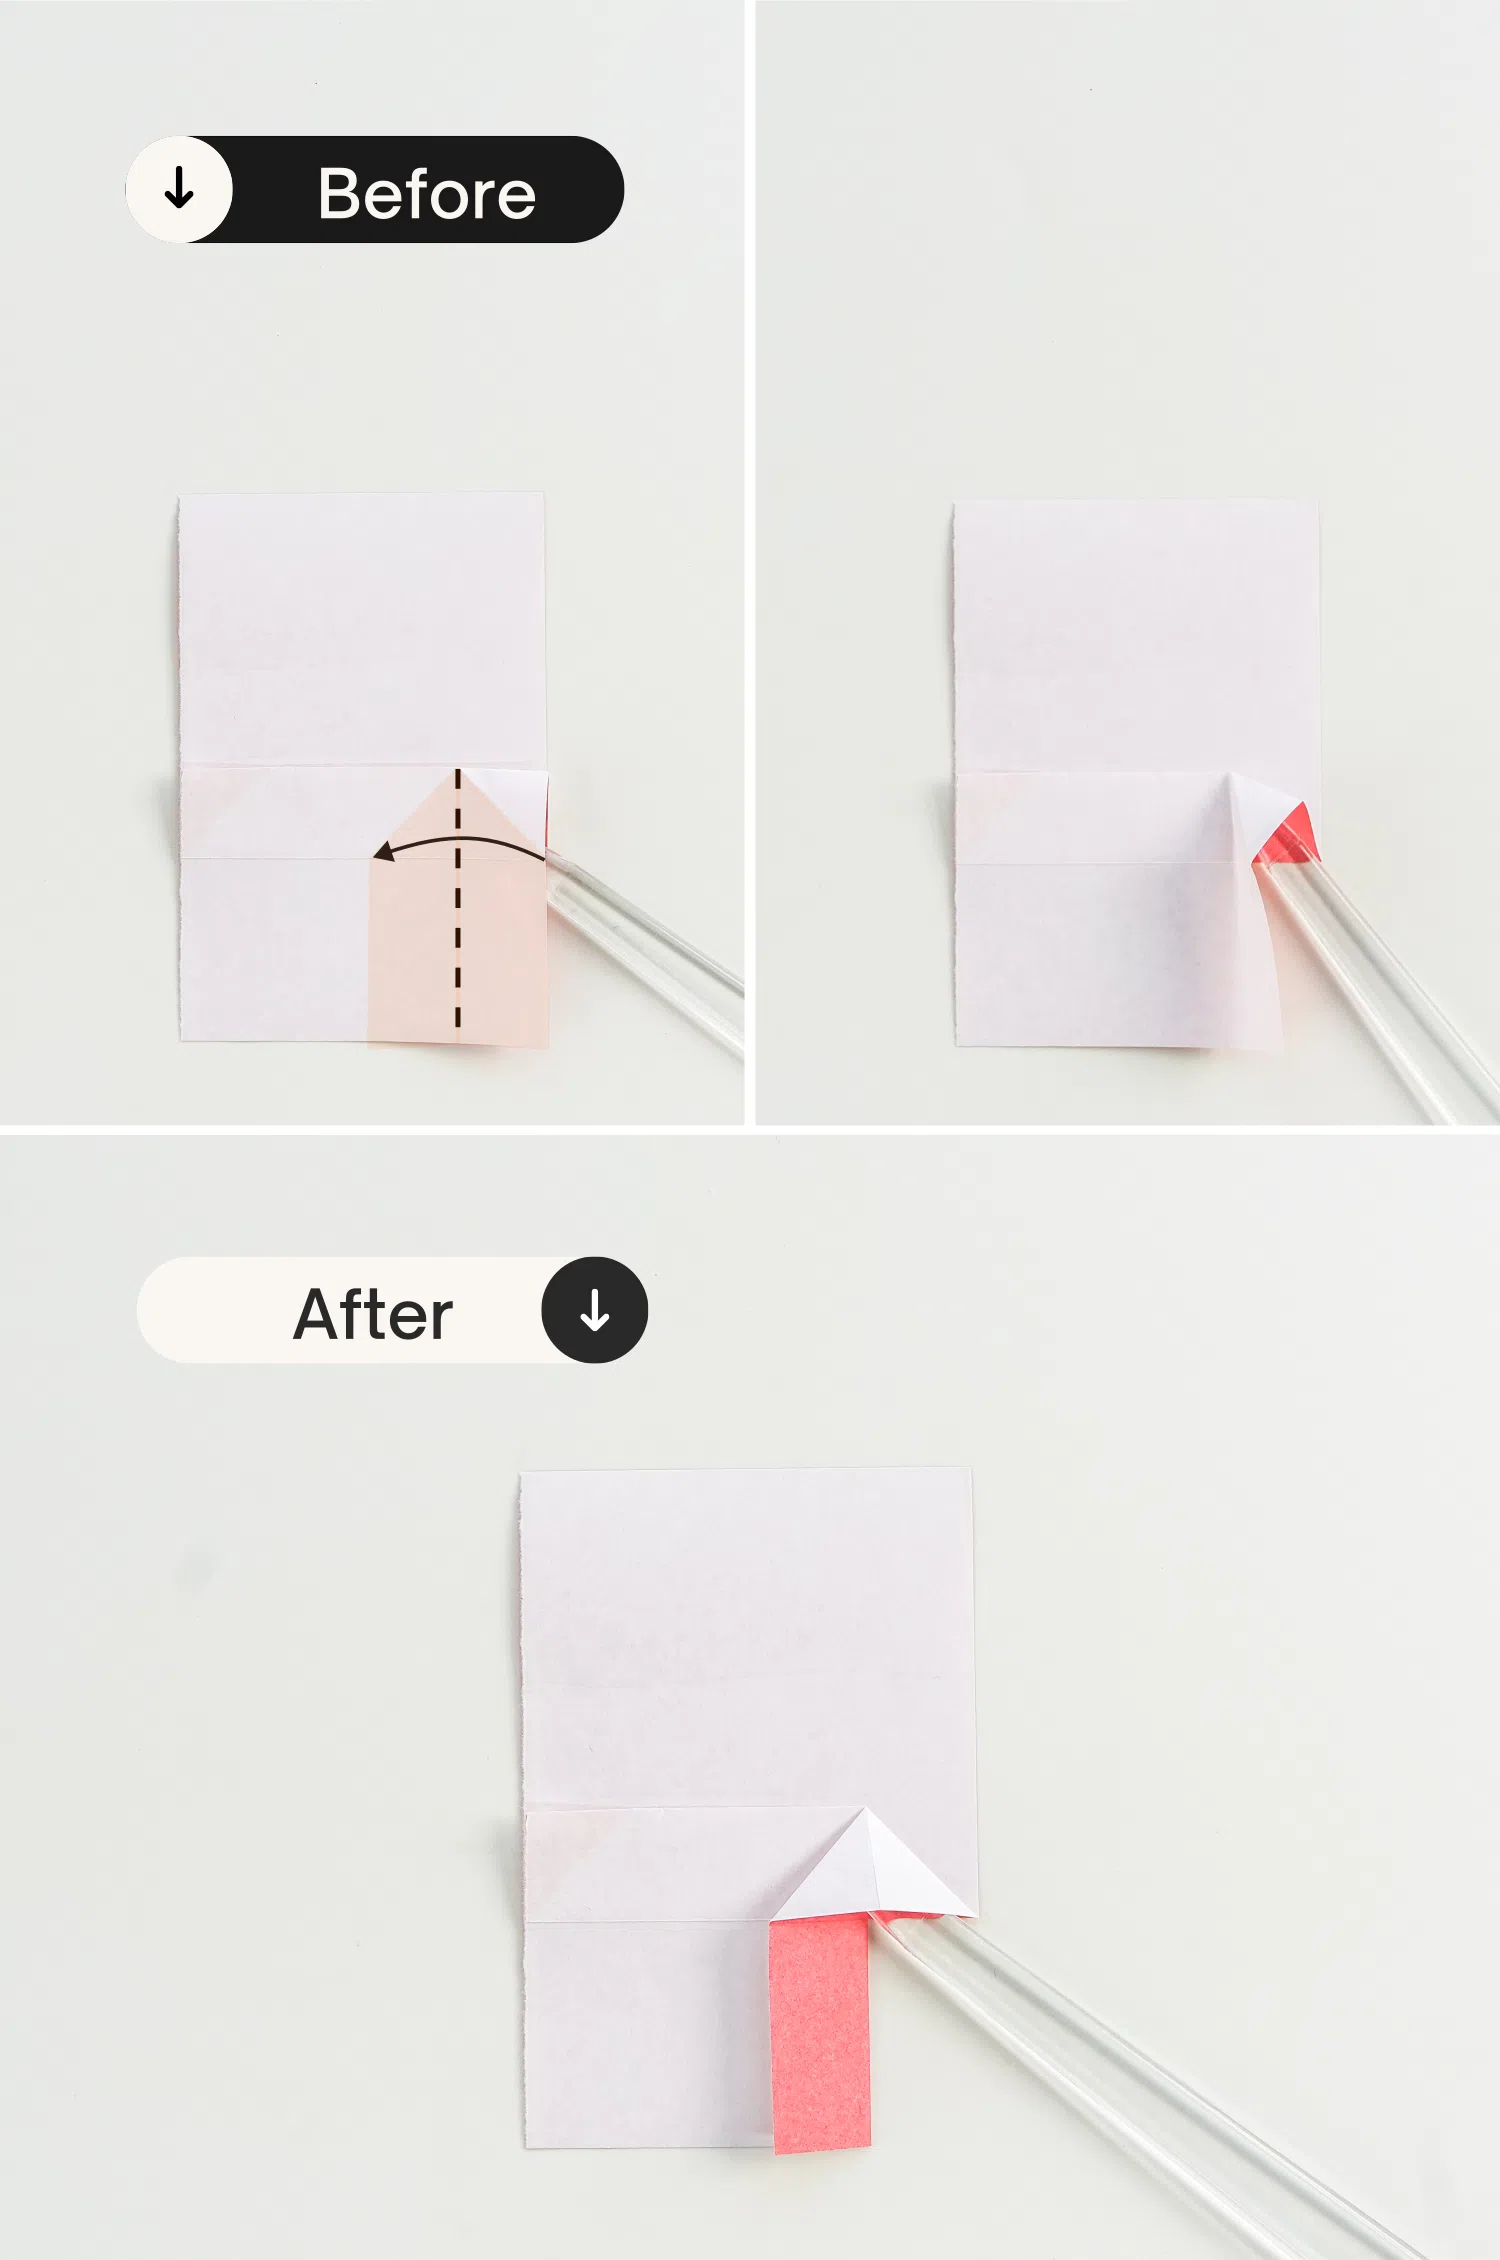
Step 7
Fold the top square in half diagonally, crease well and unfold.
Step 8
Fold the square in half again, and tuck the left edge under the top flap formed by three triangles.
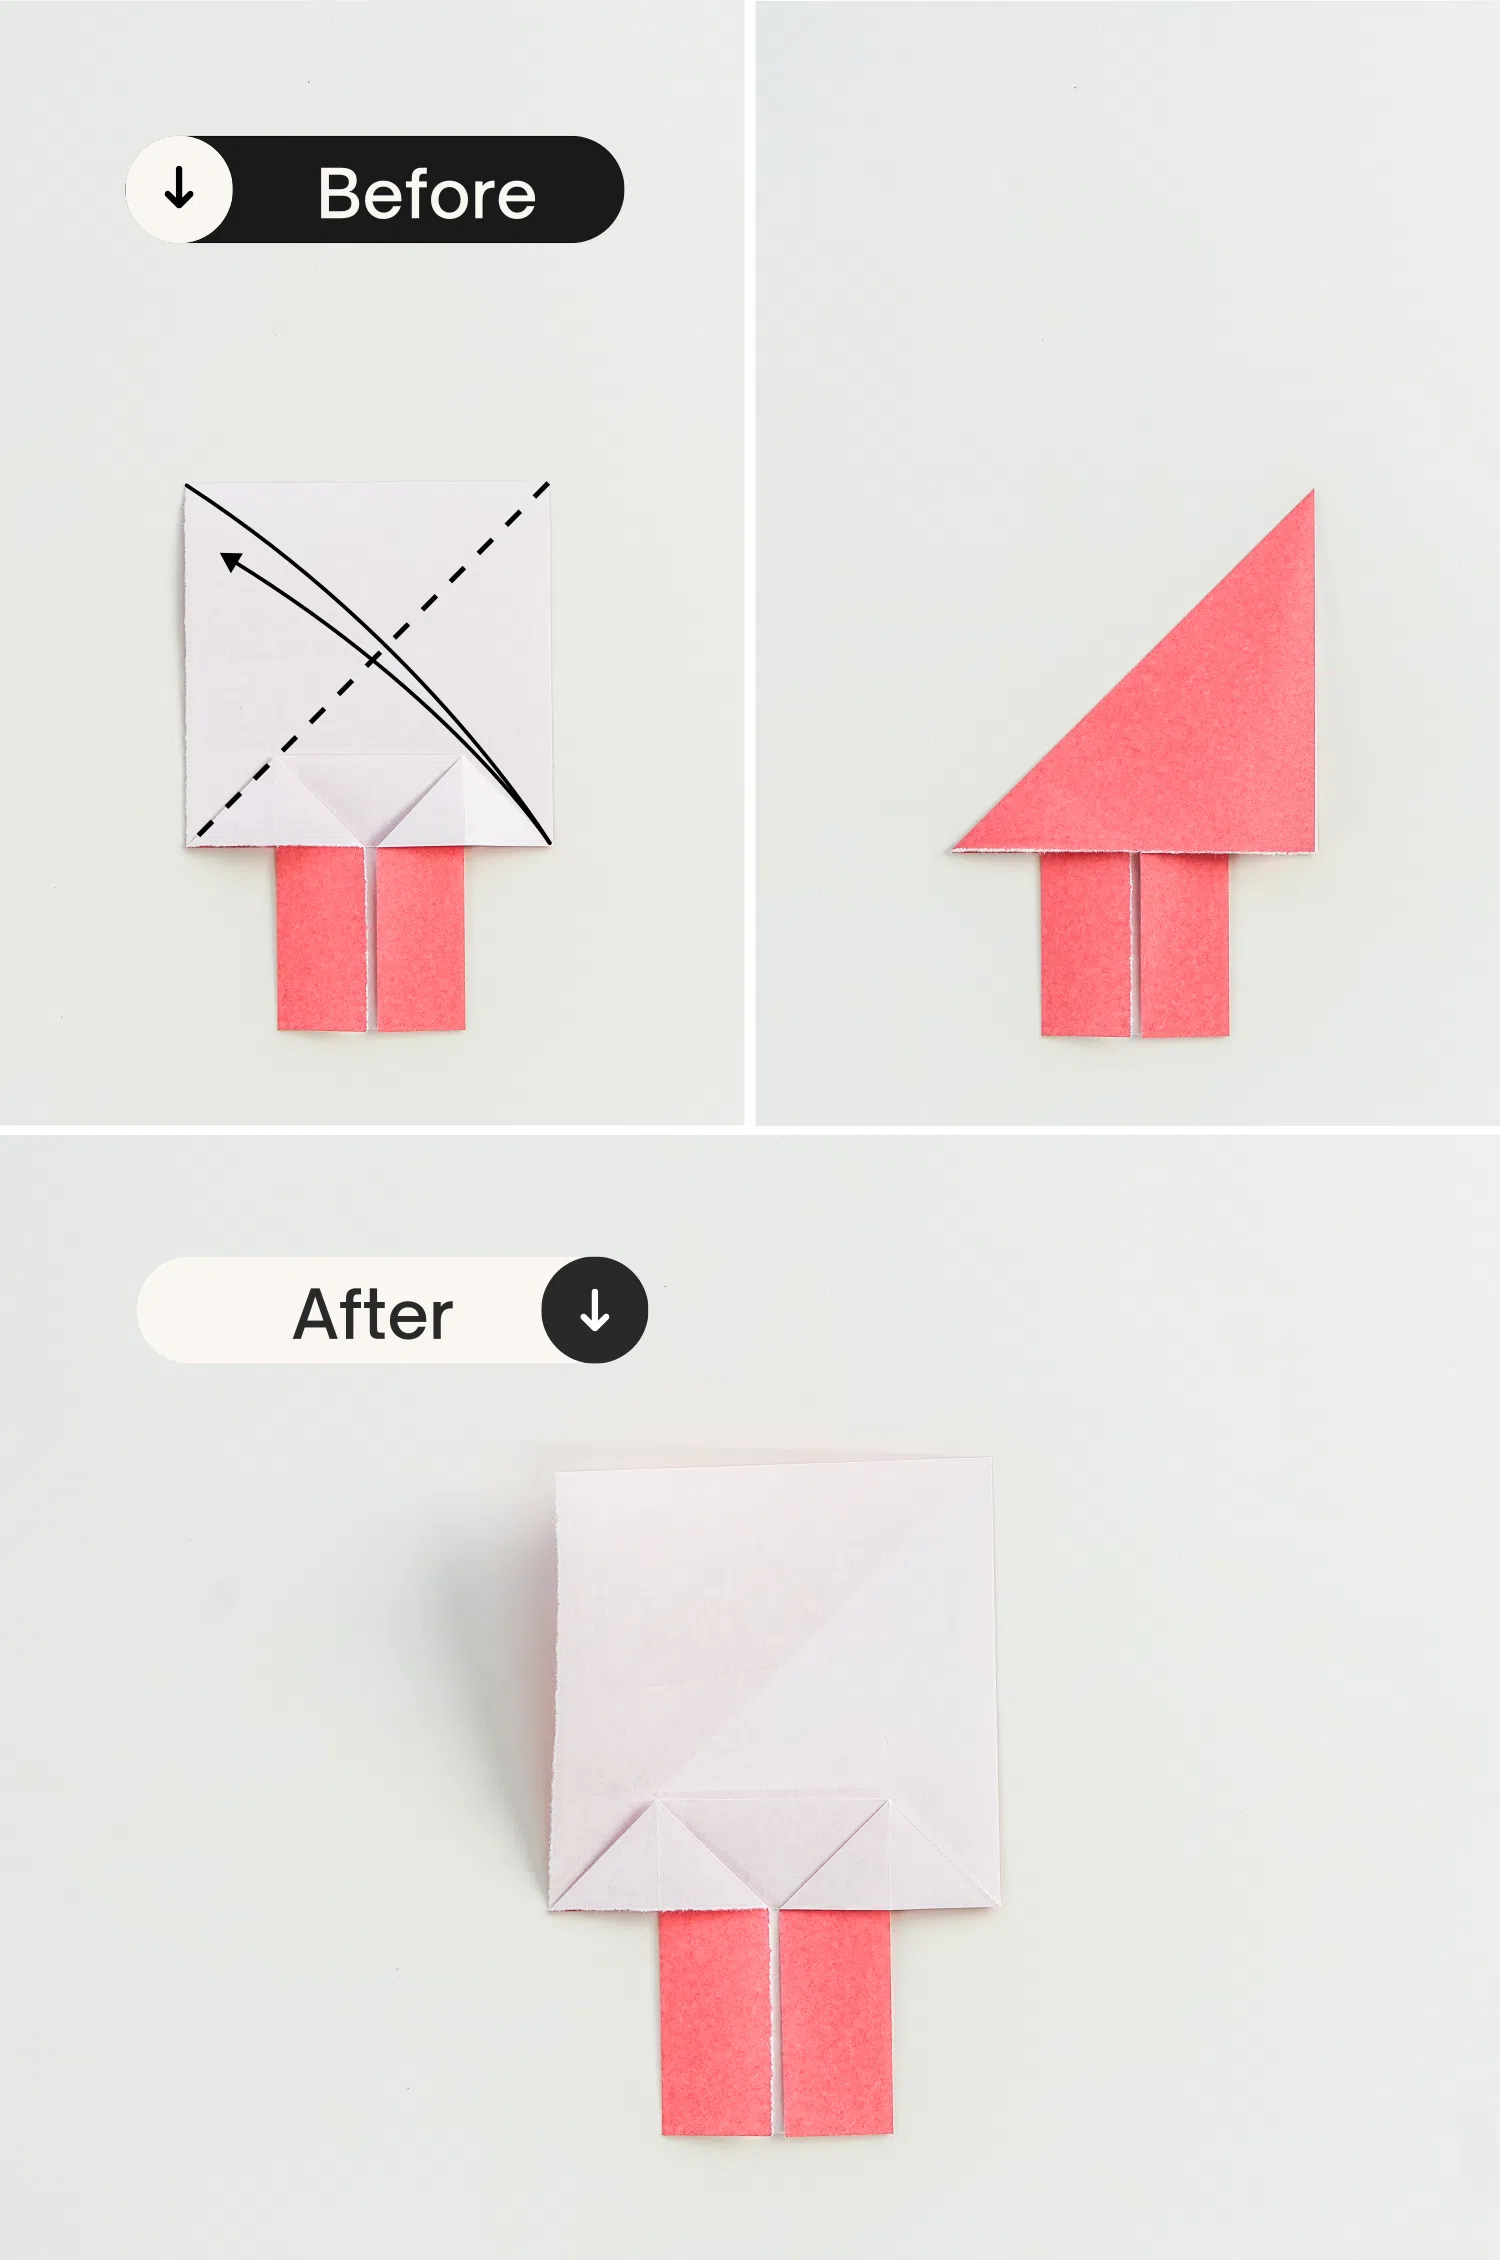
Step 9
Fold the top right corner down diagonally along the dotted line, and tuck it too.
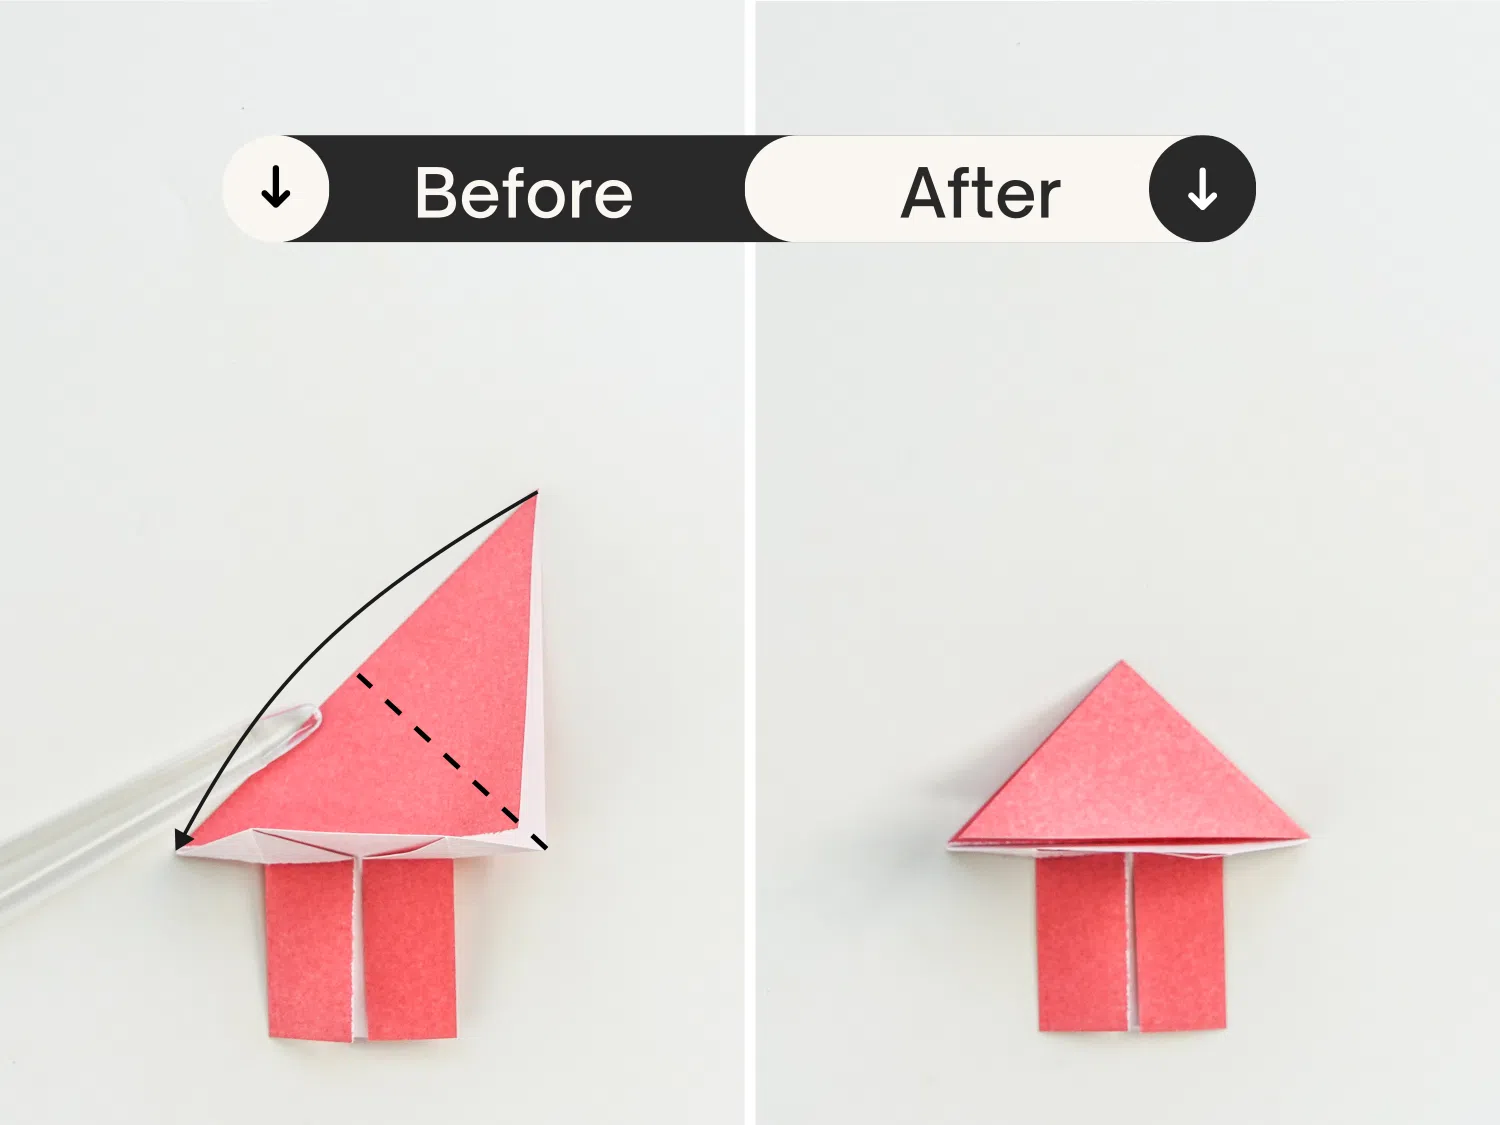
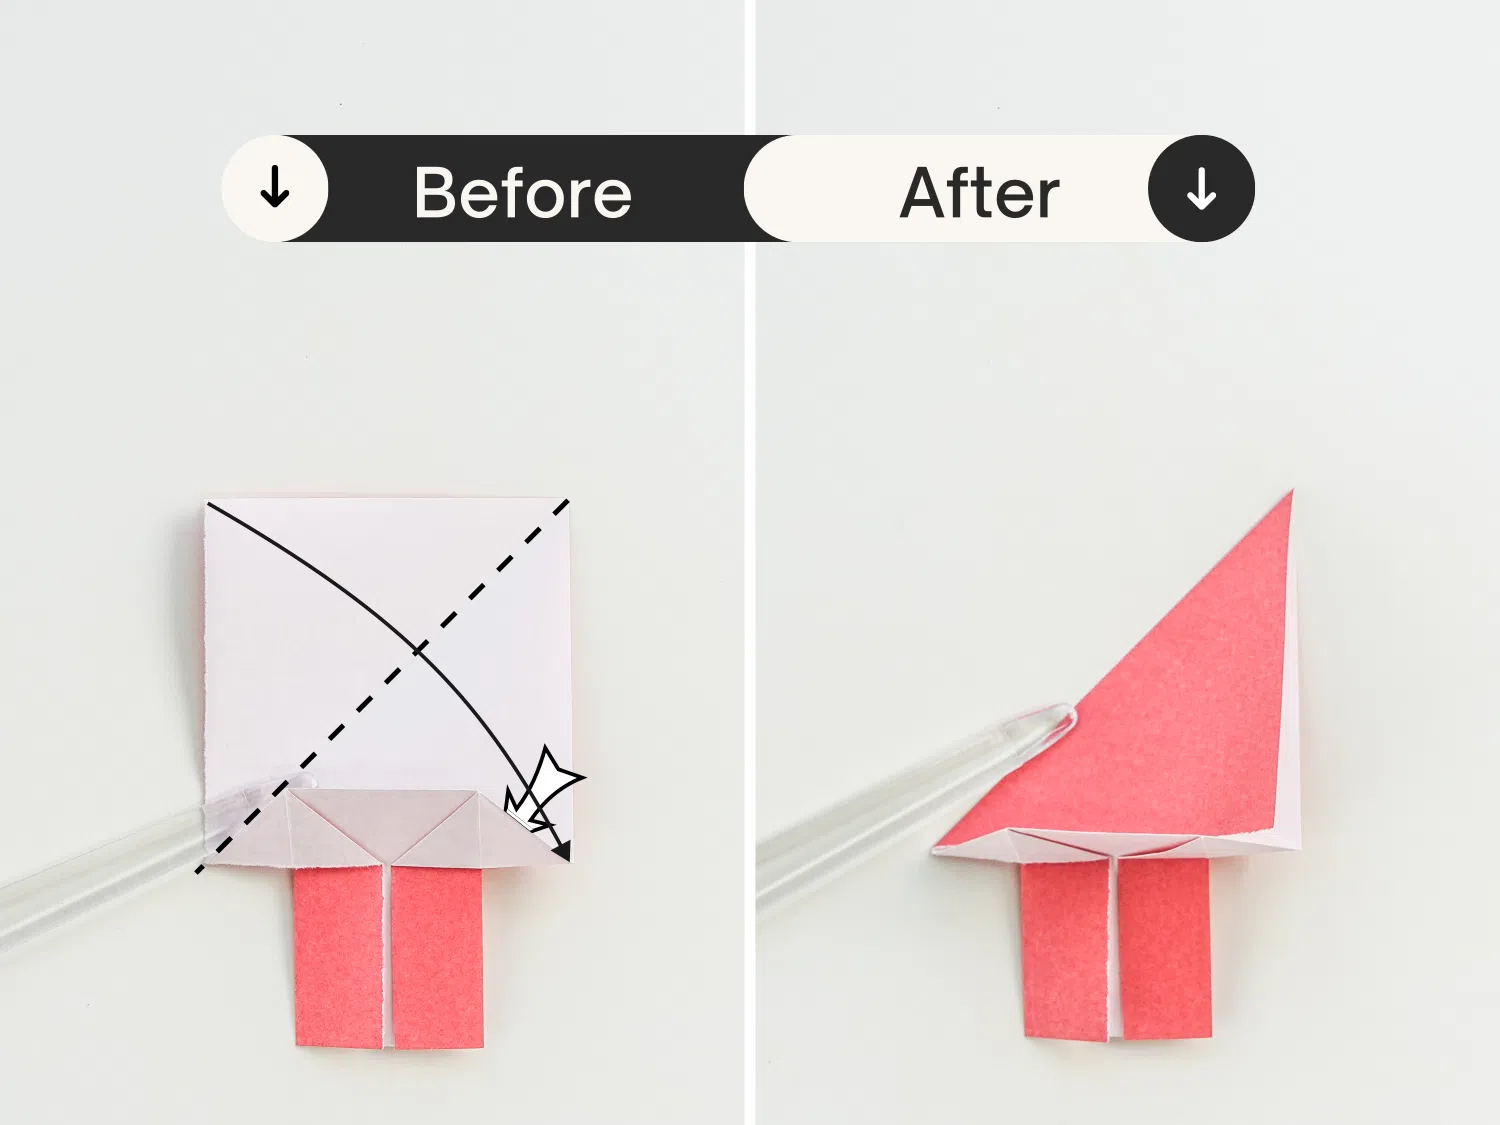
Step 10
Slightly open the top corner, and tuck the layer formed by three triangles in it gently, finally flatten it.

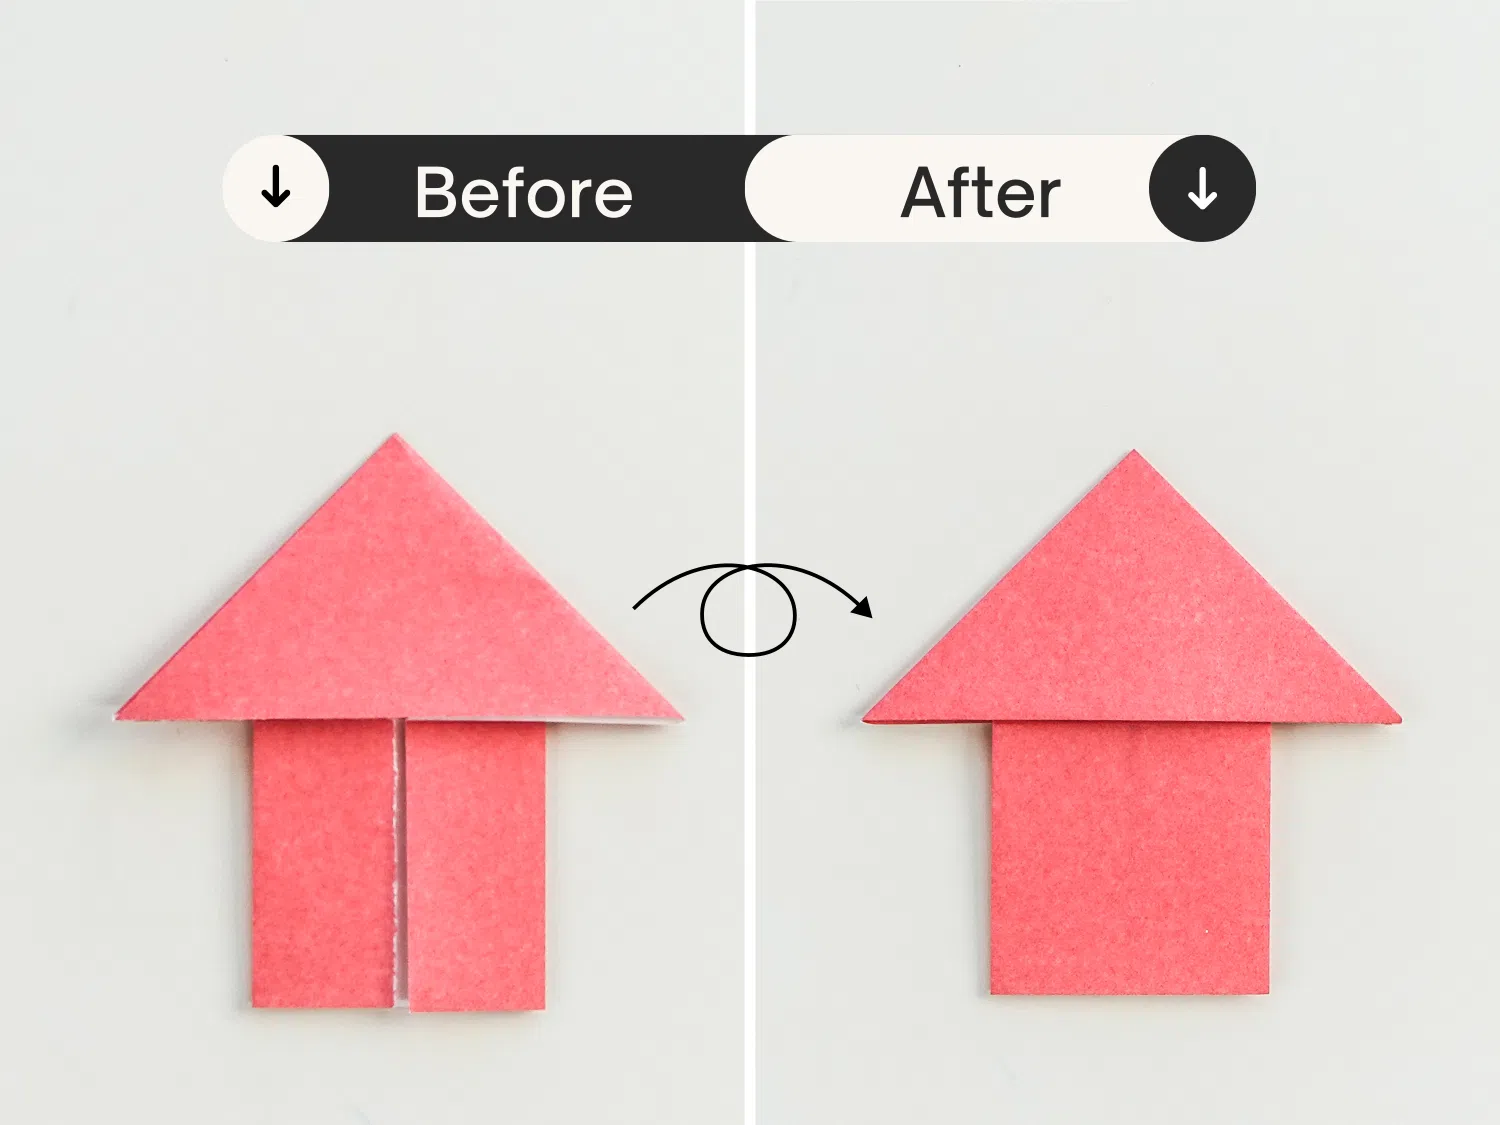
Step 11
Flip the paper over, this cute little bookmark is done! Using a bookmark that is made by yourself makes the reading more meaningful.

Want more origami ideas or more instructions? Remember to subscribe our Newsletters. We will send the newest inspiration to your box.